Hello there! And welcome 🤗, please join me today while I share with you a new exciting project I am embarking on.
As the Yuletide season is drawing closer; over here, it's a time when everyone likes to travel down home to spend time with their loved ones and relatives they haven't seen in a while; during this period, gifts are shared, among other things.
So, I have been thinking of what I could share with my favorite family members this season if I could travel down home. And what could be better than showcasing my handmade earrings to them?
I am not certain yet if I will be traveling home or not, as there are still some factors I need to consider. But whether I travel home or not, these earrings and more that I will be making in the coming days will find their way home and be shared among the ladies in my family this Yuletide.
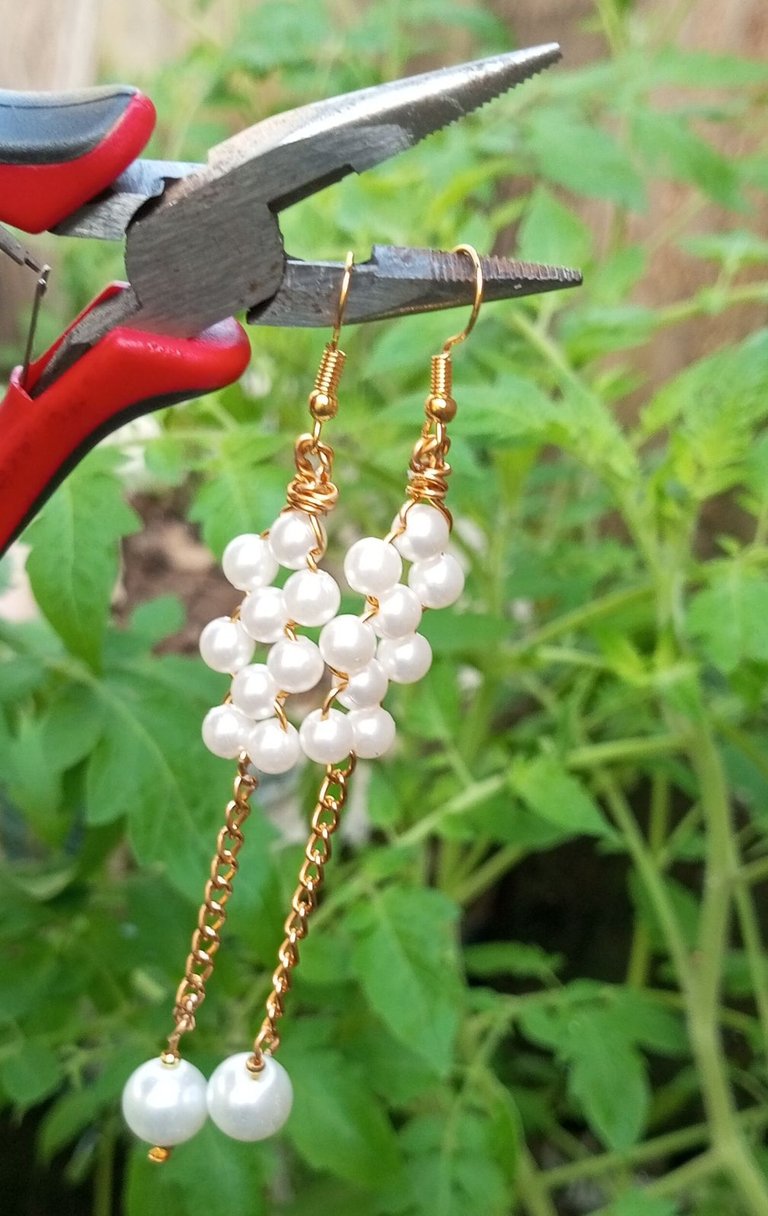
So come along while I show you a step-by-step process of making this beautiful pearl earring.
Material used:
✓I used 2 earring pins.
✓4 earrings stopper
✓2 size 10 pearl beads
✓19 size 4 pearl beads
✓2 earrings hooks and
✓ earrings wire
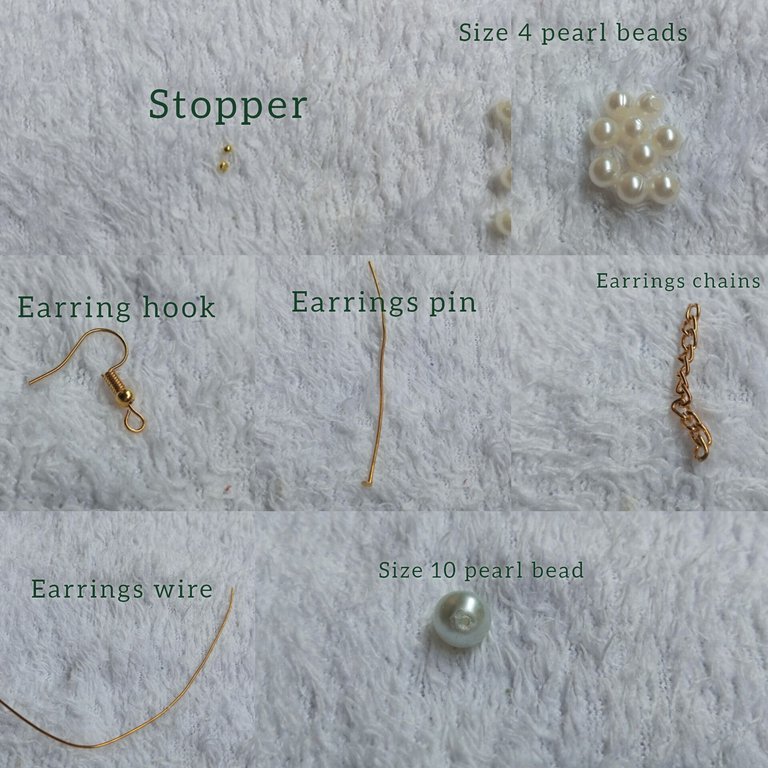
Step-by-step process:
Step 1:
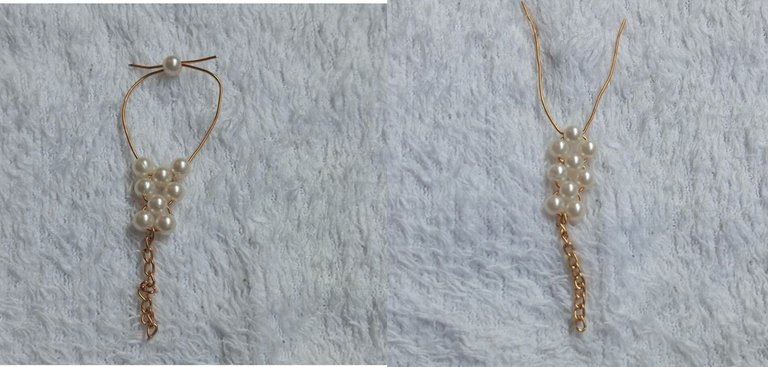
I cut 1 meter of the earring wire and put the earring chain in it, then put 1 size 4 pearl bead to the left wire, 1 bead to the right wire, and crossed both wires with one bead.
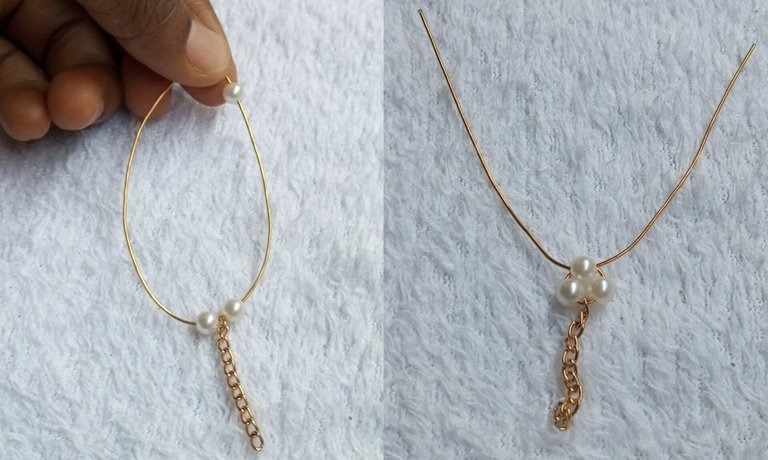
Step 2:
I put 1 bead to the left wire, 1 bead to the right wire, and crossed both wires with 1 bead.
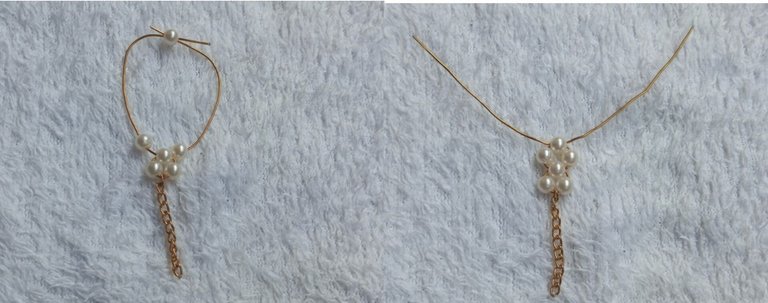
Step 3:
I put 1 pearl bead to the left wire, 1 pearl bead to the right wire, and 1 pearl bead to cross both wires.
Step 4:
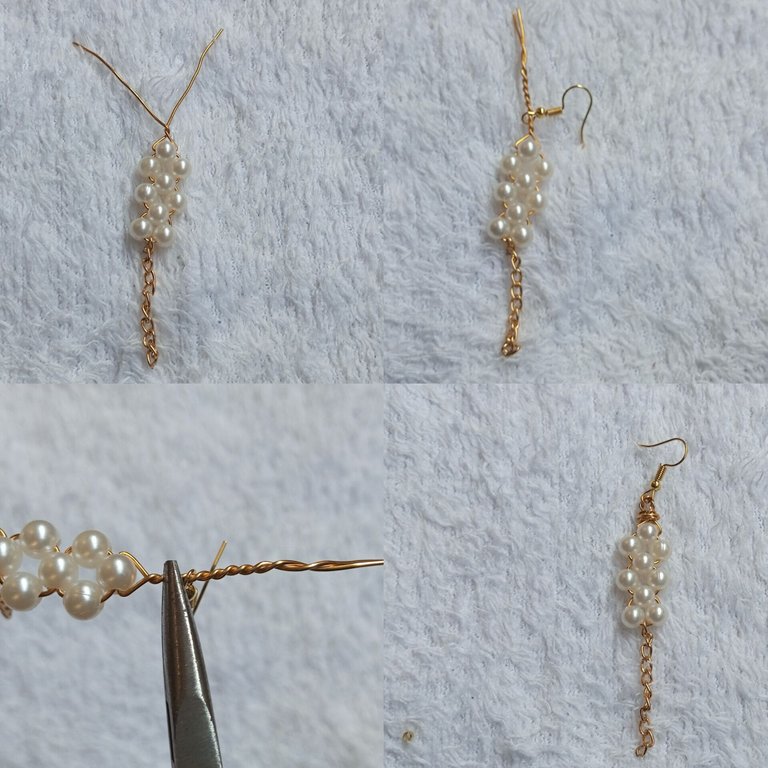
I brought the two wires together and twisted them, then proceeded to put the earrings hooked to it with the help of my earrings clamper. I curved the twisted wire to make a curve for the hook, then cut off the excess wire. The upper part of the earrings was done, and we proceeded to the down part.
Step 5:
I put 1 stopper to the earring pin, followed by 1 size 10 pearl bead, and then another stopper. This gave me the base of the earrings. I proceeded to cut off the excess pin and then curve out a hook. I put the chain of the upper part of the earrings on the hook and closed it.
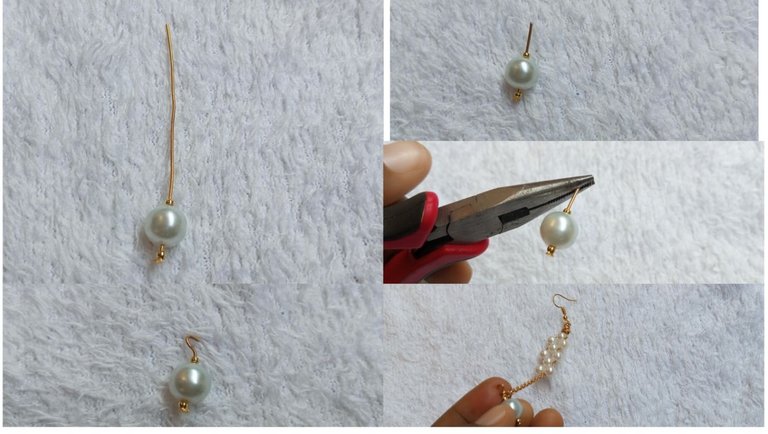
And then we have pearl bead earrings.
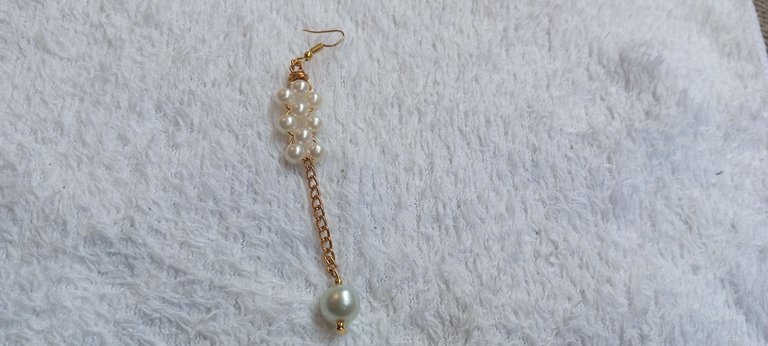
Repeat the whole step above to get two pieces of the earrings.
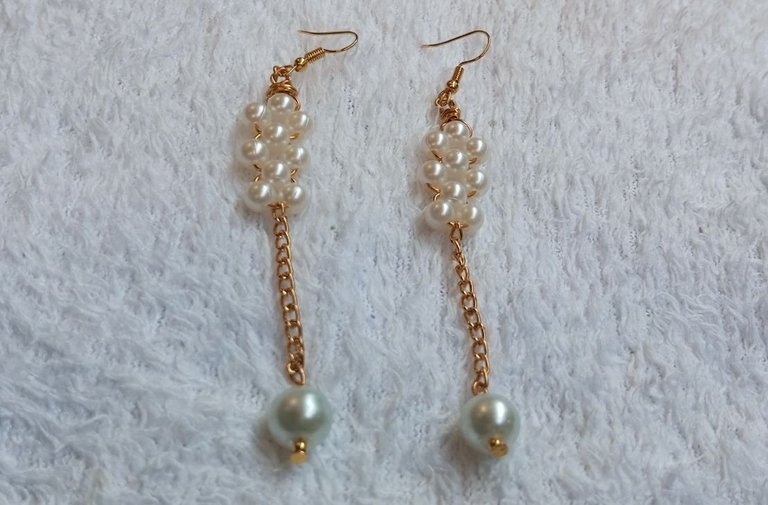
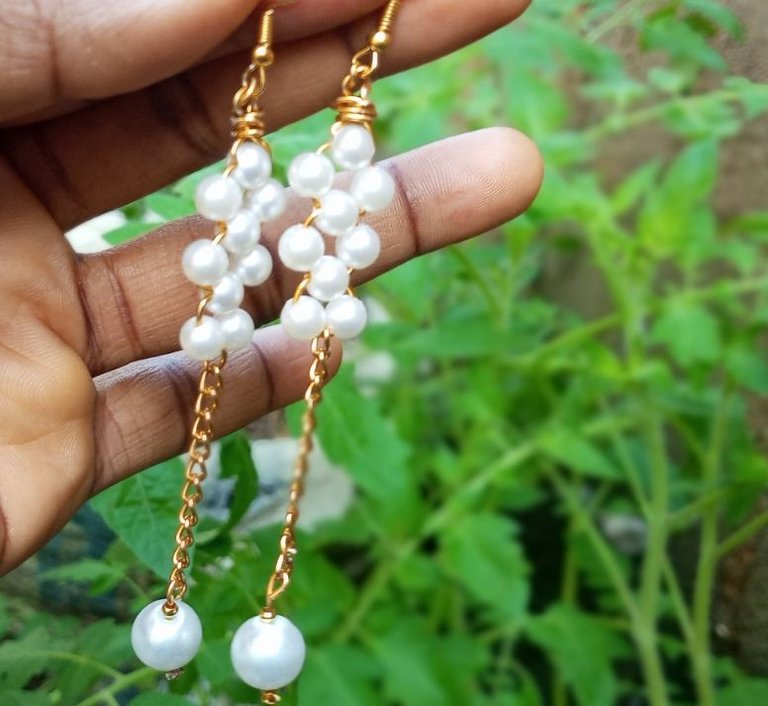
I love this earring so much; it is very simple to carry, and it's beautiful and elegant. I wore it out today, and I received a lot of compliments from friends. I told them I made it, and they're like, wow, it's beautiful ❤️ one of them requested I make it for her, and I will.
Forgive the quality of my picture; my phone fell a few days ago, its screen was broken, and it's now affecting the quality of my selfies, but I hope you spot my new beautiful earrings.

I think I'm going to keep this one to myself and make another four pairs to be put inside my gift box.
As you can see the steps are easy, and the material can be easily gotten from a bead store in case you want to try it out and make one for yourself. What do you think? Do you like my new earrings?
Thank you so much for your time. Have a blissful time at your end.
All Images are mine.
@funshee ✍️🥰


