
¡Hola Chicos!
El empaque de cualquier producto es súper importante porque le aporta valor y adicional lo hace ver más atractivo para nuestros posibles compradores.
Ya yo parezco un disco rayado de tantas veces que les he comentado sobre mi venta de bisutería, y es algo que me tiene súper animada y que siento por fin puedo mostrar orgullosamente, pues este es el último paso que di para comenzar a mostrar todo lo que tengo en inventario.
He ido dando pasitos de bebé porque el tiempo no me ha rendido como quiero. Tengo otros trabajos pendientes, adicional de mis labores como ama de casa, madre y esposa. Así que poco a poco he ido adelantando este proyecto, con pasitos lentos pero seguros.
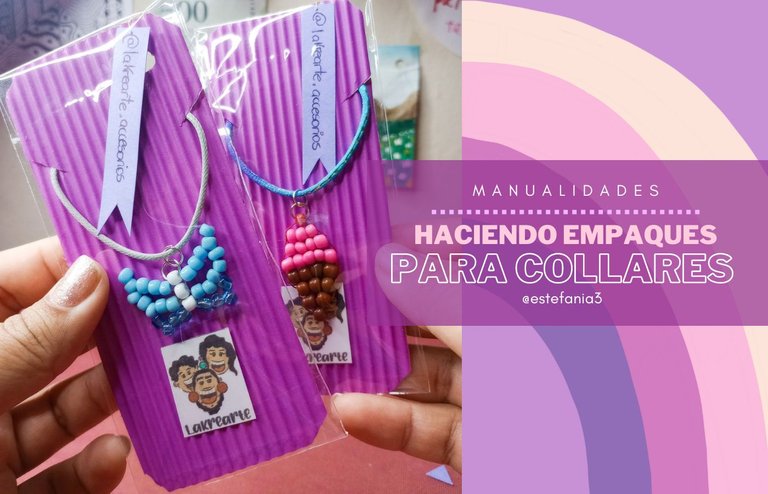
En esta ocasión les quiero mostrar cómo he empacado los collares que tenía hechos, pero que no contaban con un empaque adecuado.
Por supuesto que hice estos empaques similares a los que ya había hecho con los zarcillos, utilizando las bolsas que les enseñe en un post hace un par de semanas, y agregándole una identificación para que las personas comenzarán a seguir nuestro trabajo en las redes sociales.
Pero no les cuento más y mejor les muestro el paso a paso de como los hice.
Hey guys!
The packaging of any product is super important because it adds value and additionally makes it look more attractive to our potential buyers.
I already look like a broken record from so many times that I have told you about my jewelry sale, and it is something that has me super excited and that I feel I can finally show proudly, because this is the last step I took to start showing everything that I have in inventory.
I've been taking baby steps because time hasn't given me the way I want. I have other jobs pending, in addition to my work as a housewife, mother and wife. So little by little I have been advancing this project, with slow but sure steps.
On this occasion I want to show you how I have packed the necklaces that I had made, but that did not have adequate packaging.
Of course, I made these packaging similar to the ones I had already done with the earrings, using the bags that I showed you in a post a couple of weeks ago, and adding an identification so that people would start following our work on social networks.
But I will not tell you more and better I will show you the step by step of how I did them.


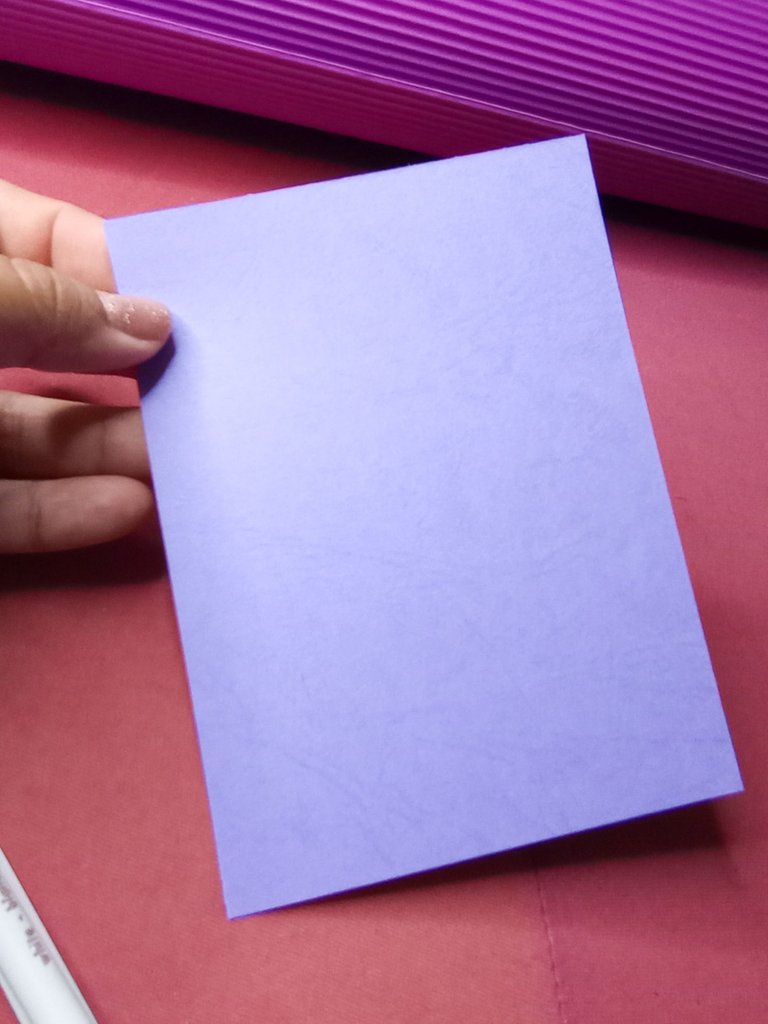
Comencé haciendo las pequeñas etiquetas, para ello utilice una cartulina de color morado y trace varias franjas en ella de 1cm de ancho aproximadamente.
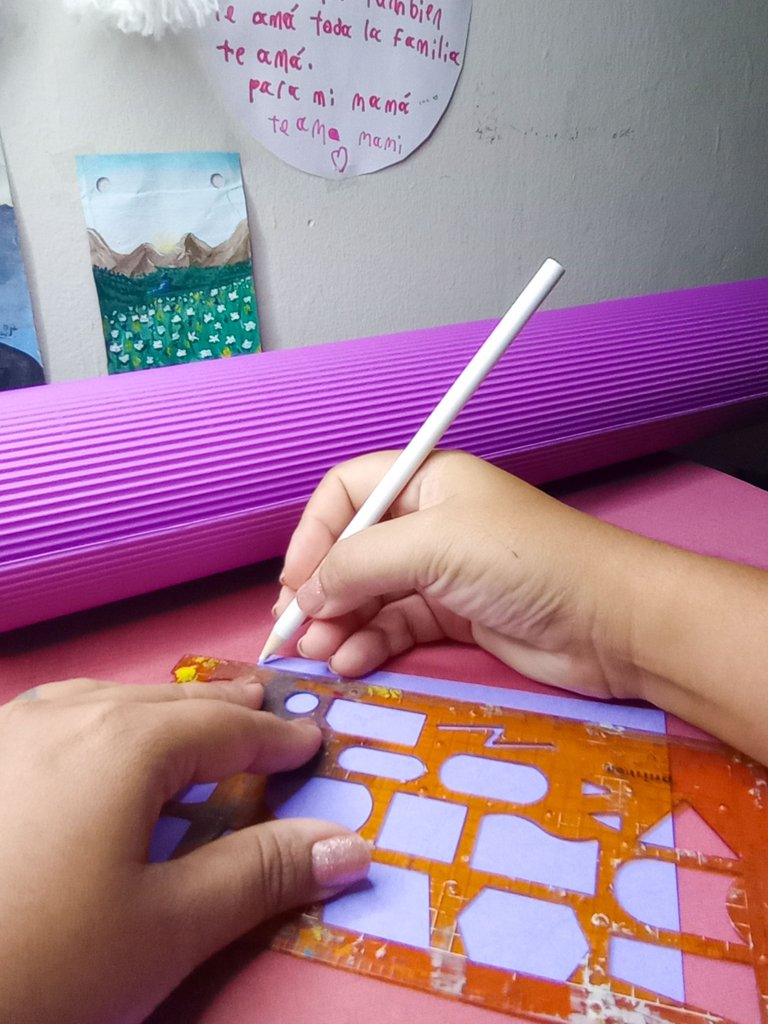
I started by making the small labels, to do this I used a purple cardboard and traced several stripes on it approximately 1cm wide.

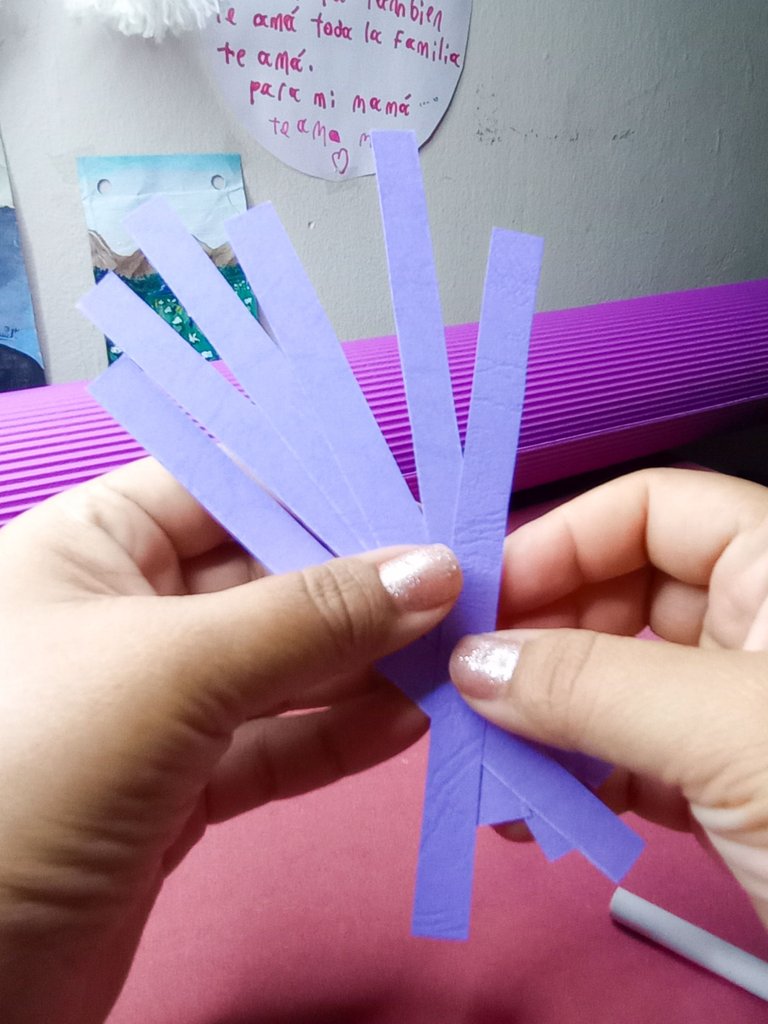
Las recorté y en ellas escribí @lakrearte.accesorios, la cual es nuestra cuenta en Instagram.
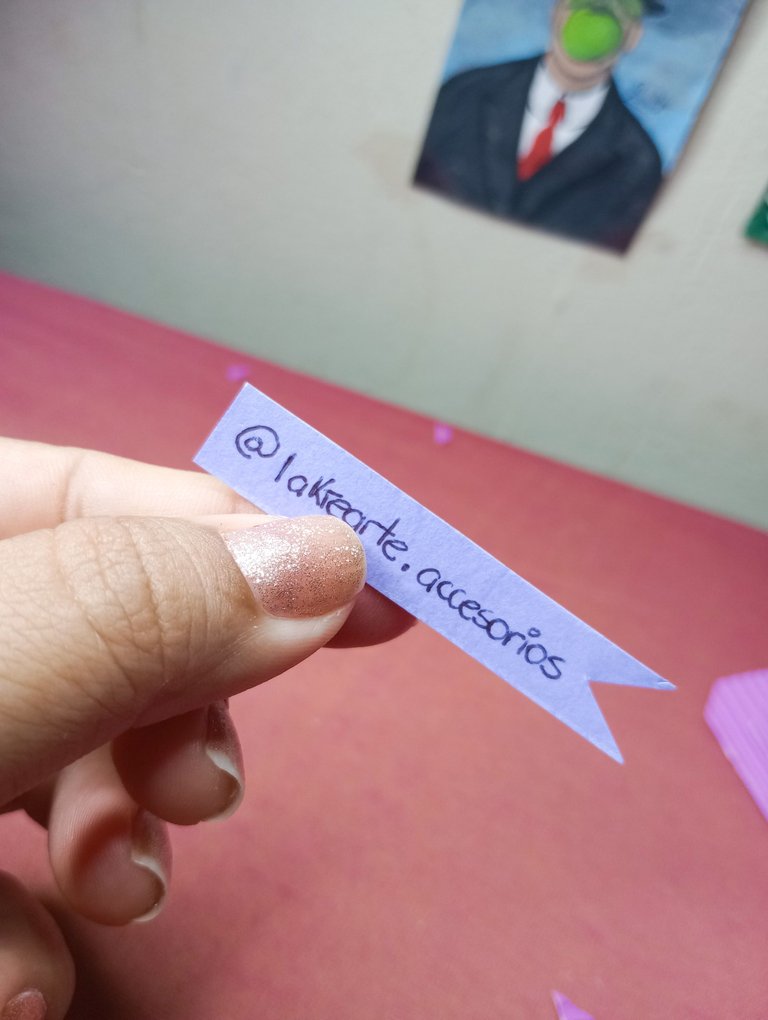
Luego con la tierra hice un corte en triángulo para agregar un lindo detalle a estas.
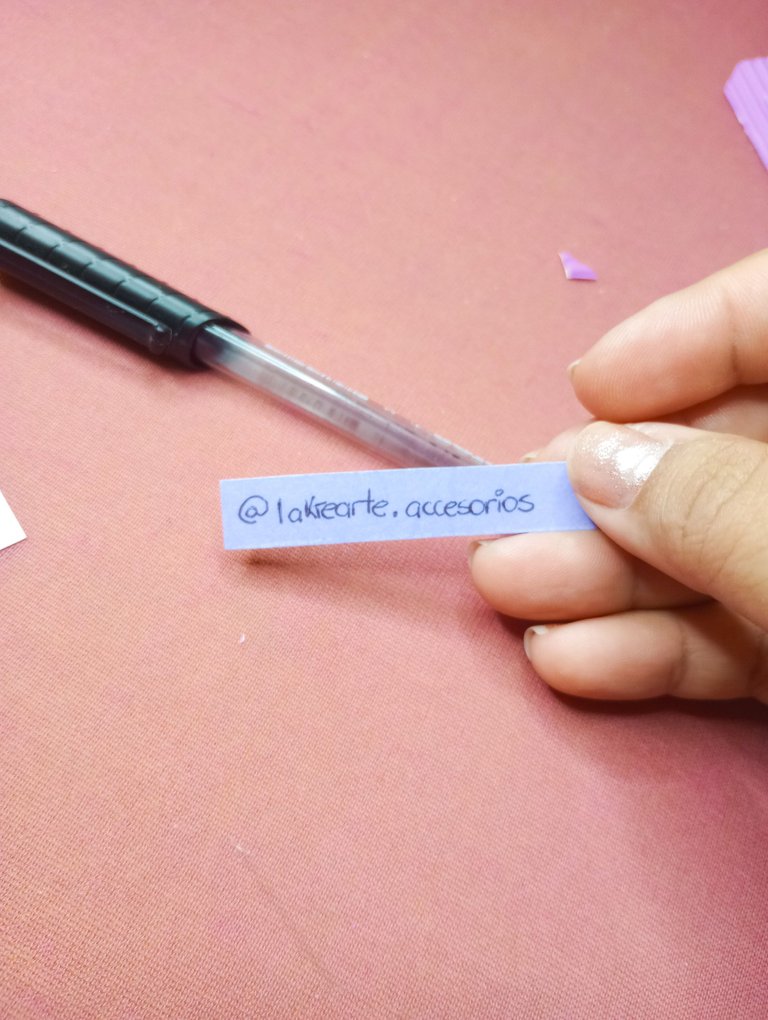
I cut them out and wrote @lakrearte.accesorios, which is our Instagram account.
Then with the earth I made a triangle cut to add a nice detail to these.

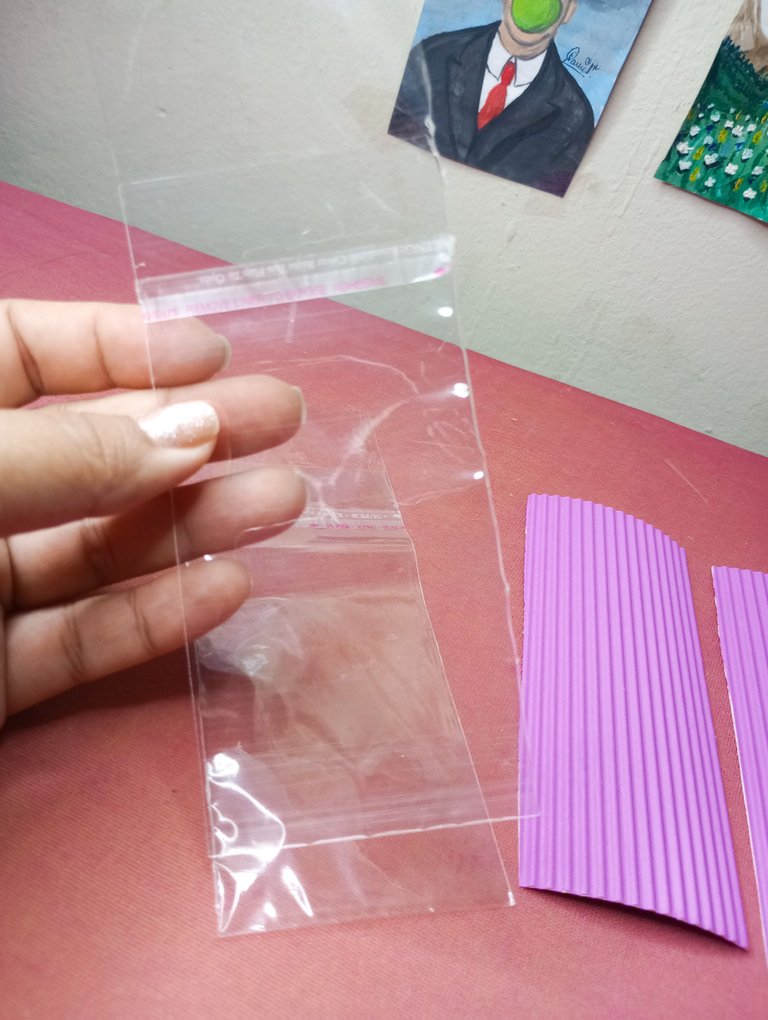
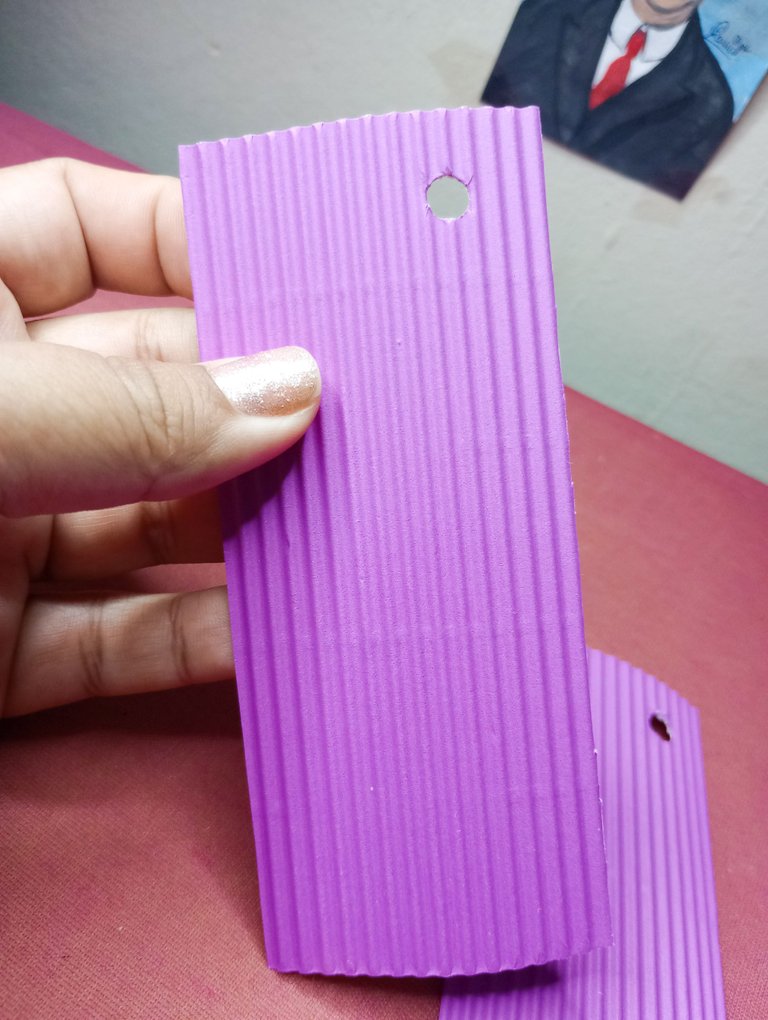
Para la base, usé cartón corrugado de color morado. Hice un rectángulo de medio centímetro de ancho más pequeño que la bolsa donde sería empacado.
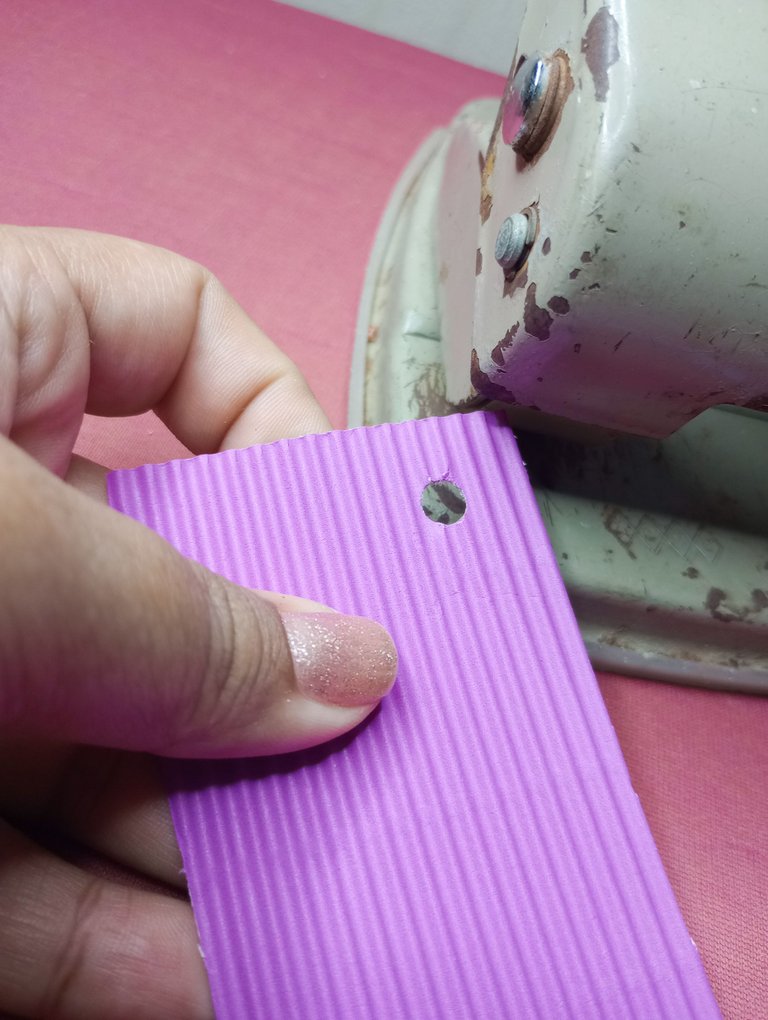
Luego con un abrehuecos hice un agujero en la esquina superior. Este me servirá para amarrar la etiqueta que hice anteriormente.
For the base, I used purple corrugated cardboard. I made a rectangle half a centimeter wide smaller than the bag where it would be packed.
Then with a hole cutter I made a hole in the upper corner. This will serve to tie the label that I made earlier.

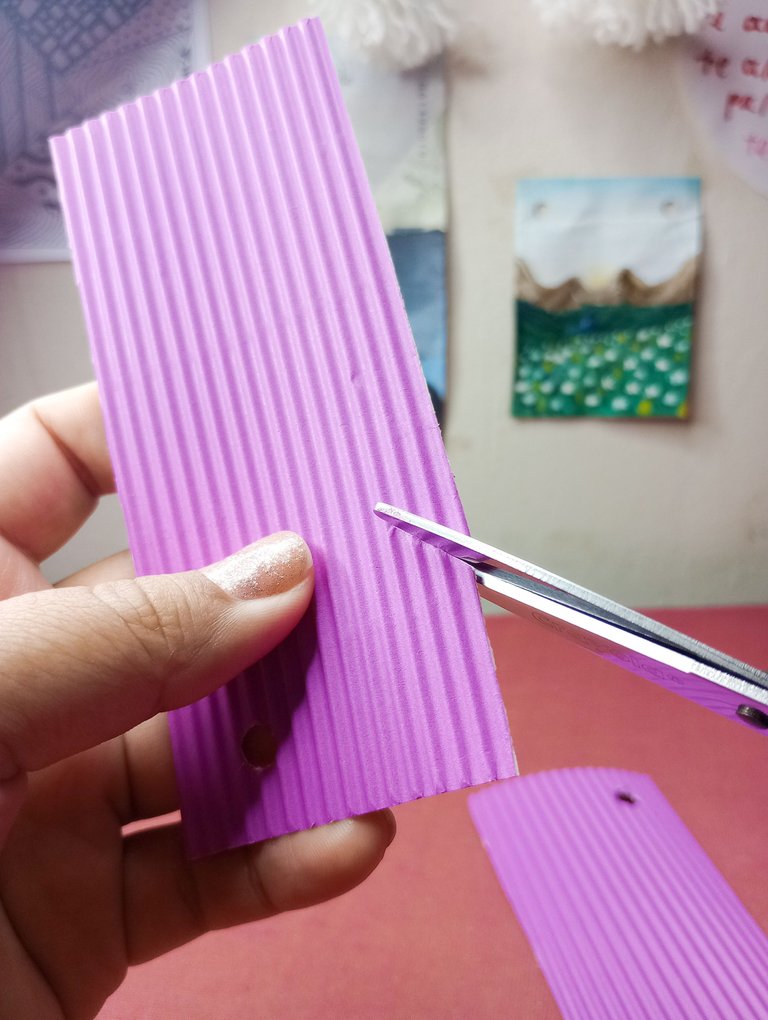
Hice dos cortes en diagonal, a unos dos centímetros de la parte superior del cartón. Acá es donde irá sostenido el collar.
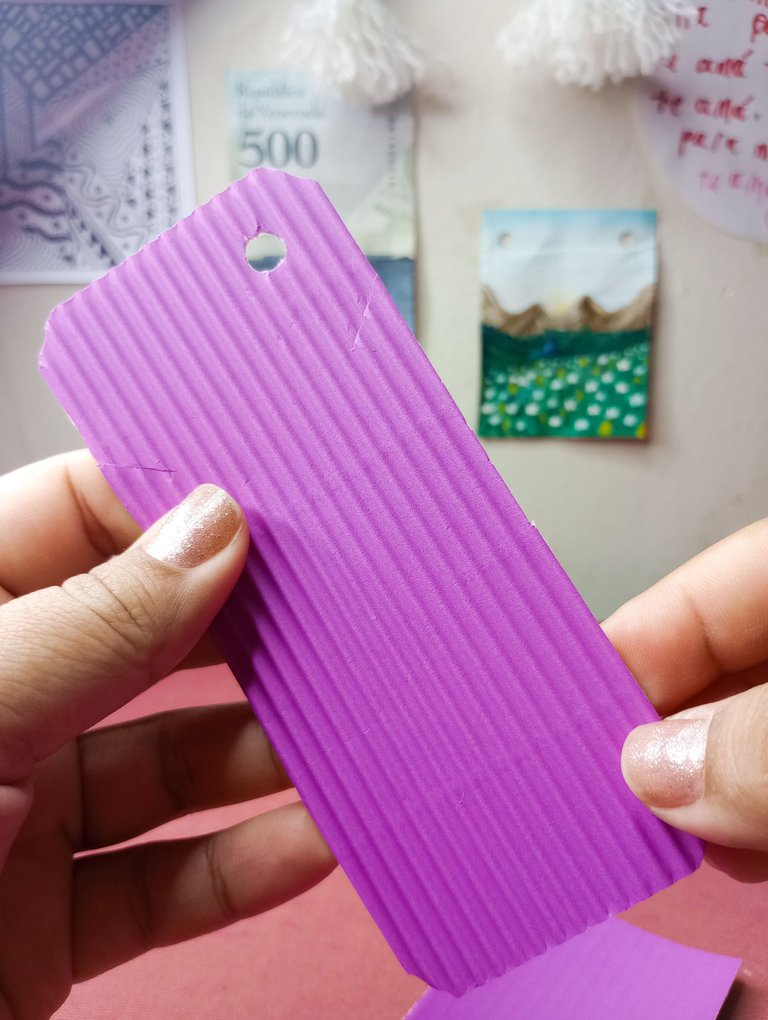
Corte las esquinas del trozo de cartón para darle una mejor presentación.
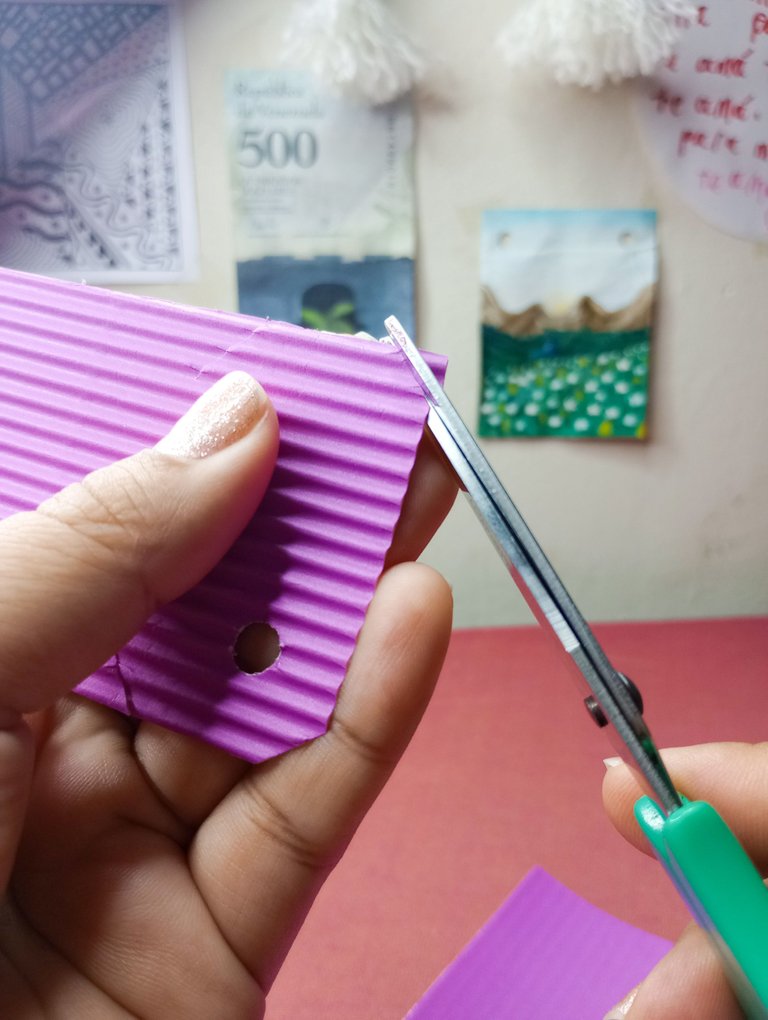
I made two diagonal cuts, about an inch from the top of the cardboard. This is where the necklace will be held.
Cut the corners off the piece of cardboard to give it a better presentation.

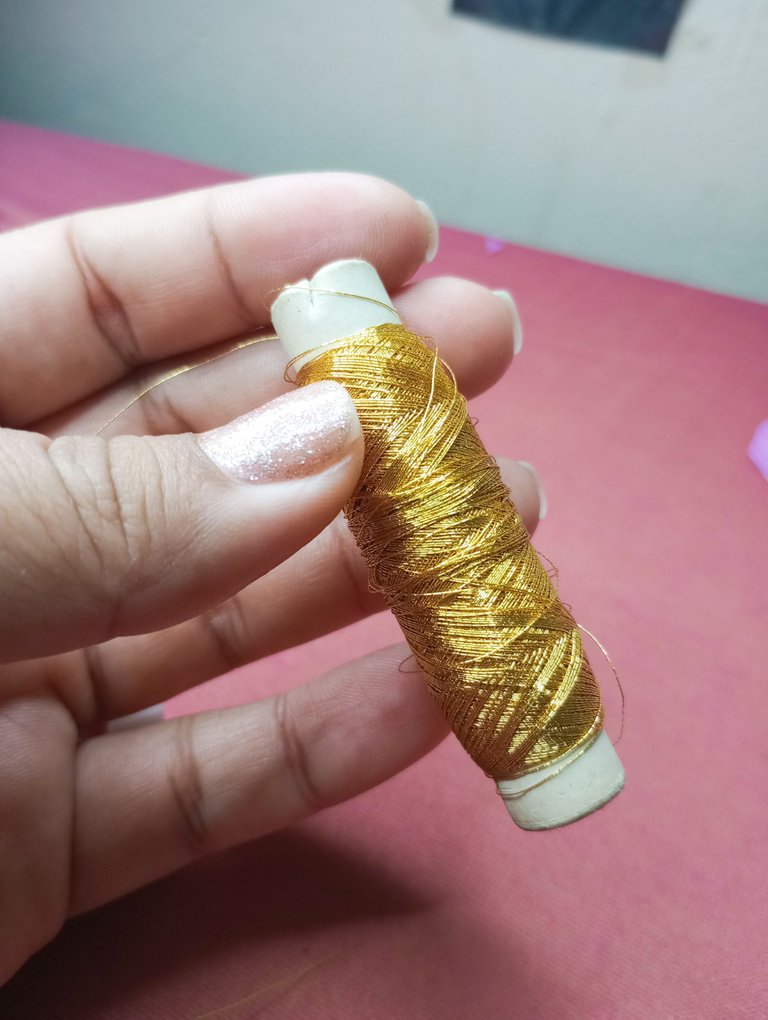
Con ayuda de una aguja y un trozo de hilo dorado, hice un agujero en la etiqueta y luego retire la aguja.
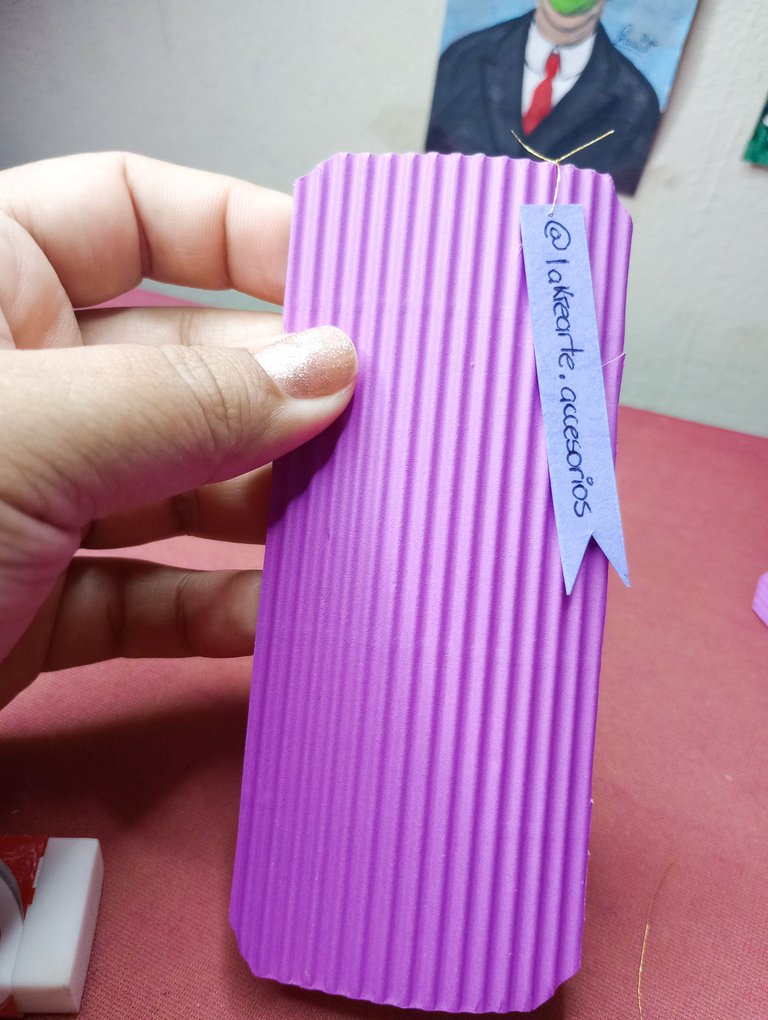
Amarré este hilo dentro del agujero que hice, y así quedó fijada la etiqueta.
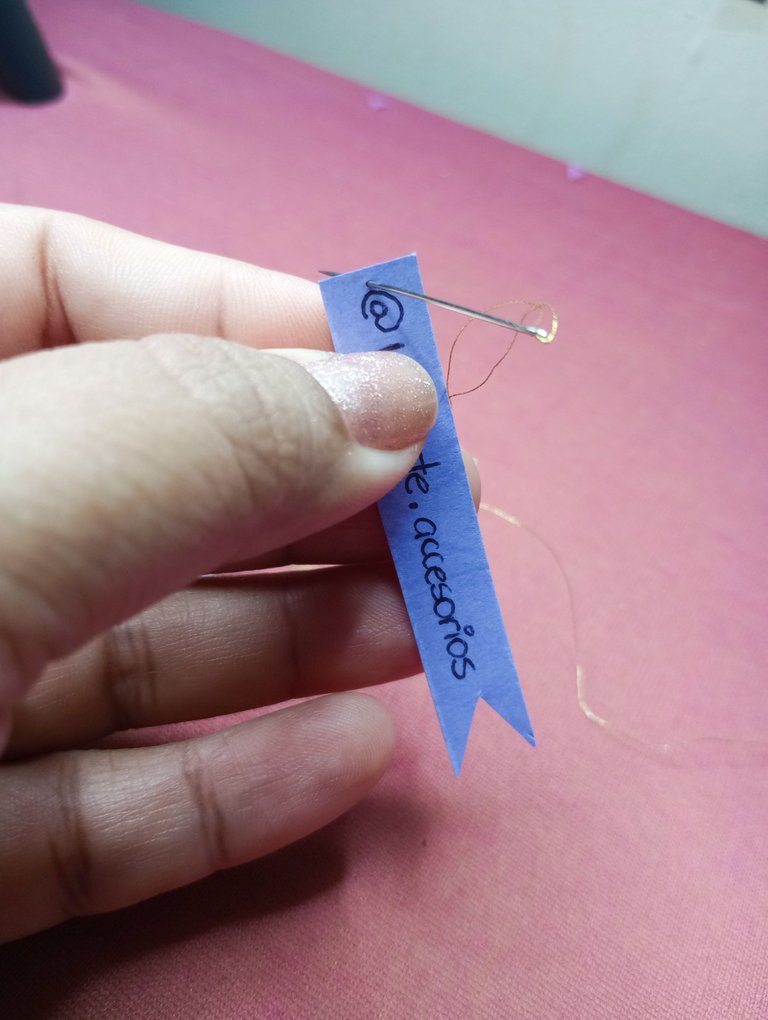
With the help of a needle and a piece of gold thread, I made a hole in the label and then removed the needle.
I tied this thread inside the hole I made, and thus the label was fixed.

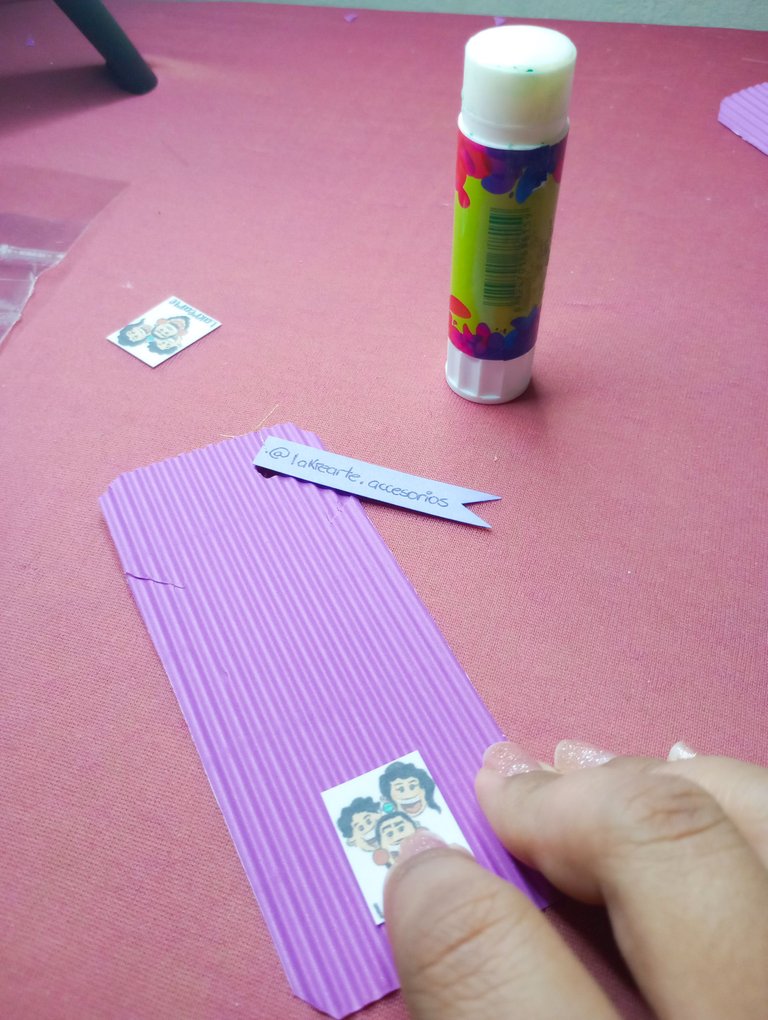
Ahora, coloqué un poco de pega de barra en uno de los logos que imprimí para colocar dentro de los empaques de la bisutería.
Estos decidí colocarlos en la parte de adelante porque la presentación me aportaba el suficiente espacio para hacerlo.
Ubiqué el collar en su sitio y finalmente lo coloqué dentro de la bolsa, que como les comenté, fueron las que hice cortando a la mitad una de las bolsas que me habían obsequiado.
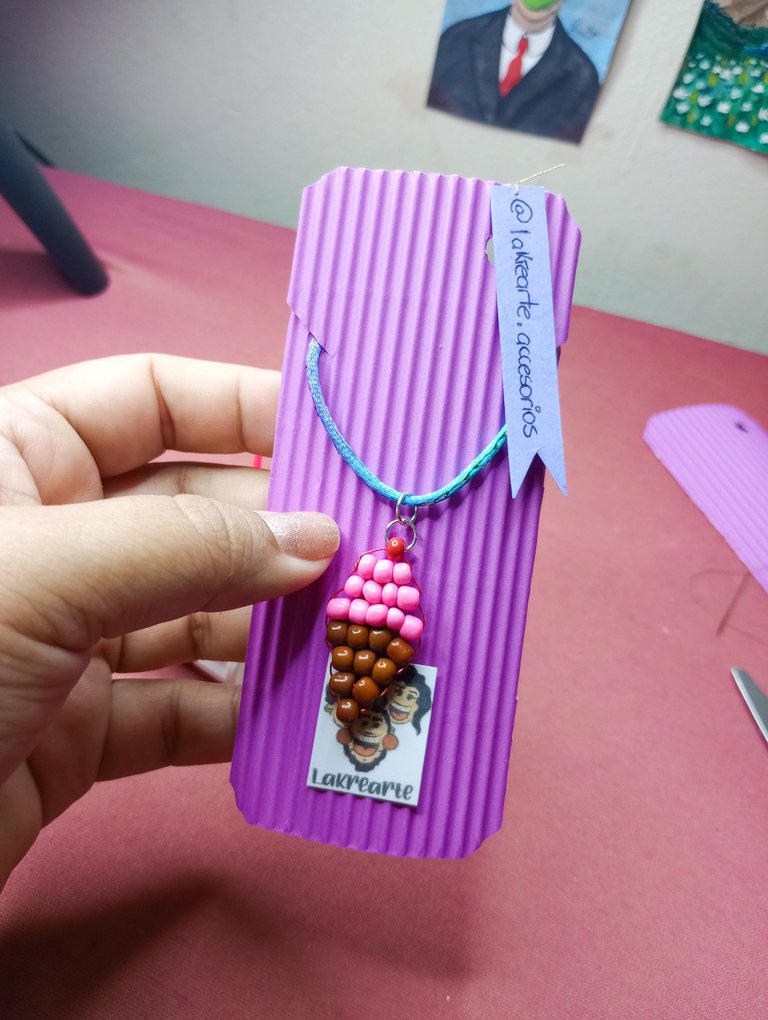
Now, I put some bar glue on one of the logos that I printed to place inside the jewelry packaging.
These I decided to place in the front because the presentation gave me enough space to do so.
I placed the necklace in its place and finally I placed it inside the bag, which as I told you, were the ones I made by cutting one of the bags they had given me in half.

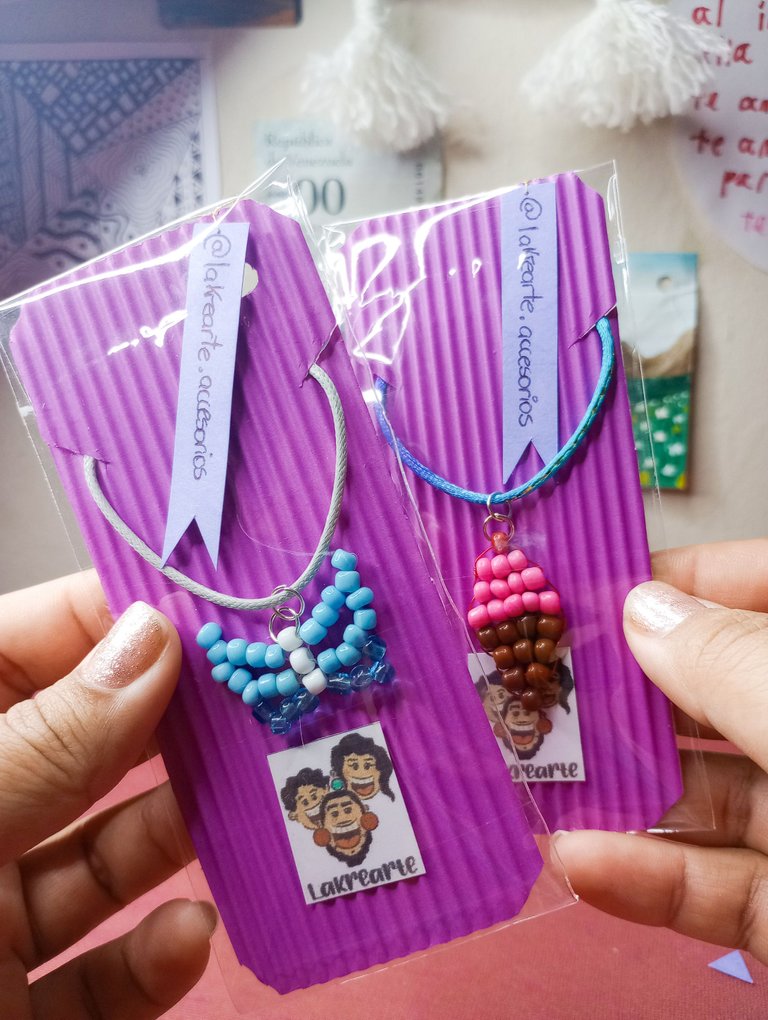
Así quedó la presentación de estos collares, los cuales pienso acompañar con otros modelos próximamente.
Esta misma presentación será la que usé para algunos de los modelos importantes de pulseras, pero omitiendo el paso en el que hago los cortes en diagonal.
Espero les haya gustado la idea y les sirva de mucha ayuda a la hora de empacar sus piezas de bisutería.
Nos estaremos leyendo pronto con un nuevo post, está vez con las piezas de bisutería que he estado creando.
Así que estén atentos 😉.
This is how the presentation of these necklaces was, which I plan to accompany with other models soon.
This same presentation will be the one I used for some of the important models of bracelets, but omitting the step in which I make the diagonal cuts.
I hope you liked the idea and it helps you a lot when packing your jewelry pieces.
We will be reading soon with a new post, this time with the jewelry pieces that I have been creating.
So stay tuned 😉.

Espero haya sido de tu agrado y provecho.
Un gran abrazo a todos, y nos leemos en un próximo post
• Lakrearte en Hive •
Att: Estefania Garcia ♥
Imágenes y separadores de mi autoría
Portada editada en Canva
Fotografías tomadas con un Moto G31
Texto traducido en Google ImTranslate v.14.19
