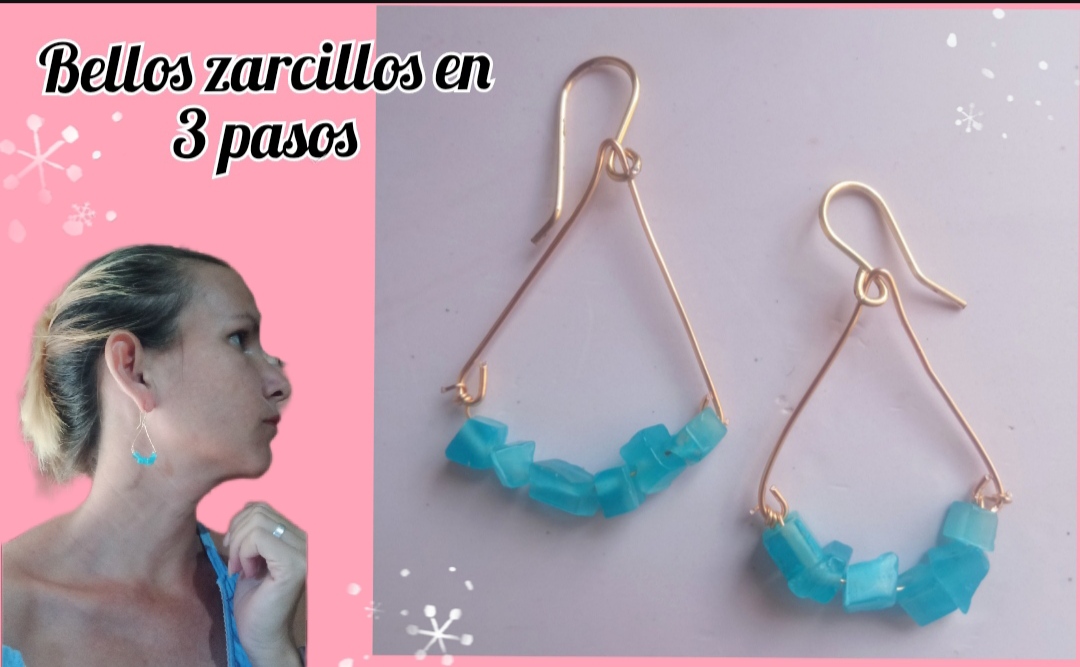
feliz y bendecido día tengan todos, Espero hayan tenido un excelente semana y les deseo un muy feliz fin de semana, por mi parte para mí fue una semana de mucho ajetreo en mi trabajo y en el cierre de proyecto de mis pequeños, el día de hoy paso por esta pero no sé comunidad para compartir con ustedes una vez más una de mis más sencillas creaciones, en esta oportunidad les traigo un muy sencillo paso a paso para la elaboración de unos hermosos pero muy sencillos zarcillos que podemos elaborar en apenas tres pasos muy fáciles y sencillos tanto que cualquier persona que esté iniciando con la técnica del alambrismo podría elaborarlo con facilidad siguiendo los siguientes pasos.
happy and blessed day everyone, I hope you had a great week and I wish you a very happy weekend, for my part it was a very busy week in my work and in the closing of my little ones' project, the Today I'm passing through this community but I don't know how to share with you once again one of my simplest creations. This time I bring you a very simple step by step for making some beautiful but very simple tendrils that we can make in just a few minutes. Three very easy and simple steps, so much so that anyone who is starting with the wiring technique could easily make it by following the following steps.
Also, as always, I bring you a design that, in addition to being simple, is very economical to make, which can be an excellent idea for entrepreneurship or to make a detail for a special person. Without further ado, I want to invite you to join me in this simple step by step so that together we can achieve this beautiful design.
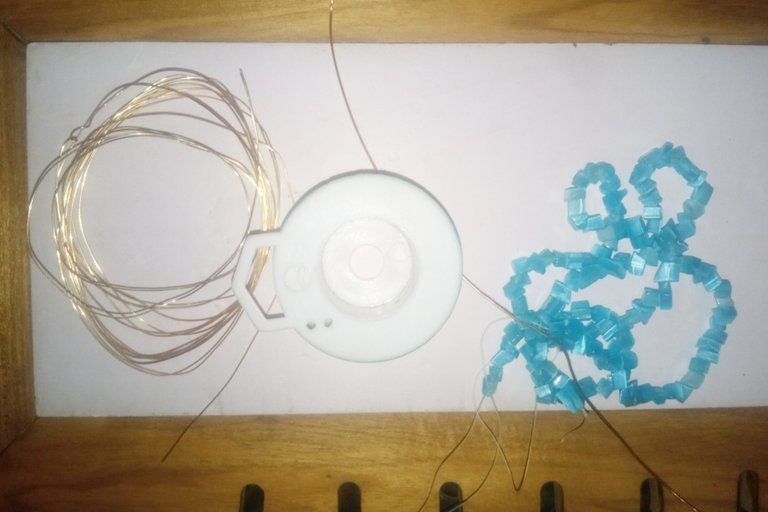
- alambre de bisutería calibre 20.
- alambre de bisutería calibre 26.
- piedras cuarzos color azul.
- pinza de bisutería.
- 20 gauge jewelry wire.
- 26 gauge jewelry wire.
- blue quartz stones.
- jewelry clamp.
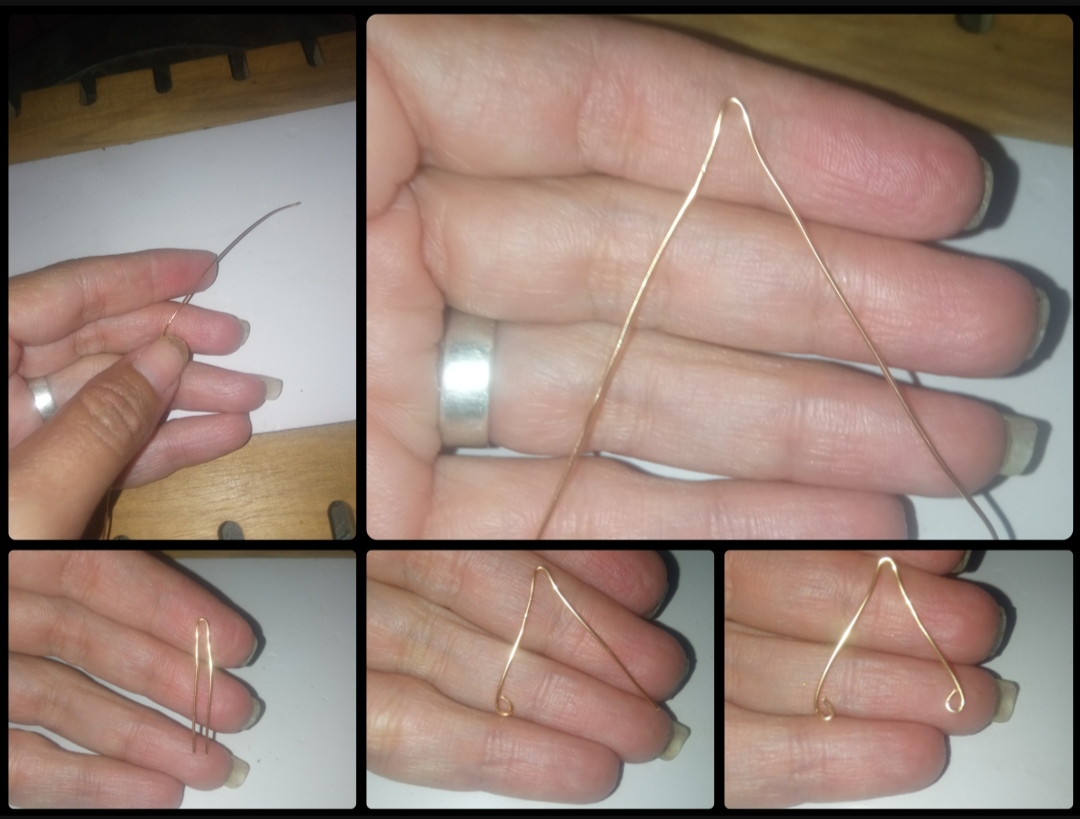
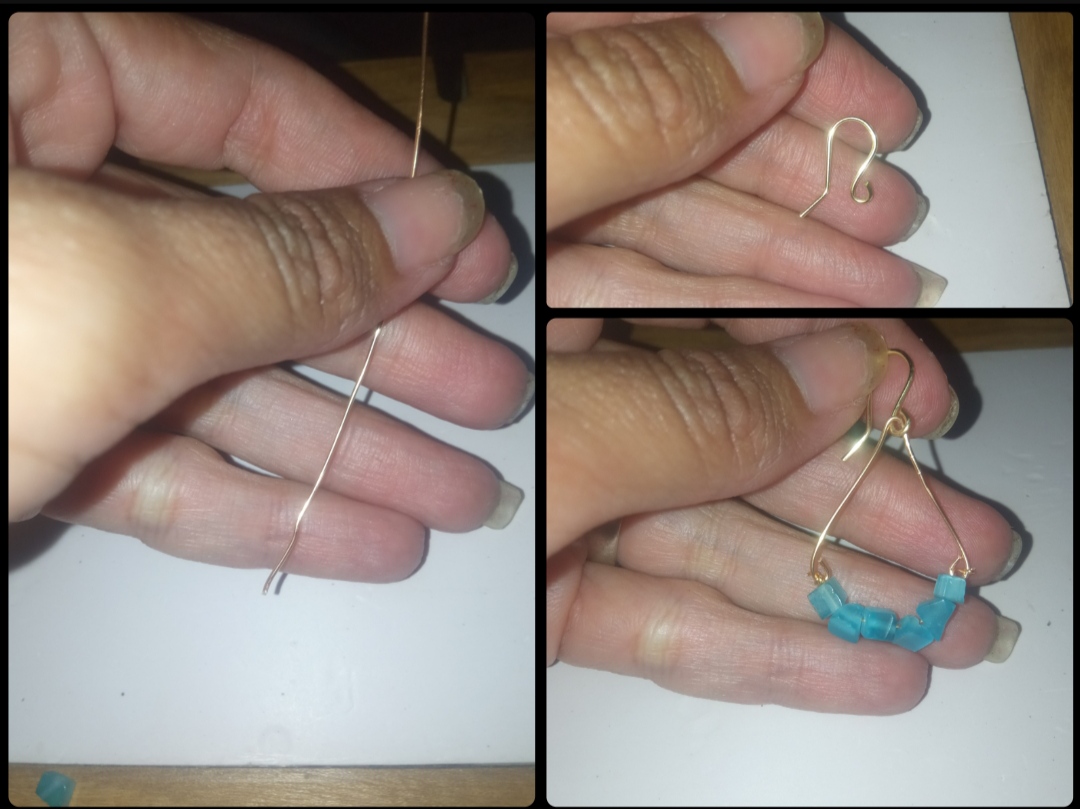
⭐ Paso 1: para iniciar la elaboración de este hermoso diseño lo primero que debemos realizar es tomar el alambre de bisutería calibre 20 y con ayuda de la pinza de bisutería cortaremos un pedazo de aproximadamente 8 a 10 cm esto dependerá del tamaño del que usted desee elaborar estos hermosos zarcillos colgantes. Por mi parte Yo no elaboré de Gran tamaño por lo que lo corté de apenas 8 cm seguidamente este pedazo de alambre de bisutería lo doblaremos a la mitad tal cual pueden observar y guiarse por las siguientes imágenes. Y una vez hayamos doblado este alambre en dos partes en forma de V alrevés, procedemos a apoyarnos en la pinza para realizar un pequeño doblez en cada una de las puntas del alambre.
⭐ Step 1: to start making this beautiful design, the first thing we must do is take the 20 gauge jewelry wire and with the help of the jewelry pliers we will cut a piece of approximately 8 to 10 cm, this will depend on the size of the that you want to make these beautiful hanging tendrils.
For my part, I did not make it in a large size, so I cut it to just 8 cm. Then we will fold this piece of jewelry wire in half as you can see and be guided by the following images.
And once we have folded this wire into two parts in an upside-down V shape, we proceed to lean on the tweezers to make a small bend at each of the ends of the wire. .
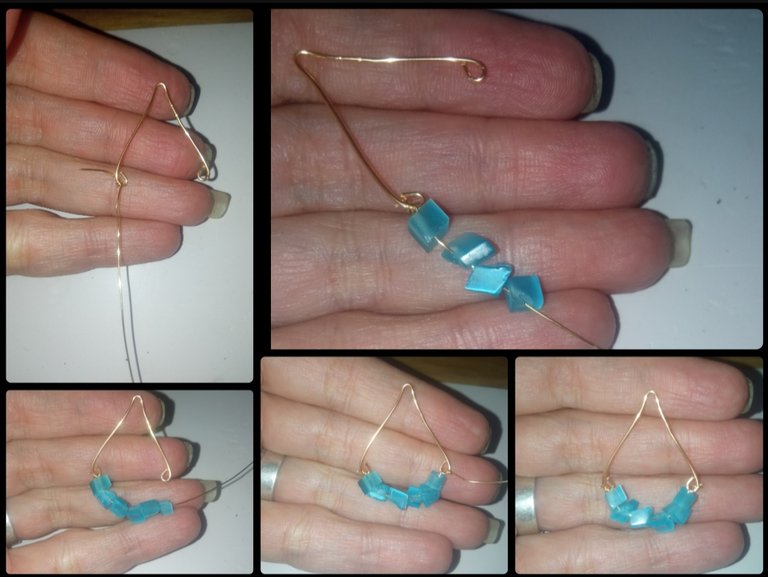
⭐ Paso 2: una vez elaborada la base principal de nuestro diseño procederemos a tomar un pedazo de alambre de bisutería calibre 26 de aproximadamente 10 cm el cual uniremos a nuestra base elaborada en el paso número 1 para ello enrollaremos este alambre calibre 26 en uno de los dobles elaborados en la pieza principal y seguidamente por el otro extremo del alambre calibre 26 introduciremos las piedras de cuarzo que hemos seleccionado para esta elaboración. Yo introduje exactamente seis piedras ya que fueron perfectas al momento de moldearlas para que quedaran colgando hasta llegar a la siguiente doblez de la pieza principal como pueden observar en las siguientes imágenes. Debemos recordar que las piedras de cuarzo no son todas de la misma forma ni del mismo tamaño Así que debemos de escogerlas para que nos quede totalmente igual en ambos diseños este alambre fino lo vamos a unir al segundo doblez que tenemos en el otro lado dejando en forma ondulada la pieza con los cuarzos y una vez sujetado el alambre fino a la pieza principal cortaremos el exceso del hambre para así tener nuestro colgante listo.
⭐ Step 2: once the main base of our design has been made, we will proceed to take a piece of 26 gauge jewelry wire of approximately 10 cm which we will attach to our base made in step number 1.
To do this, we will roll this 26 gauge wire In one of the doubles made in the main piece and then through the other end of the 26 gauge wire we will introduce the quartz stones that we have selected for this elaboration. I introduced exactly six stones since they were perfect when shaping them so that they would hang until they reached the next fold of the main piece as you can see in the following images. We must remember that quartz stones are not all the same shape or size. So we must choose them so that they are completely the same in both designs. We are going to attach this fine wire to the second bend that we have on the other side, leaving Shape the piece with the quartz in a wavy shape and once the fine wire is attached to the main piece, we will cut off the excess wire to have our pendant ready.
⭐ Paso 3: como último paso para nuestra elaboración ya teniendo nuestro colgante esto procederemos a tomar un pedazo de alambre de bisutería calibre 20 de aproximadamente 4 cm y con ayuda de la pinza y nuestros dedos mordearemos un gancho en forma de anzuelo que no servirá para colgar nuestros zarcillos este lo uniremos a la pieza o colgante elaborado introduciendo el doblez en el ganchito de el anzuelo tal cual podrán observar en las siguientes imágenes y así tendremos lista nuestra primera pieza de nuestro hermoso diseño y procederemos a elaborar la segunda pieza.
⭐ Step 3: as the last step in our preparation, already having our pendant, we will proceed to take a piece of 20 gauge jewelry wire of approximately 4 cm and with the help of the tweezers and our fingers we will bite a hook in the shape of a fish hook that It will not be used to hang our earrings, we will attach it to the piece or pendant made by introducing the fold in the hook of the hook as you can see in the following images and thus we will have our first piece of our beautiful design ready and we will proceed to make the second piece .
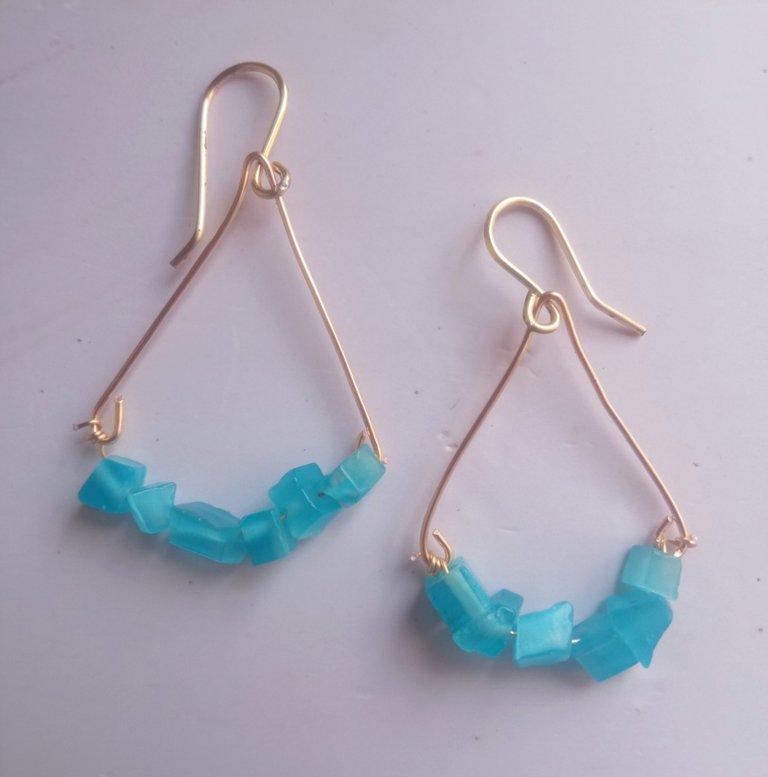
Todas las Fotos son de mi autoría y fueron tomadas con mi Celular Redmi 9.And what did you think of this cute design? It is true that it is very beautiful and super easy to make, we can also make it in the color of our preference because these quartz stones, which also tend to be economical, come in all the colors you can imagine.
My dear and appreciated friends, this has been my preparation today for all of you, which I hope has been to your complete satisfaction. I say goodbye for this opportunity, grateful for your visit.
All Photos are my authorship and were taken with my Redmi 9 Cellphone