Saludos mis queridos y apreciados amigos miembros de esta bella y creativa comunidad, es un placer para mí saludarlos además de poder compartir y aprender de todos ustedes, la verdad siento admiración por esas creaciones que cada día nos comparten y por sus técnicas, yo a pesar de no ser una experta como muchos de ustedes siempre me ha gustado crear e innovar, me encanta crear mis propios acsesorios, algunas veces me quedan hermosos, otras no tanto pero creo que nadie es perfecto y estamos para aprender cada día. Es de gran agrado para mí presentarles una de mis sencillas creaciones, unos hermosos pendientes Elaborados con cinta de tela color morado, les confieso que es una idea nueva, los imaginé y decidí crearlos para ustedes.
Greetings my dear and appreciated friends, members of this beautiful and creative community, it is a pleasure for me to greet you as well as being able to share and learn from all of you, the truth is I feel admiration for those creations that you share with us every day and for your techniques, Although I am not an expert like many of you, I have always liked to create and innovate, I love creating my own accessories, sometimes they are beautiful, others not so much, but I believe that nobody is perfect and we are here to learn every day.
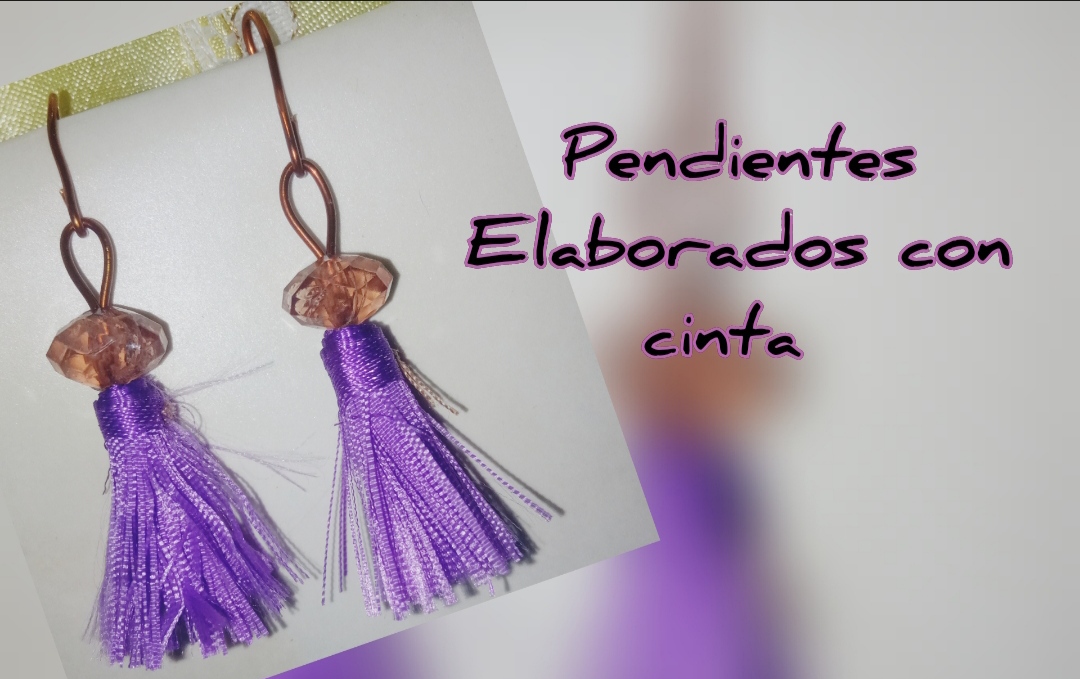
It is a great pleasure for me to present you one of my simple creations, some beautiful earrings made with purple cloth ribbon, I confess that it is a new idea, I imagined them and decided to create them for you.
Los elaboré paso a paso para compartirles un sencillo tutorial que les sea de utilidad y para que juntos podamos elaborar esta idea maravillosa y creativa.
I elaborated them step by step to share a simple tutorial that will be useful to you and so that together we can elaborate this wonderful and creative idea.
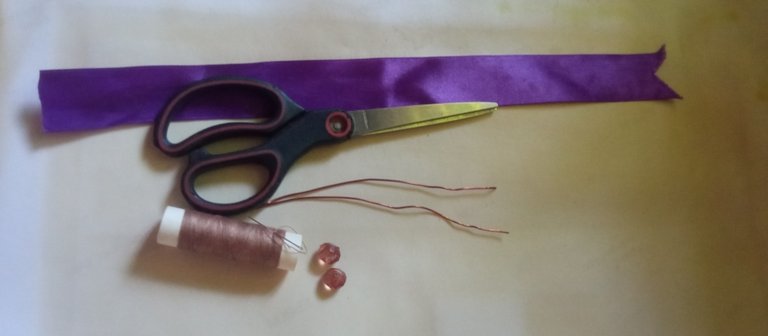
✴️ Que necesitamos:
- Cinta de tela de un grosor de 2,5 cm.
- Alambre de Cobre.
- Pinza.
- Tijera.
- Pedrería.
- Hilo y aguja.
✴️ What we need:
- Fabric tape with a thickness of 2.5 cm.
- Copper wire.
- Gripper.
- Scissors.
- Rhinestones.
- Thread and needle.
😊 paso a paso
😊 Step by step
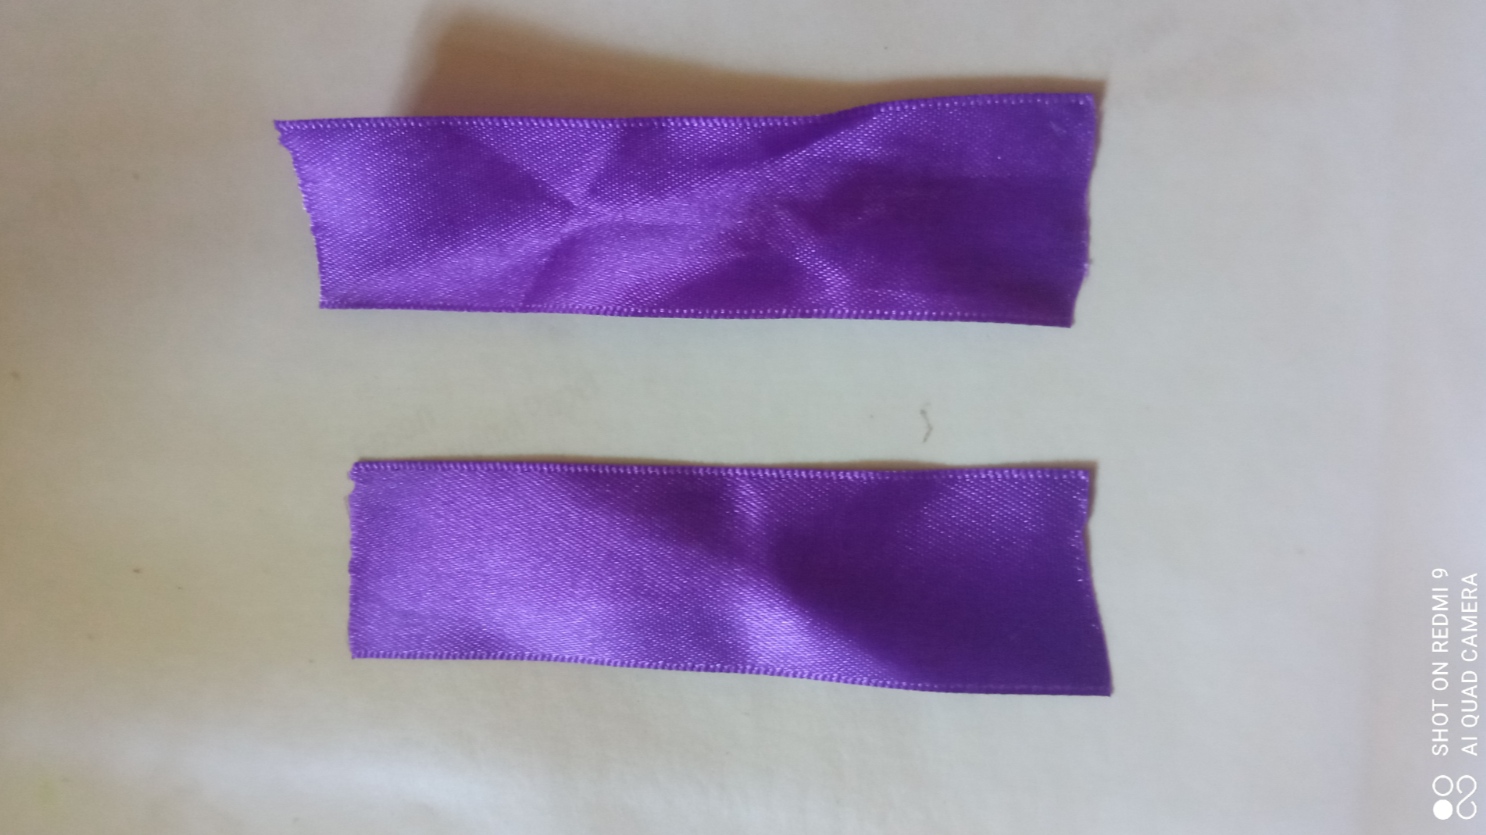
⭐ Paso 1: Primeramente al tener a nuestro alcance los materiales necesarios procedemos a cortar dos pedazos de cinta de 6cm, luego tomaremos una a una los pedazos de cinta y primero le recortaremos uno de los bordes laterales lo cual nos permitirá realizar con facilidad el siguiente paso.
⭐ Step 1: Firstly, having the necessary materials within our reach, we proceed to cut two pieces of 6cm tape, then we will take the pieces of tape one by one and first we will cut one of the side edges, which will allow us to easily make the next one. step.
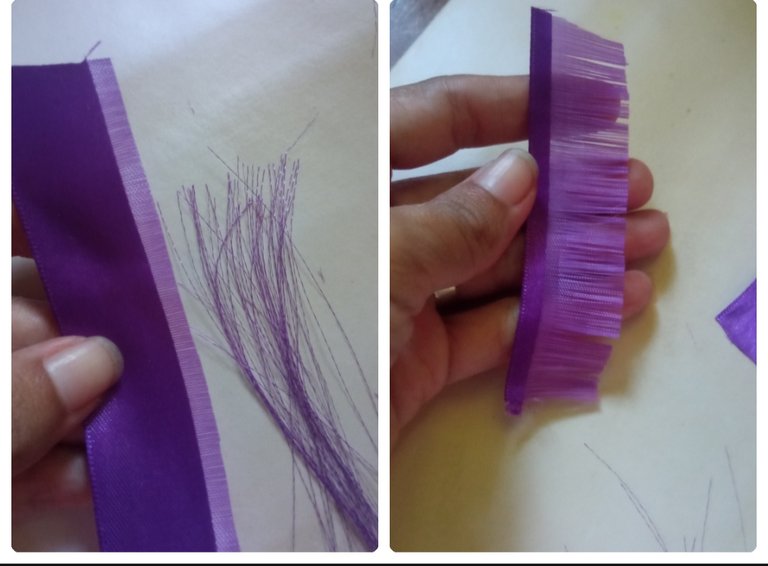
⭐ Paso 2: Seguidamente con ayuda de la aguja comenzamos a deshilachar la cinta poco a poco, sacando los hilos laterales, de la siguiente manera hasta dejar un pequeño borde no muy grande así como les muestro en las siguientes imagenes.
⭐ Step 2: Next, with the help of the needle, we begin to unravel the tape little by little, removing the lateral threads, in the following way until leaving a small edge that is not very large, as I show you in the following images.
⭐ Paso 3: Luego recortamos dos pedazos de alambre de cobre de 10 cm cada uno y los doblamos a la mitad, es decir quedará de cinco centímetros, tomaremos la pedrería que hemos seleccionado, la cual debe ser grande pues la introduciremos por ambas puntas del alambre y la llevaremos hasta la parte superior dejando un pequeño óvalo en la parte superior.
⭐ Step 3: Then we cut two pieces of copper wire of 10 cm each and fold them in half, that is, it will be five centimeters, we will take the rhinestones that we have selected, which must be large because we will introduce it at both ends of the wire. wire and we will take it to the top leaving a small oval at the top.
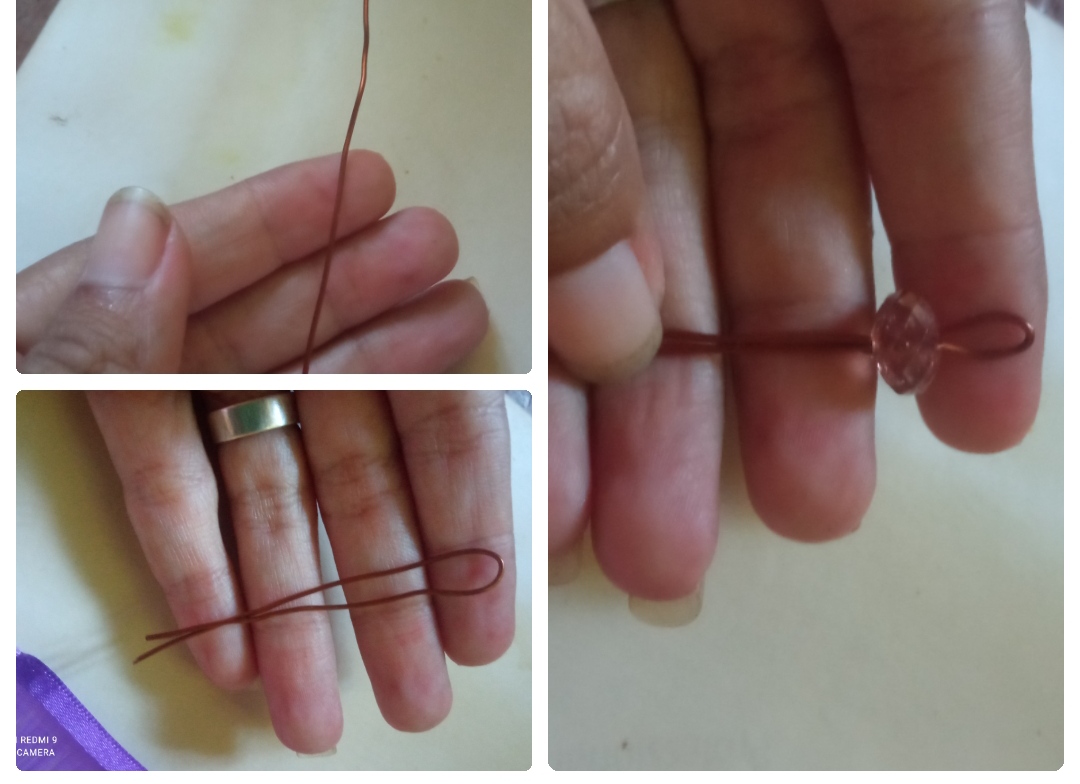
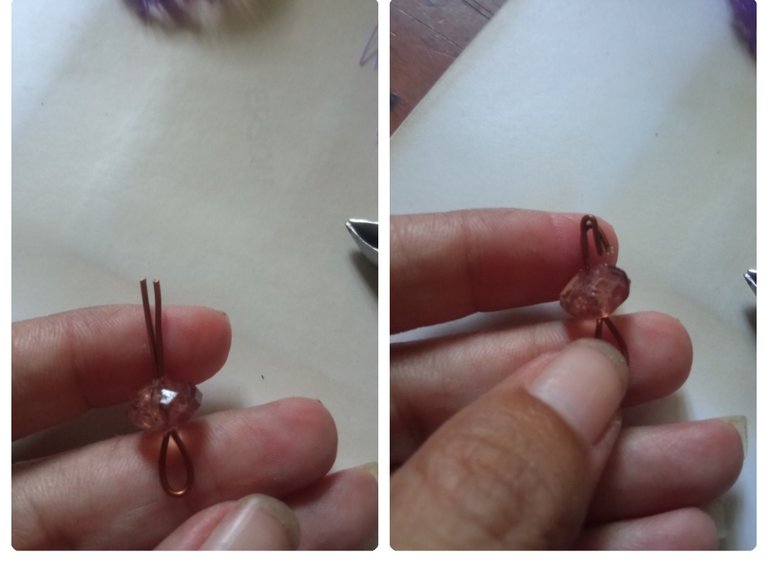
⭐ Paso 4: ahora con la pinza cortaremos el exceso de alambre dejando solo poco menos de 2cm bajo de la pedrería, estás puntas las doblaremos un poco hacia arriba en forma de U.
⭐ Step 4: now with the tweezers we will cut the excess wire leaving only a little less than 2cm below the rhinestones, we will bend these ends a little upwards in a U shape.
⭐ Paso 5: en la forma de U que realizamos en el paso anterior colocamos la punta de la cinta deshilachada y la apretaremos con la pinza cerrando la forma U.
Seguidamente comenzamos a enrrollar la cinta dando vueltas sobre ella misma y formaremos un lindo pompomcito de cinta al llegar al final de la cinta realizamos una puntada con aguja e hilo para que la cinta no se pueda desenrollar y listo.
⭐ Step 5: in the U shape that we made in the previous step, we place the end of the frayed tape and we will tighten it with the clamp closing the U shape.
Then we begin to wind the tape around itself and we will form a cute little pompom of tape when we reach the end of the tape we make a stitch with a needle and thread so that the tape cannot unroll and that's it.
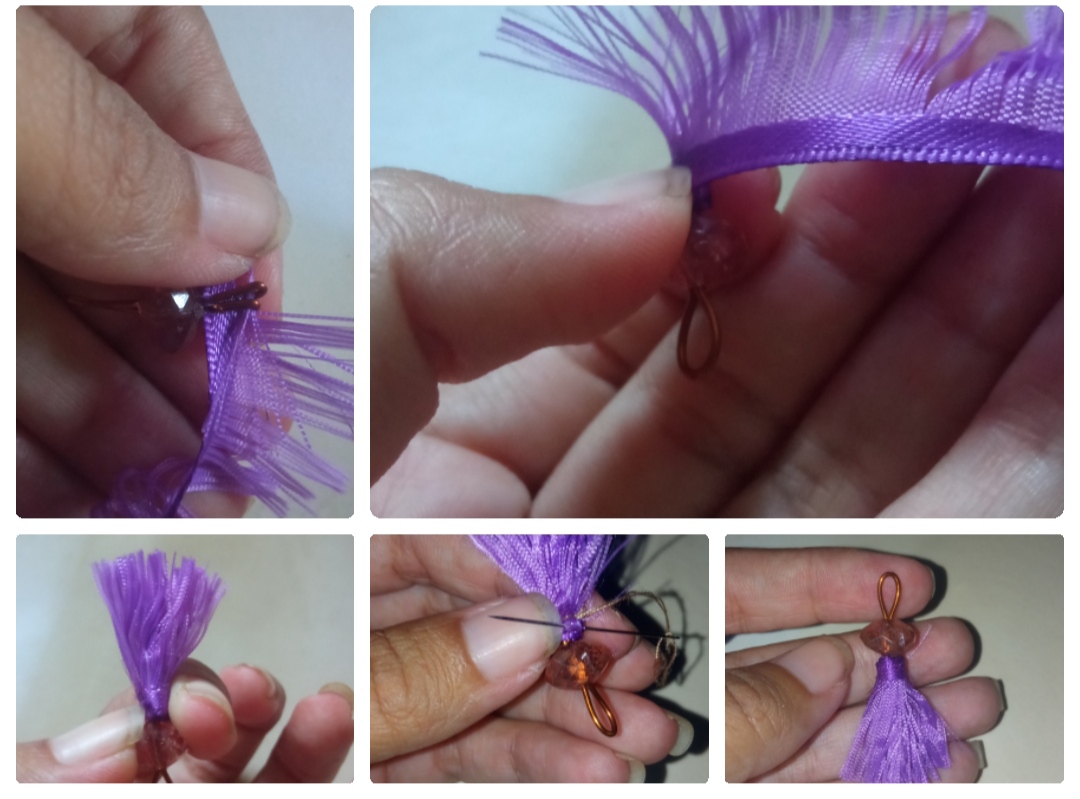
⭐ Paso 6: por último colocamos el anzuelo para zarcillos y listo nuestros hermosos pendientes de cinta.
⭐ Step 6: finally we place the hook for earrings and ready our beautiful ribbon earrings.
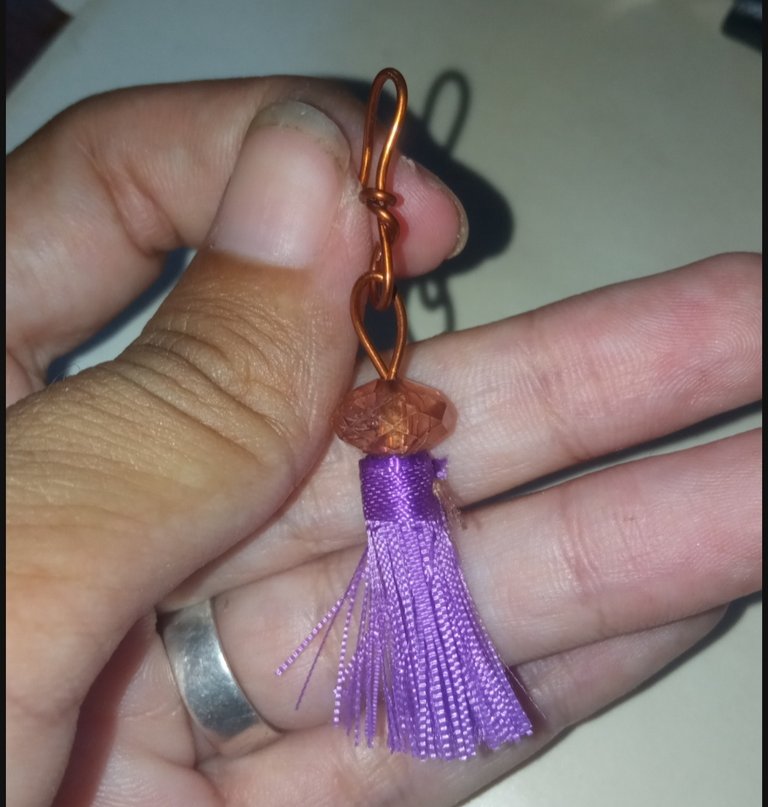
⭐ Pendientes Elaborados con cinta ⭐
⭐ Earrings made with ribbon ⭐
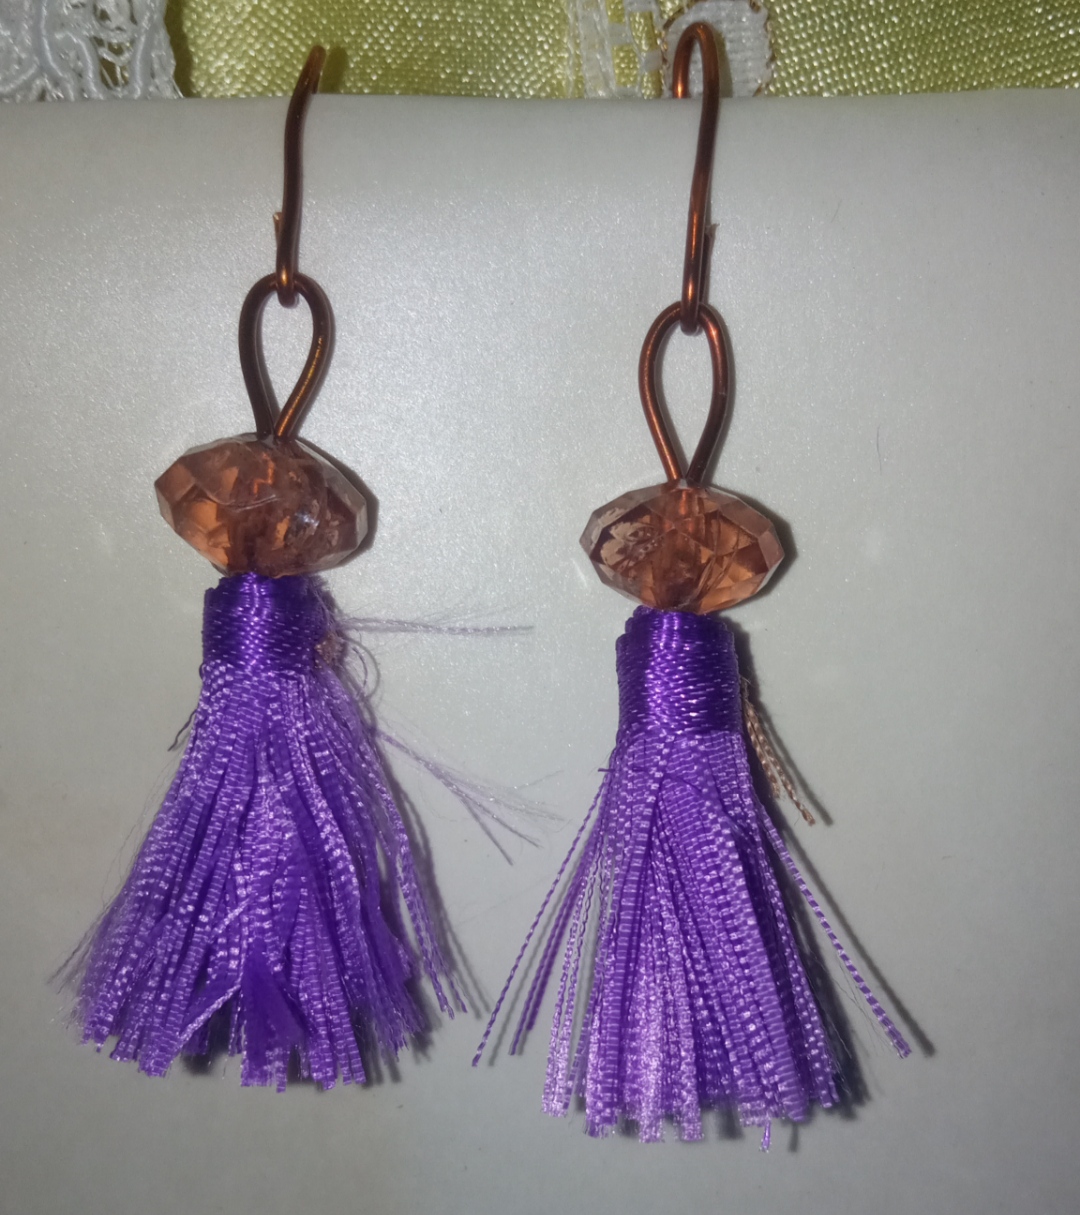
Como pudieron observar mis queridos compañeros y amigos está linda idea es muy sencilla y fácil de elaborar, además podemos realizar unas hermosas combinaciones en cuanto a la pedrería y el color de la pedrería, todo dependerá de su gustos.
Son muy coquetos y cómodos de usar, pues son cortos y muy pocos pesados.
As my dear colleagues and friends could see, this beautiful idea is very simple and easy to make, we can also make beautiful combinations regarding the rhinestones and the color of the rhinestones, everything will depend on your tastes.
They are very flirty and comfortable to wear, as they are short and not very heavy.
Mis Queridos amigos espero que este sencillo tutorial les sea de utilidad, y les agradezco por tomarse un minuto de su tiempo para pasar por mi post, Me despido Agradeciendo su visita y estaré atenta a cualquier duda, comentario y por supuesto a cualquier consejo a sugerencia.
Saludos y bendiciones.
My Dear friends, I hope that this simple tutorial will be useful to you, and I thank you for taking a minute of your time to go through my post, I say goodbye Thanking you for your visit and I will be attentive to any questions, comments and of course any advice or suggestion .
Greetings and blessings.
las fotos fueron tomadas con mi teléfono Redmi 9, contenido exclusivo para Hive. Y la traducción fue realizada a través de Google.
photos were taken with my Redmi 9 phone, exclusive content for Hive. And the translation was done through Google.