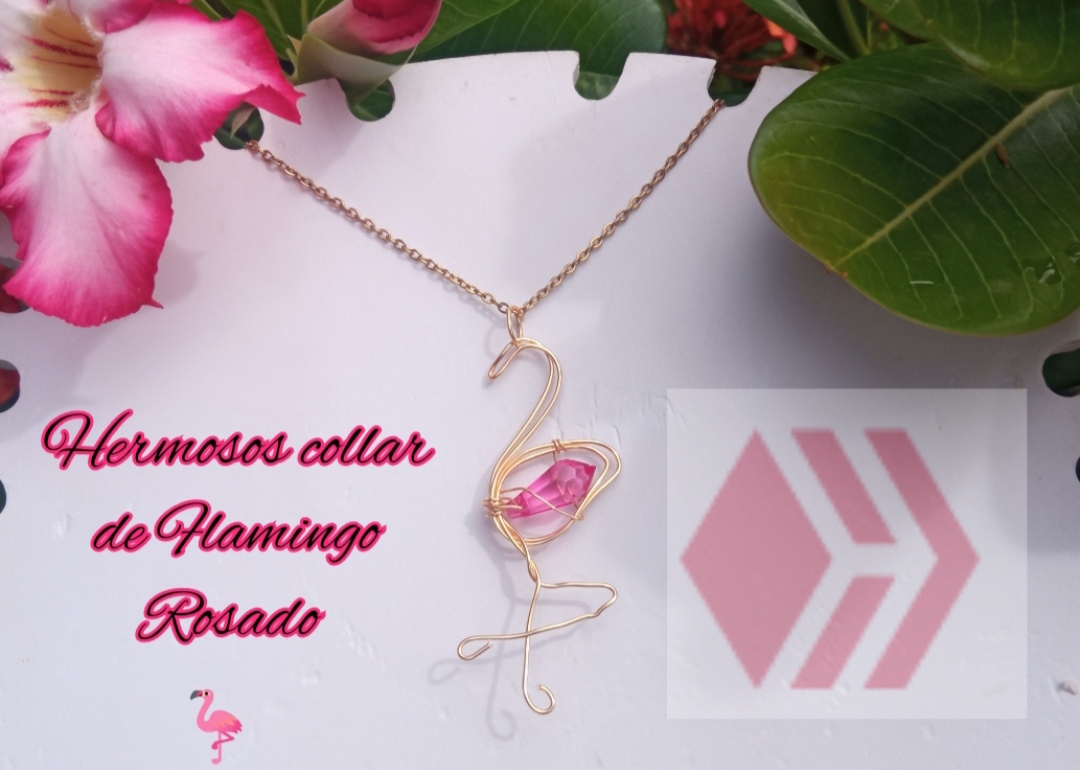
Feliz y bendecido día tengan todos ustedes, Espero estén pasando un excelente fin de semana en compañía de su familia, es un gran placer para mí el compartir en esta nueva oportunidad con todos ustedes, en esta ocasión les quiero compartir una hermosa elaboración que realizo por primera vez se trata de un hermoso collar con un muy bello colgante con forma de flamingo Rosado 🦩, para la elaboración de este hermoso la técnica de colgar en una hermosa cadena que tengamos en casa. A pesar de que puedan verlo un poco complicado la elaboración de este hermoso flamingo es súper fácil y sencilla y para todos ustedes he elaborado este sencillo paso a paso para que juntes puedan elaborar este hermoso dije en casa.
Happy and blessed day you have all of you, I hope you are going through an excellent weekend in your company's family, it's a great pleasure for me to share this new opportunity with all of you, this time I want to share a beautiful elaboration that I made for the first time it is a beautiful necklace with a very beautiful pendant in the form of pink flamingo 🦩, for the elaboration of this beautiful the technique of hanging on a beautiful chain we have at home.
Although they can see a little complicated the elaboration of this beautiful flamingo is super easy and simple and for all of you I have made this simple step by step for junkets to make this beautiful in your home.
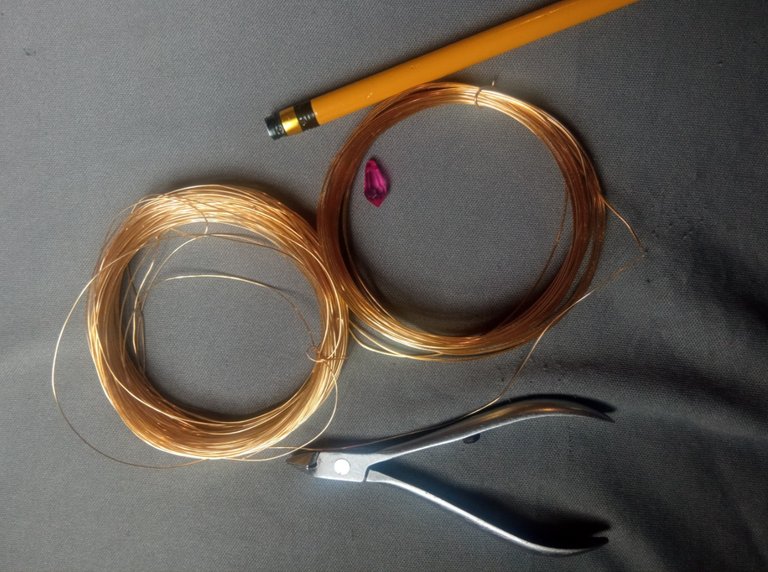
- Alambre de bisutería calibre 20.
- Alambre de bisutería calibre 26
- piedra de bisutería en forma de gota de color rosado.
- pinza de bisutería.
- cadenita o cuerina.
- Waterfighter wireless caliber 20.
- Wireless wirebean wire 26
- Costume jewelery stone in the form of rose round. - Pressure of jewelry.
- Cadenita or the cuinine.
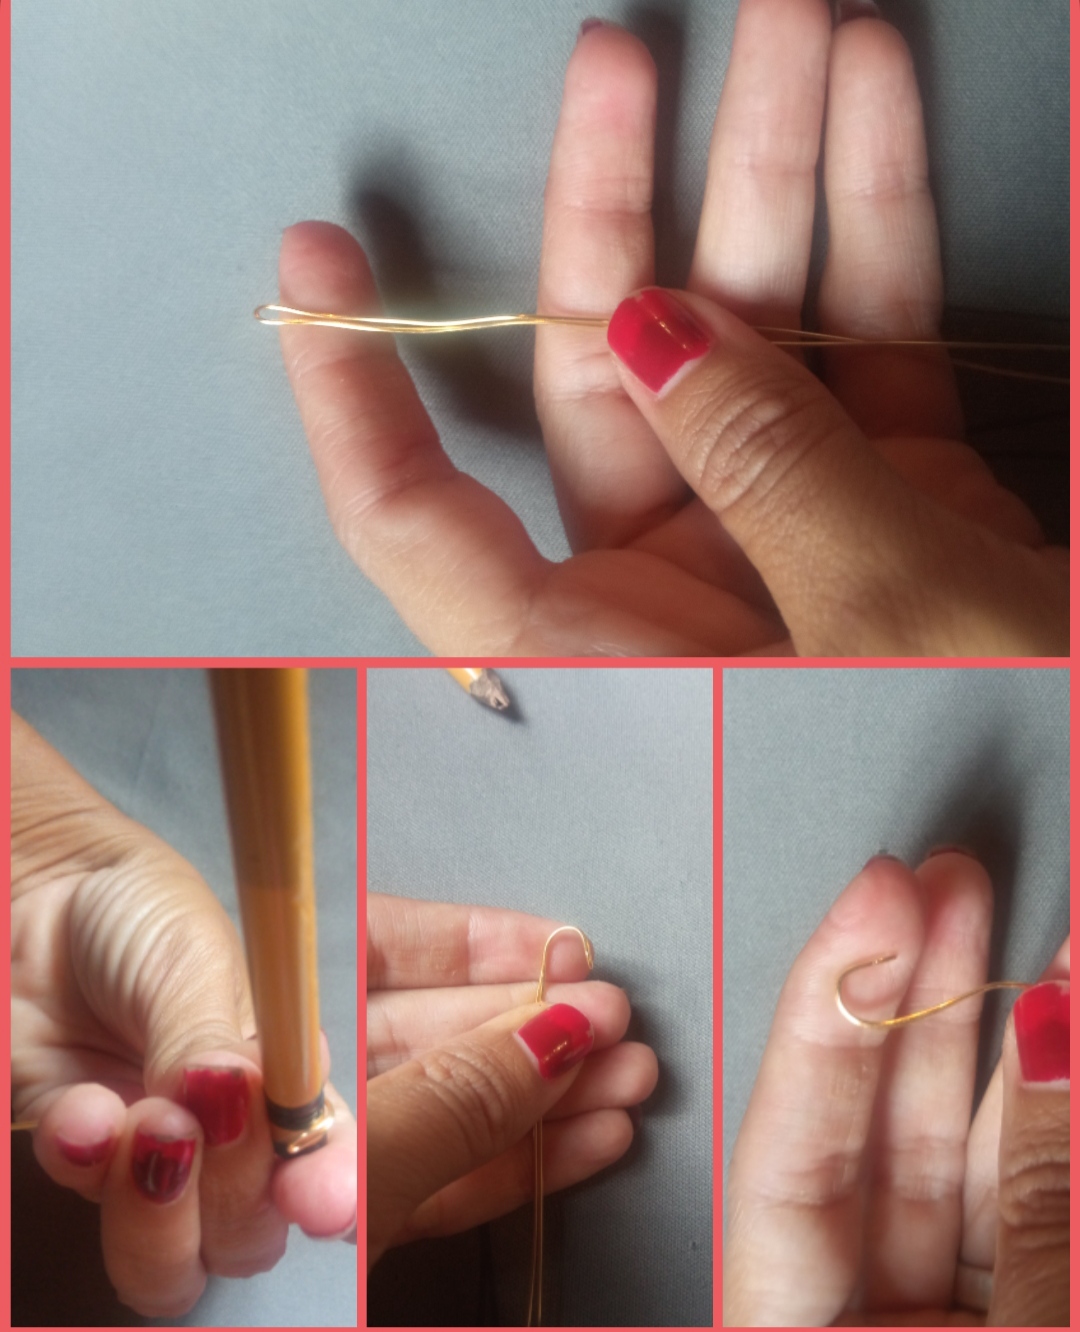
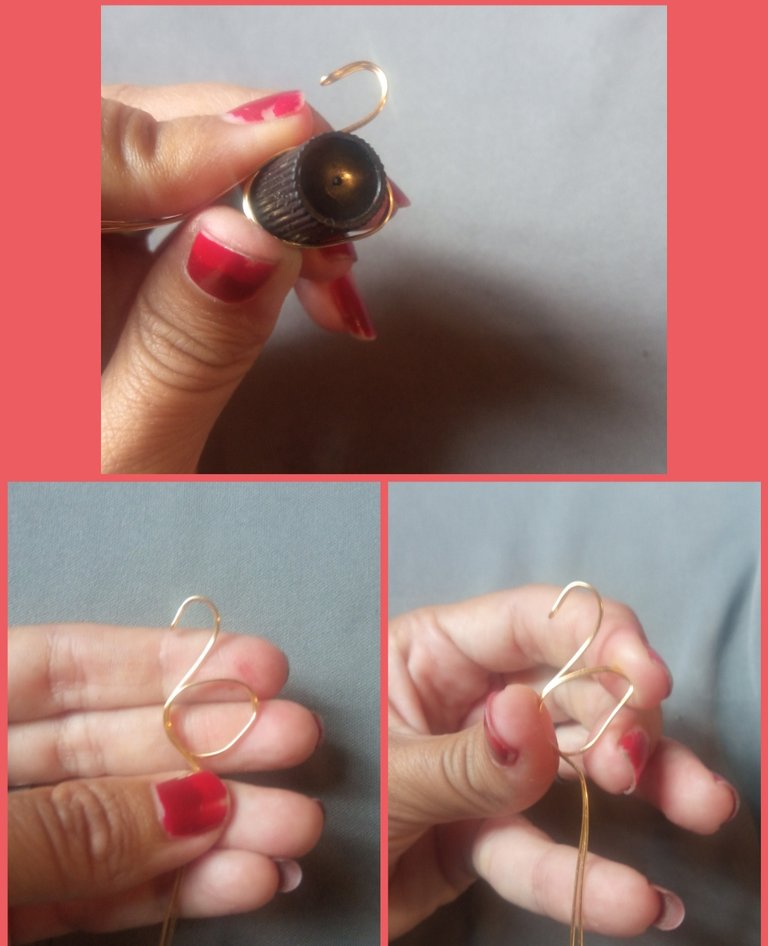
✴️ Paso 1: para iniciar la elaboración de este hermoso diseño lo primero que realizaremos es cortar un pedazo de alambre de bisutería calibre 20 de aproximadamente 40 cm, para continuar tomaremos este pedazo de alambre y lo doblaremos en dos tal cual pueden observarlo a continuación y con ayuda de un lápiz o forma cilíndricas a la parte donde laboramos el doblez realizando una pequeña curva luego el exceso del alambre lo llevaremos hacia la parte de abajo dejando un extremo más o menos largo pues este será el largo del cuello de nuestro hermoso flamingo.
✴️ Step 1: To start the preparation of this beautiful design the first thing we will have is to cut a piece of caliber jewelery wire 20 of about 40 cm, to continue we will take this piece of wire and we will double it in two as they can see it below and with the help of a pencil or form of cylindrical to the part where we work the fold by making a small curve then the excess of the wire will take it to the bottom leaving a more or less long endorsement because this will be the long of the neck of our beautiful flamingo.
✴️ Paso 2: una vez teniendo el largo deseado del cuello del sismo realizaremos una vuelta a nuestro alambre puede ser en forma circular mediana y luego con ayuda de la pinza en la parte derecha de este círculo elaborado moldearemos una pequeña punta para que este nos quede en forma de ala.
✴️ Step 2: Once the long desired of the neck of the earthquake will take a return to our wire can be in medium circular form and then with the help of the clamp on the right side of this elaborate circle we will mammal a small tip so that this is in the form of a wing.
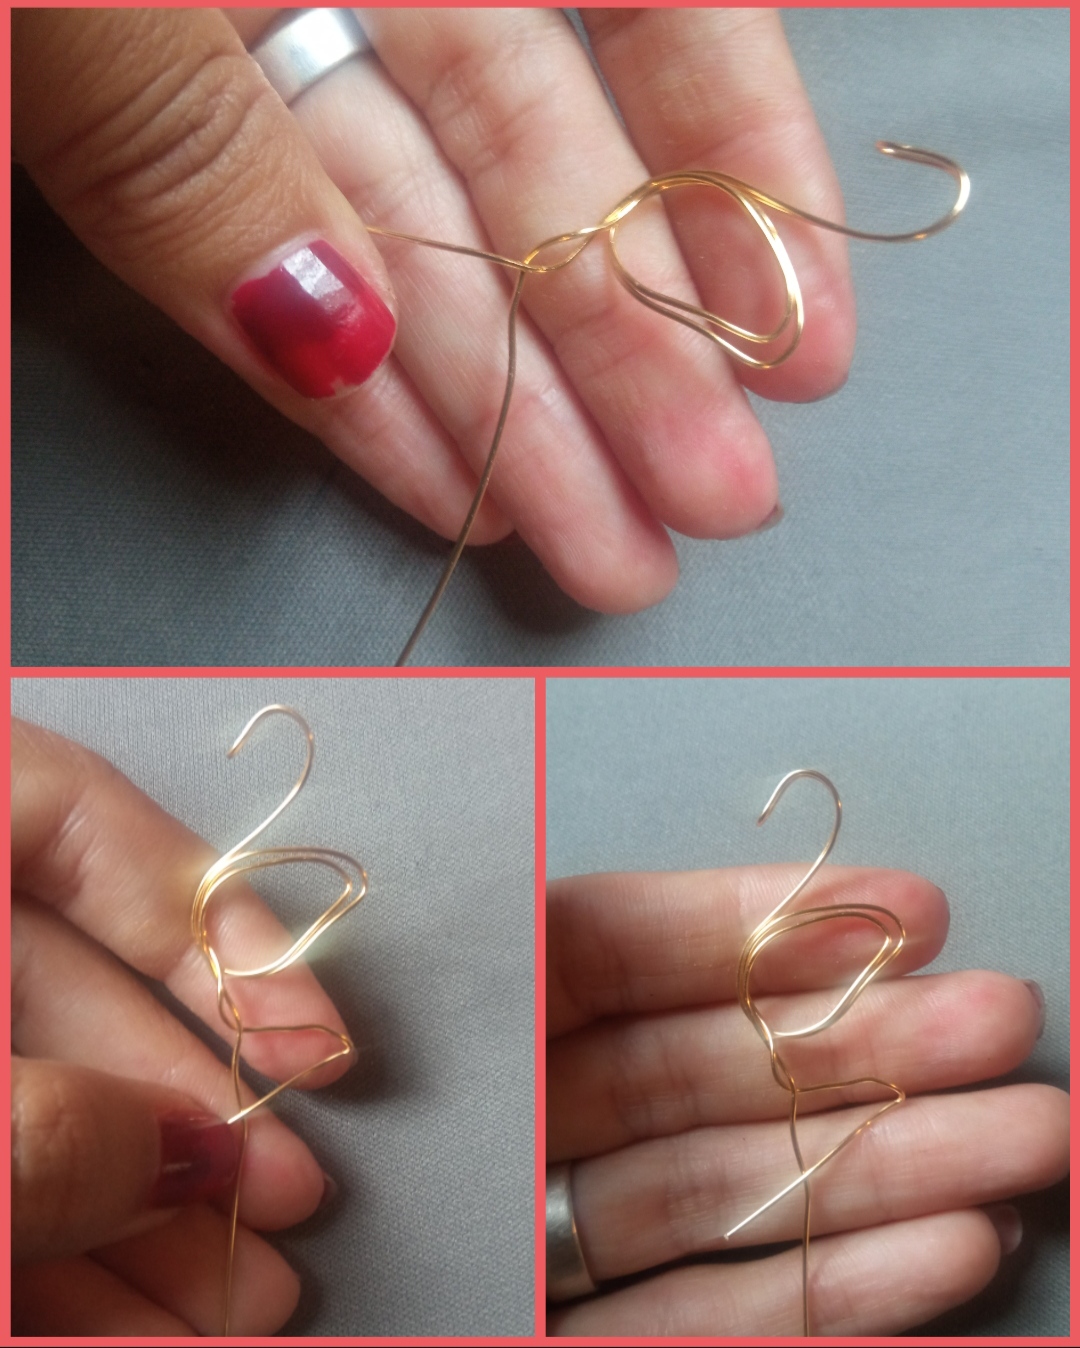
✴️ Paso 3: para continuar debajo la pieza elaborada anteriormente elaboraremos las largas patas del flamingo pues como todos saben estos hermosos animales son muy conocidos y admirados por su belleza y lo largo de su cuello y patas. Cómo traemos dos tiras de alambre desde el principio tomaremos una de ellas y la daremos una vuelta a la segunda tira de alambre seguidamente llevaremos este alambre en forma y lo doblaremos para devolverlo hacia la pieza de alambre que tenemos derecha hacia abajo.
✴️ Step 3: To continue under the piece prepared before we will prepare the long legs of flamingo as everyone knows these beautiful animals are well known and admired for their beauty and along their neck and legs. How we bring two wire strips from the beginning we will take one of them and we'll give it a return to the second wire strip we will keep wearing this wire in shape and we will double it to return it towards the wire piece that we have right down.
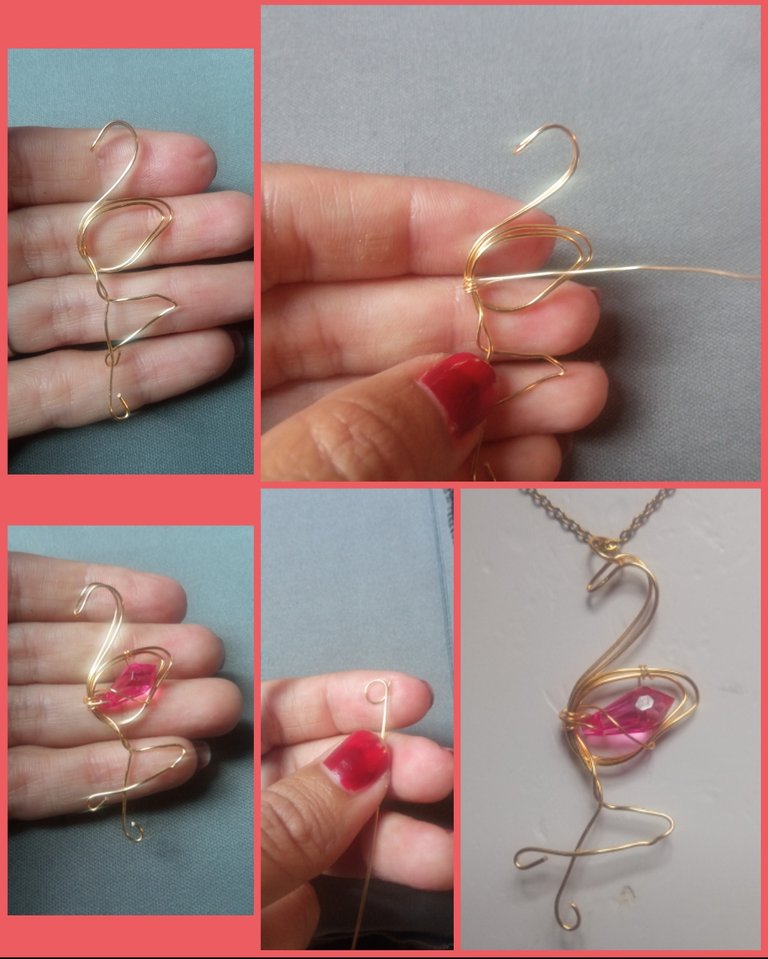
✴️ Paso 4: para culminar nuestro hermoso diseño de flamingo la pieza de alambre que nos queda hacia abajo la dejaremos un poco más larga luego realizaremos un pequeño doblez en forma semicircular y para darle el toque final tomaremos un pedazo de alambre calibre 26 la parte central donde se supone son las alas y cuerpo de este flamingo por este alambre fino introduciremos la piedra que hemos reaccionado y la sujetaremos en el parte central de esta forma. Para finalizar, una vez teniendo ya nuestro hermoso dije procederemos a elaborar una pequeña argolla circular la cual engancharemos en la parte superior de nuestro bella creación para así poder colgarla de la cadena seleccionada.
✴️ Step 4: To culminate our beautiful Flamingo design the wire piece that we have left down we will leave it a little longer after we will perform a small fold in a semicircular manner and to give it the final touch we will take a piece of wire gauge 26 the central part where they are supposed to be the wings and body of this flamingo by this thin wire we will enter the stone we have reacted and we will hold it in the central part of this way.
To finish, once I have already our beautiful I said we will proceed to develop a small circular argollan, which we will engage in the upper part of our beautiful creation so as to be able to hang it in the selected chain.
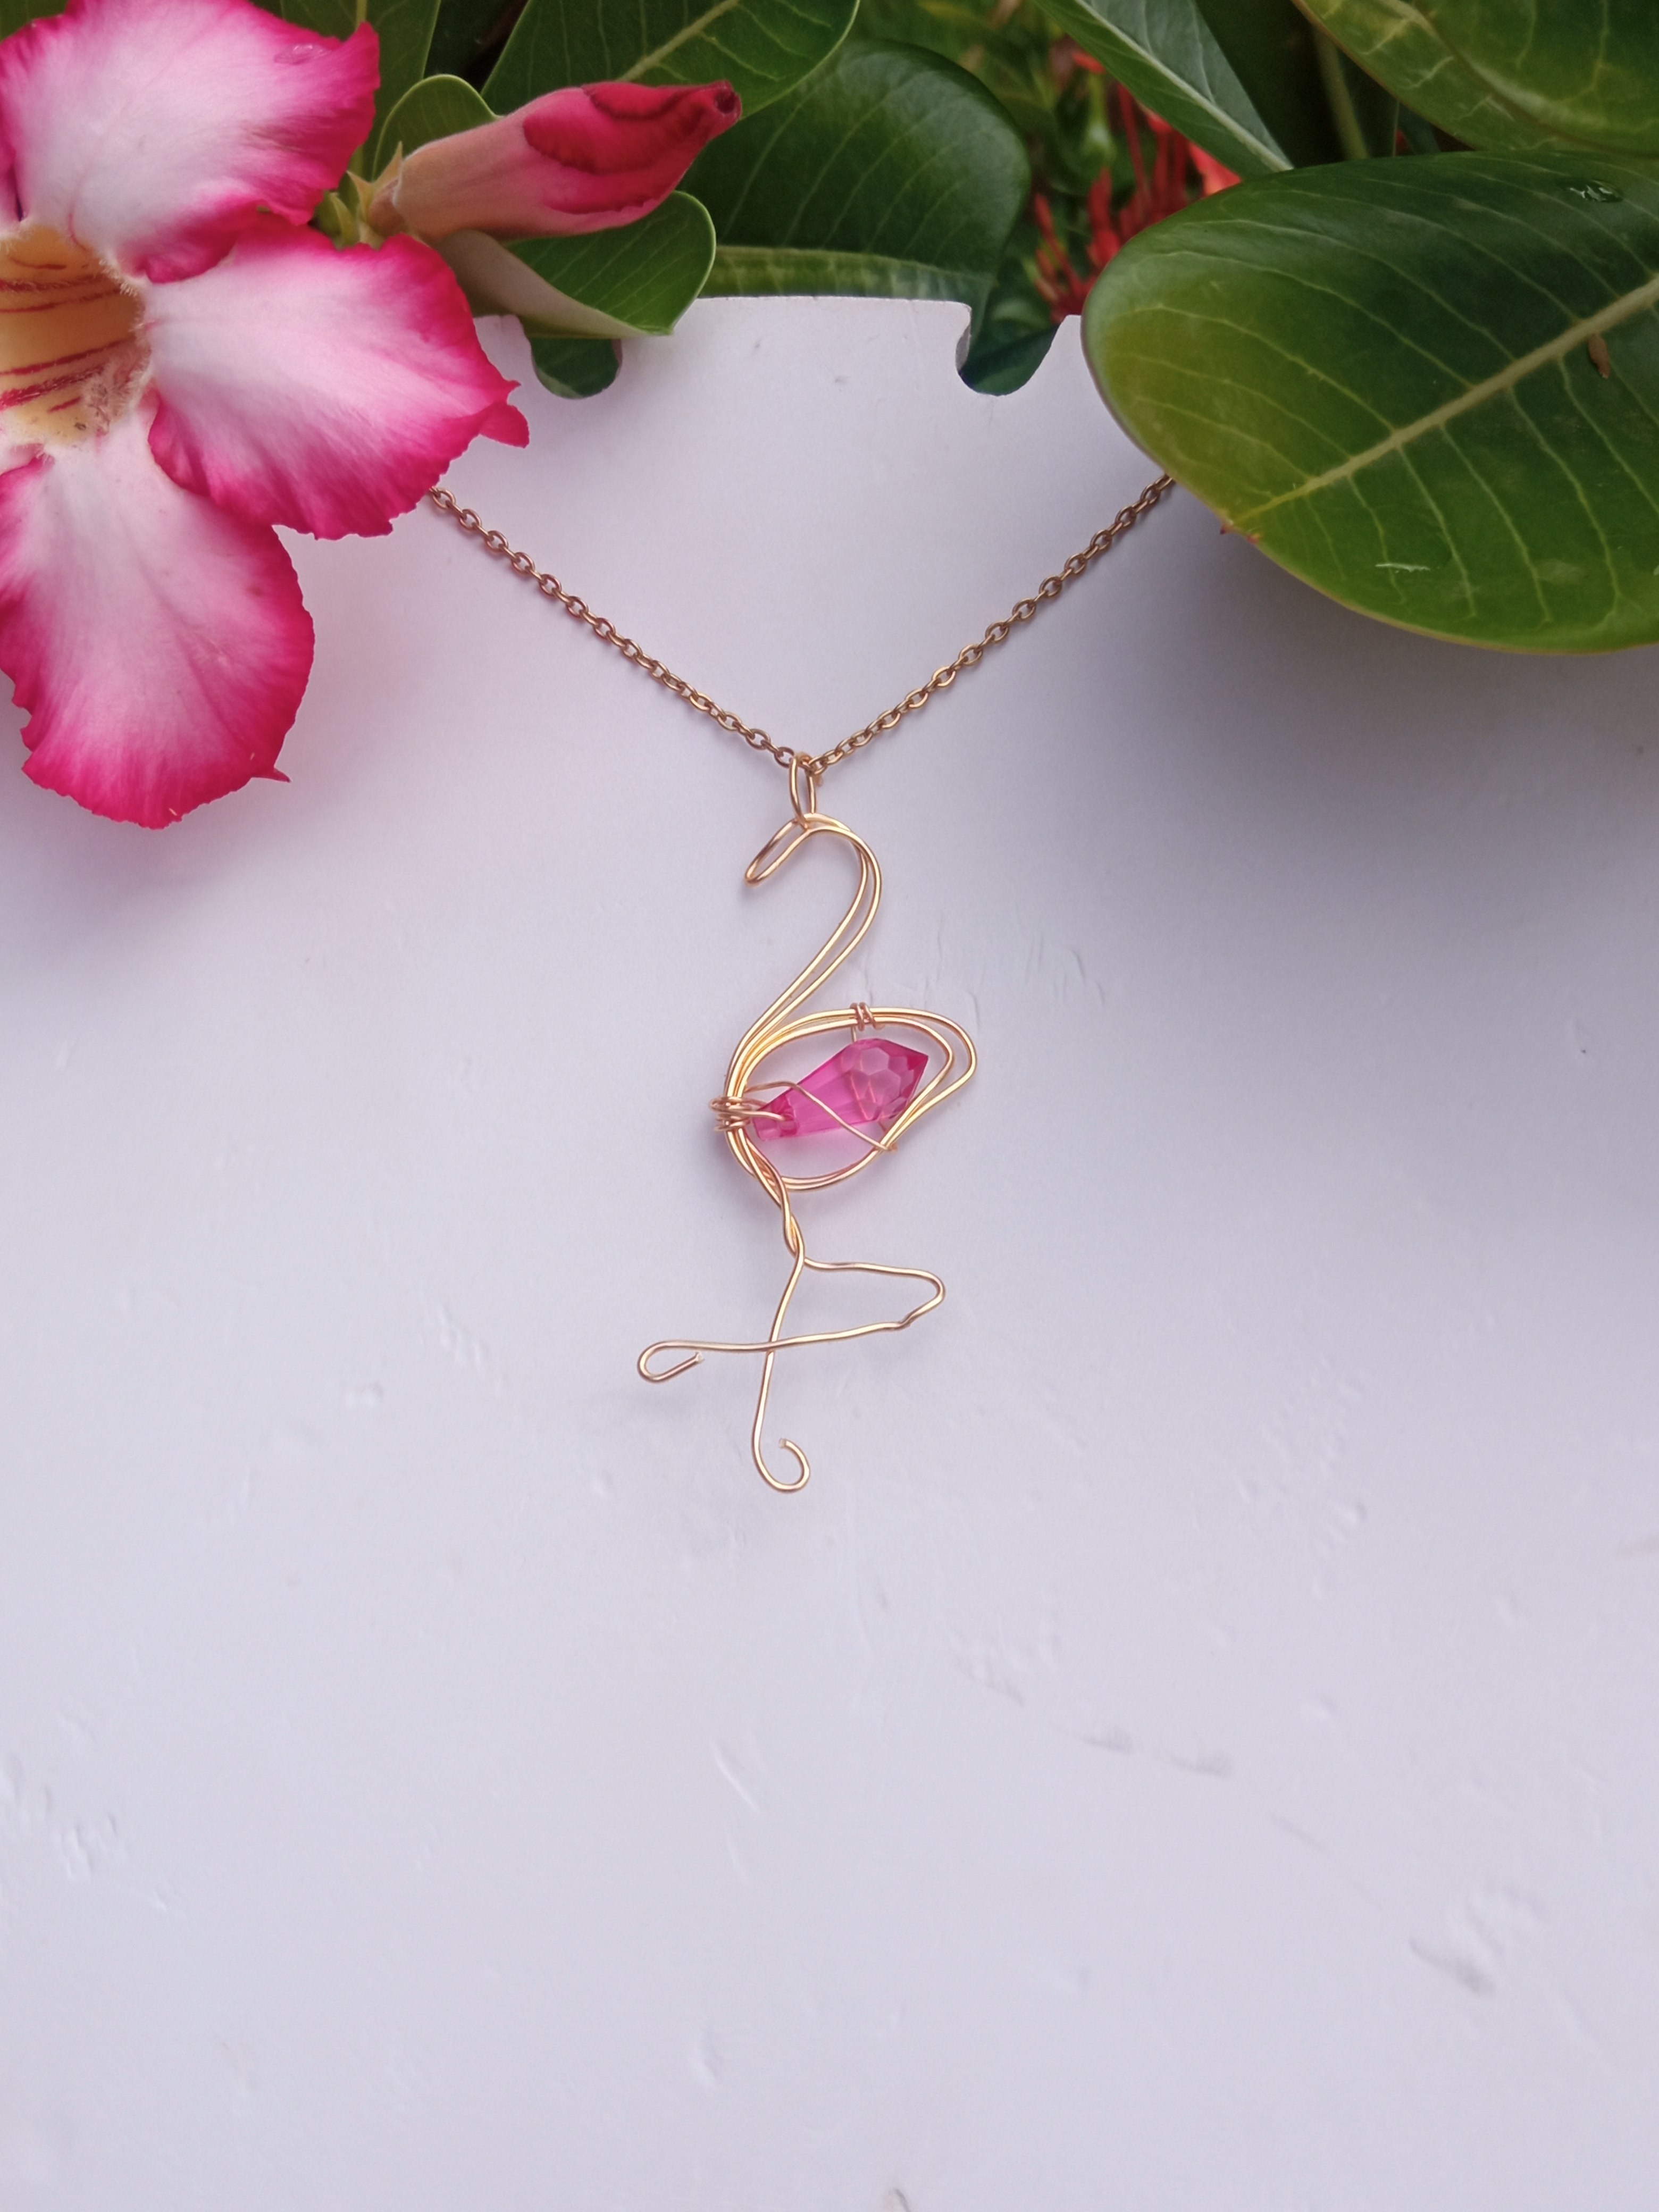
Todas las Fotos son de mi autoría y fueron tomadas con mi Celular Redmi 9And so in this way as simple as they could observe it we can develop a beautiful thing to hang and make him our chains and thus be able to look beautiful on any occasion in this same way we could develop small tenders to combine it with this beautiful necklace.
My dear friends This has been my creation of today for all of you I hope it was of your total pleasure and this tutorial are useful and profit you thank you for your visit.
All Photos are my authorship and were taken with my Redmi 9 Cellphone

