Saludos comunidad, un gusto pasar nuevamente por aquí después de unos meses, sin compartir con ustedes, y mostrarles algunas creaciones. He estado ausente, pero siempre pendiente de seguir creando para seguir mostrando algunas de mis accesorios.
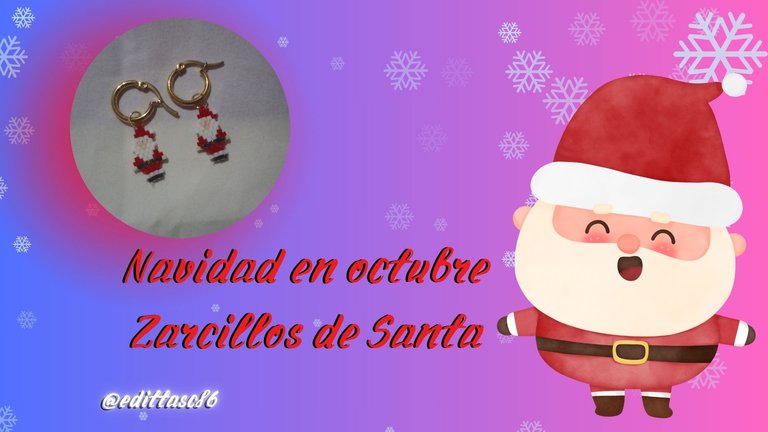
Espero sea de su gusto. En Venezuela el mes de octubre se inició la navidad, es por esto, que hoy les vengo a mostrar unos lindos zarcillos navideños. 🎅
Zarcillos de Santa 🎅
Quería iniciar con este emblemático personaje gordo y barbudo que alguna vez en nuestra infancia nos llenó de alegría al despertar luego de noche buena. Santa Claus o San Nicolas. Estos zarcillos los realice con delica Miyuki.. y aquí les voy a comentar el paso a paso:
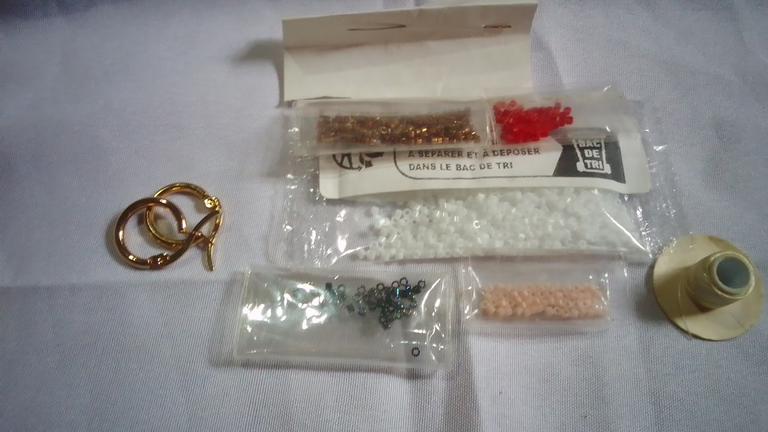
Los materiales que utilice fue delica 11/0 en los colores rojo, negro (iris blue), blanco y color salmón. hilo nylon para delica, aguja para mostacillas, unos aritos donde colocare los dijes de Santa.
Greetings community, a pleasure to be here again after a few months without sharing with you, and show you some of my creations. I have been absent, but always pending to continue creating to continue showing some of my accessories.
I hope you like it. In Venezuela the month of October began Christmas, that is why, today I come to show you some nice Christmas tendrils. 🎅
Santa's tendrils 🎅
I wanted to start with this iconic fat and bearded character that once in our childhood filled us with joy when we woke up after Christmas Eve. Santa Claus or Saint Nicholas. I made these tendrils with Miyuki delica... and here I am going to tell you the step by step:
The materials I used were 11/0 delica in the colors red, black (iris blue), white and salmon. nylon thread for delica, needle for beads, some rings where I will place the Santa charms.
Elaborando a Santa 🎅
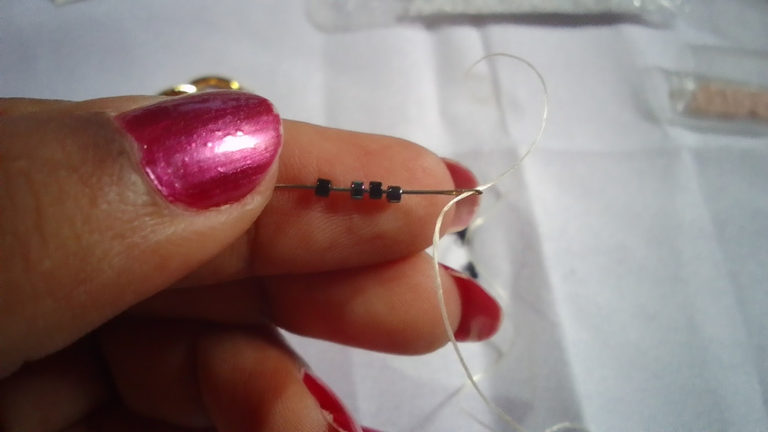
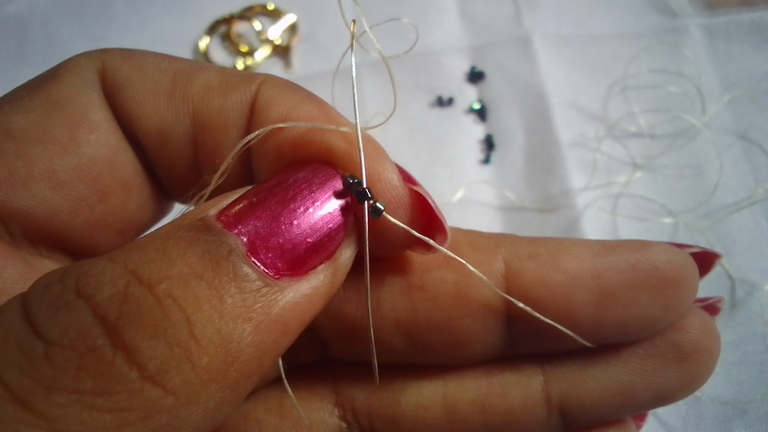
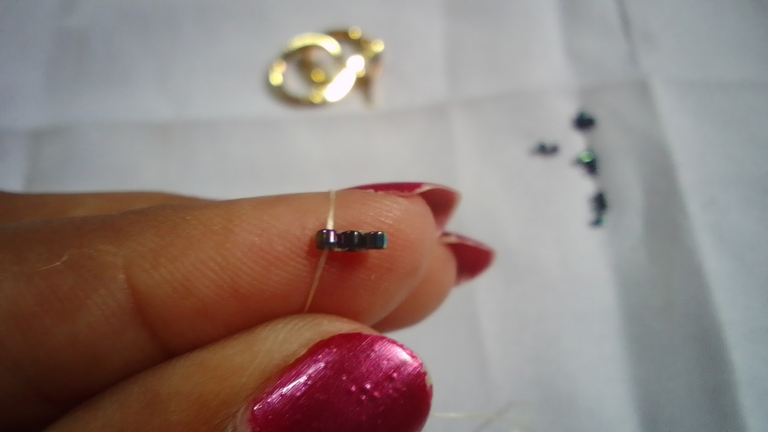
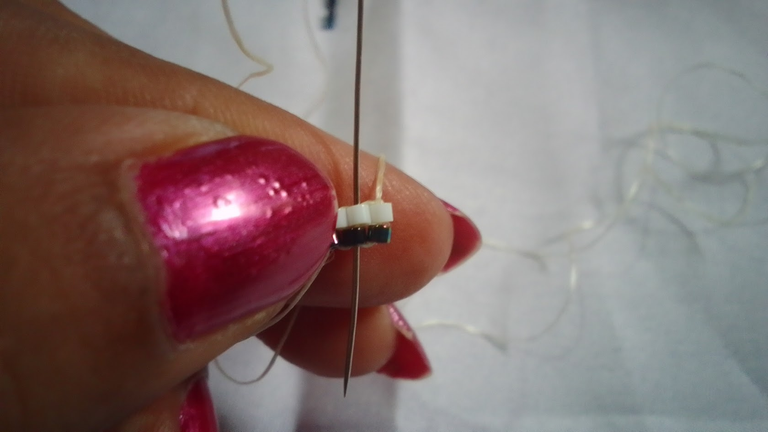
- Colocamos en la aguja tres delicas negras, las llevamos hasta el final del hilo, teniendo cuidado de que no se nos salgan, por lo general como les he comentado en otros tutoriales, yo con el dedo le hago un poco de presión, una vez al final, las uno para que quede una al lado de otra con la abertura hacia arriba, dejo pasar una delica, en la segunda delica paso la aguja de atrás hacia adelante y la uno a la primera y repito el procedimiento y va quedando así:
Making Santa 🎅.
- Place three black delicas on the needle, take them to the end of the thread, being careful that they do not come off, usually as I have told you in other tutorials, I make a little pressure with my finger, once at the end, I join them so that one is next to the other with the opening up, I let one delica pass, in the second delica I pass the needle from back to front and join it to the first one and repeat the procedure and it will be like this:
 |  |  |
|---|
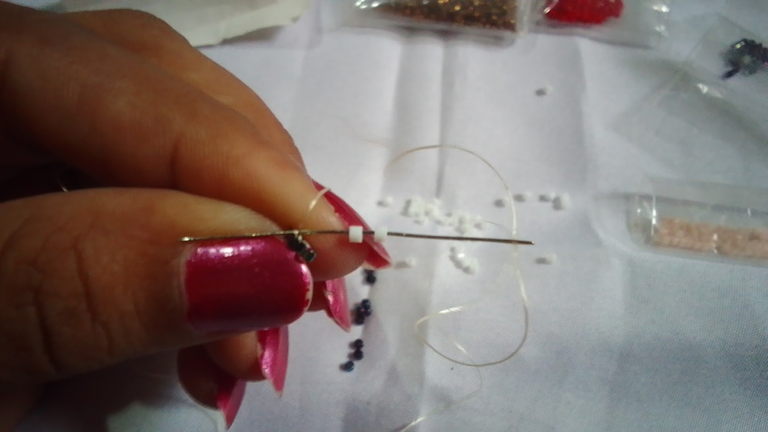
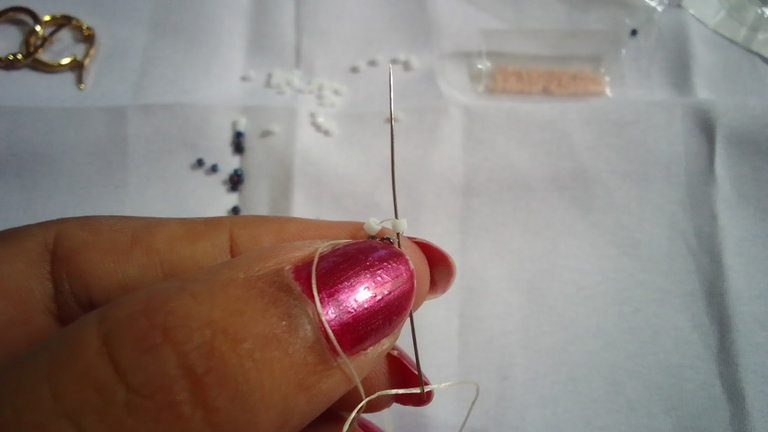
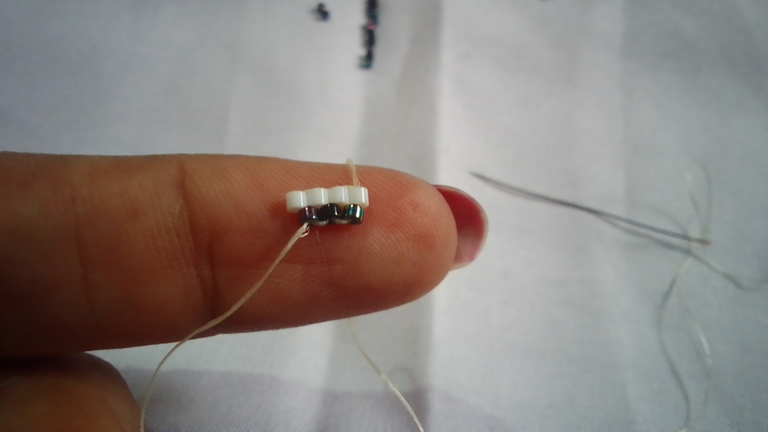
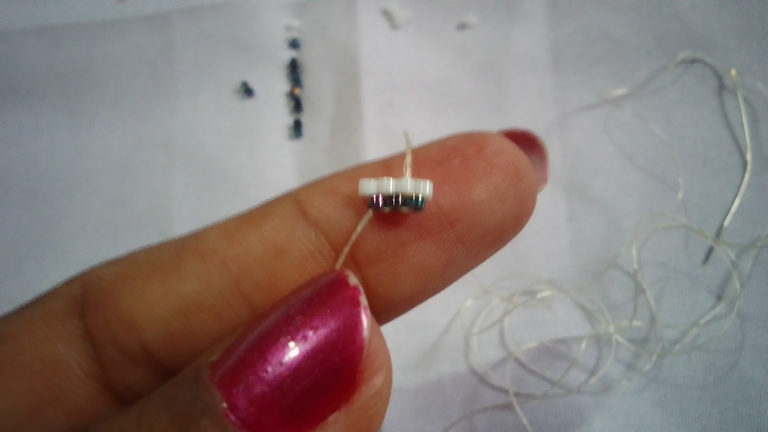
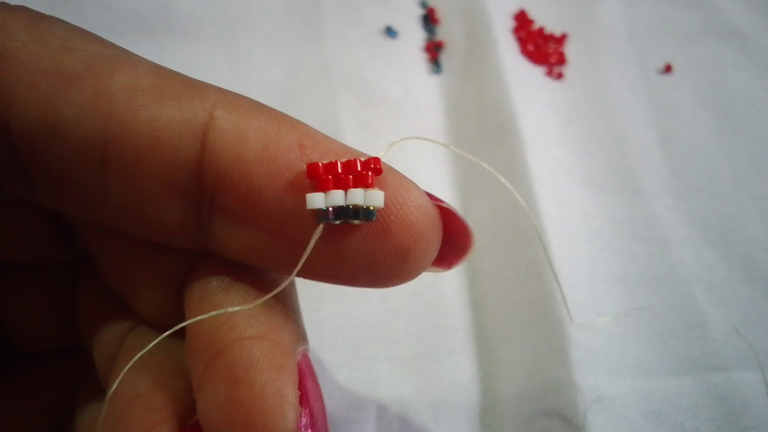
- Con el paso anterior, ya tenemos la primera fila realizada, utilizaremos la técnica de tejido, Brick stitch, seguimos a realizar la segunda hilera, y agregamos dos delicas blancas, pasamos la aguja por el hilo que esta al frente llevamos las delicas al final y pasamos la aguja de abajo hacia arriba para fijar las delicas y seguir con el tejido hasta terminar la hilera.
- With the previous step, we already have the first row done, we will use the knitting technique, Brick stitch, we continue to make the second row, and add two white delicas, we pass the needle through the thread that is in front, we take the delicas to the end and pass the needle from the bottom up to fix the delicas and continue knitting until the end of the row.
 |  |  |
|---|
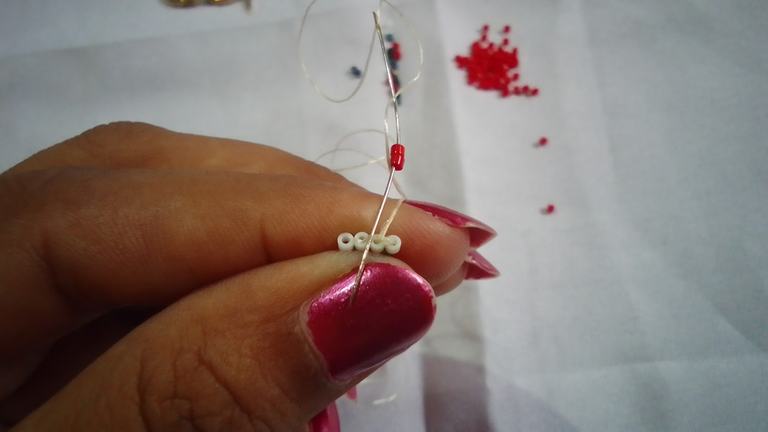
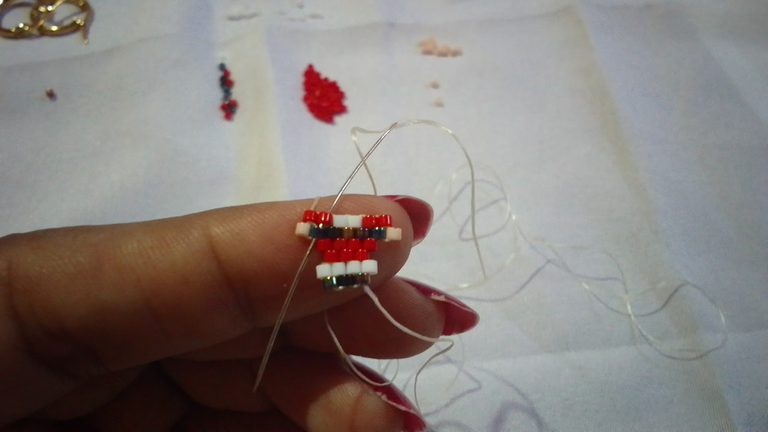
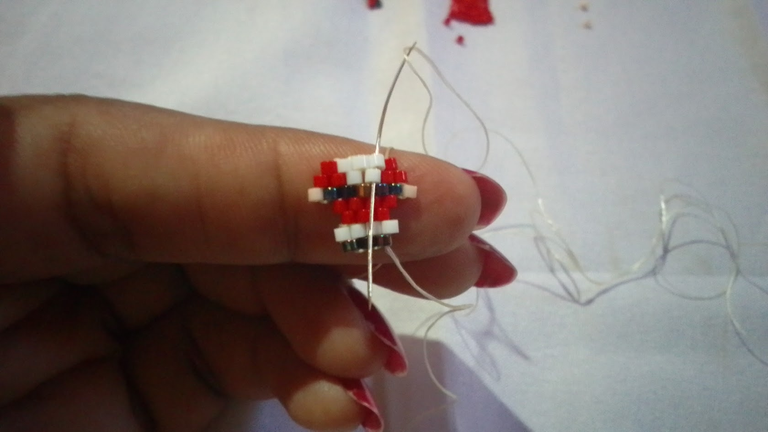
- En esta paso hacemos una disminución, como punto de partida, tomamos la tercera foto del paso anterior, y nos debemos devolver a la cuenta de al lado, para ello pasamos la aguja por es cuenta hacia abajo y nos devolvemos y salimos por esa misma cuenta, y añadimos dos cuentas rojas como se ve en las fotos:
- In this step we make a decrease, as a starting point, we take the third photo of the previous step, and we must return to the bead next to it, for this we pass the needle through that bead down and we return and exit through that same bead, and we add two red beads as seen in the photos:
 |  |
|---|---|
 | 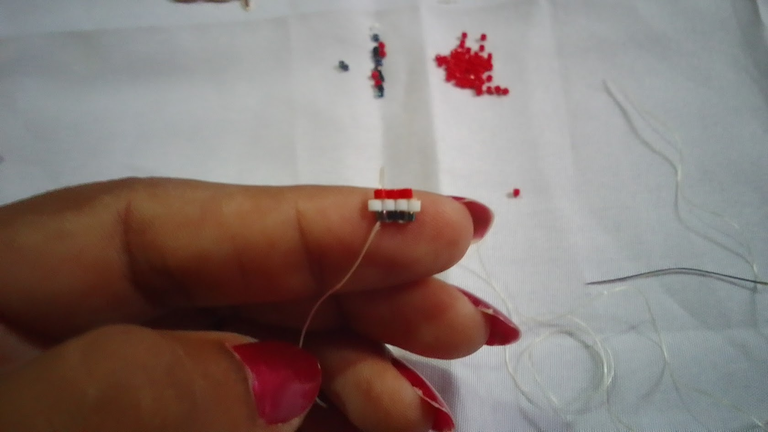 |
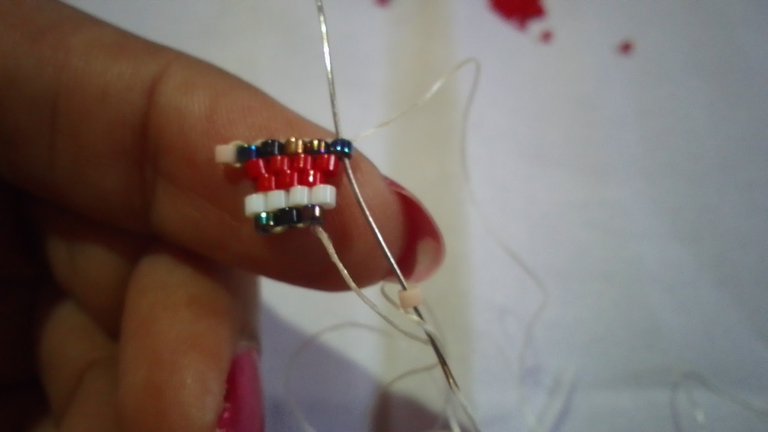
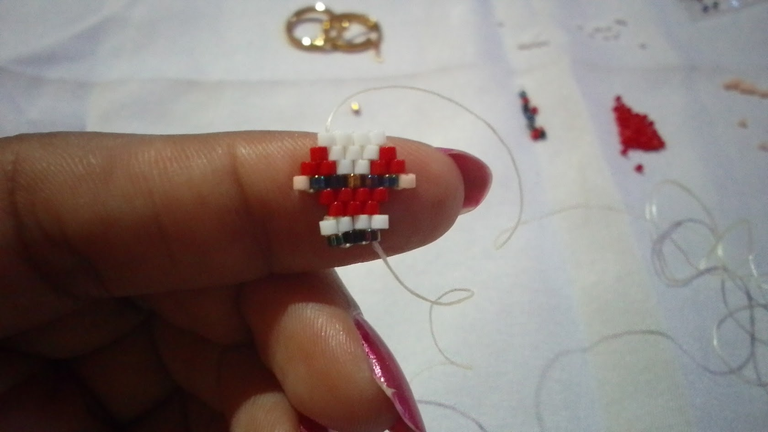
- Realizamos una nueva hilera, con un aumento, esta hilera es de 4 cuentas, luego hacemos otro aumento, para hacer la parte del cinturón del santa, y en un extremo le colocamos una cuenta más pasando por la cuenta negra para unirla.
- We make a new row, with an increase, this row is of 4 beads, then we make another increase, to make the part of the belt of the santa, and at one end we place one more bead passing through the black bead to join it.
 |  |  |
|---|
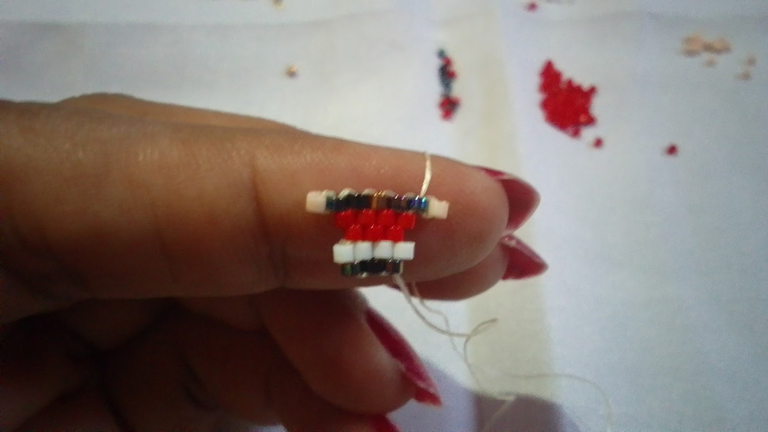
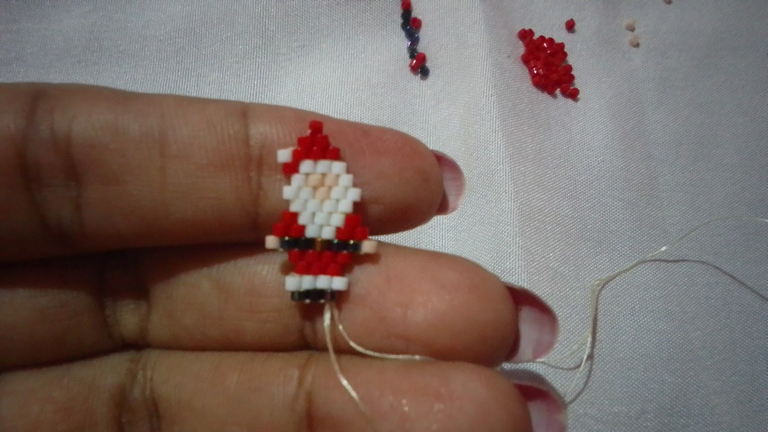
- Continuamos con el tejido, para hacer la parte del dorso, realizamos disminuciones y aumentos para culminar el tejido:
- We continue with the weaving, to make the back part, we make decreases and increases to finish the weaving:
 |  |
|---|---|
 |  |
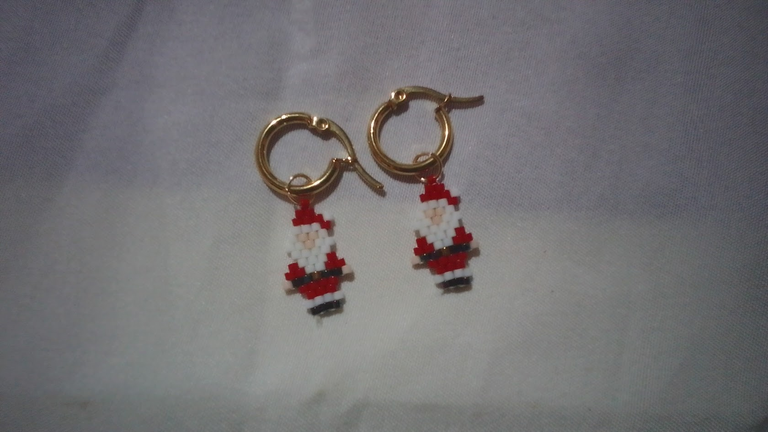
Ensamblando los zarcillos
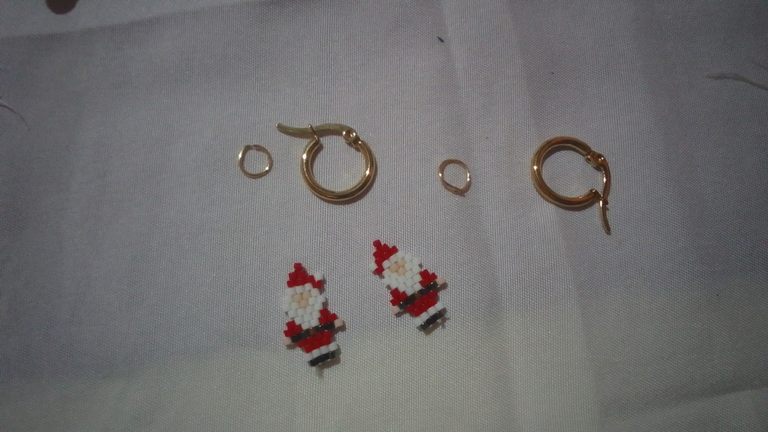
Una vez que termine de tejer los santas, corte los hilos, con unos aritos de alambre uní el dije de santa con las mini argollas y así se ven estos zarcillos:
Assembling the earrings
Once I finished weaving the santas, cut the threads, with some wire rings I joined the santa pendant with the mini rings and this is how these tendrils look like:
 |  |
|---|
Así quedaron estos lindos zarcillos de Santa, son demasiado lindos, son aproximadamente de 3 cm cada uno. Espero les guste, son lindos y fáciles de hacer.
Gracias a todos por su apoyo. 🎅
This is how these cute Santa tendrils turned out, they are too cute, they are approximately 3 cm each. I hope you like them, they are cute and easy to make.
Thank you all for your support. 🎅

Recursos/Resources
| Portada, banner e imagen / Cover, banner and image | Canva |
|---|---|
| fotos/ pictures | Own photos, Realme C11 device |

