Hello everyone... ✨
Hello to my dear Hiver and the dear community of #Jewelry artists, as always very pleased and excited to be here to show you a work made with love and affection especially for you.
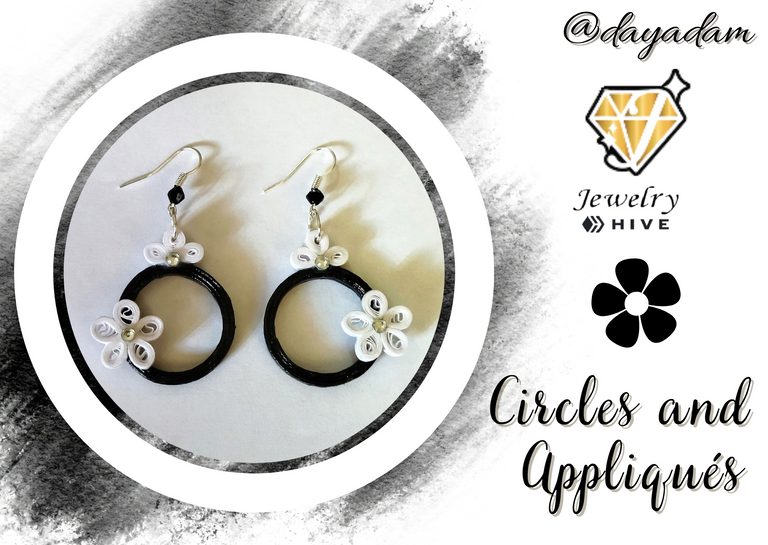
For today I bring you a pair of hanging tendrils, very simple to make in the quilling technique, with a circular shape decorated with some details and appliques. Full of simplicity, but at the same time with a touch of elegance.
Hoping that you like it, please join me in this creative process.
Let's start:😃

Hola a todos... ✨
Hola a mis queridos Hiver y a la querida comunidad de artistas de #jewelry, como siempre muy complacida y emocionada de encontrarme por acá para participar mostrarles un trabajo hecho con mucho amor y cariño especialmente para ustedes
Para hoy les traigo un par de zarcillos colgantes, muy sencillos de elaborar en la técnica de quilling, con una forma circular decorados con algunos detalles y apliques. Llenos de sencillez, pero a la vez con un toque de elegancia.
Esperando que sea de su agrado acompáñenme en este proceso creativo.
Comencemos:😃

• Cintas de quilling de 3mm de ancho negras y blancas.
• Moldes para círculos de la medida de tu preferencia.
• Regla con diversas medidas de circunferencia.
• Pega blanca extra fuerte (de carpintería).
• Bases para zarcillos colgante (anzuelos).
• Cristal de bisutería pequeño.
• Tijera.
• Pinza punta fina
• Pincel.
- 3mm wide black and white quilling ribbons.
- Molds for circles of the size of your preference.
- Ruler with different circumference measurements.
- Extra strong white glue (carpentry glue).
- Bases for hanging tendrils (hooks).
- Small costume jewelry glass.
- Scissors.
- Fine tip tweezers.
- Paintbrush.

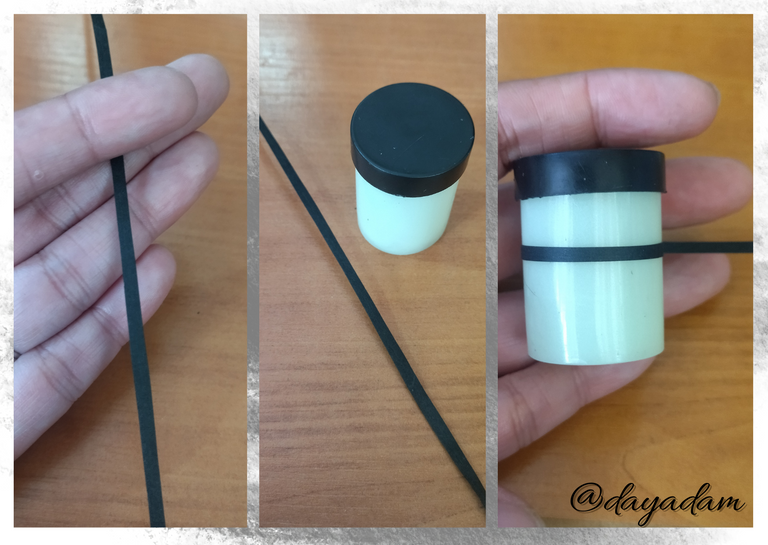
- Let's start by taking black quilling tape 3mm wide x 50cms long, we will use a circular mold, in my case I took a small jar with that shape that I had available at home, you can use whatever you want and with the size of your preference.
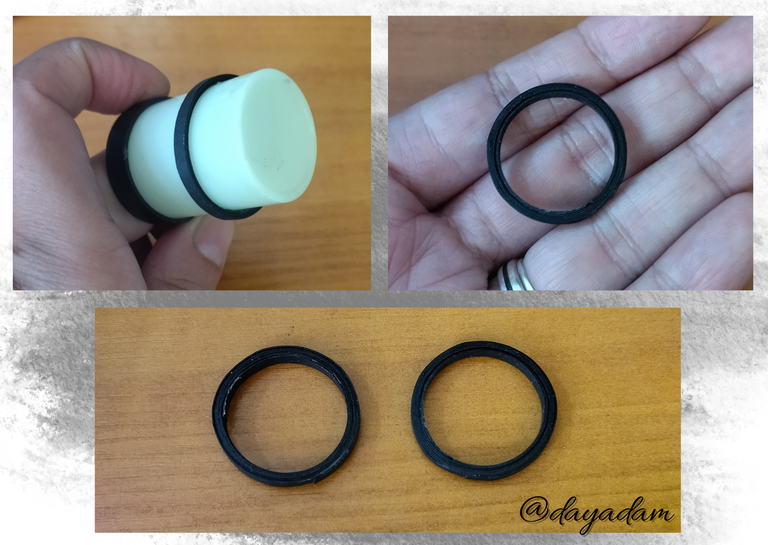
- We will wrap the ribbon around the mold, when we finish with the ribbon we will seal it with extra strong white glue (carpentry glue), we take it out of the mold. In my case I will need 2 circles like this one, since I will make a pair of hanging tendrils.
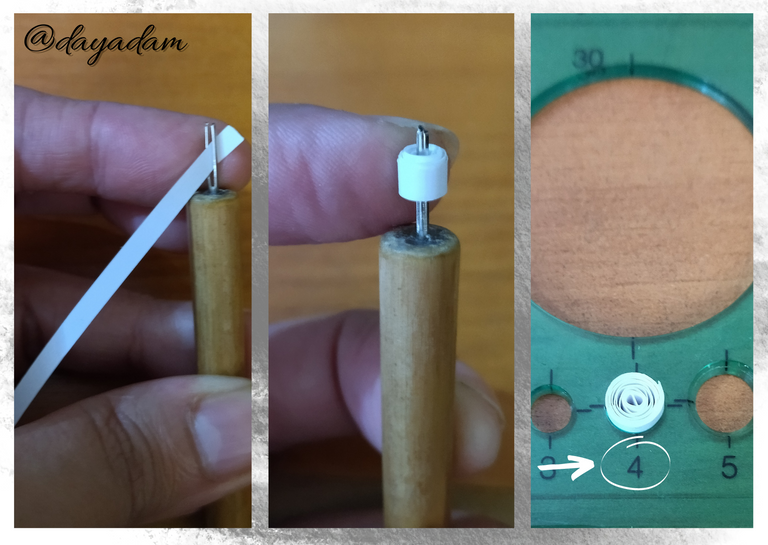
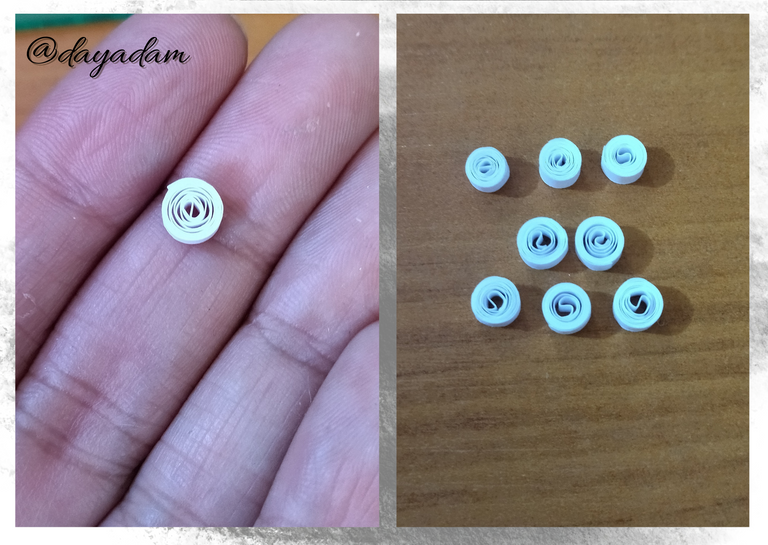
- Now we will take white quilling ribbon 3mm wide x 7cms long, we will roll with the quilling needle until we reach the end of the ribbon, we take out the needle and we will measure in the ruler of different circumference measures in the circle number 4, we take out the ruler and seal with a little glue, we will obtain a small closed circle. For each earring we make we will need 7 circles like this one.

• Vamos a comenzar tomando cinta para quilling negra de 3mm de ancho x 50cms de largo, usaremos un molde circular, en mi caso tome un frasquito con esa forma que tenía disponible en casa, puedes usar lo que desees y con la medida de tu preferencia.
• Enrollaremos la cinta alrededor del molde, al finalizar con la cinta sellaremos con pega blanca extra fuerte (de carpintería), sacamos del molde. En mi caso necesitare 2 círculos como este, ya que realizare un par de zarcillos colgantes.
• Ahora tomaremos cinta de quilling color blanca de 3mm de ancho x 7cms de largo, enrollaremos con la aguja para quilling hasta llegar al final de la cinta, sacamos de la aguja y mediremos en la regla de diversas medidas de circunferencia en el círculo número 4, sacamos de la regla y sellamos con un poco de pega, obtendremos un pequeño círculo cerrado. Por cada arete que realicemos vamos a necesitar 7 círculos como este.
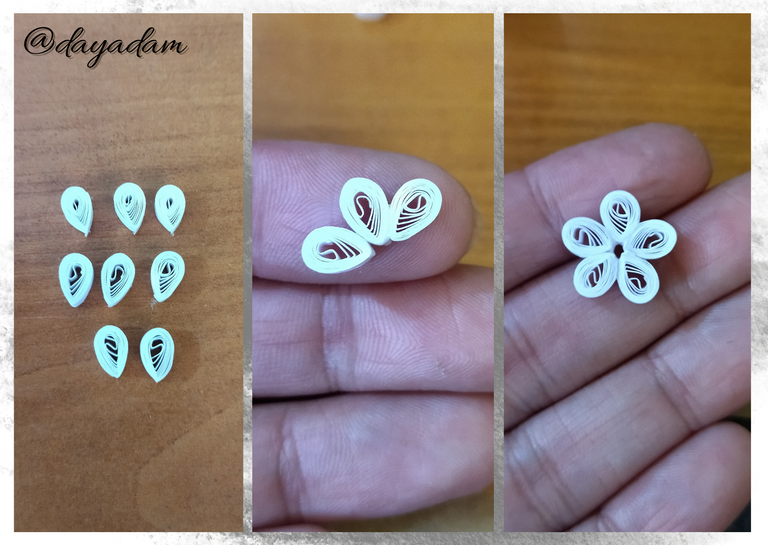
- We will mold these circles in the shape of leaves.
- We are going to form the pieces, we will take 3 of the leaves and glue them as shown in the image.
- We will take the remaining 5 leaves and glue them in harmony to form a flower.
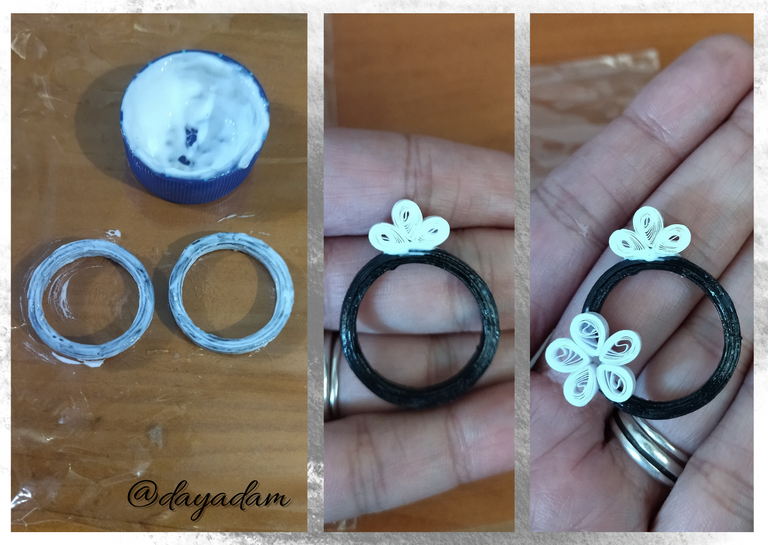
- We will take the two black circles, and we will put several layers of extra strong white carpentry glue to laminate, letting it dry between one layer and another, let it dry very well.
- We will add the remaining pieces to form the earring, we will glue the piece of three leaves on the top of the circle, and on one of its sides the piece that was elaborated in the form of a flower.

• Estos círculos los moldearemos en forma de hojas.
• Vamos a formar las piezas, tomaremos 3 de las hojas y pegaremos tal como lo indica la imagen.
• Tomaremos las 5 hojas restantes, y pegaremos en armonía para formar una flor.
• Tomaremos los dos círculos negros, y le colocaremos para plastificar varias capas de pega blanca extra fuerte de carpintería dejando secar entre una capa y otra, dejamos secar muy bien.
• Añadiremos las piezas restantes para formar el arete, pegaremos la pieza de tres hojas en la parte de arriba del círculo, y en uno de sus lados la pieza que se elaboró en forma de flor.
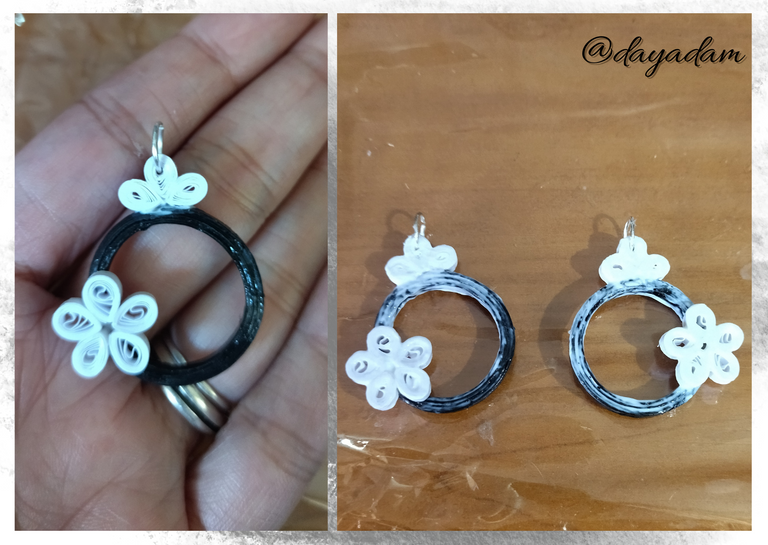
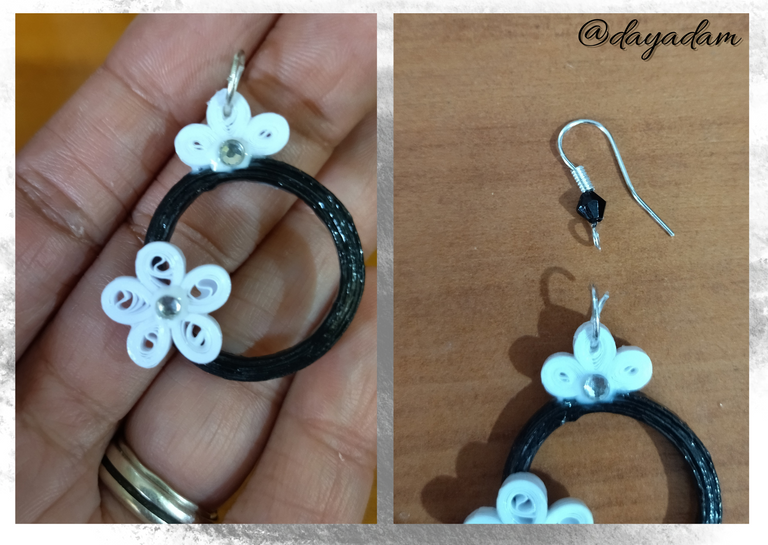
- On the top piece we will place a medium-sized costume jewelry ring.
- Now we proceed to apply to the whole piece several layers of liquid protection to plasticize.
- Once dry we will place two costume jewelry crystals to decorate, place one on the flower and one on the piece of three leaves.
- To finish we will place its base for hanging tendrils (hook), to which I previously placed a black Czech glass to give it more showiness.
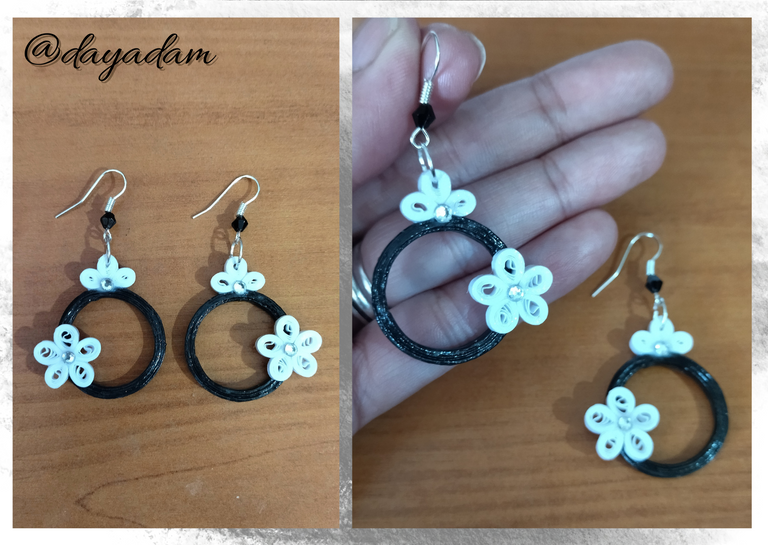
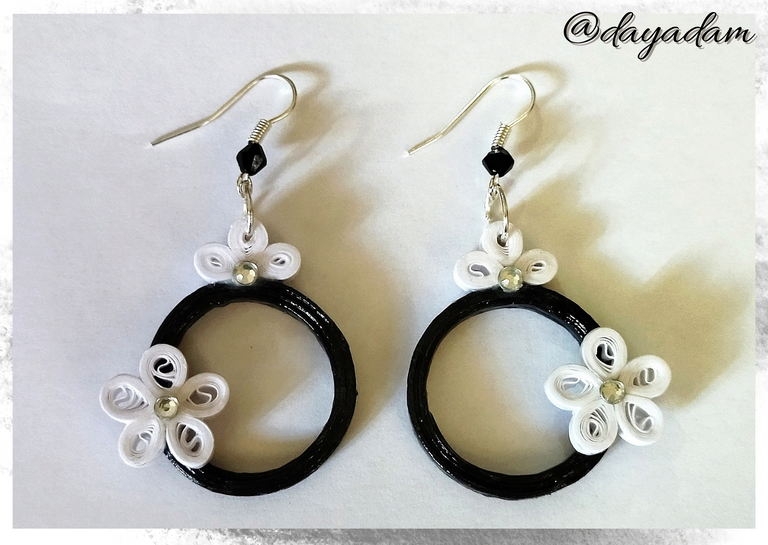
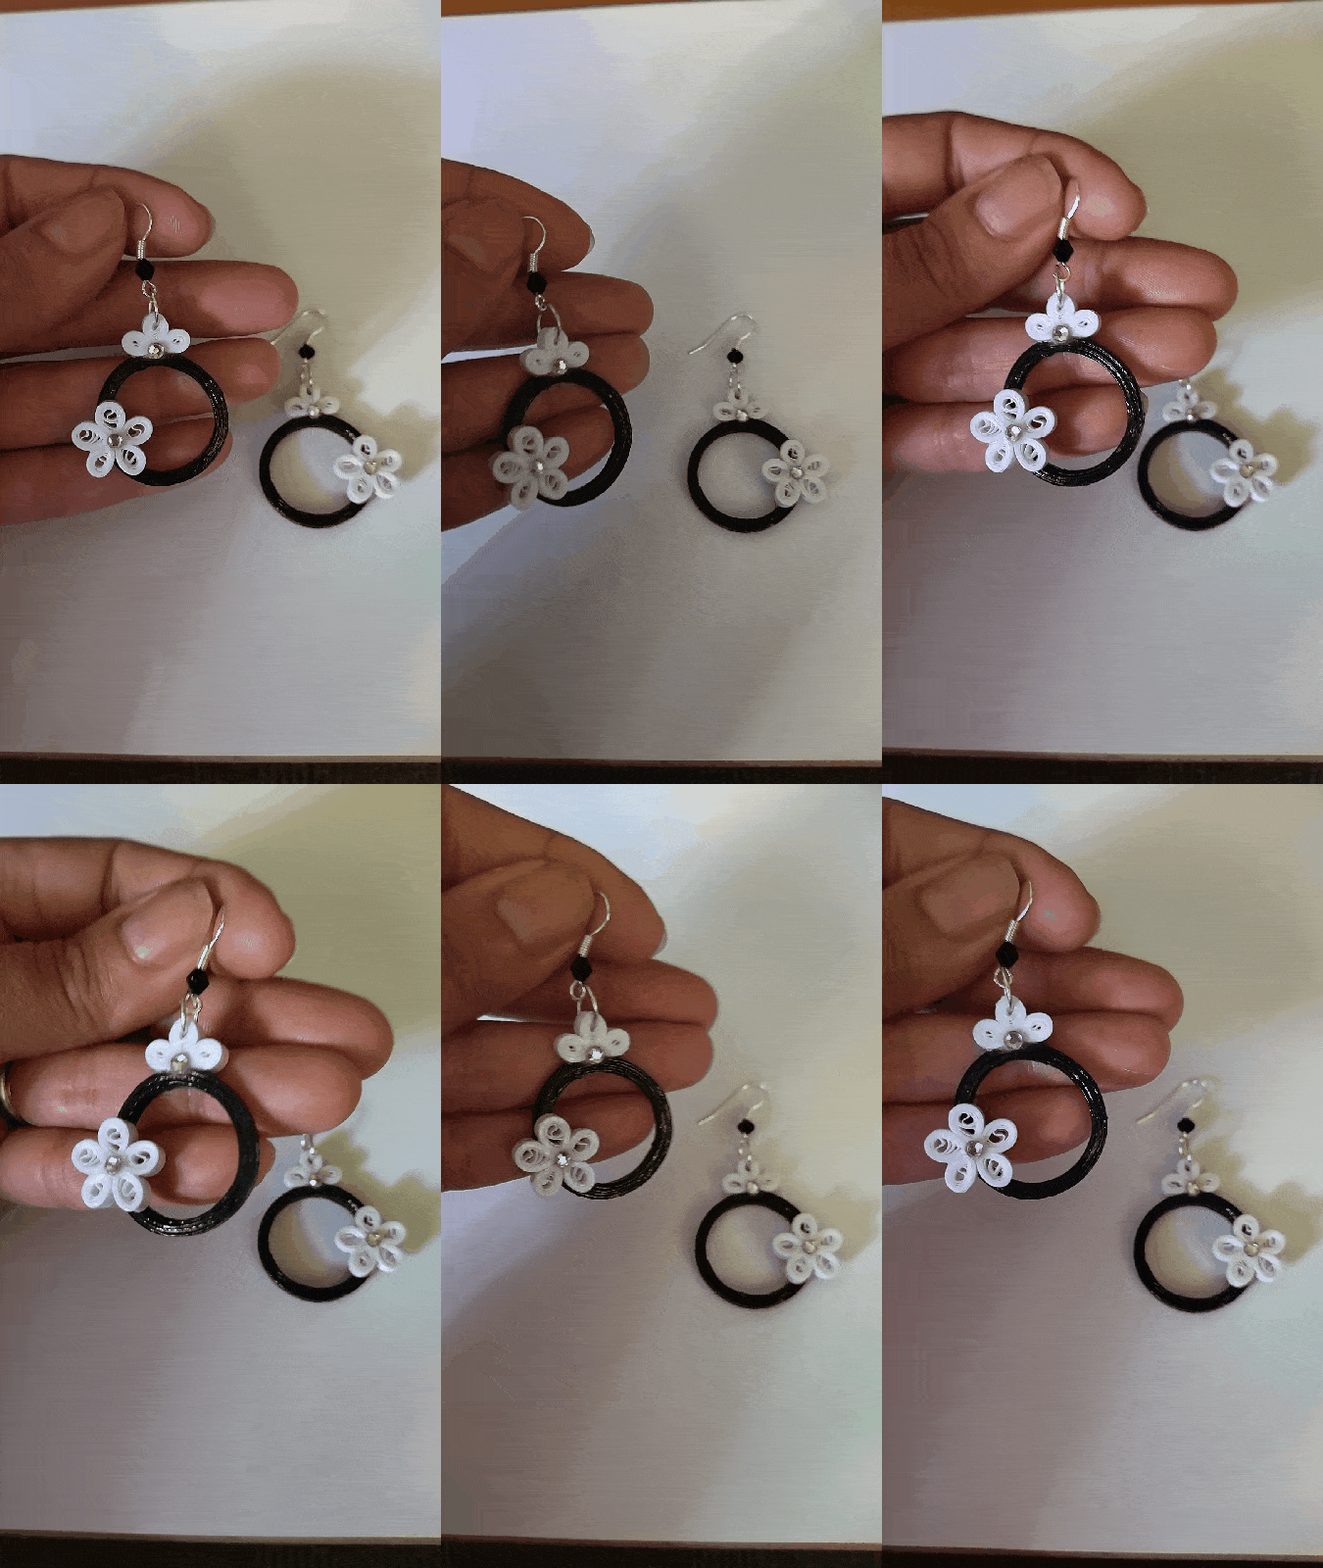
In this way we have ready, these earrings with decorated circles simple to make.

• En la pieza de arriba colocaremos una argolla mediana de bisutería.
• Ahora procedemos a aplicar a la pieza completa varias capas de protección liquida para plastificar.
• Una vez seco colocaremos dos cristales de bisutería para decorar, coloque uno en la flor y uno en la pieza de tres hojas.
• Para culminar colocaremos su base para zarcillos colgante (anzuelo), a la que previamente coloque un cristal checo negro para darle mayor vistosidad.
De esta manera tenemos listos, estos aretes con unos círculos decorados sencillos de realizar.

What did you think, did you like it?
I hope you did, I hope you liked my explanation, procedure and photos, I made them with love for you.
"Let out that muse that inspires you, and let your imagination fly".
Thank you all, see you next time ✨

¿Que les pareció, les gustó?
Espero que sí, que les haya gustado mi explicación, procedimiento y fotos, los hice con mucho cariño por y para ustedes.
"Deja salir esa musa que te inspira, y deja volar tu imaginación".
Gracias a todos, nos vemos en la próxima.✨

Todas las fotos usadas en este post son de mi autoría y han sido sacadas en mi celular personal un Redmi 9T y editadas Canva Banner y separador hecho por mí en Canva Traducido con la ayuda de DeepL


