Hello everyone... 🐱🐾💕
Hello to my dear Hivers and the dear community of #Jewelry artists, as always very pleased and excited to be here again, showing you my work made with love and especially for you.
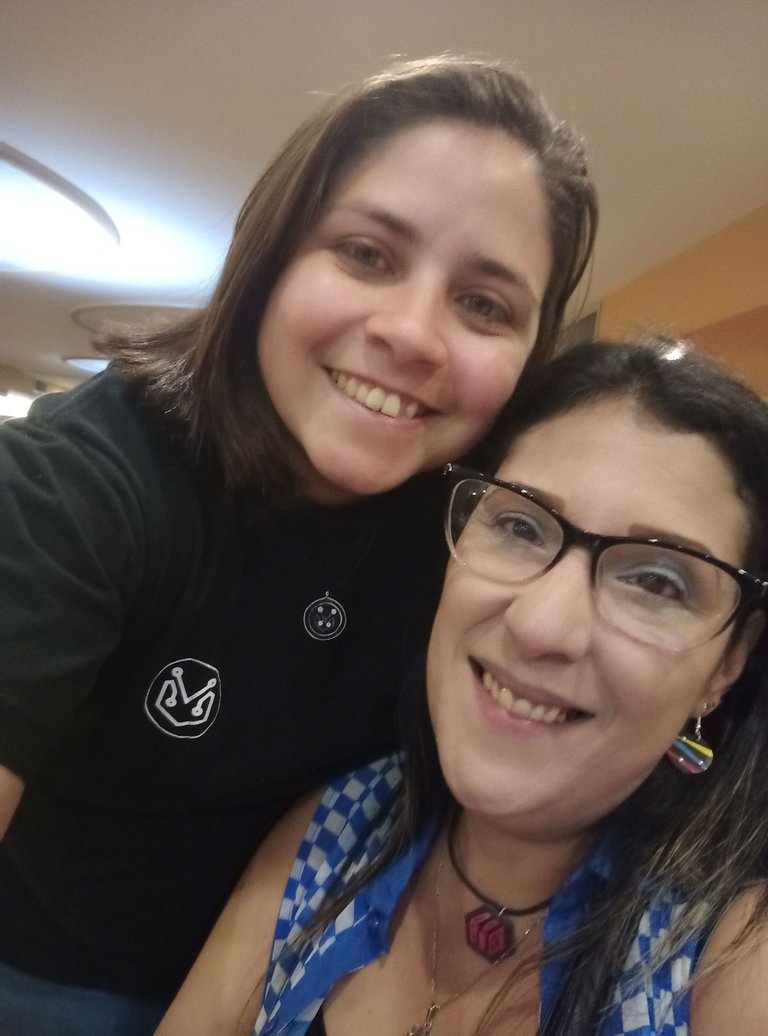
As many of you know on May 22 was celebrated the #BitcoinPizzaDay. Through the @mayvileros team, specifically the beautiful @mayvil founder of the project, I received an invitation to celebrate the day, together with several incredible Hivers. So I started to think about it and I came up with the idea of making a gift to bring her a little something.
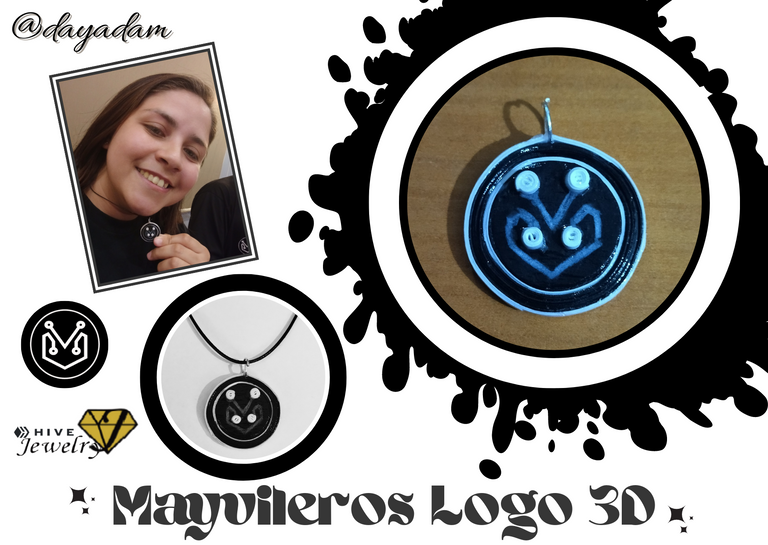
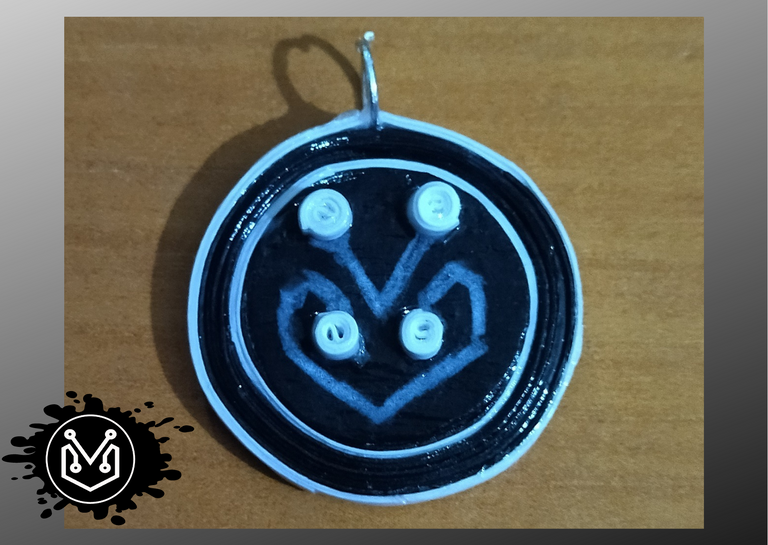
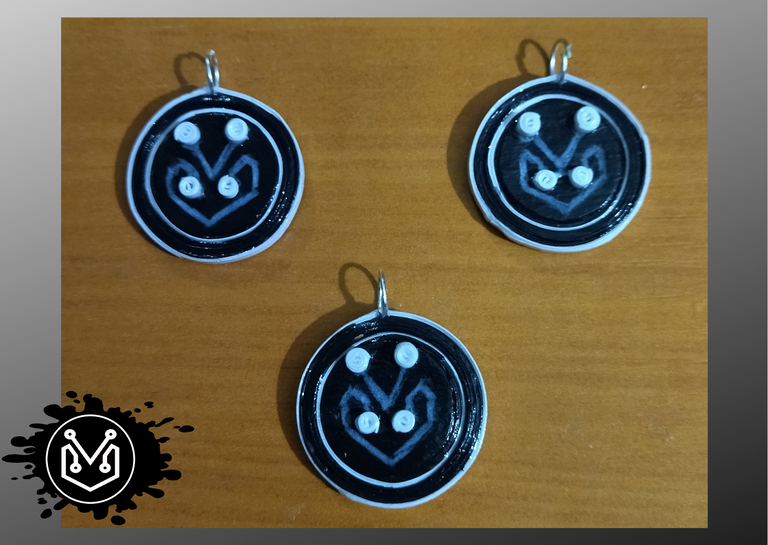
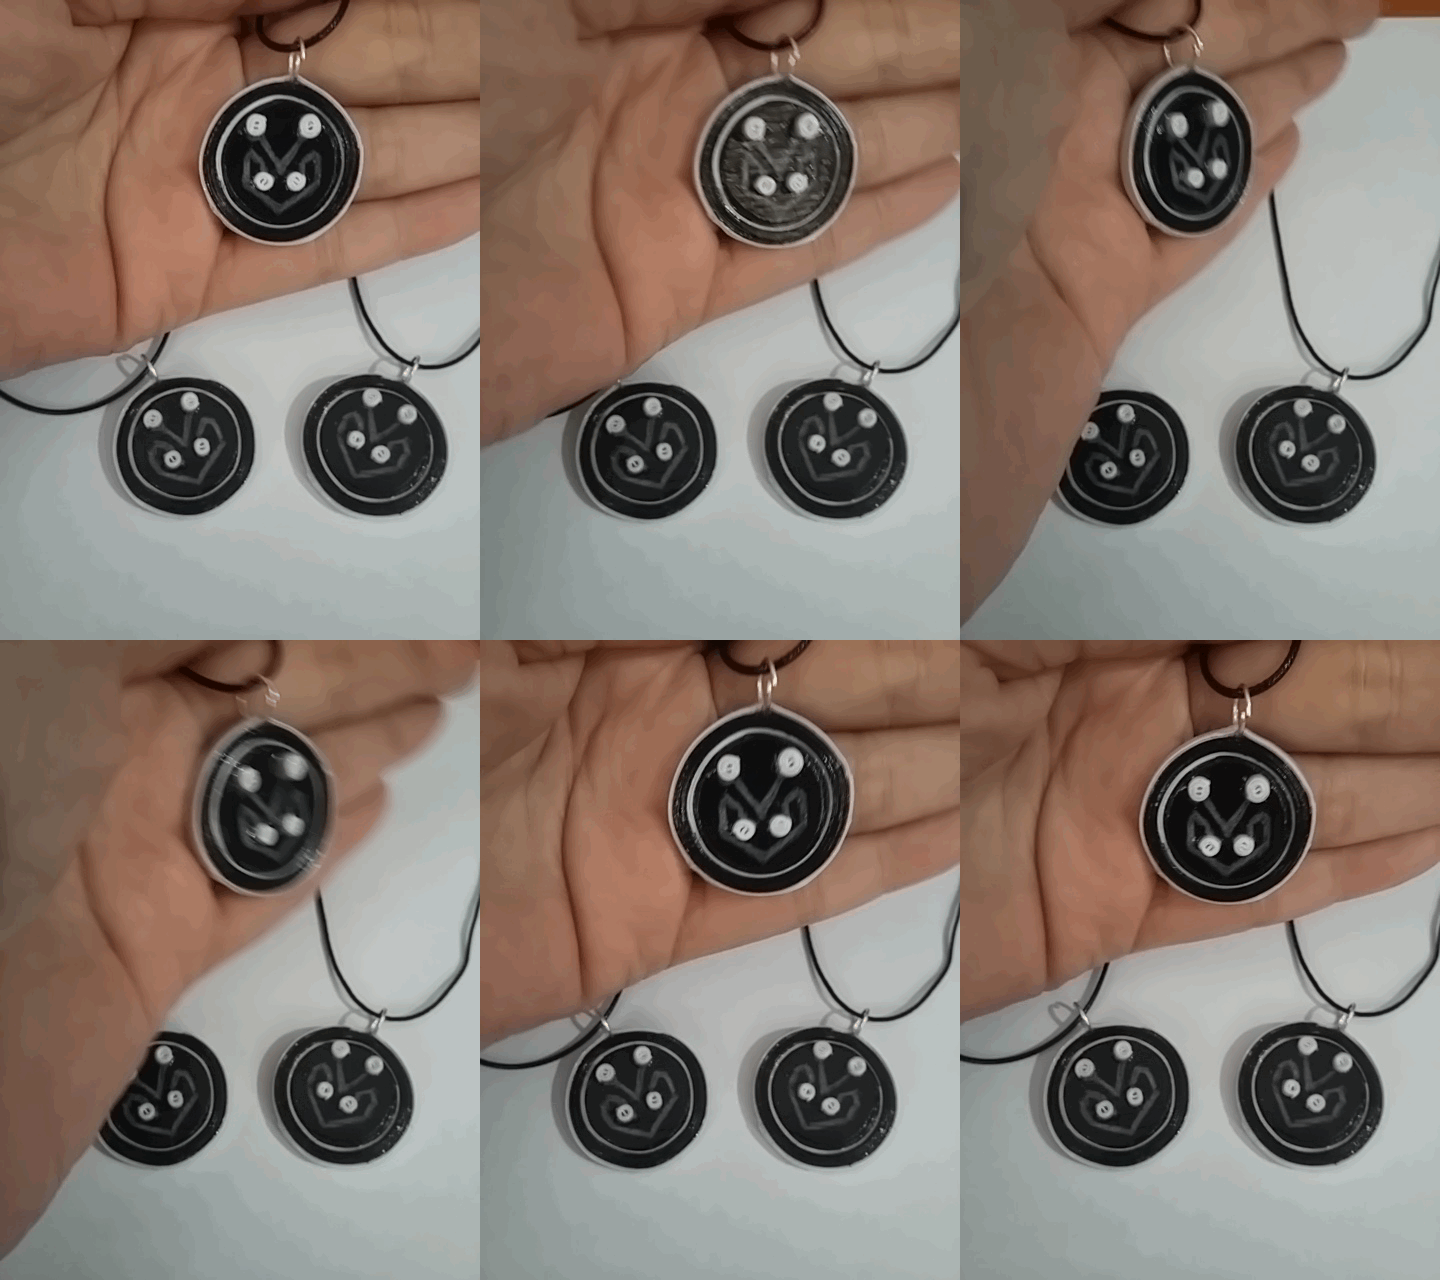
In this case it occurred to me to make a simple 3D pendant of the Mayvileros team logo using the quilling technique, it didn't turn out as well as I would have liked because of the haste with which I did it, but I can tell you that like everything else it was made with a lot of love and it was a detail from my heart especially for them. The important thing is that they liked it very much and I felt very happy and pleased about it.
Without further ado I leave you my creative process, I hope you enjoy it.
Let's get started: 😃

Hola a Todos... 🐱🐾💕
Hola a mis queridos Hivers y a la querida comunidad de artistas #Jewelry, como siempre muy complacida y emocionada de encontrarme por acá nuevamente, mostrándole mi trabajo hecho con mucho amor y especialmente para ustedes.
Como muchos saben el día 22 de mayo se celebró el #BitcoinPizzaDay. Mediante el equipo de @mayvileros específicamente de la bella @mayvil fundadora del proyecto, recibí una invitación para celebrar el día, en unión de varios Hivers increíbles. Y pues empecé a maquinar y se me ocurrió hacer un obsequio para llevarle un pequeño detalle.
En este caso se me ocurrió realizar un sencillo dije en 3D del logo del equipo de Mayvileros en la técnica de quilling, no quedo tan bien como me hubiese gustado por la premura con la cual lo hice, pero si les digo que como todo está hecho con mucho amor y fue un detalle de mi corazón especialmente para ellos. Lo importante es que les gustó mucho y yo me sentí muy feliz y complacida por ello.
Sin más preámbulos les dejo mi proceso creativo, esperando lo disfruten.
Comencemos:😃

• Cartulina negra y blanca.
• Aguja para quilling.
• Regla con diversas medidas de circunferencia.
• Trozo de hoja blanca.
• Color Blanco.
• Pega blanca extra fuerte (de carpintería).
• Tijera.
• Argolla mediana de bisutería..
• Pincel.
• Alicate punta fina.
• Pinza punta fina.
- Black and white cardboard.
- Quilling needle.
- Ruler with different circumference measurements.
- Piece of white sheet.
- White color.
- Extra strong white glue (carpentry glue).
- Scissors.
- Medium size costume jewelry ring.
- Paintbrush.
- Fine-nosed pliers.
- Fine-nosed pliers.

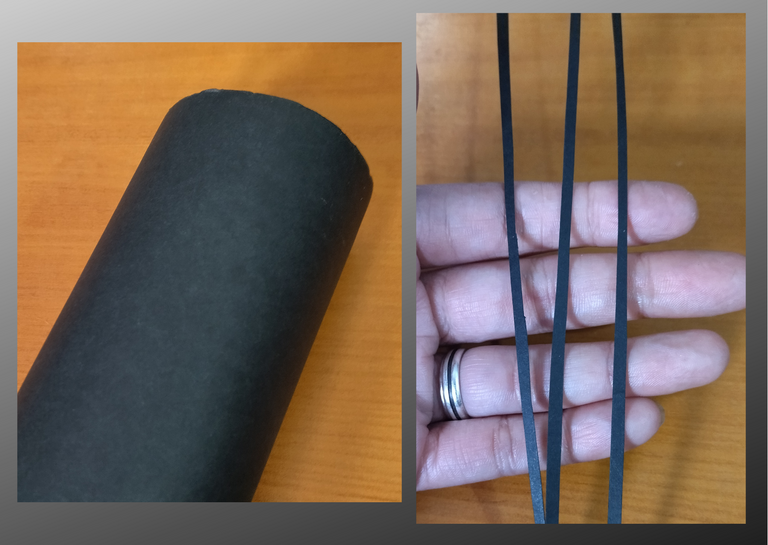
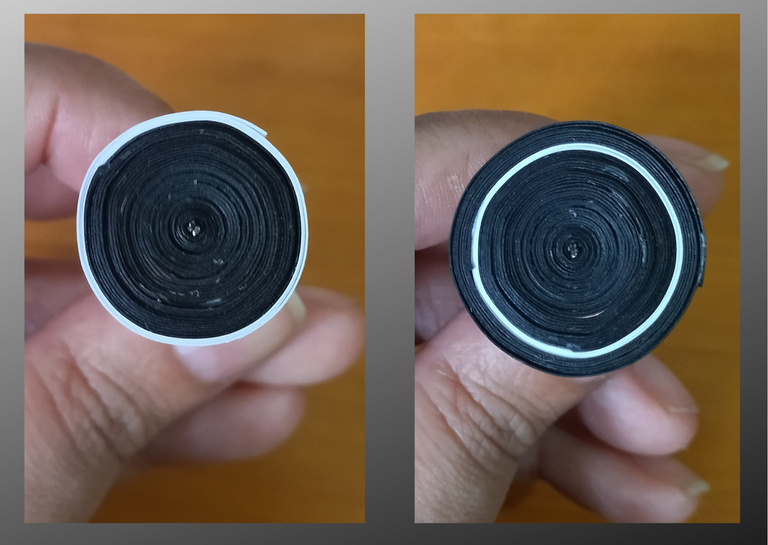
- For the base of the pendant we are going to start by taking black cardboard, with it we are going to take 3 strips of 3mm wide x 50cms long.
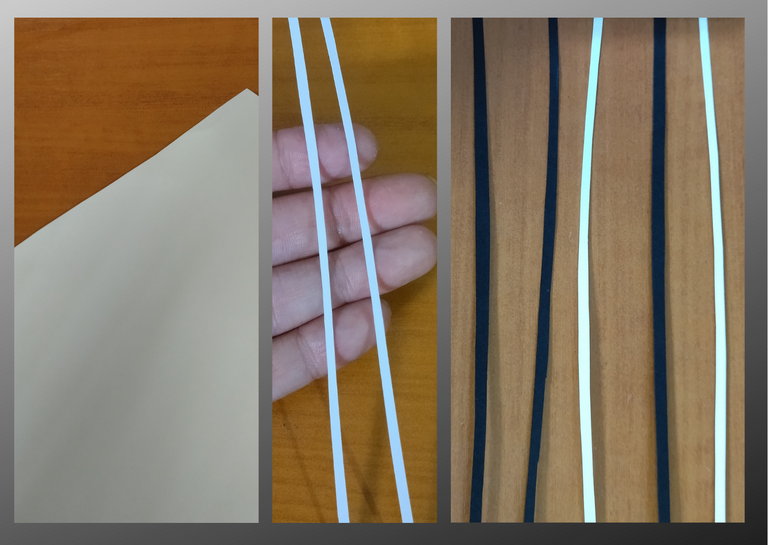
- Now we take white cardboard and from it we take 2 strips of 3mm wide x 20cms long.
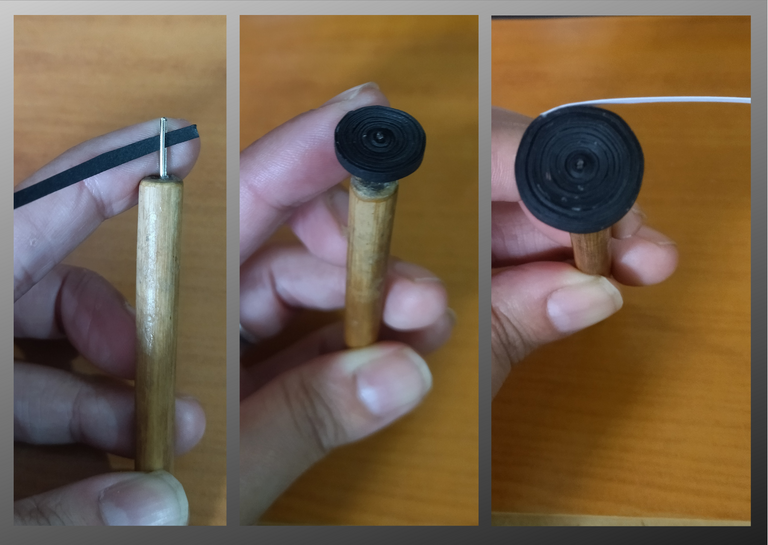
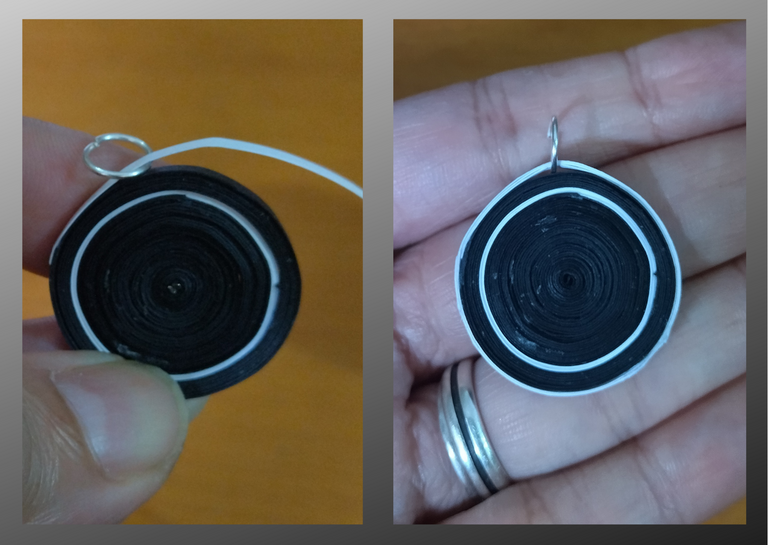
- We take the quilling needle and we are going to start rolling 2 of the black strips, we seal with white glue, then we take one of the white strips and continue the rolling process, when we finish with this we continue with 1 black strip until we finish with a white strip, before we finish rolling the white ribbon we proceed to incorporate a medium ring of costume jewelry, we finish rolling and seal with extra strong white glue, we take it out of the quilling needle.

• Para la base del dije vamos a comenzar tomando cartulina color negra, con ella vamos a sacar 3 tiras de 3mm de ancho x 50cms de largo.
• Ahora tomamos cartulina color blanco y de ella sacamos 2 tiras de 3mm de ancho x 20cms de largo.
• Tomamos la aguja para quilling y vamos a comenzar enrollando 2 de las tiras negras, sellamos con pega blanca, luego tomamos una de las blancas continuamos el proceso de enrollar, al terminar con esta proseguimos con 1 negra hasta finalizar con una de color blanco, antes de terminar de enrollar la cinta blanca procedemos a incorporar una argolla mediana de bisutería, terminamos de enrollar y sellamos con pega blanca extra fuerte, sacamos de la aguja para quilling.
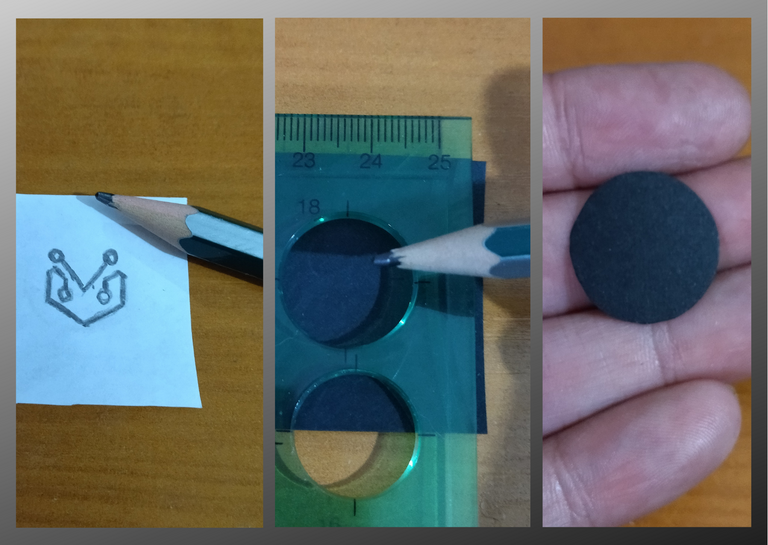
- Let's go with the elaboration of the logo, it was a little difficult for me to determine how to do it, and after several failed attempts I decided to make a drawing of it on a white sheet of paper to use it as a pattern or mold.
- I took a piece of black cardboard and made a circumference with the help of the ruler, in the measure number 18, cut it out.
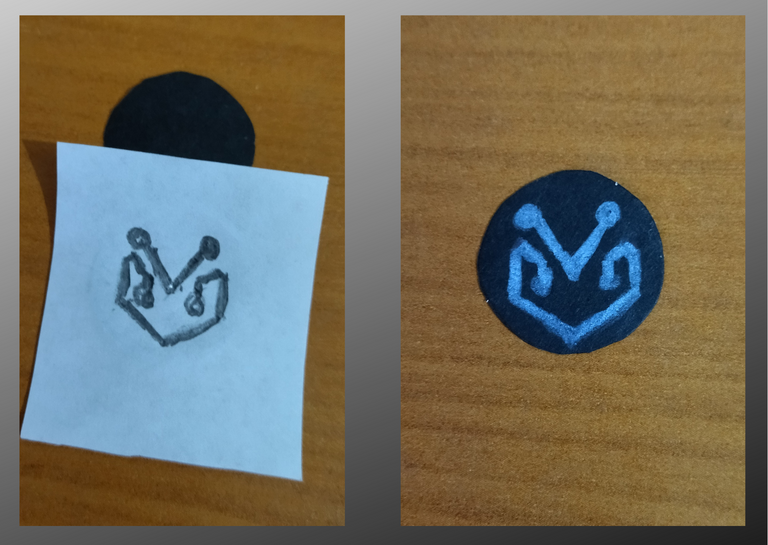
- Then take the mold of the logo that I made on the small piece of white paper, place the black circle underneath and mark it with a strong pencil so that the lines on the cardboard would be transparent.
- With a white color I outlined the lines of the black circle, they were not so perfect, since it was a small circle.

• Vamos con la elaboración del logo, me fue un poco difícil determinar cómo hacerlo, y luego de varios intentos fallidos decidí hacer en una hoja blanca el dibujo del mismo para utilizarlo de patrón o molde.
• Tome un trozo de cartón negro e hice una circunferencia con la ayuda de la regla, en la medida número 18, recorte.
• Luego tome el molde del logo que realice en el pequeño trozo de hoja blanca, coloque el circulo negro debajo y remarque con el lápiz fuerte para que quedaran las líneas en el cartón con transparencia.
• Con un color blanco remarque las líneas del círculo negro, no me quedaron tan perfectas, ya que era un círculo algo pequeño.
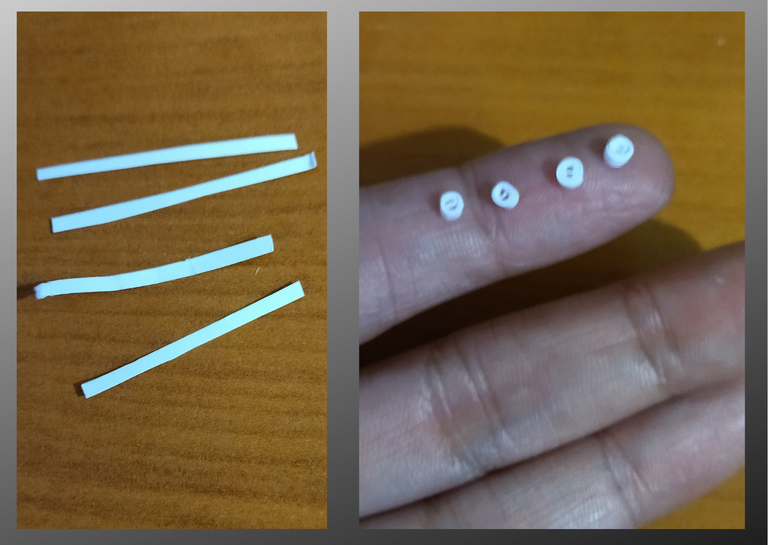
- I decided to make 4 small quilling circles with a 3mm wide piece of white quilling to add a 3D effect to the logo.
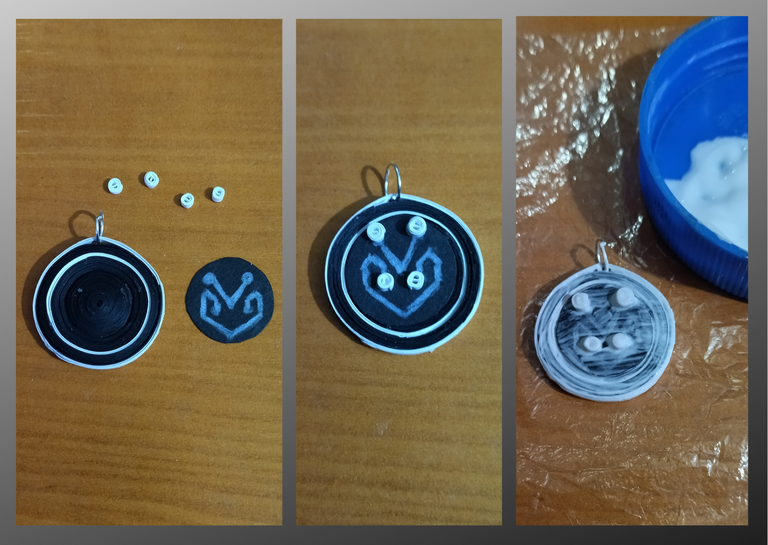
- Glue the cardboard in the center of the base of the charm, and incorporate the 4 small circles.
- Finally add your liquid protection (plasticized), applying with a brush several layers of extra strong white glue, letting it dry between one layer and another, let it dry very well.

• Decidí hacer 4 pequeños círculos de quilling con un trocito de quilling blanco de 3mm de ancho para agregarle un efecto 3D al logo.
• Pegue el cartón en el centro de la base del dije, e incorpore los 4 pequeños círculos.
• Por ultimo le agregue su protección liquida (plastificado), aplicando con un pincel varias capas de pega blanca extra fuerte dejando secar entre una capa y otra, dejamos secar muy bien.

What did you think, did you like it?
I hope you did, I hope you liked my explanation, procedure and photos, I made them with love for you.
"Let out that muse that inspires you, and let your imagination fly".
Thank you all, see you next time. 🌹✨

¿Que les pareció, les gustó?
Espero que sí, que les haya gustado mi explicación, procedimiento y fotos, los hice con mucho cariño por y para ustedes.
"Deja salir esa musa que te inspira, y deja volar tu imaginación".
Gracias a todos, nos vemos en la próxima. 🌹✨
Los invito que apoyen a "La Colmena", dale tu voto ✨
 Vote la-colmena for witness By @ylich
Todas las fotos usadas en este post son de mi autoría y han sido sacadas en mi celular personal un Redmi 9T y editadas Canva Banner y separador hecho por mí en Canva Traducido con la ayuda de DeepL


