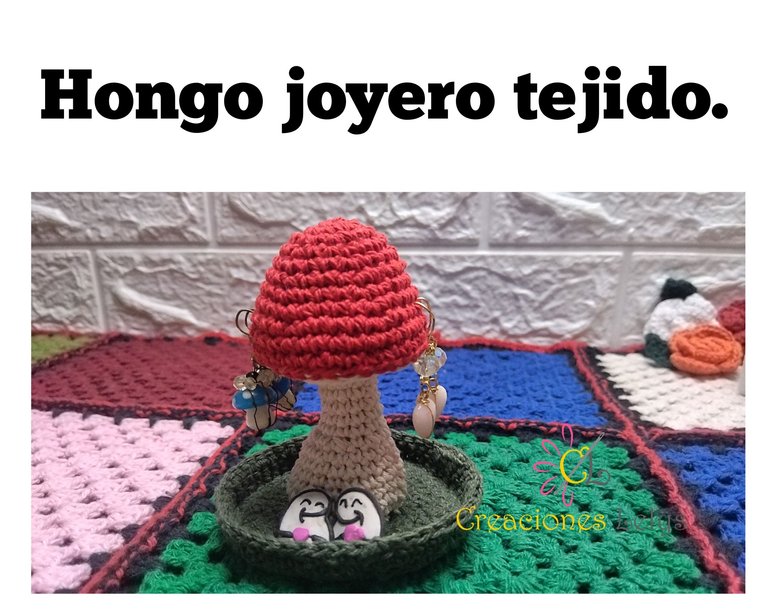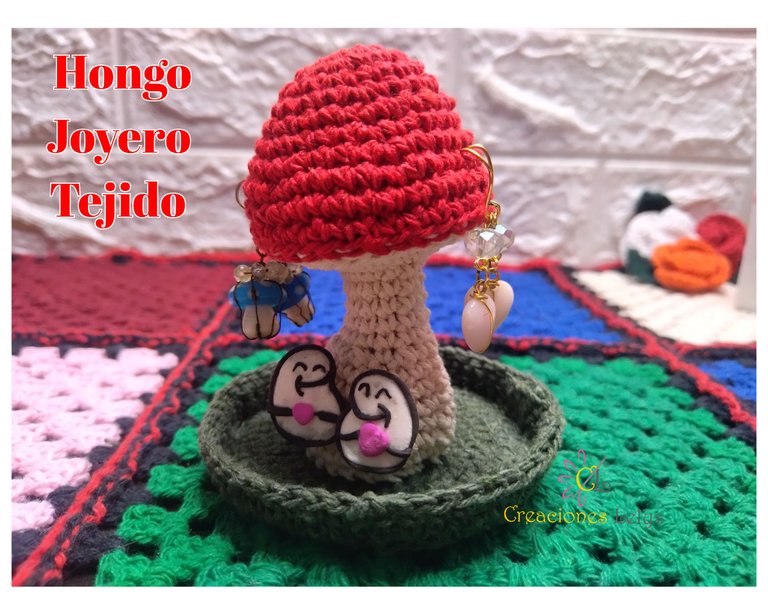
Hola amigos, espero que estén muy bien. El día de hoy quiero compartirles mi más reciente creación. La tejí pensando en la decoración de una mesa de exposición o de nuestra repisa, cómoda o peinadora. La verdad es que luce bastante lindo dónde quiera que lo coloquemos. Se trata de un Hongo Joyero que tejí a crochet. El modelo es sencillo, se teje rápido y el resultado como podrán ver es sensacional. Deseo que les guste este diseño de joyero y que se animen a recrearlo con cualquier otro material y diferentes tamaños. Les será de mucha utilidad tener uno. Ahora les presento el paso a paso.
Hello friends, I hope you are very well. Today I want to share with you my most recent creation. I knitted it thinking about decorating a display table or our shelf, dresser or comb. The truth is that it looks pretty nice wherever we place it. It is a Jewelry Mushroom that I crocheted. The pattern is simple, quick to knit and the result as you can see is sensational. I hope you like this jewelry box design and that you are encouraged to recreate it with any other material and different sizes. It will be very useful to have one. Now I present the step by step.
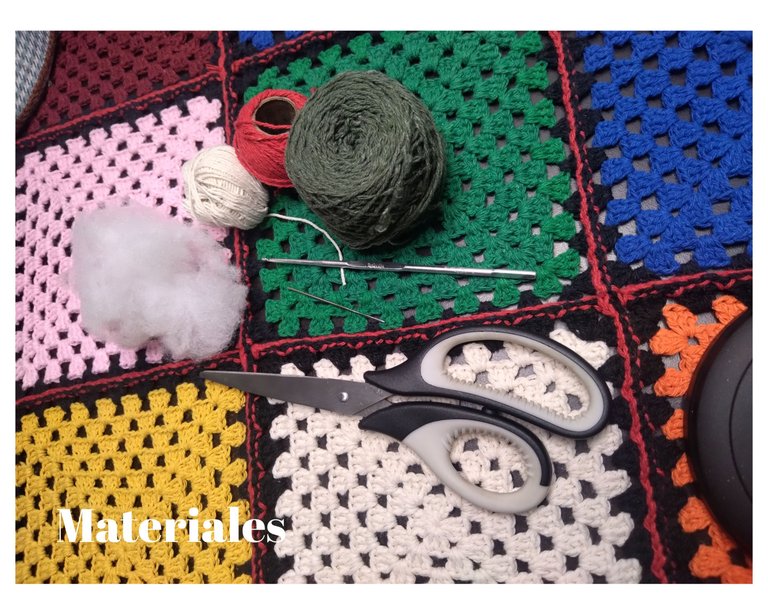
LISTA DE MATERIALES QUE USÉ PARA HACER EL JOYERO.
LIST OF MATERIALS I USED TO MAKE THE JEWELRY BOX.
🍄 Hilos pabilos colores verde, crudo y rojo.
🍄 Aguja de crochet de 2,25mm.
🍄 Aguja lanera.
🍄 Algodón para rellenar.
🍄 Tijeras.
🍄 Hilos pabilos colores verde, crudo y rojo.
🍄 Aguja de crochet de 2,25mm.
🍄 Aguja lanera.
🍄 Algodón para rellenar.
🍄 Tijeras.
PROCESO PARA LA ELABORACIÓN DEL HONGO 🍄 JOYERO.
PROCESS FOR THE PREPARATION OF THE MUSHROOM 🍄 JEWELER.
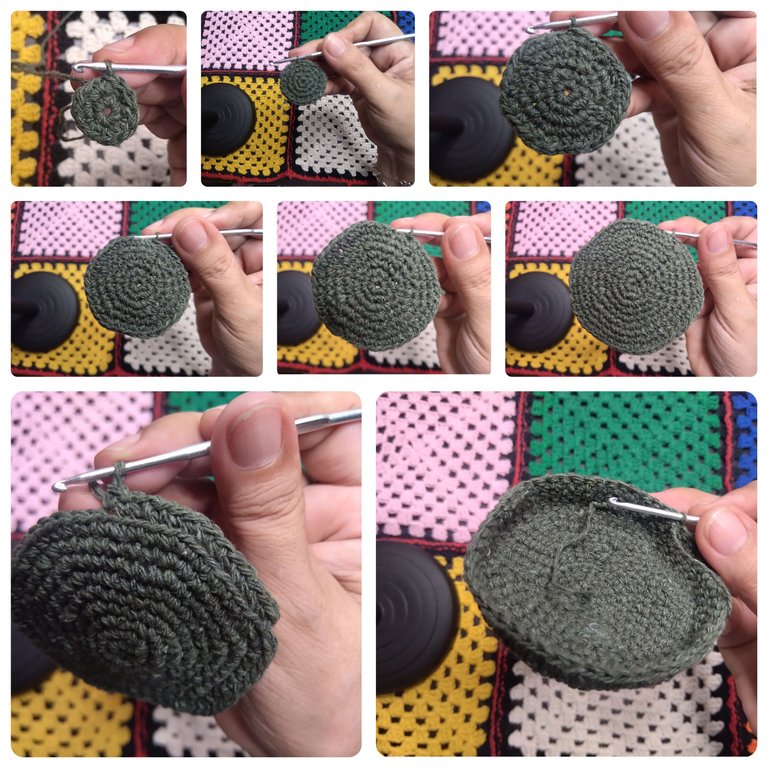
🍄 Empecé tejiendo con el hilo verde. Inicié con 6pb dentro de un anillo mágico. Luego fui realizando las debidas vueltas de aumentos desde 6 aum de pb hasta 7pb-1aum. Después tejí una vuelta sin aumentos tomando solo la hebra de atrás del punto. Para terminar tejí dos vueltas más de pb sin aumentos. Cerré la vuelta con pd, corté la hebra y la escondí entre los puntos.
🍄 I started by knitting with the green yarn. I started with 6pb inside a magic ring. I then went through the proper rounds of increases from 6pb increases to 7pb-1aum. Then I knitted a round without increases, taking only the yarn from the back of the stitch. To finish I knit two more rounds of bp without increases. I closed the row with pd, cut the yarn and hid it between the stitches.
🍄 Tomé el hilo color crudo. Empecé tejiendo 6pb dentro de un anillo mágico. Luego tejí 6aum de pb. Las dos vueltas siguientes fueron de aumentos: 1pb-1aum y 2pb-1aum. La siguiente fue de solo pb tomando solo la hebra de atrás. Tejí una vuelta más sin aumentos tomando el punto completo. Tejí una vuelta de 2pb-1dism y luego tres vueltas sin aumentos. Una vuelta de 1pb-dism y luego cinco vueltas sin aumentos. Ahora empecé a realizar aumentos desde 1pb-1aum hasta 4pb-1aum. Al terminar tejí 1pd y dejé la hebra larga para coser después a las otras piezas.
🍄 I took the ecru colored yarn. I started by knitting 6pb inside a magic ring. Then I knit 6aum of bp. The next two rounds were increases: 1pb-1aum and 2pb-1aum. The next one was a single crochet taking only the back strand. I knit one more round without increases taking the whole stitch. I knit one round of 2pb-1dism and then three rounds without increases. One round of 1pb-dism and then five rounds without increases. Now I started making increases from 1pb-1aum to 4pb-1aum. When I finished I knit 1pd and left the long strand to sew to the other pieces later.
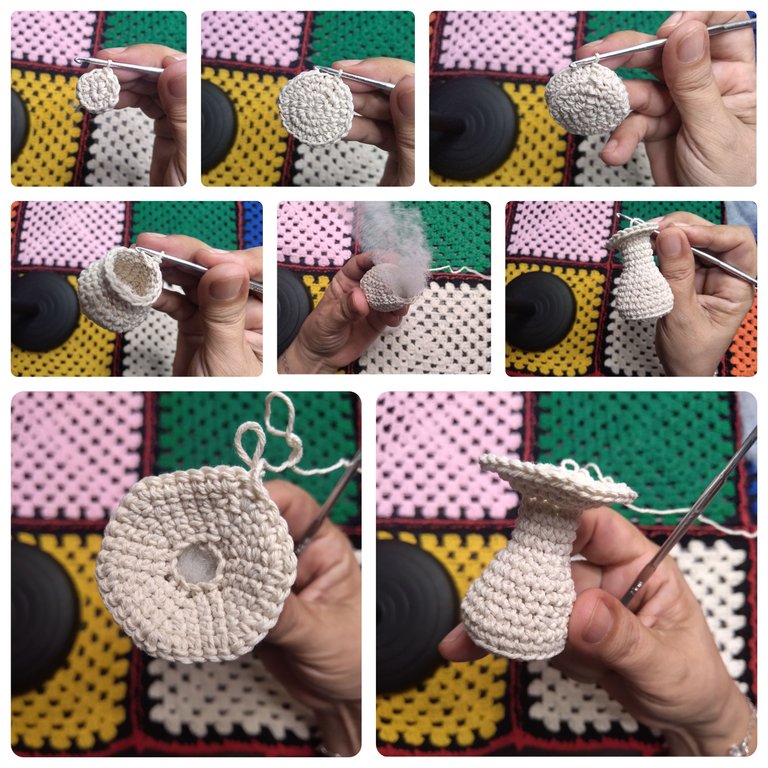
🍄 A la pieza anterior se le debe colocar relleno a medida que se va tejiendo.
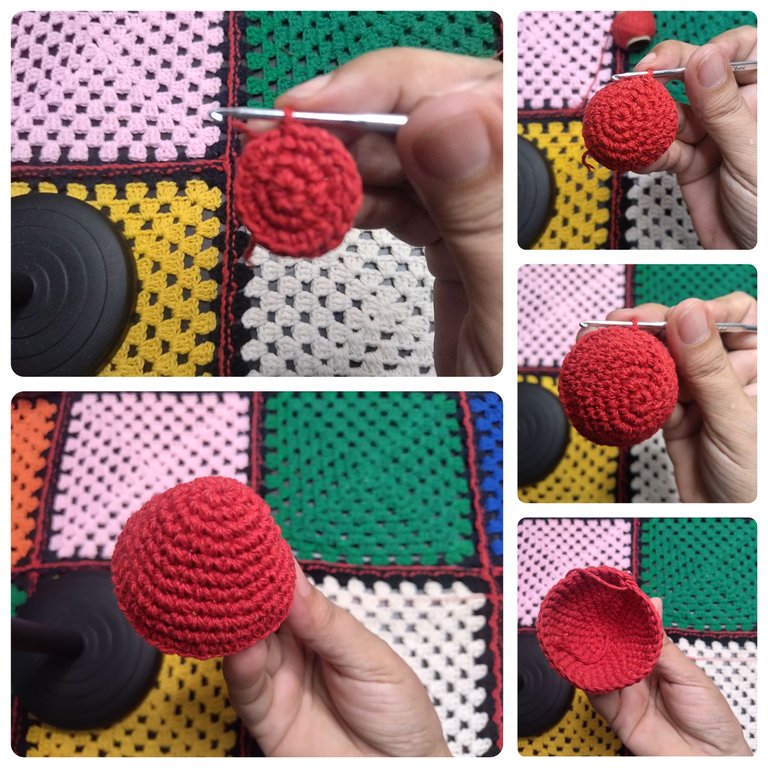
🍄 Con el hilo color rojo inicié desde un anillo mágico de 6pb. Luego tejí una vuelta de 1pb-1aum, una vuelta sin aumentos. Una vuelta de 2pb-1aum, una sin aumentos. Luego una de 3pb-1aum, otra de 4pb-1aum. Finalizando con tres vueltas de solo pb. Tejí un pd y escondí la hebra sobrante.
🍄 To the previous piece you should place stuffing as you knit.
🍄 With the red colored yarn I started from a 6pb magic ring. Then I knit one round of 1pb-1aum, one round without increases. One round of 2pb-1aum, one round without increases. Then one round of 3pb-1aum, one round of 4pb-1aum. Finishing with three rows of single crochet. I knit one pd and hid the excess yarn.
Es muy relajante realizar este tipo de manualidades. Ver como se va formando la figura del hongo me encantó. Es el primero hongo joyero que realizo y estoy muy contenta con el resultado. Tejer mantiene mi mente ocupada y todo mi ser en total calma. Lastima que a veces el hambre rompe con ese relax 😞 y tengo que hacer pausa para cocinar y comer 😊
It is very relaxing to make this kind of crafts. I loved seeing how the mushroom figure is forming. It is the first mushroom jewelry I have made and I am very happy with the result. Knitting keeps my mind busy and my whole being calm. Too bad that sometimes hunger breaks that relax 😞 and I have to pause to cook and eat 😊.
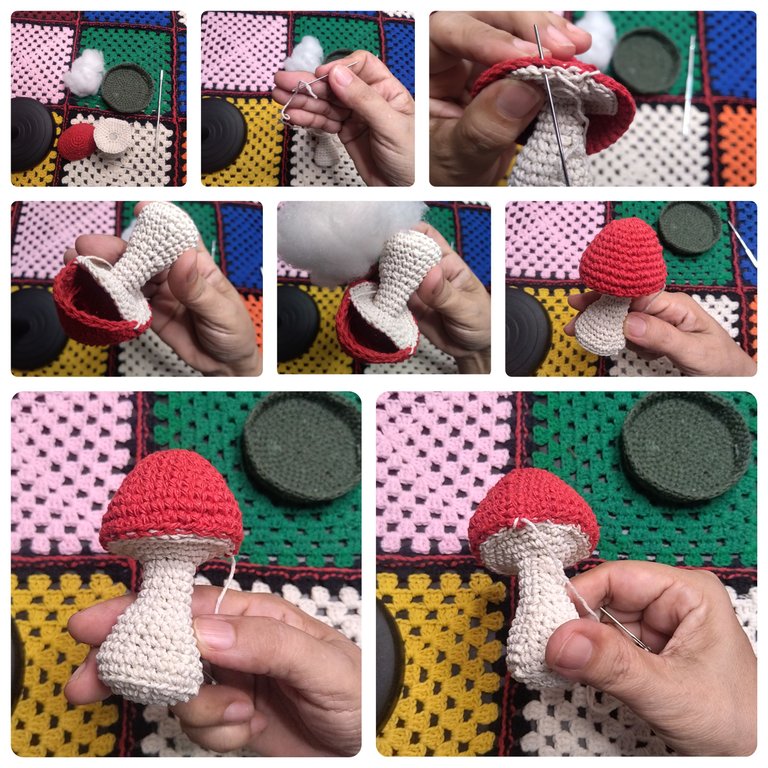
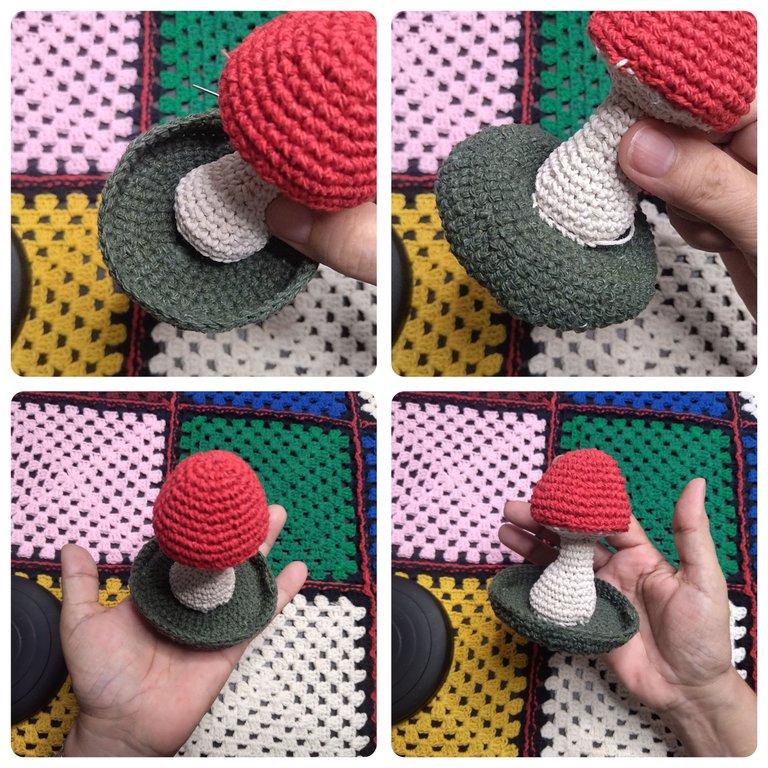
🍄 Una vez tejidas las tres piezas procedí a coserlas. Empecé cosiendo la parte roja del hongo al tallo. Antes de cerrar totalmente coloqué un poco de relleno.
🍄 Después tejí el tallo a la base que tejí en color verde. Colocando el tronco en el centro de la base y cosiendo por las hebras delanteras que se ven en esa vuelta del tallo.
🍄 Así se ve de lindo este hongo. ¡Me encanta como se ve!
🍄 Once the three pieces were woven I proceeded to sew them together. I started by sewing the red part of the mushroom to the stem. Before closing completely I placed some stuffing.
🍄 Then I wove the stem to the base that I wove in green. Placing the stem in the center of the base and sewing through the front strands that you see in that round of the stem.
🍄 That's how cute this mushroom looks, I love the way it looks!
🙋🏽♀️ Enseguida busqué los zarcillos para colgar. Coloqué los de pin en la parte baja del hongo y los de anzuelos en la cabeza o parte roja de honguito. Está bien chévere para colocar los aretes que con más frecuencia usamos. ¿Qué les pareció este diseño de joyero?
Muchísimas gracias por el apoyo. Todas las fotos son de mi propiedad. Edité con Polish. Usé el traductor de Deelp. Bendiciones. Hasta pronto 😘
🙋🏽♀️ Then I looked for the tendrils to hang. I placed the pin ones in the lower part of the mushroom and the hook ones in the head or red part of the mushroom. It is very cool to place the earrings that we use most often. What did you think of this jewelry box design?
Thanks so much for your support. All photos are my property. I edited with Polish. I used Deelp translator. Blessings. See you soon 😘
