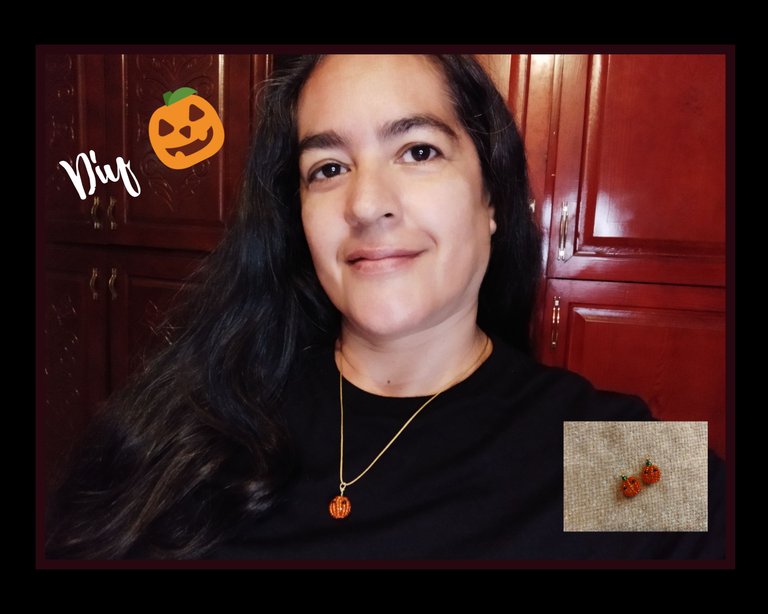
Español.
Hola 🌷 una vez más yo por aquí con ustedes. Me da muchísimo gusto saludos. Deseo de todo corazón que estén pasando un lindo día donde quiera que se encuentren.
Los venezolanos no tenemos como tradición festejar el día de brujas o celebración de Halloween 🕷️ como los habitantes de otros países, sin embargo desde que estoy en esta hermosa plataforma no he desperdiciado este mes para aprender a realizar algunas manualidades relacionadas con la temática.
Me he percatado que en estos años las figuras que llaman mi atención han Sido las mismas: arañas, calabazas, Frankenstein y murciélagos. ¿Cómo evitarlo? Ni idea 🙄 cuando a una le gusta algo pueden pasar mil años y los gustos permanecen. Esa es la excusa o la explicación del por qué hoy les presento un nuevo proyecto cuya figura es la 🎃 calabaza; mejor conocida por nosotros como la auyama.
No sé por qué siempre me inclino por realizar trabajos con materiales pequeños 😳 todo me lo imagino en miniatura, practico de vez en cuando el minimalismo sin darme cuenta. Veo que los accesorios más delicados son los que se elaboran con piezas o piedras pequeñas. También varía esta apreciación según el gusto. Mi tía Miguelina adora usar accesorios muy grandes. Siempre usó su cabello corto porque dice que para lucir sus joyas es mejor. Veamos la lista de materiales que usé para realizar las lindísimas calabacitas 🎃
🎃 Pinzas de bisuteria: punta plana, mandril, pinza de corte o alicates.
🎃 Dos bolas de cristal transparentes con manchas anaranjadas.
🎃 Mostacillas anaranjadas traslúcidas de las más pequeñas.
🎃 Mostacillas negras de las más pequeñas.
🎃 Mostacillas verdes traslúcidas de la mediana.
🎃 Alambre de bisutería del número 24.
🎃 Dos anzuelos para zarcillos.
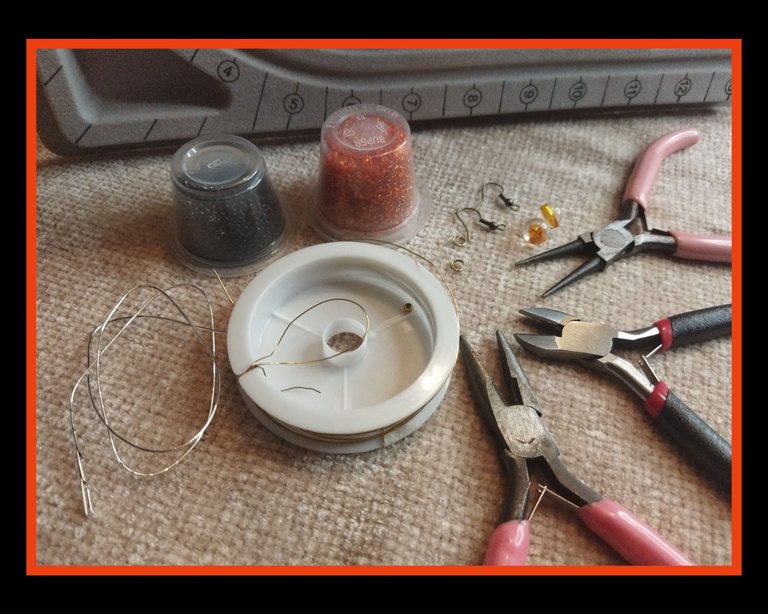
Cómo puedes ver las bolas son muy pequeñas y pesadas, además por ser de vidrios son resbalosas. Si te animas a realizar este proyecto te sugiero elegir unas esferas menos lisas, más grandes y totalmente anaranjadas para que el resultado sea más agradable a la vista, aunque a mí me encantó como quedaron mis calabazas 🎃
🎃 Se empieza tomando un trozo de alambre de más o menos 50 cm, se pasa por un orificio de la bola. Dejando unos centímetros de alambre por un extremo y algunos 45 cm del otro, hacemos el primer entorche cruzando estos extremos. Por el alambre largo se meten las mostacillas que cubrirán posteriormente la bola. El número de mostacillas dependerá del tamaño de la bola. Una vez que se meten las primeras mostacillas se pasa el alambre por el orificio de abajo y se saca por arriba por donde quedó el alambre corto.
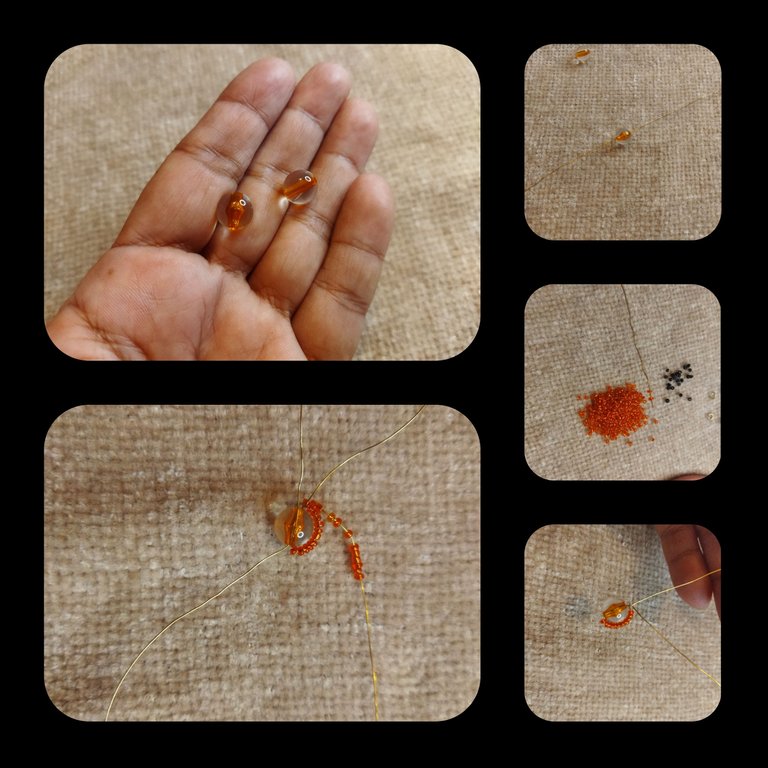
🎃 Debemos cubrir la bola repitiendo este proceso. Meter por debajo y sacar por arriba luego de meter las mostacillas. Para hacer los ojos de la calabacita se meten primero tres mostacillas anaranjadas, una negra y seis anaranjadas nuevamente. Si te fijas bien en el medio de las líneas de las mostacillas negras hay una anaranjada, debes hacer tu diseño o imaginarlo previamente antes de comenzar a ejecutar el proyecto.
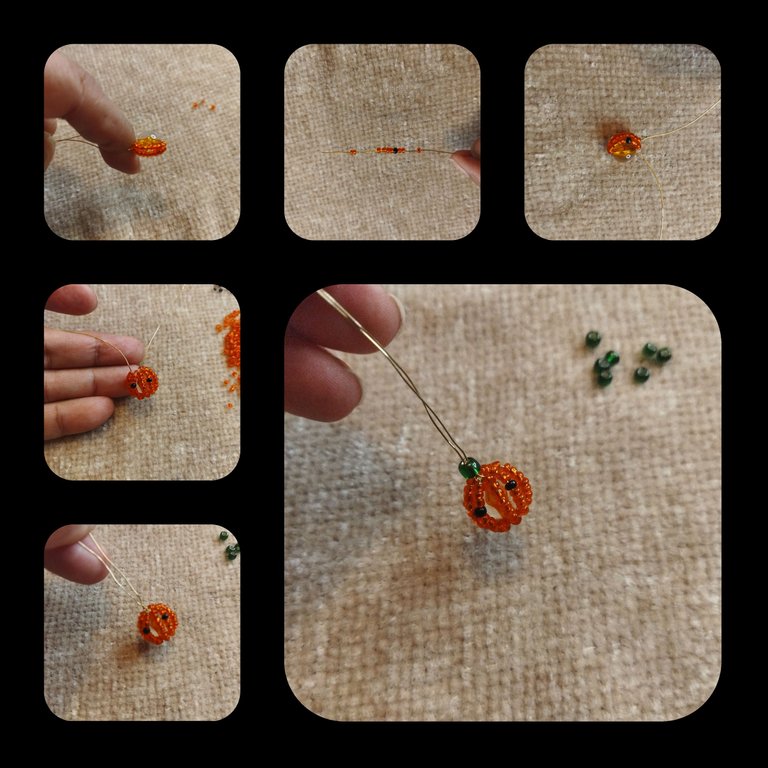
🎃 Una vez cubierta toda la bola se entorcha de nuevo dando dos vueltas, se mete la mostacilla verde y se terminan de entorchar los alambres para luego hacer la argolla con la ayuda de las pinzas.
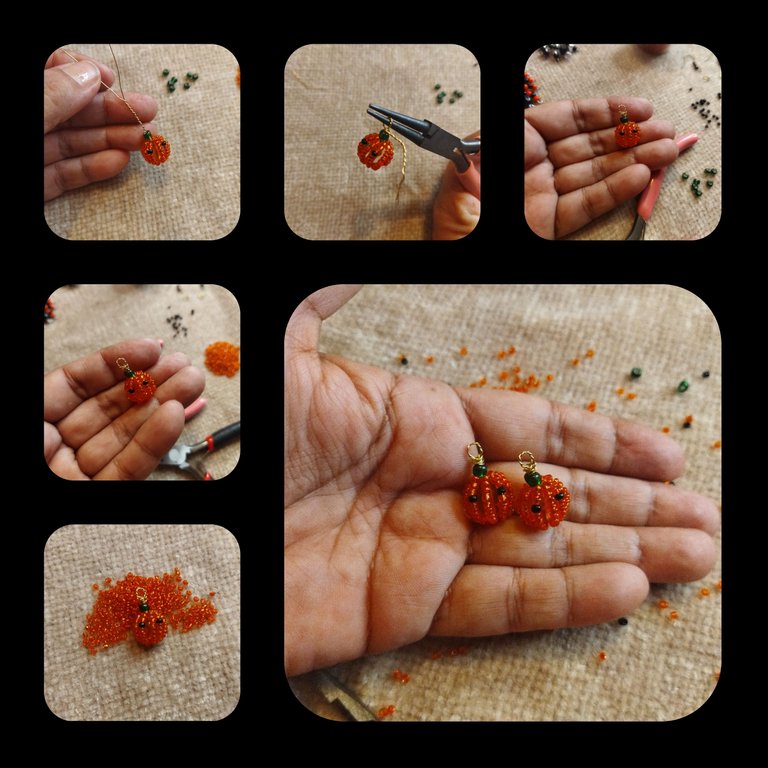
🎃 Puedes hacer tres de estas, dos iguales y una más grandecita o las tres del mismo tamaño. Se ven muy lindas. Debes asegurarte que el alambre pase por el orificio en varias vueltas y que siempre esté muy derechito al pasarlo.
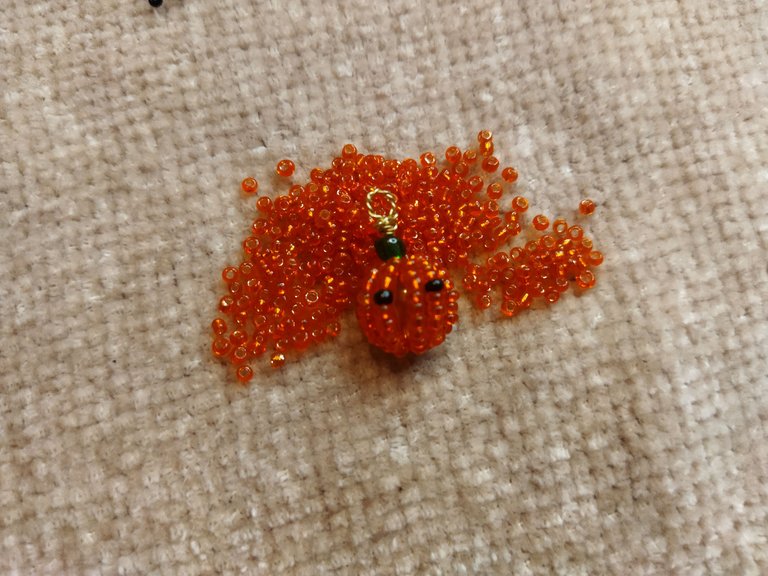
🎃 ¡Qué lindas mis calabacitas amigos! Me encantan. 🎃 Anímense a practicar la bisuteria, no se van a arrepentir. Una vez que comiencen de a poco podrán ir adquiriendo insumos. Yo me la paso muy bien y entretenida creando. Ya quiero tener más tiempo disponible para hacer muchos más proyectos y mostrárselos.
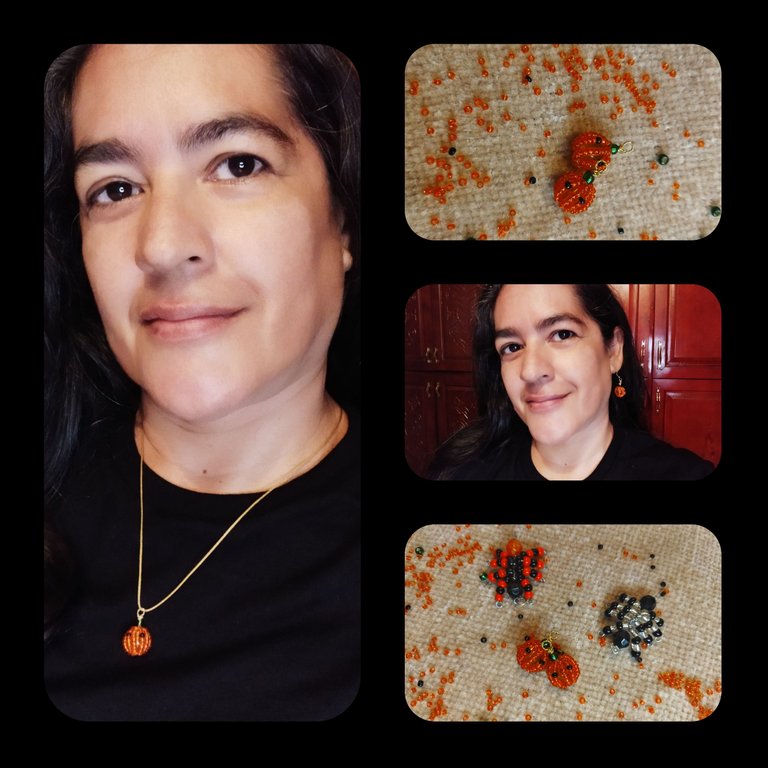
Muchas gracias por tu visita. Todas las fotos son de mi propiedad. Edité con Polish. Usé el traductor de DeepL 😉 Hasta muy pronto 🤭
English.

Hello 🌷 once again I am here with you. It gives me great pleasure to greet you. I wish with all my heart that you are having a nice day wherever you are.
Venezuelans do not have as a tradition to celebrate Halloween 🕷️ as the inhabitants of other countries, however since I'm on this beautiful platform I have not wasted this month to learn to make some crafts related to the theme.
I've noticed that in these years the figures that catch my attention have BEEN the same: spiders, pumpkins, Frankenstein and bats. how to avoid it? No idea 🙄 when one likes something a thousand years can pass and the tastes remain. That's the excuse or the explanation why today I present you a new project whose figure is the 🎃 pumpkin; better known to us as the auyama.
I don't know why I'm always inclined to make work with small materials 😳 I imagine everything in miniature, I practice minimalism from time to time without realizing it. I see that the most delicate accessories are those made with small pieces or stones. This appreciation also varies according to taste. My aunt Miguelina loves to wear very large accessories. She always wore her hair short because she says it's better for showing off her jewelry. Let's see the list of materials I used to make the cute little pumpkins 🎃
🎃 Costume jewelry pliers: flat tip, mandrel, cutting pliers or pliers.
🎃 Two clear glass beads with orange spots.
🎃 Translucent orange translucent beads of the smaller ones.
🎃 Black beads of the smallest ones.
🎃 Translucent green beads of the medium one.
🎃 Number 24 costume jewelry wire.
🎃 Two hooks for tendrils.

As you can see the balls are very small and heavy, also because they are made of glass they are slippery. If you are encouraged to make this project I suggest you choose a less smooth, larger and totally orange spheres so that the result is more pleasing to the eye, although I loved how my pumpkins turned out 🎃
🎃 You start by taking a piece of wire about 50 cm long, pass it through a hole in the ball. Leaving a few centimeters of wire at one end and about 45 cm at the other, we make the first twist by crossing these ends. The beads that will later cover the ball are inserted through the long wire. The number of beads will depend on the size of the ball. Once the first beads are inserted, pass the wire through the bottom hole and pull it out through the top where the short wire was left.

🎃 We must cover the ball by repeating this process. Tuck in from the bottom and pull out from the top after tucking in the beads. To make the eyes of the pumpkin, first insert three orange beads, one black bead and six orange beads again. If you look closely in the middle of the lines of the black beads there is an orange one, you must make your design or imagine it before starting the project.

🎃 Once the whole ball is covered, it is twisted twice, the green beads are put in and the wires are twisted to make the ring with the help of the pliers.

🎃 You can make three of these, two the same and one bigger or all three the same size. They look very nice. You want to make sure that the wire goes through the hole in several turns and that it is always very straight when you pass it through.

🎃 How cute my little pumpkins my friends! I love them. 🎃 Take the plunge and start making jewelry, you won't regret it. Once you start little by little you will be able to buy supplies. I have a great time creating and having fun. I already want to have more time available to make many more projects and show them to you.

Thank you very much for your visit. All photos are my property. I edited with Polish. I used the translator from DeepL 😉 See you soon 🤭

