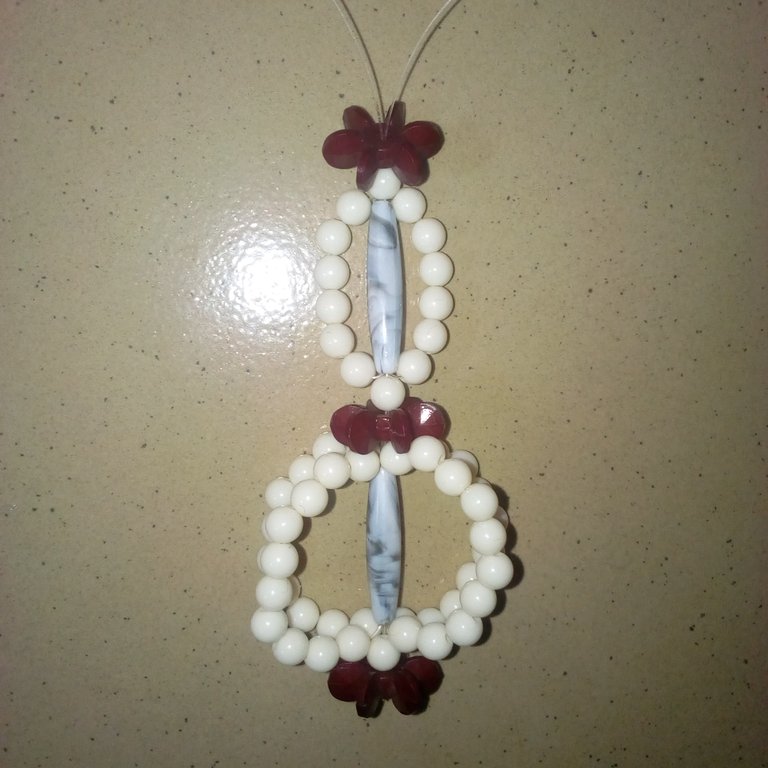
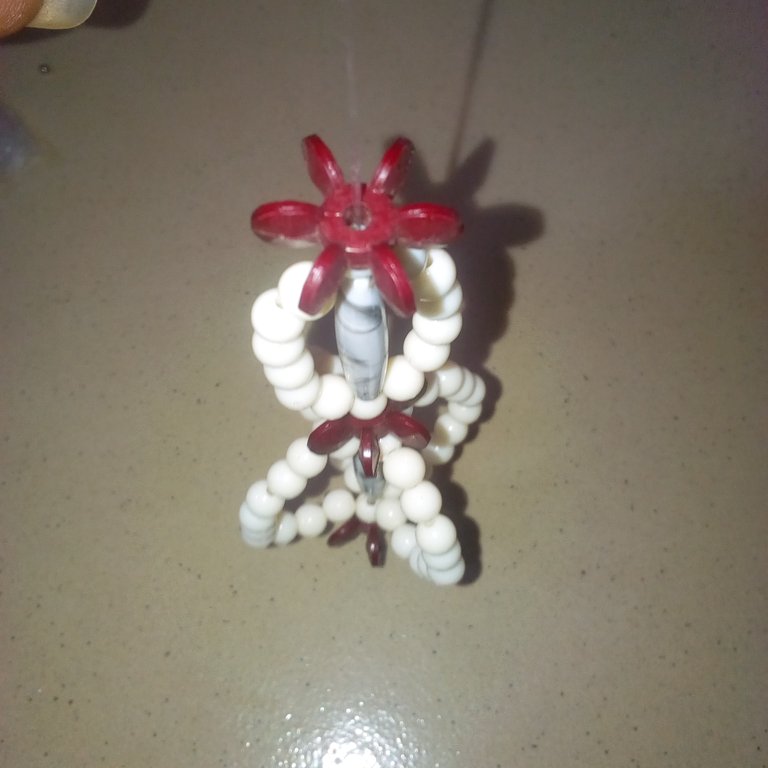
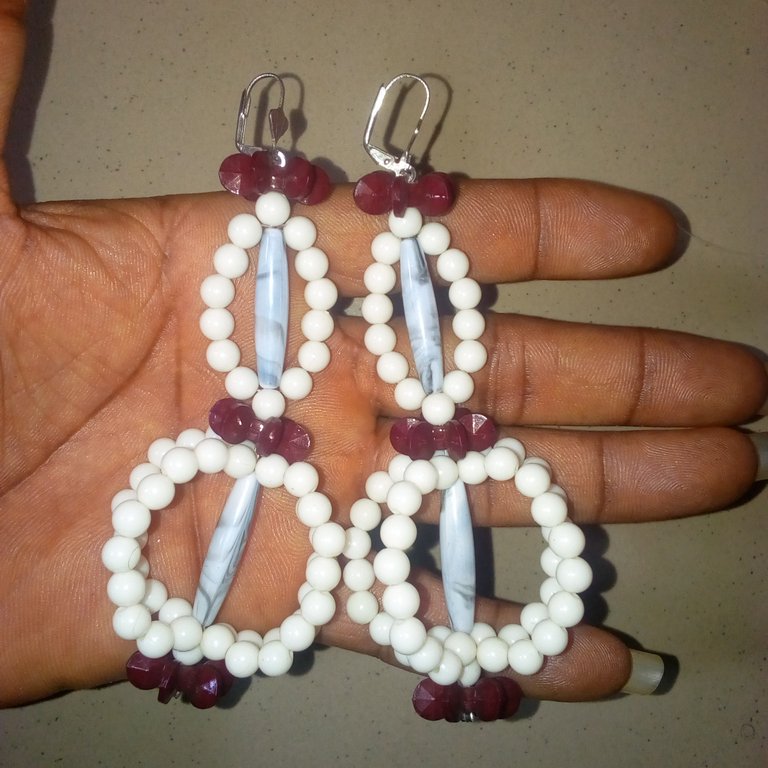
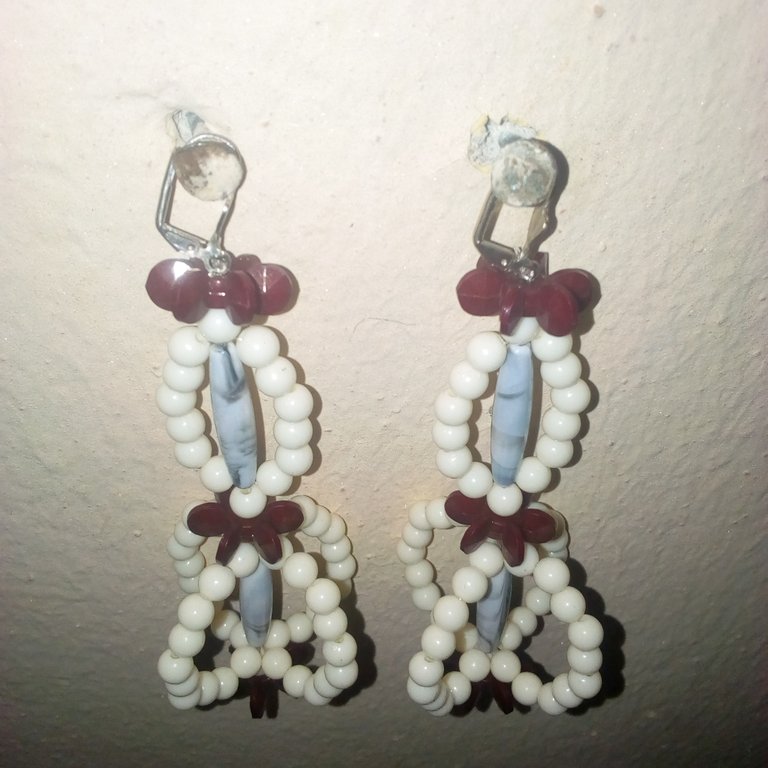
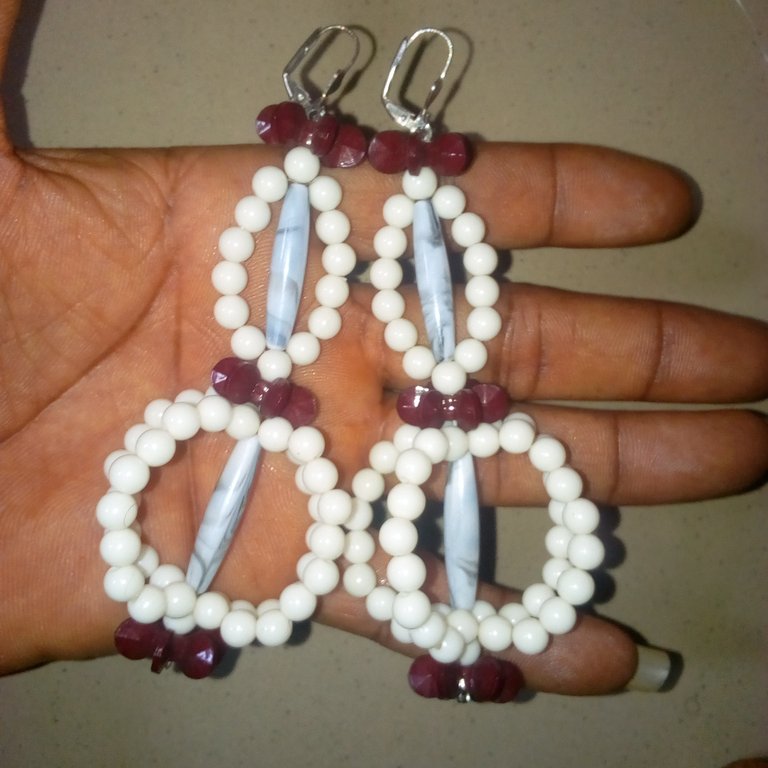
Hello to you awesome and lovely #jewelry community family. I hope you are controlling the little you can in your business places. I brought you all a new tendril I made today and feel to share the ideas with you all in order to encourage me whether the ideas about the choice I made in the design and color will be good to get to the general public. By the end of our discussion today about the tendril, I hope to drop the materials and procedures I followed to make the tendril. I expected to see how many creators will be able to make the tendril for his/her lovely ones through the tutorial I'll be providing below.
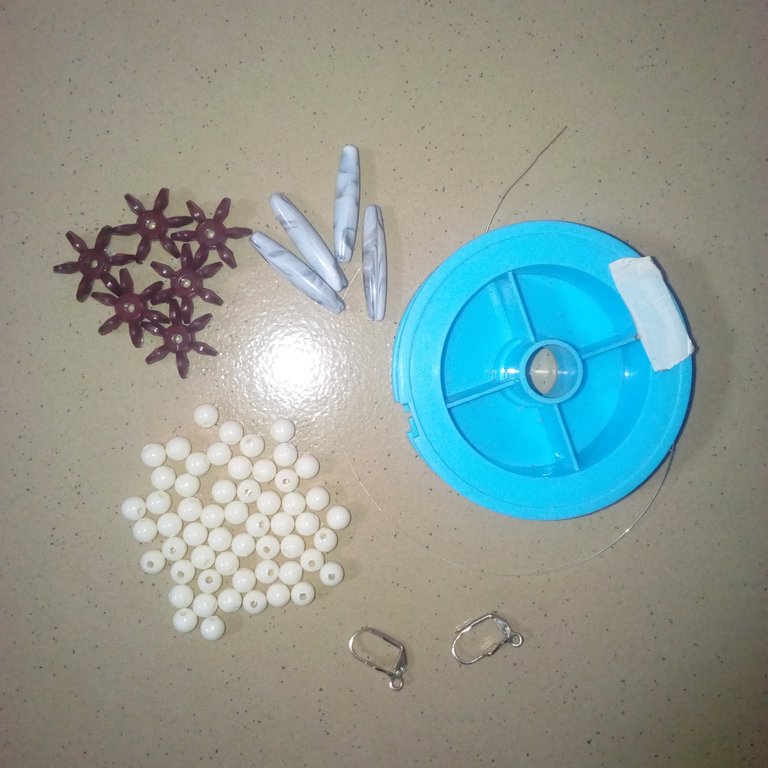
Materials that I used for the making of the tendril will be listed below:
Nylon line.
110 pieces of milk color pearl bead while 55 parts will be used to make each side of the ear.
6 pieces of dark red colored fan bead while 3 pieces of it will be used to make each side of the ear.
4 pieces of long straw bead while 2 pieces of it will be used to make each side of the ear.
Earring hook.
Bead stopper.
Procedures that I purposely used to make the tendril come to reality will be discussed below:
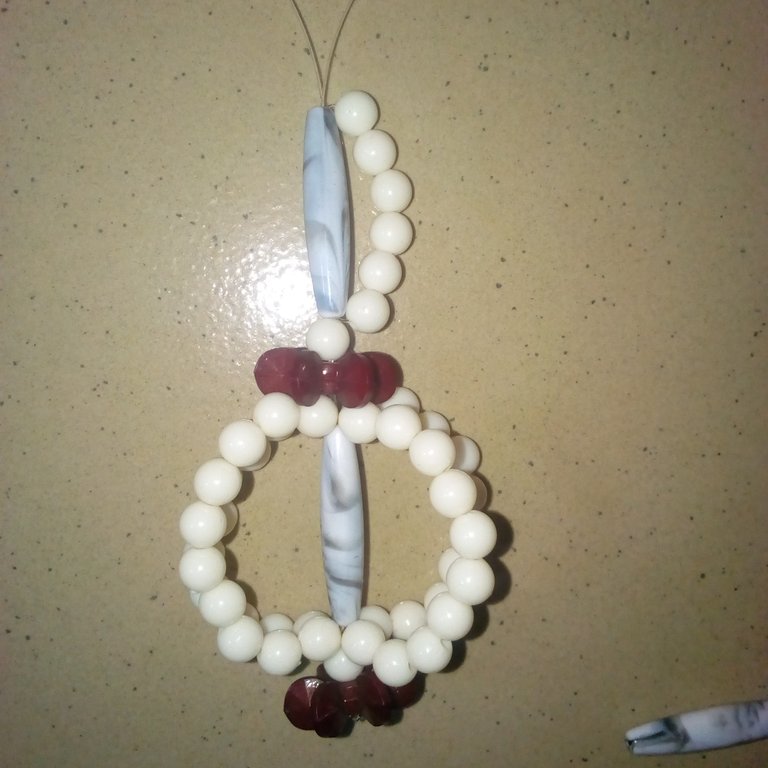
I had to cut a nylon line from its original row as usual and then I bent the nylon line to form two lines. I now have to insert a bead stopper into the two nylon lines and then draw it to appear and the joined area and later use a plier to clip it.
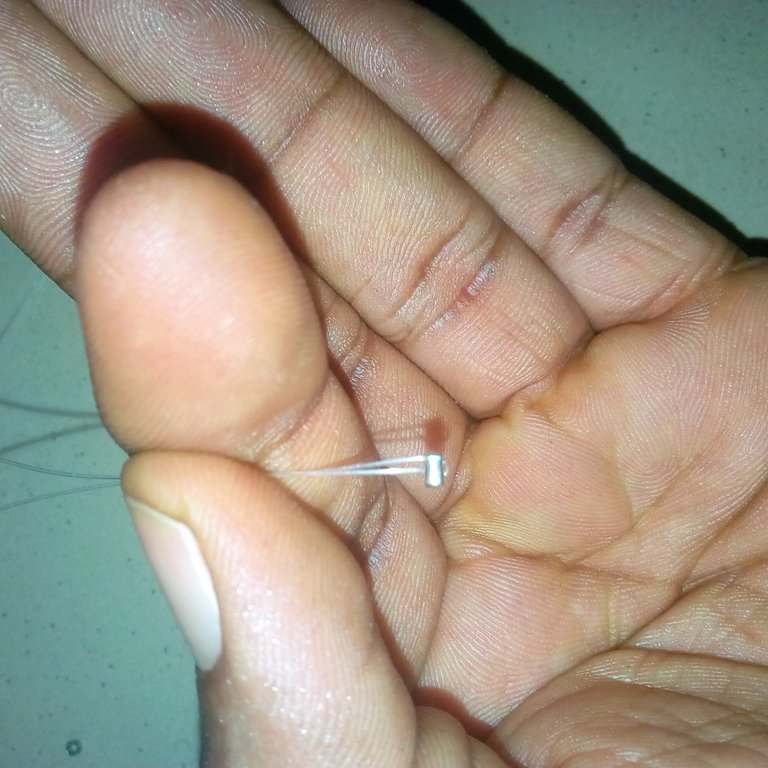
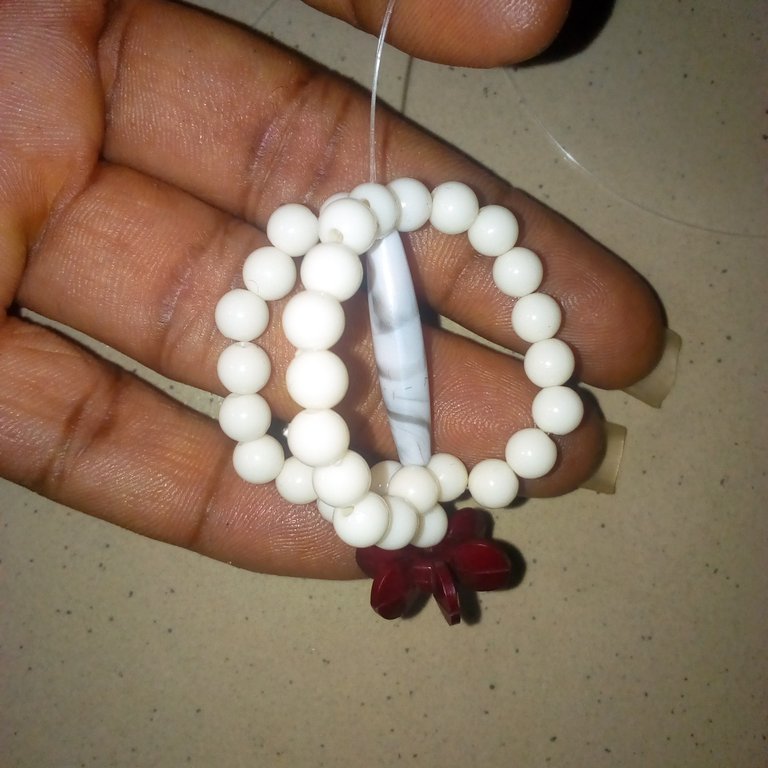
I now have to insert 1 piece of dark red color fan bead, 1 piece of milk-colored pearl bead, and 1 piece of long straw bead into the nylon lines.
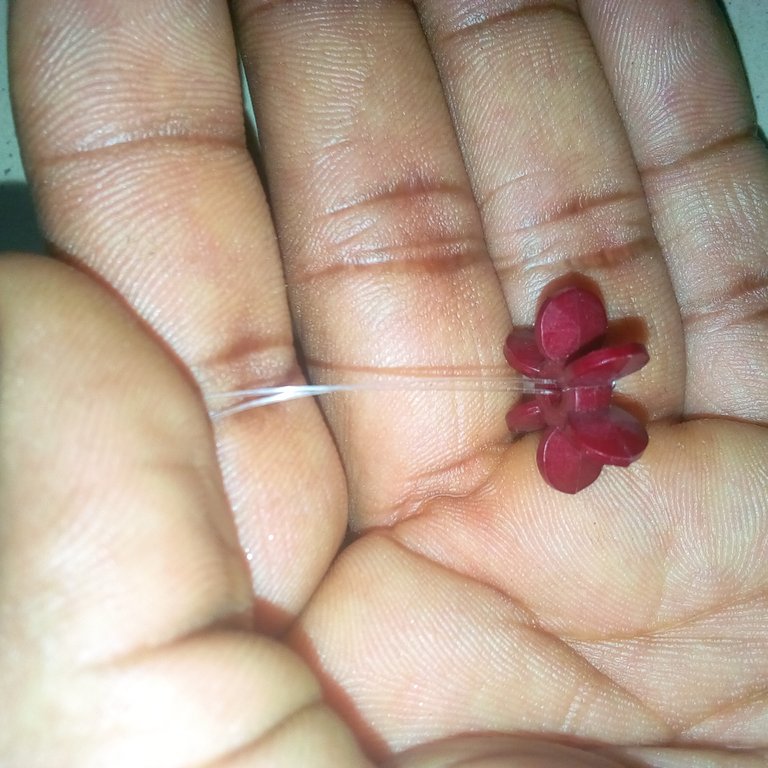
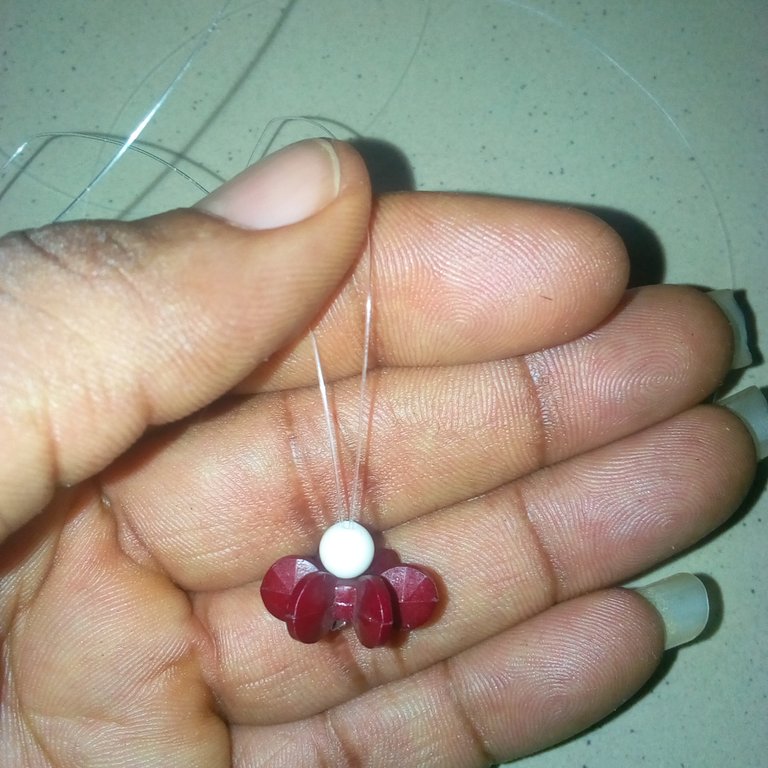
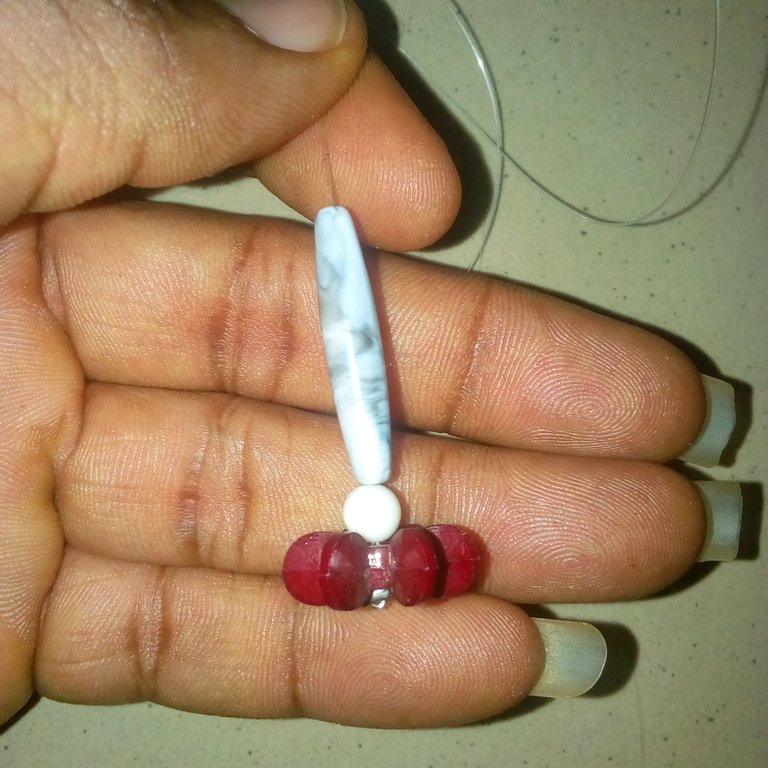
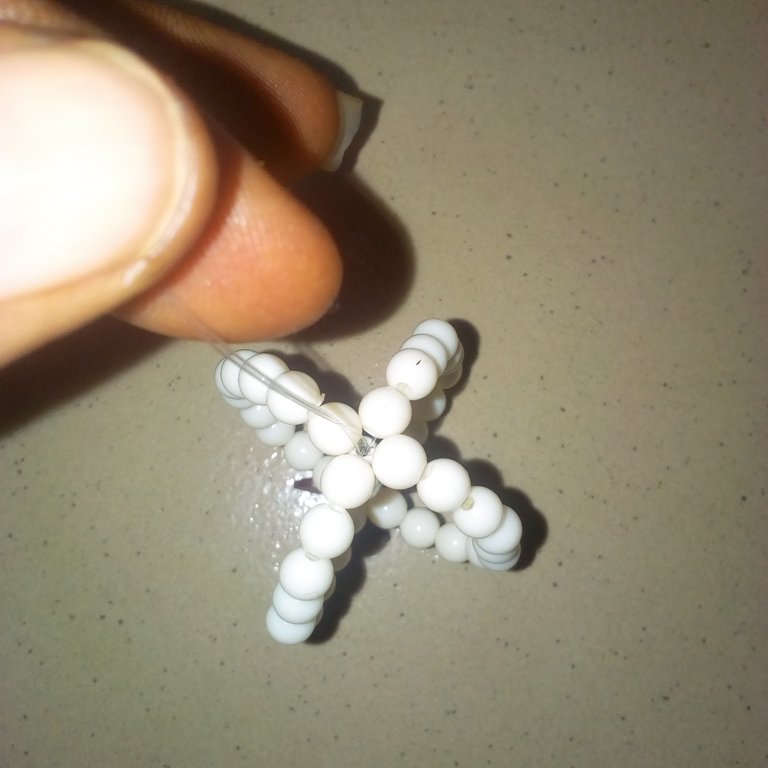
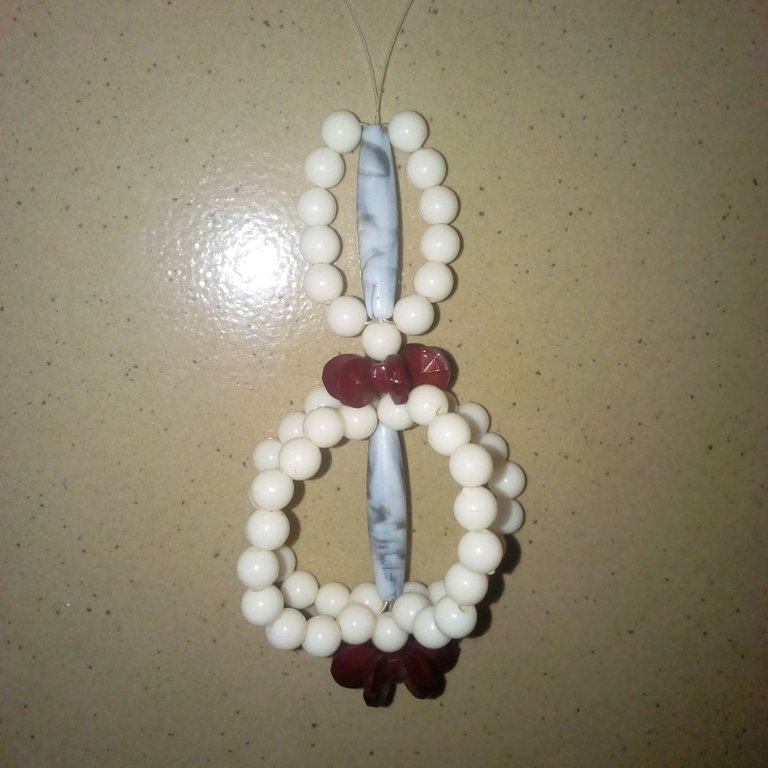
I now have to insert 10 pieces of milk-colored pearl beads into the right nylon line and then insert it from down till it comes out at the top of the long straw bead. I had to insert another 10 pieces of milk-colored pearl bead into the left nylon line and then insert it from down till it came out at the top of the long straw bead. I now inserted another 10 pieces of milk-colored pearl beads into one of the nylon lines and then inserted from down till it came out at the top of the long straw bead. I now inserted another 10 pieces of milk-colored pearl beads into the other nylon line and then I inserted it from down till it came out at the top of the long straw bead. I now have to make the four formed side-way lines to face each other.
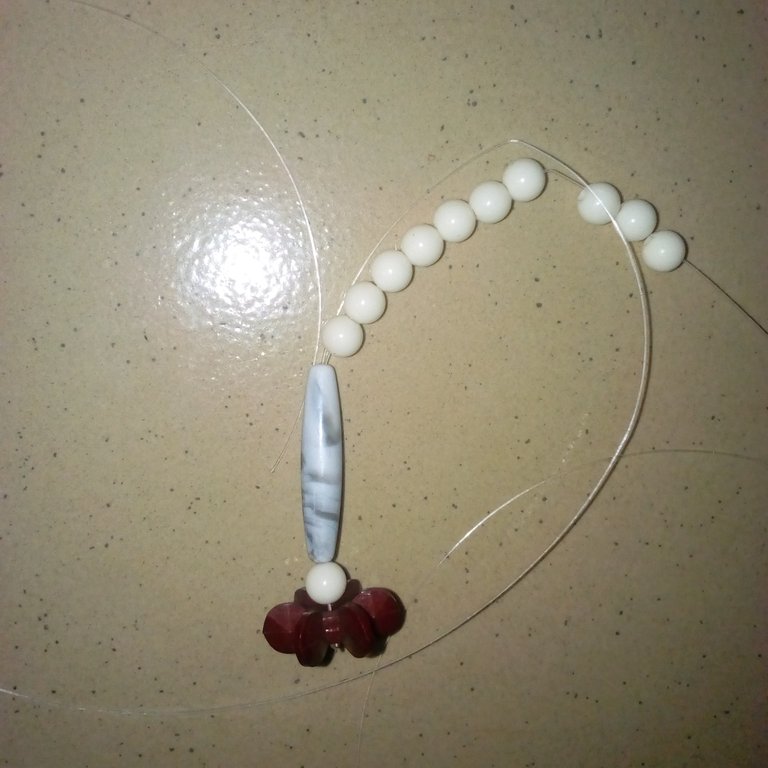
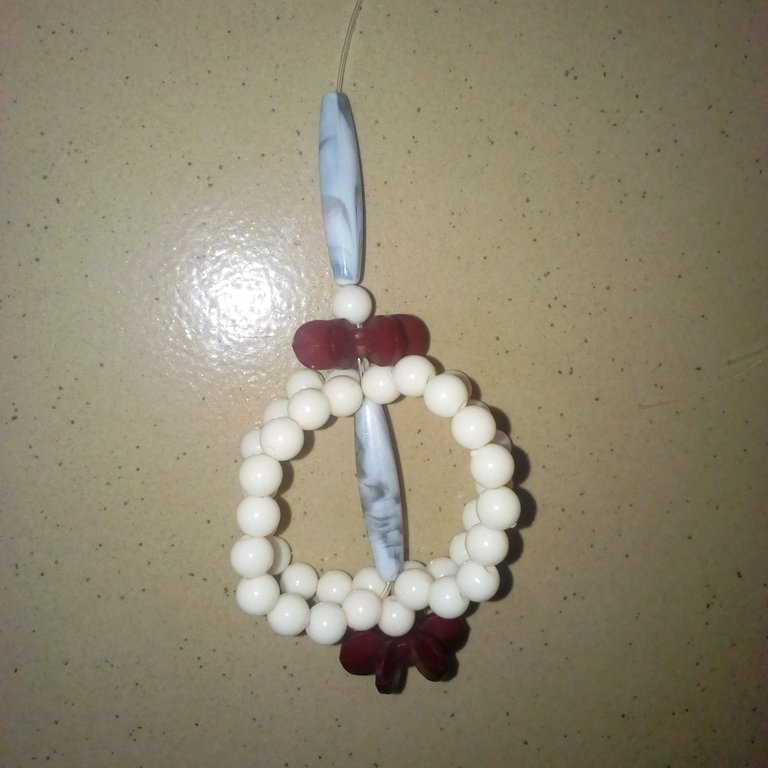
I now have to insert 1 piece of dark red color fan bead, 1 piece of milk-colored pearl bead, and 1 piece of long straw bead at the top of the first long straw bead.
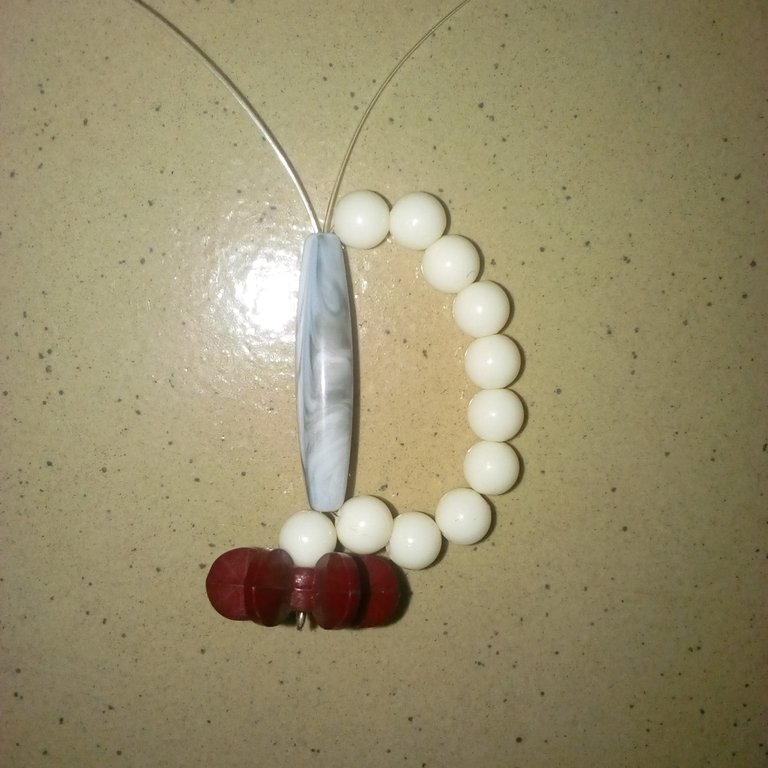
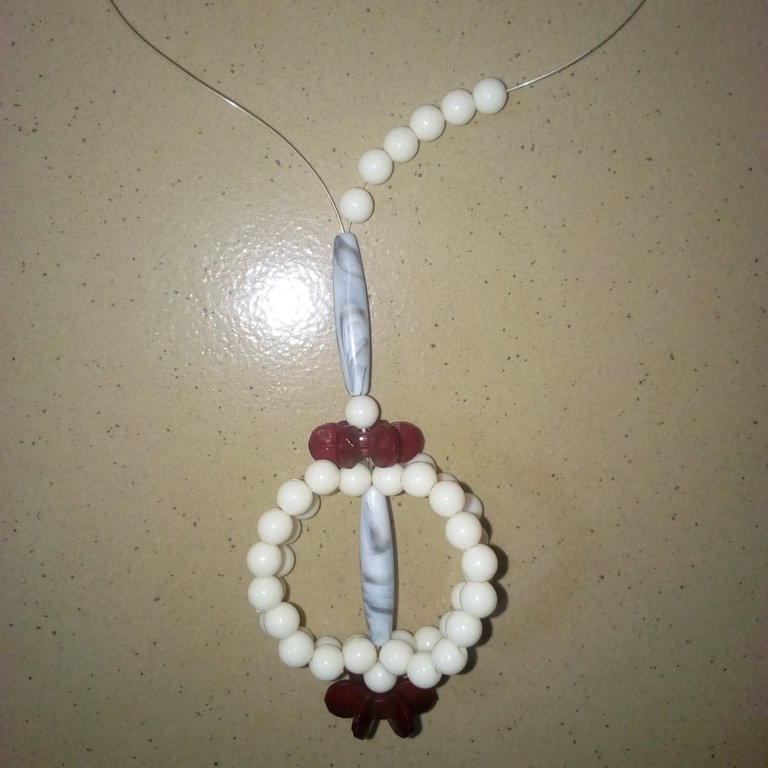
From the second long straw bead nylon lines, I had to insert 6 pieces of milk color pearl bead into the right nylon line and then insert it from down till it came out at the top second long straw bead. I now have to insert another 6 pieces of milk-colored pearl bead into the left nylon line and then insert it from down till it comes out at the top of the second long straw bead.
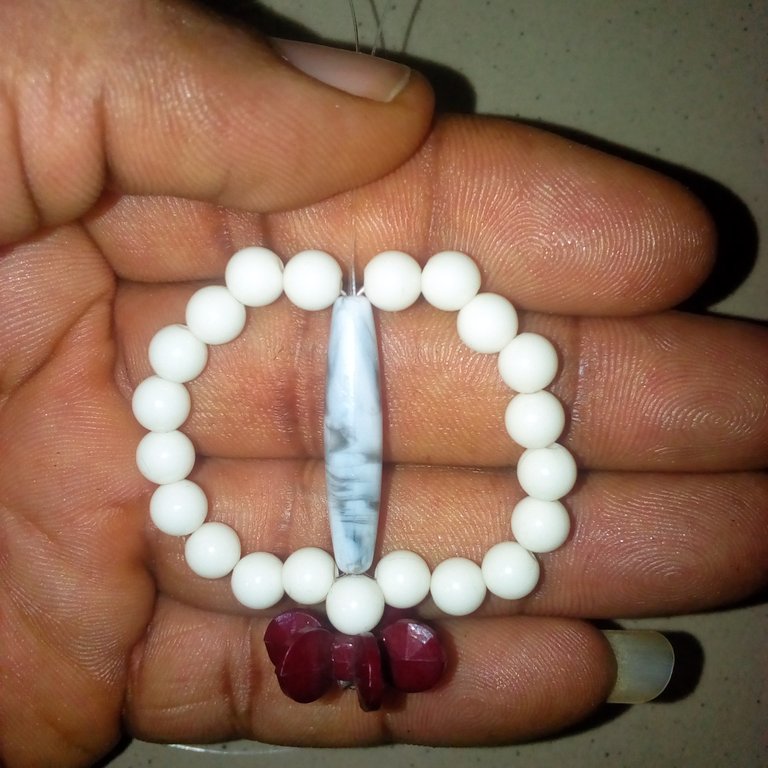
From the top of the second long straw bead, I have to insert 1 piece of milk color pearl bead, and 1 piece of dark red color fan bead. I now have to insert an earring hook into one of the nylon lines and use the second one to tie the other. I still had to insert a bead stopper and use my plier to hold it.
