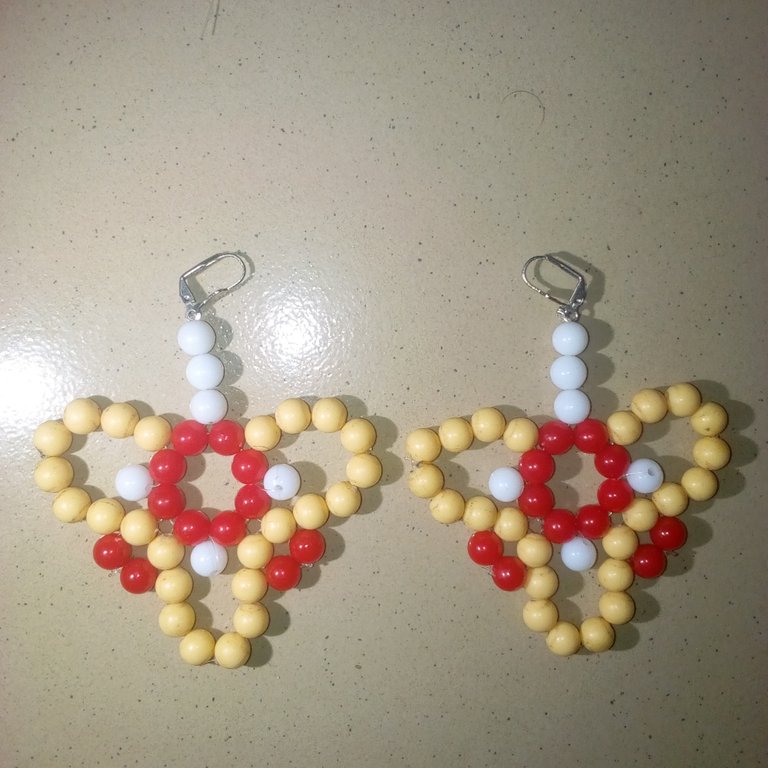
Hello, fellow awesome #jewelry community members. I hope everything including your family is going well this weekend. Today, I'll try and show you little by little steps I used to make a unique earring for a close friend. Materials and other procedures I adopted to make the earrings will all be provided and discussed to enhance support for those who love to create one of the earrings for his/her loved ones.
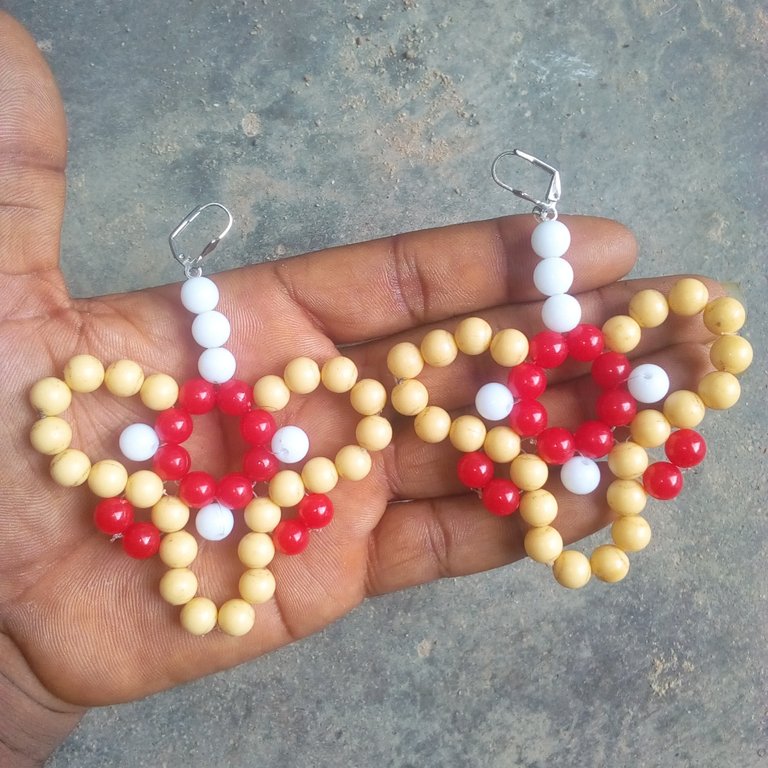
This morning, I was astonished to see a female friend call because I knew she was not within the town. Peaking her call, she informed me she just come back from her place of work to town because she'd be attending a friend's marriage ceremony. My female friend told me that on her way to town, she forgot the earrings that were acceptable to be worn for her friend's marriage ceremony. My friend whom I was astonished to see her call now informed me she'd like me to make a unique earring for her. After our chat, I was looking for a design to give the earrings but as ideas for jewelry-making continued, I was able to discover the one I made today.
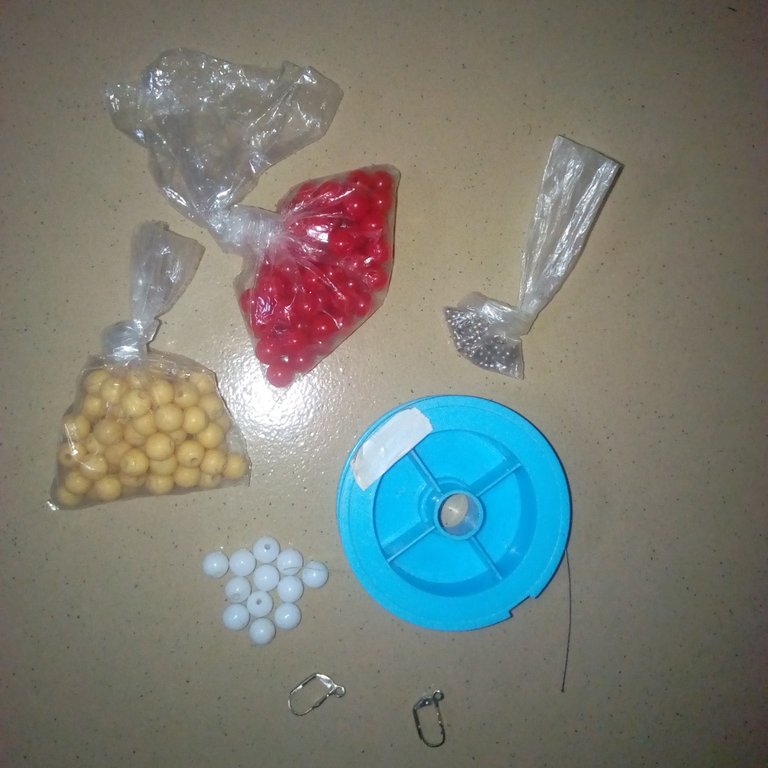
Materials that were used for the making of the earring will gladly be listed below:
Nylon line.
48 pieces of carton-colored pearl beads while 24 were used to make each side of the earring.
24 pieces of red color pearl beads while 12 were used to make each side of the earring.
12 pieces of white pearl beads while 16 pieces were used to make each side of the earring.
Earring hook.
Bead stopper.
Procedures I used to make the earring will also be gladly provided below:
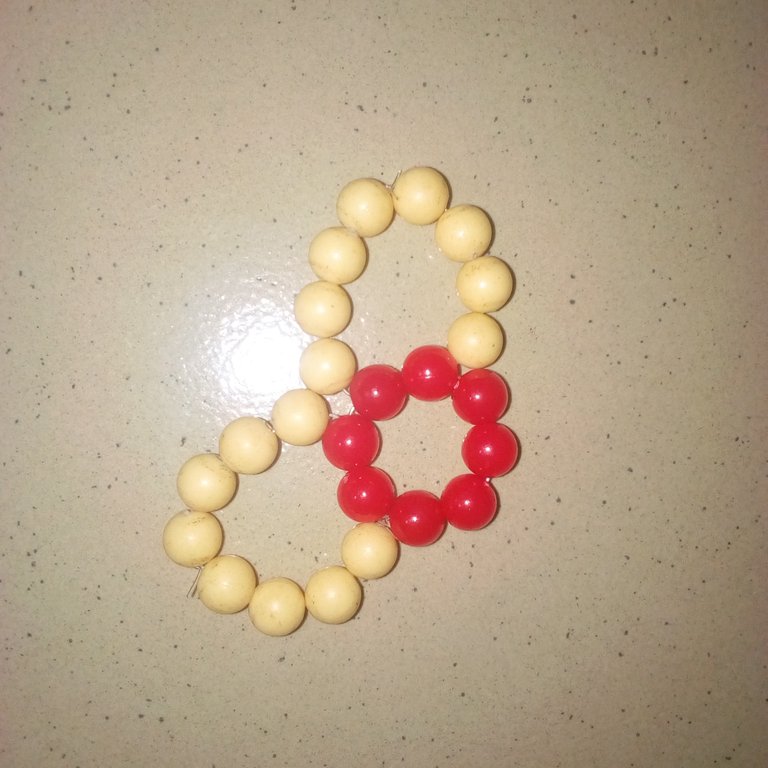
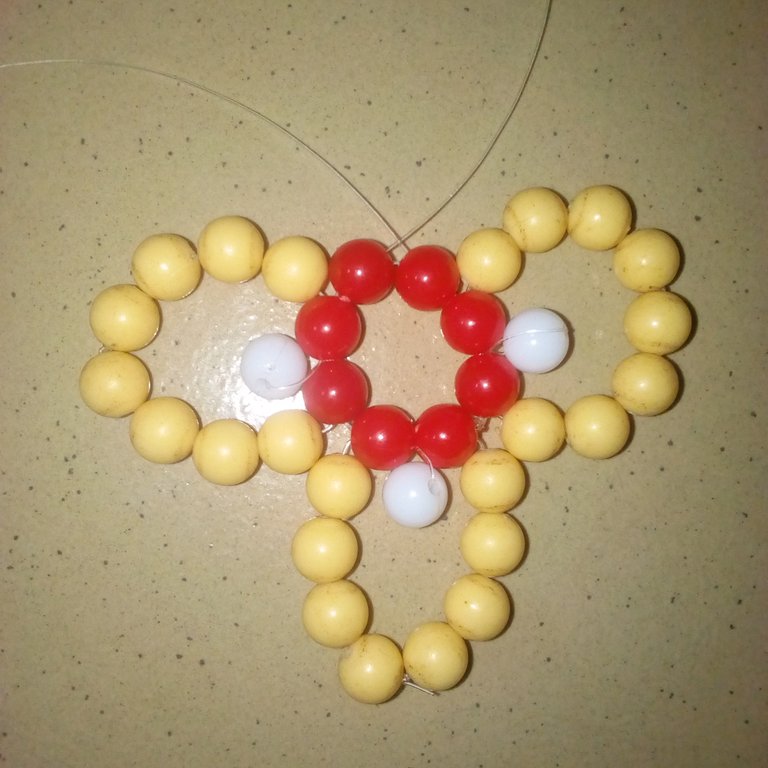
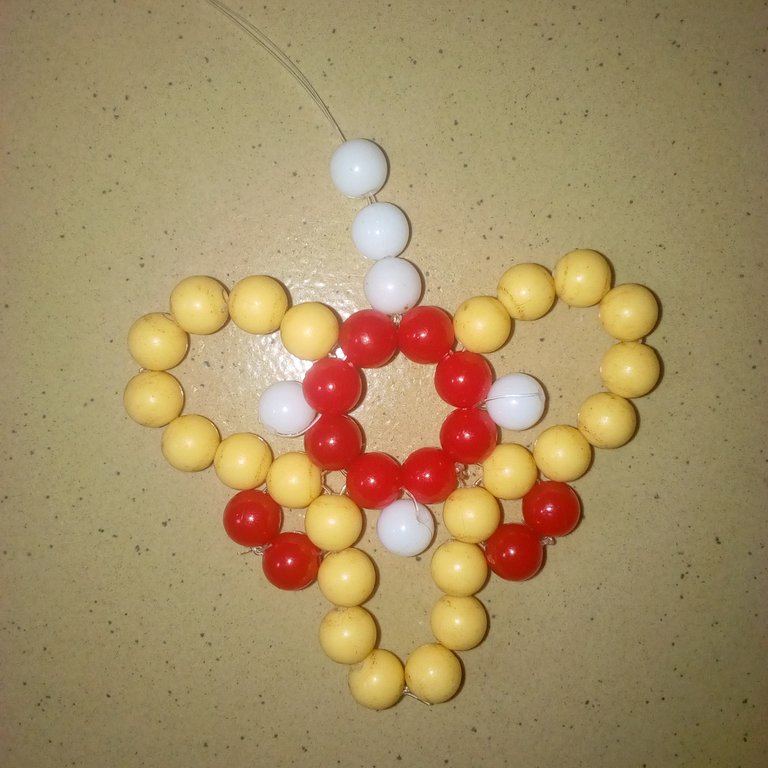
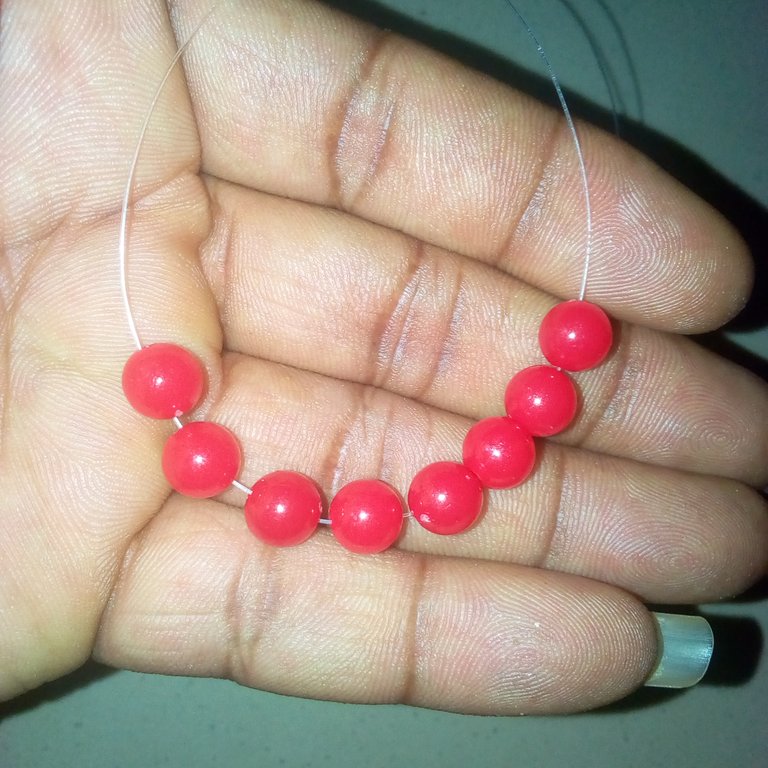
I cut a nylon line from its row and then inserted 8 pieces of red color pearl beads and tied them to form a rounded shape.
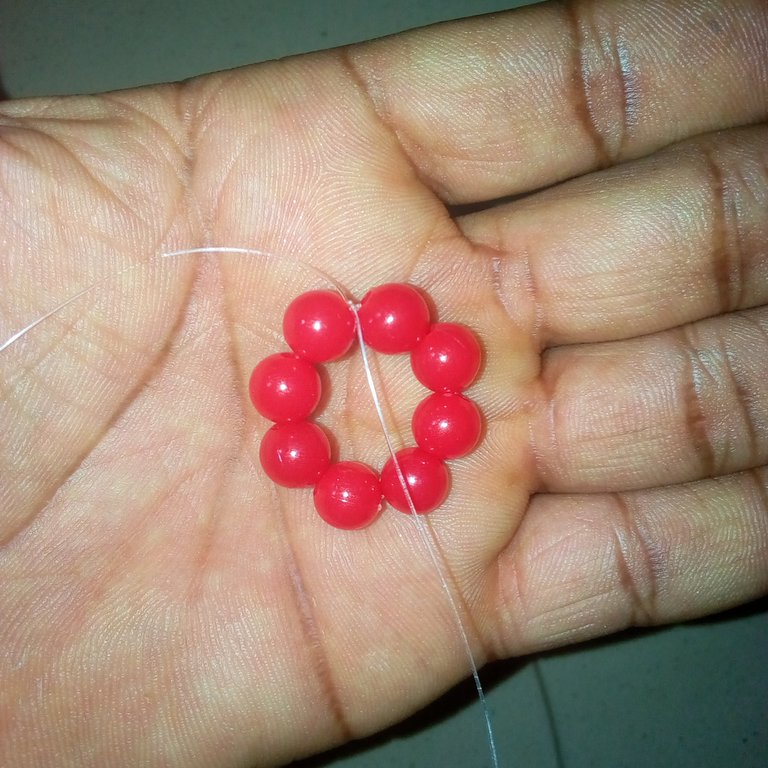
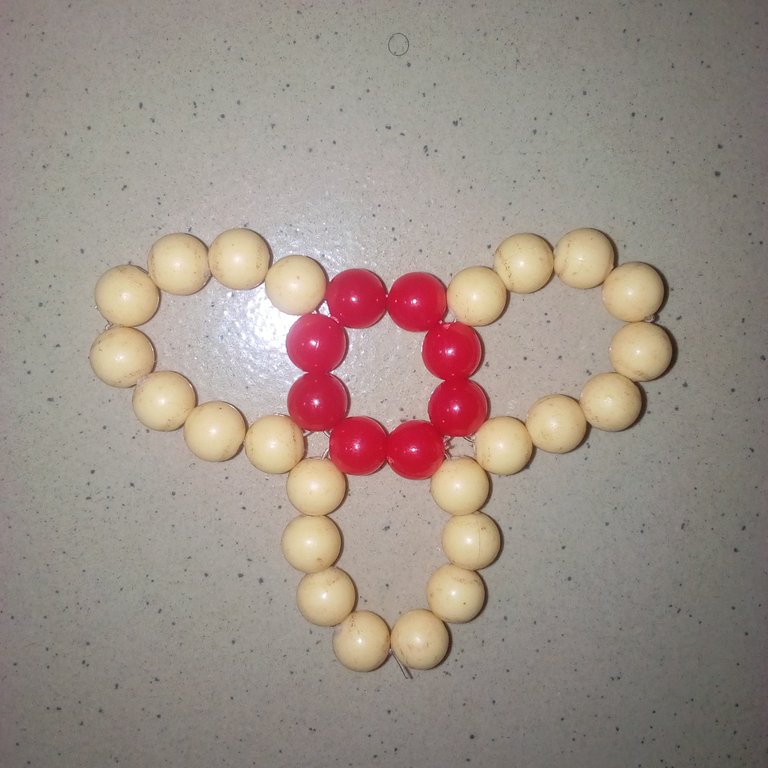
I cut another nylon line and then inserted it through two red-colored pearl beads in the shape formed. In the nylon line, I inserted 4 pieces of carton-colored pearl beads into one side and another 4 pieces into the other side, I then tied both nylon lines to form a fan blade shape. I cut another nylon line and then inserted it to pass another two red color pearl beads of the formed shape, from one side of the nylon I inserted 4 pieces of carton color pearl beads and another 4 to the other side and then tied it to form another fan blade shape. I cut another nylon line and then inserted it to pass through two red-colored pearl-bead-formed shapes. From one side I inserted 4 pieces of carton color pearl bead and another 4 pieces to the other side and then I had to tie it to form a third fan blade shape.
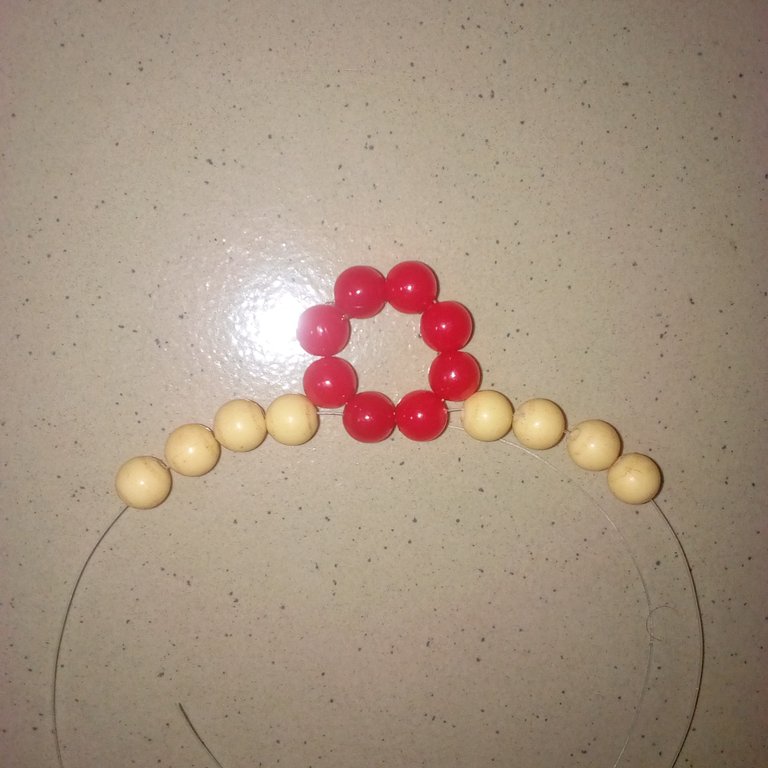
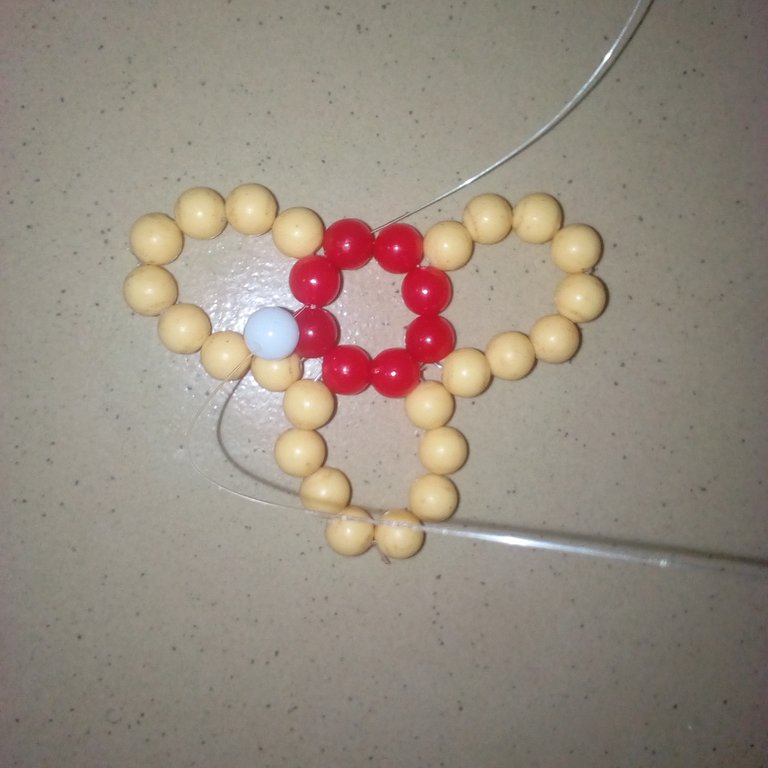
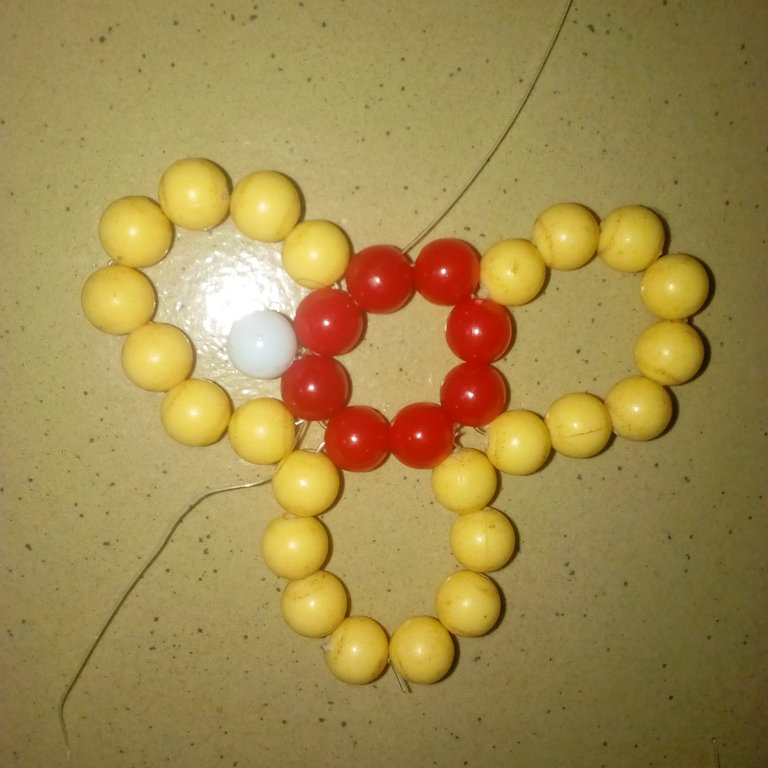
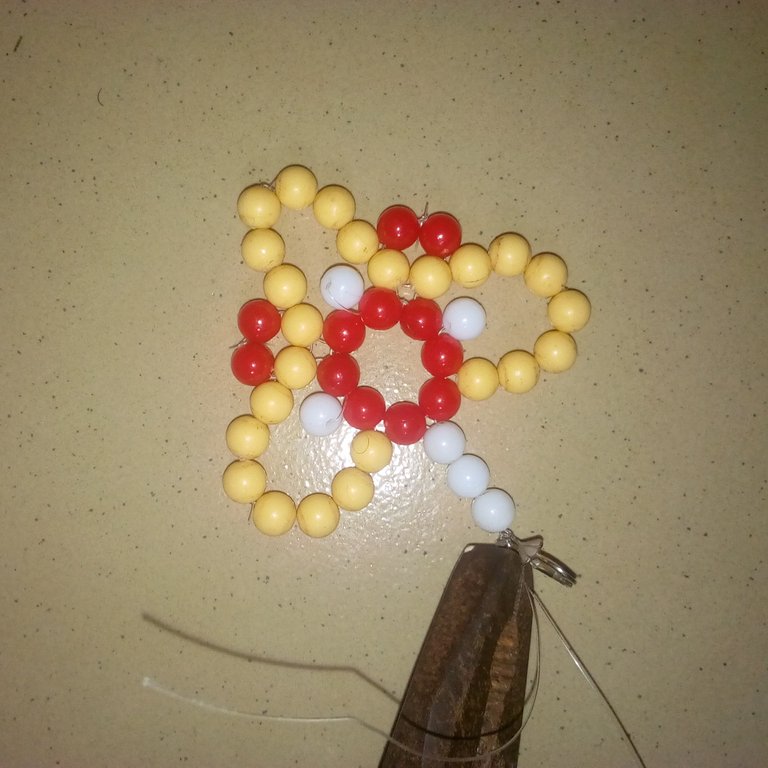
I now cut another nylon line and then insert it from the top red color pearl bead to the center of the first left fan blade shape formed. I inserted 1 piece of white color pearl bead, inserted the nylon line to the downside to another center of the fan blade shape formed, and then I inserted 1 piece of white color pearl bead. I now inserted the nylon line to the downside to the last fan blade shape formed shape center. I inserted 1 piece of white pearl bead and then inserted the nylon line to the other red pearl bead to the top where it was first inserted.
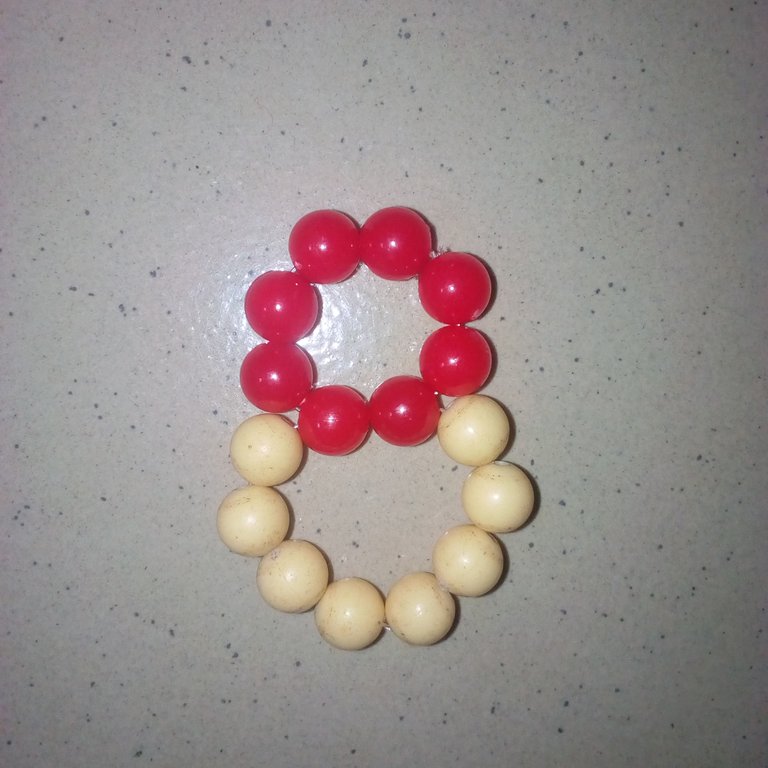
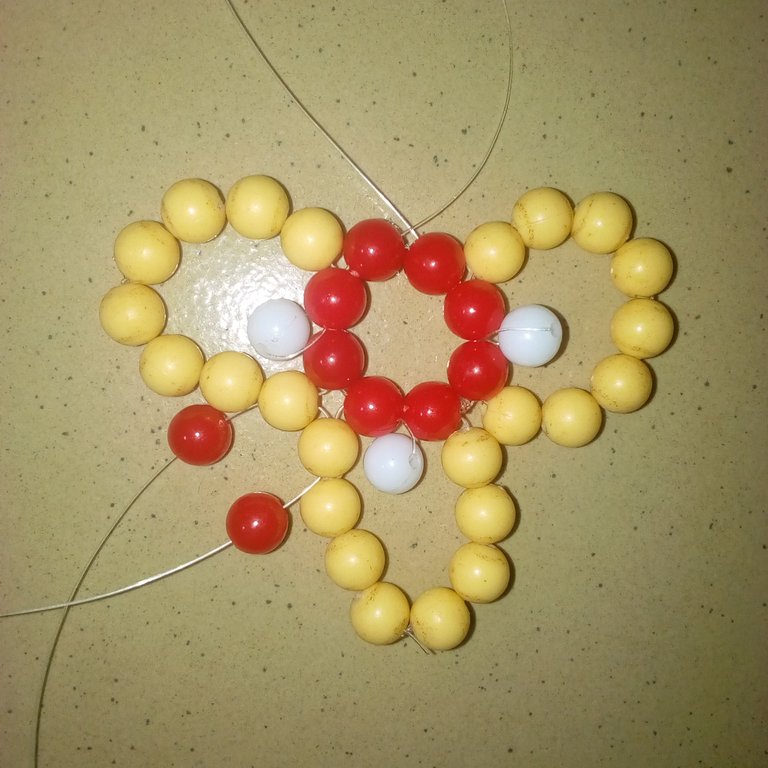
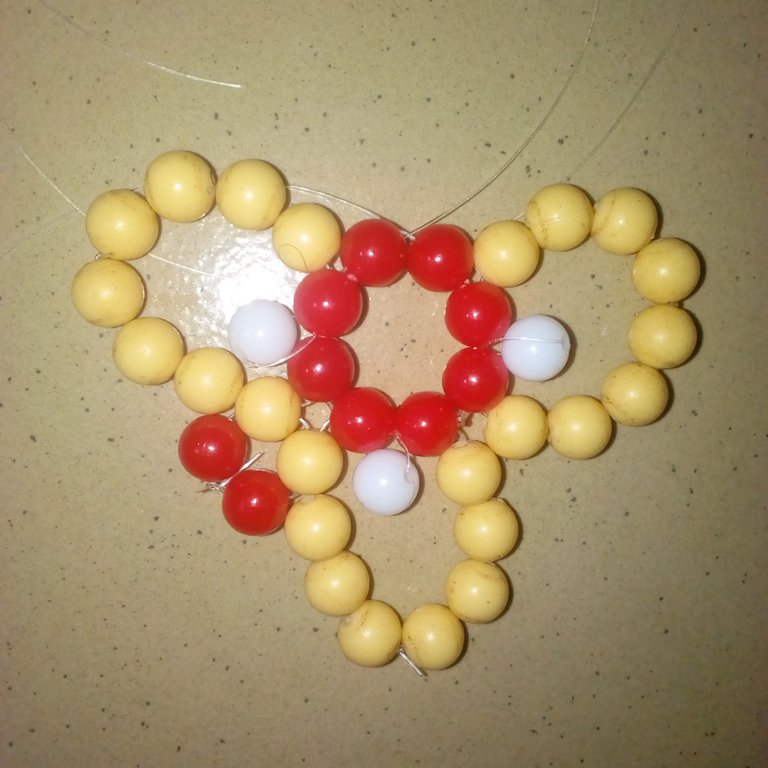
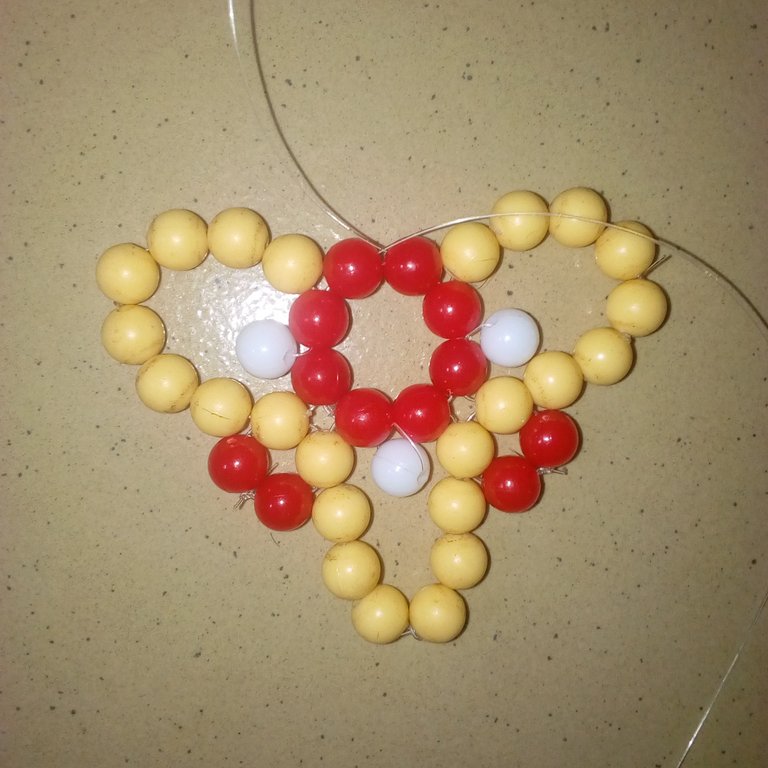
Keeping the formed fan blade shape, I have left, right, and down. I cut another nylon line and then inserted the first carton-colored pearl bead of the down shape to the left shape. I inserted 1 piece of red color pearl bead to the left and another 1 piece of red color pearl bead to the left and then tied it. I cut another nylon line and then inserted it into the right of the first carton color pearl bead to the down shape formed. I inserted 1 piece of red color pearl bead to the left and another 1 piece of red color pearl bead to the right and tied it.
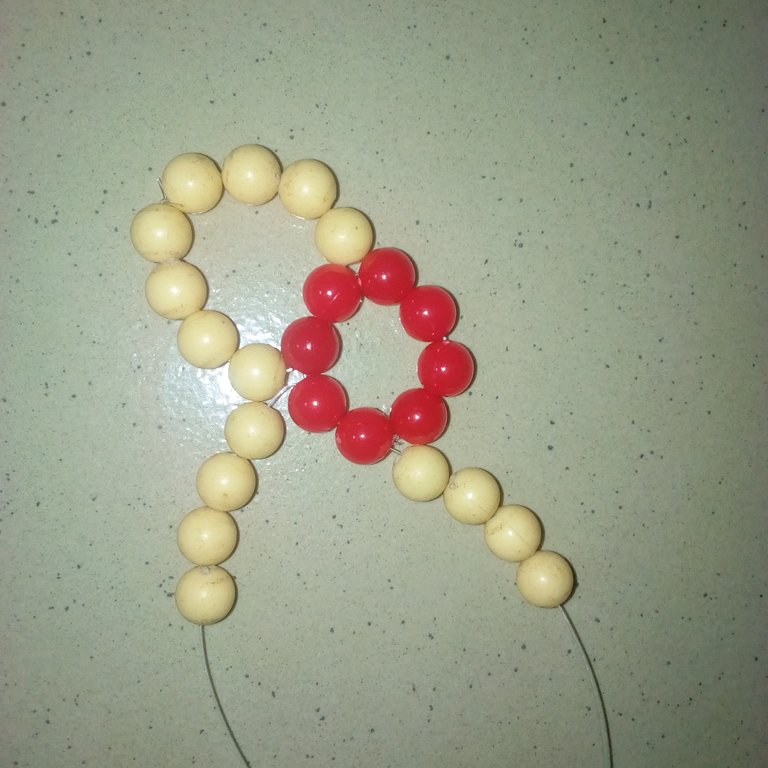
From the top of the fan blade formed shape, I inserted 3 pieces of white color pearl bead and then earring hook and tie. I still inserted a bead stopper into it and used a plier to hold it. The bead stopper will make the nylon line to get weak.
