🌸 MOSTACILLAS DE COLOR NEGRO #6
🌸 MOSTACILLAS DE COLOR AMARILLO#6
🌸 MOSTACILLAS DE COLOR AZUL#6
🌸 MOSTACILLAS TRANSPARENTES#6
🌸 MOSTACILLAS ANARANJADAS#6
🧵 HILO DE COCER NAILIN
🪡 AGUJA DE FABRICACION CACERA
🔗 SEGURO Y ARGOLLA
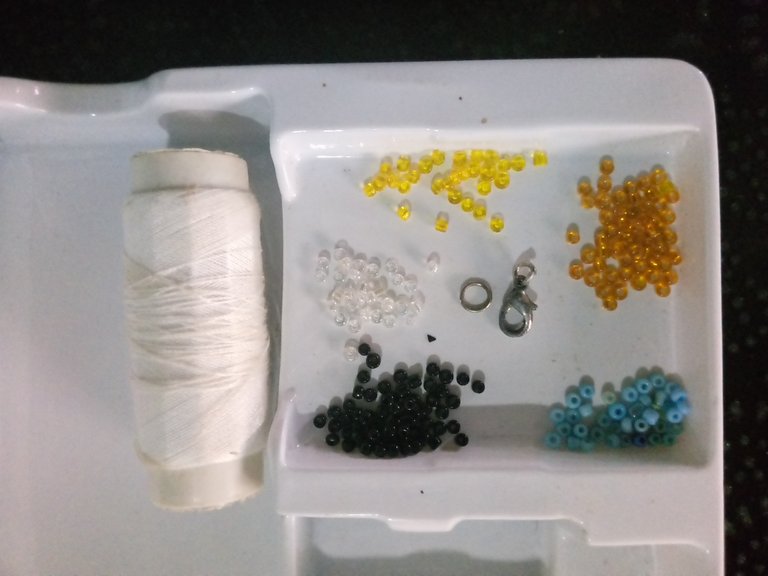
Estos fueron los materiales utilizados para la elaboración de esta bonita y sencilla pulsera de flores,les comento que hace un tiempo había comprado la aguja mostacillera y se me perdió,luego improvise y fabrique 1 y he trabajado muy bien con esta,que es la que por aquí les muestro
Estos paso son muy cortos y fáciles de seguir,a continuación se los muestro el paso a paso a seguir acompañenme
PASO 1
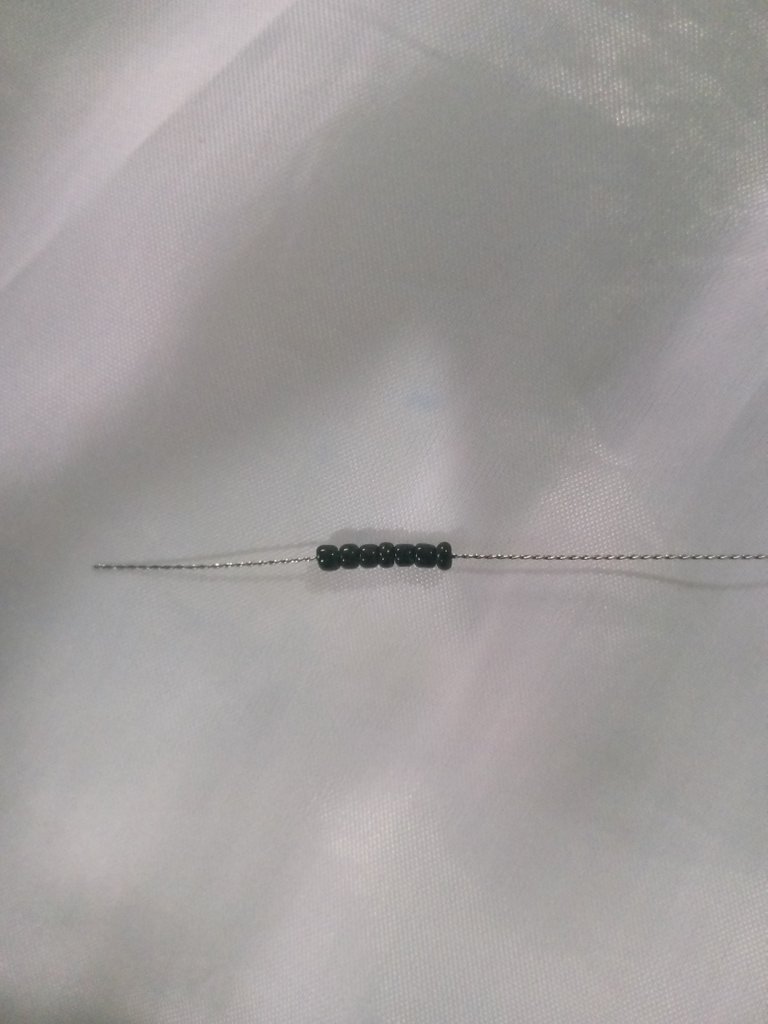
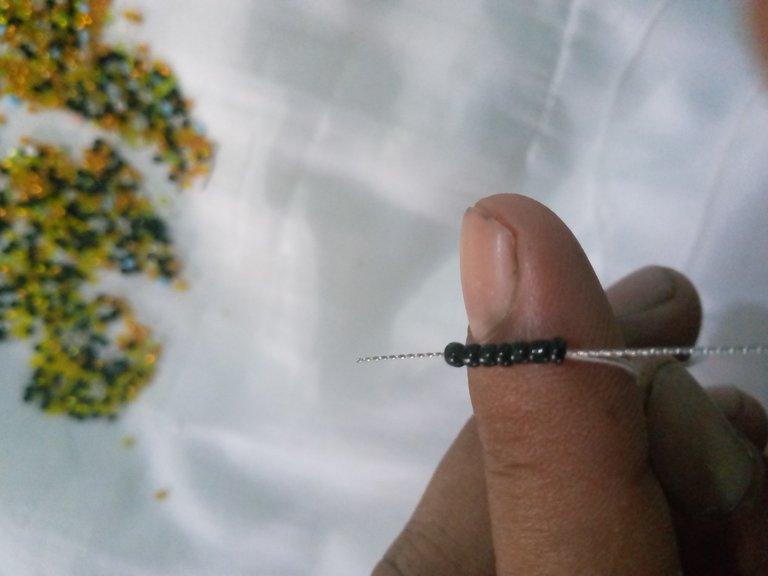
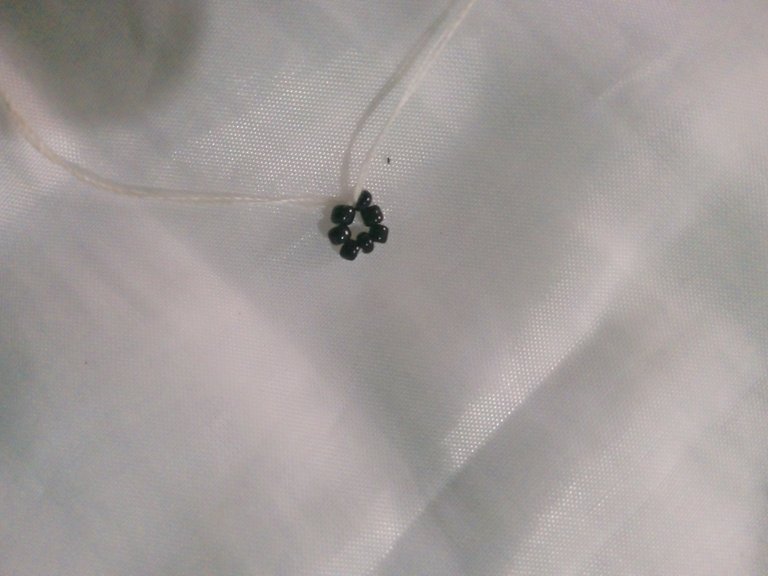
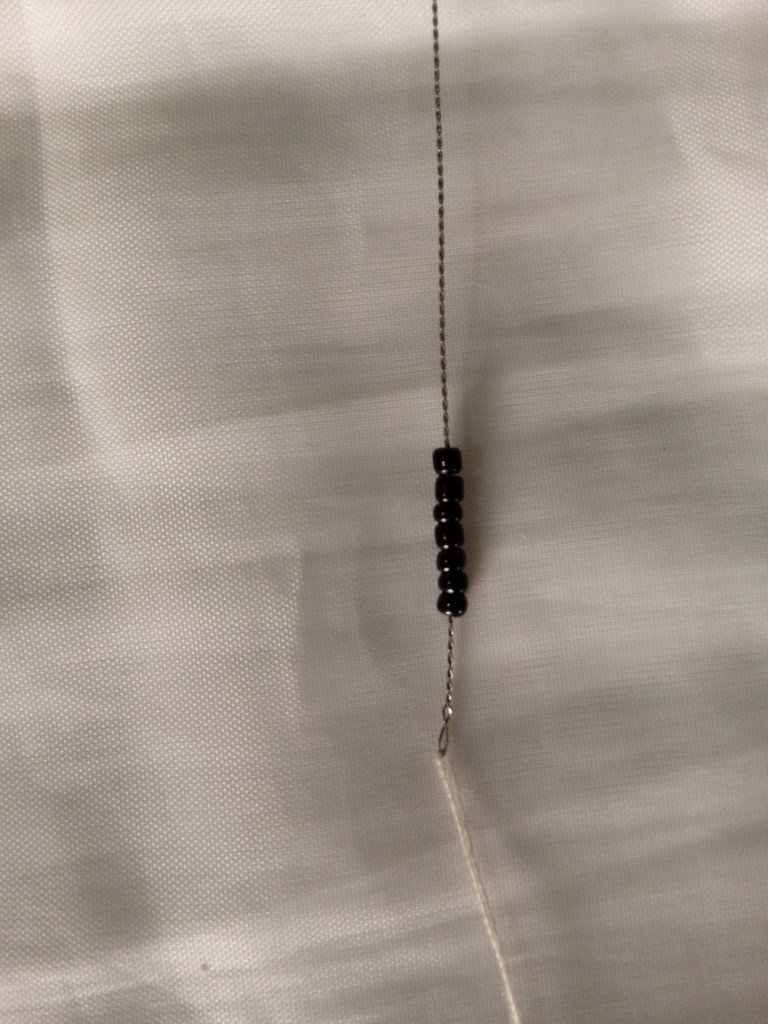
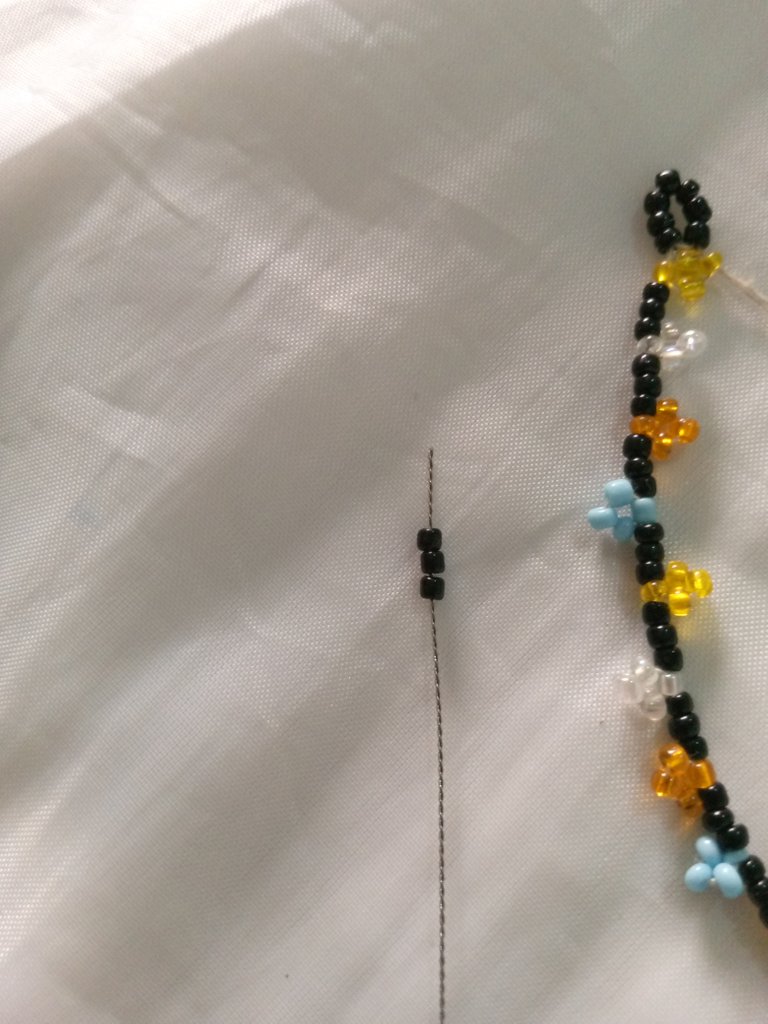
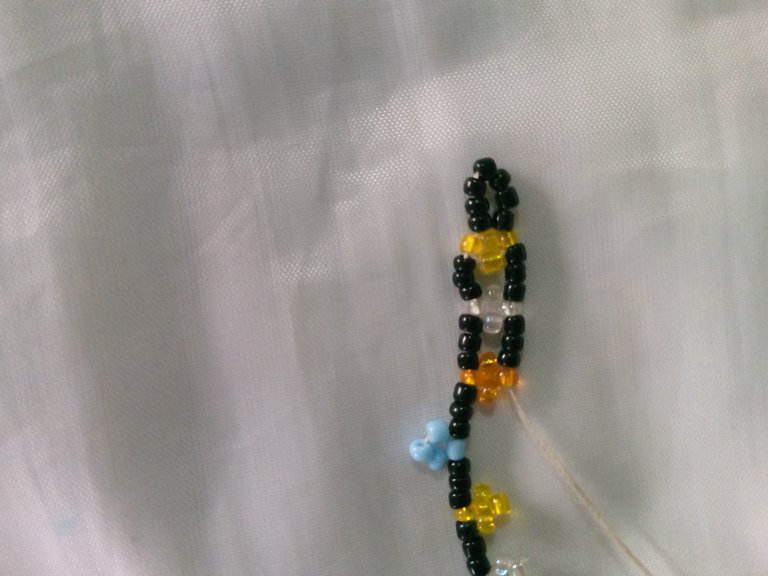
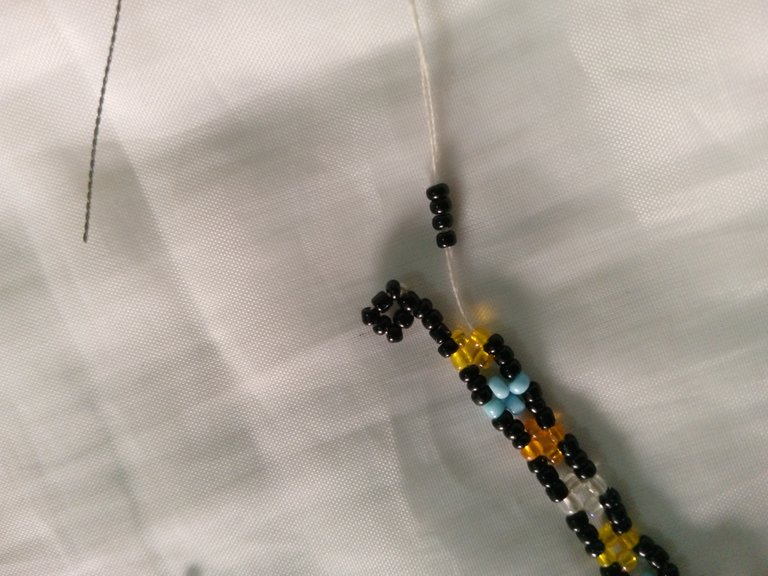
Lo primero que hicimos fue tomar un aproximado de 70cm de hilo y colocarlo en la aguja,luego introducimos 7 mostacillas de color negro y las llevaremos hasta el final,con la ayuda de nuestro dedo vamos hacer un círculo y devolveremos el hilo por las mostacillas hasta hacer este pequeño circulo con las mostacillas,luego hacemos varios nudos simples y así nos quedara
PASO 2
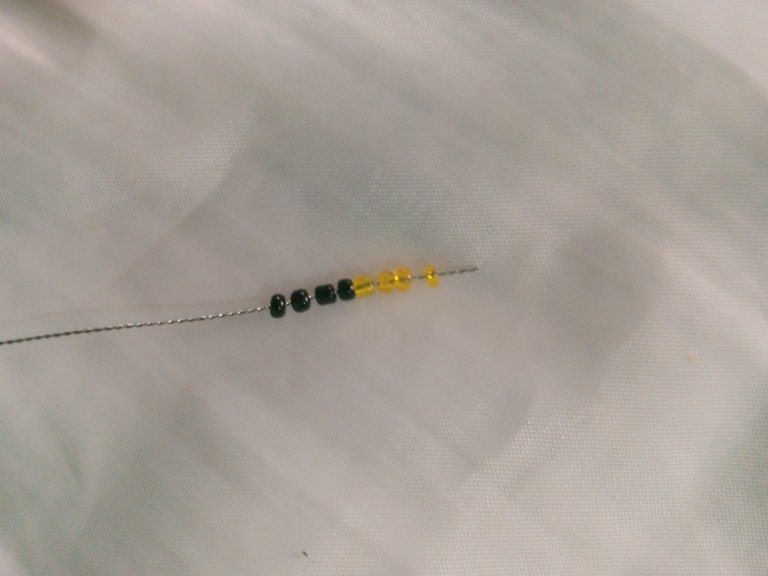
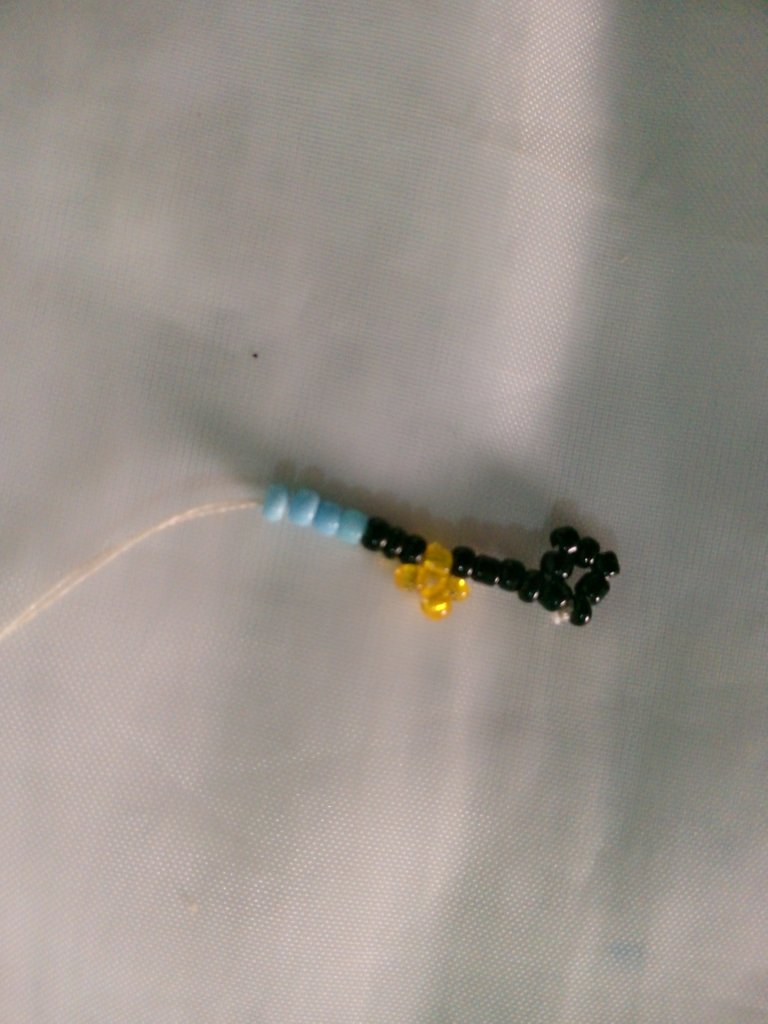
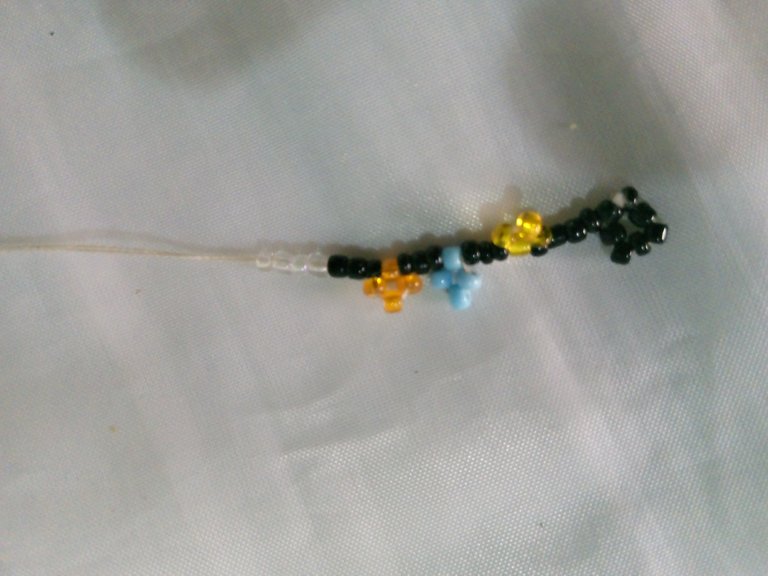
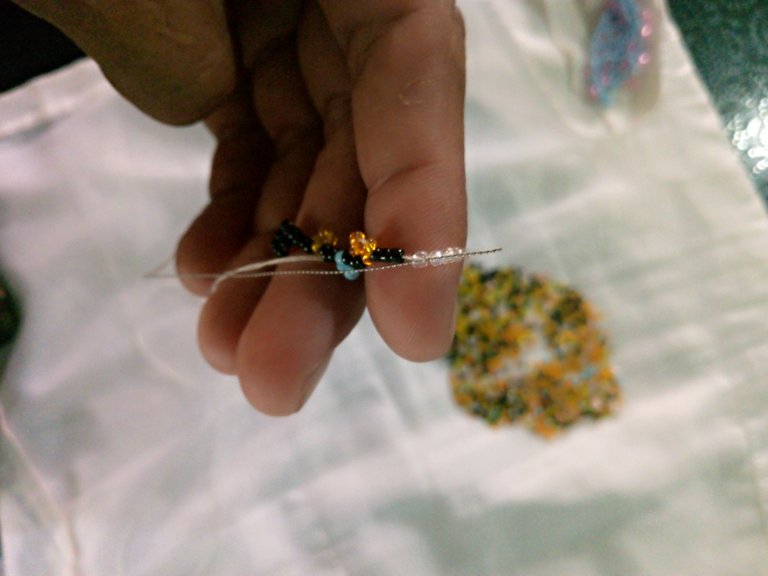
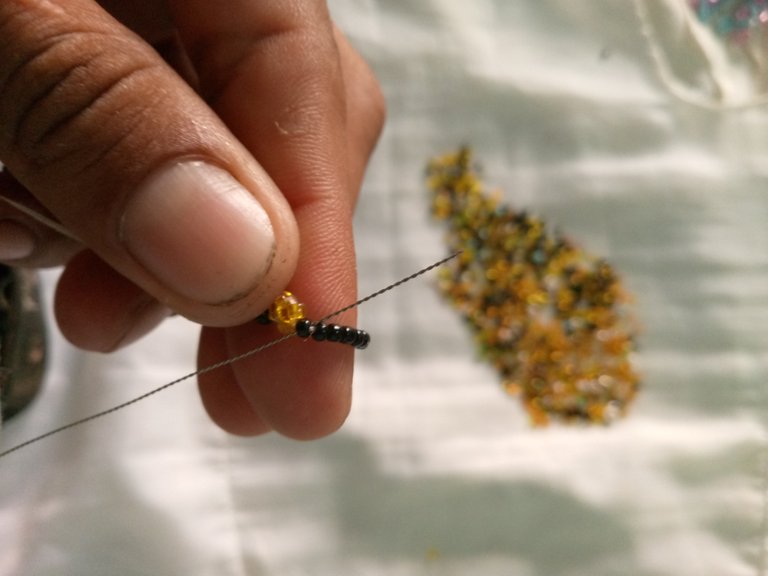
Para este paso tomaremos 4 mostacillas de color negro y tomaremos 4 mostacillas de color amarillo,las llevaremos al final y con la ayuda de nuestro dedo tenzamos el hilo y introduciremos nuestra aguja por la primera mostacilla de color amarillo de abajo hacia arriba tiramos del hilo y nos dará la forma de nuestra primera florecita
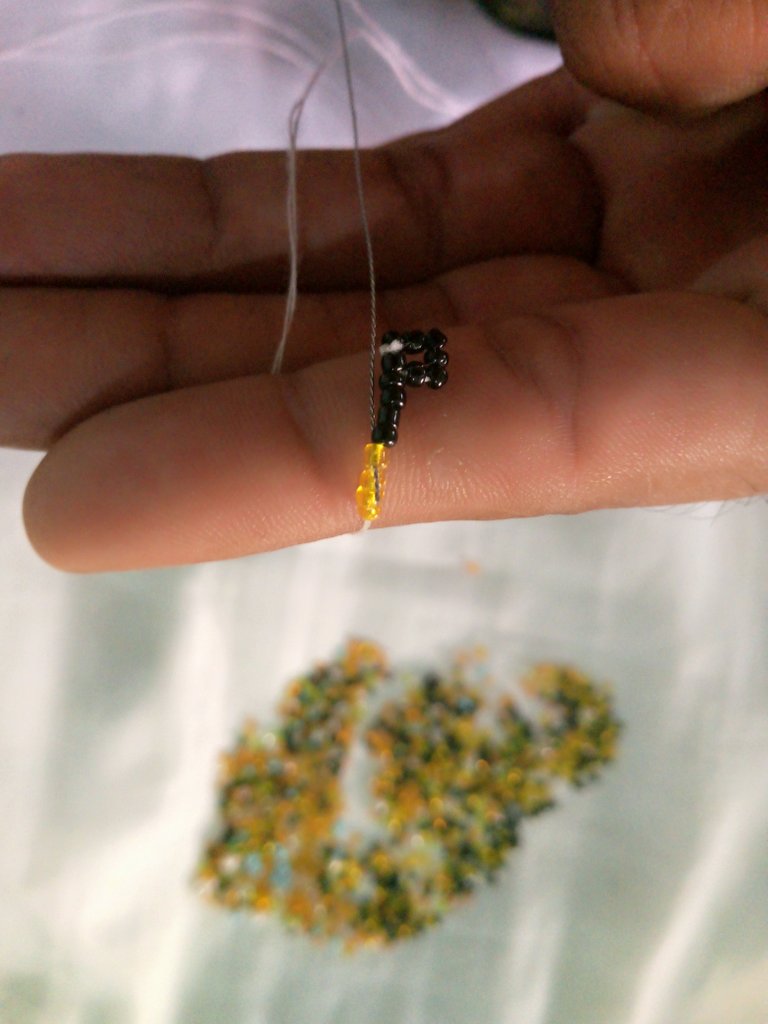
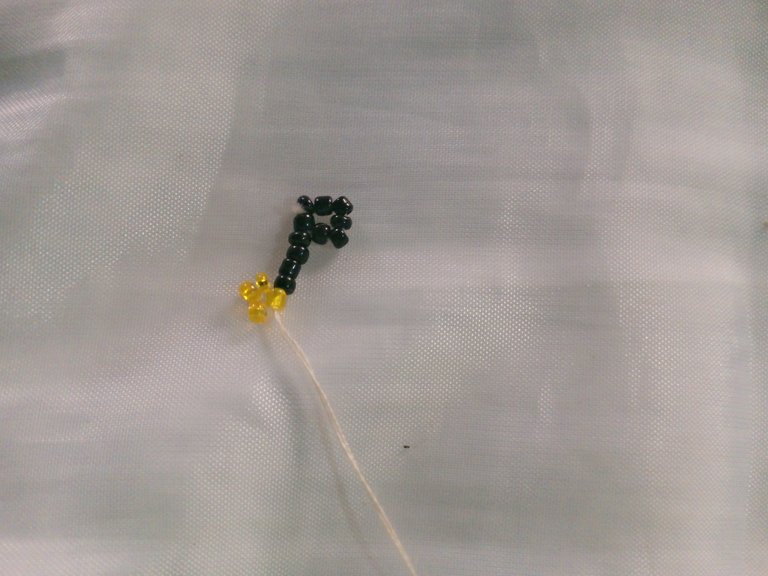
Lo siguiente que haremos sera tomar está vez 3 mostacillas de color negro y 4 mostacillas de color azul,para hacer el mismo procedimiento del anterior,llevamos al final las mostacillas,de abajo hacia arriba por la primera mostacilla de color azul tiraremos del hilo y tendremos nuestra segunda flor
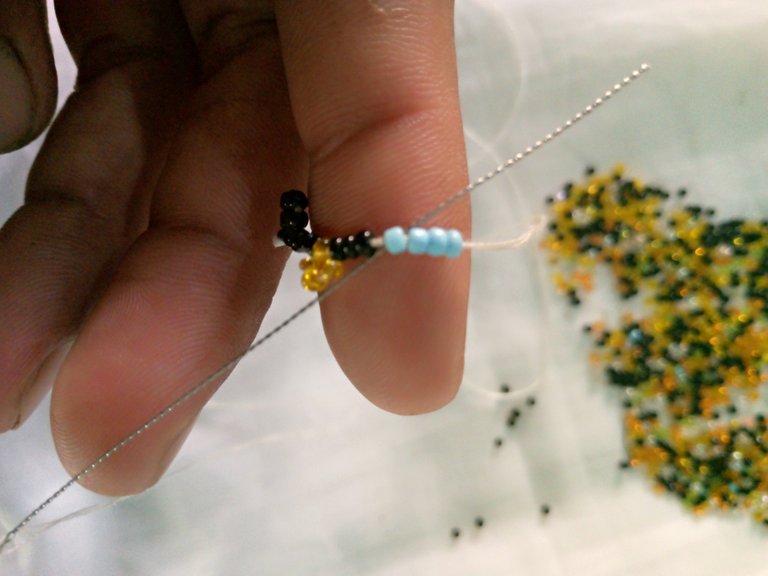
Seguidamente tomaremos 3 mostacillas de color negro y 3 mostacillas color naranja llevándola al final y con la ayuda de nuestro dedo tenzamos el hilo y introduciremos la aguja de abajo hacia arriba por la primera mostacilla anaranjada para así tirar de ella y tener nuestra tercera flor
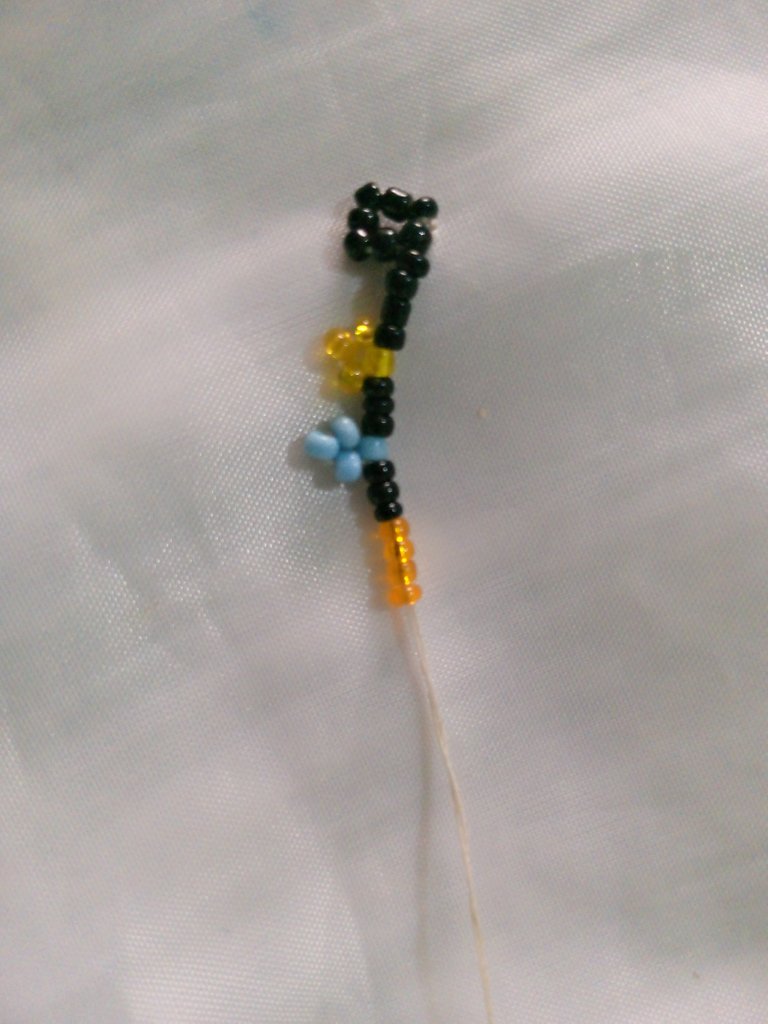
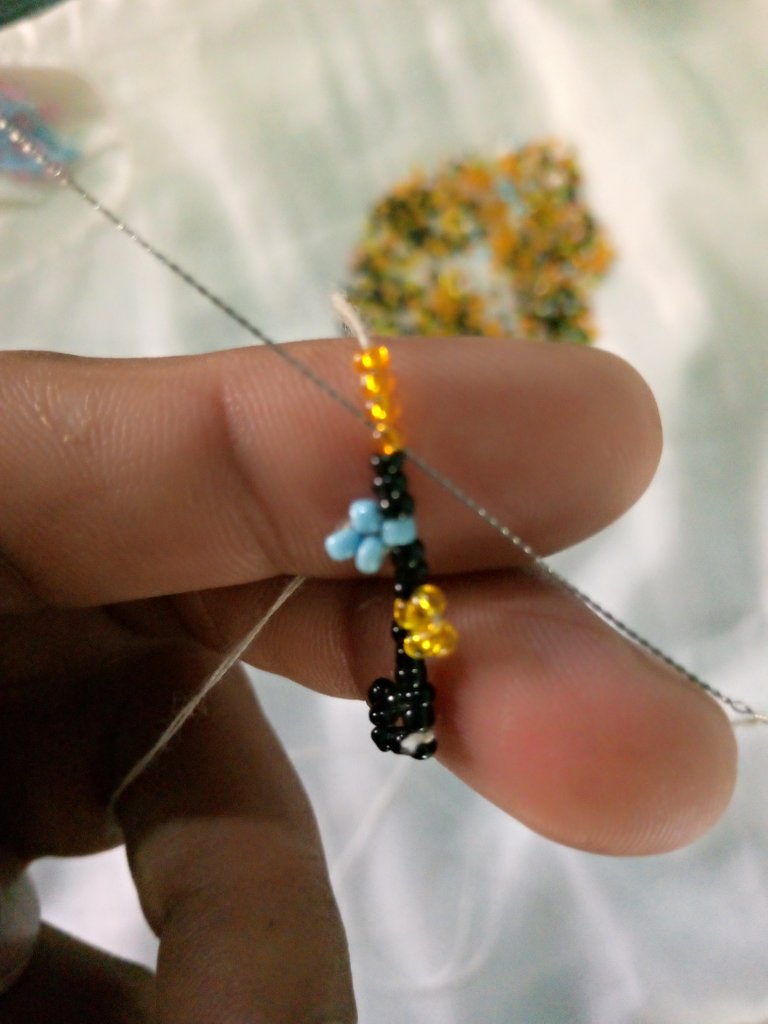
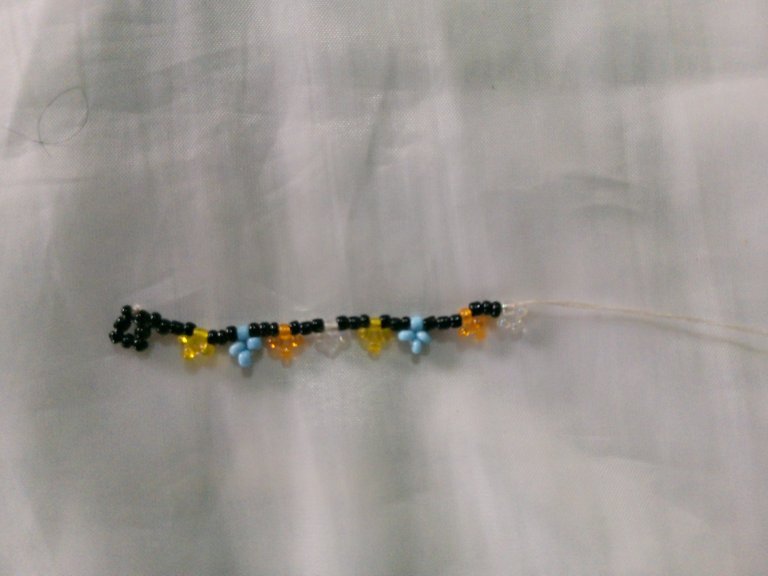
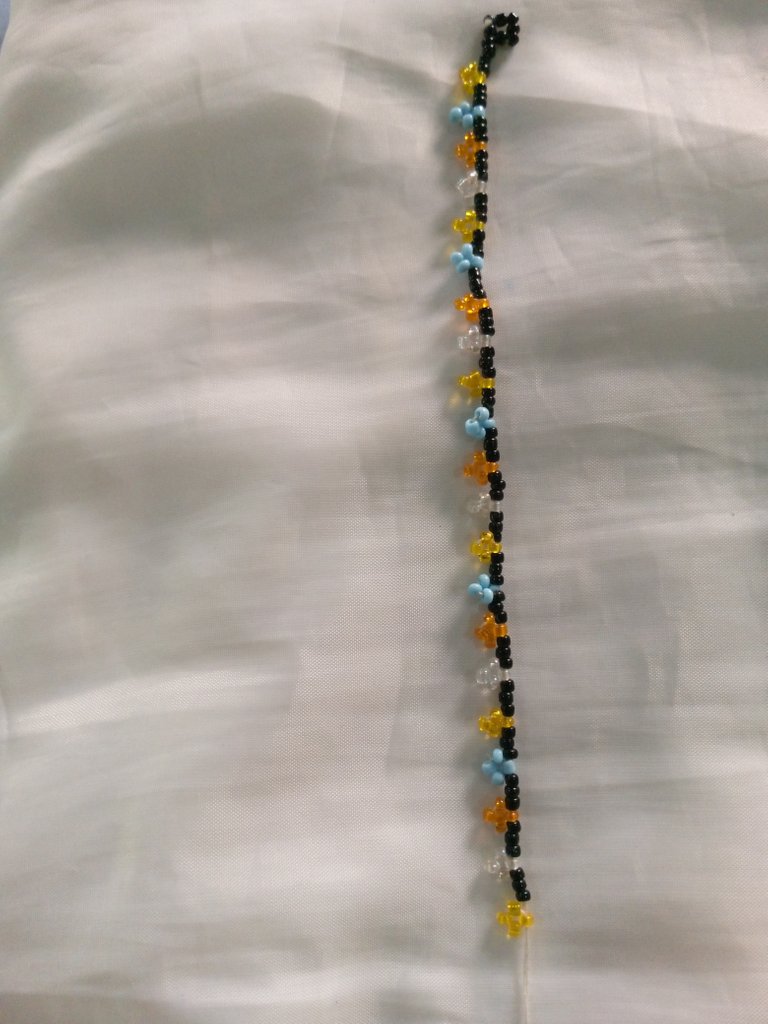
Seguimos con el mismo procedimiento pero esta vez con una flor con mostacillas transparente,hasta así seguir la misma secuencia y tener el largo que necesitamos para la pulsera
PASO 3
Ya para culminar teniendo el largo de nuestra pulsera lo que haremos sera tomar 7 mostacillas de color negro,llevando al final y con la ayuda de nuestro dedo lo que haremos será introducir nuestra aguja de abajo hacia arriba hasta obtener un círculo
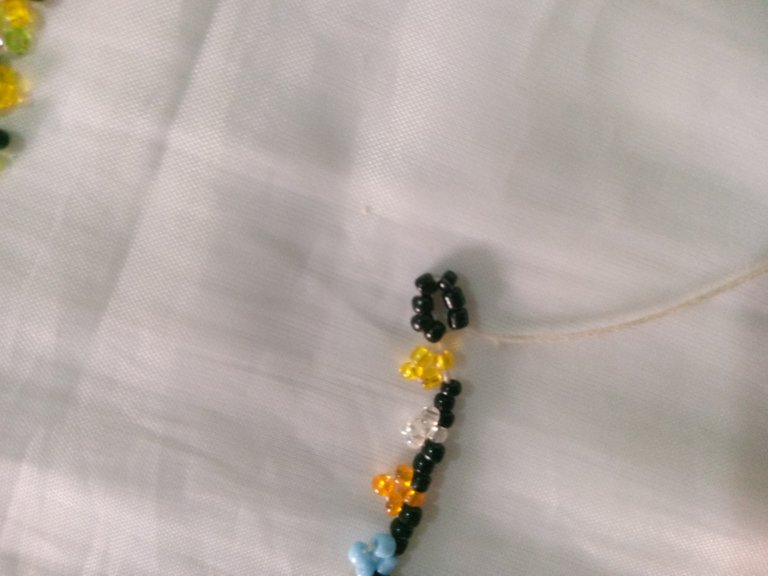
Luego introduciremos la aguja por la superficie de la primera flor amarilla, después tomamos 3 mostacillas de color negro y vamos a introducir la aguja por la superficie de la flor transparente posteriormente tomaremos 3 mostacillas de color negro y de igual manera introduciremos la aguja por las superficie de la flor azul,seguiremos el mismo procedimiento hasta terminar todas las flores.
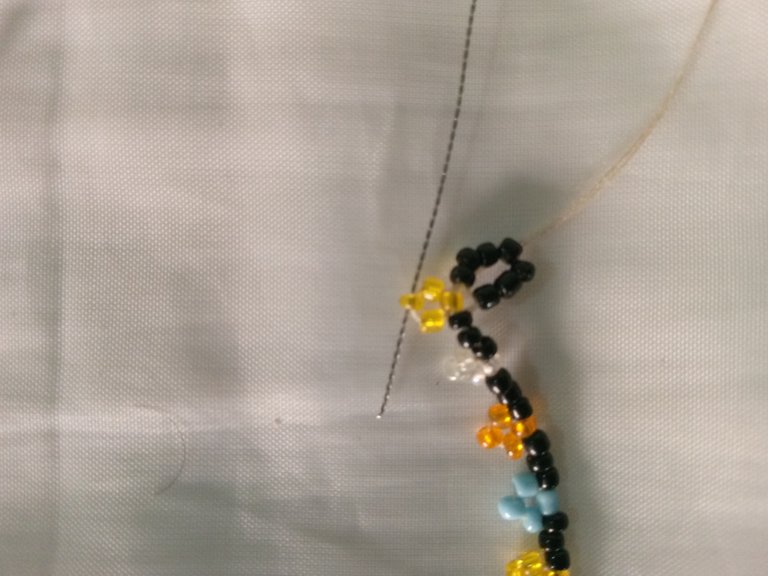
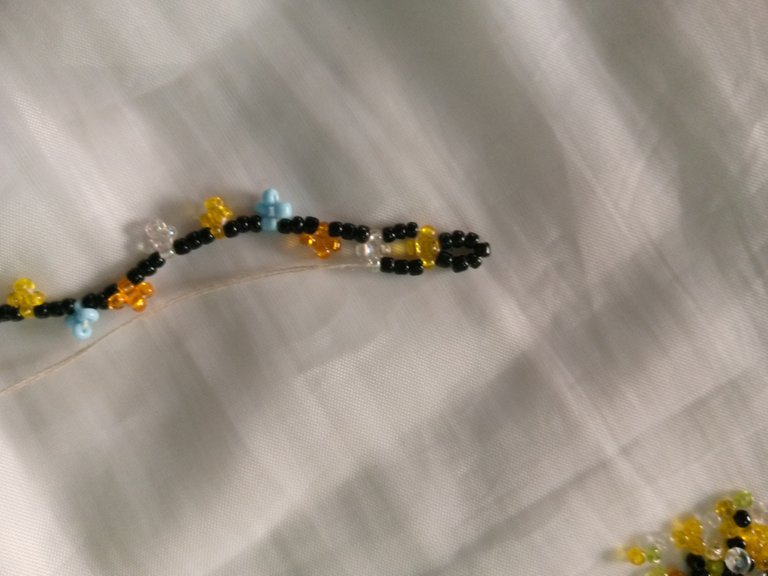
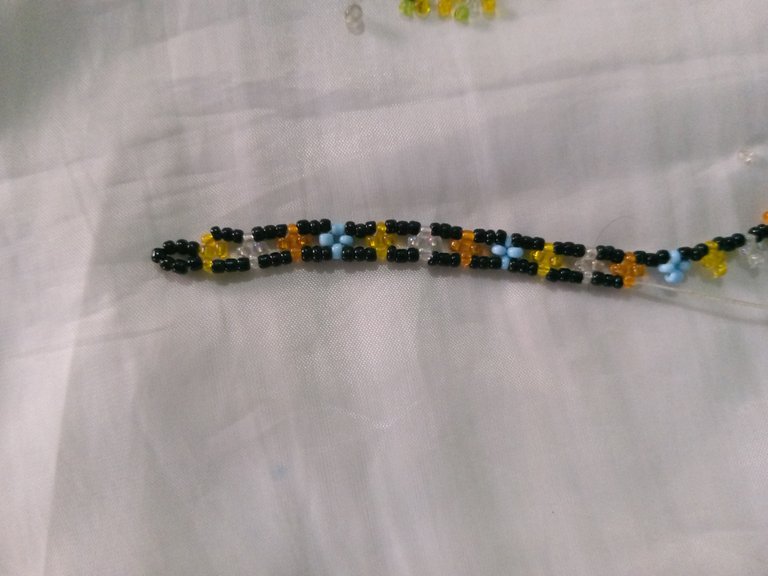
Al llegar al final lo que haremos sera tomar 4 mostacillas de color negro esto para seguir la secuencia de las 4 que pusimos al principio,despues pasaremos la aguja con el hilo para rodear la círculo y asi hacerlo mas resistentes,para el final tomaremos el trancadero y el aro,esto para colocarlo y asegurar nuestra pulsera
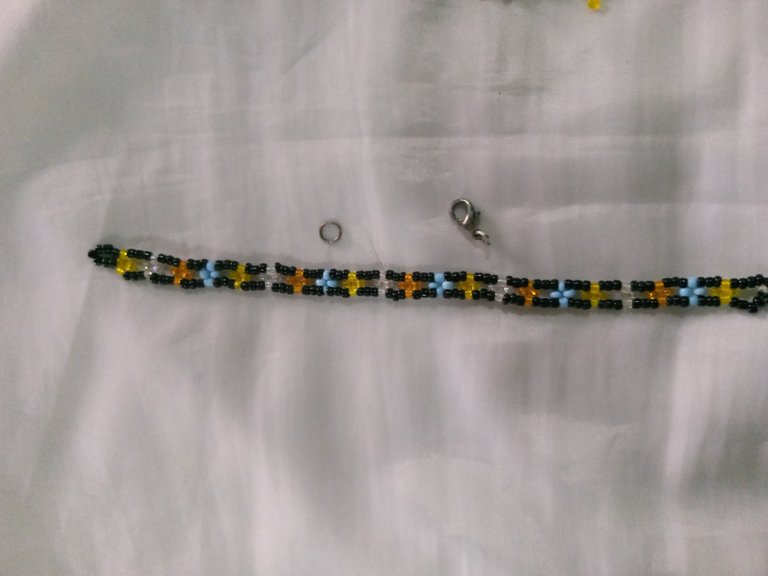
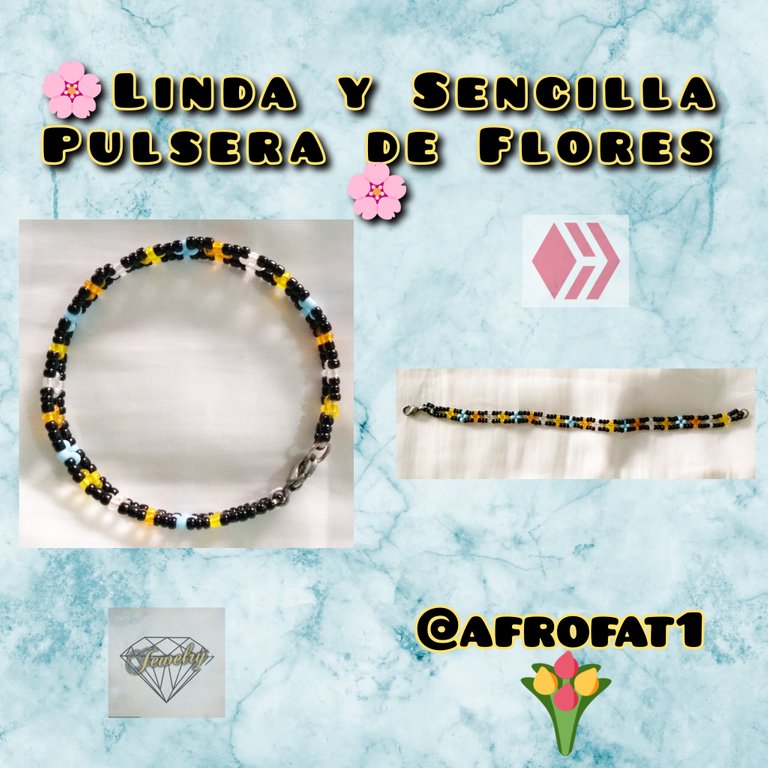
Y asi tenemos lista nuestra bonita y sencilla pulsera de flores,de verdad que fue muy fácil y divertido realizar esta hermosa pulsera,si quieren hacerlo como collar tambien sirve,solo tienen que alargatlo y listo,espero les haya gustado este @tutorial y sea de ayuda para la realización de este tipo de pulseras.
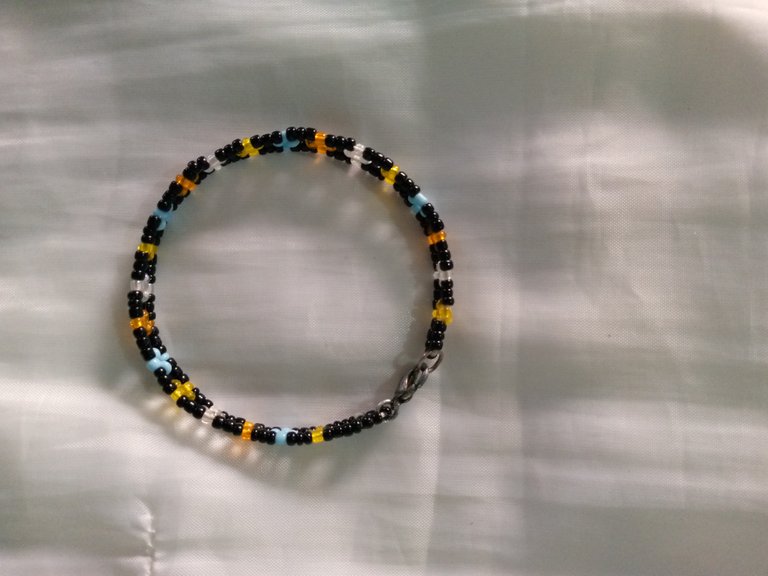
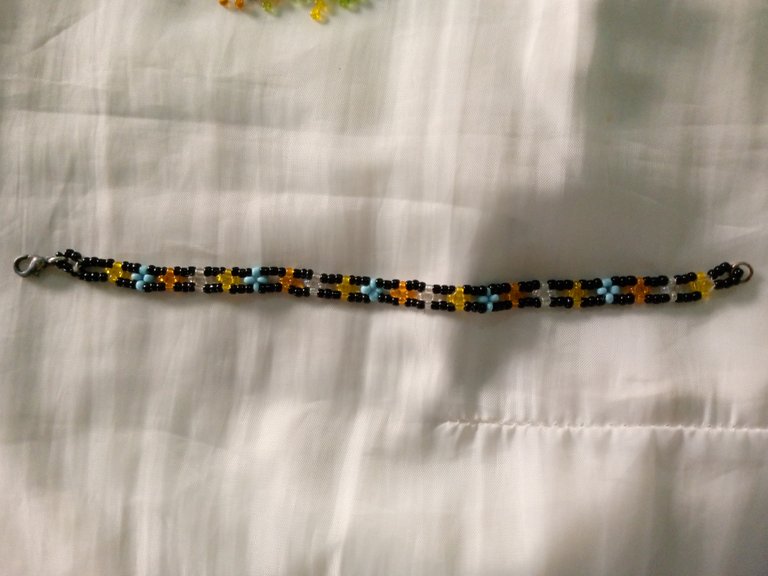
Gracias por su atención que Dios los cuide siempre, gracias pos su atención
ÉXITOS
- Las imagenes son de mi propiedad y fueron tomadas por mi telefono tecno spark Go 2023
- Traductor utilizado Deelp traslater
- las imagenes son editadas mediante la aplicacion editos de fotos polish

🌸 BLACK COLORED BEADS #6
🌸 YELLOW BEADS #6
🌸 BLUE COLORED BEADS#6
🌸 TRANSPARENT BEADS#6
🌸 ORANGE BEADS#6
🧵 NAILIN BAKER'S TWINE
🪡 NEEDLE FOR MAKING WAX
🔗 SAFETY CLASP AND RING

These were the materials used to make this beautiful and simple flower bracelet, I tell you that some time ago I had bought the needle and I lost it, then I improvised and made 1 and I have worked very well with this one, which is the one that I show you here.
These steps are very short and easy to follow, then I will show you the step by step to follow.
STEP 1
The first thing we did was to take an approximate of 70cm of thread and place it in the needle, then we introduce 7 black beads and take them to the end, with the help of our finger we will make a circle and return the thread by the beads to make this small circle with the beads, then we make several simple knots and so we will be


STEP 2
For this step we will take 4 beads of black color and we will take 4 beads of yellow color, we will take them to the end and with the help of our finger we will tenzamos the thread and we will introduce our needle by the first bead of yellow color from below upwards we will pull the thread and it will give us the form of our first little flower.


The next thing we will do is to take this time 3 black beads and 4 blue beads, to do the same procedure of the previous one, we take the beads to the end, from the bottom to the top by the first blue bead we will pull the thread and we will have our second flower.


Next we will take 3 black beads and 3 orange beads taking it to the end and with the help of our finger we will tenzamos the thread and we will introduce the needle from bottom to top by the first orange bead in order to pull it and to have our third flower.


We continue with the same procedure but this time with a flower with transparent beads, until we follow the same sequence and have the length we need for the bracelet.


STEP 3
Already to culminate having the length of our bracelet what we will do will be to take 7 beads of black color, taking to the end and with the help of our finger what we will do will be to introduce our needle from bottom to top until obtaining a circle.


Then we will introduce the needle through the surface of the first yellow flower, then we will take 3 black beads and we will introduce the needle through the surface of the transparent flower, then we will take 3 black beads and in the same way we will introduce the needle through the surface of the blue flower, we will follow the same procedure until we finish all the flowers.


At the end what we will do is to take 4 black beads to follow the sequence of the 4 that we put at the beginning, then we will pass the needle with the thread to surround the circle and thus make it more resistant, for the end we will take the locking ring and the ring, this to place it and secure our bracelet.


And so we have ready our beautiful and simple flower bracelet, it was really easy and fun to make this beautiful bracelet, if you want to do it as a necklace also serves, just have to alargatlo and ready, I hope you liked this @tutorial and be helpful for the realization of this type of bracelets.


Thank you for your attention, may God take care of you, thank you for your attention.
SUCCESS
- The images are my property and were taken by my phone tecno spark Go 2023
- Translator used Deelp translator
- images are edited using polish photo editing application