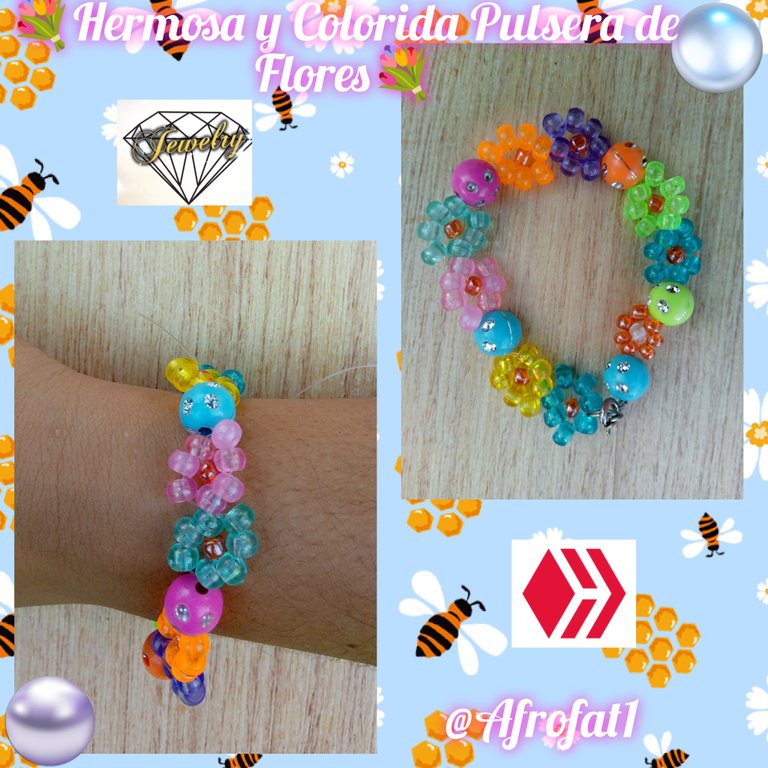
Me siento muy entusiasmado y a la vez un poco nervioso, por el hecho de haber tenido mas de un mes sin hacer una publicación en la Gran plataforma de hive, hoy me reincorporo y elegí a esta hermosa y creativa comunidad de jewelry para hacerlo.
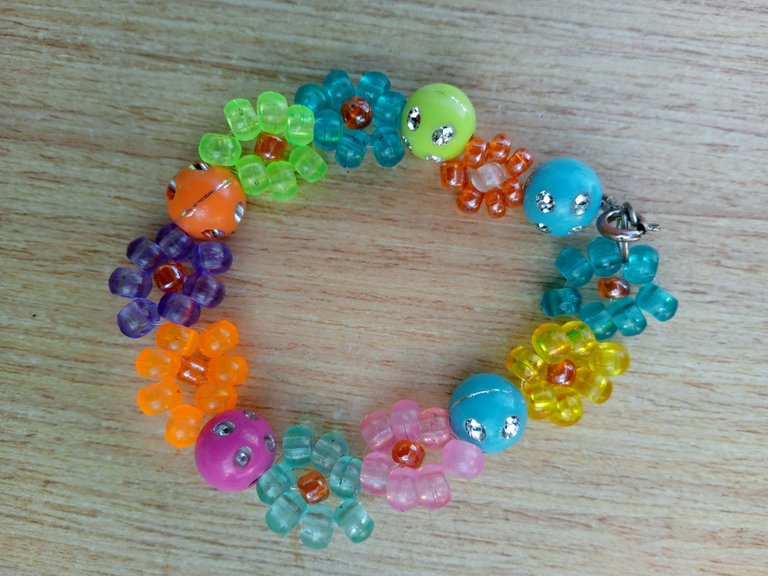
Como les había comentado anteriormente estoy muy emocionado y lleno de alegría, por ello quiero compartir con todos ustedes una hermosa y colorida pulsera de flores, quise traerles esta colorida pulsera porque me gustan muchos las flores y también quiero que se note la alegría que siento al volver a crear contenido, sin mas preámbulo, espero sea de su agrado este post que a continuación traigo con mucho cariño para todos ustedes.
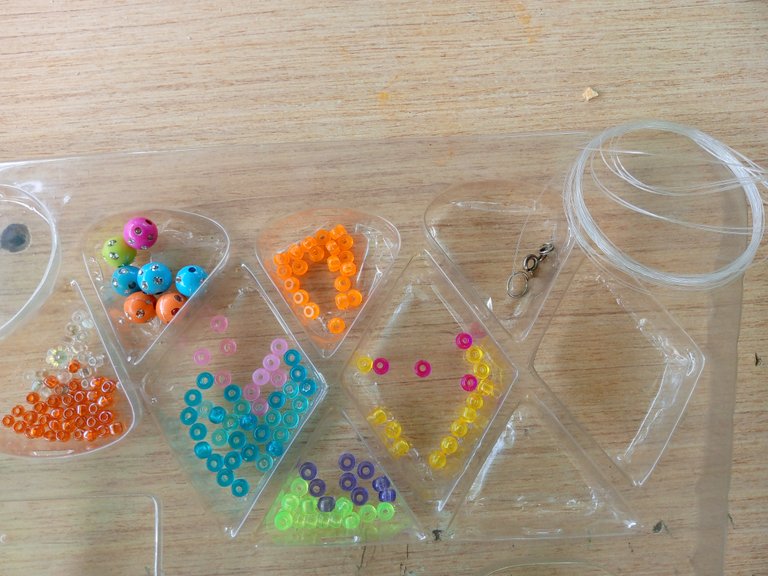
A continuación les estare presentando los materiales utilizados para la elaboración de esta Hermosa y Colorida Pulsera de Flores:
MATERIALES UTILIZADOS
- Mostacillas De 5ml De diferentes colores, Azul Oscuro, Azul claro, Verde, Anaranjado, Rosado, Morado, Amarillo
- Mostacillas de 4ml Anaranjado oscuro
- Cuentas Redondas con puntitos de cristal
- Argolla y Trancadero o seguro
- 50 Cm de Nylon Transparente
- Tijera
Ahora les estare presentado el paso a paso utilizado en la creación de esta Hermosa y Colorida Pulsera de Flores.
Paso 1
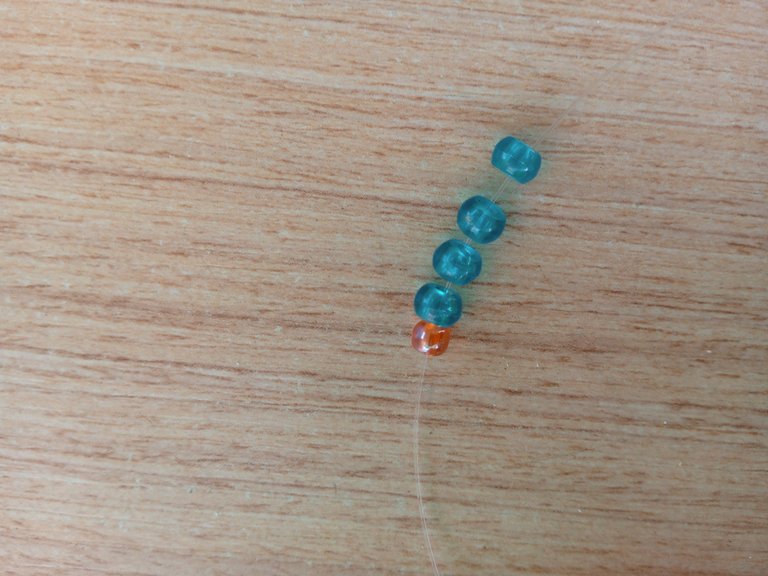
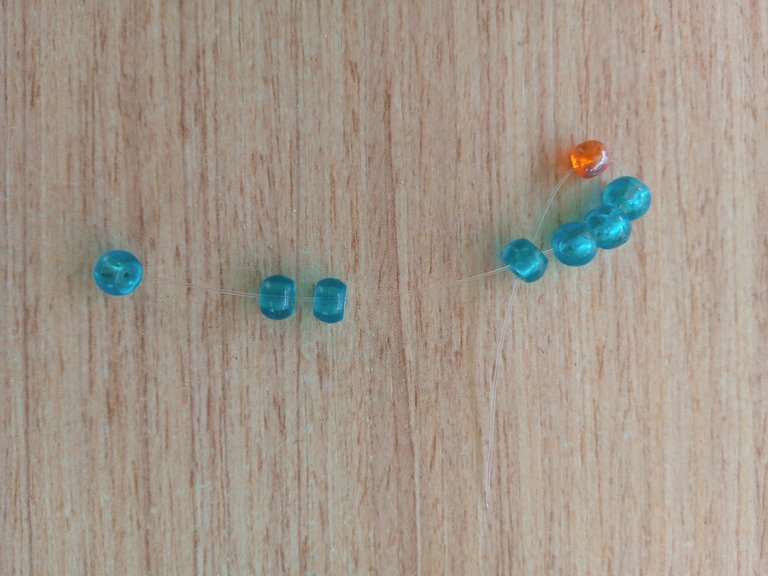
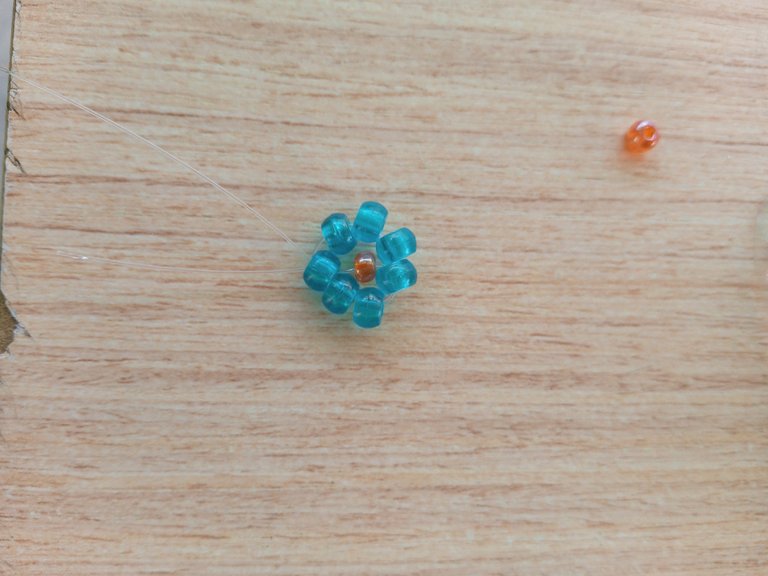
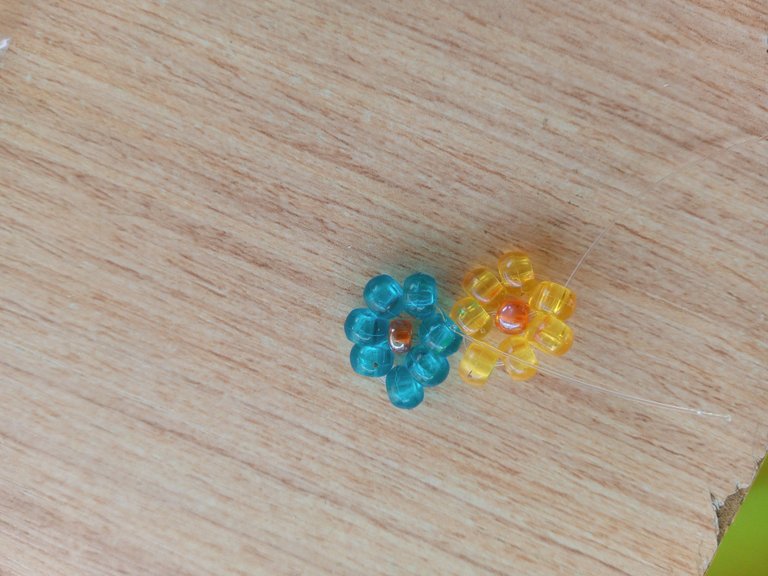
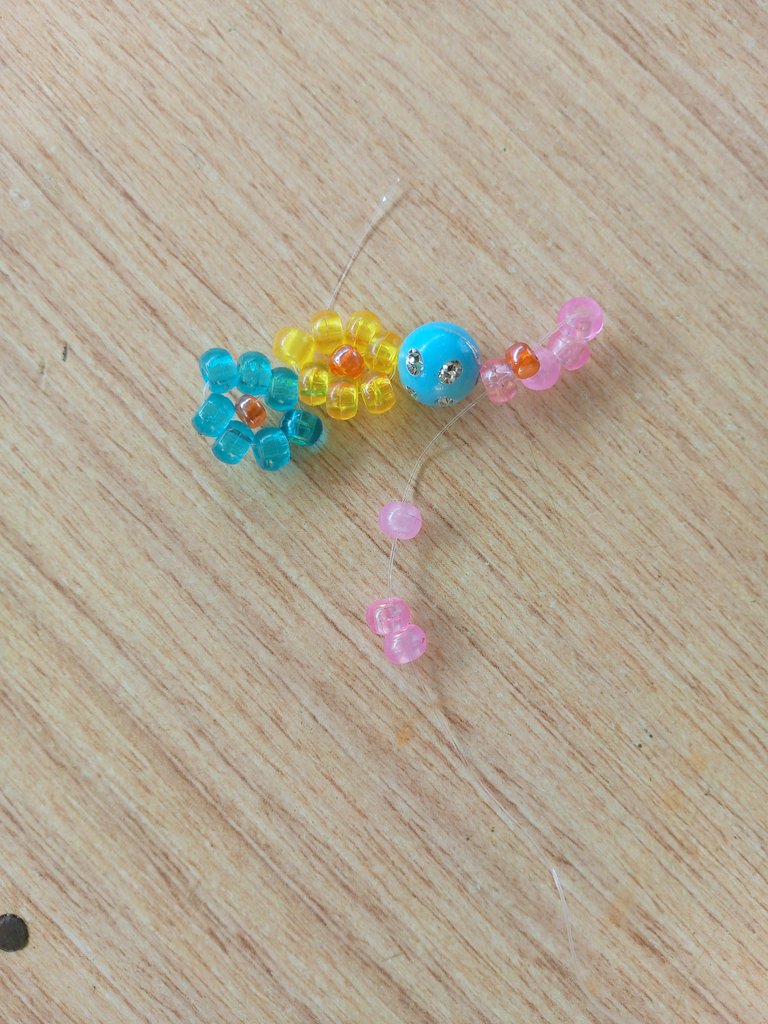
Lo primero que hicimos, con la ayuda de la tijera cortamos un aproximado de 60cm de nylon transparente, para asi tomar 4 mostacillas de color azul oscuro de 5ml y una mostacilla anaranjada, las llevamos al final, dejando unos 2cm para hacer un nudo y asegurar nuestra primera flor, después tomamos el otro extremo y vamos a pasar niestro nylon por la última mostacilla de arriba hacia abajo.
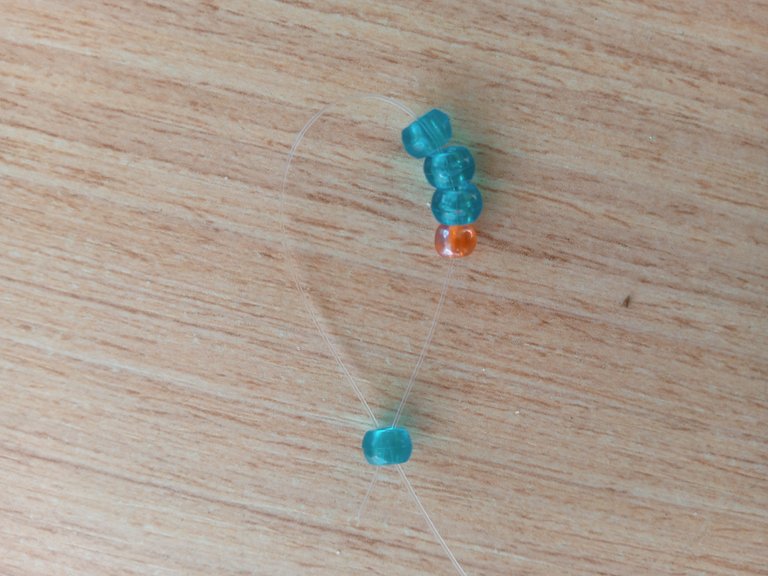
Seguidamente vamos a introducción 3 mostacillas del mismo color, luego tomamos el nylon y lo introducimos esta ves de abajo hacia arriba y ya tendremos nuestra primera flor.
Paso 2
Para nuestra segunda flor, tomamos 4 mostacillas de color amarillo y una anaranjada, las mostacilla anaranjadas oscuras seran el centro de nuestras hermosas flores, de igual manera vamos a tomar el extremo de nuestro nylon y vamos a introducirlo por la ultima mostacilla de arriba hacia abajo, asi tomamos 3 mostacillas del mismo color.
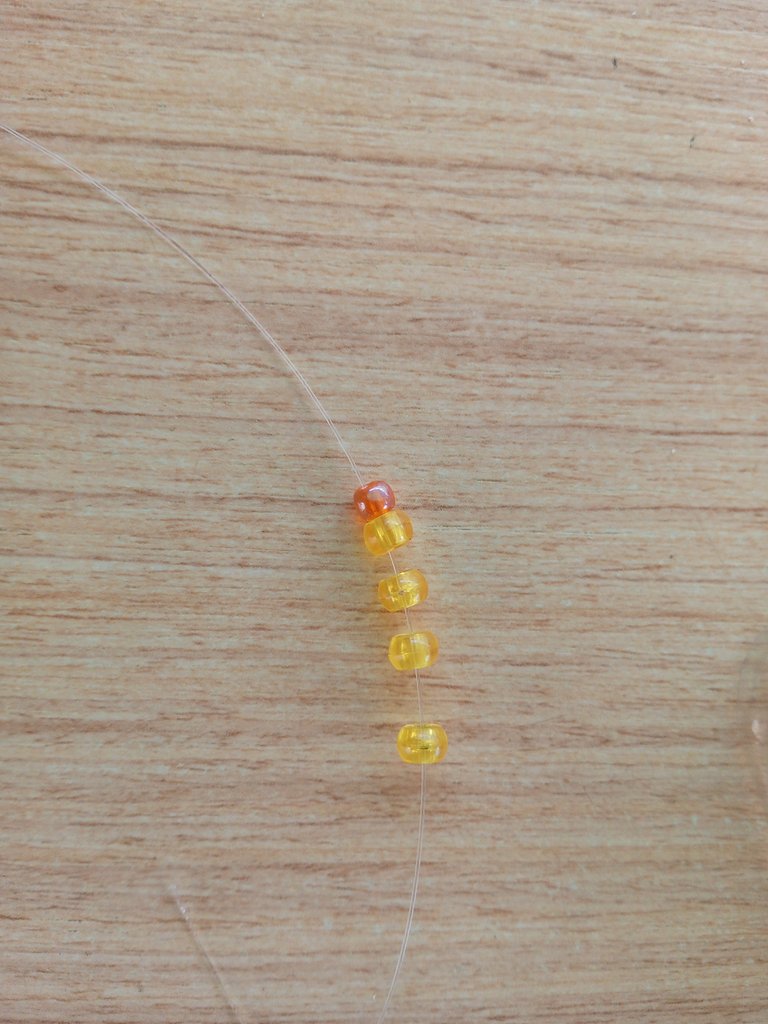
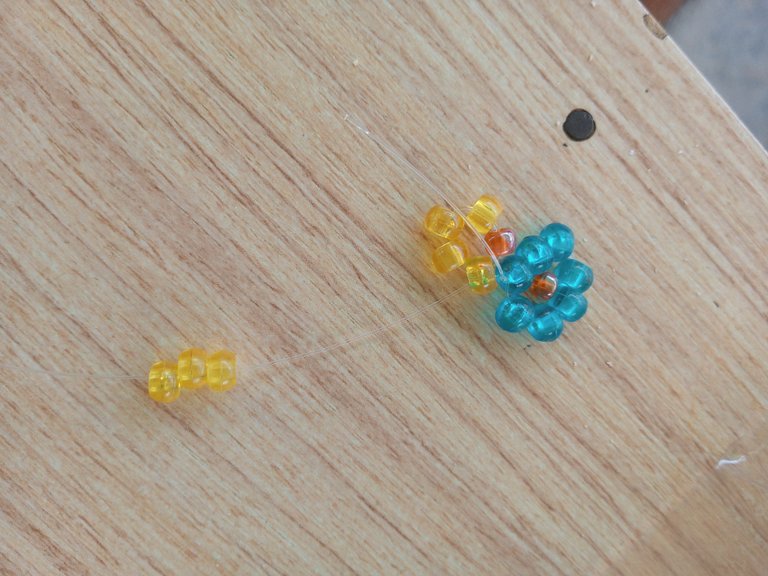
De abajo hacia arriba pasamos el nylon por la mostacilla que está despues de la que utizamos para el centro de nuestra flor, esta es la mostacilla anaranjada oscura, ya tenemos nuestra segunda flor.
Paso 3
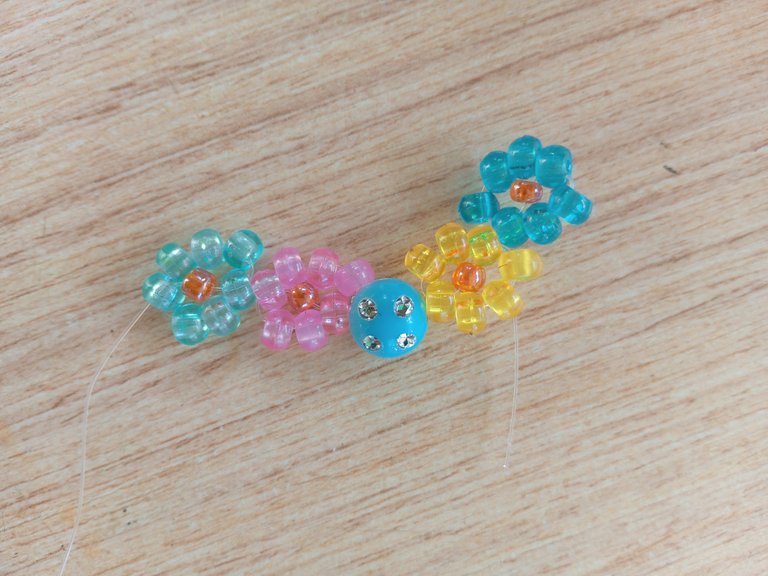
Para este paso lo que haremos sera tomar una cuenta redonda azul, me gusto mucho este modelo porque tiene unos puntos de cristal que le dan un toque de hermosura jeje
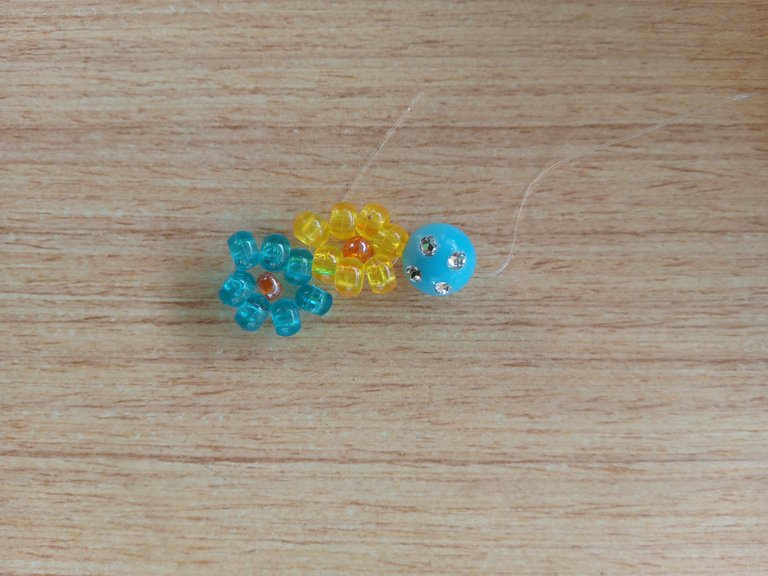
Seguimos el mismo proceso, asi tomamos 4 mostacillas de color rosado y una mostacilla de color anaranjado, repetiremos el mismo proceso, tomando nuestro nylon y de arriba hacia abajo lo introducimos por la última mostacilla para que nos quede pequeño círculo
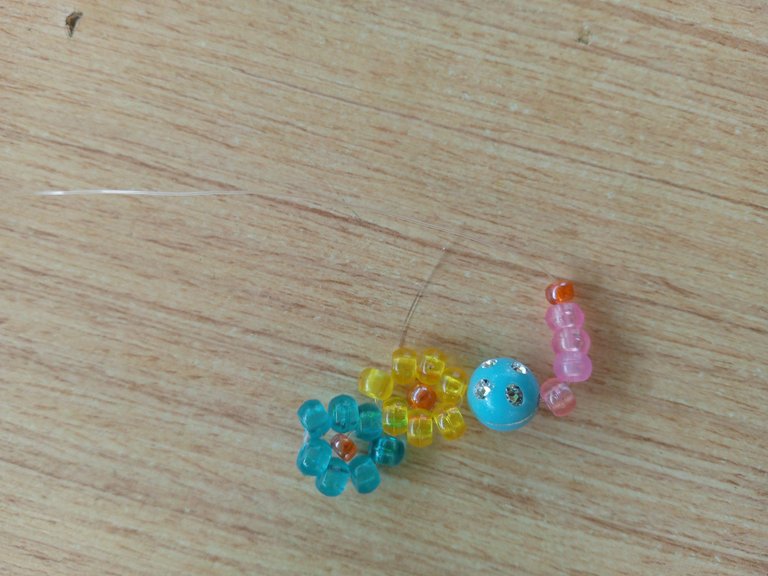
para asi tomar nuevamente 3 mostacillas del mismo color, con nuestro nylon de abajo hacia arriba y por la mostacilla que esta despues de la anaranjada, introducimos nuestro hilo para asi darle forma a nuestra hermosa flor rosada.
Paso 4
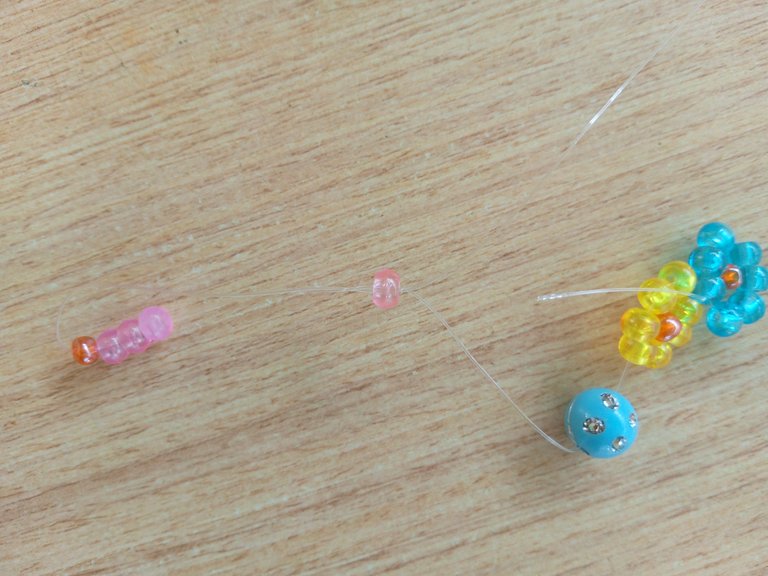
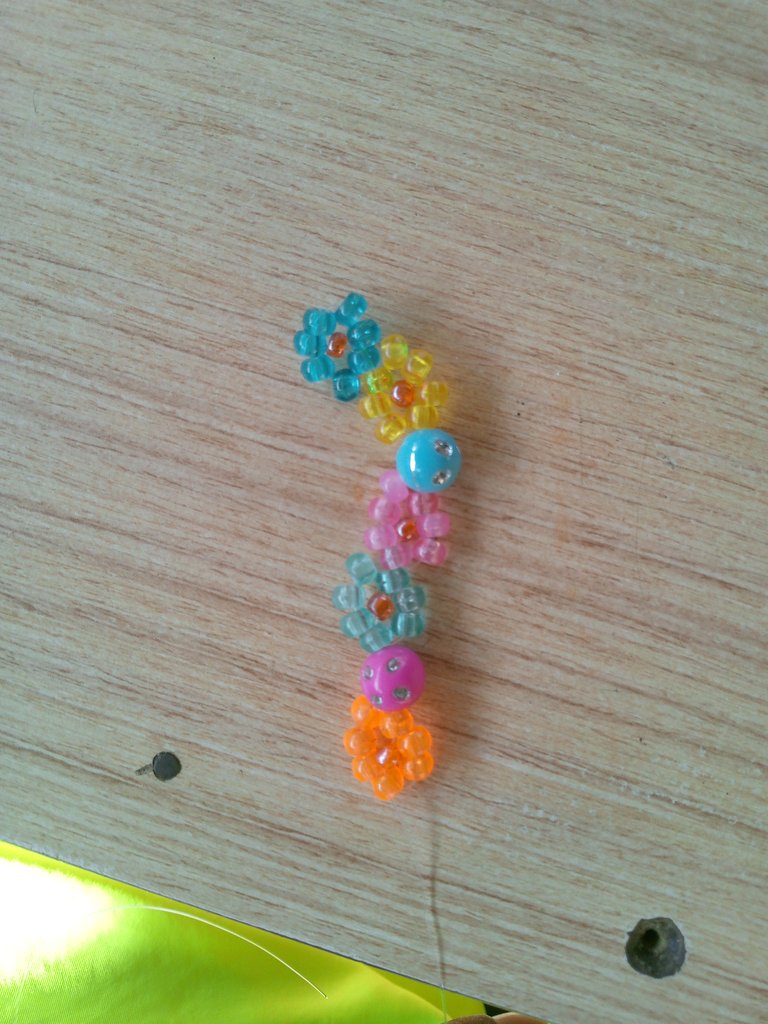
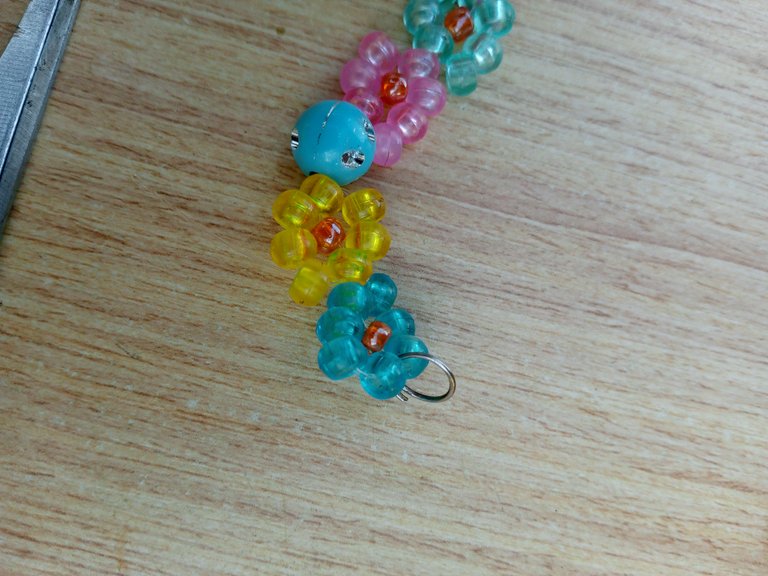
Vamos a repetir los pasos anteriores hasta lograr obtener el largo que vamos a necesitar para nuestra hermosa pulsera, despues de 2 flores le vamos colocando una cuenta redonda,las que me gustan mucho.
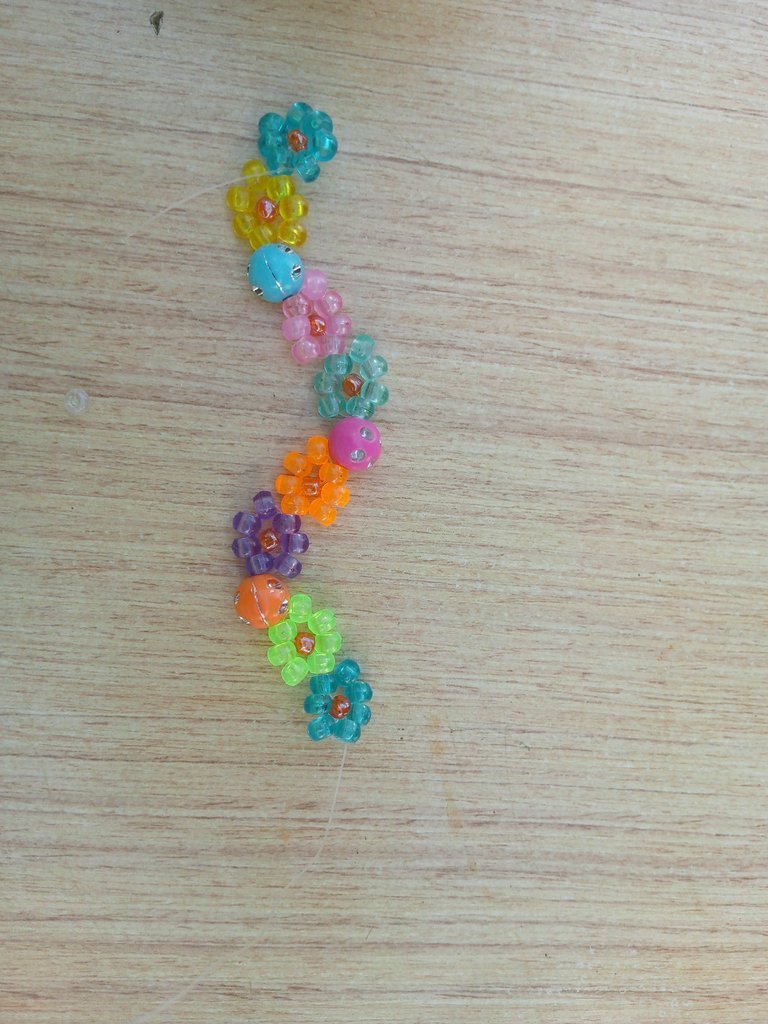
Paso 5
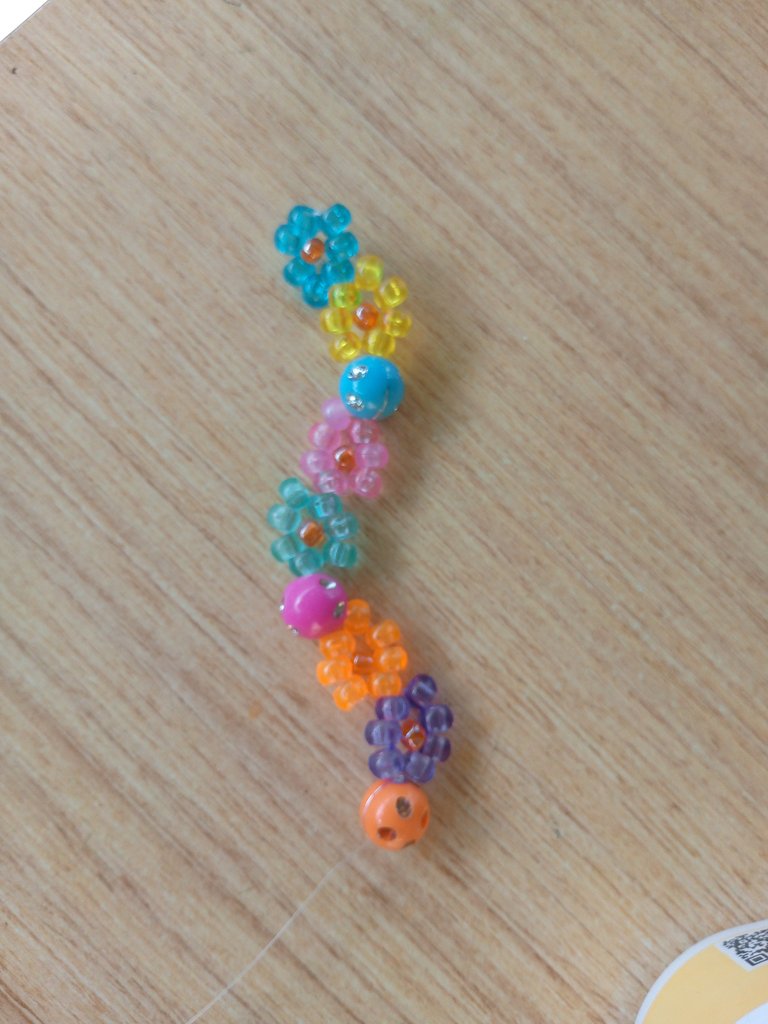
Para la última flor decidi colocarle una flor de mostacillas de 4 milimetros para darle un toque diferente, luego le coloque la última cuenta redonda.
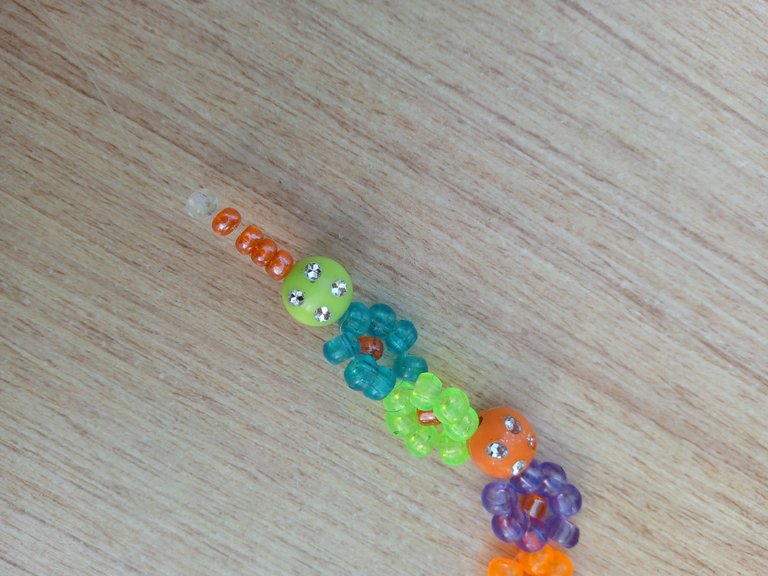
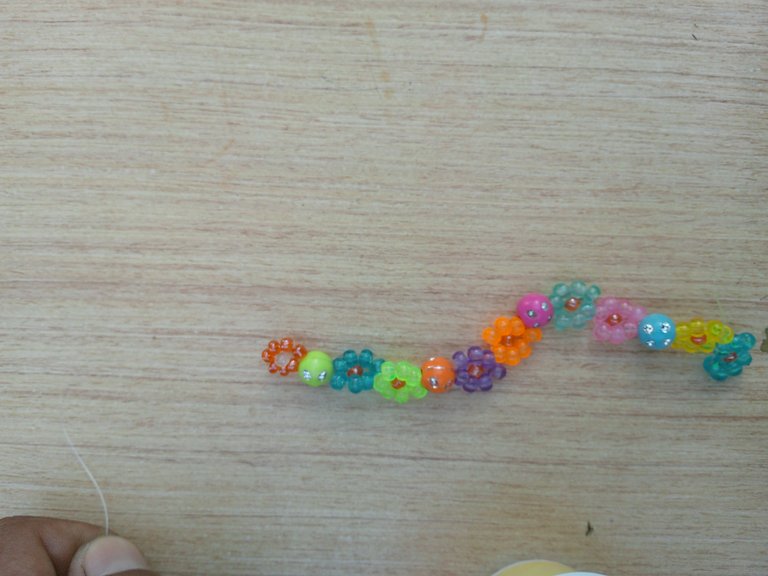
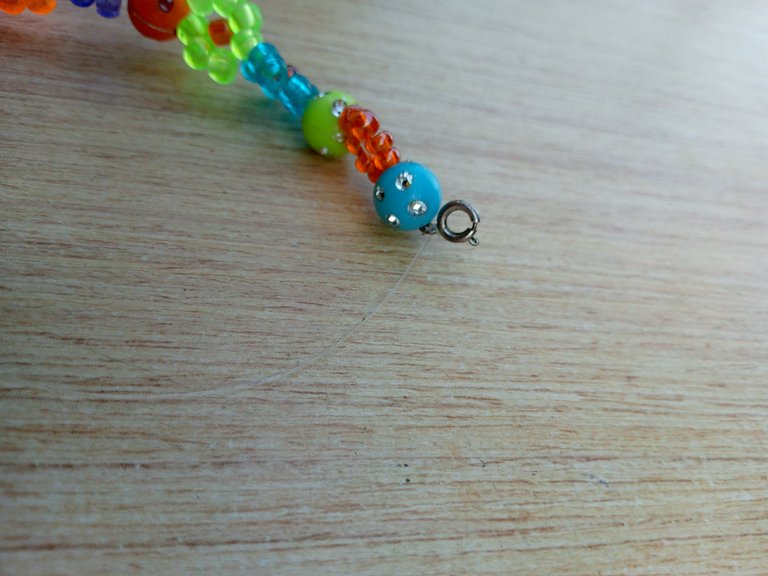
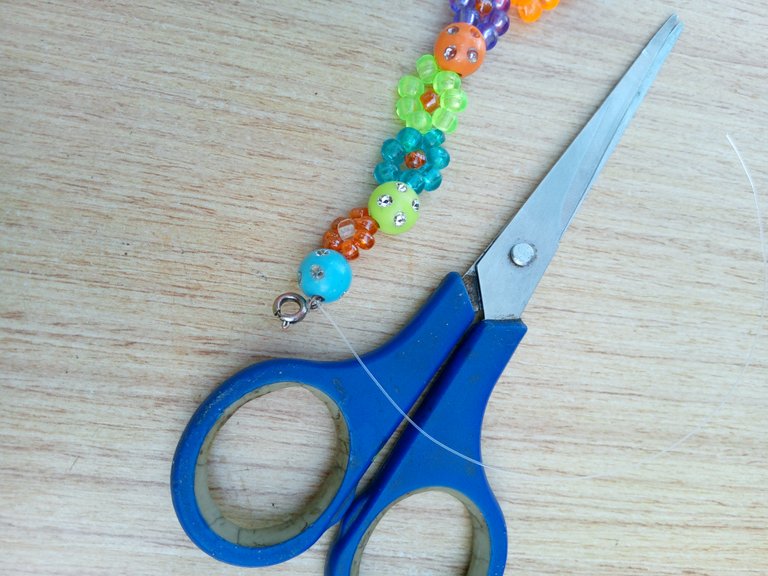
Ya para culminar, tomamos una argolla y se la colocamos a un extremo de nuestra hermosa pulsera, y por el otro lado le colocamos el seguro, con la ayuda de una tijera cortamos los excedentes del nylon para asi tener lista nuestra Hermosa y Colorida Pulsera De Flores.
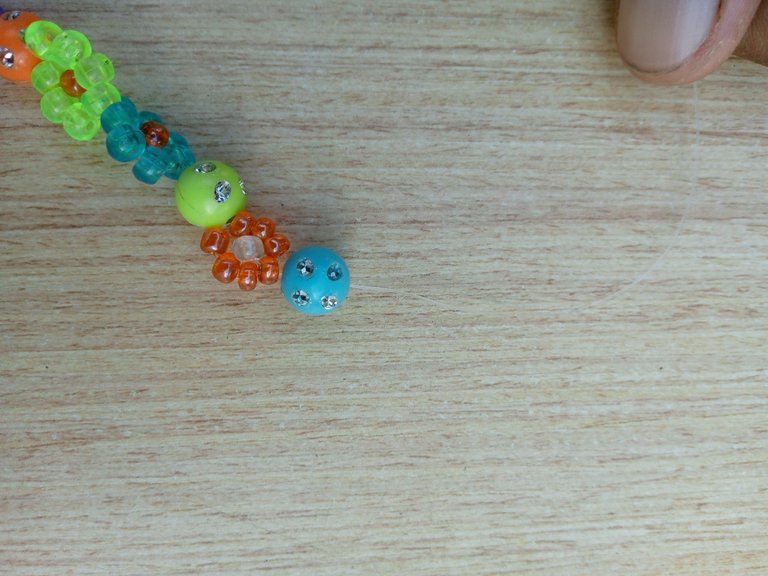
Espero sea de su agrado este post que he realizado con mucho cariño para todos ustedes, me despido deseándoles un feliz fin de semana, que el Dios del cielo los bendiga.
Éxitos y Bendiciones.
CREDITOS
Las imágenes son de mi propiedad y fueron tomadas por mi teléfono tecno spark Go 2023.
Traductor Utilizado:Delph traslater.
Las imágenes son editadas mediante la aplicación editor de fotos polish .

I feel very excited and at the same time a little nervous, for the fact of having had more than a month without making a publication in the great platform of hive, today I rejoin and I chose this beautiful and creative jewelry community to do it.
As I told you before I am very excited and full of joy, so I want to share with you all a beautiful and colorful flower bracelet, I wanted to bring you this colorful bracelet because I love flowers and I also want you to notice the joy I feel to return to create content, without further ado, I hope you like this post that I bring with much affection for all of you.
Next I will be presenting the materials used for the elaboration of this beautiful and colorful flower bracelet:
MATERIALS USED
- 5ml beads of different colors, dark blue, light blue, green, orange, pink, purple, yellow.
- 4ml dark orange beads
- Round beads with crystal dots
- Ring and safety catch
- 50 Cm of Transparent Nylon
- Scissors

Now I will be presenting the step by step instructions used in the creation of this beautiful and colorful flower bracelet.
Step 1
The first thing we did, with the help of the scissors we cut an approximate of 60cm of transparent nylon, to take 4 dark blue beads of 5ml and an orange bead, we take them to the end, leaving about 2cm to make a knot and secure our first flower, then we take the other end and we will pass our nylon through the last bead from top to bottom.


Next we are going to introduce 3 beads of the same color, then we take the nylon and we introduce it this time from the bottom to the top and we will have our first flower.


Step 2
For our second flower, we take 4 yellow and one orange beads, the dark orange beads will be the center of our beautiful flowers, in the same way we are going to take the end of our nylon and we are going to introduce it through the last bead from top to bottom, so we take 3 beads of the same color.


From bottom to top we pass the nylon through the bead that is after the one we used for the center of our flower, this is the dark orange bead, we already have our second flower.

Step 3
For this step what we will do is to take a blue round bead, I really like this model because it has some crystal dots that give a touch of beauty hehe

We follow the same process, so we take 4 pink beads and one orange bead, we will repeat the same process, taking our nylon and from top to bottom we introduce it through the last bead so that we have a small circle.

and then take again 3 beads of the same color, with our nylon from the bottom to the top and through the bead that is after the orange one, we introduce our thread to give shape to our beautiful pink flower.


Step 4
We will repeat the previous steps until we get the length that we will need for our beautiful bracelet, after 2 flowers we will place a round bead, the ones I like very much.


Step 5
For the last flower I decided to place a 4 mm bead flower to give it a different touch, then I placed the last round bead.


To finish, we take a ring and place it at one end of our beautiful bracelet, and on the other side we place the lock, with the help of a scissors we cut the excess of the nylon to have our beautiful and colorful flower bracelet ready.


I hope you like this post that I have made with much affection for all of you, I say goodbye wishing you a happy weekend, may the God of heaven bless you.

Success and Blessings.
CREDITS
Images are my property and were taken by my tecno spark Go 2023 phone.
Translator Used:Delph traslater.
The images are edited using polish photo editor application.


