Hello! Hi, Mabuhay! 🤗 How are you Hivers? I hope everyone is doing fine.
Today, I will be sharing to you how to craft a wedding invitation, one of my passion that turned to a little business. But before I share it you, let me tell you a short story.
It was 2017 when my sister got married. Before the wedding, each of one of us, (her siblings) were tasked to contribute a part to lessen the hassle, work and of course, expenses. I was tasked to craft the invitation. I did not have any background that time. In addition, the internet connection was too expensive at that time to look for sources and ideas. Clueless of what to do, I decided to stroll by in a stationery corner in a mall.
Fast Forward: I finally came up with an idea that matched the motif of the wedding. (Unfortunately, it was quiet a long time ago and I didn't have a photo of my first ever DIY craft).
Then 2020, my eldest sister's wedding. Again, I was assigned to do the same thing, the invitations! This time, I have a lot of sources and online shopping was available. So I look for ideas and concepts in making the output.
And viola, with the help of family, we came up the simplest yet classy craft.

We tried different materials and printed a lot of times to produce a perfect outcome.
Few years later (LOL) here comes our patent.
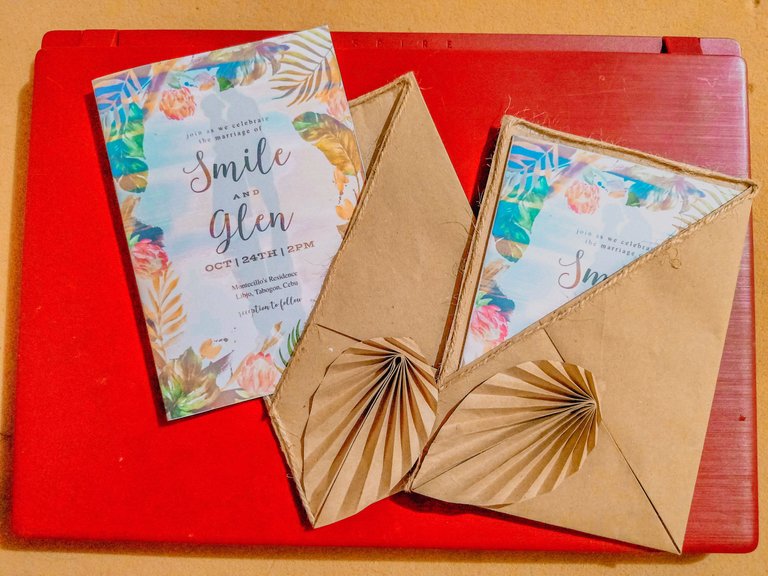
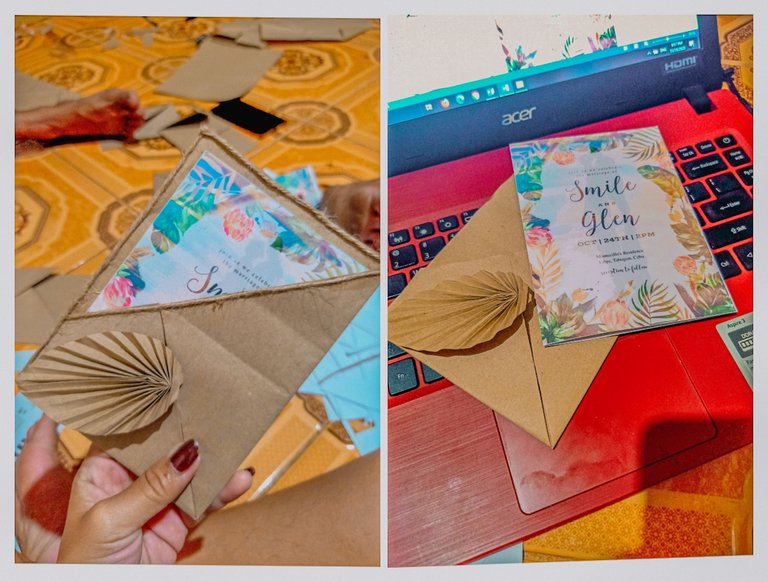
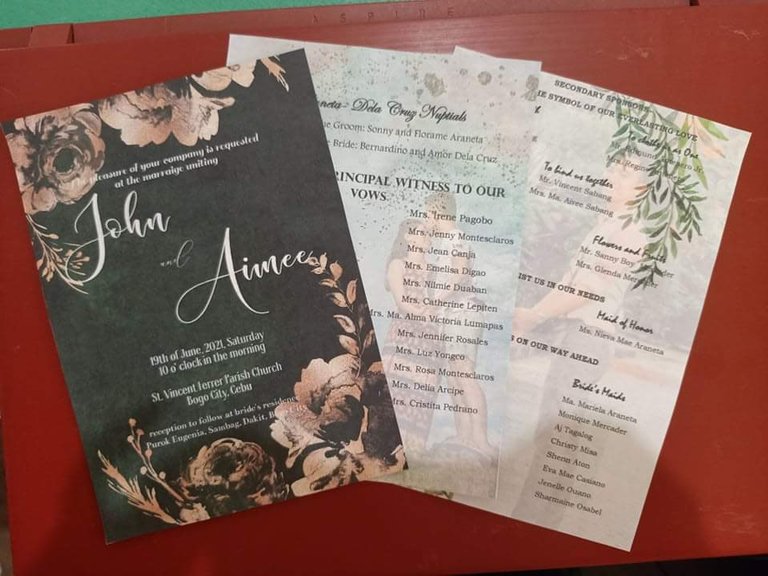
And here it is, the second wedding invitation I created.
And because of this, I tried posting it on social media to gain costumers, and it did. I already made baptism cards, wedding and birthday invitations.
Now, I'm going to share to you the steps in making DIY invitations and tips to less expenses.
Prepping the Materials
Firstly, if it's for business, you need to communicate with the client the preference, motif, style and even color. These small details matter to them, it's their big day.
If it's for personal use, You need to list down your preference and ideas. Listing the things will save your time.
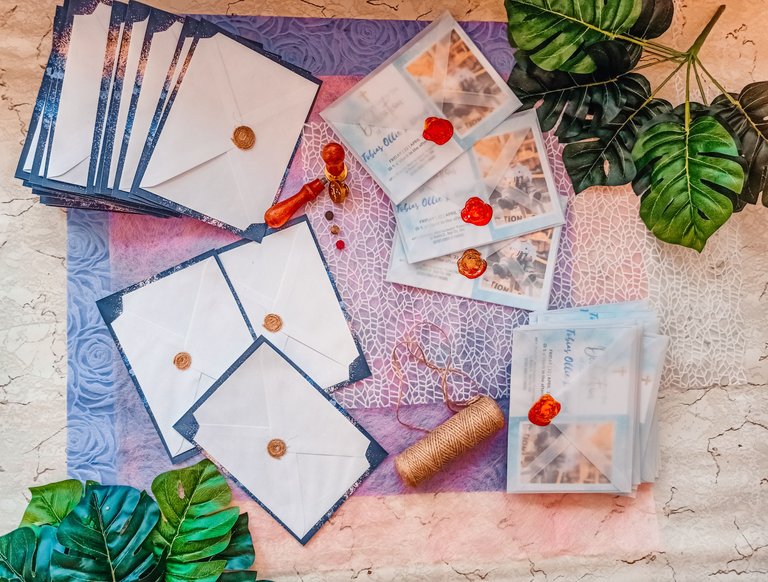
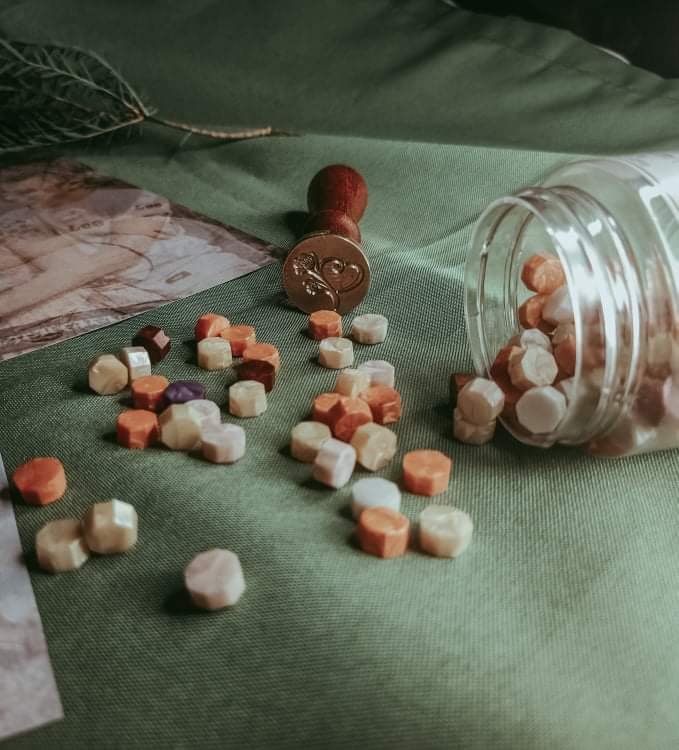
Then, look for available materials. You last resort you can have in a DIY project is to shop. So, as much as possible, utilize the stuffs you have at home. And since I'll be sharing my own DIY craft, here are the things you need to create an aesthetic vibes. Prepare a stamp, wax, candle, translucent envelope, paper (I prefer vellum paper because I'm allergic to scented ones), a laptop and of course a printer. If you don't have one, you can go to printing shops and do the negotiations.
Lay-outing the Designs
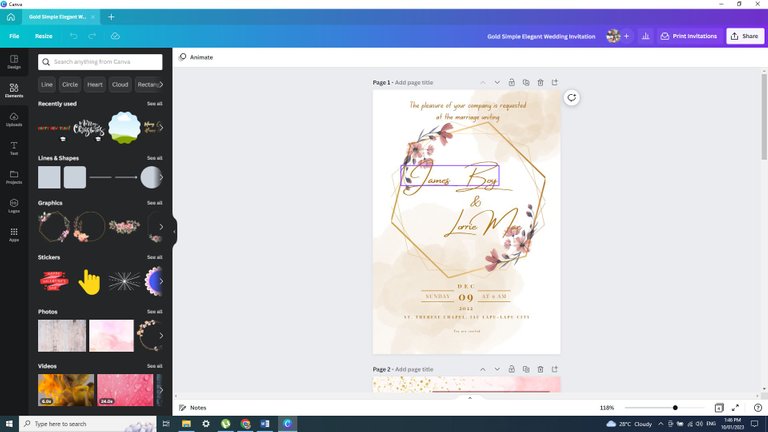
Now that you have the things needed, open ypur laptop and start lay-outing. In my case, I use Canva (which is free and offers varied designs that surely matches your choice) and publisher.
Then, when you finish the lay-out, Make a patent or sample for as basis for your final output. If you think you got the exact idea that you have in your mind, print and reproduce as many as you can. Make sure you have enough materials.
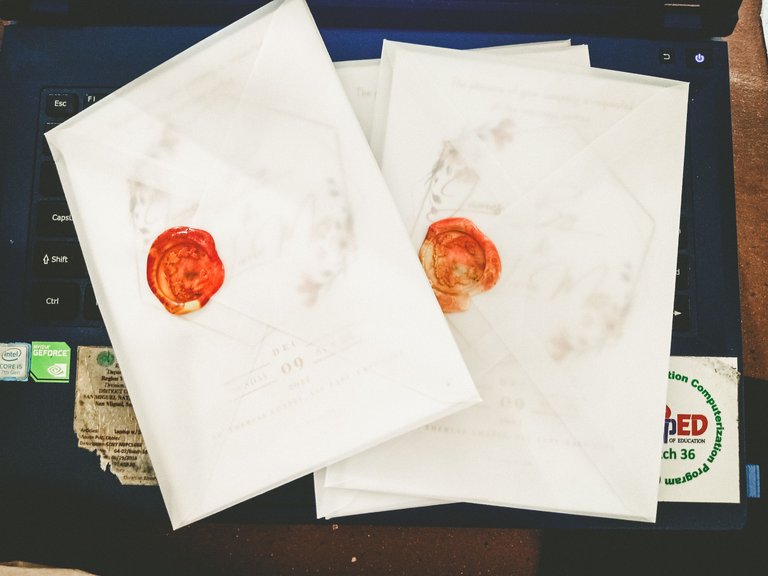
Finalizing the Craft
Once printed you may now start lighting the candle. Prepare the stamp, the wax and envelope. Melt the wax inside a spoon. While melting, make sure the cards are placed inside the envelopes and are ready for sealing. After melting, you may now start pouring it the open lid of the envelope to seal. Wait until it dries.
Now you have an amazing DIY craft. Congratulations! And oh! Do not forget to take a photo of you great work just like mine. You might want to build a little business like I have.
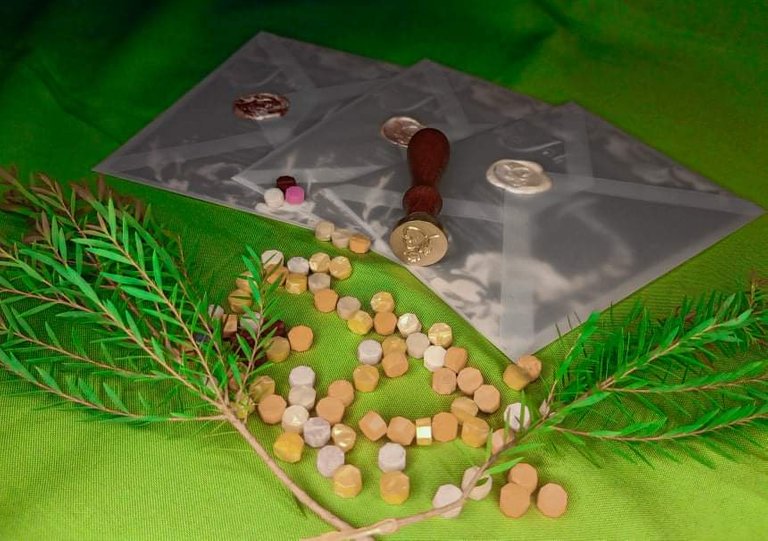
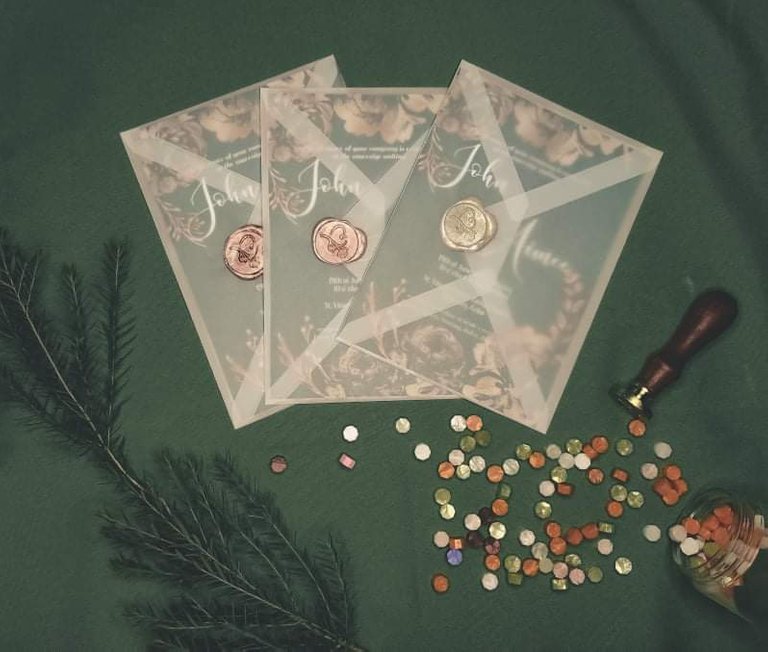
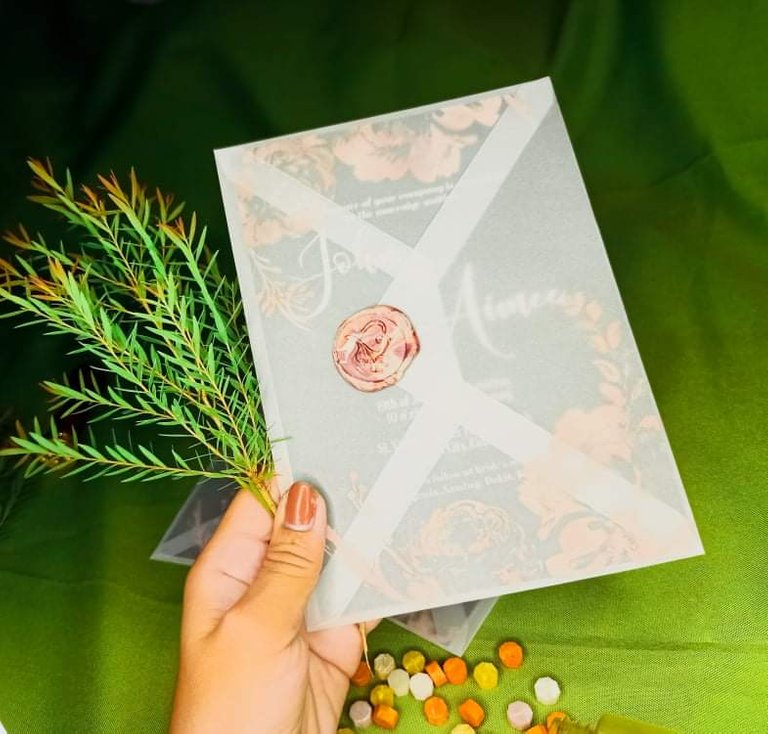

Photo Opportunity: I always took photos to something I did, not just DIY projects, but also to little things that can make my heart happy.
Not-a-pro TIP: If you plan to craft a DIY project, ENJOY doing and NEVER STOP doing. That's what matters.
Indeed, Napoleon Mill is right when he said that it takes half of our life to discover that life is like a DIY project. Outputs or the crafts are the dreams that we want to achieve. While the materials and the stuffs are the loved ones or the people that surround us and willing to help. Lay-outing are our hard works and perseverance to in achieving our goals. If we failed, just like DIY, we can reprint and make a patent so we will have a guide the next time we try. Finally, the costumers are the awards we can get for the sweet success we have in life.
I hope you had fun reading. See you in my next blog 💕 Have a good one, Hivers !


