![]()
How are you friends architectural design furniture ,I am @deltasteem and furniture is my daily job.and I work in one of the CV Furniture in Central Aceh of province of Indonesia and is also one of the areas with cool air that is one of the community areas who work as coffee farmers.
At CV Furniture where I work, we provide various types of wood for building construction purposes and we also accept various types of orders for frames, windows, doors and various orders for household furniture and in general we get more orders for frames, doors and windows of the house compared to some other furniture orders which are ordered by local people.
And in the last few weeks I just finished a window project which is order by the local community and for the current home window design, generally people are very interested in minimalist window designs, namely house windows with a high size and a small width and so does the jalousie size order for the house that we often work.
And I, as a furniture architect, today, I again share the process of making windows and house jalousies which were ordered by the local community with a minimalist rectangular window design followed by a door jalousie and this is a picture of the design of the window and door jalousie that I received from my customer.
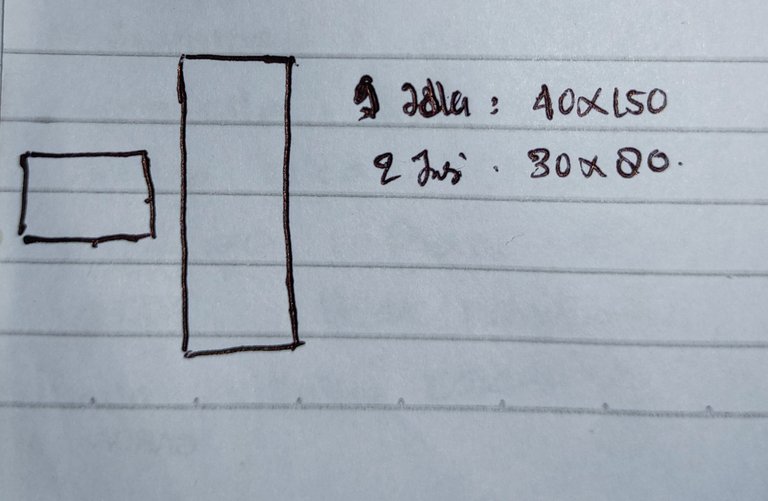
My customer gave me a design drawing and jalousie which is complete with the size and number of ordered units, namely...
•9 units of windows with a window width of 40cm x window height of 150cm and 2 units of door jalousie with a width of 80cm x height 30cm and in my area this is the standard size for house windows and standard jalousie sizes for bedroom doors or kitchen doors.
To complete the project my customer asked me to complete his order made of meranti wood and 5mm transparent black glass and to complete the project, of course, I have to complete several stages of the process and of course I am always ready to share with you some of the stages of working on that project according to the way I work it.
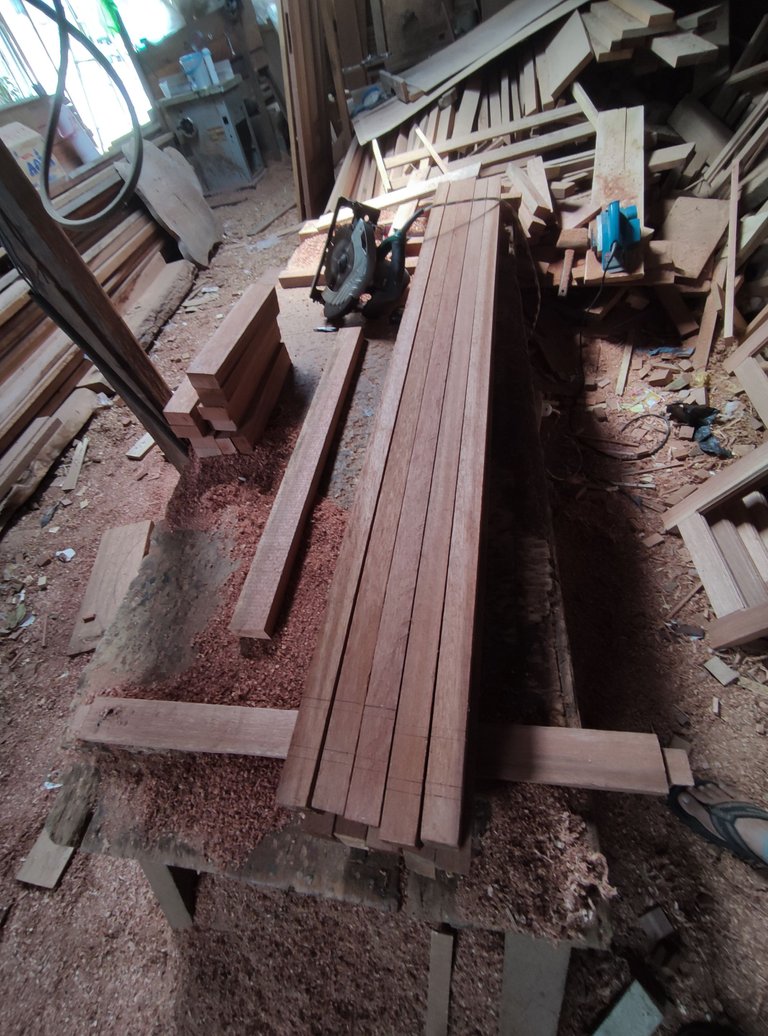
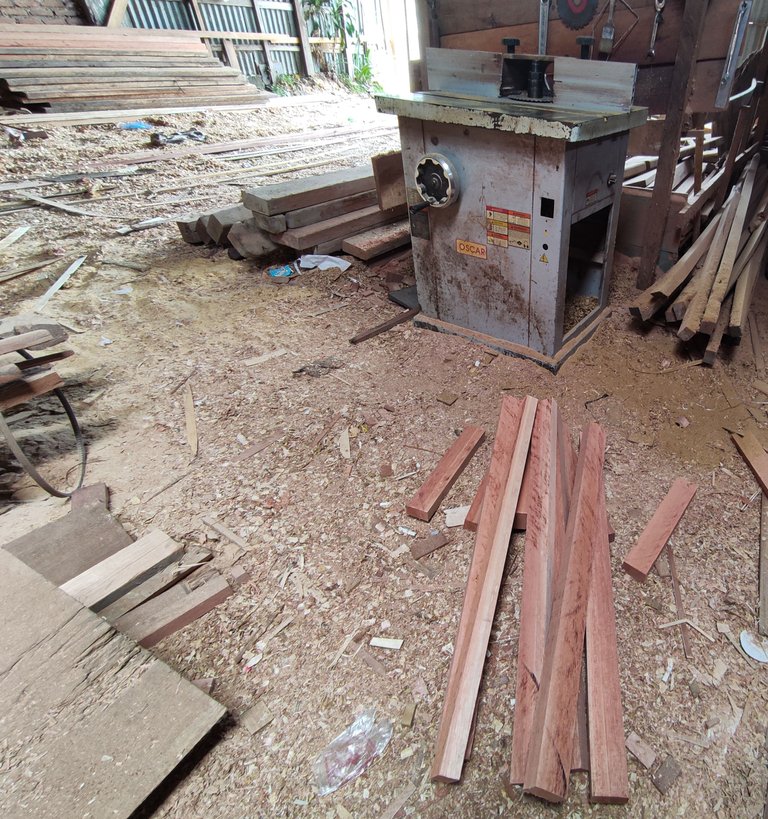
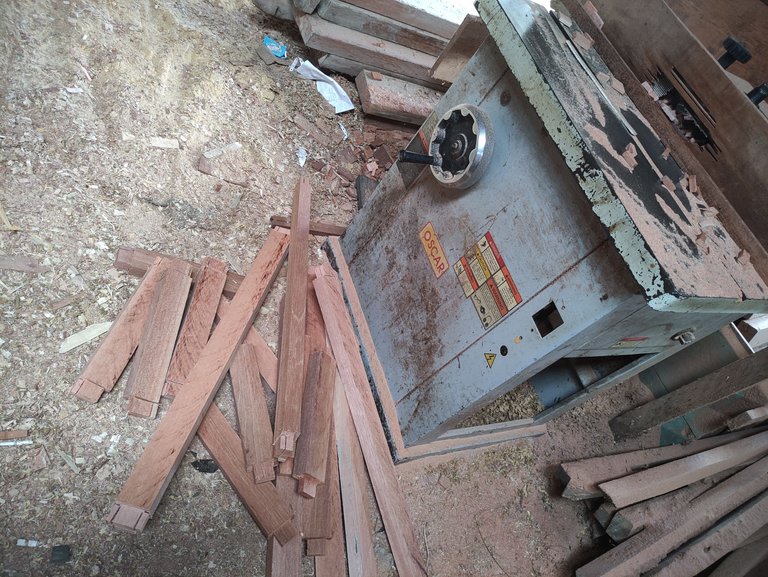
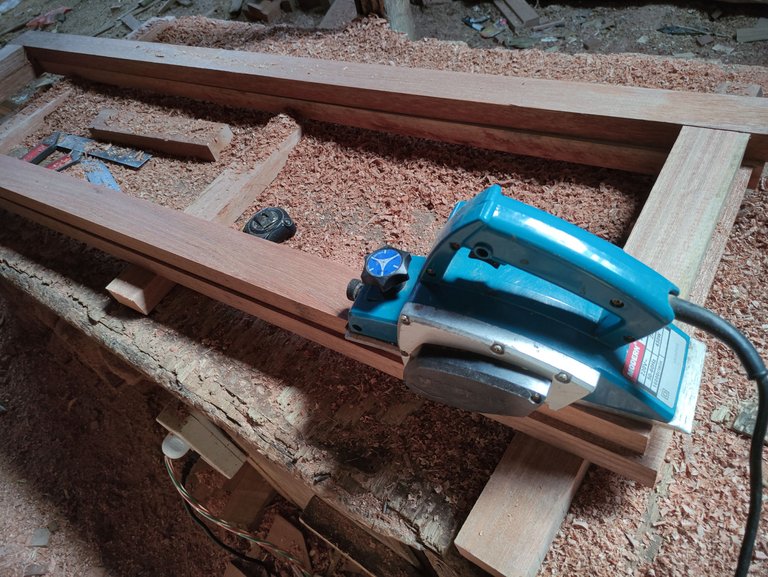
1.The machine tools and wood we used for that project material.
For the machines that I use in this project, of course, the types of machines that I often use in every furniture project that I work on every day.
•Wood cutting machine to cut all wood materials
•Shaving machine to flatten the entire surface of the series connection.*
•Hand drill(to make holes in the wood when installing the pegs) and sit drill(to make holes in the bulkhead of the top and bottom of the windo).
•Meter and hammer.
•Router machine for flower carving on the wooden surface of the inside of the window and glass holder.
•Meter (measuring instrument)and elbow.
•Smoothing machine .
•Panel machine to make nipple pegs on frame sets window.
•Manual iron press to the window series during the process of installing the pegs.
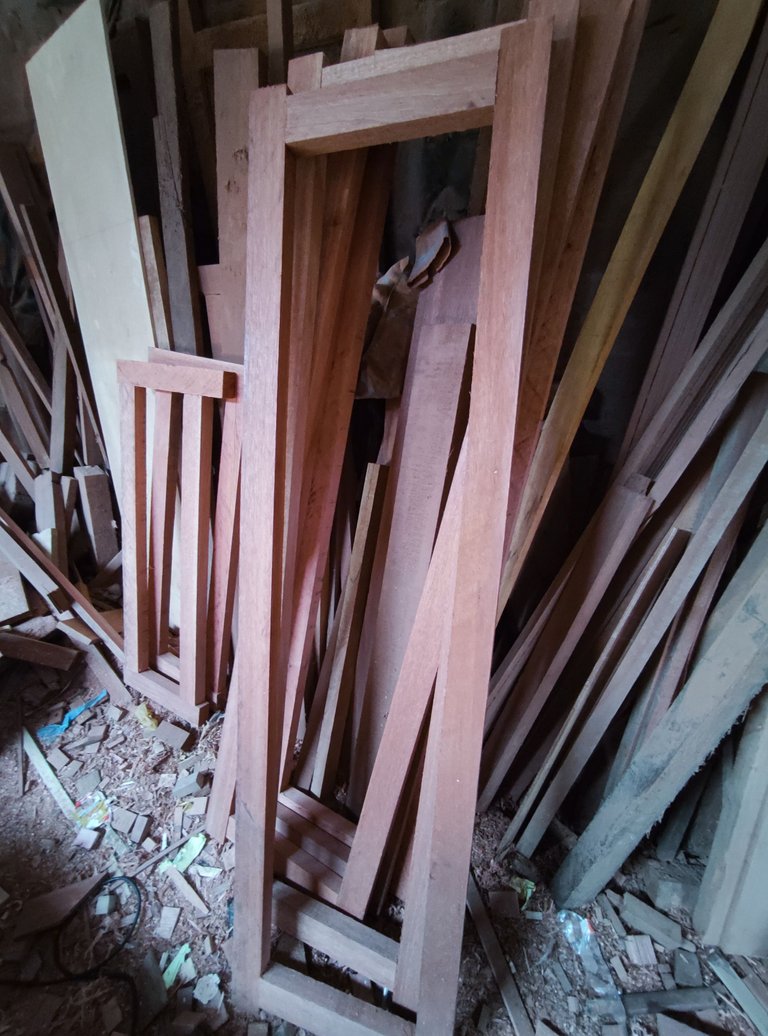
For wooden window frames and jalousies, of course we use meranti wood that has been trimmed with a width of 6cm x 3.5cm thick.
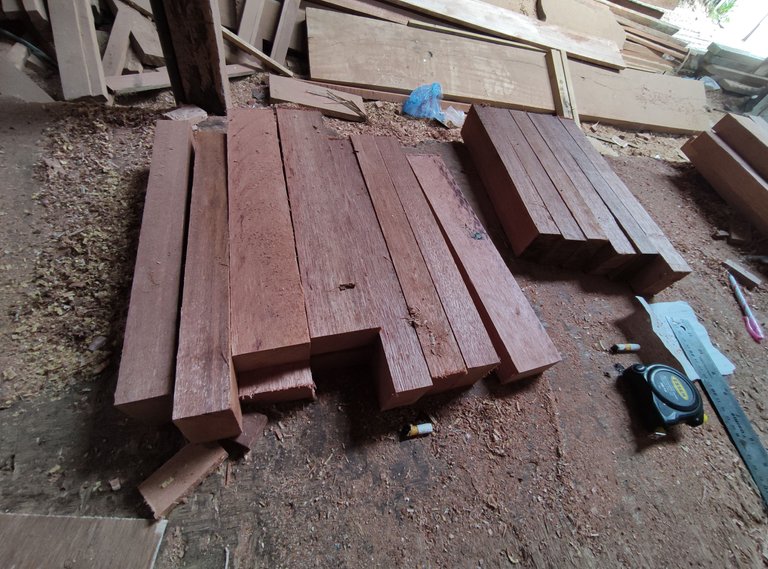
2.Preparation of the main window and jalousie circuits.
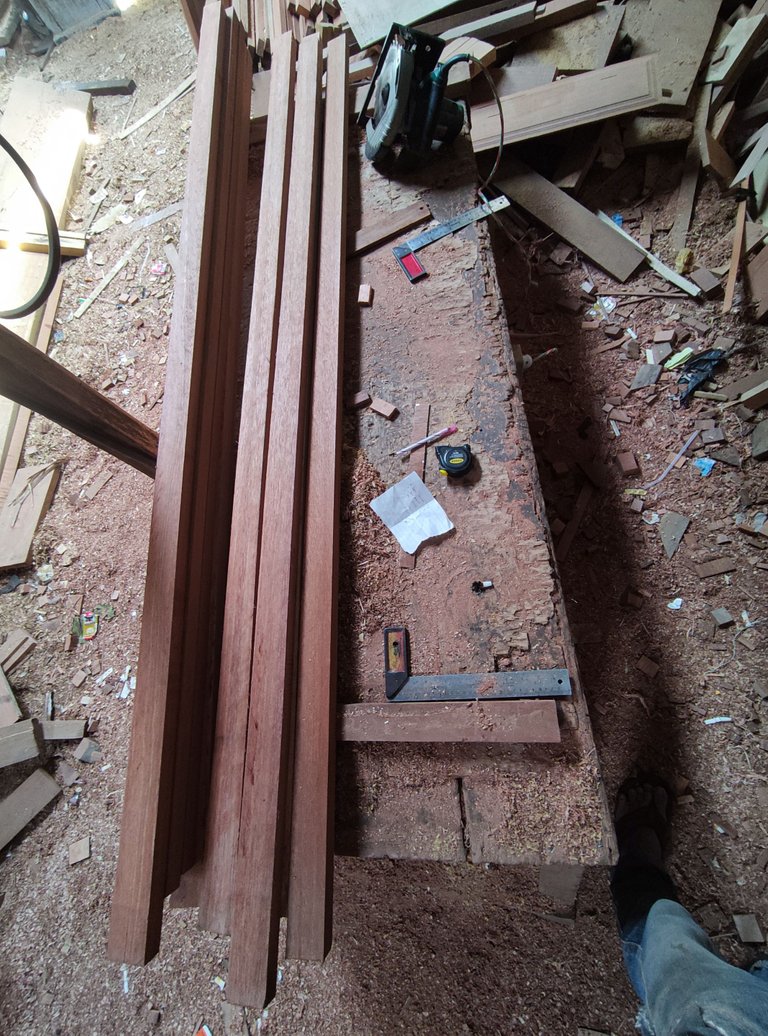
After the materials for the manufacture of windows and julusie are provided by the workers on duty in the raw beam splitting machine,we just continue the process of cutting the wood according to our needs to prepare the order and we always prioritize pieces of wood with the right size so that no wood is wasted.
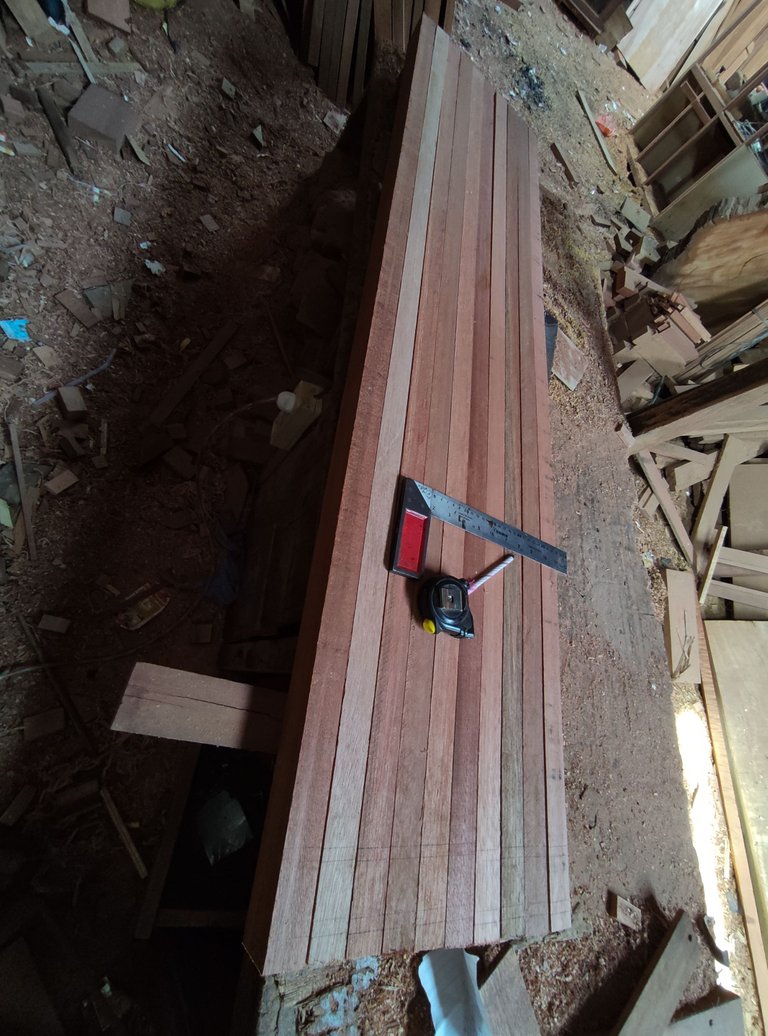
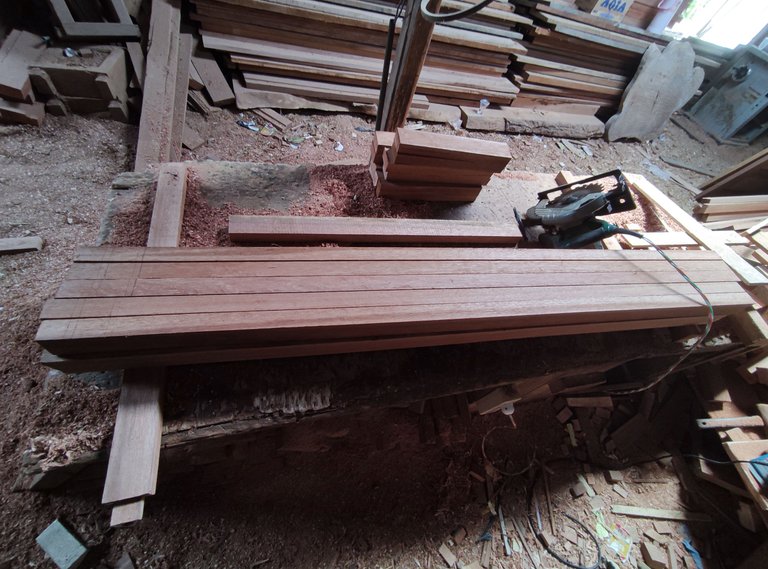
Wooden beams with an average length of 2 meters that have been trimmed with a width of 6 cm x 3.5 cm thick and for the main pillars of the left and right windows with a window height of 150cm, I had to prepare a with piece of wood long size 160cm a total of 18 pieces and after I finished cutting, I continued to outline the area of the mounting point of the drilling of the window-wide bulkhead peg mount and I work on this project package simultaneously in one job until it is finished.
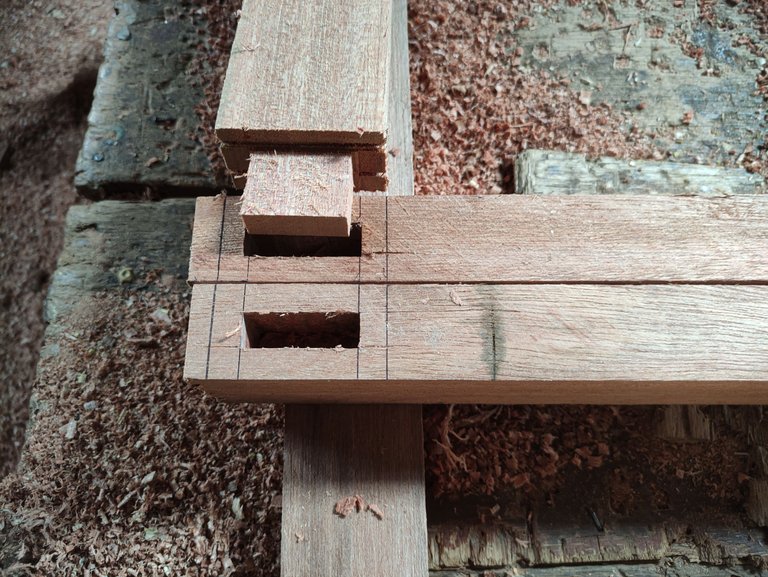
3.Wood drilling.
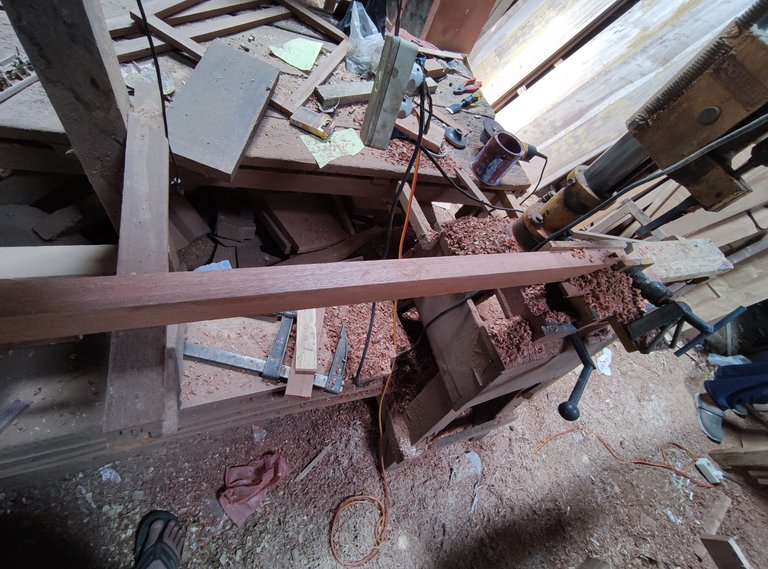
After outlining the drill bits on all the main pillars of the window series, I then drilled in the boundary line area with a drill bit width of 1.5cm and a drilling length of 4cm with a drill bit depth of 3cm and so also for the size of the drilling on the main bulkhead jalousie height.
4.Preparation of window width bulkheads and jalousie.
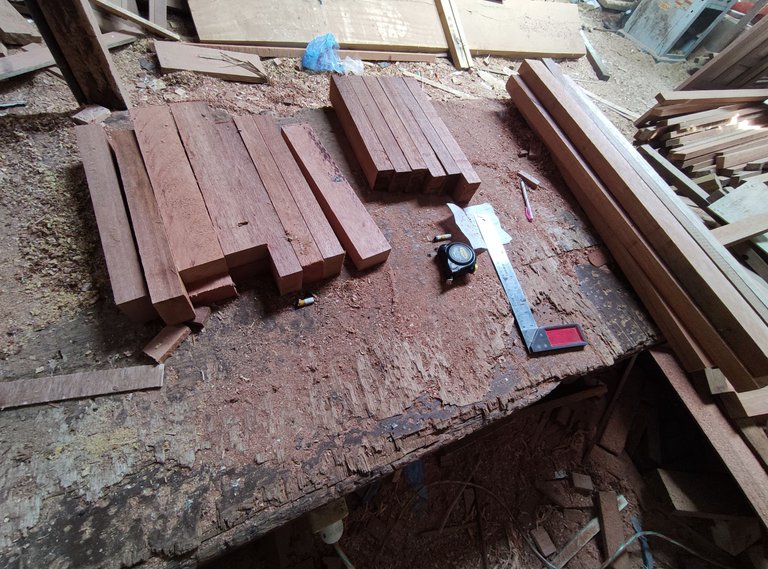
Of the nine window units with a window width of 40cm and a jalousie width of 80cm, we had to calculate the total length of wood that we had to prepare from that two furniture projects, namely.By reducing the width of the left and right posts and increasing the size of the nipples of the left and right pegs that will hold the set.
and after the calculation is complete the size of the wood that must be prepared for the upper and lower bulkheads of the 9 windows is 18 units of bulkhead with a length of 36cm Including the left and right 3 cm bulkhead pegs.For the 2 jalousie screens measuring 80cm wide, I had to prepare 4 pieces of wood with a length of 67cm, which also consisted of the left and right 3cm peg nipples.
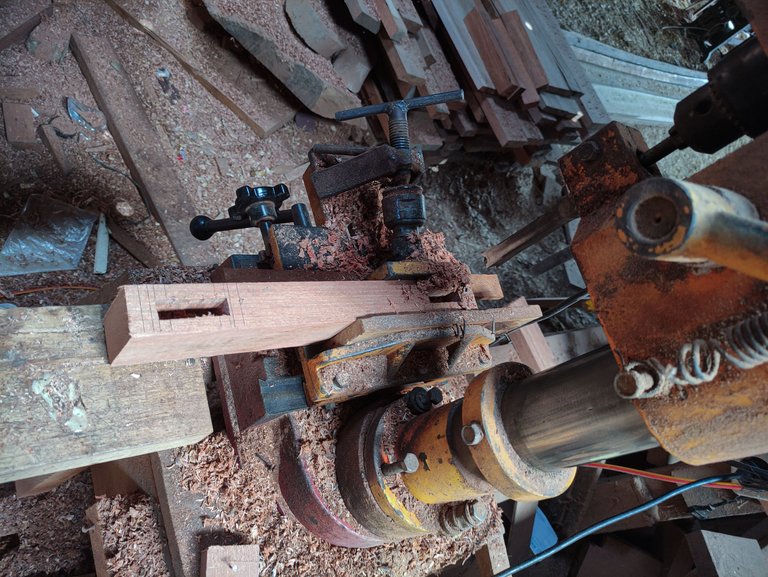
5.Making the nipples of the pegs on the wide bulkheads of windows and jalousies.

At both ends of the series of window and jalousie bulkheads, of course, we have to make a peg nipple that will fit into the main bulkhead post hole that we have provided previously with a drilling width of 1.5cm x drilling depth of 3cm and a drilling length of 4cm.The bulkhead wood we provide for the top and bottom of the window is 6cm wide x 3.5cm thick, which is the same size of wood for that series of windows.
And on a series of wooden wide dividers measuring 6cm wide x 3.5cm thick, I had to make pegs 4cm long x 1.5cm thick at both ends of the wood with a base thickness of 3.5cm and in the process we use a saw blade panel machine.
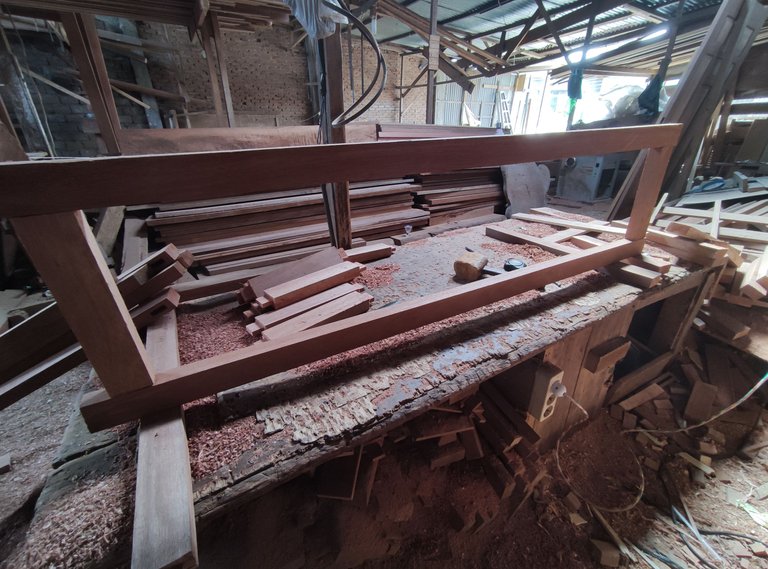
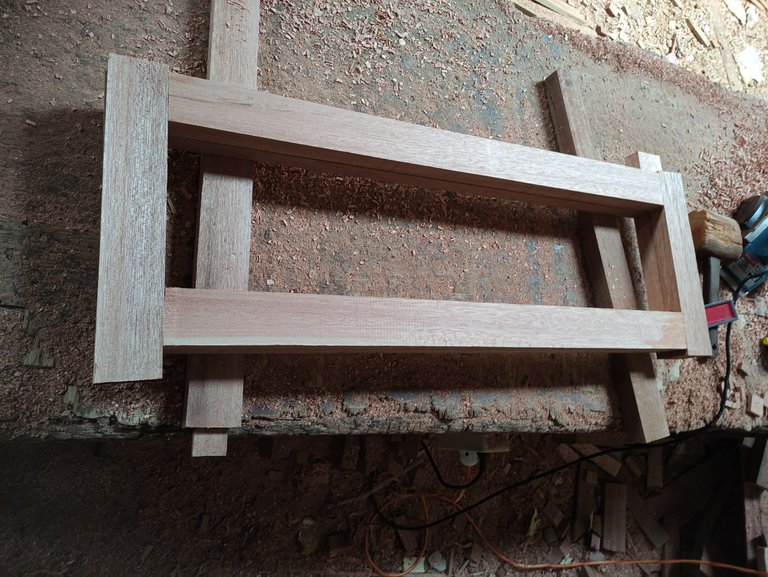
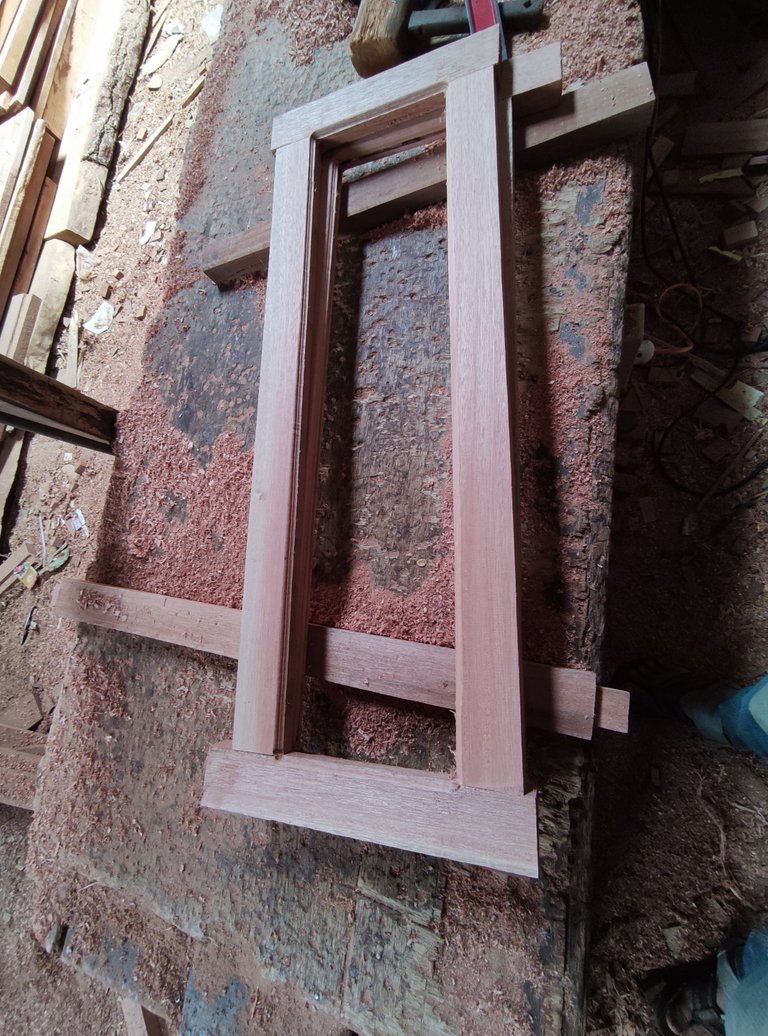
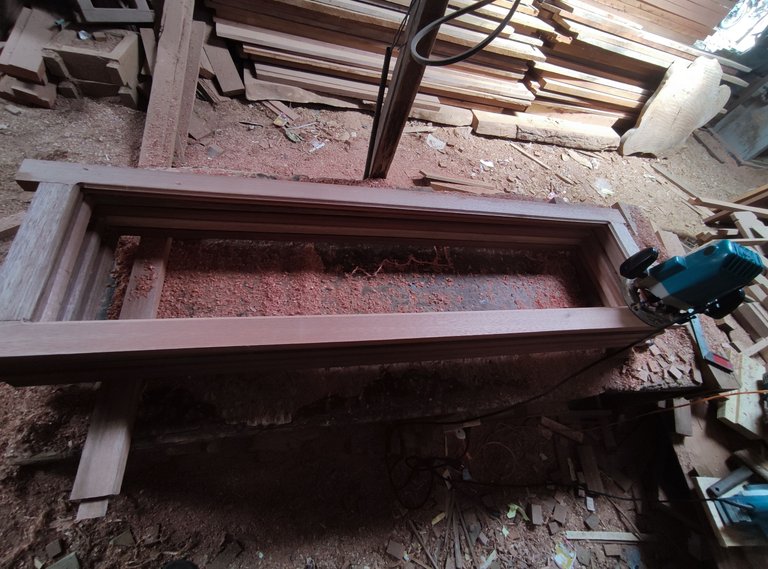
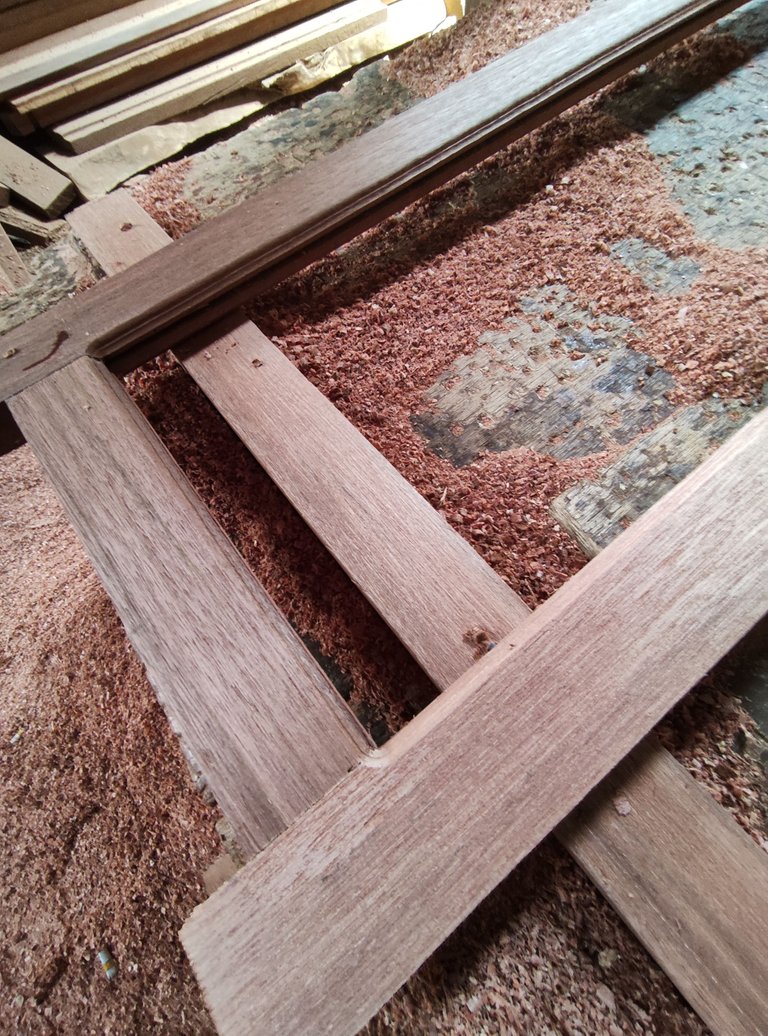
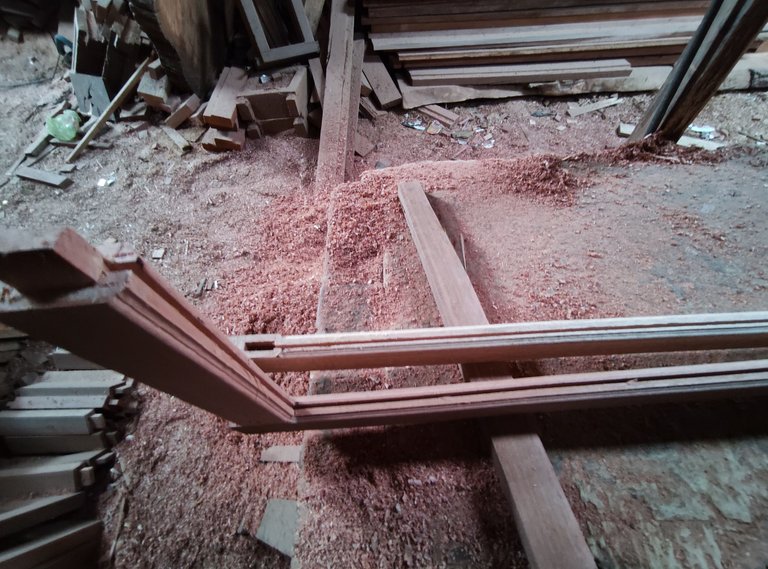
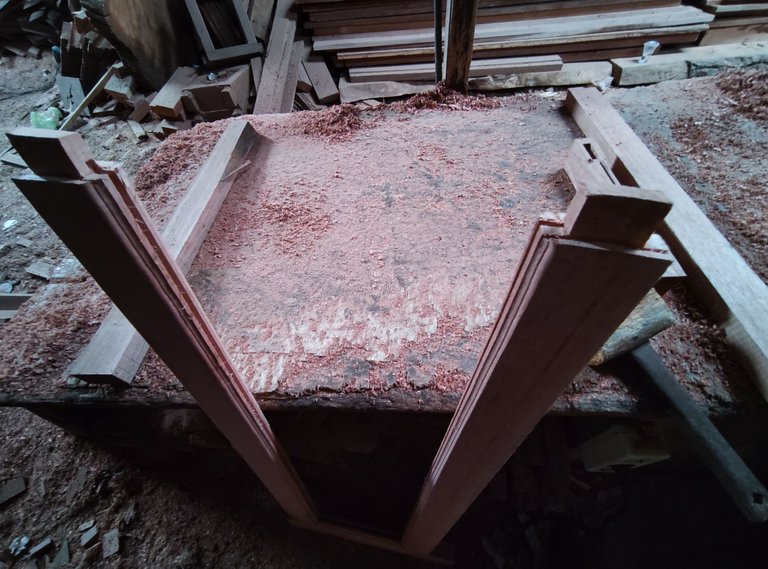
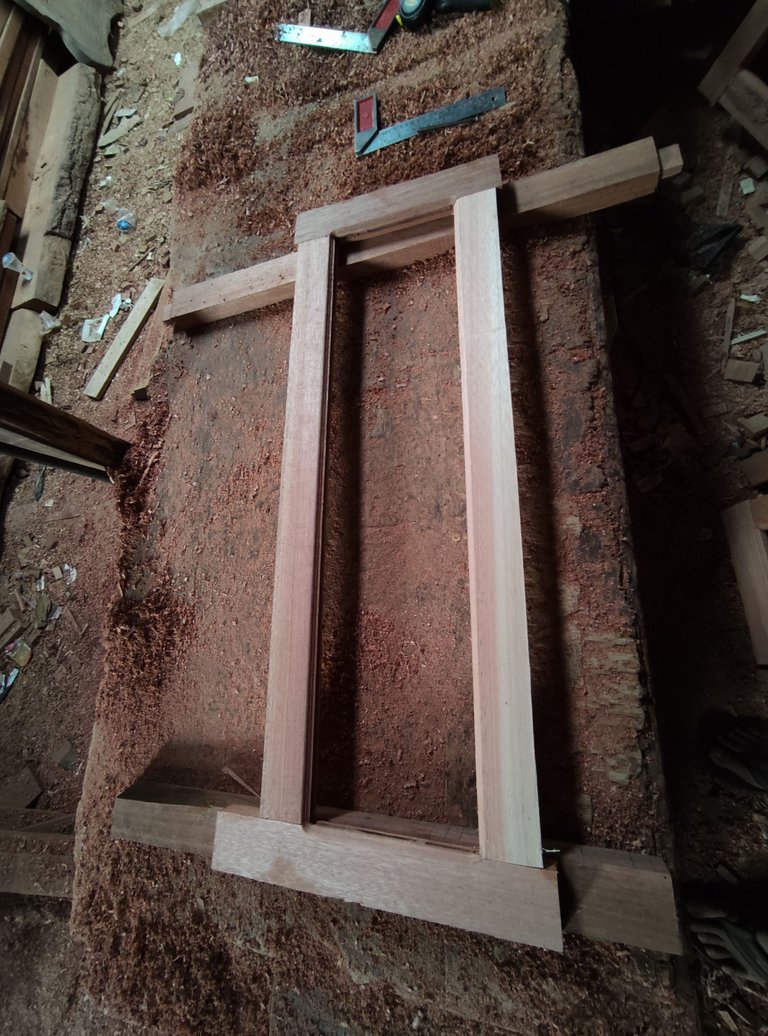
6. Installation of a series of window frames and jalousies.
After the preparation stage of all the bone materials for the design series is complete, now we continue with the process of inserting bulkhead pegs for the window width and that process is quite easy.you only need to prepare a hammer to knock it and the nipple of the peg will enter according to the size you prepared earlier from the two main ingredients of the series.
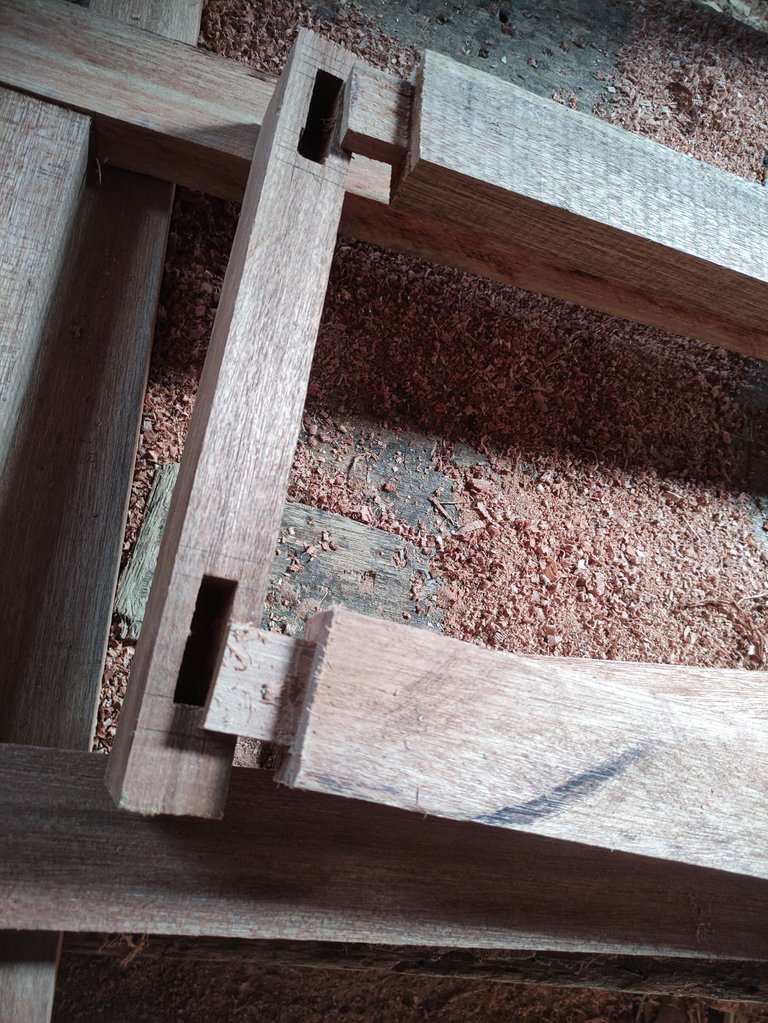
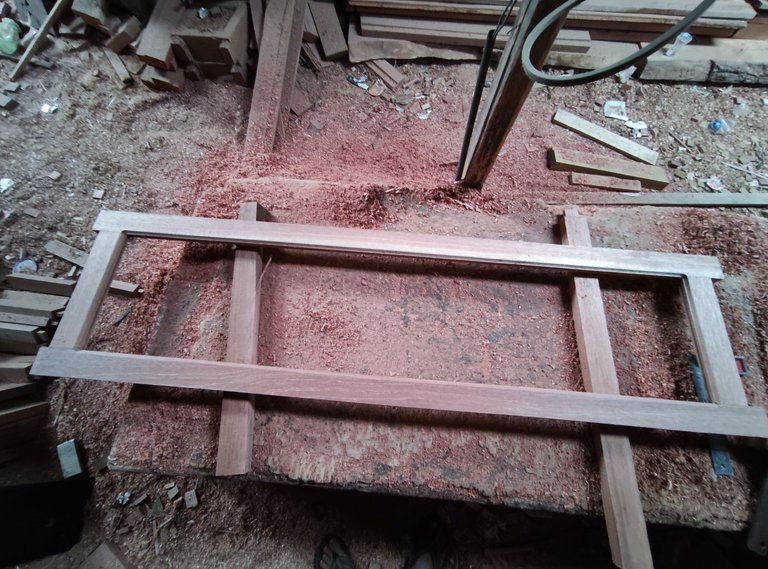
If you pay attention maybe the series looks a little different,, because jalousie has a long width and the window has a small width, this is what looks like the series of the two projects is different even though the structure of the circuit is the same.After the process of unifying the circuit bulkhead is complete, the design of the window and jalousie looks like this.
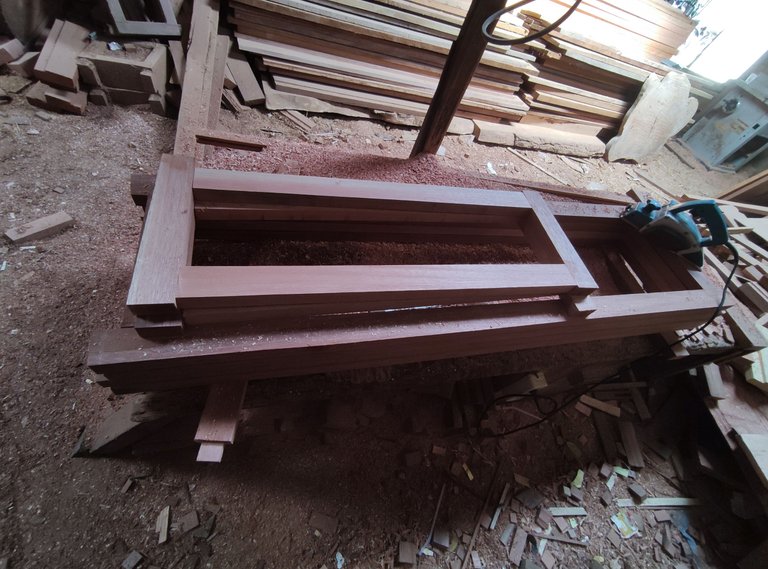
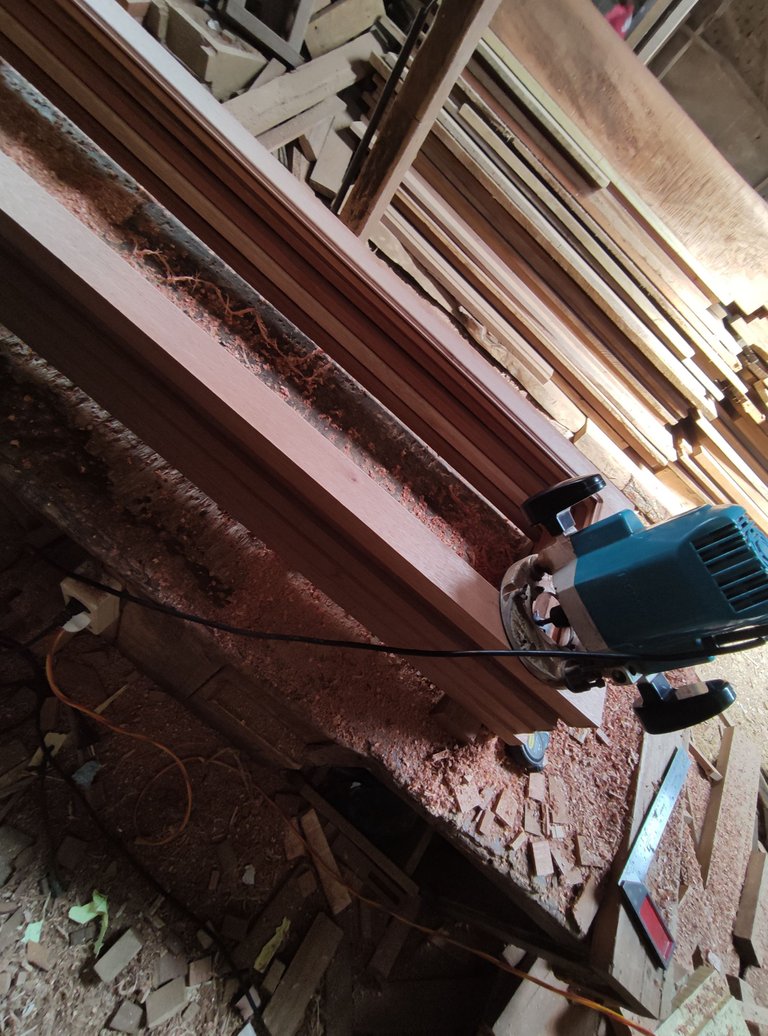
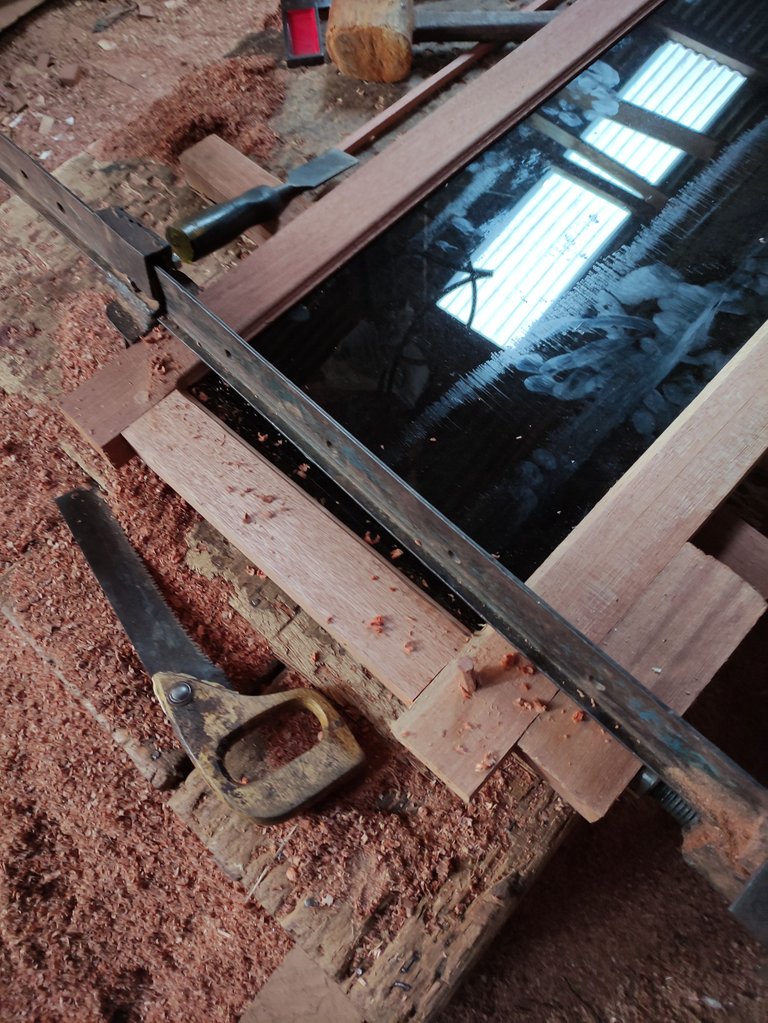
7. Fireplace of connection surfaces of windows and jalousies.
In the process of working on the fireplace series connection, of course we use a shaver machine ,the of course we have to do it slowly so that the blade does not dull quickly and the surface of the wood is really smooth.
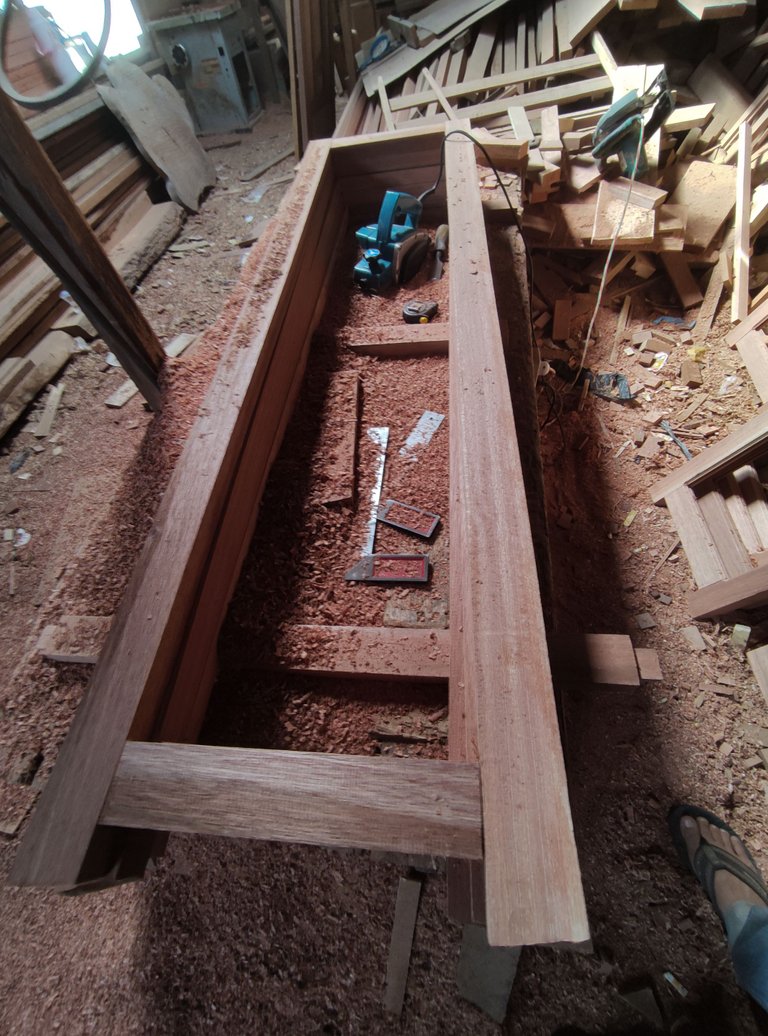
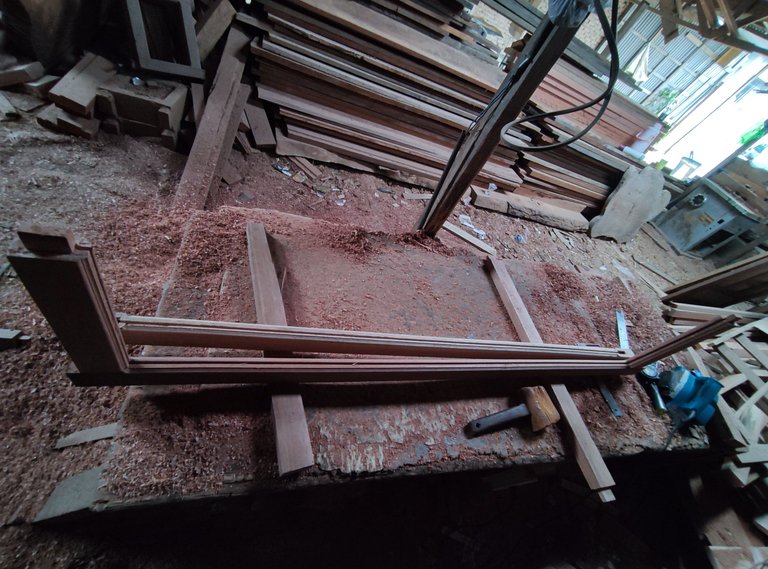
And after the process of glazing the window surface and jalousie is complete, the front and back surfaces of the series will look smooth and neat.
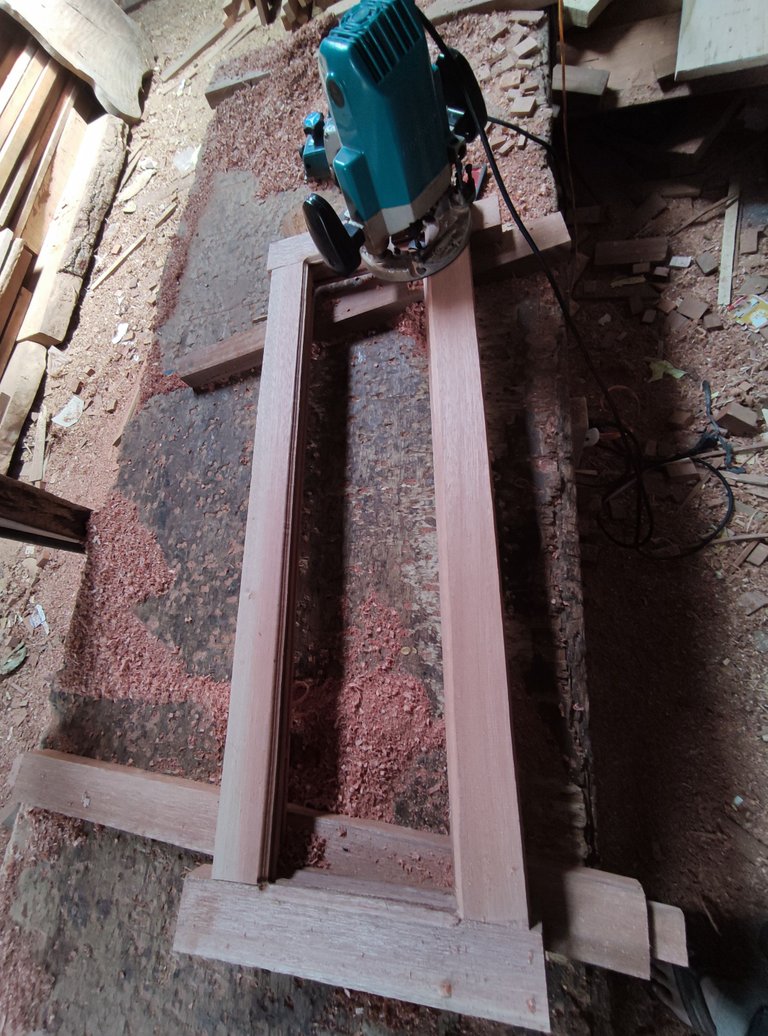
8. Giving flower engraving on the surface of the series and giving the engraving of the glass holder on the middle surface of the inside of the series.
To work on these two engraving processes, we use two router machines to make the work faster in a sequential manner and also by using different engraving machines.
•The first stage, I did the work of engraving flowers on the top and bottom wood inner surfaces ,we have to do this process slowly so that the flower carvings look neater.
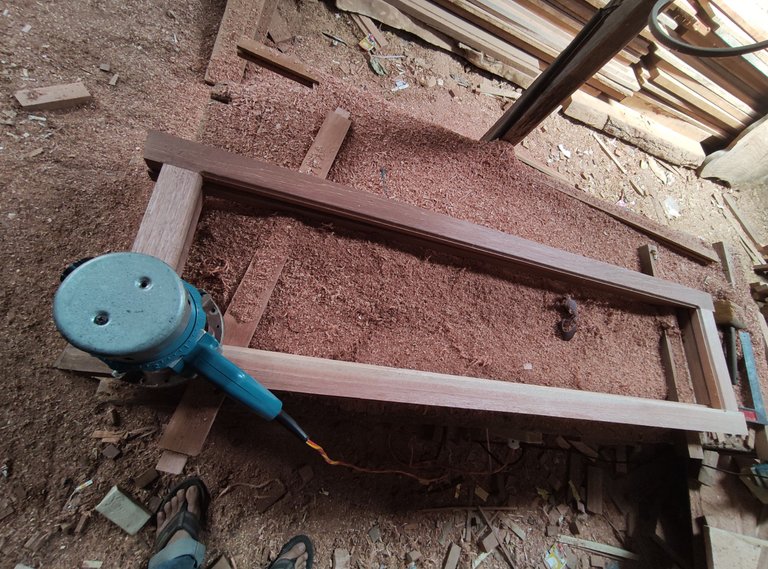
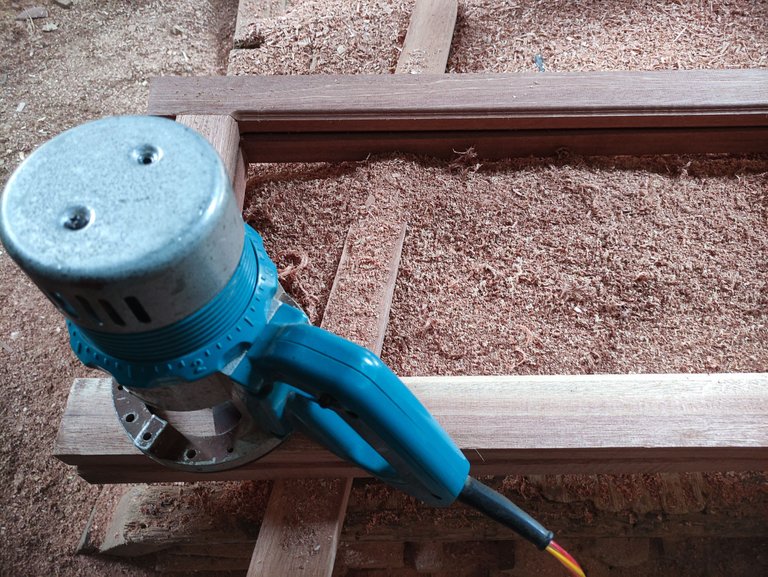
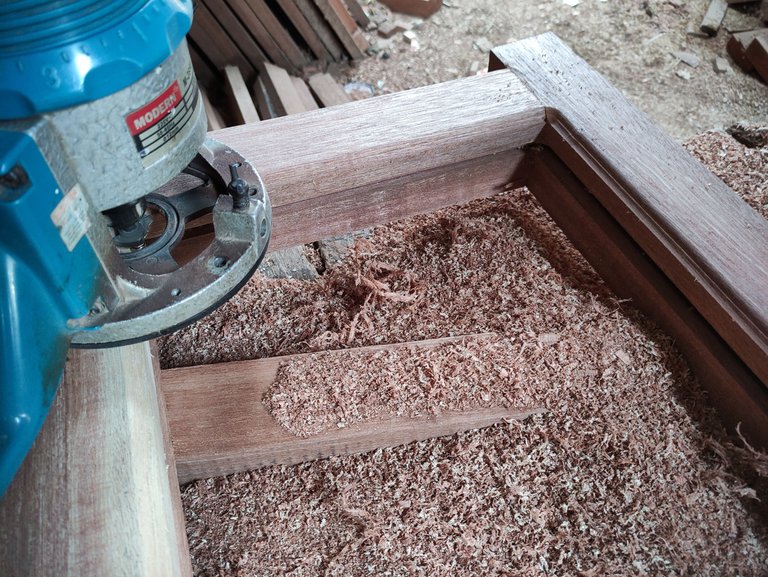
•And for the process of engraving the glass holder holes around the surface in a series located in the middle of the circuit, of course you have to be careful enough so that the machine does not bounce when carried by the eye of the machine scraping holes with a depth of 1cm x 6m width.
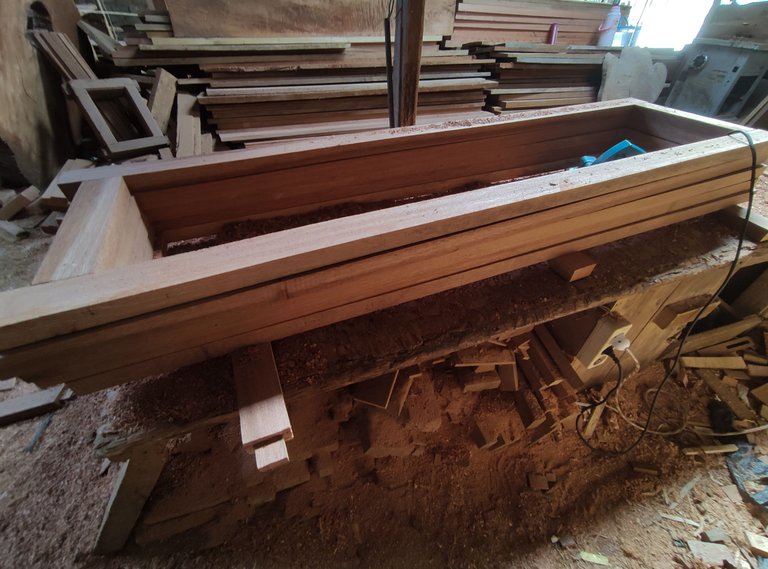
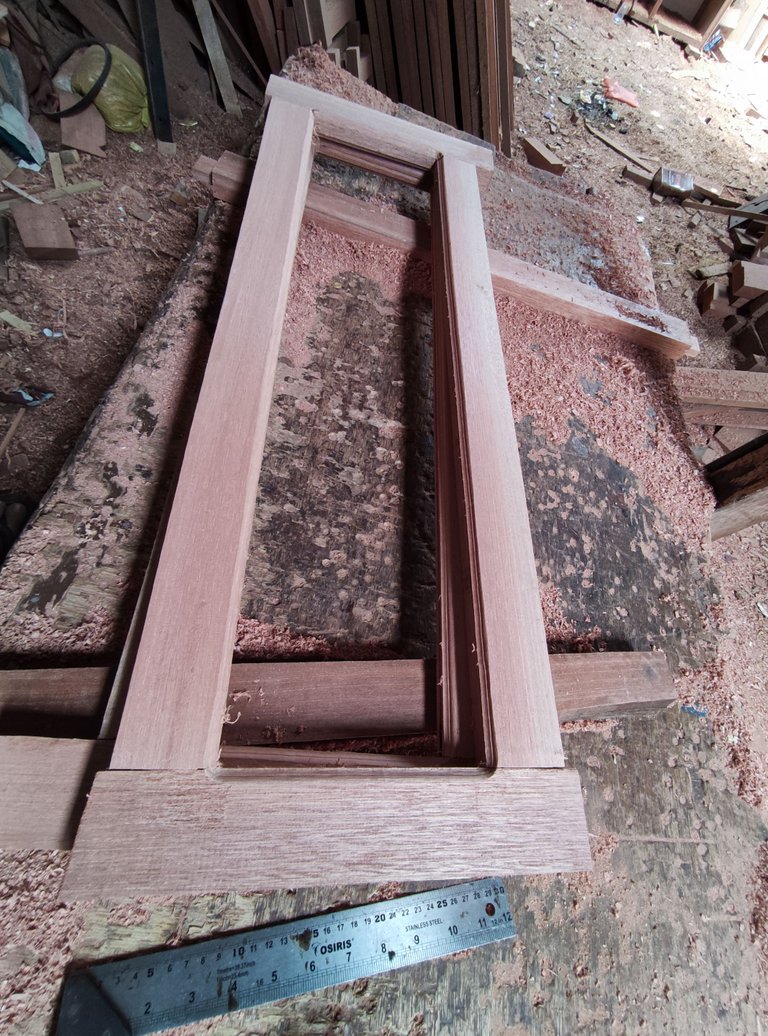
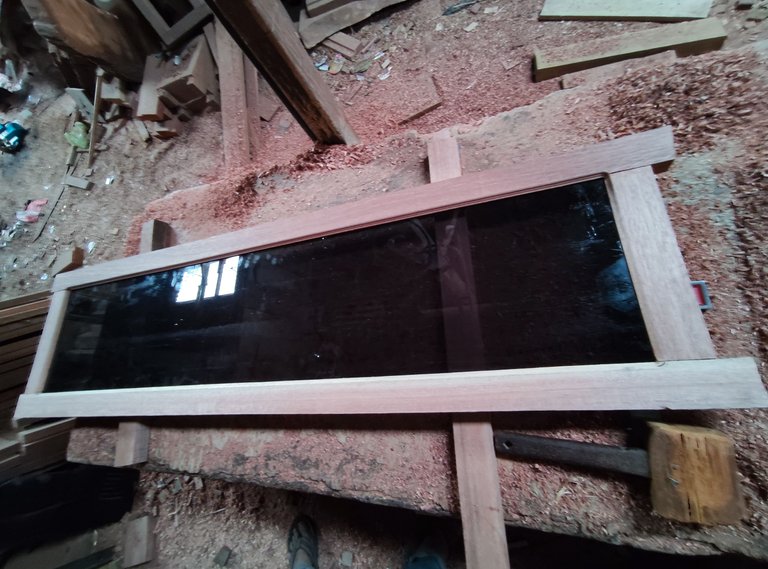
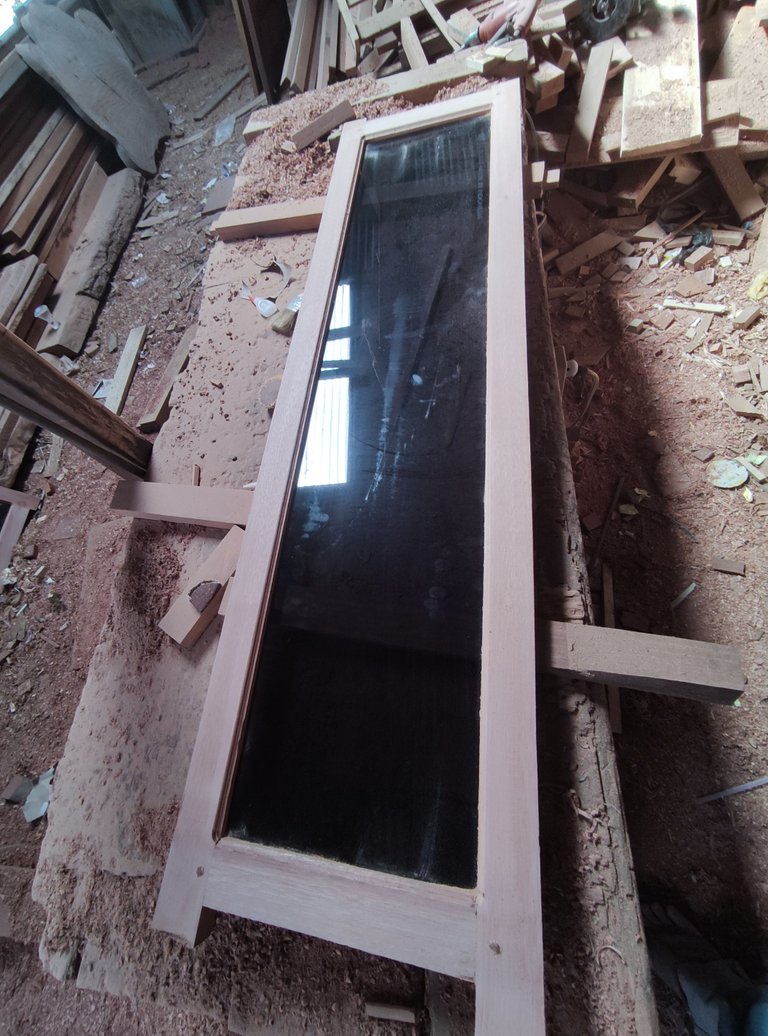
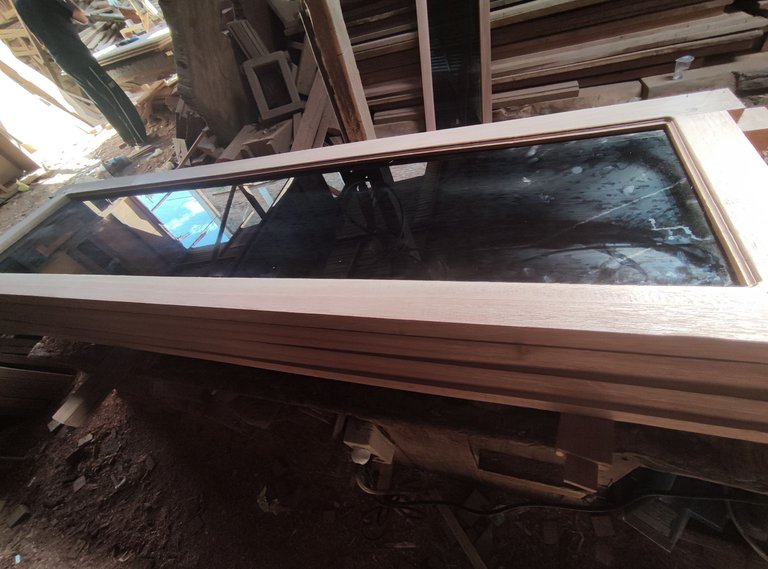
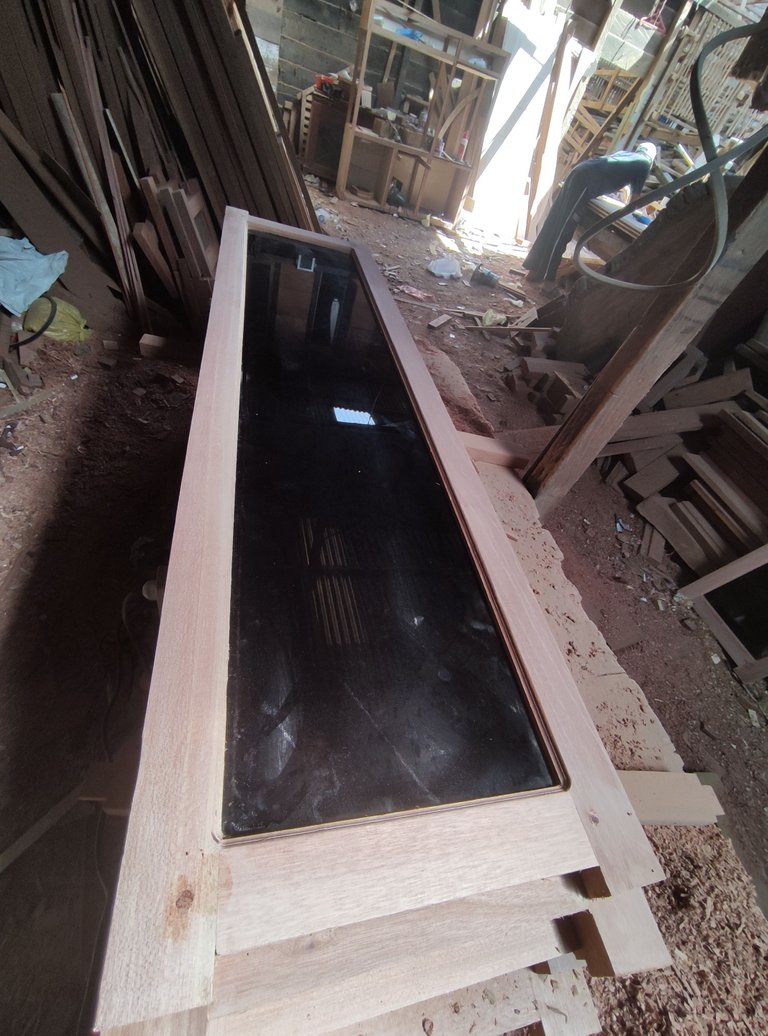
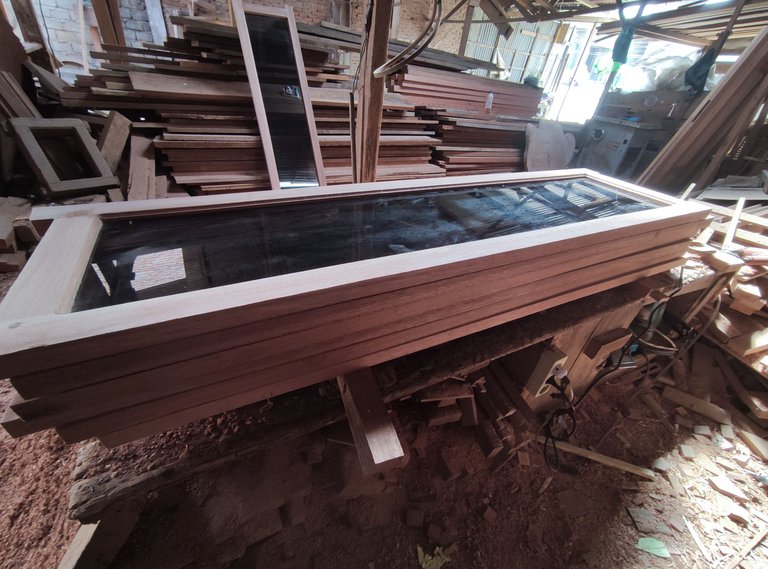
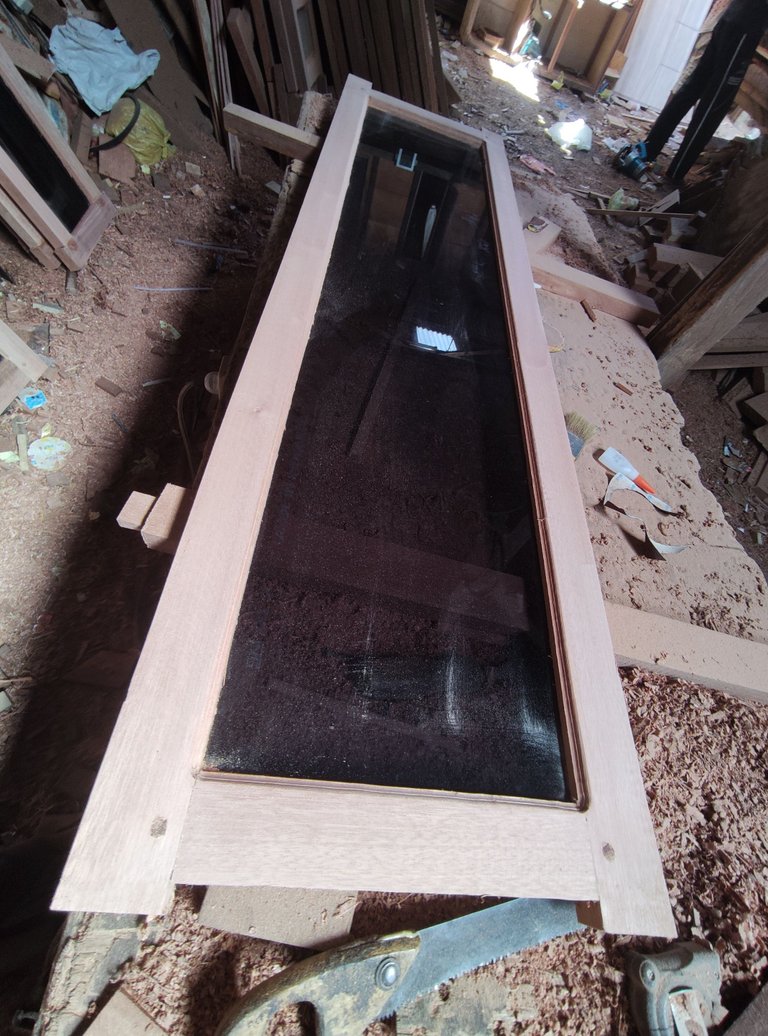
And this is the result of a series of windows and jalousies after I finished working on it.
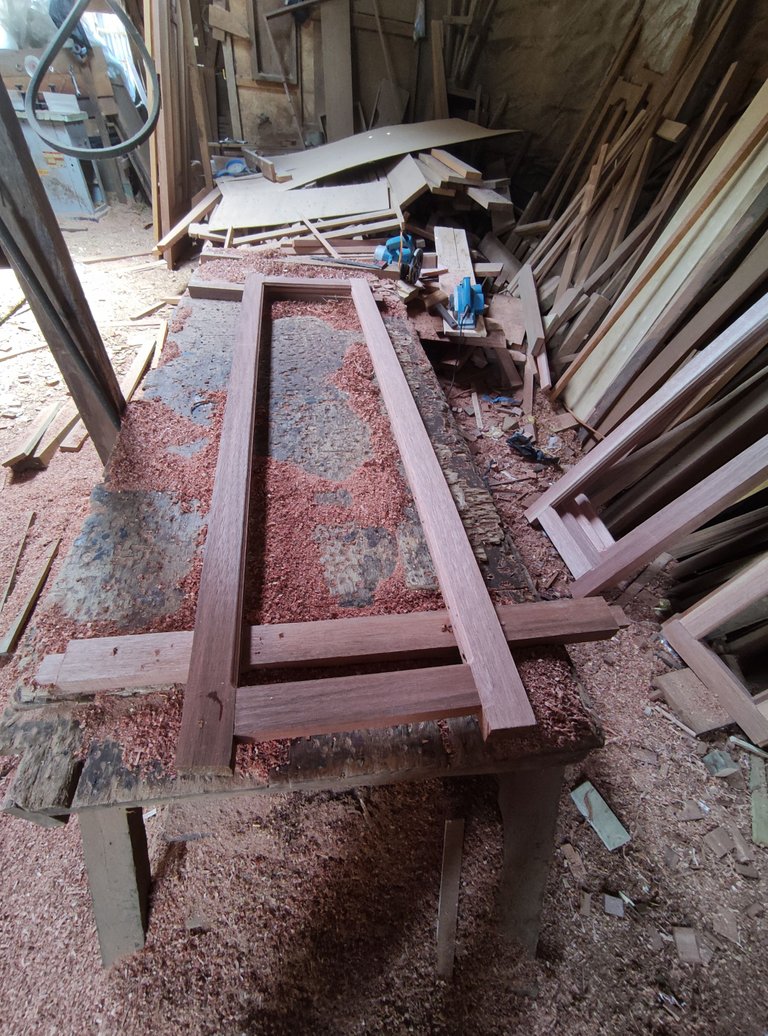

The width of the inside of the window is 28cm x window height 138cm and for jalousie the size in the series is 18cm high x 68cm wide.
9.Preparation of glass for the windows and jalousies.
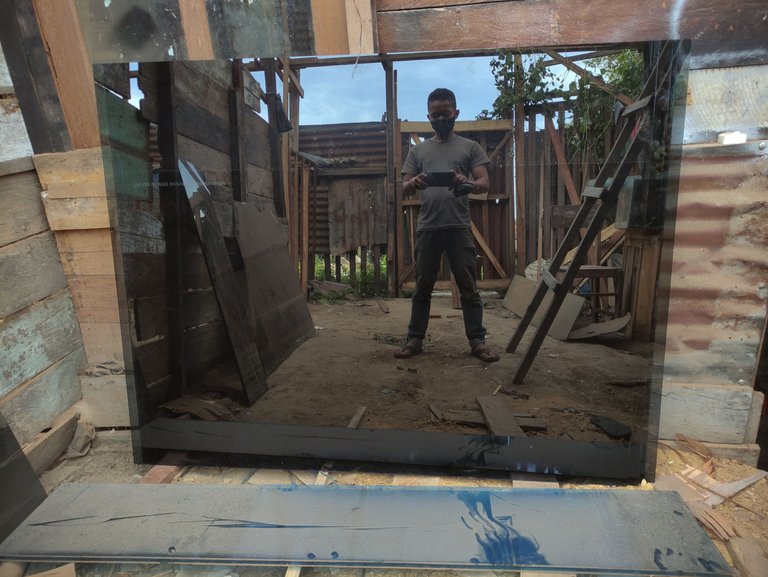
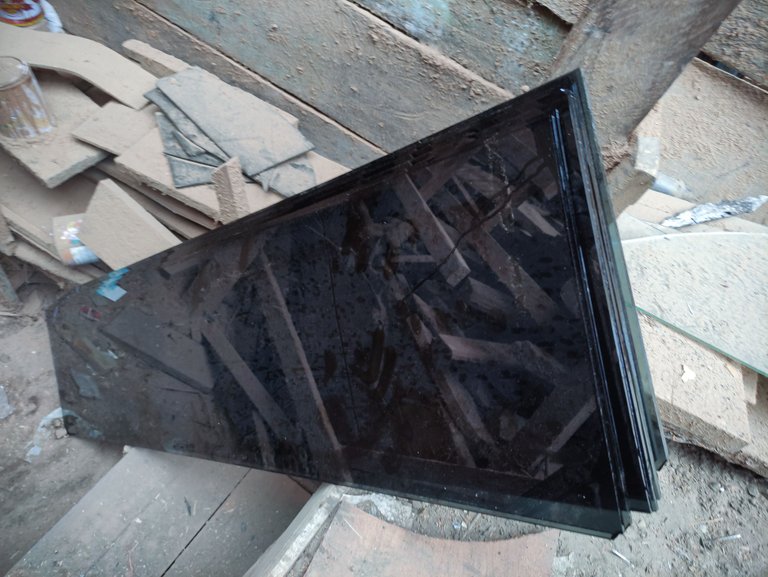
For the window glass and jalousie my customer asked for 5mm transparent black glass and we are here for the standard glass available measuring 122cm wide x 152cm high and of course I have to cut the glass
and I have to cut the glass for 9 units of 40x150 windows with a total glass width of 30cm wide x 140cm high and for glass, 2 units of jalousie glass measuring 20cm high x 70cm wide consisting of a 1cm peg nipple around the glass area.
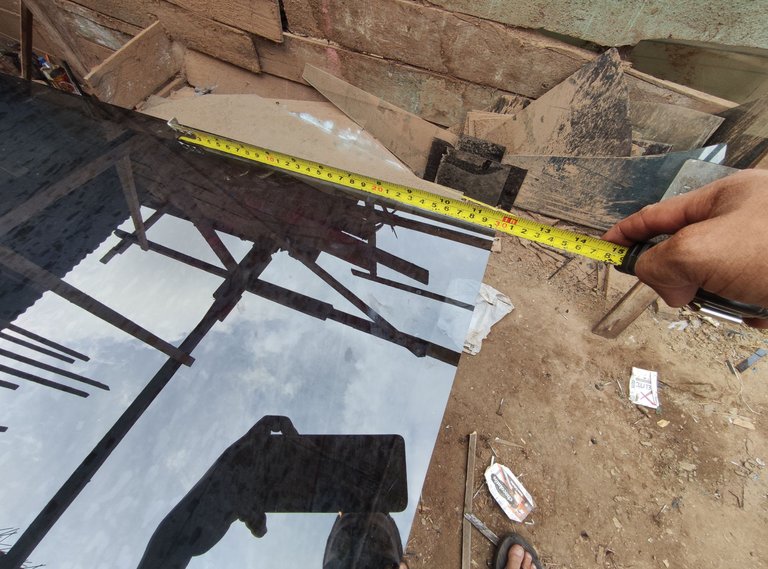
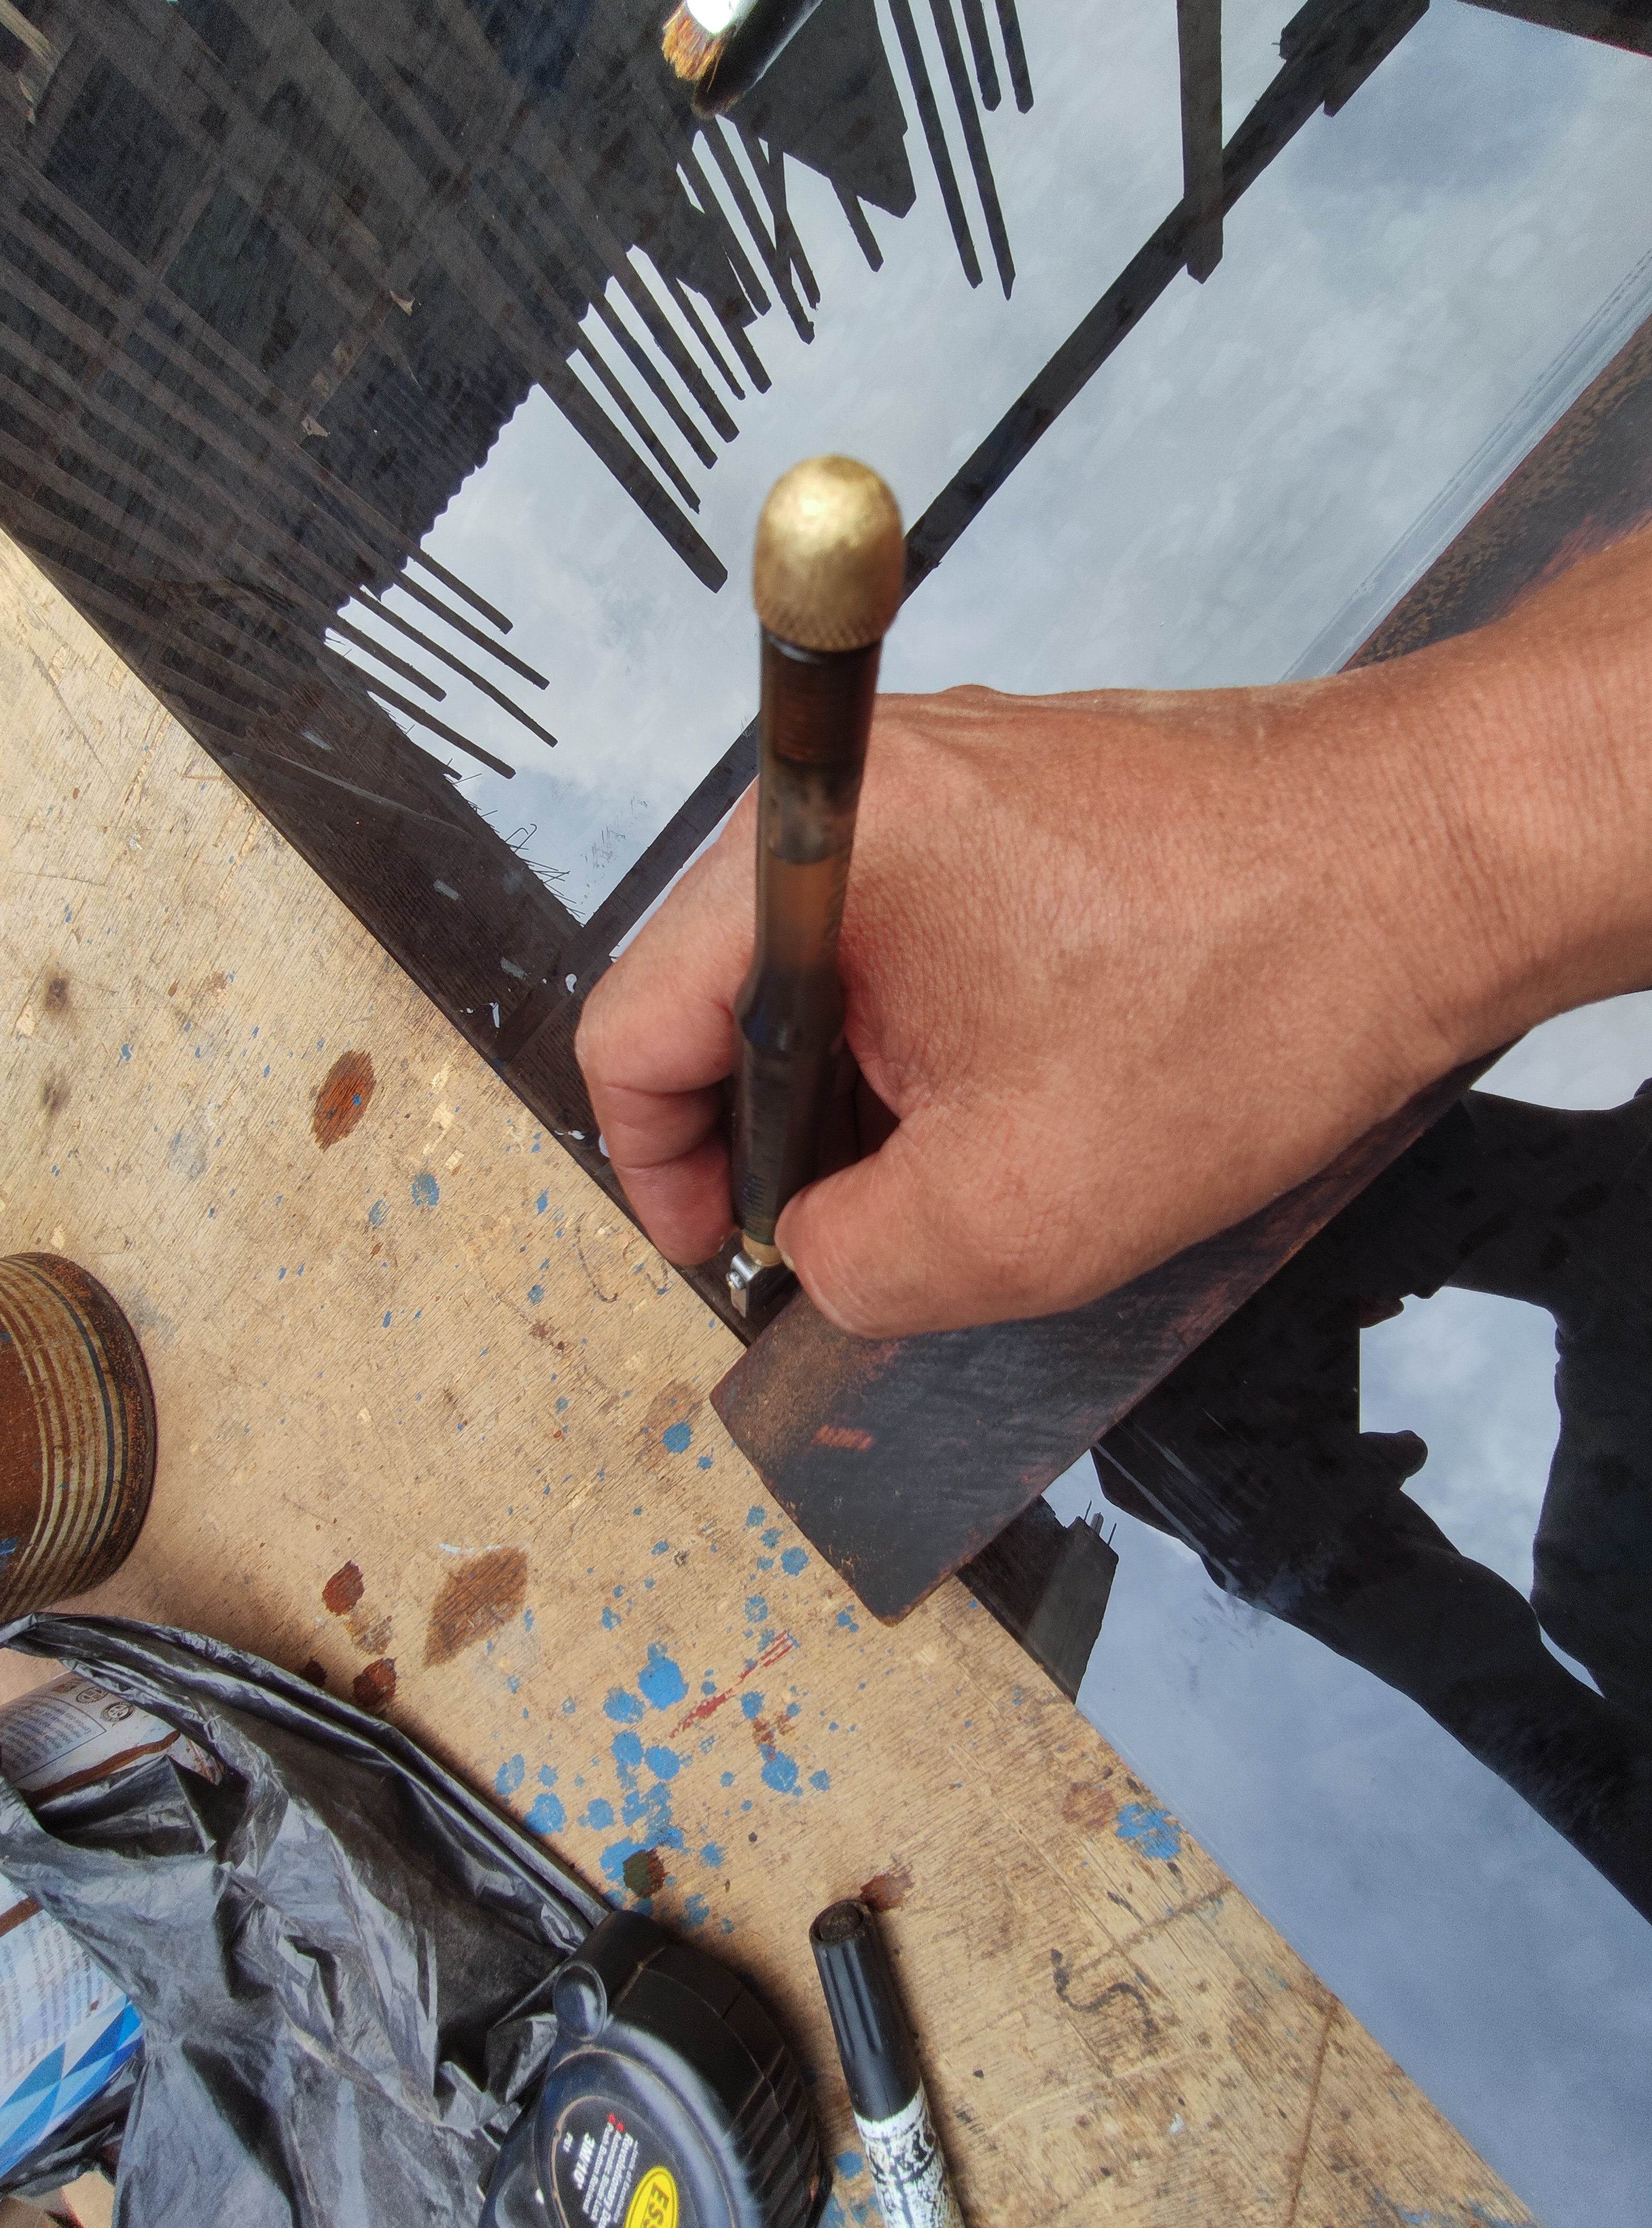
After measuring the width of the glass and marking the point of cutting using a marker, I continued giving the rollers that would become the marking molds cutting area by following the roller surface as the cutting boundary area line.
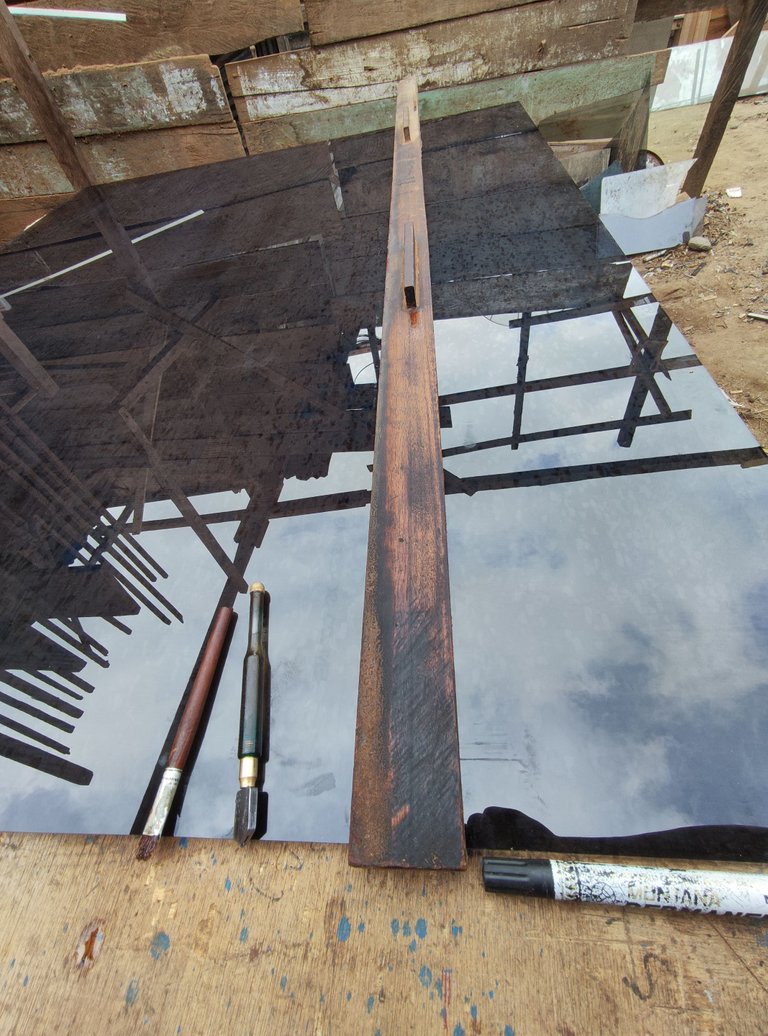
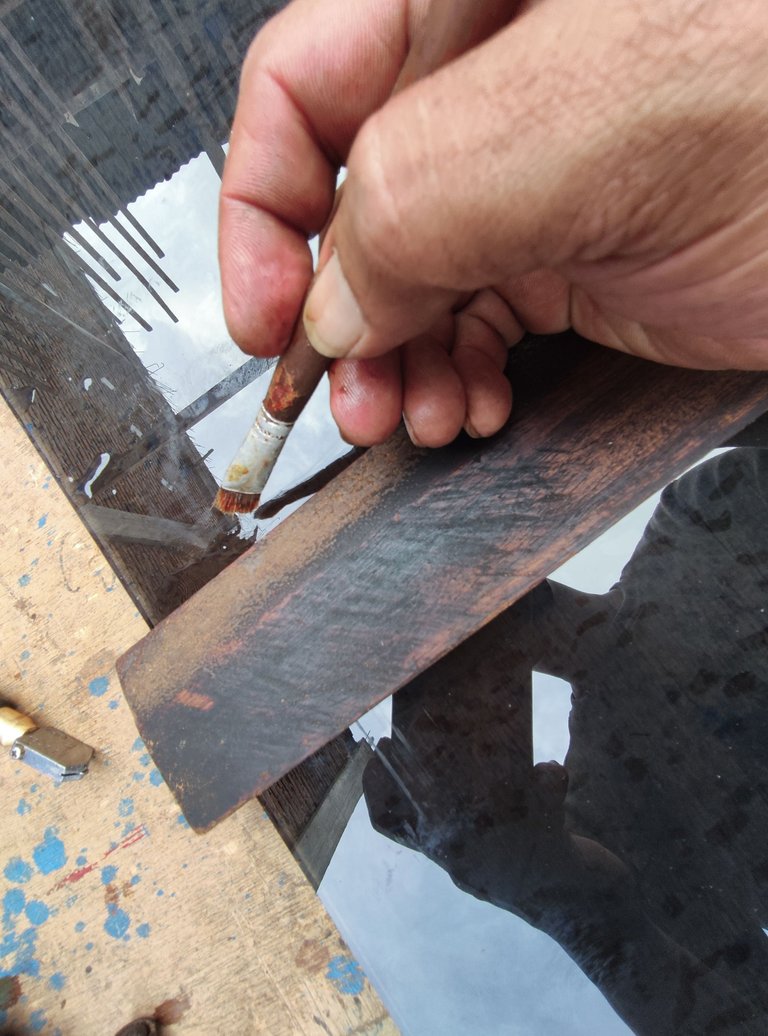
After marking the cutting area with the next roller, we use a small brush that we dip with solee to sweep away the dust on the glass that is in the area of the cutting line.
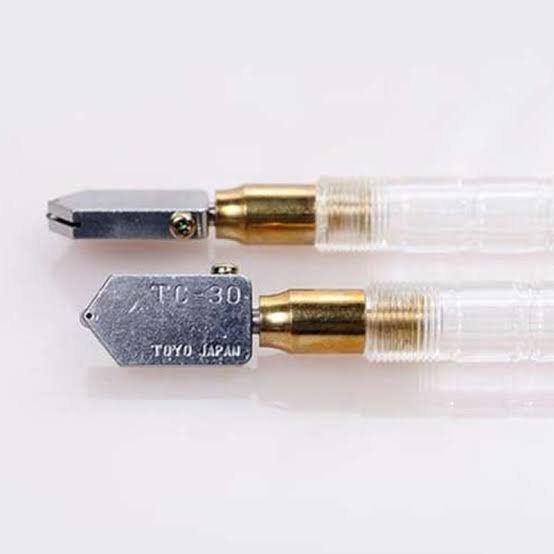
After the process of cleaning the dust on the surface of the cutting area line is complete, I continue the cutting process using a special glass cutting pencil that has a circular blade with a small size.

In the cutting process you have to be quite careful and your table must be completely flat or your glass will break when the glass cutting blade reaches the edge of the cutting area and also when cutting you need to slightly press the cutting pencil with the same pressure until edge of the cutting surface or your glass will break. after finishing the glass, I prepared it like this is the result size of the glass that I used for that window.
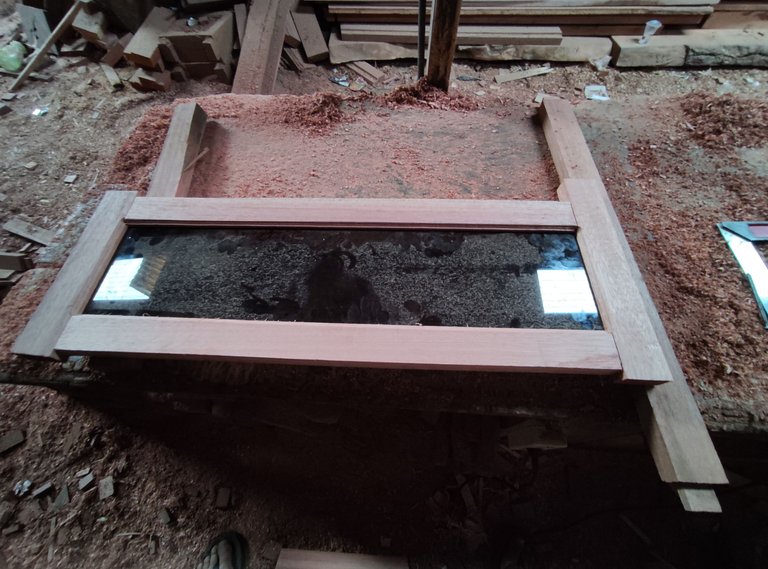
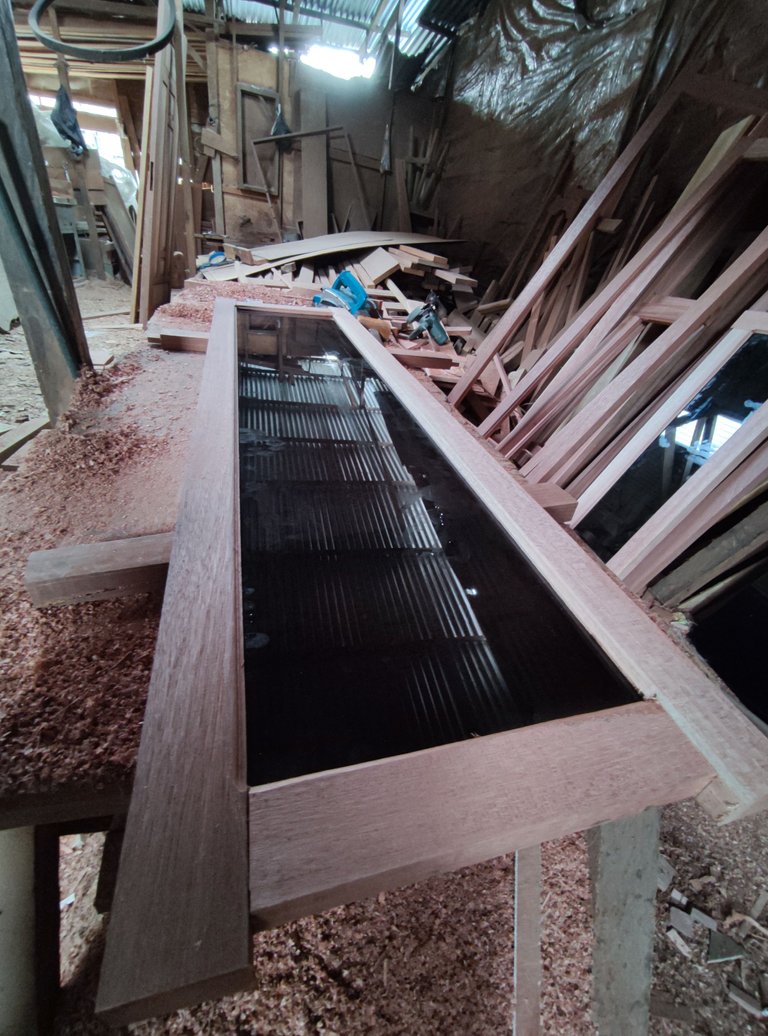
10.The use of glass in a series of windows and jalousies.
To use glass in a series of frames, of course we have to disassemble 1/2 the series so that the process can be carried out easily and in this process you have to be quite careful because glass has a fairly sharp surface.

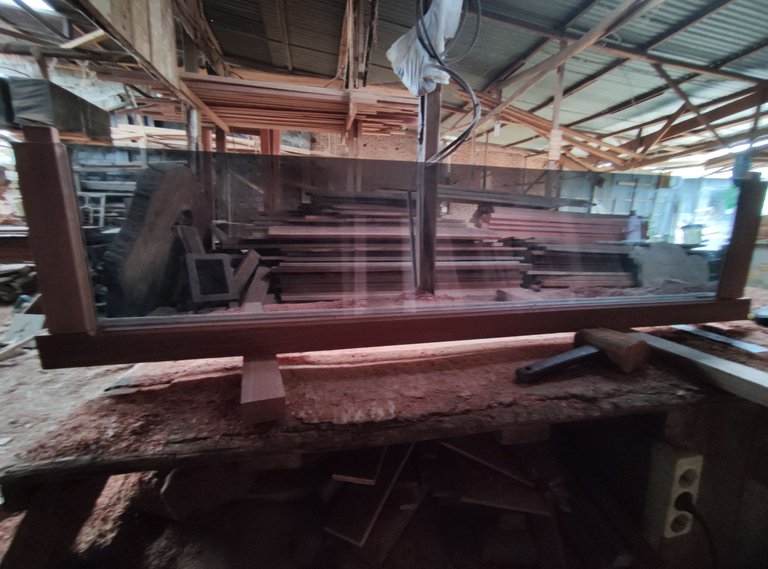
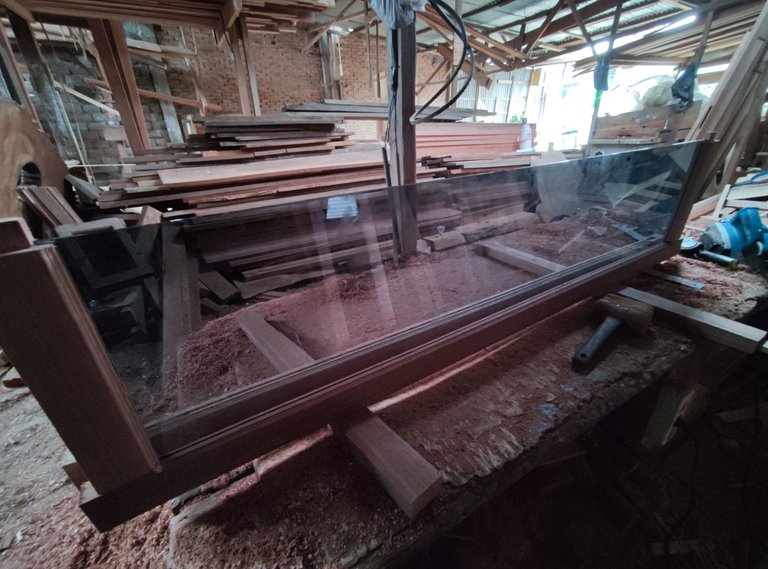

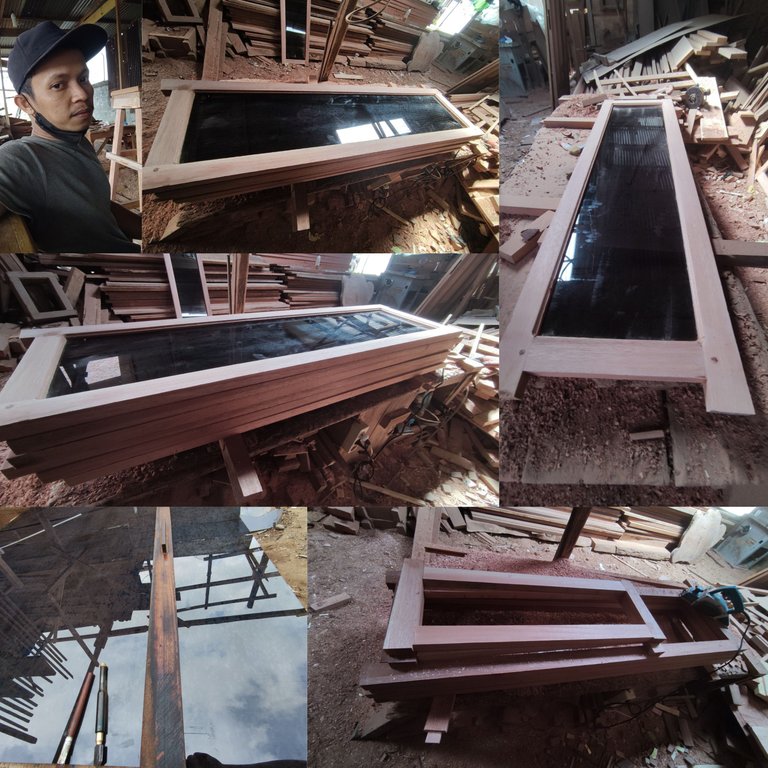
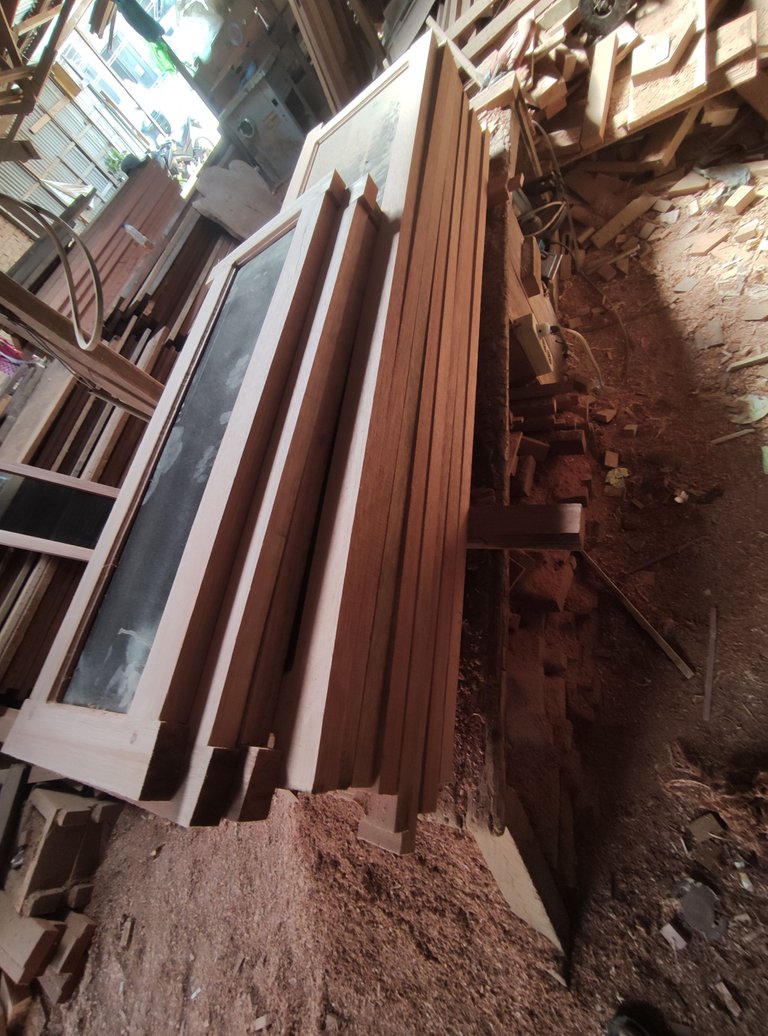
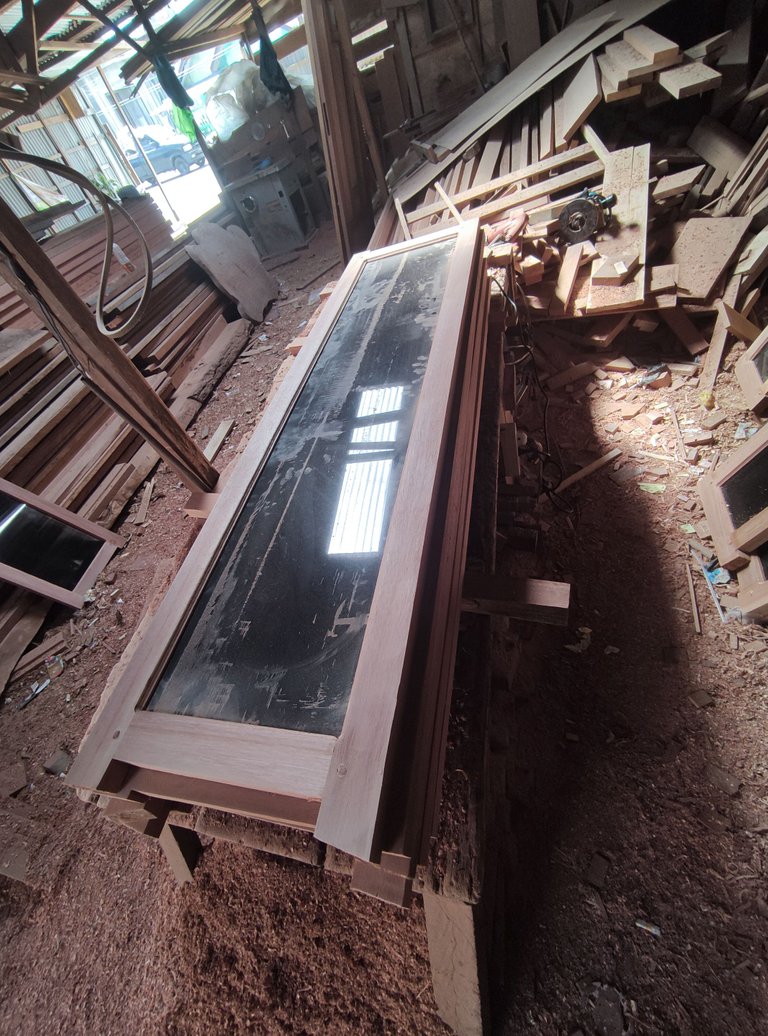
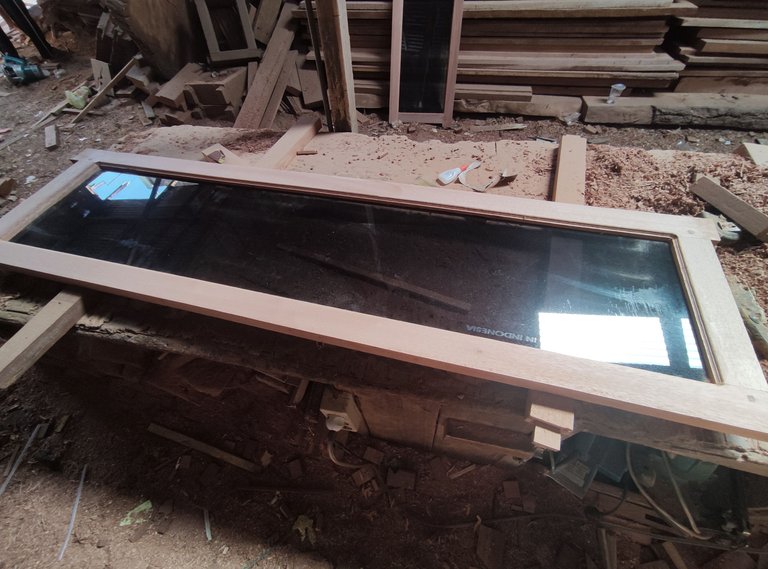
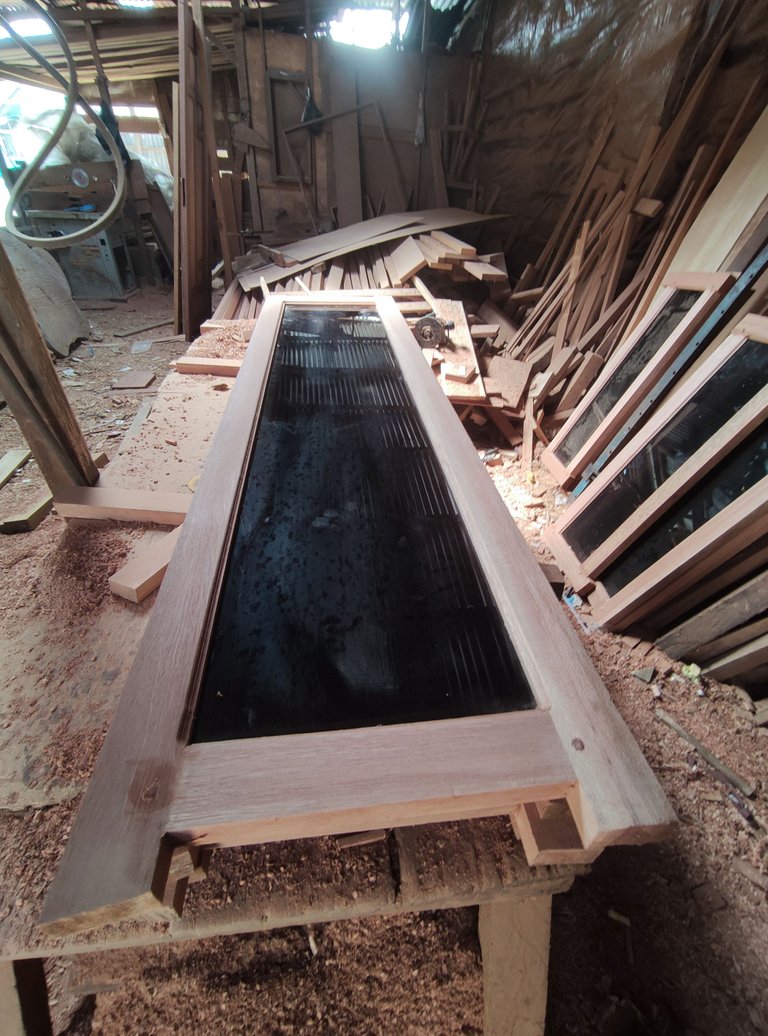
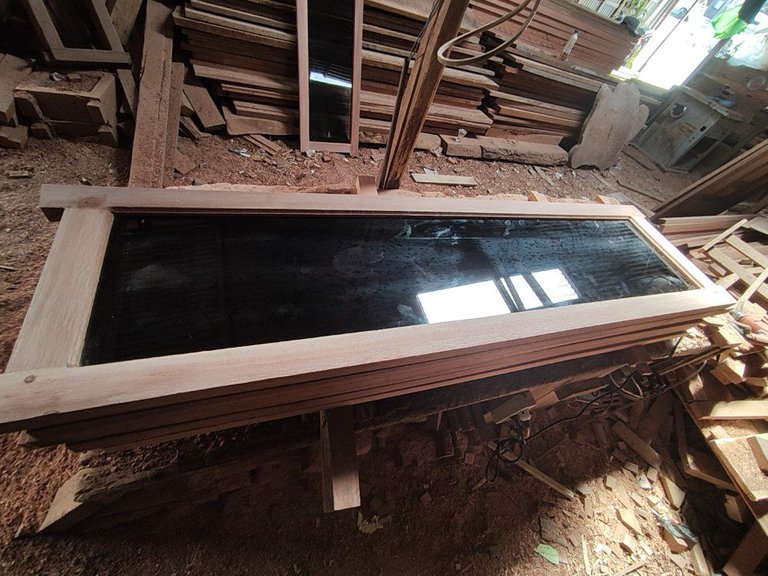
And after the installation is complete, the series of windows and jalousies will look like this.


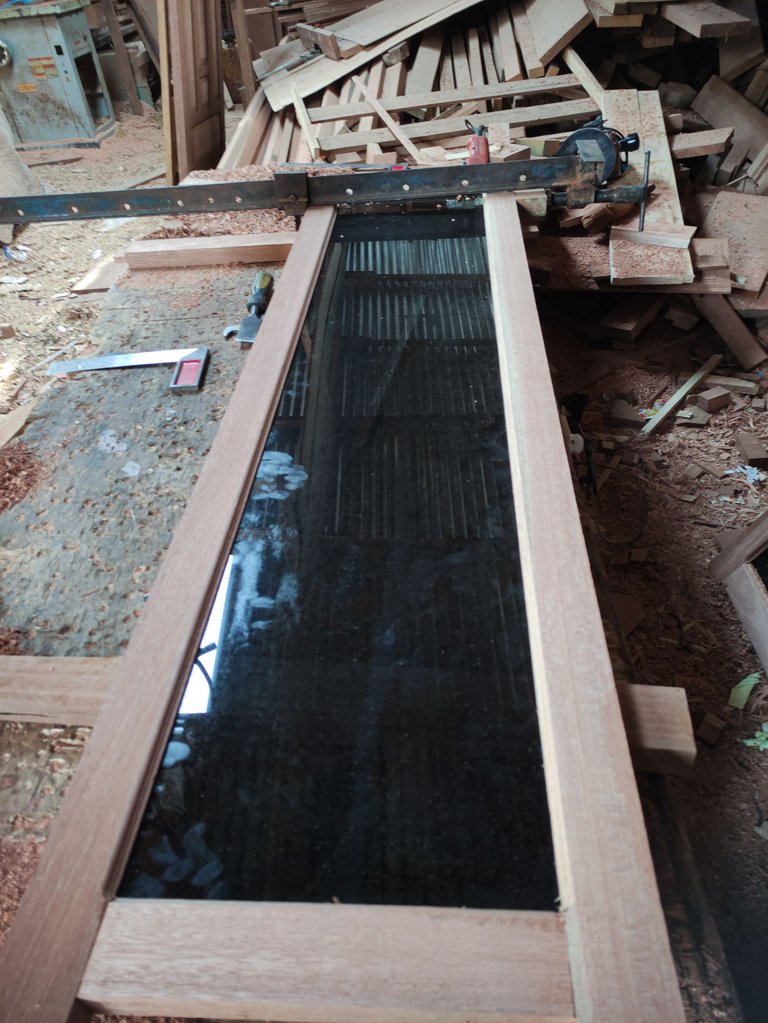
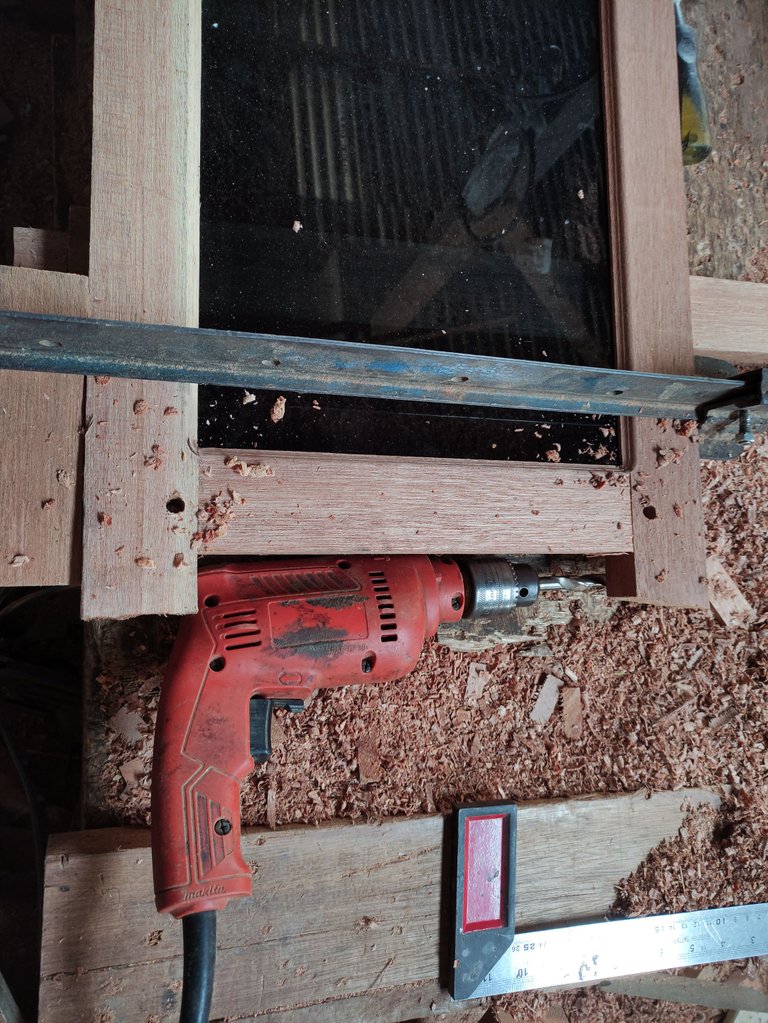
11.The process of pressing and locking the connection circuit with a wooden peg wrench.
In the process of locking the bulkhead of the series connection as usual, we always use wooden dowels by pressing and continuing to drill the peg holder at each corner of the connection.
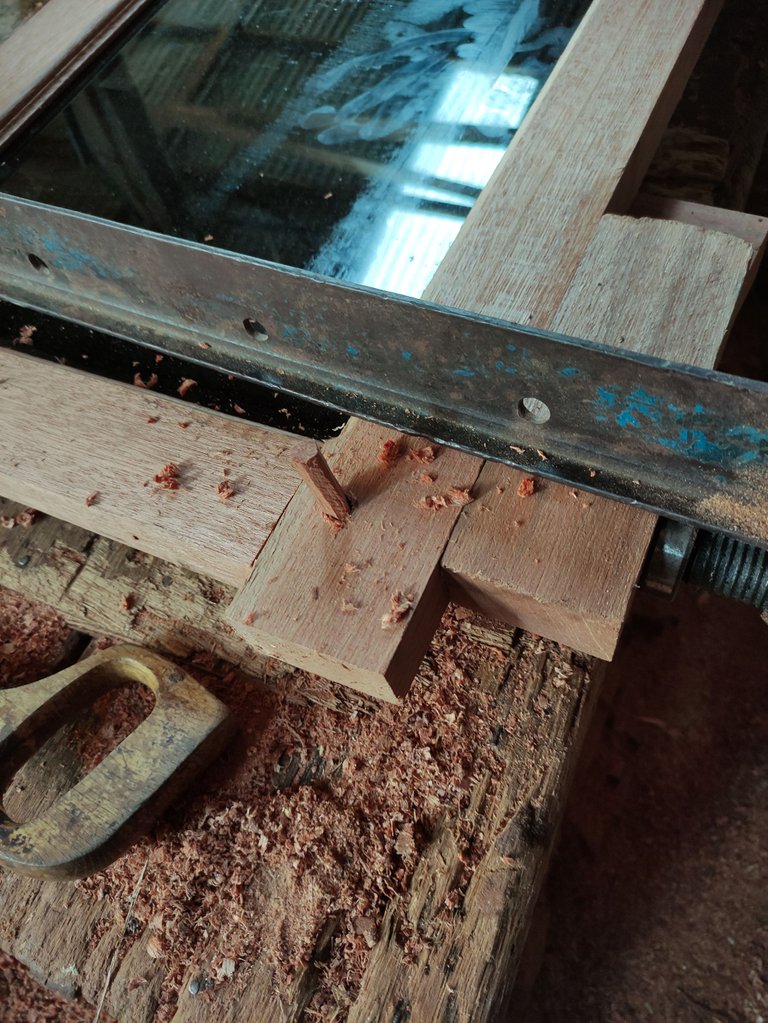
After pressing is complete, we put a little glue putty in the small gaps in the connection of the circuit so that the window is really neat at the finishing stage.
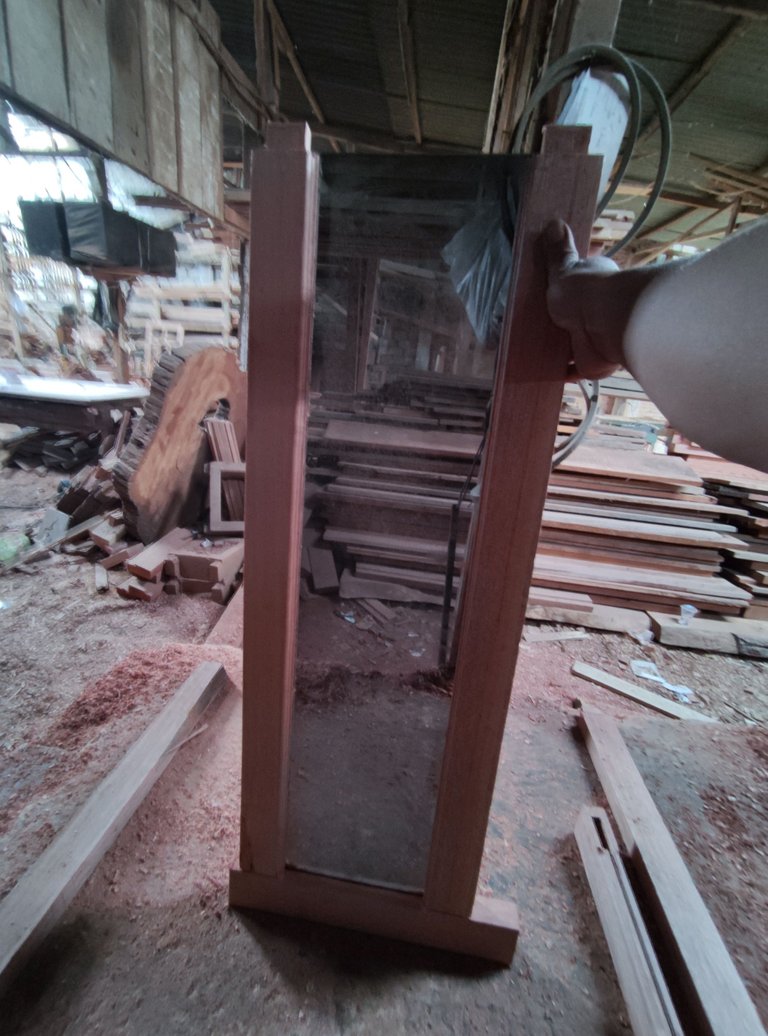
12.Sanding the circuit surface.
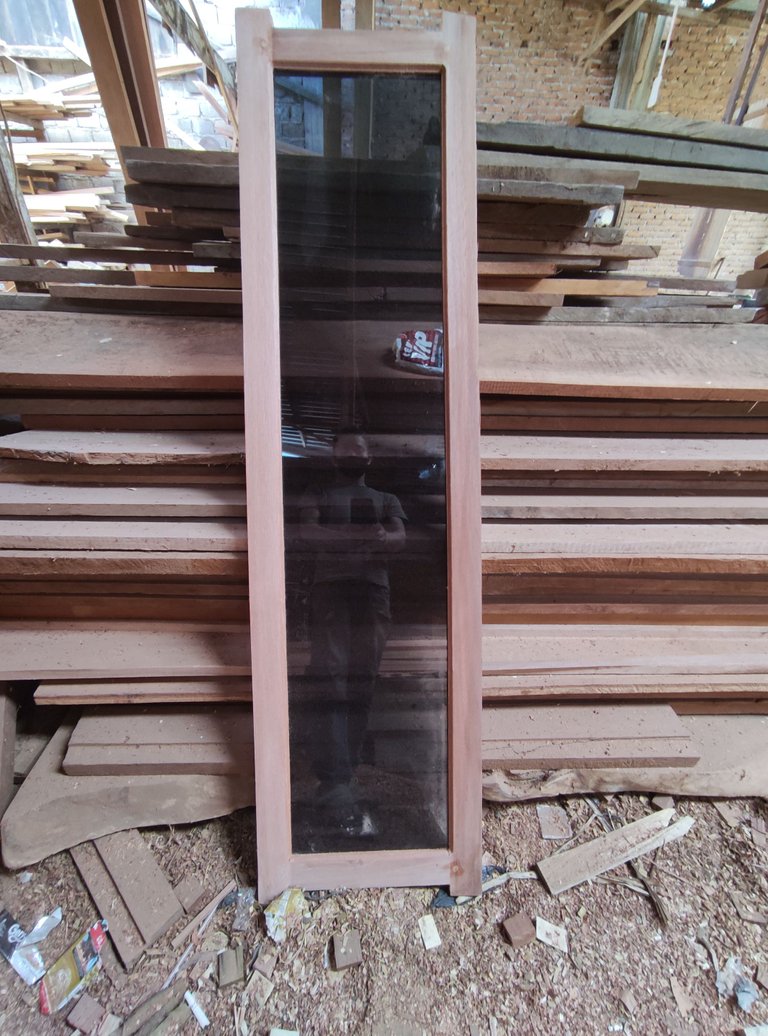
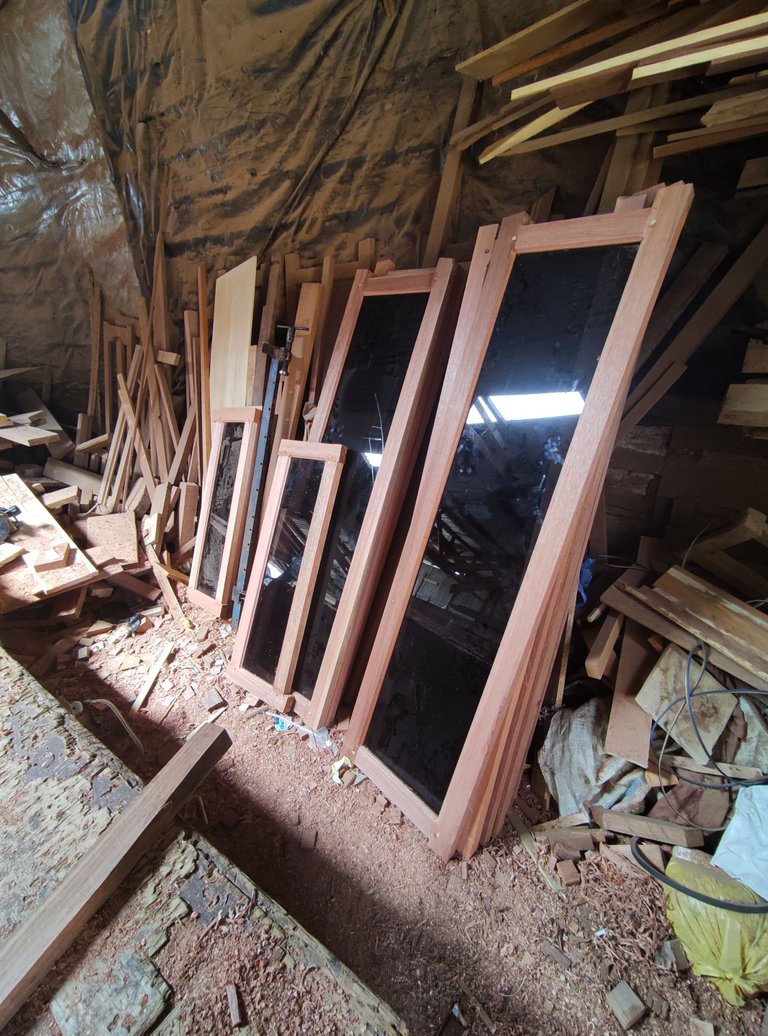
sanding is the final stage of every production of door, window and jalousie furniture projects that we do before we deliver our orders to the house of the order owner,,which is followed by checking orders so that consumers can be satisfied with their orders.
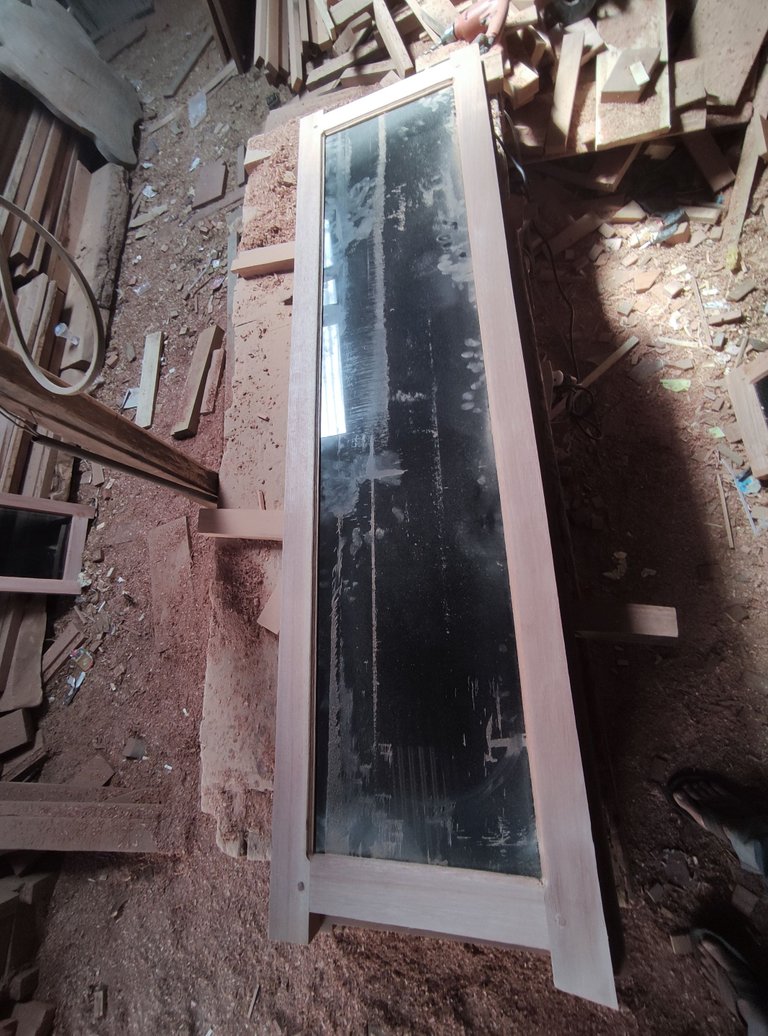
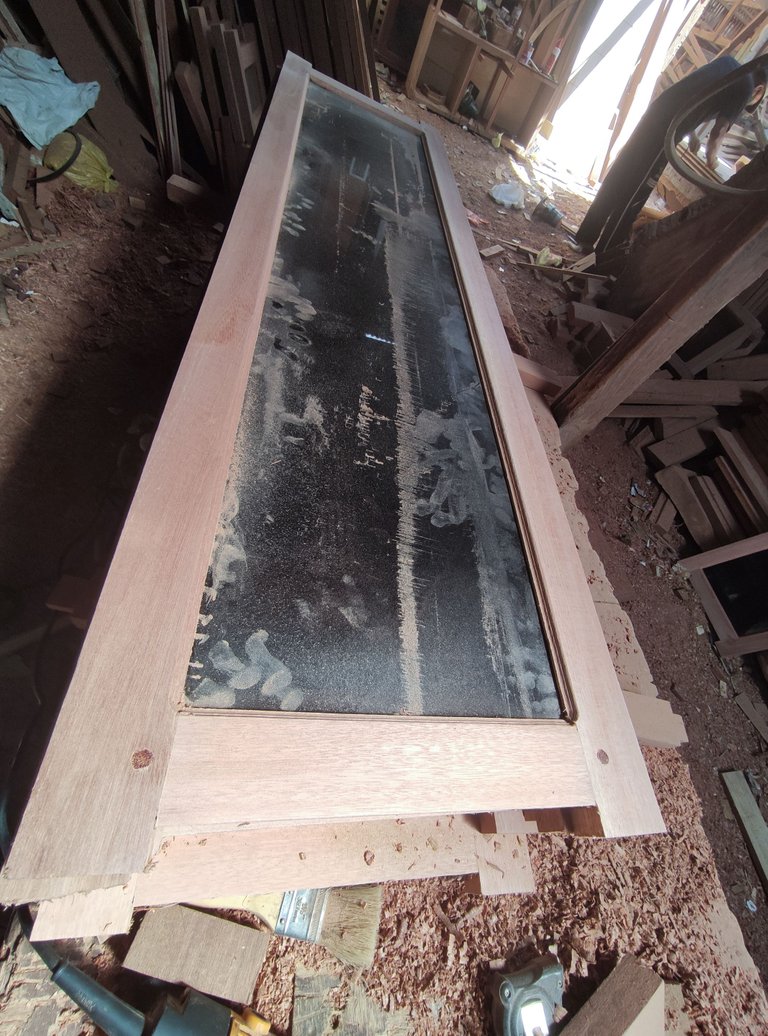
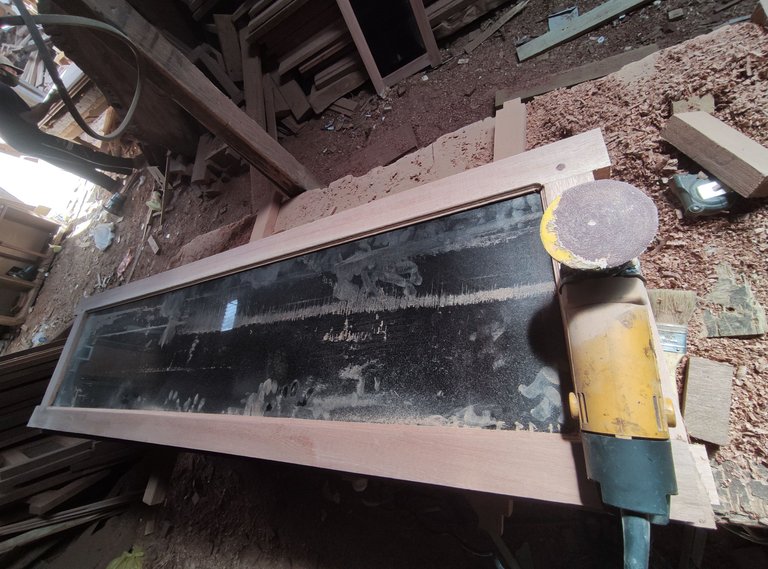
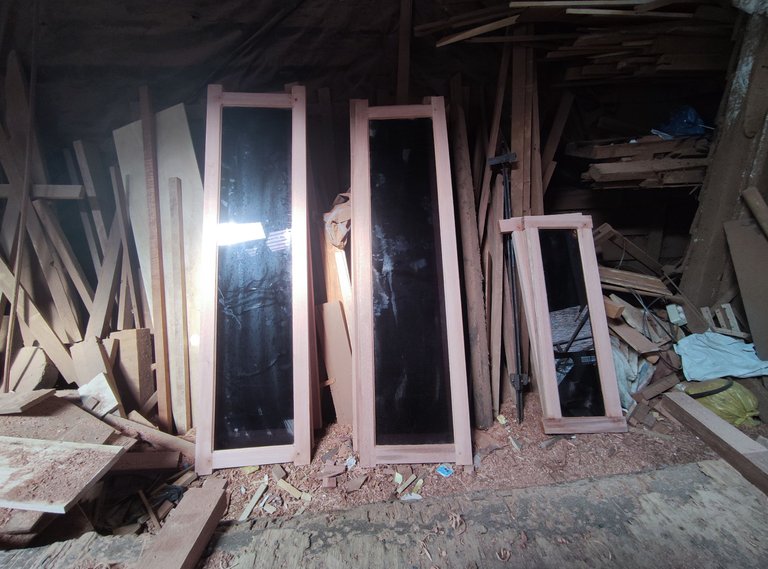
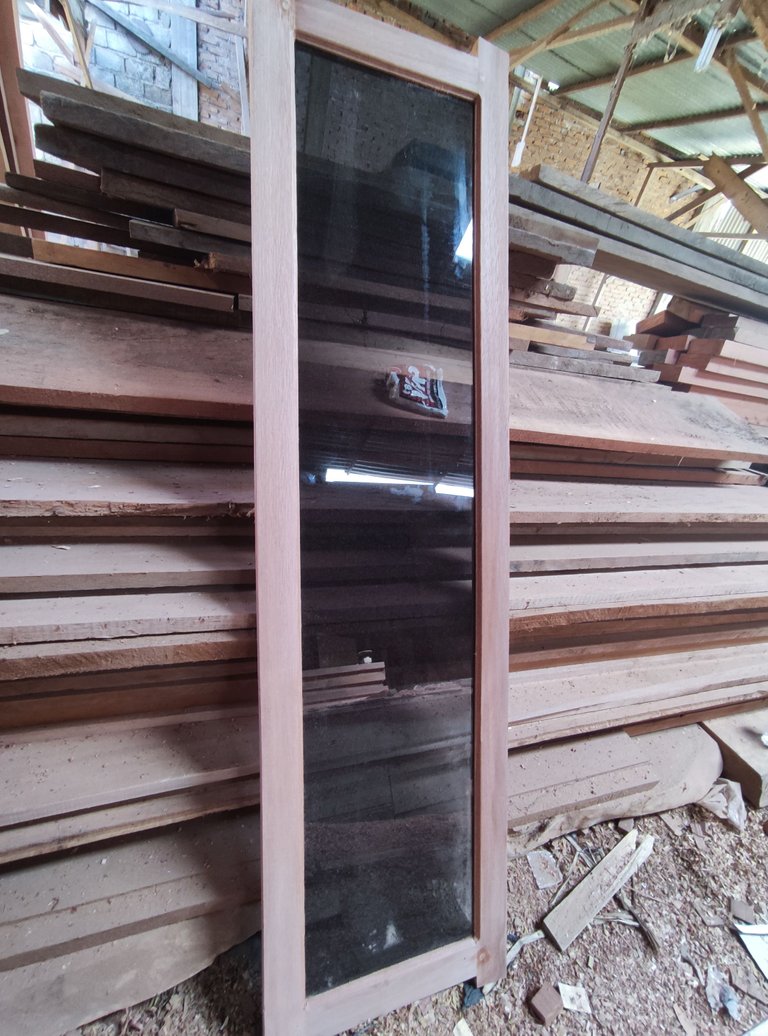
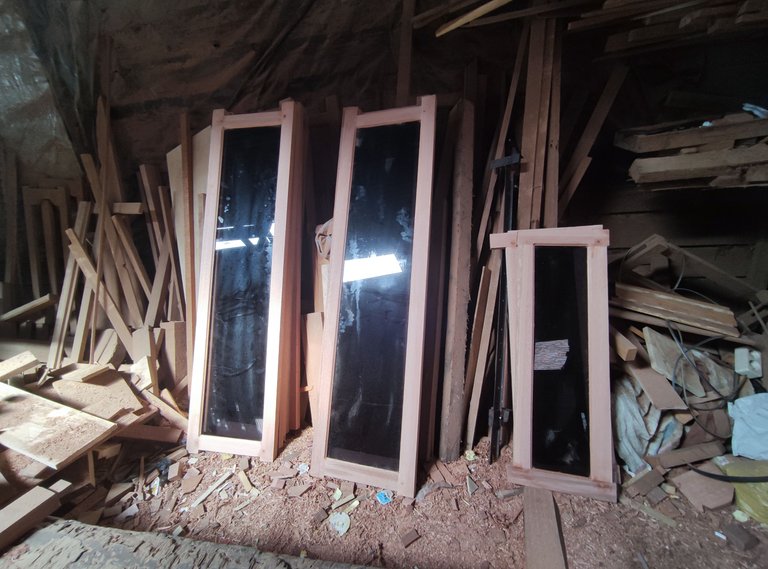
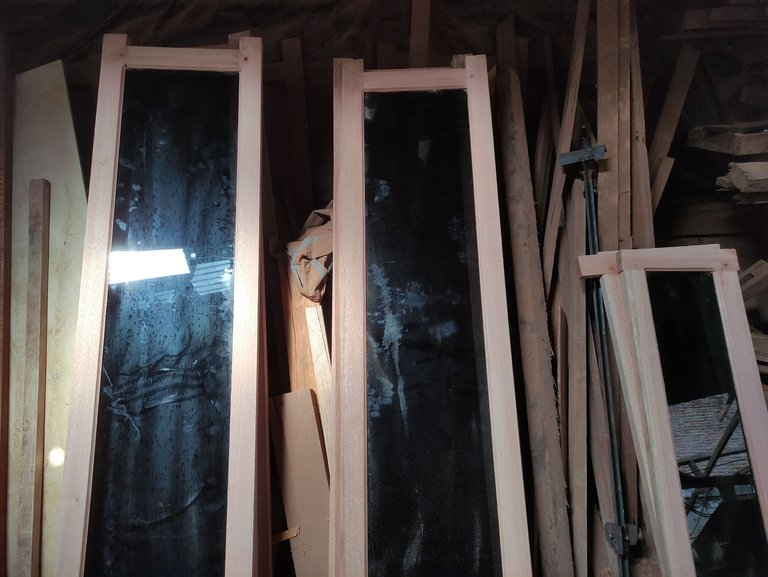
And this is the result of ordering 9 windows measuring 40cm wide x 150cm high and 2 doors jalousie measuring 30cm high x 80cm wide.

![]()

All of these pictures when i was working on that window and jalousie project ,all images were taken using a smartphone camera, if you want to enjoy my previous architectural design works, please visit the post link below.
1.Architectural design- simple cafe bar table
2.Architectural design - Wooden tray with natural wood color combination/utilization of wood waste
3.Architectural design - Flower vases / utilization of wood waste.
4.Architectural design-Simple architectural design of my baby crib basket.
5.Architectural design-Table simple the combination of natural wood colors and classic table tops
6.Architectural design- Shophouse frame jalousie
7.simple-minimalist-mini-wall-shelf-architectural-design-to-decorate-your-home-room
8.architectural-design-of-the-ventilation-jalousie - part 1
9.architectural-design-of-windows-house -part 1
10.interior-design-architecture-simple-makeup-mirror-frame.
11.architectural-design-simple-minimalist-wooden-window -part 2
12.architectural-design-window-designs-that-are-in-great-demand-by-local-residents
13.architectural-design-of-a-mini-table-and-a-simple-photo-frame
14.architecturaldesign-of-glass-windows-and-jalousies - house
15.Architecture + door design of local people's houses.
16.Furniture design architecture || Making multiplex doors for motorcycle workshops.
17.Architecture+furniture design || Simple comb design house door.
18.Architecture + furniture design || A pair of doors home belonging to local residents.
20.Architecture + Design || Double-faced house door part ll.
21.Architecture + design || Making window for villagers' houses.
22.Architecture+furniture design || Two-faced house door part III
23.Architecture+furniture design || Multiplex door
24.Architecture + Design || Work on minimalist house doors local residents.
25.Architecture + door design of regional community houses part II.
27.Furniture design architecture || Manufacture of two faced house doors.
![]()