

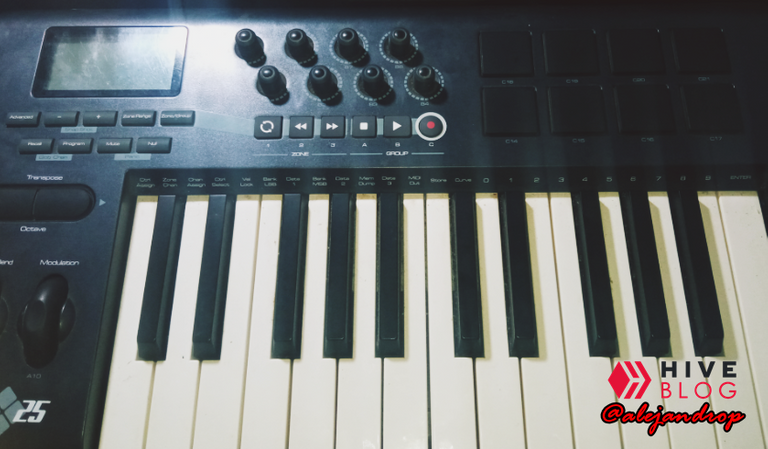
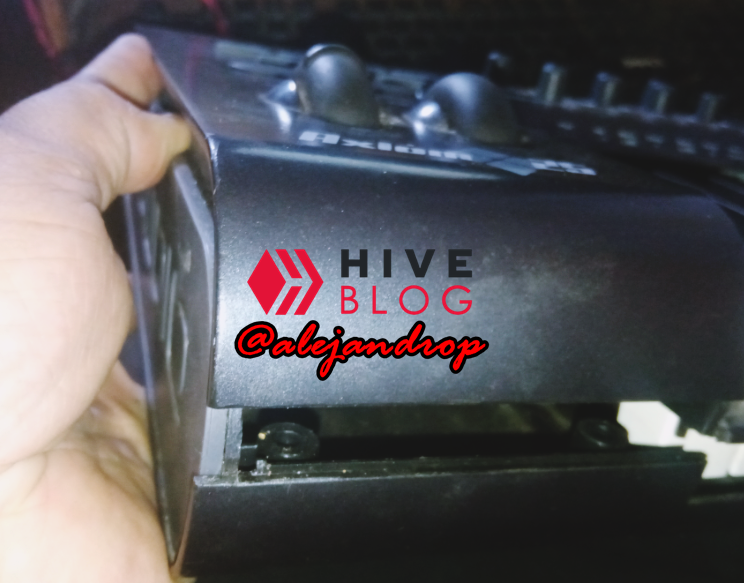
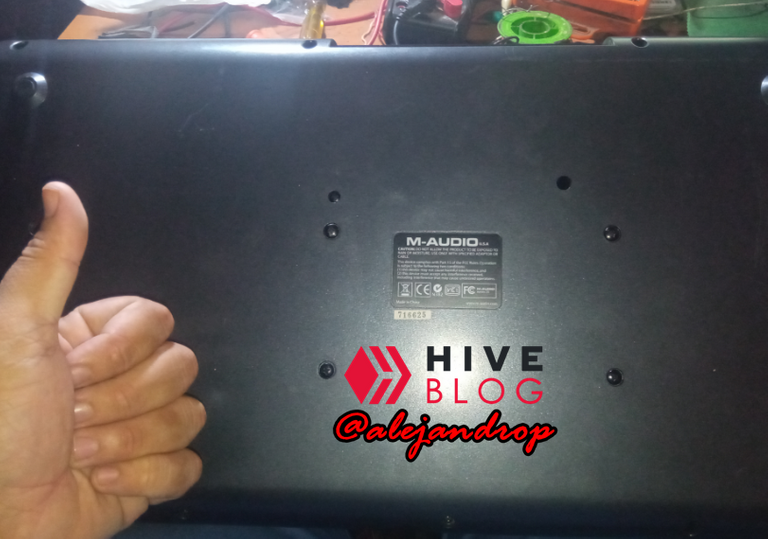
Buenas noches queridos amigos de #OCD, luego de un buen tiempo ausente sin traer contenido referente a trabajos de electrónica, hoy ha llegado el día. Como siempre, en todas las publicaciones, trataré de ser breve con cada descripción y/o procedimiento. Esta oportunidad se trata de un controlador MIDI marca M-Audio modelo Axiom 25, el cual llegó a mis manos gracias a mi amigo @lyon-89, el cual amablemente me escribió solicitando mi ayuda y describiéndome su problema, pude diagnosticar inmediatamente que el problema se trataba del interruptor principal o "Power button" del dispositivo. Una vez con el equipo en mis manos procedí a realizar el trabajo.
Good evening dear friends of #OCD, after a long absence without bringing content related to electronics work, today the day has come. As always, in all posts, I will try to be brief with each description and/or procedure. This opportunity is about an M-Audio brand MIDI controller Axiom 25 model, which came into my hands thanks to my friend @lyon-89, who kindly wrote to me by asking for my help and describing your problem to me, I was able to immediately diagnose that the problem was with the main switch or "Power button" of the device. Once with the equipment in my hands I proceeded to carry out the work.
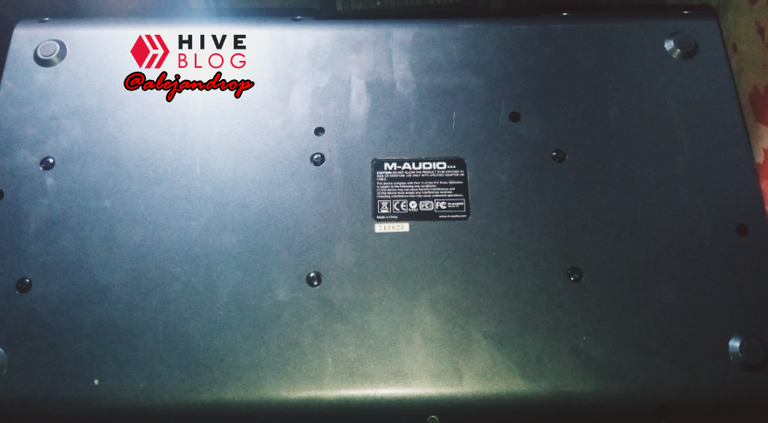
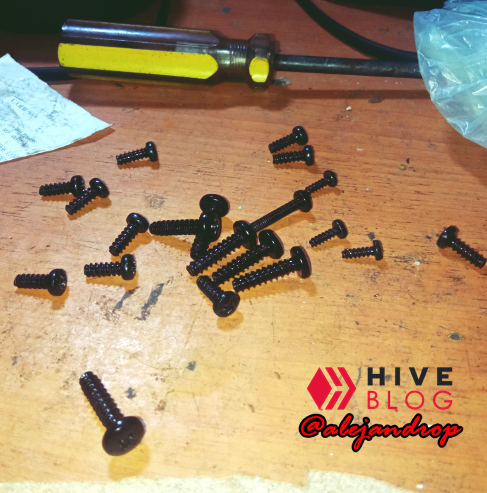
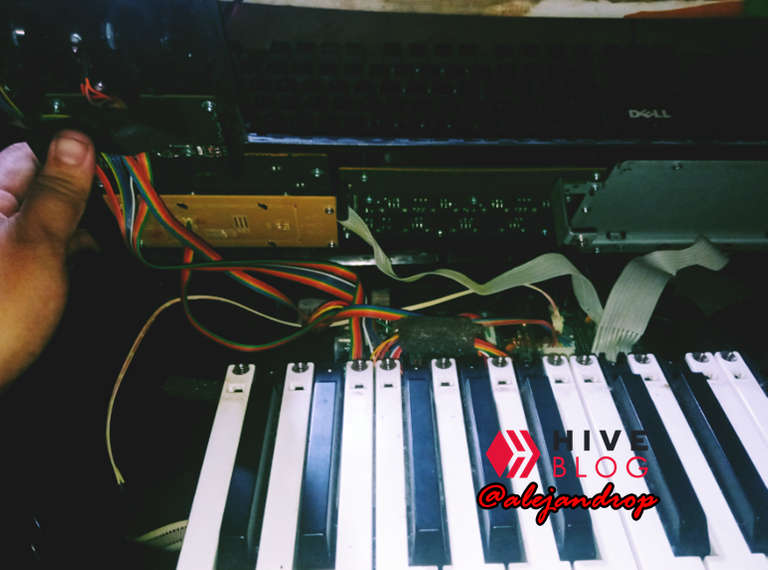
Lo primero que se realizó fue retirar todos los tornillos que sujetan la carcasa trasera, de la siguiente manera:
The first thing that was done was to remove all the screws that hold the back cover, as follows:
Con sumo cuidado y utilizando algún separador, se levanta la cubierta superior para acceder a los circuitos, y por ende, al interruptor al cual queremos acceder:
With great care and using a separator, the upper cover is raised to access the circuits, and therefore, the switch we want to access:
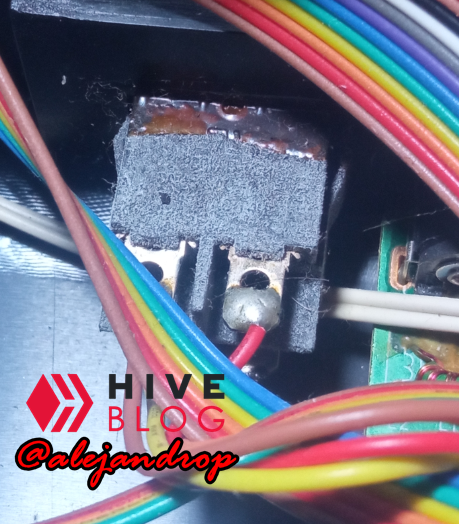
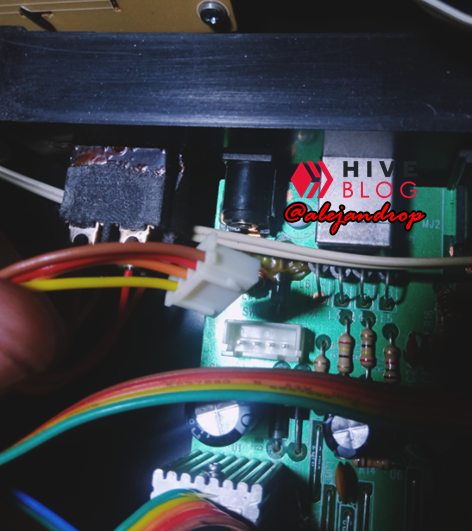
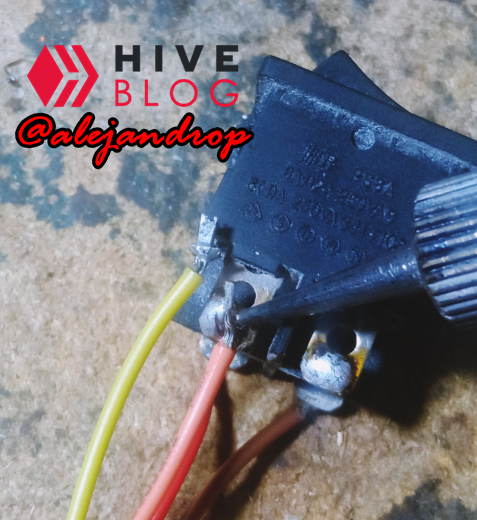
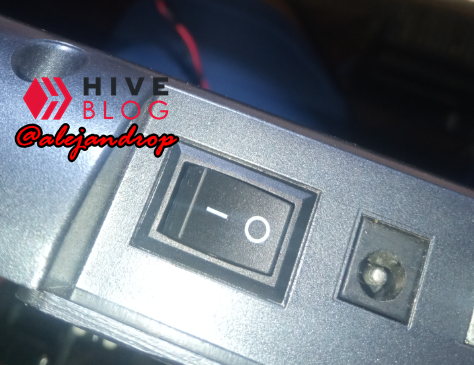
Y finalmente accedemos al interruptor de poder:
And finally we access the power switch:
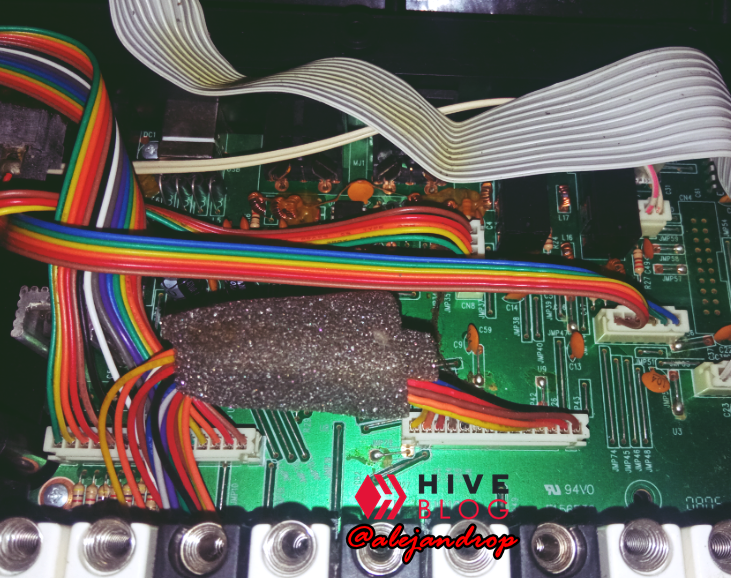
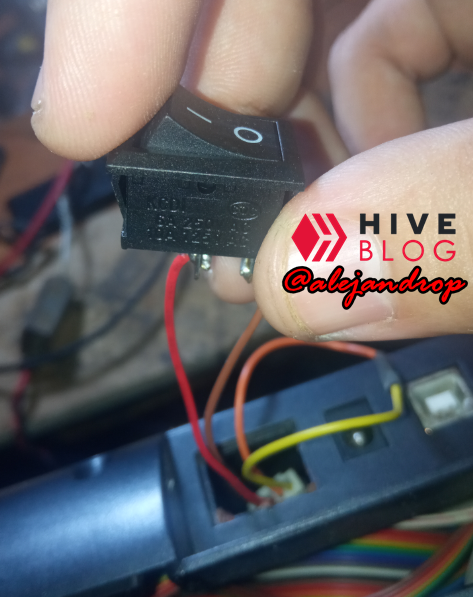
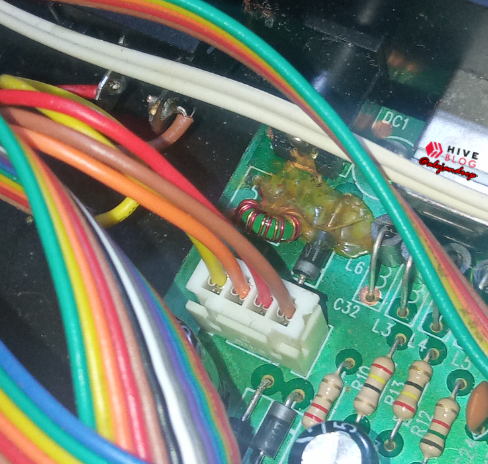
El cual está conectado a este segmento de la placa principal, removemos el cable y posteriormente apoyándonos de dos pizas o dos destornilladores, liberamos el interruptor hacia la parte exterior para su revisión más cómoda.
Which is connected to this segment of the main board, we remove the cable and later, using two tweezers or two screwdrivers, we release the switch to the outside for a more comfortable review.
CHECK & DIAGNOSTIC
CHECK & DIAGNOSTIC
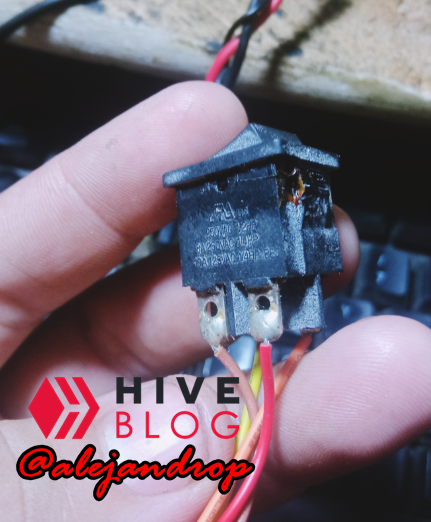
Haciendo una revisión exhaustiva y verificando el componente, para comprobar que de verdad estaba dañado (y así fue), pude denotar algo que me empezó a preocupar: El interruptor sí estaba dañado, pero resulta que es un tipo de interruptor casi no se consigue puesto que es de doble contacto, ¿Qué quiero decir con esto?, pues que son dos interruptores INDEPENDIENTES en uno uno solo: Ninguno de sus terminales se comunica a no ser después de ser accionado el interruptor. Normalmente, hay un interruptor que simplemente corta la alimentación directa al equipo de un sólo polo, comúnmente el positivo (+), pero este parecía cortar ambas alimentaciones, aunque no lo pude comprobar a fondo, me tocó solucionar con el repuesto que tenía en mis manos. A continuación, un pequeño diagrama (dibujo) de cómo es la función del interruptor original:
Doing an exhaustive review and verifying the component, to verify that it was really damaged (and it was), I was able to denote something that began to worry me: The switch was indeed damaged, but it turns out that it is a type of switch that is hardly found. which is double contact, what do I mean by this? Well, they are two INDEPENDENT switches in one: None of its terminals communicate unless after the switch is activated. Normally, there is a switch that simply cuts the direct power supply to the equipment with only one pole, usually the positive (+), but this seemed to cut both power supplies, although I could not check it thoroughly, I had to solve it with the spare part I had in my hands. Here is a small diagram (drawing) of how the original switch works:
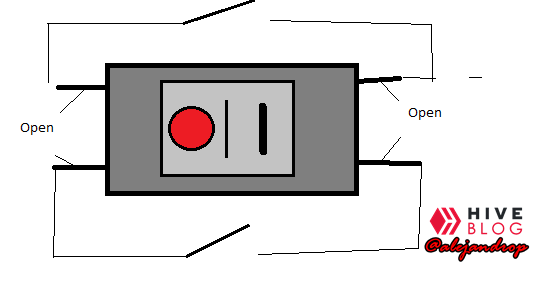
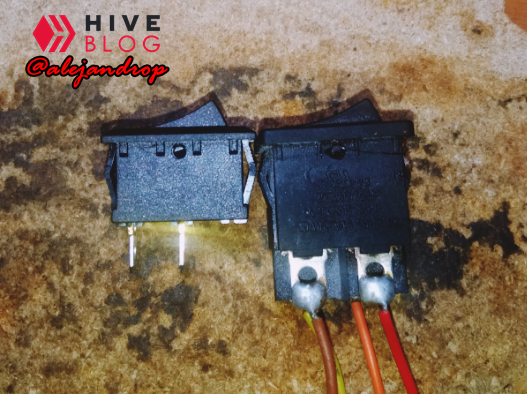
Y también pude detectar que al intentar accionar el interruptor, sólo cerraba uno de sus circuitos dejando el otro abierto, impidiendo en todas formas que el equipo encienda ya que necesita las dos alimentaciones, por lo que teóricamente podría reparar el equipo con un interruptor normal de 2 contactos/terminales, que es el que tenía disponible en ese momento en mis manos:
And I was also able to detect that when trying to activate the switch, it only closed one of its circuits, leaving the other open, preventing the equipment from turning on anyway, since it needs both supplies, so theoretically I could repair the equipment with a normal switch. 2 contacts/terminals, which is the one I had available at that time in my hands:
Entonces, dicho esto, ¡Empecemos a trabajar!
So with that being said, Let's get to work!
THE REPAIRING
THE REPAIRING
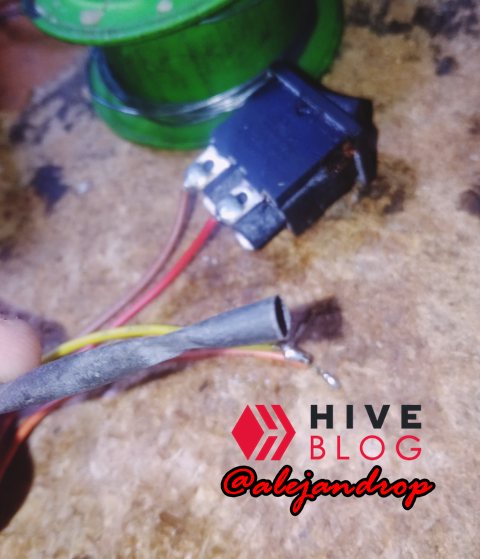
Para reparación, simplemente comencé con retirar los cables soldados al interruptor dañado, de la siguiente manera:
For repair, I simply started by removing the wires soldered to the damaged switch, as follows:
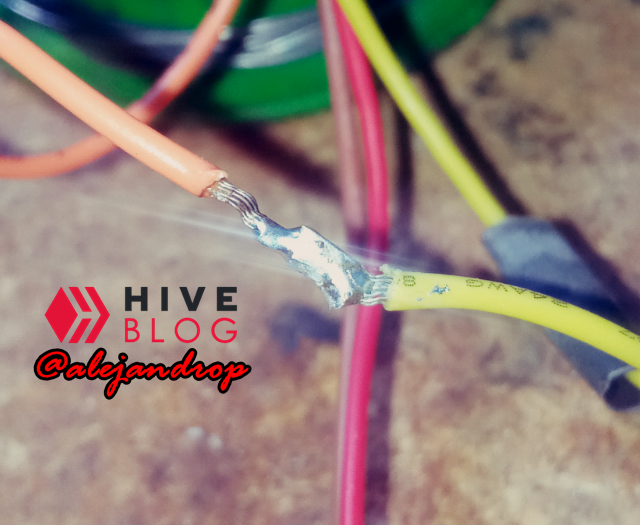
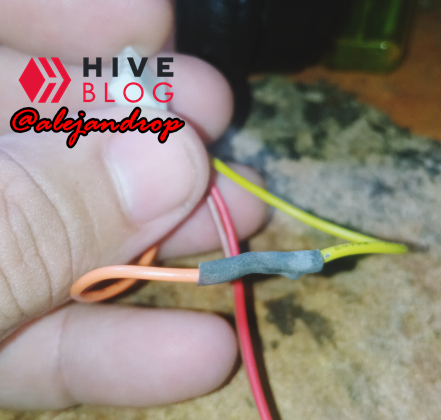
Como anteriormente les mencioné, el interruptor que colocaremos será de un sólo paso, por lo que el segmento #2 (es decir, cualquier par de cables que están aislados por el interruptor) lo vamos a "puentear" directo para sólo permitir y cortar el paso de la corriente en un solo extremo, de la siguiente manera: Pre-estaño cada cable para unirlos uno al otro y de esta manera cerrar el circuito #2 (el #1 es donde colocaremos el interruptor), y con termocontraíble se cubrió la zona trabajada para evitar algún posible cortocircuito. A continuación, imágenes del procedimiento:
As I mentioned before, the switch that we will place will be a single step, so segment #2 (that is, any pair of cables that are isolated by the switch) we will "jumper" it directly to only allow and cut the passage of the current at one end only, as follows: Pre-tin each cable to join them to each other and in this way close circuit #2 (#1 is where we will place the switch), and with heat shrink the area worked to avoid any possible short circuit. Here are pictures of the procedure:

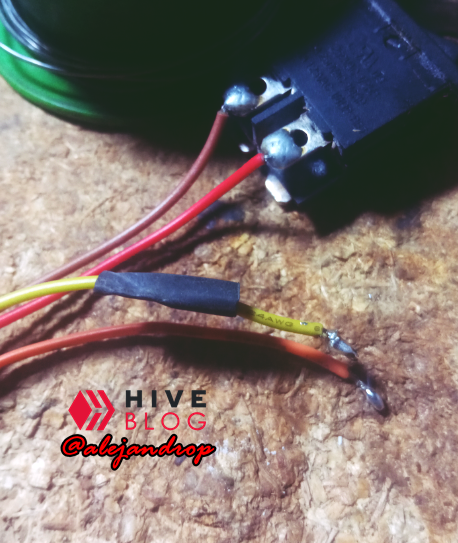
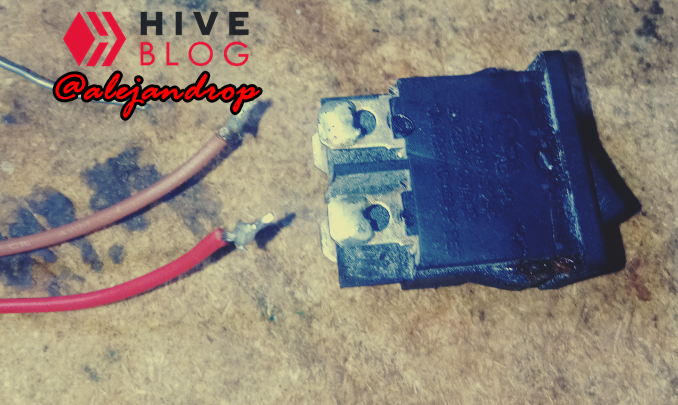
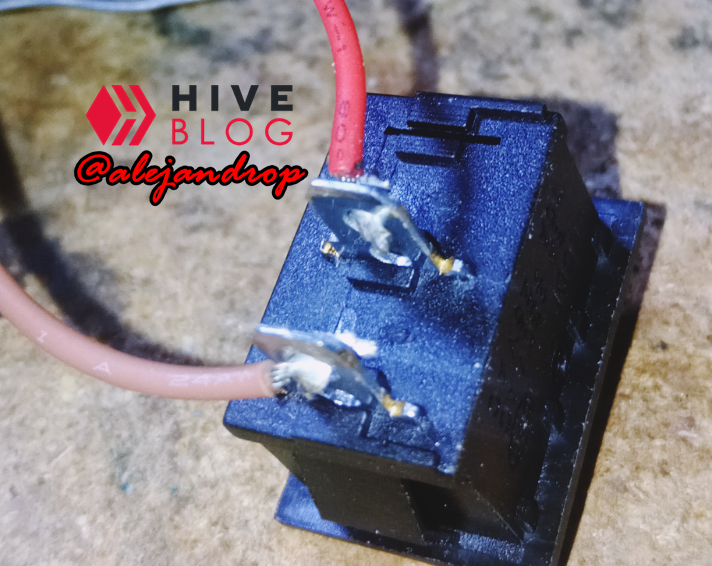
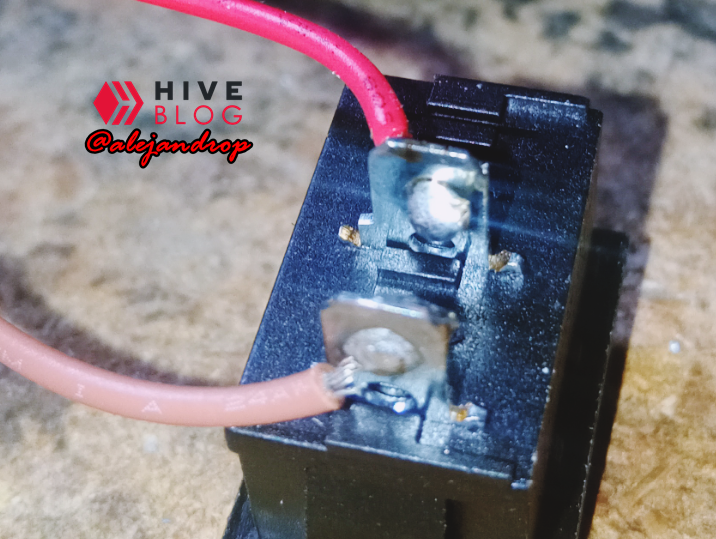
Y ahora, procedemos a remover los dos cables faltantes para finalmente soldarlos al nuevo interruptor, de la siguiente manera:
And now, we proceed to remove the two missing cables to finally solder them to the new switch, as follows:

ASSEMBLY
ASSEMBLY
Bueno, después de haber reparado el interruptor, procedemos a armar todo, no sin antes primero probar si nuestro trabajo funcionó:
Well, after having repaired the switch, we proceed to put everything together, not without first testing if our work worked:
Quedó perfecto 😍 :
It was perfect 😍 :

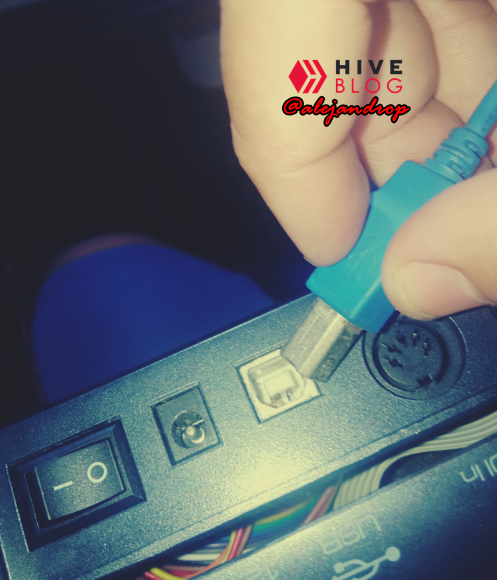
Conectamos el cable USB al controlador y accionamos el interruptor:
We connect the USB cable to the controller and activate the switch:
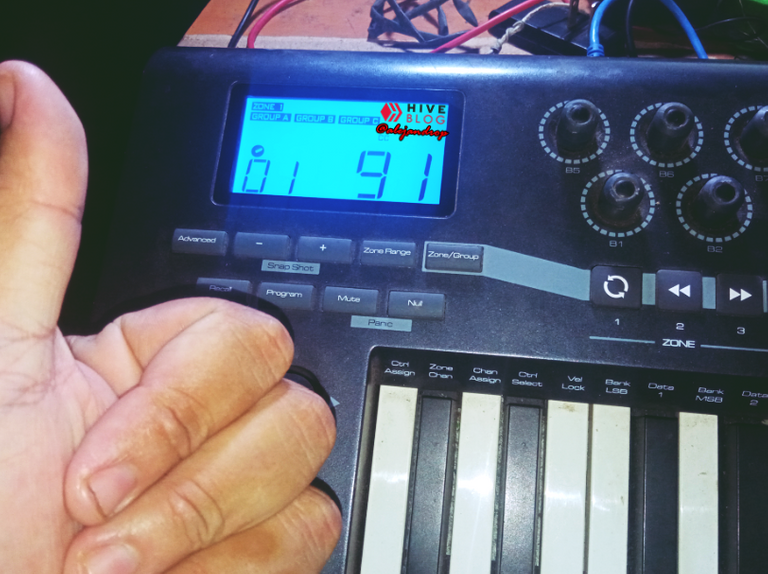
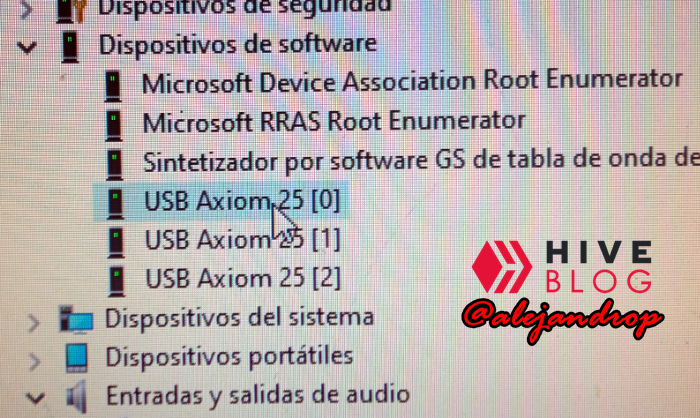
Como pueden ver, funciona perfectamente, y a continuación un video rápido (inglés) del momento que realicé esta prueba:
As you can see, it works perfectly, and here is a quick video (English) of the moment I did this test:
Y ya al final lo que hacemos es colocar sus respectivos tornillos nuevamente y listo, a entregar el equipo. Ésta reparación ha llegado a su final.
And in the end, what we do is place their respective screws again and that's it, to deliver the equipment. This repair has come to an end.
Bueno amigos, esto ha sido todo por esta publicación. Espero poder volver a traerles más contenido referente a reparaciones electrónicas de este tipo, pero últimamente no he tenido "nada que reparar", así que sería hasta una próxima reparación. Agradezco de antemano todo el apoyo prestado y nos vemos en una próxima oportunidad. Saludos y un abrazo para todos.
Well friends, this has been all for this publication. I hope to be able to bring you more content regarding electronic repairs of this type, but lately I haven't had "nothing to repair", so it would be until a next repair. I thank you in advance for all the support provided and see you in the next opportunity. Greetings and a hug for all.