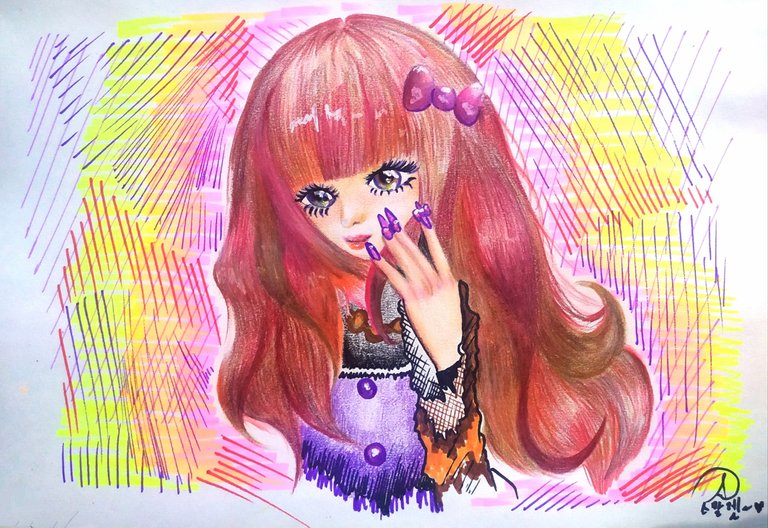

Saludos a todos, ¿cómo están? El día de hoy les traigo un dibujito que realicé inspirándome en las muñecas de porcelana coreanas (son súper lindas). Quise hacerla desde cero, con ideas que manejo y con un diseño único.
Me gustó como quedó pero planeo seguir mejorando la técnica, por eso pronto les mostraré mi evolución. Espero les guste y que compartan conmigo sus consejos y opiniones.
Greetings everyone, how are you? Today I bring you a little drawing that I made inspired by the Korean porcelain dolls (they are super cute). I wanted to make it from scratch, with ideas that I have and with a unique design.
I liked how it turned out but I plan to keep improving the technique, so soon I will show you my evolution. I hope you like it and that you share with me your advice and opinions.

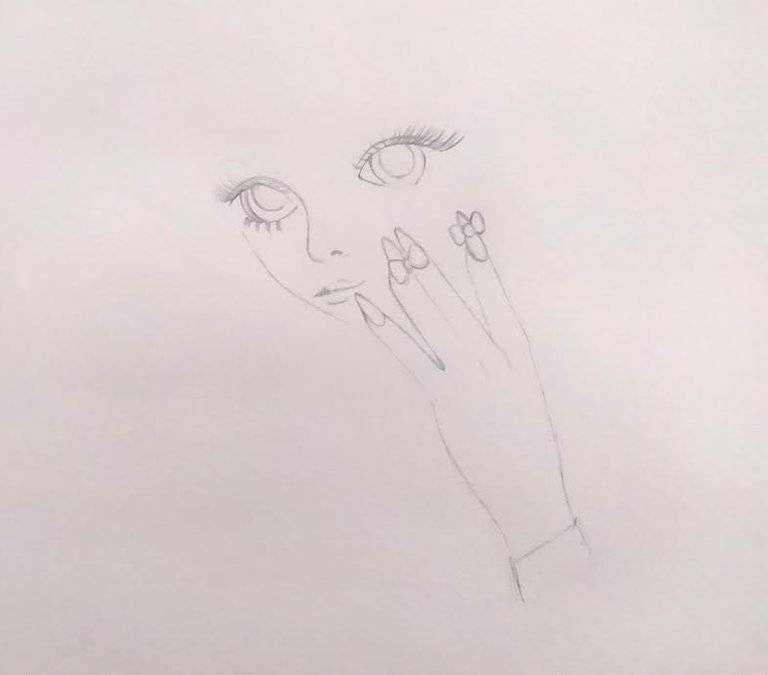
El primer paso fue realizar el boceto a portaminas. Dibujé todo lo que se me iba ocurriendo y la forma del cabello. Traté de no afincar el portaminas ni de equivocarme para que luego no quedaran marcas al utilizar el color.
The first step was to make a pencil sketch. I drew everything that came to my mind and the shape of the hair. I tried not to sharpen the pencil or make a mistake so that there would be no marks when I used the color.
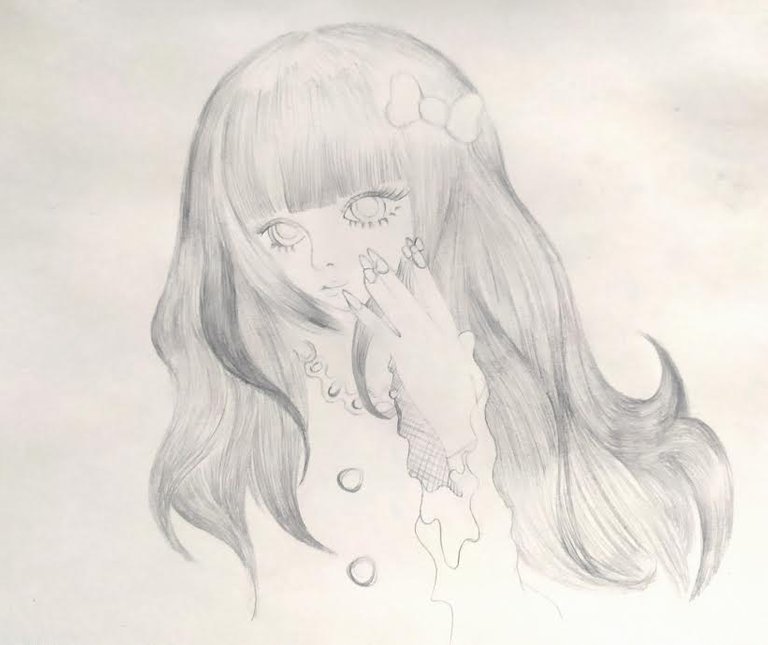
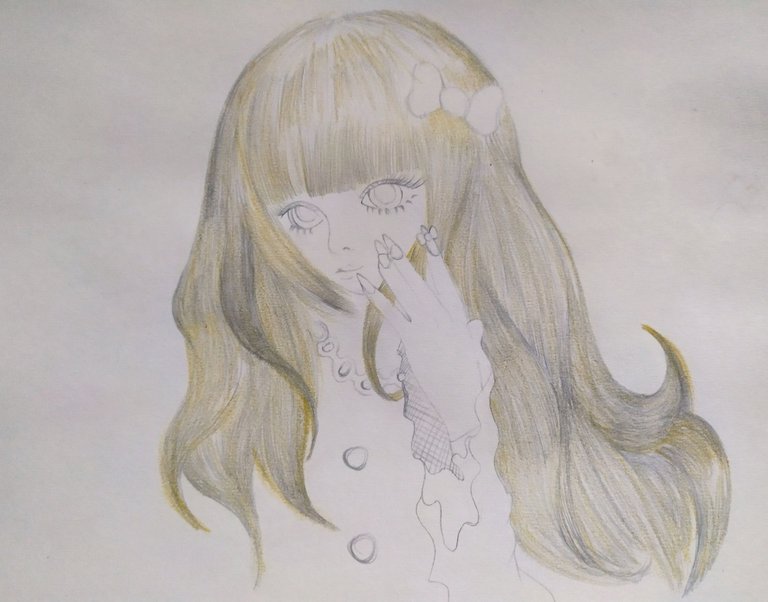
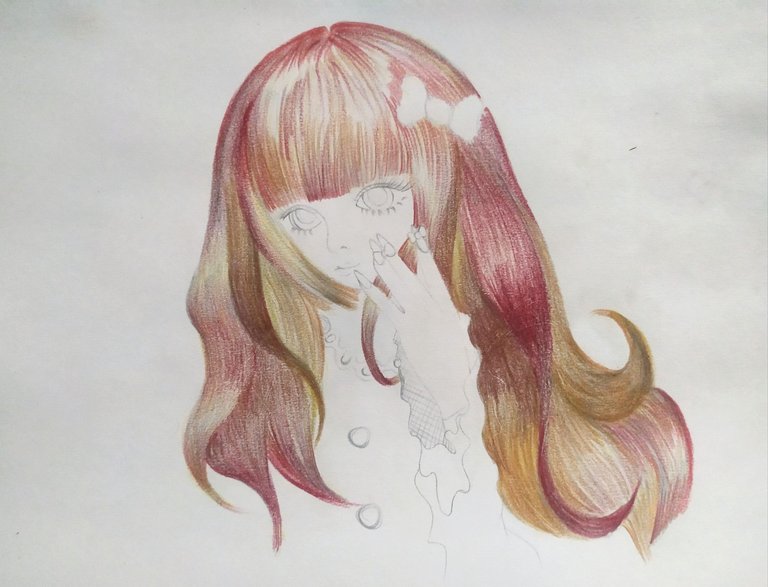
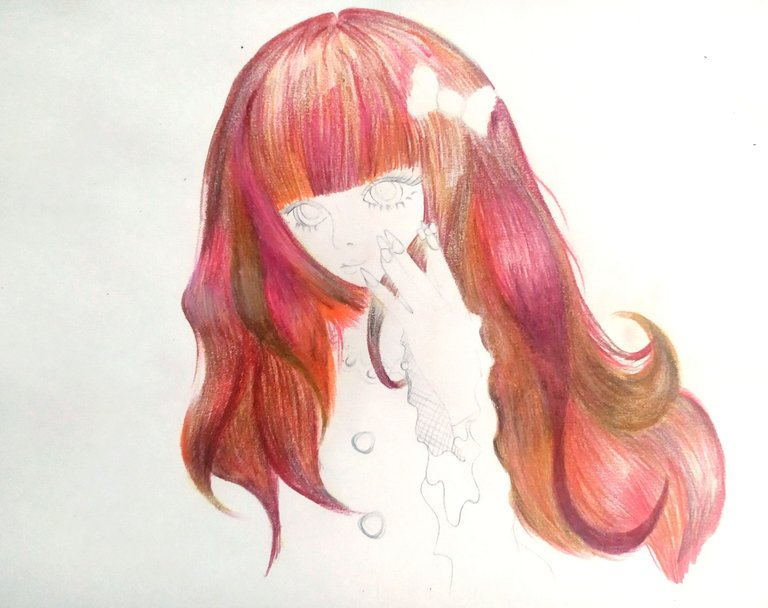
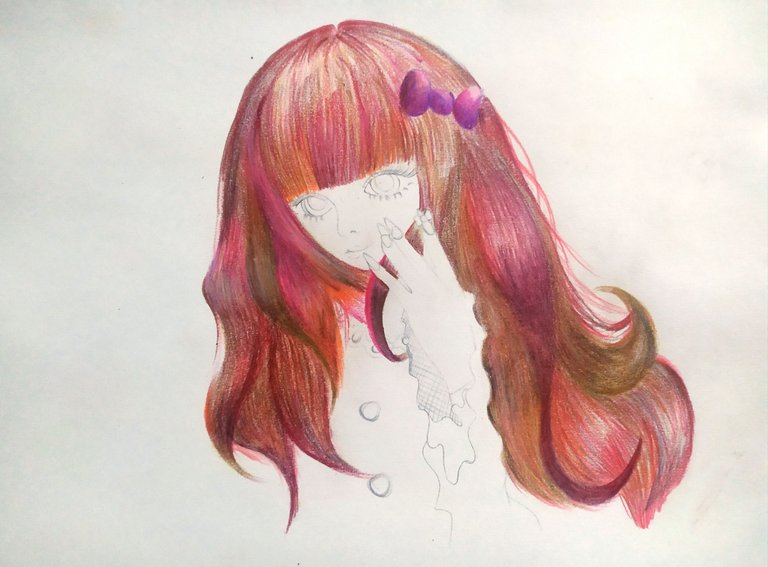
Me dieron ganas de dibujar el cabello primero, para ello me puse a pintar capa por capa. Primero utilicé un color mostaza, y luego fui combinando varios tonos de rojo según me gustaba para crear sombras y mechas. Mi idea era hacerla pelirroja.
I felt like drawing the hair first, so I started painting layer by layer. First I used a mustard color, and then I combined various shades of red as I liked to create shadows and highlights. My idea was to make her a redhead.
Pasé a pintar el rostro, cuidando de que el tono de piel no me quedara tan oscuro, junto a los ojos y la nariz. Fui dando sombras según creí que iban ubicadas y contoneé todo lo que hiciera falta.
I went on to paint the face, taking care that the skin tone was not too dark, along with the eyes and nose. I applied shadows as I thought they would be placed and wiggled as much as I needed to.
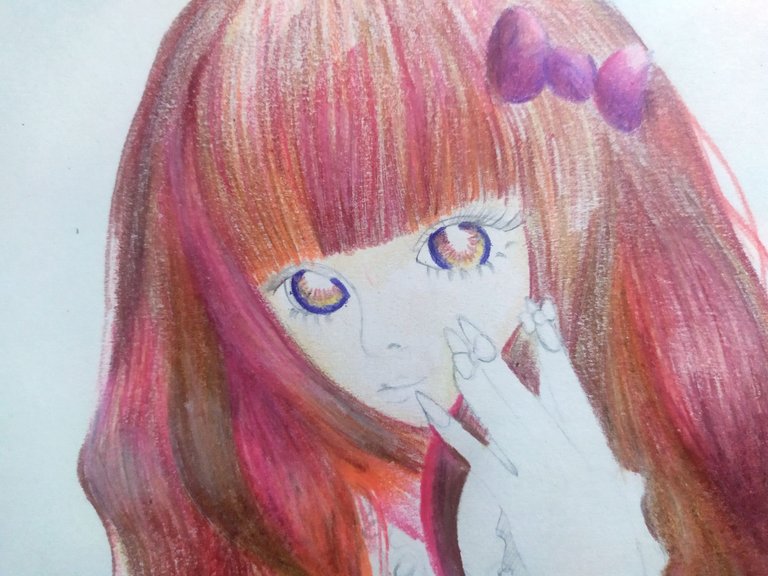
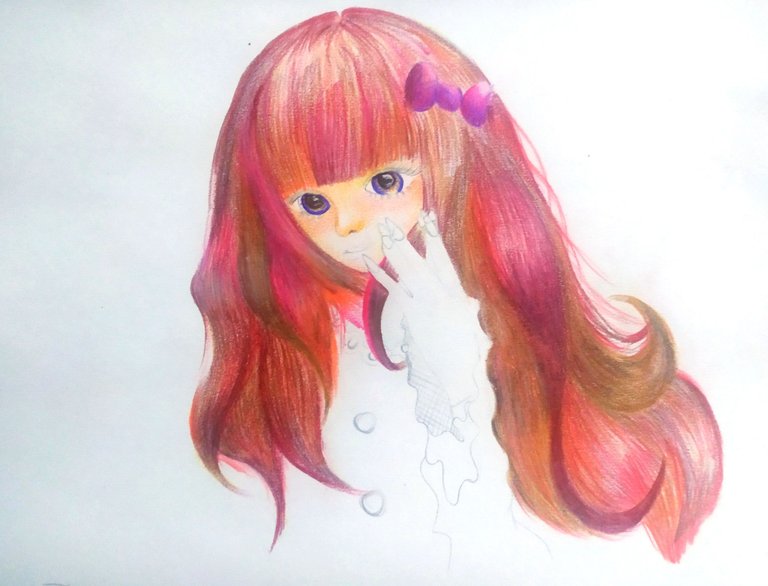
Terminé de dibujar los labios y dejé de dibujar el rostro para continuar con el vestuario y las manos. Como el cabello le tapaba gran parte, fui realizando trazos y decorando según se me iban ocurriendo ideas. El marcador fue mi gran aliado, me encanta combinar los dibujos a color con marcador.
I finished drawing the lips and stopped drawing the face to continue with the costume and the hands. As the hair covered most of her hair, I was drawing strokes and decorating as ideas came to my mind. The marker was my great ally, I love to combine color drawings with marker.
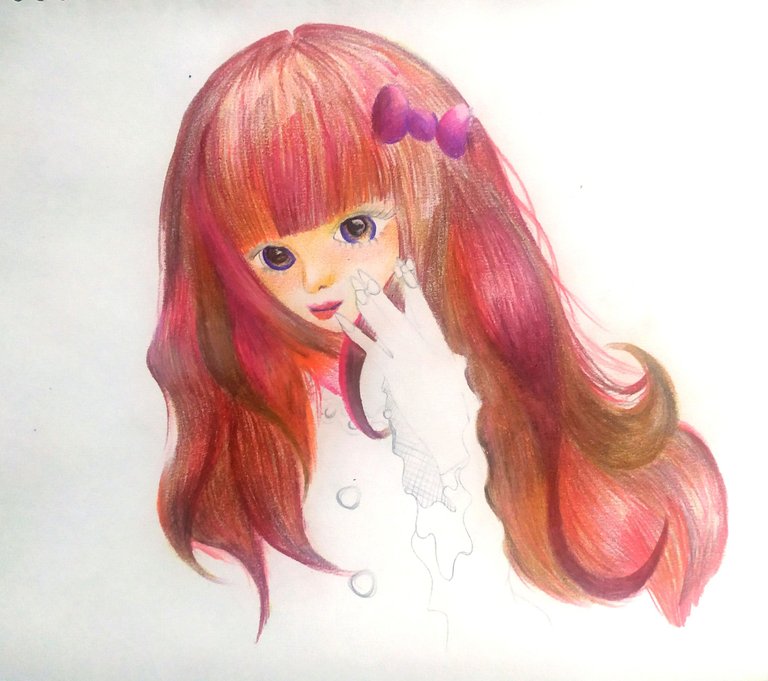
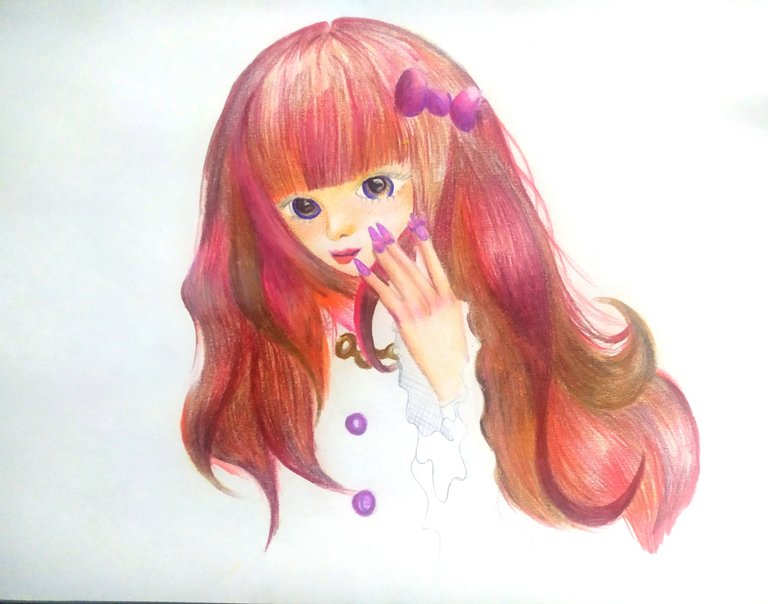
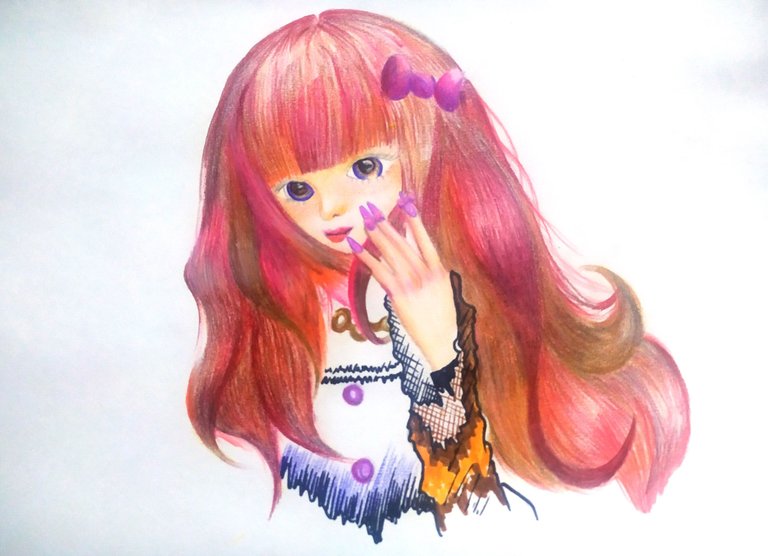
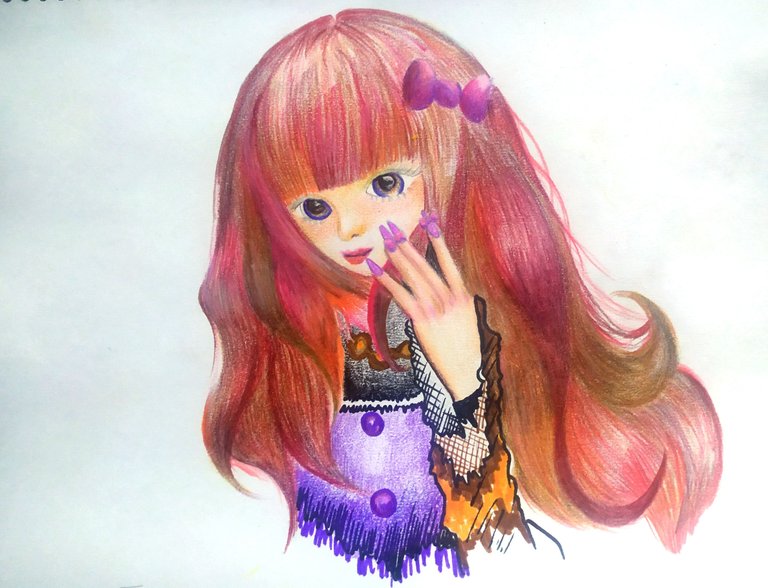
Una vez culminé con el vestuario, quise realizar un fondo trazando líneas a pulso (le da un toque único). Para ello, combiné marcador rojo y morado primero, para proseguir con resaltador morado, rosado, amarillo y naranja.
Once I finished with the costumes, I wanted to make a background by tracing lines by hand (it gives it a unique touch). To do this, I combined red and purple marker first, to continue with purple, pink, yellow and orange highlighter.
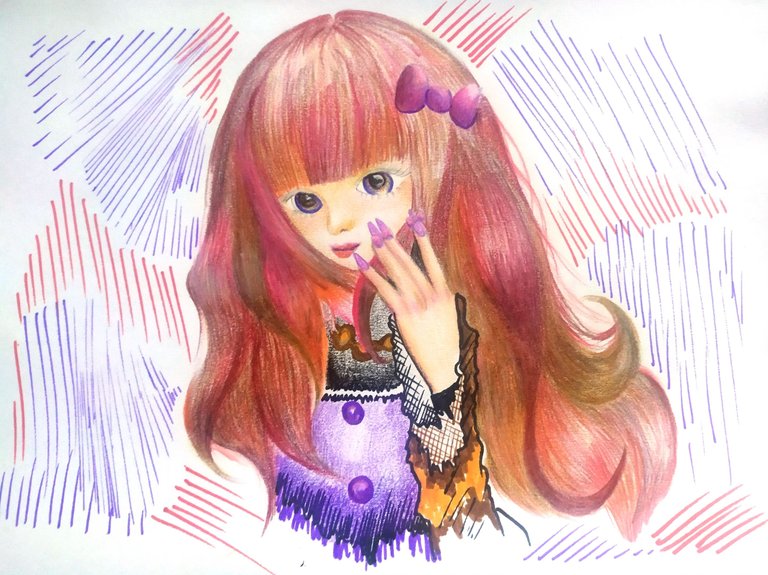
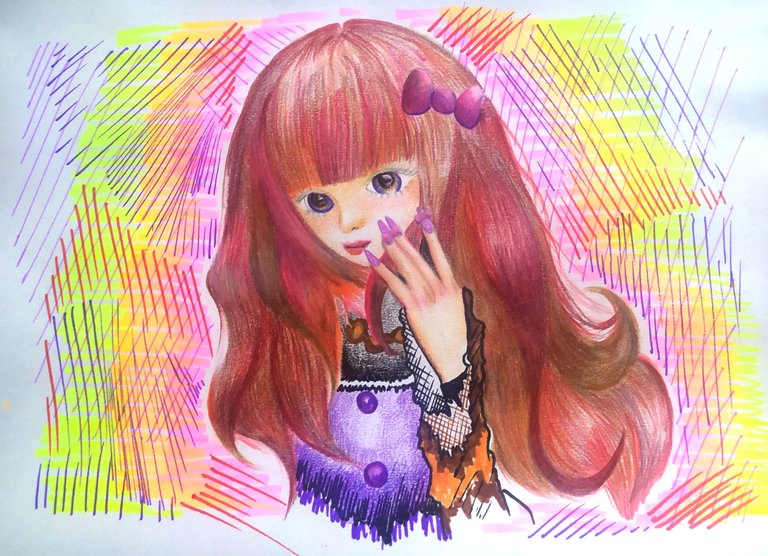
Finalmente, delineé los ojos, agregué pestañas, luces con corrector blanco y los últimos retoques.
Finally, I lined the eyes, added lashes, highlights with white concealer and the finishing touches.

💕
¡Gracias por ver!
Thank you for watching!
❤️
- Las imágenes que utilicé son propias. Separadores diseñados en Canva.
The images I used are my own. Dividers designed in Canva.
- Texto traducido en Deepl.
Text translated in Deepl.
