Hello to all art lovers!!! And of the great sculptures made in cheap school clay. ^_^
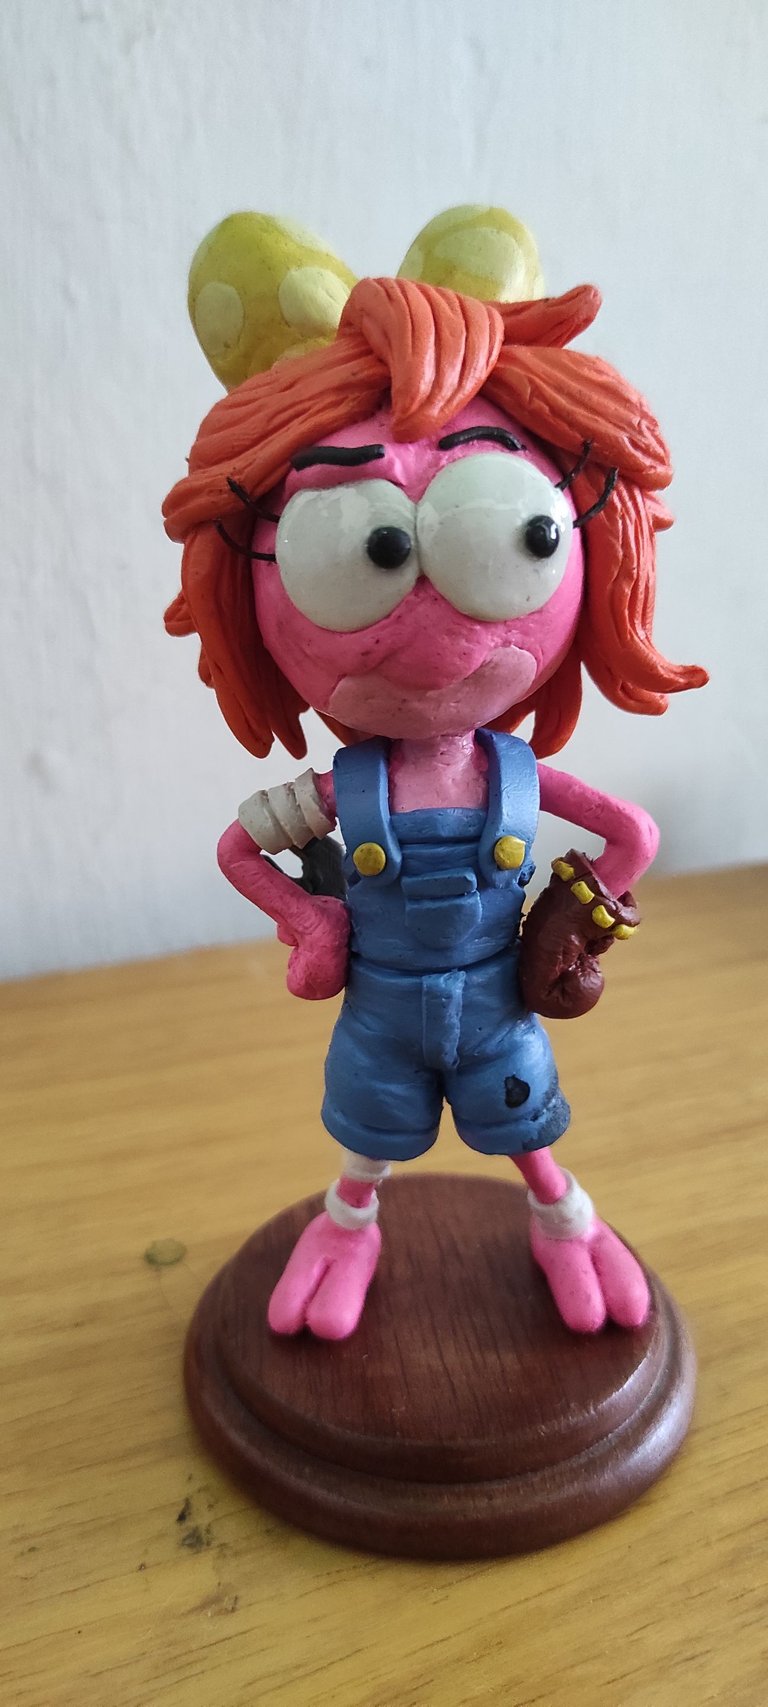
Hello, in my previous publication I mentioned that I had developed a new skill, it is about molding and sculpting in plasticine, I am a lover of collectible figures of anime characters, video games, superheroes, of all those statuettes of our favorite franchises, they fascinate me and I would love to have many of them, but for financial reasons I can't do that T_T and that's the main reason why I developed this skill “financial issues”.
I have some problems and I need more income, my main problem is not having internet at home, to share these posts with you I have to go to my sister's house in the center one day a week and I can only stay between 2 or 3 hours and that doesn't really work for me, but it's the only thing I have, to have internet at home I need to raise $110 (of which I already have $40 collected) my salary as a drawing teacher is not enough for me because of the other expenses, that's why I decided to learn this skill in order to have another chair and charge more for it, and thus be able to raise the money to install the internet in my house and more importantly maintain it, since it is fiber optics the monthly payment will be $35.

I always love watching videos of how things are done, especially about crafts or very geeky things like cosplay, among other things. One day I started watching several videos of sculpture with epoxy putty. One of those videos showed me a recommendation about a channel. of sculpture with school plasticine the channel is called "DibujAme Un" which I highly recommend in it I discovered that plasticine can give as good results as epoxy putty, so I began to study its sculpting techniques to encourage me to make my first sculpture .
looking for ideas and references
I was getting excited, but for some reason I didn't want to just do a tutorial, so I wanted to try making a simple character, but there wasn't a how-to video, and I came up with the idea of making one of the characters from my favorite animation series Amphibia.
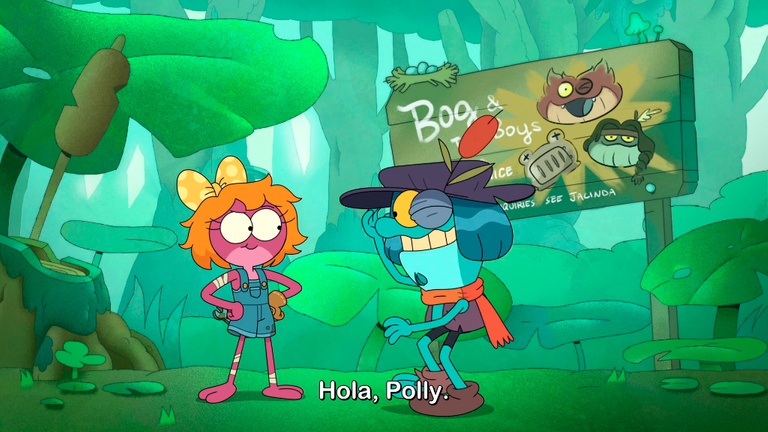
Without a doubt Amphibia is my favorite Disney series, which I highly recommend that you go see it's only 3 seasons, I decided to make a sculpture of Polly, the youngest girl in the Planter family, but with the appearance she has in the final chapter of the series where she stops being a tadpole and is already a whole girl, so I made a screenshot to have a good reference of her.

Making a cool Polly sculpture
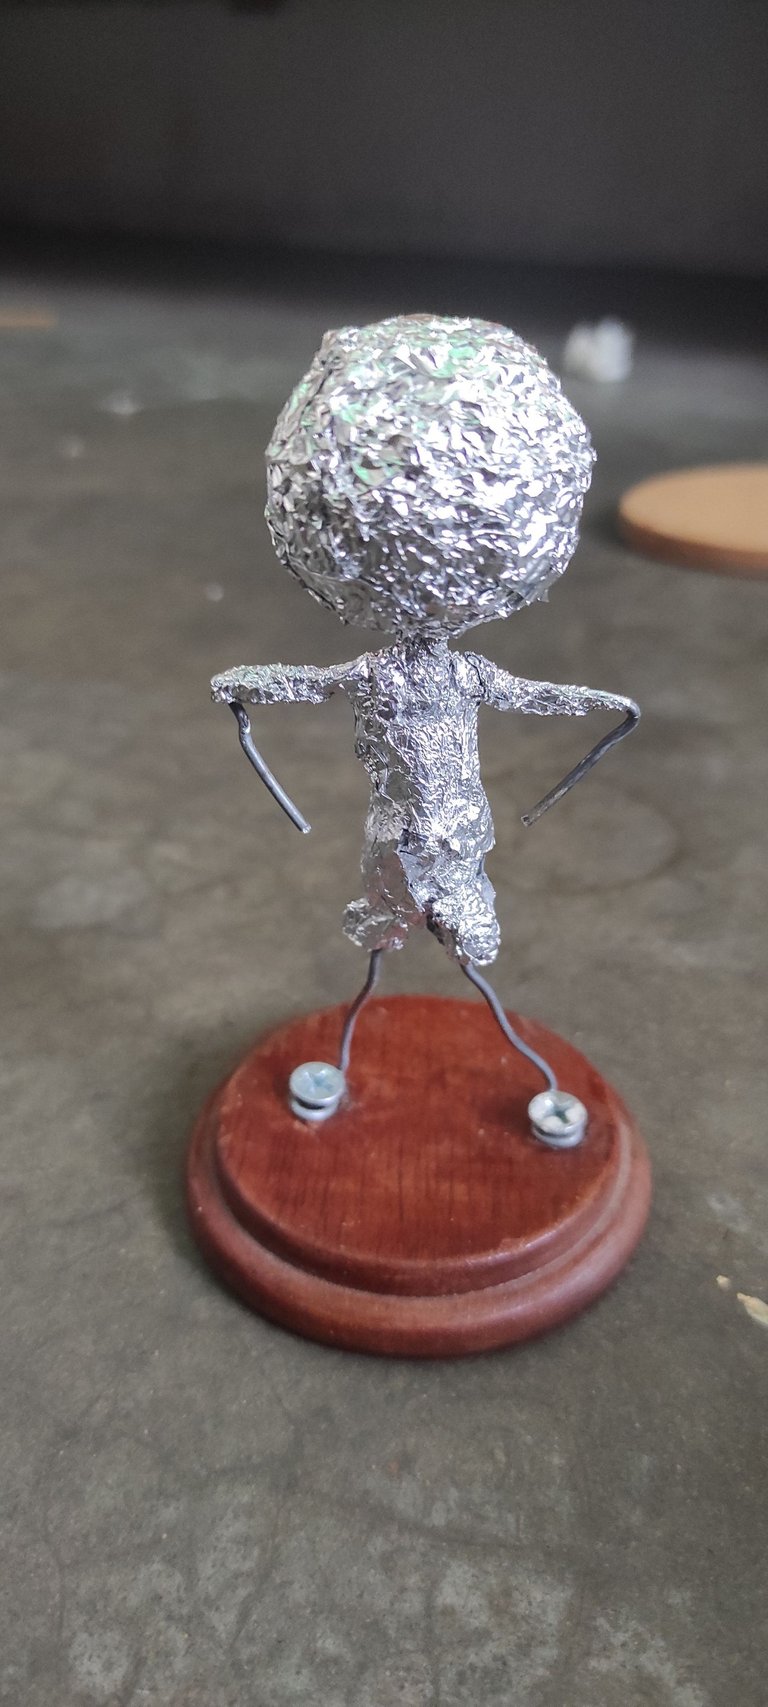
As it is a Cartoon-style character, its head has to be very large compared to its body and its extremities must be extremely thin, the plasticine is heavy, so that the sculpture stands up it is necessary to build a base of wire (I used galvanized construction wire) and to give volume I used aluminum foil, so that the figure weighs so much, and this structure is fixed with two screws where its feet would be located, to a small wooden base that I had around there without use,
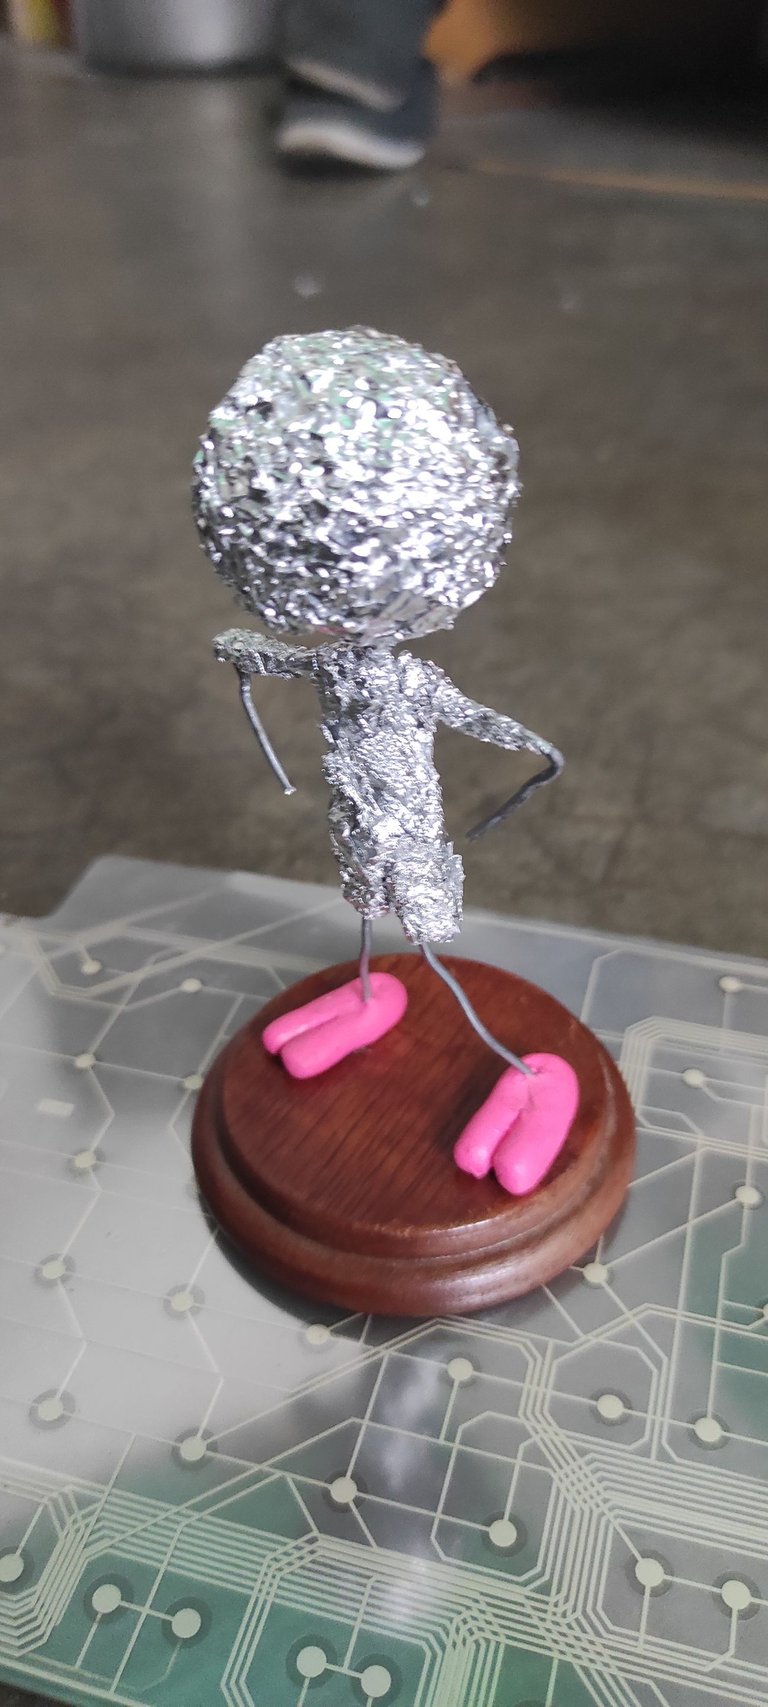
Having already a secure and resistant base, I began the modeling process with the plasticine, to avoid tripping I started with the feet, for them I made a long cylinder of plasticine which I folded in half to give the shape of Polly's foot, which he only has 2 fingers.
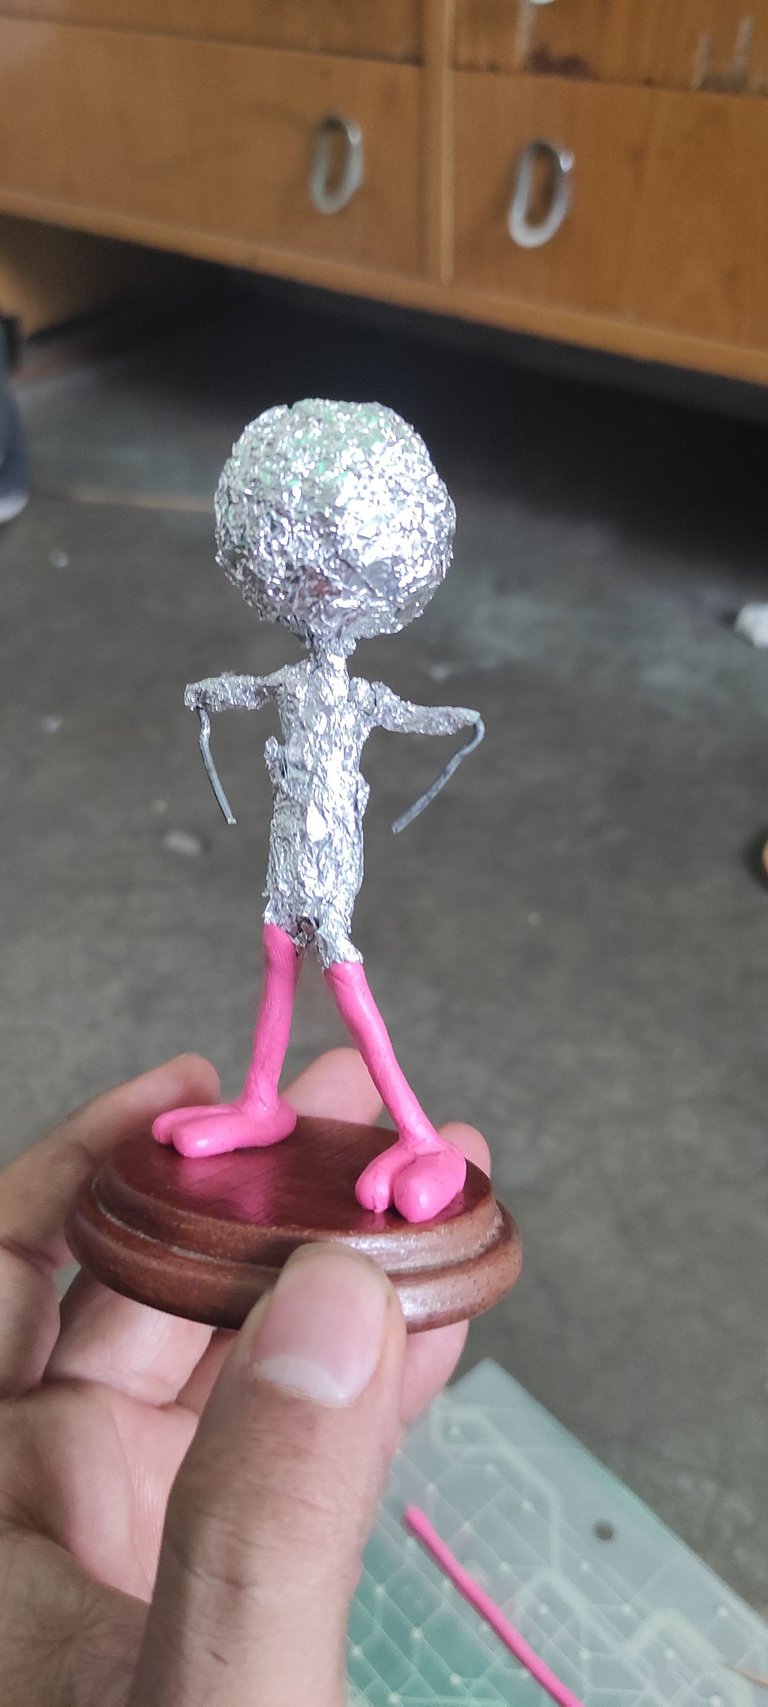
For the legs I covered the wire with cylinders of much thinner plasticine than I used for the feet, and I joined the ankle area with the fingers of my hand so that the legs and feet look as if they were one piece.
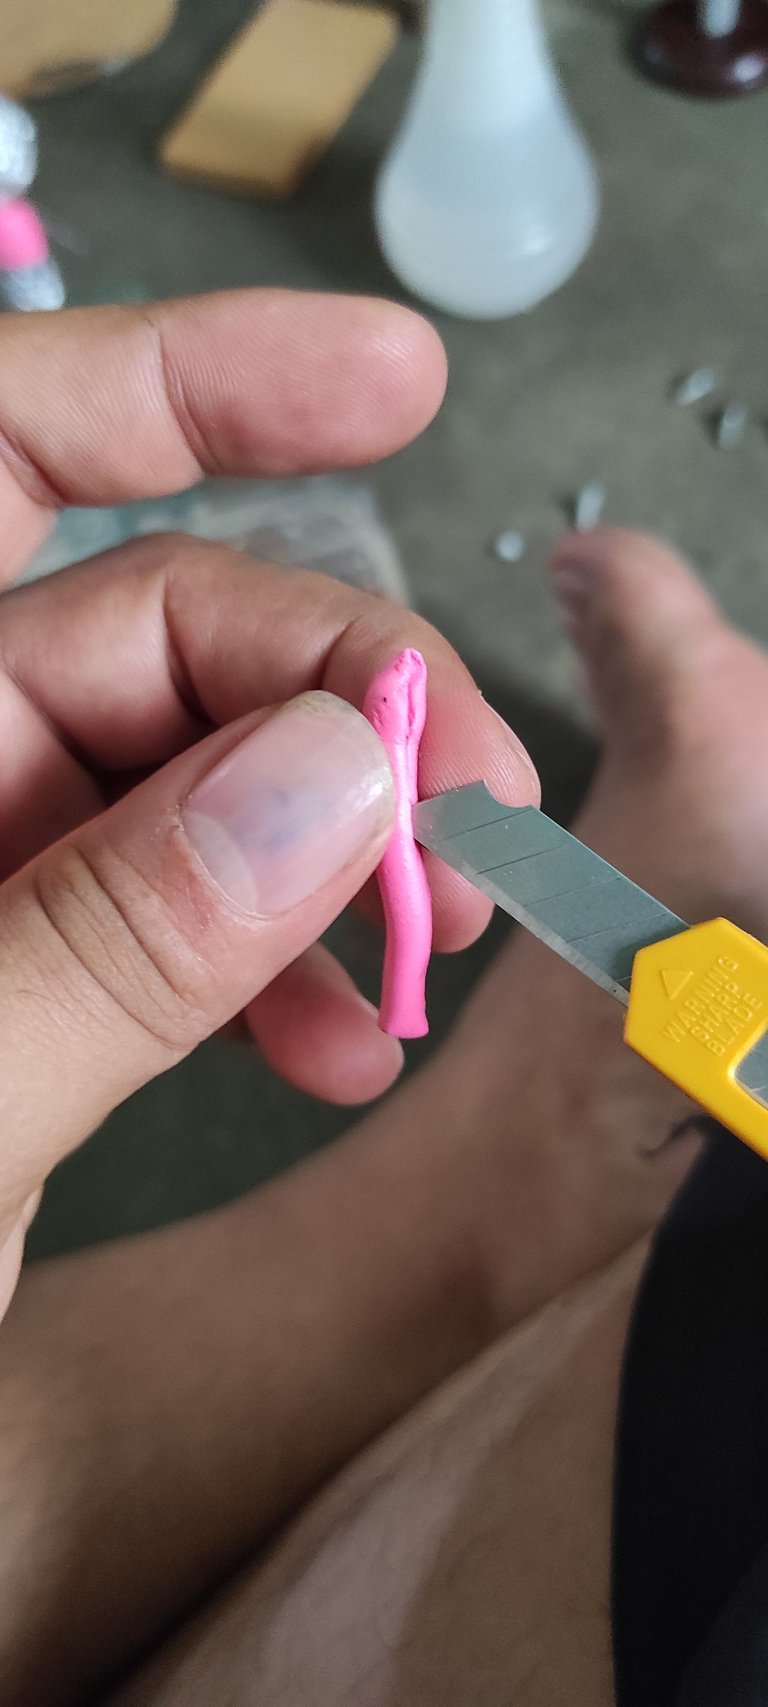
With the legs ready, I continue with the rest of the body (I mean the parts where your skin will be seen) first I cover the chest area, and then I cover his arms, the same process of the legs is applied, a cylinder of plasticine, a whole cut is made to facilitate lining the wire
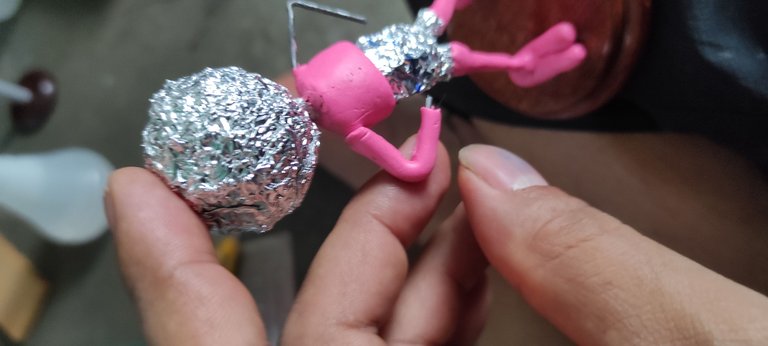
At first I had put some aluminum on the arms, but in the end I had to take it off.
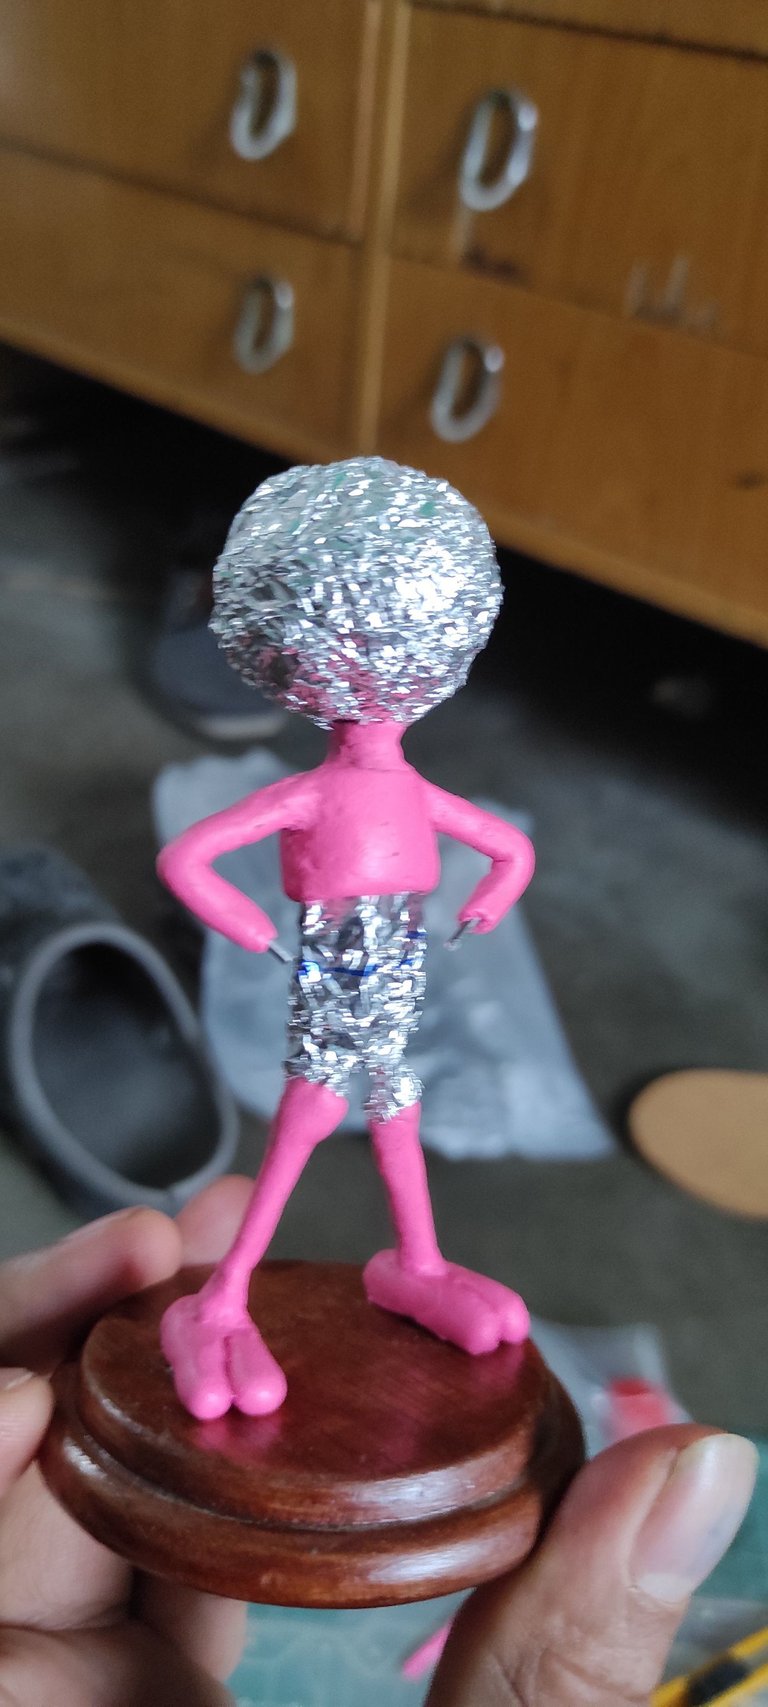
Everything must be joined at first with the fingers and then with a wooden stick, with the arms everything is covered except the part where the hands will be.
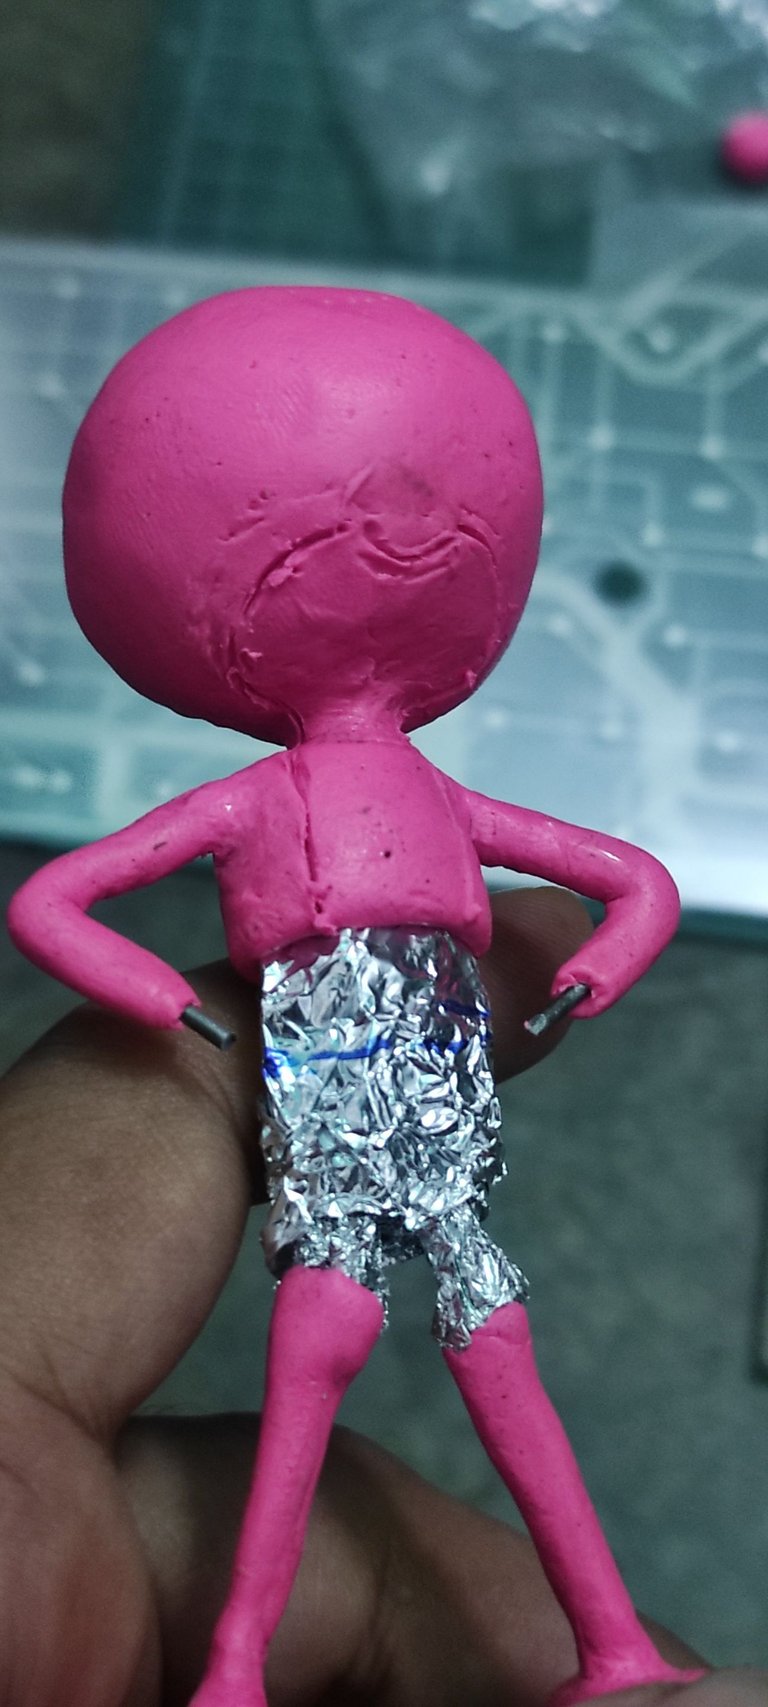
With all the chest and limbs ready, the only thing missing was the head, which I also covered with pink plasticine, it has a part of a lighter skin tone, which I delimited with the tip of a toothpick, to later extract it and replace it with a lighter shade of pink.
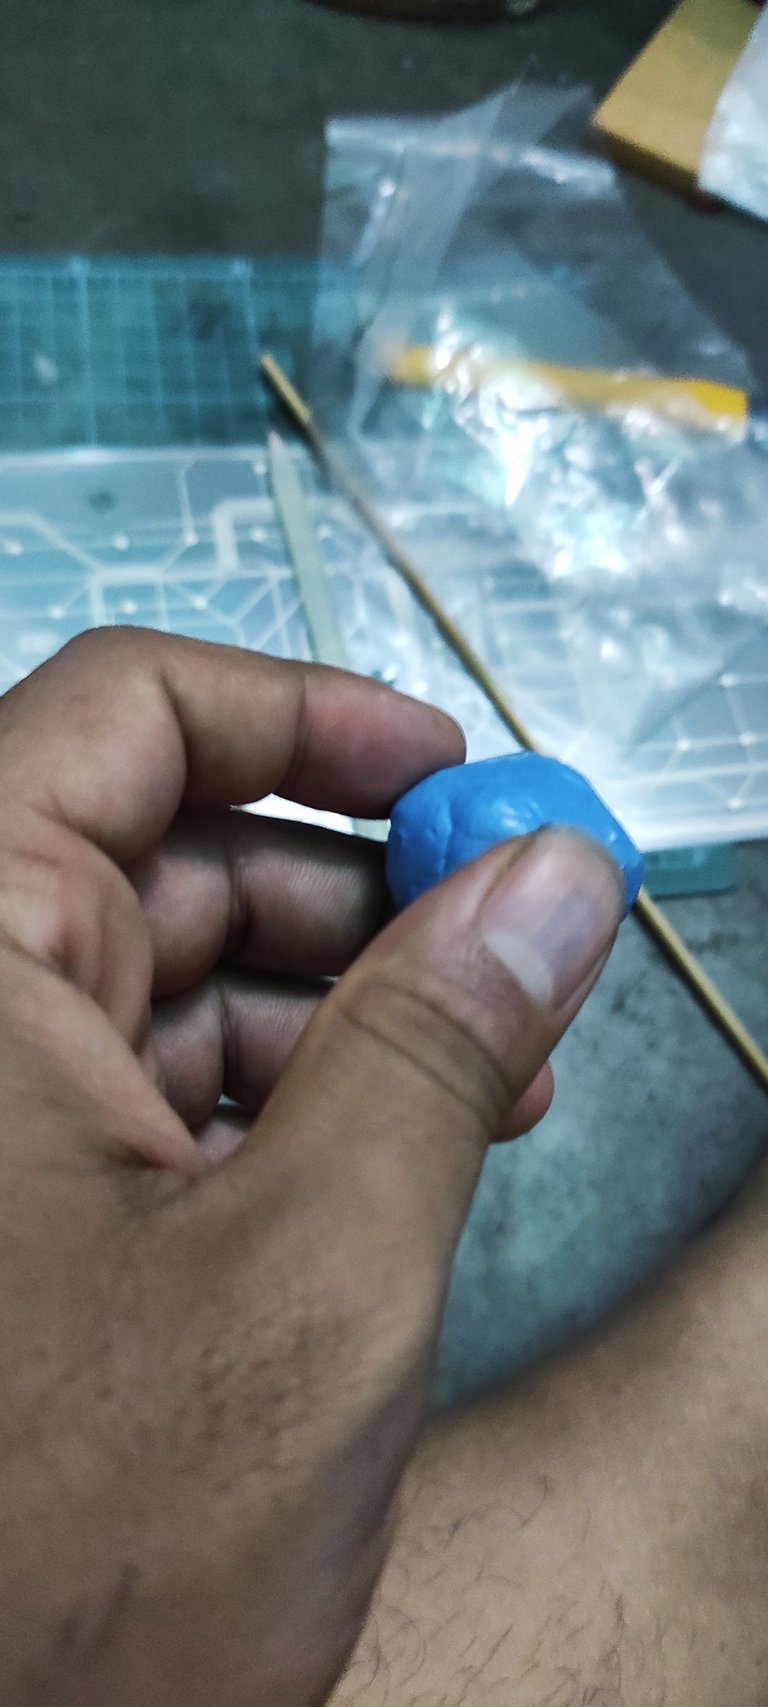
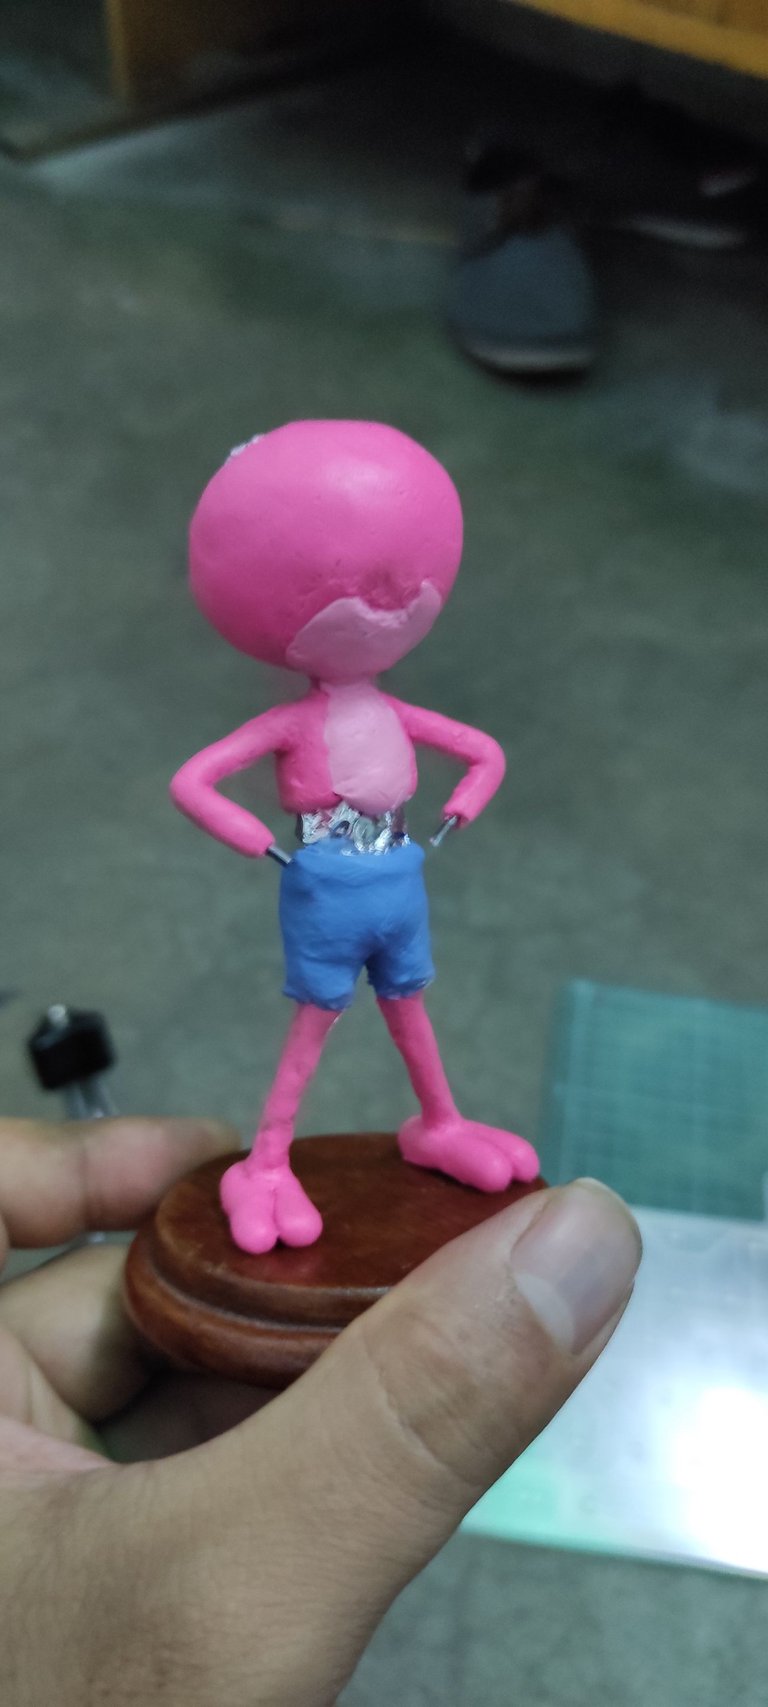
Having the skin ready, I take a piece of blue plasticine to cover the aluminum part of the hip.
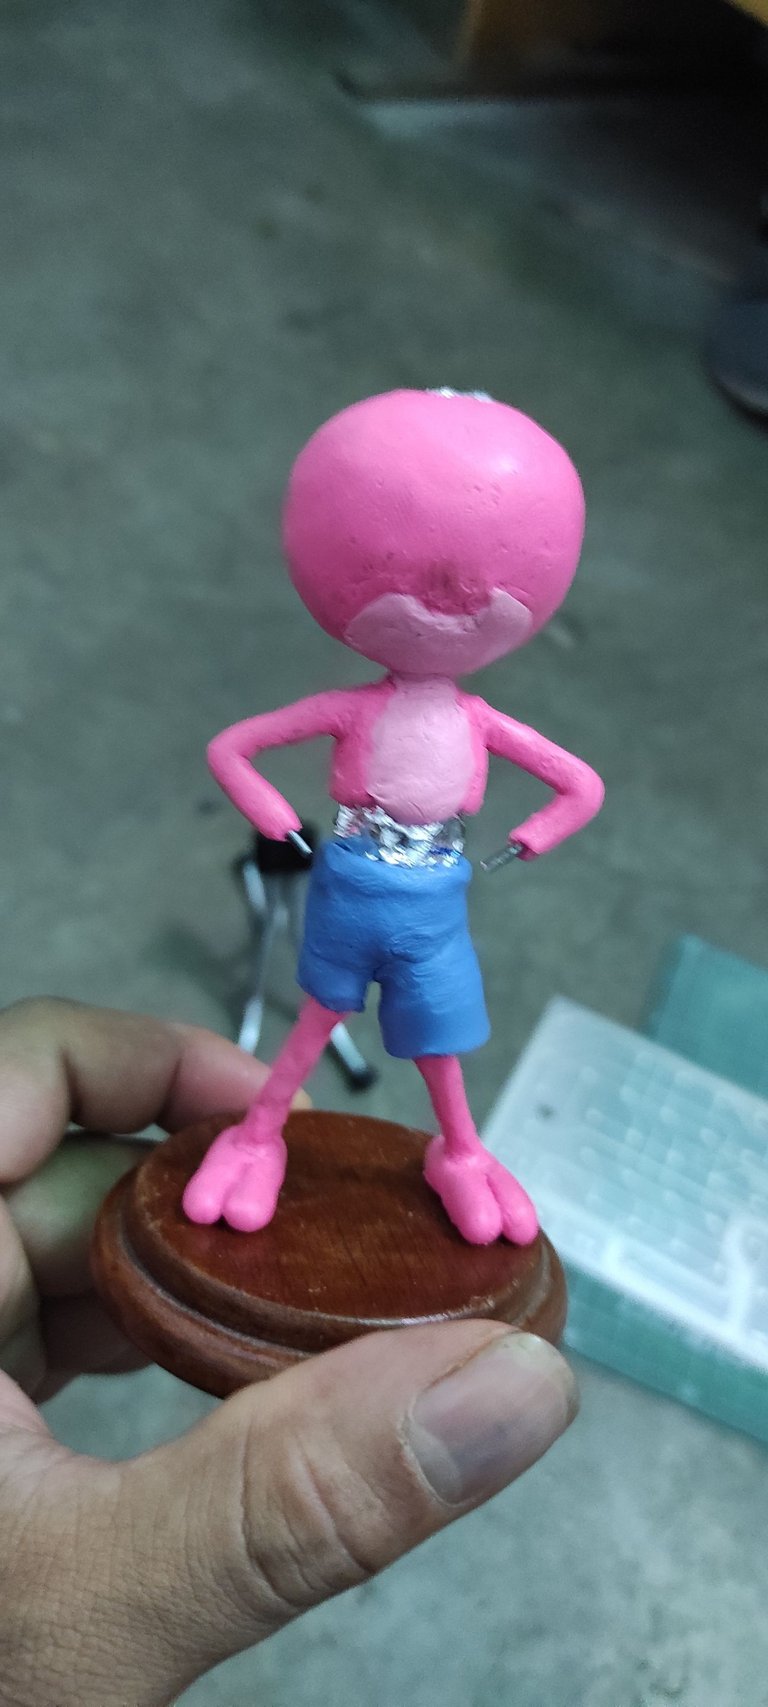
Then very carefully I make a thin strip of blue plasticine, which I cut to cover and shape Bermuda shorts on the thighs, but taking care to leave some separation with the legs
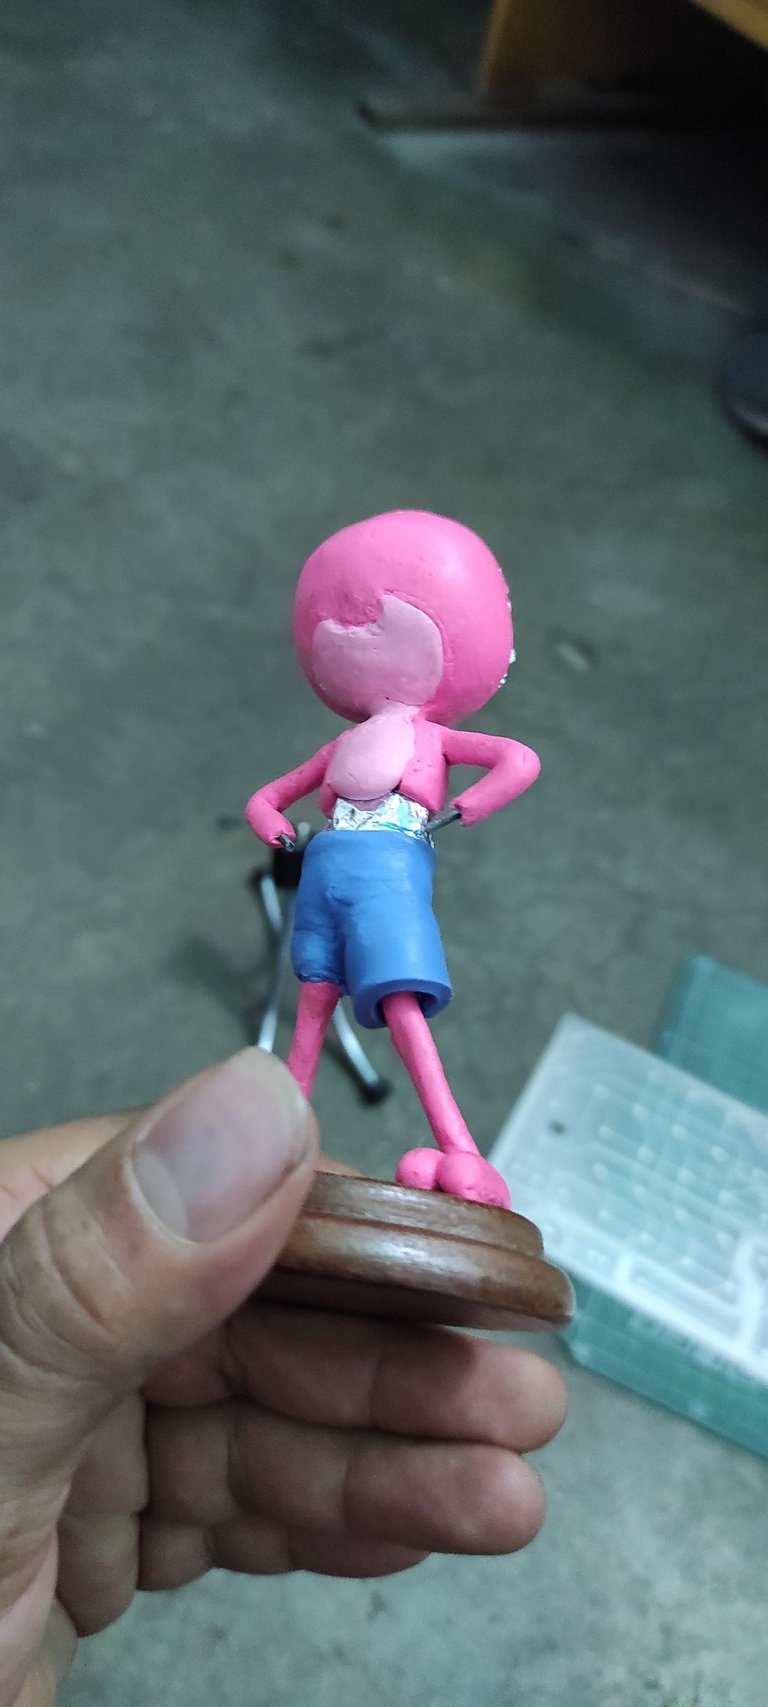
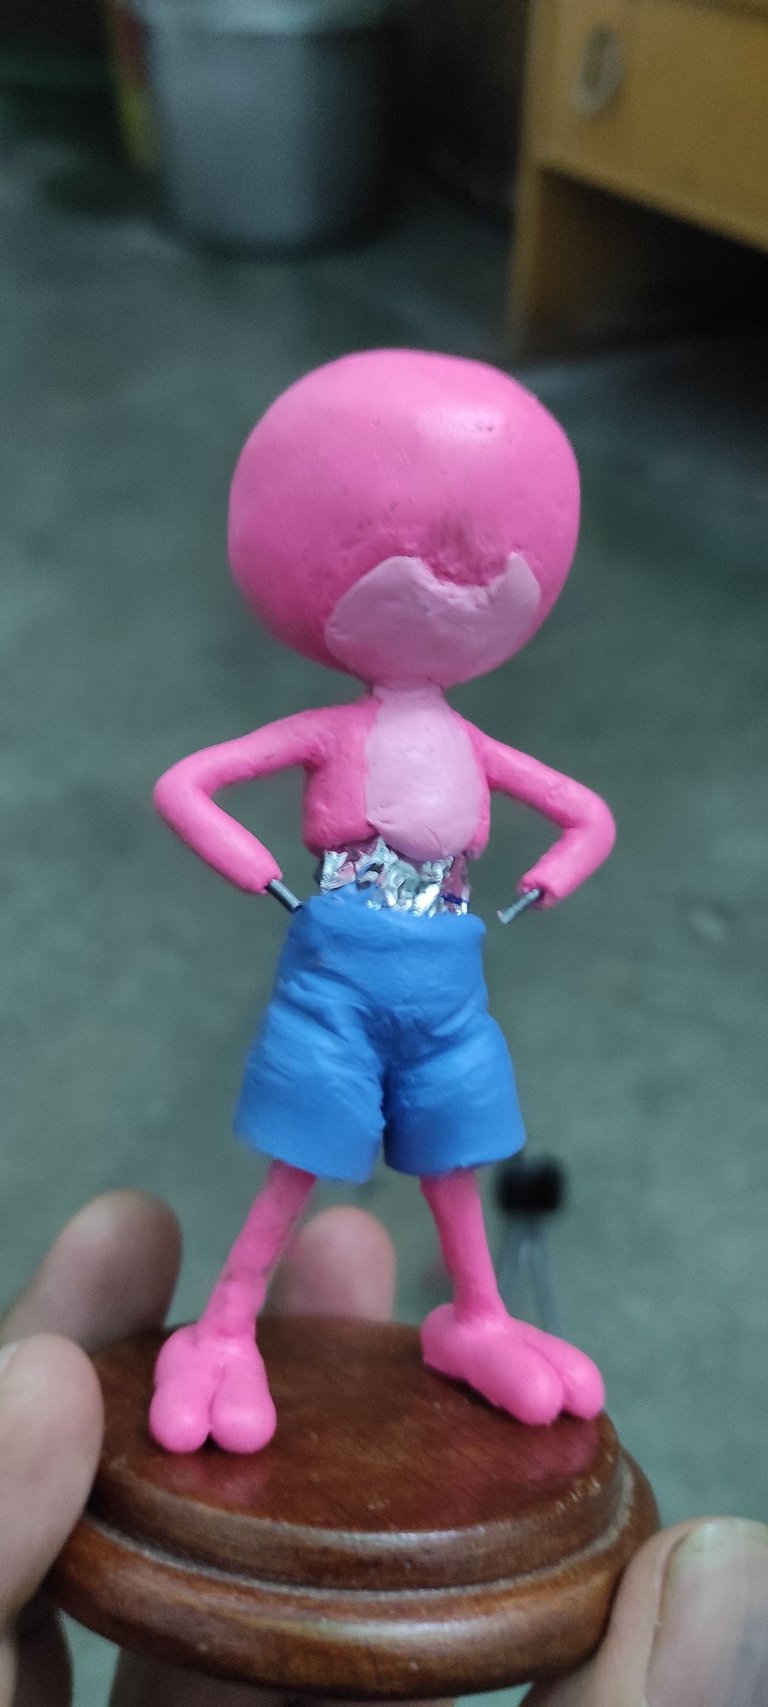
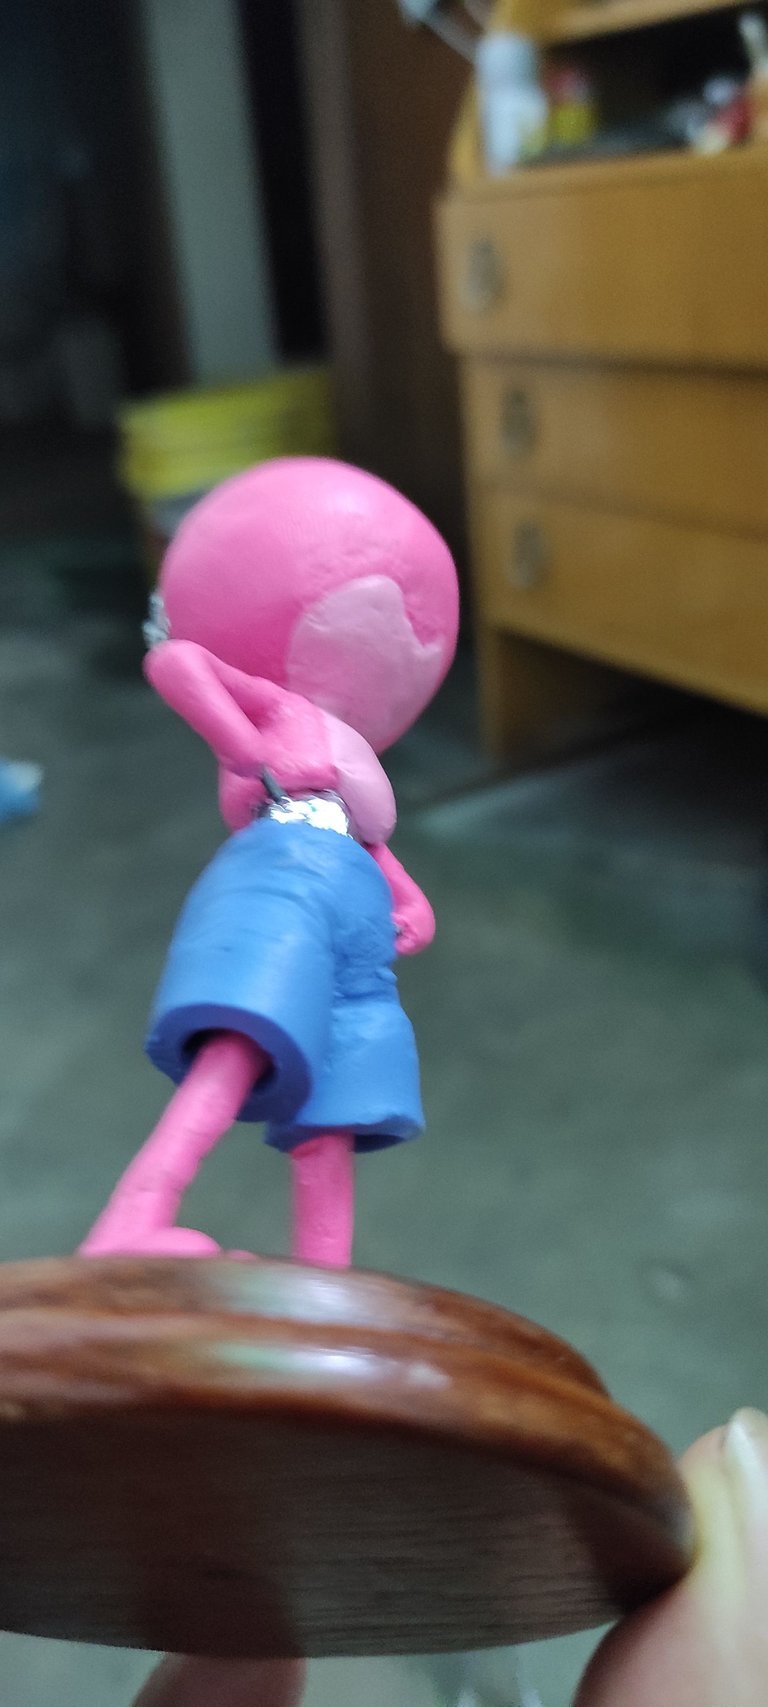
With the wooden stick pressing the crotch area I made several folds of fabric.
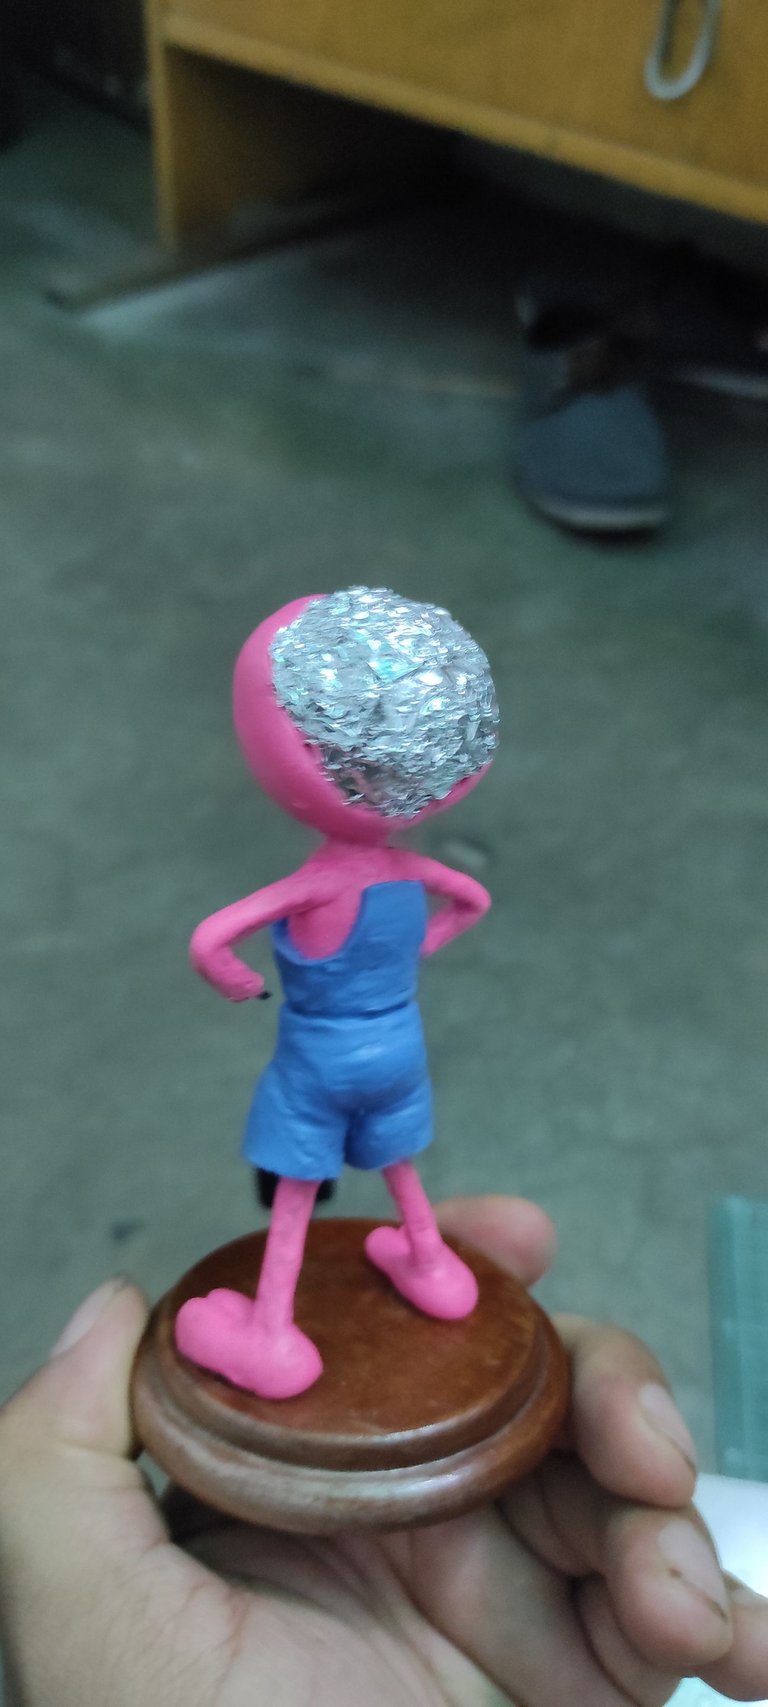
Polly wears a Coverall, so I covered the upper part of her torso with more blue clay in the shape of this garment.
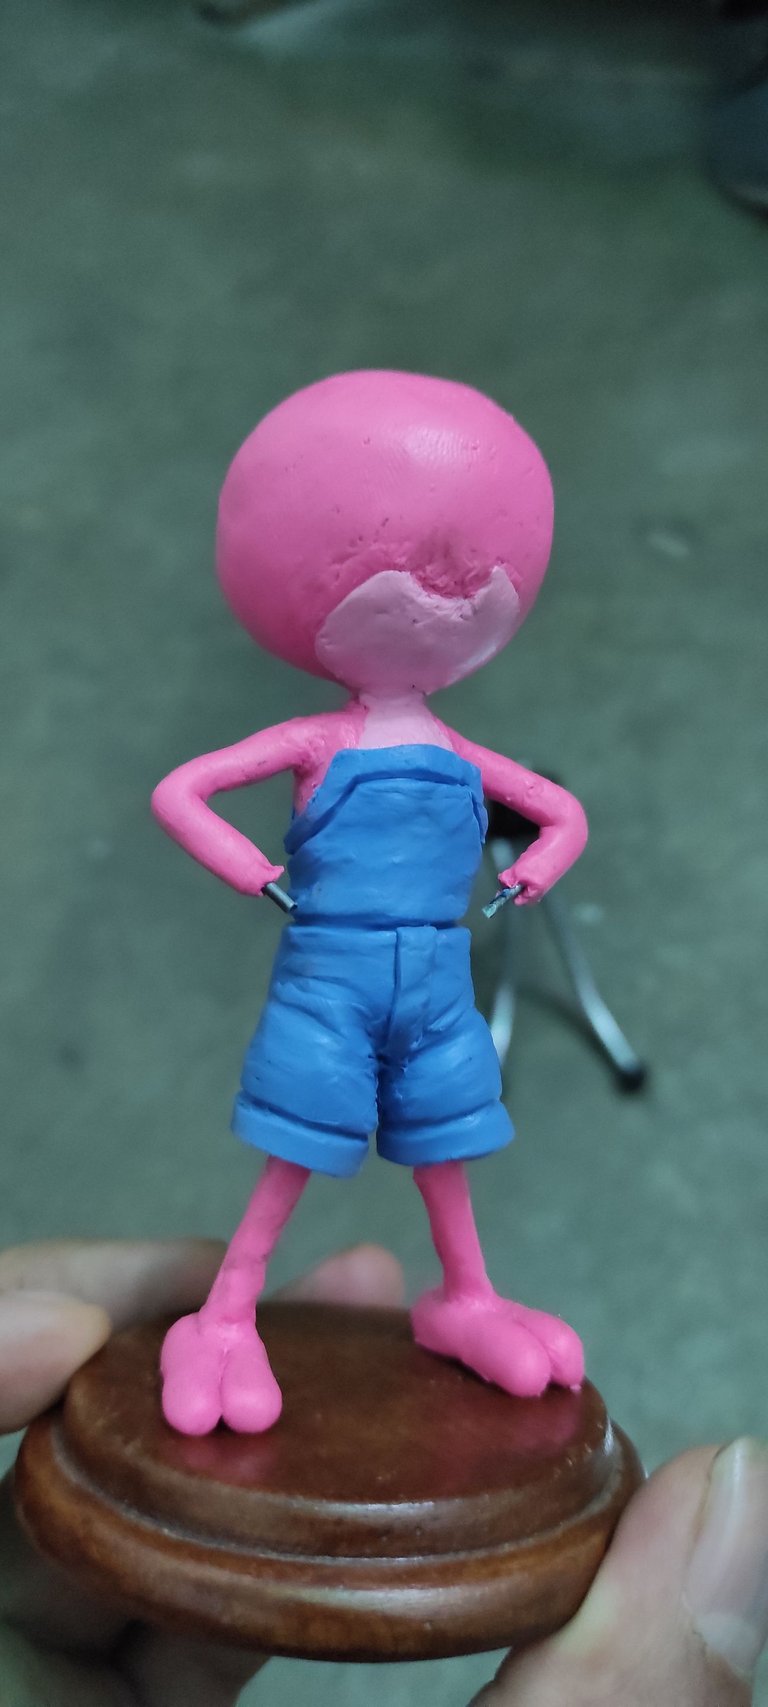
I take advantage and make the seam lines of the garment.
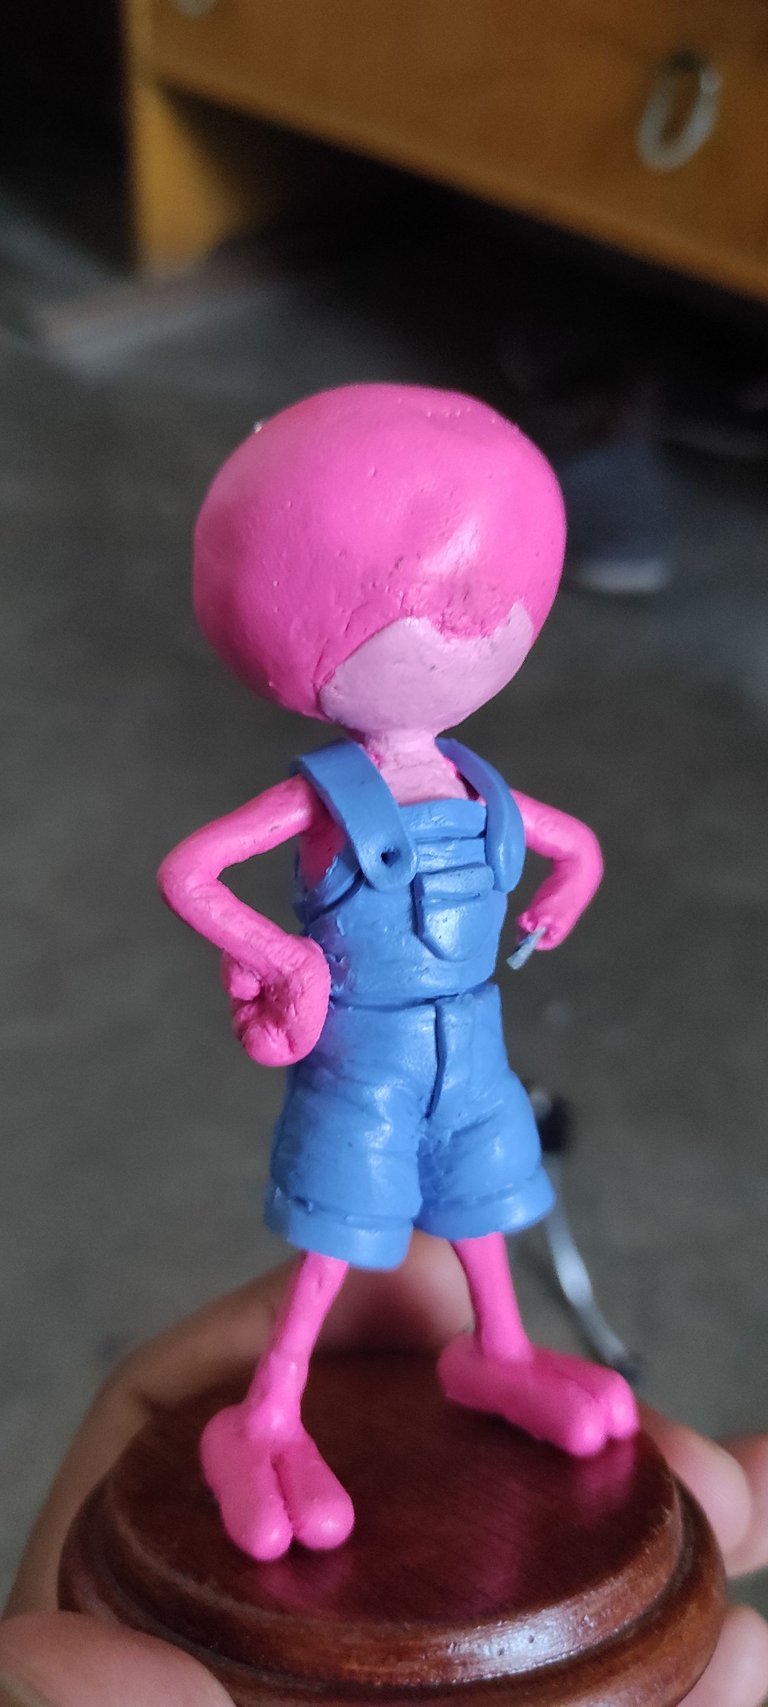
With blue plasticine, I make both the straps of the overalls and the pocket on the chest.
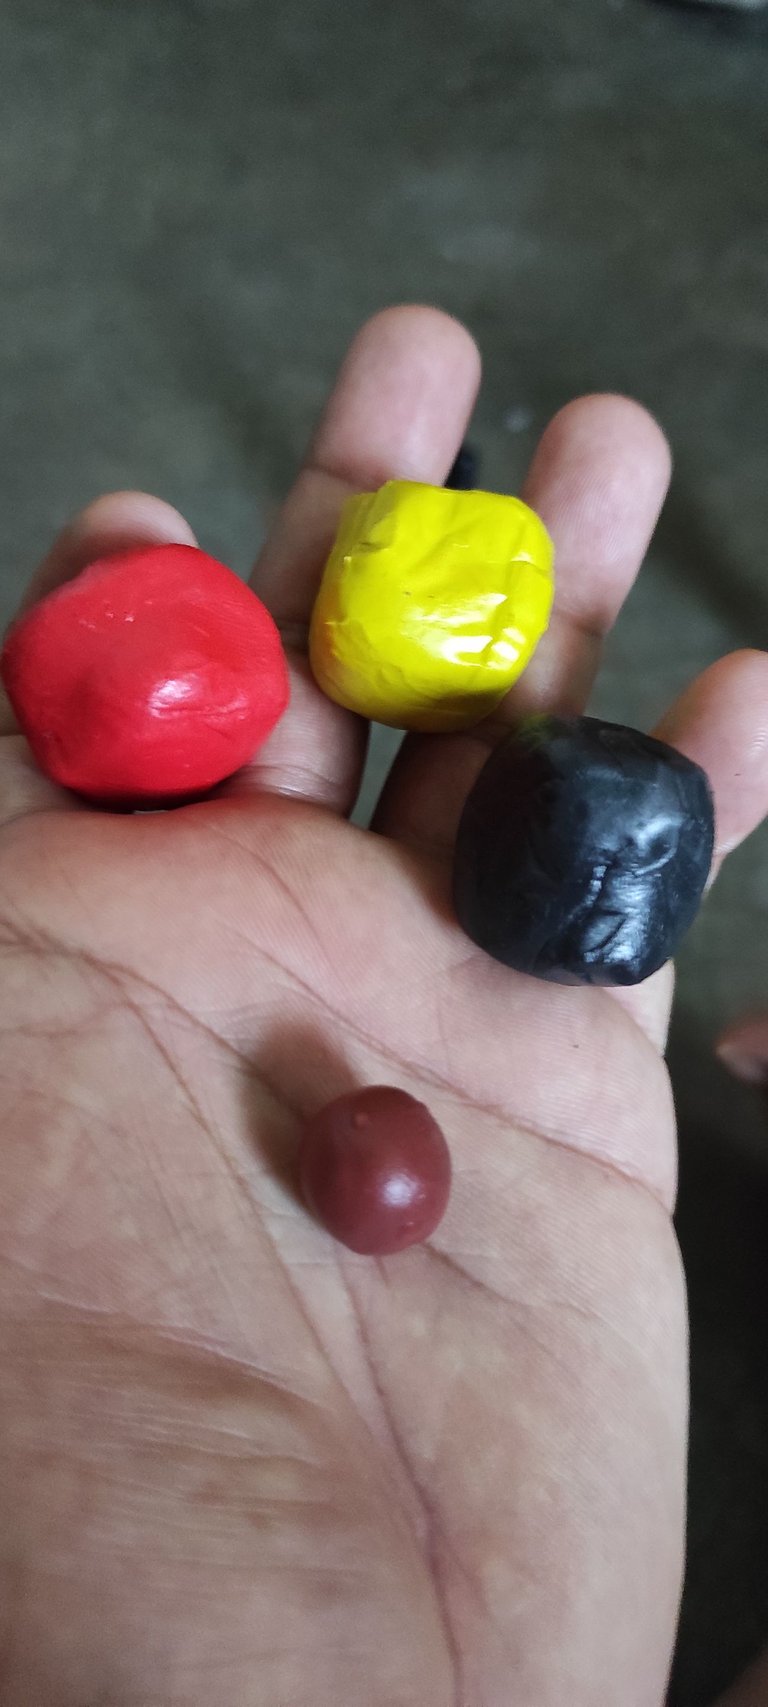
She has a brown glove on her left hand, as the plasticine package I bought did not include brown, so I had to make it by mixing 3 plasticines.
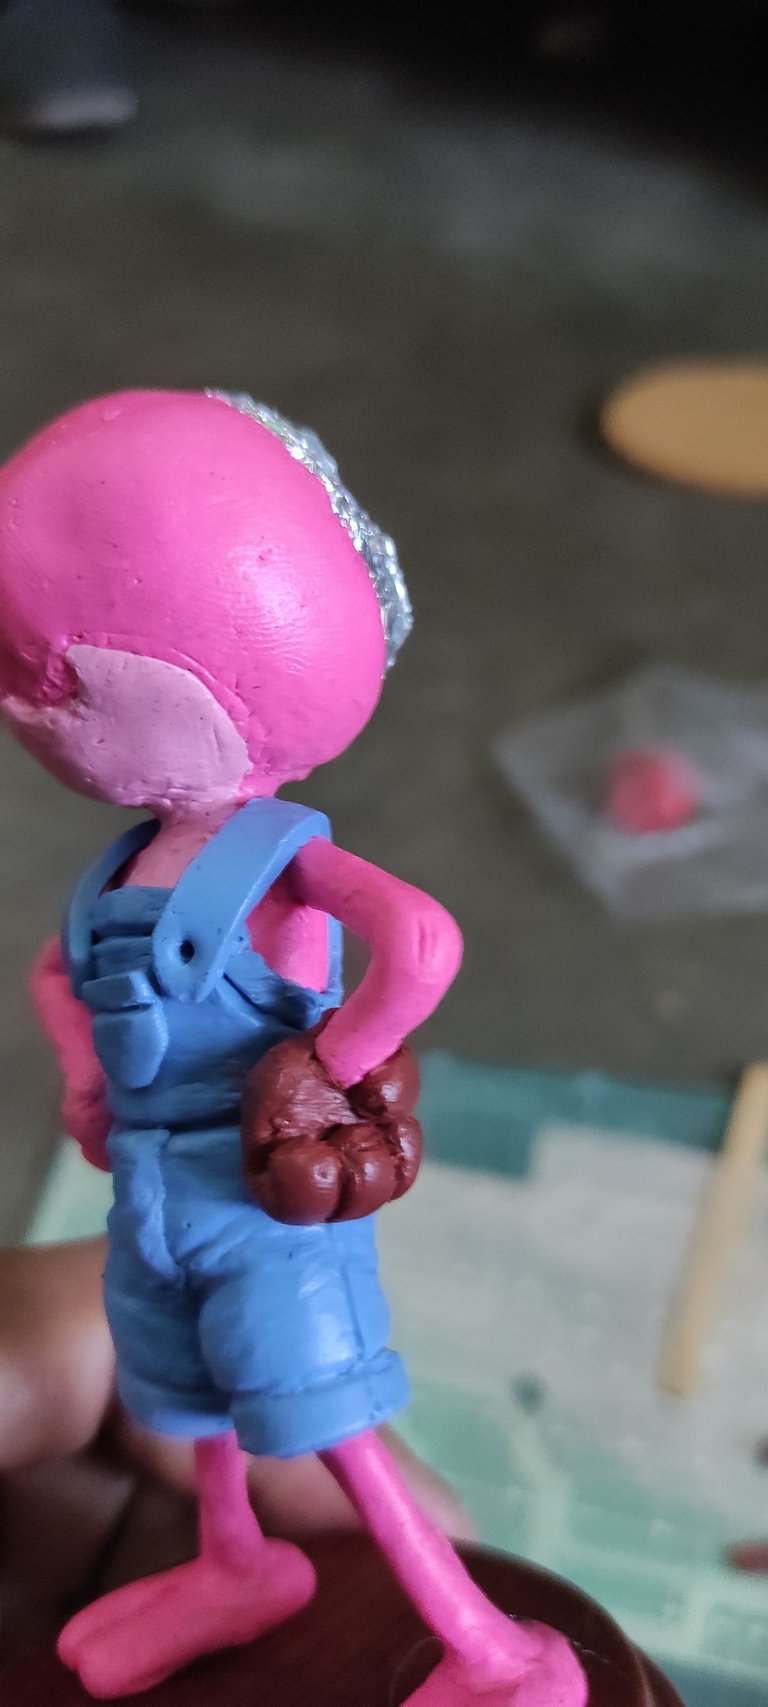
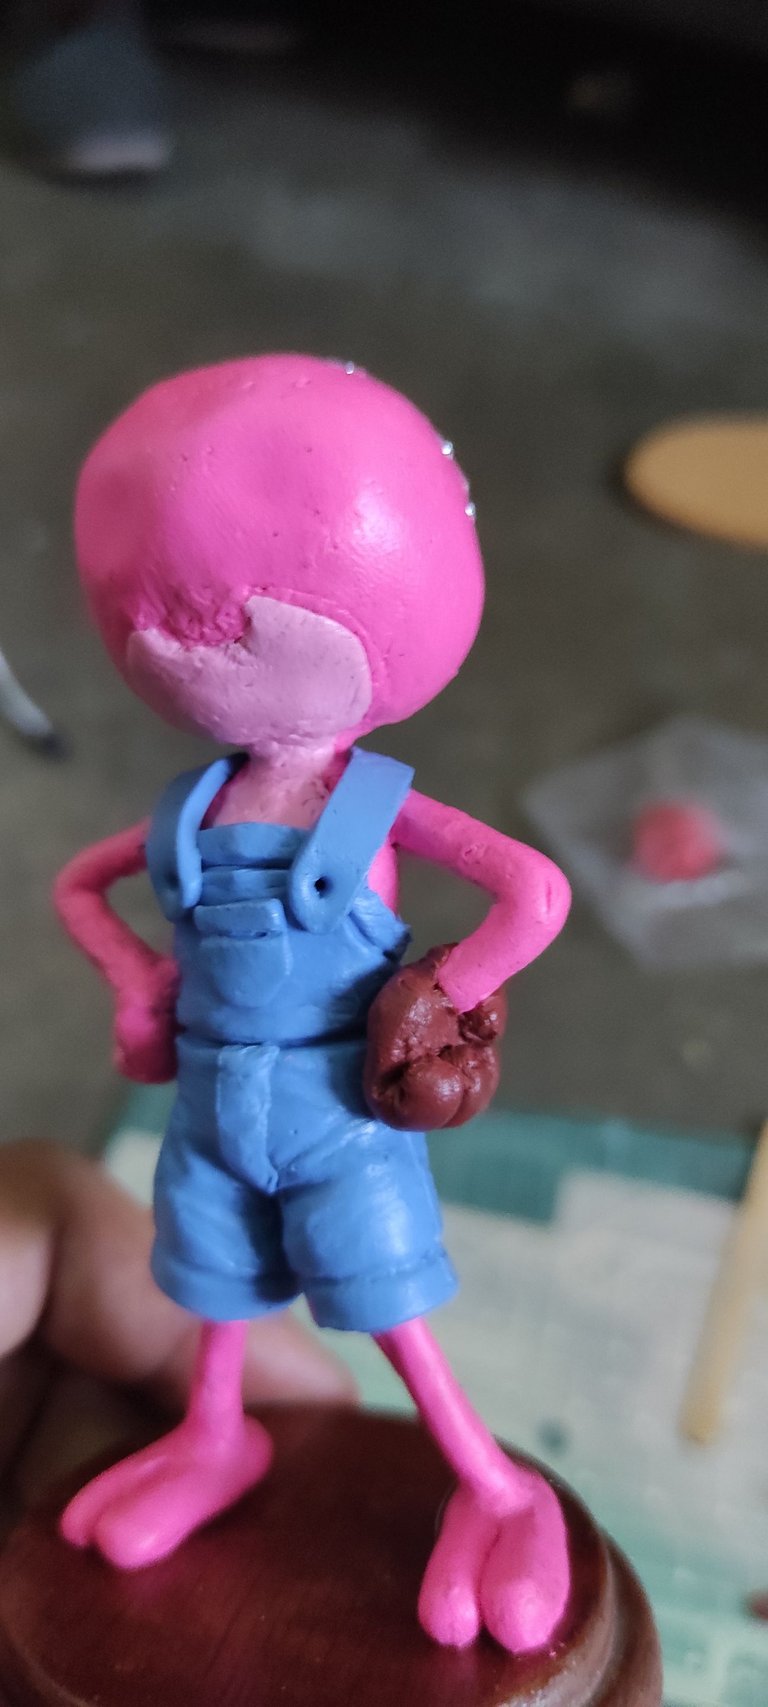
As the left hand wears a glove I had to make it bigger than the right hand, both hands are fists I made them by carving with a wooden stick
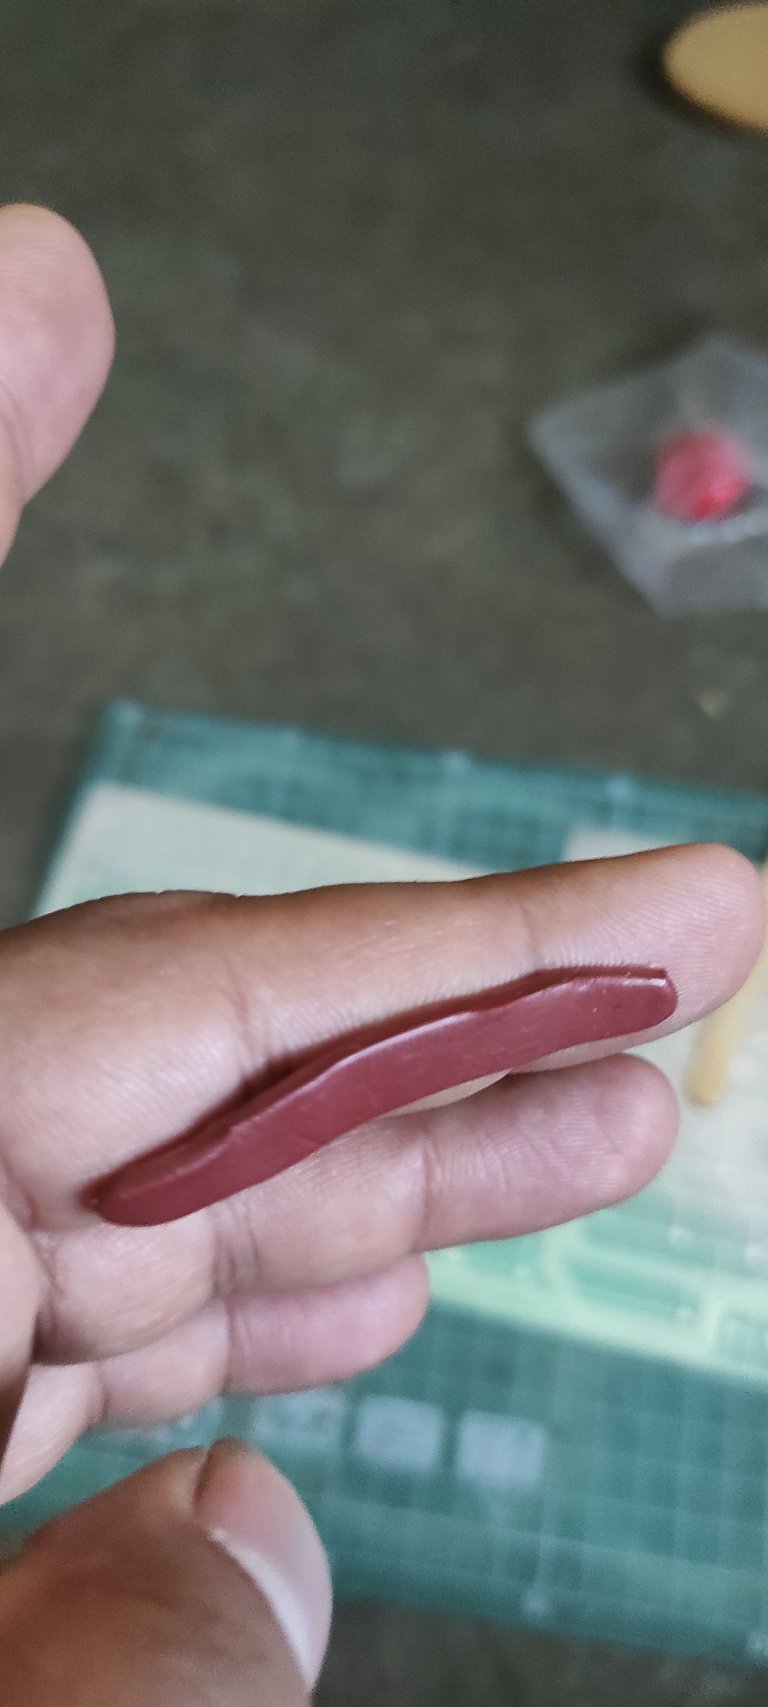
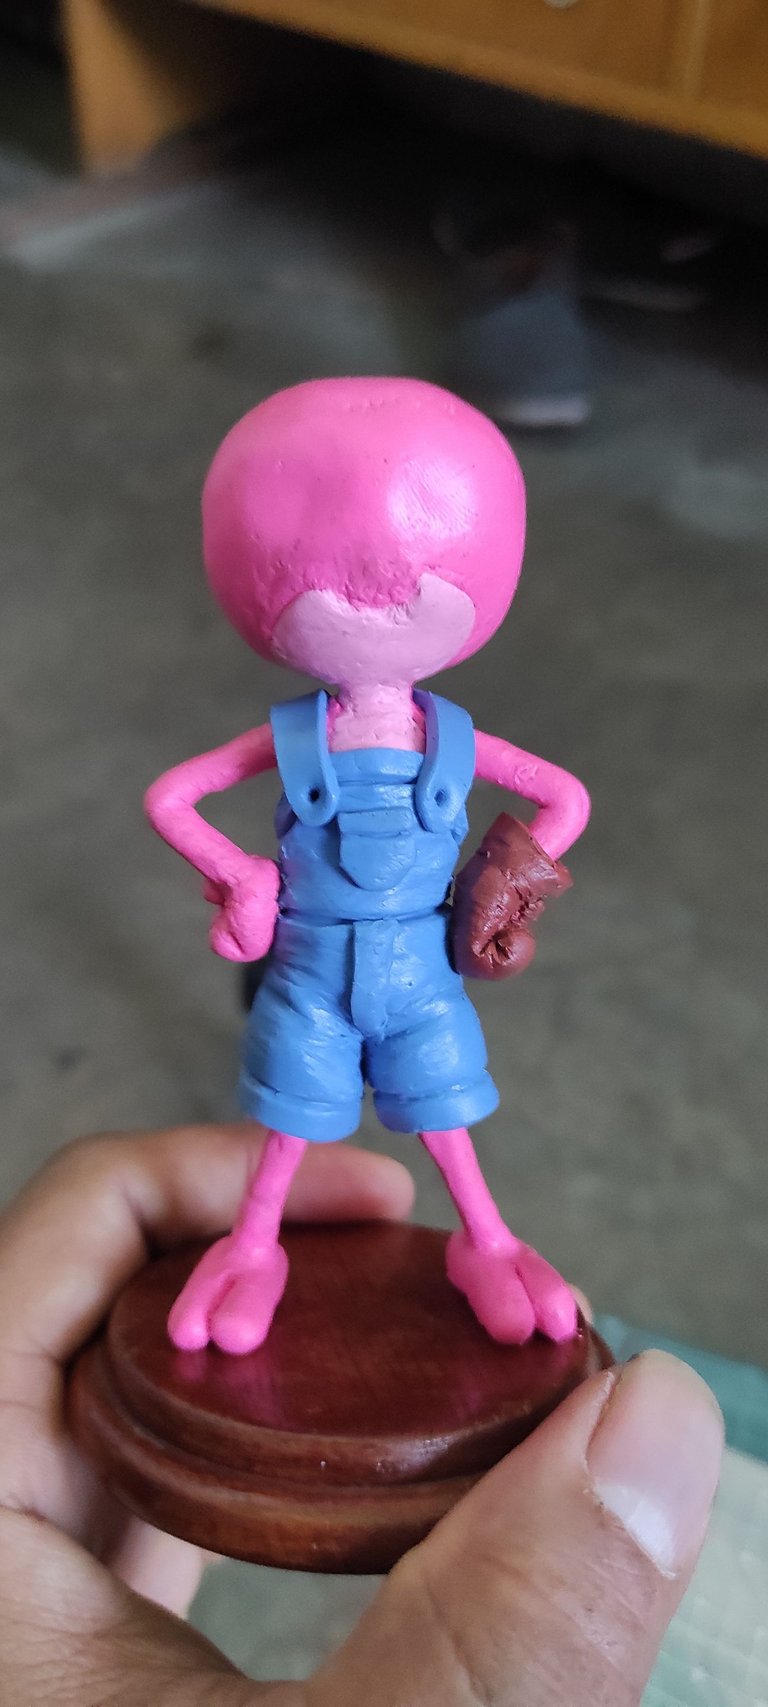
With what is left of the brown plasticine I make a thin strip, to complete the shape of the glove, and I put it in the same way that I did with the pants of the overalls, as it is a delicate piece to join it, I did it with wooden sticks.
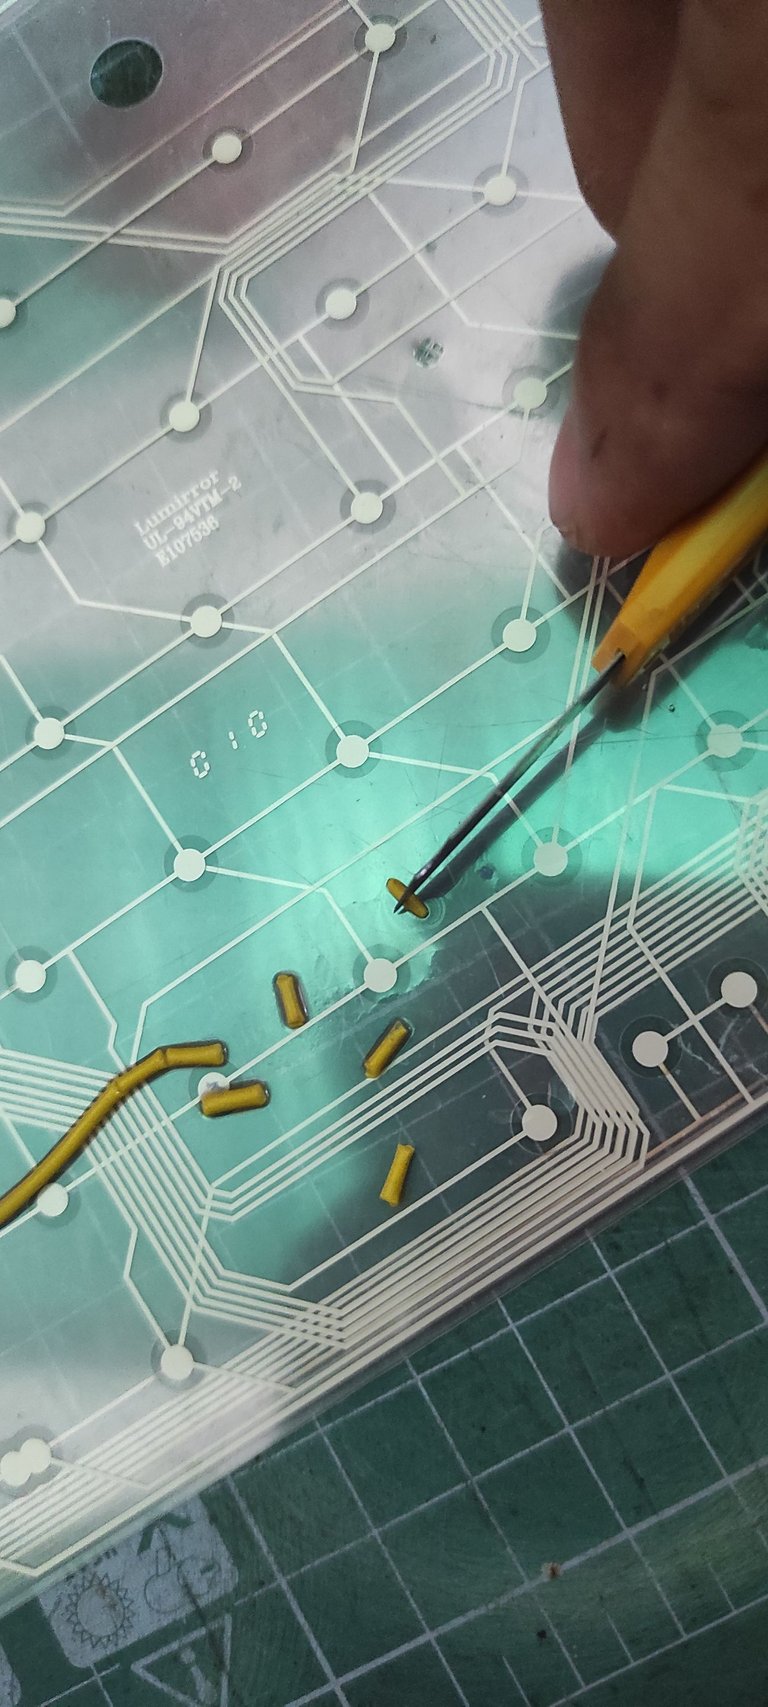
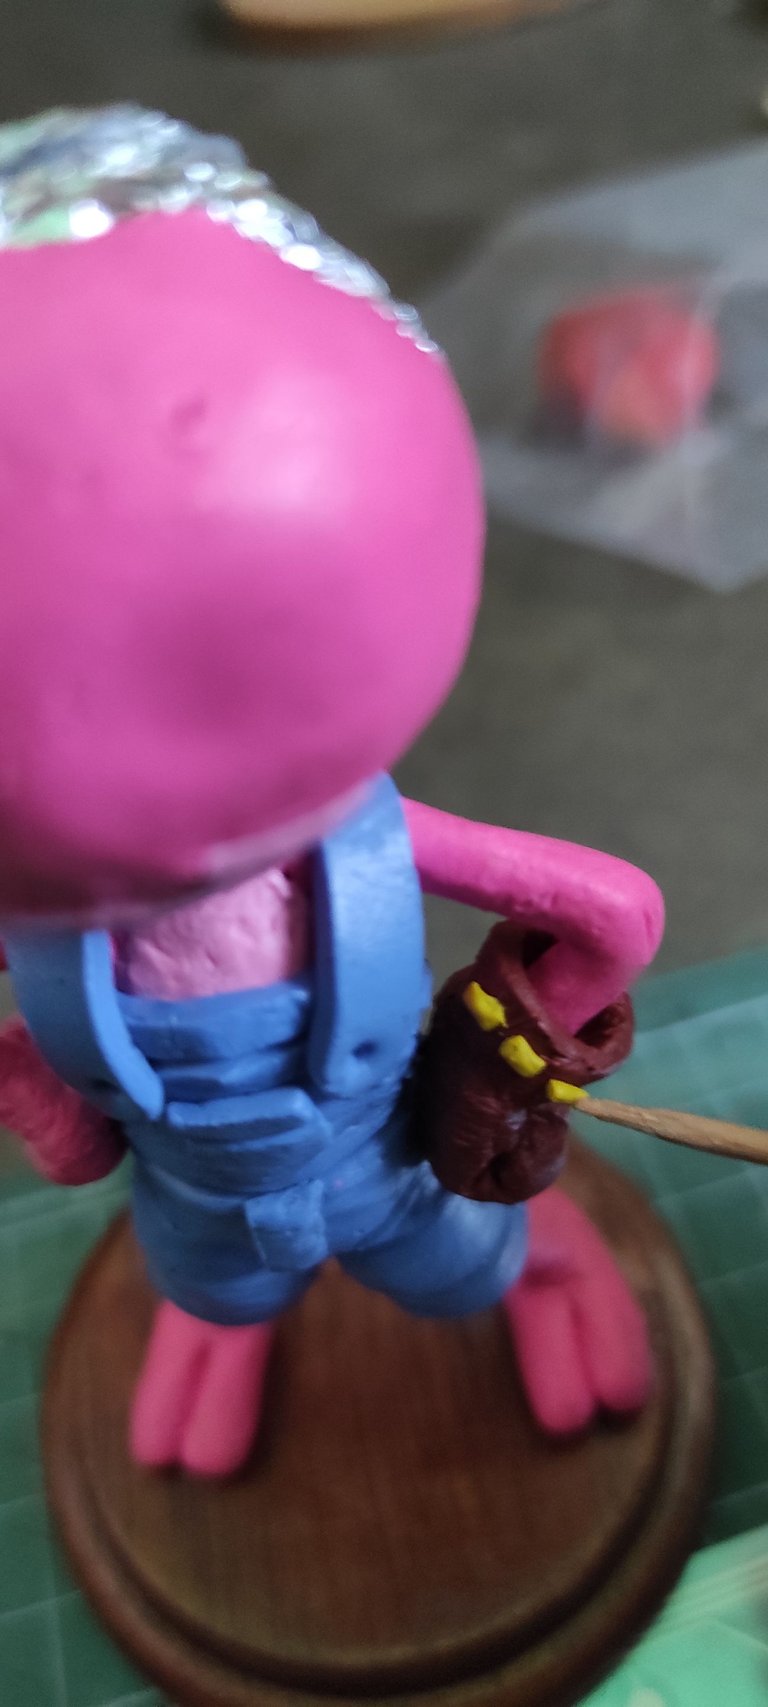
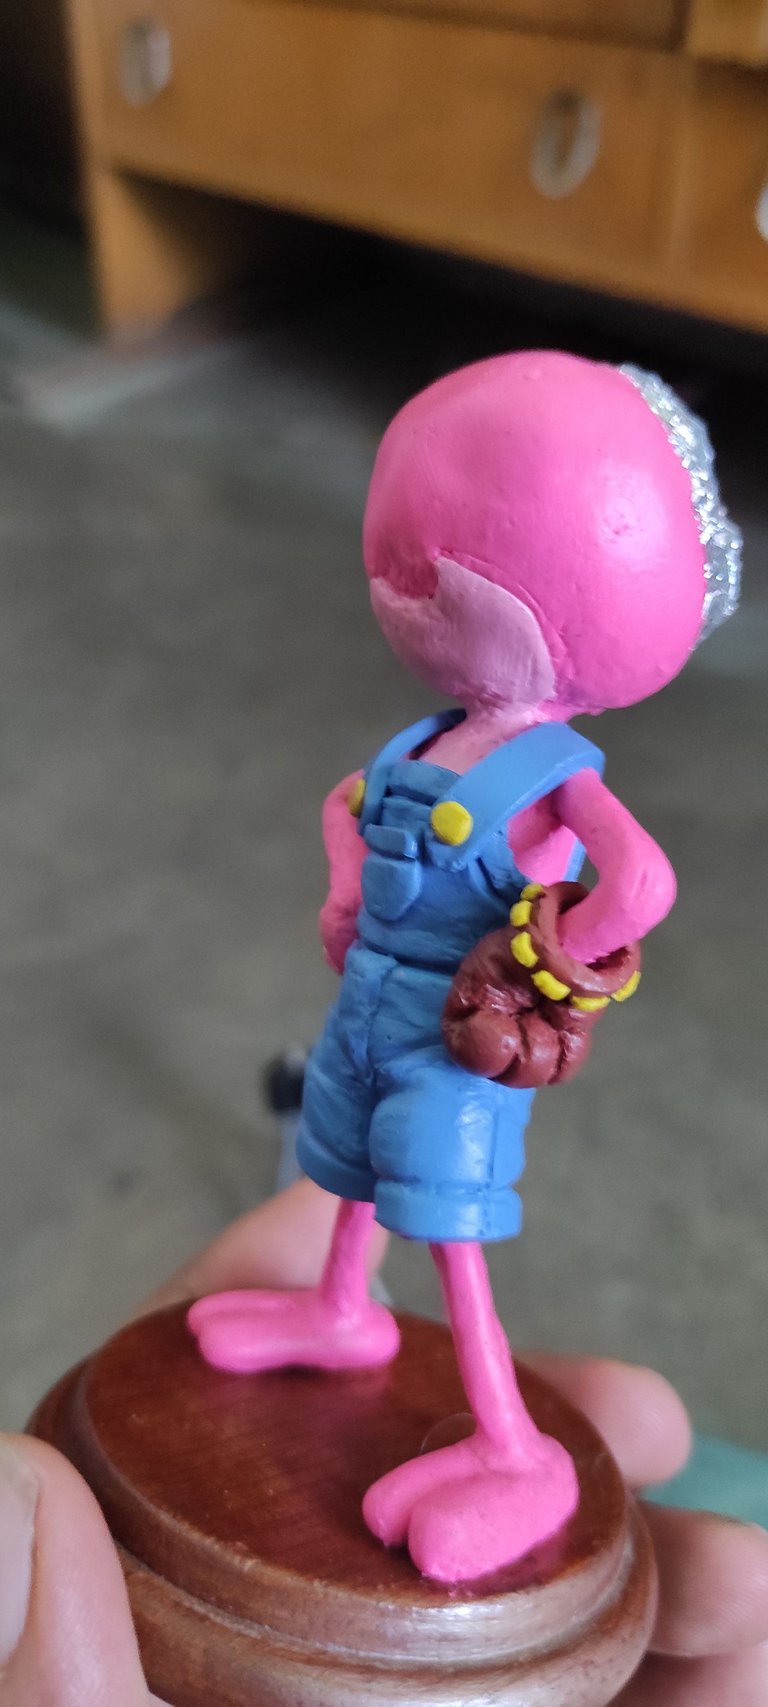
With a very thin strip of yellow plasticine, I cut it into equal segments, which I joined at the end of the glove to make the detail of the seam, also with that same plasticine I made the buttons of the overalls
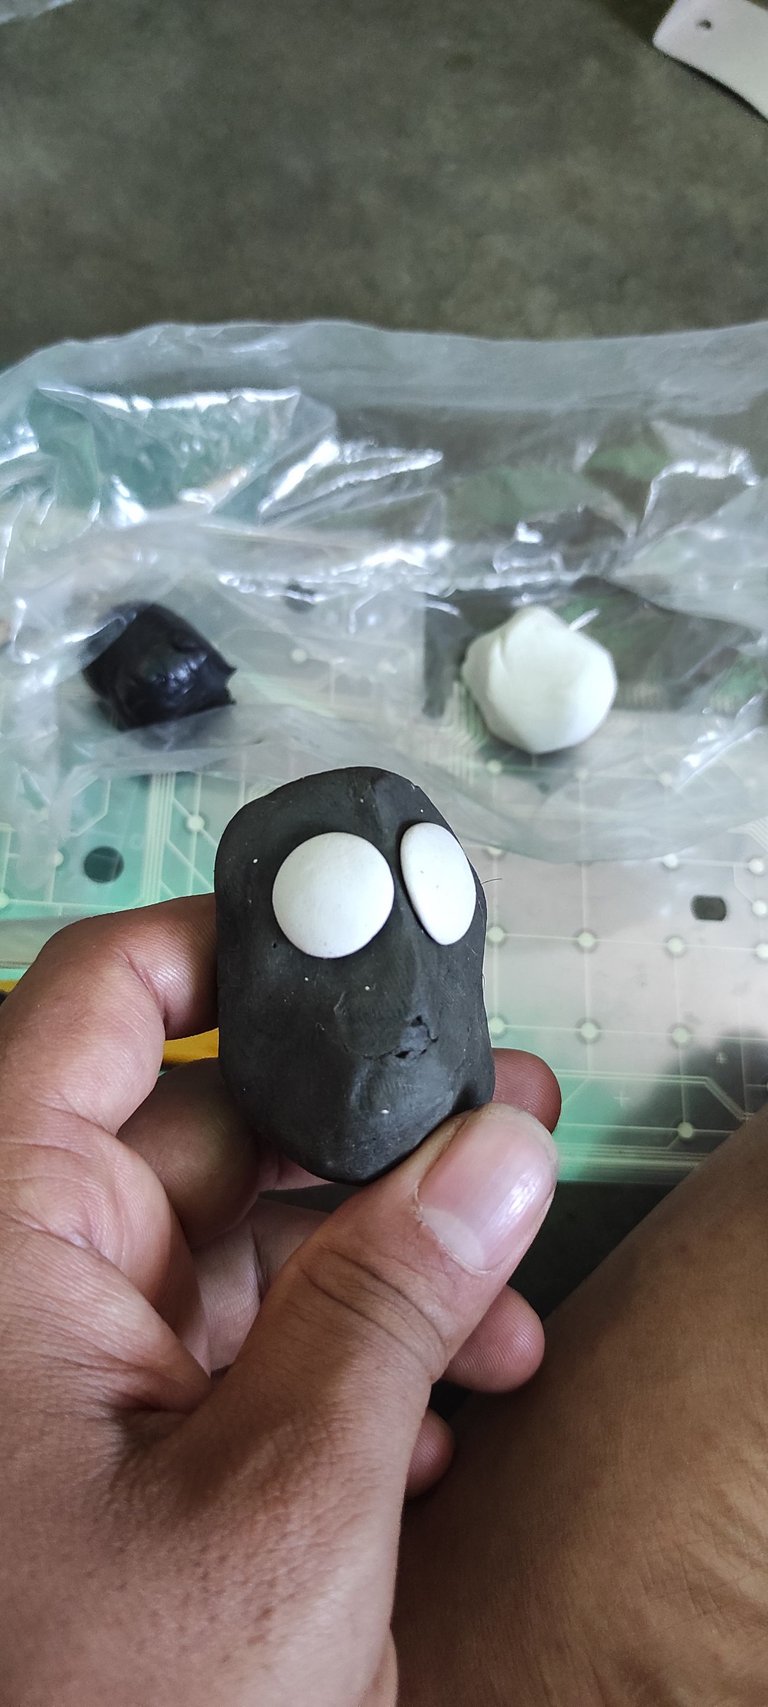
In a piece of hard plasticine that I have, I used it as a temporary base to shape her big eyes, when I had them the desired size, I applied two layers of transparent nail polish.
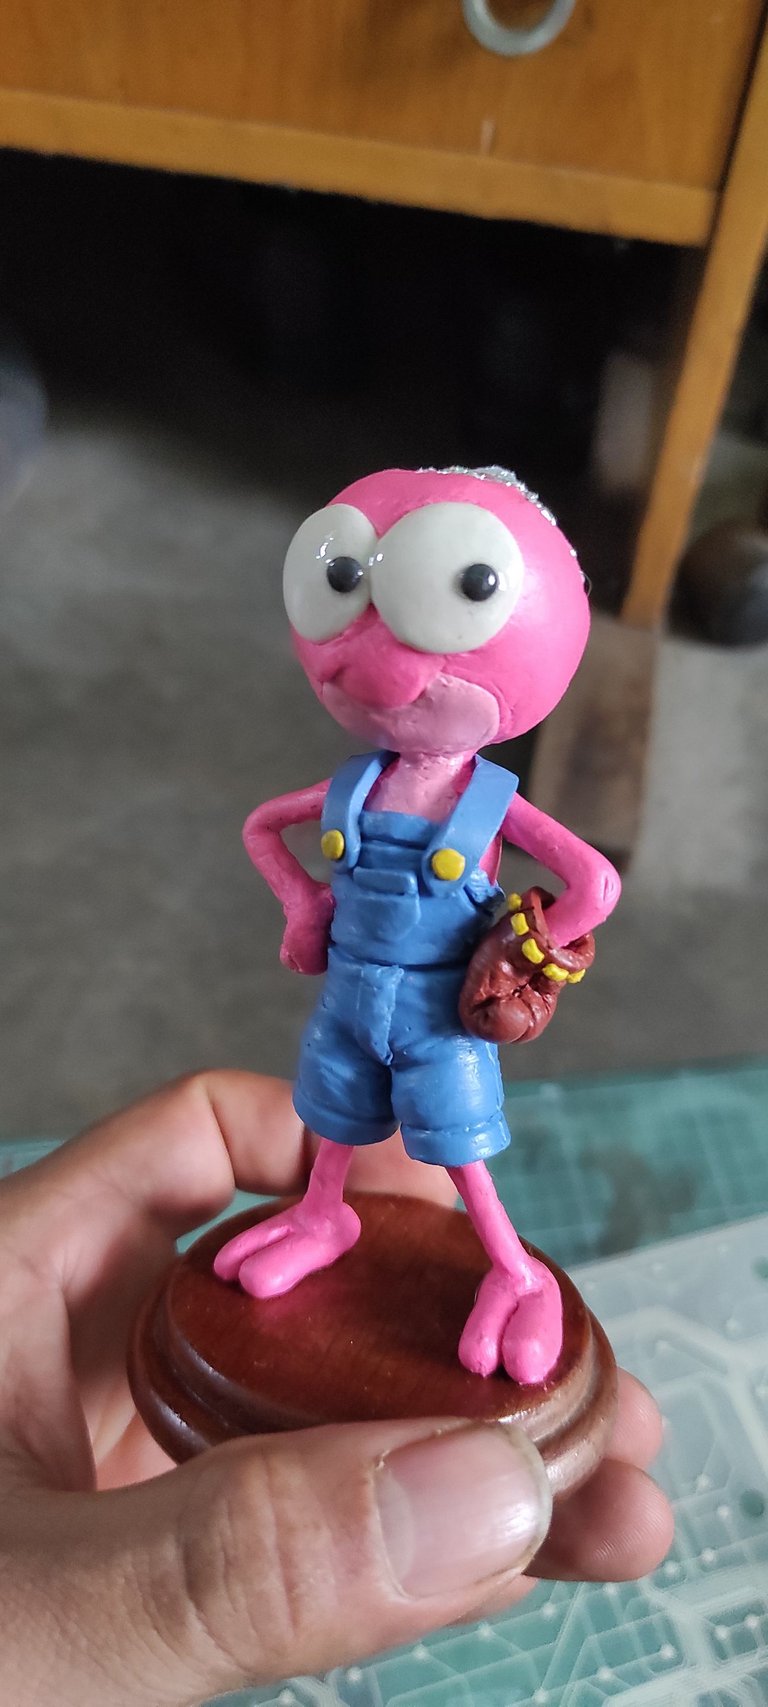
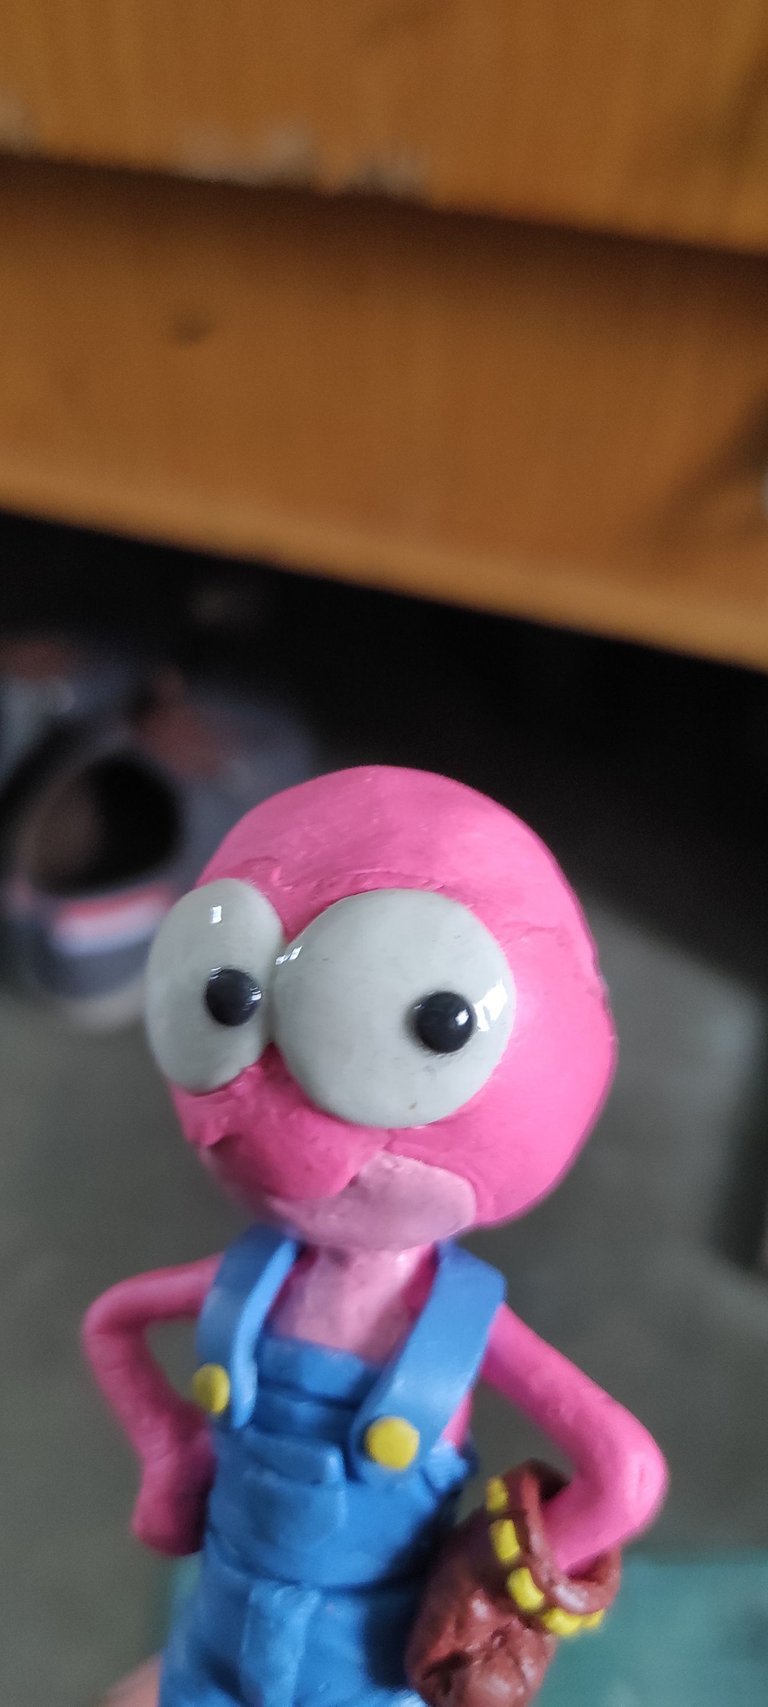
When I put the eyes on the head, with two pinches of black plasticine I made the pupils, which I also had to apply nail polish, I also took advantage of a little pink plasticine to highlight her mouth
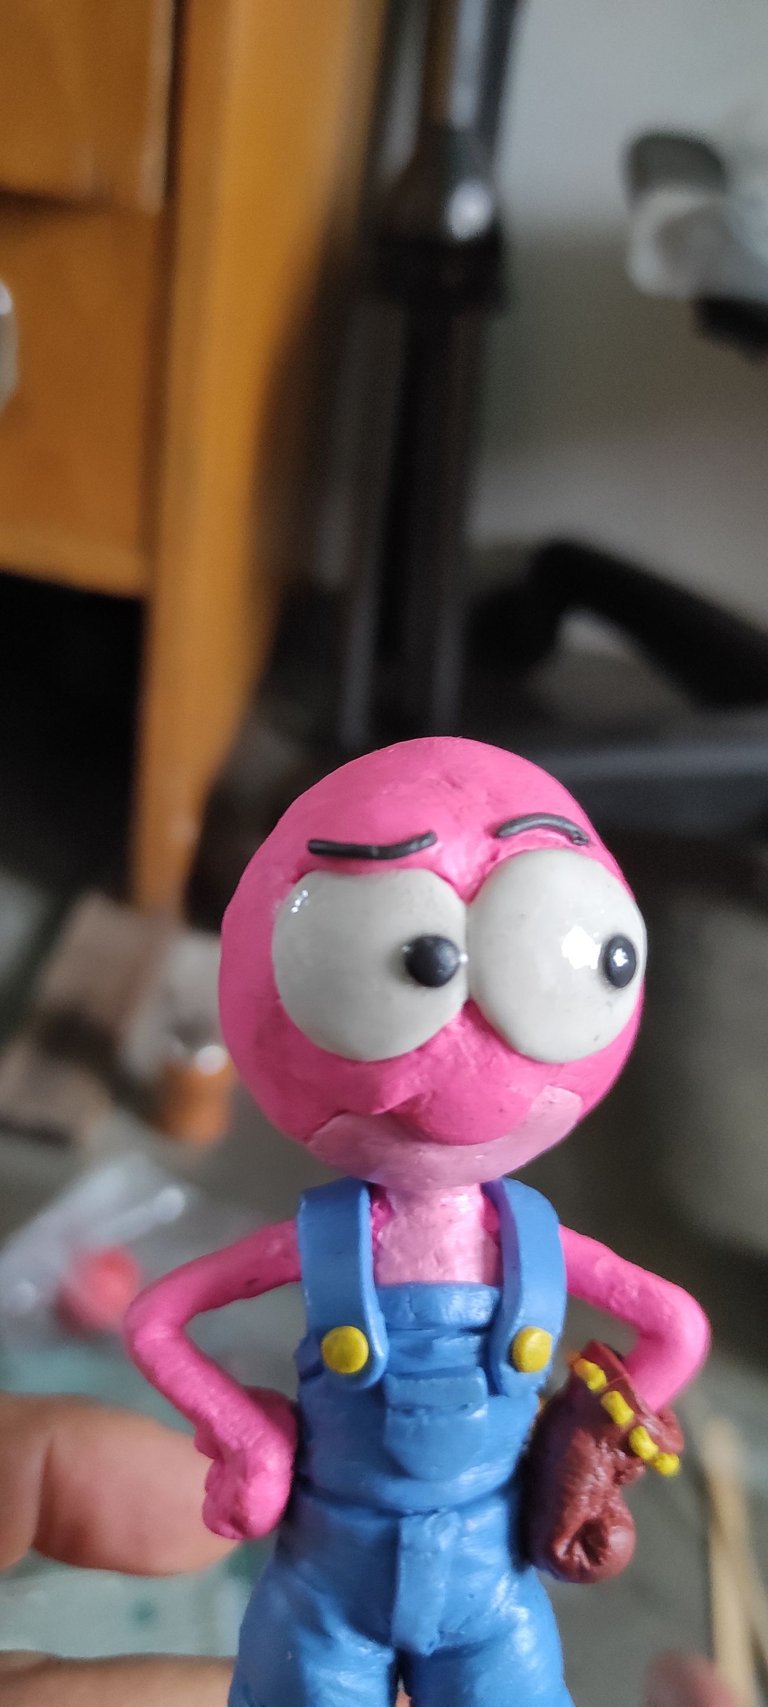
Add a light portion of pink plasticine on top of the right eye, and with very thin strips of black plasticine, like a thread, make her eyebrows and finish defining the expression of her face.
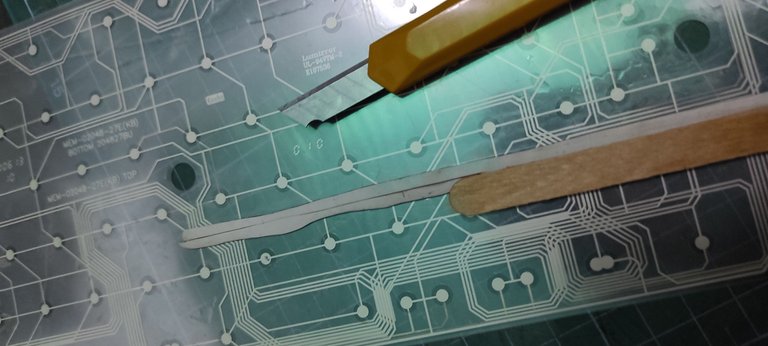
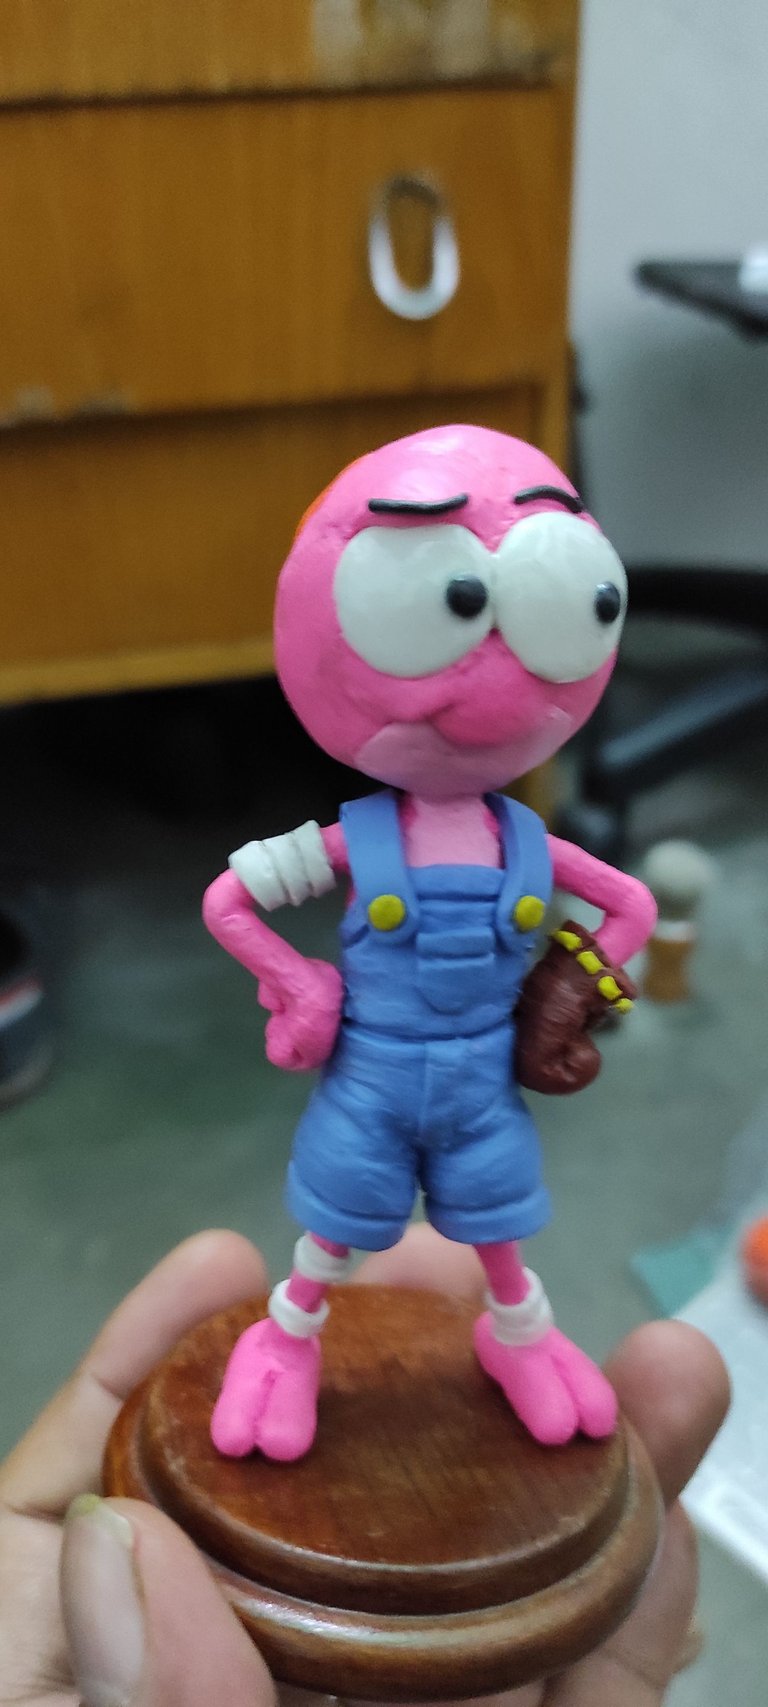
With long and thin strips of white plasticine, make the bandage details that she has on her right arm and both legs.
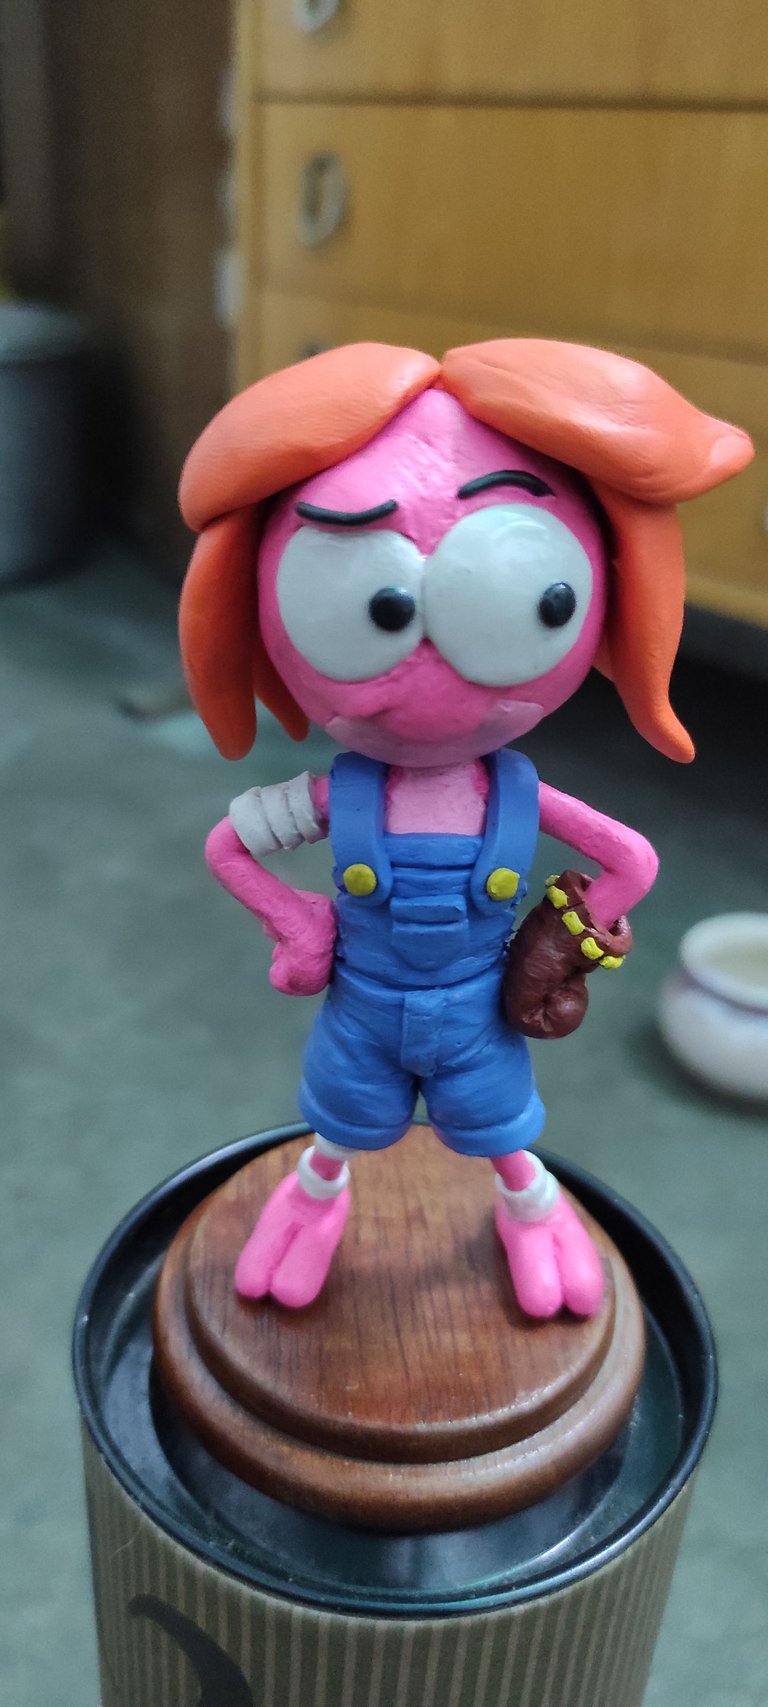
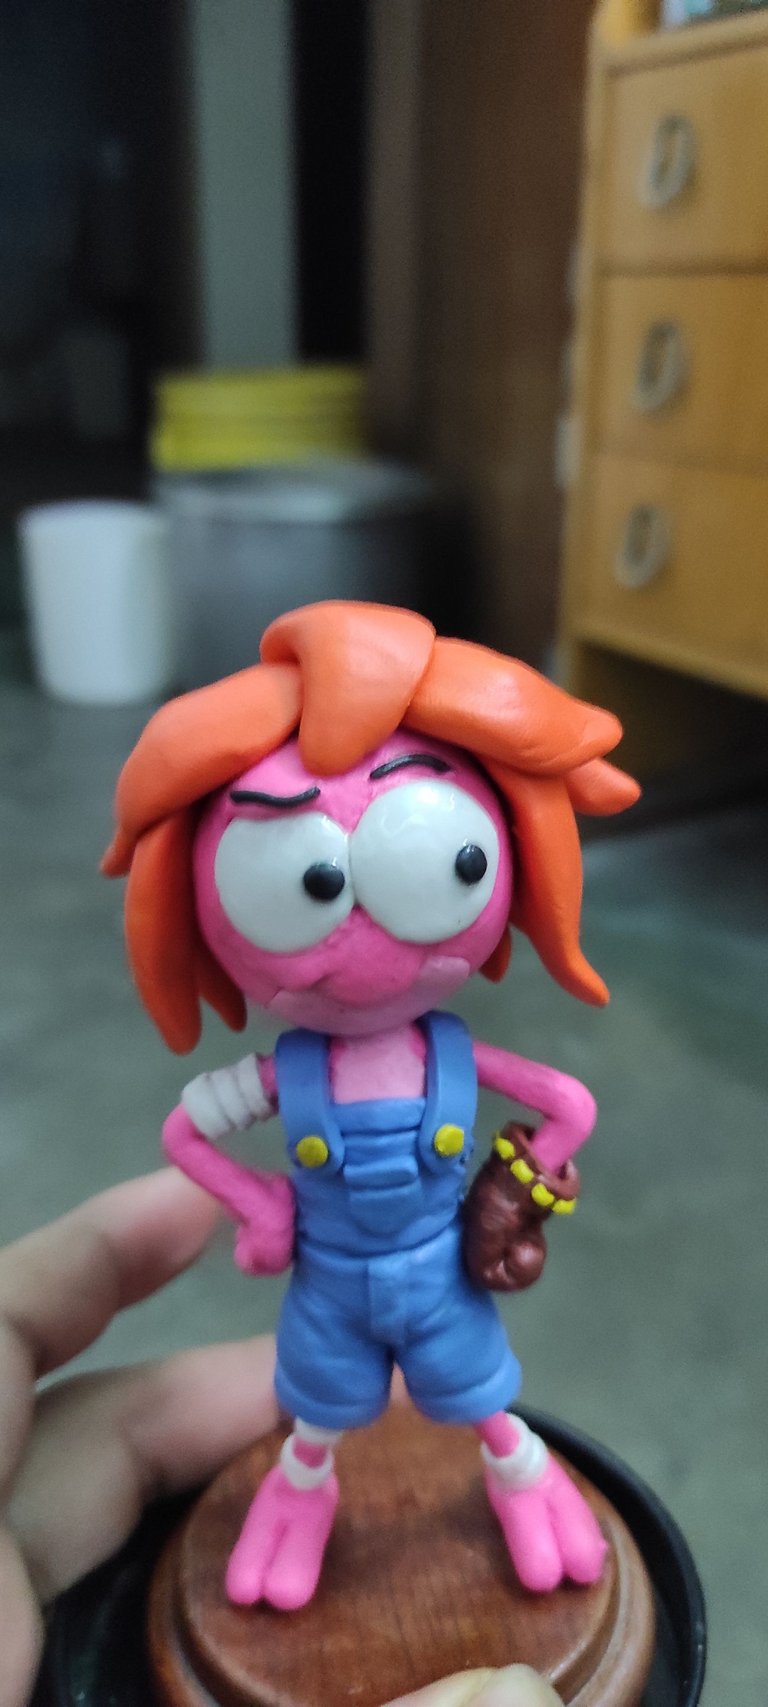
It's time to make her hair with it, I used orange clay, but first I had to find the correct shape for it, so I used several moon-shaped pieces to get the shape of her hairstyle.
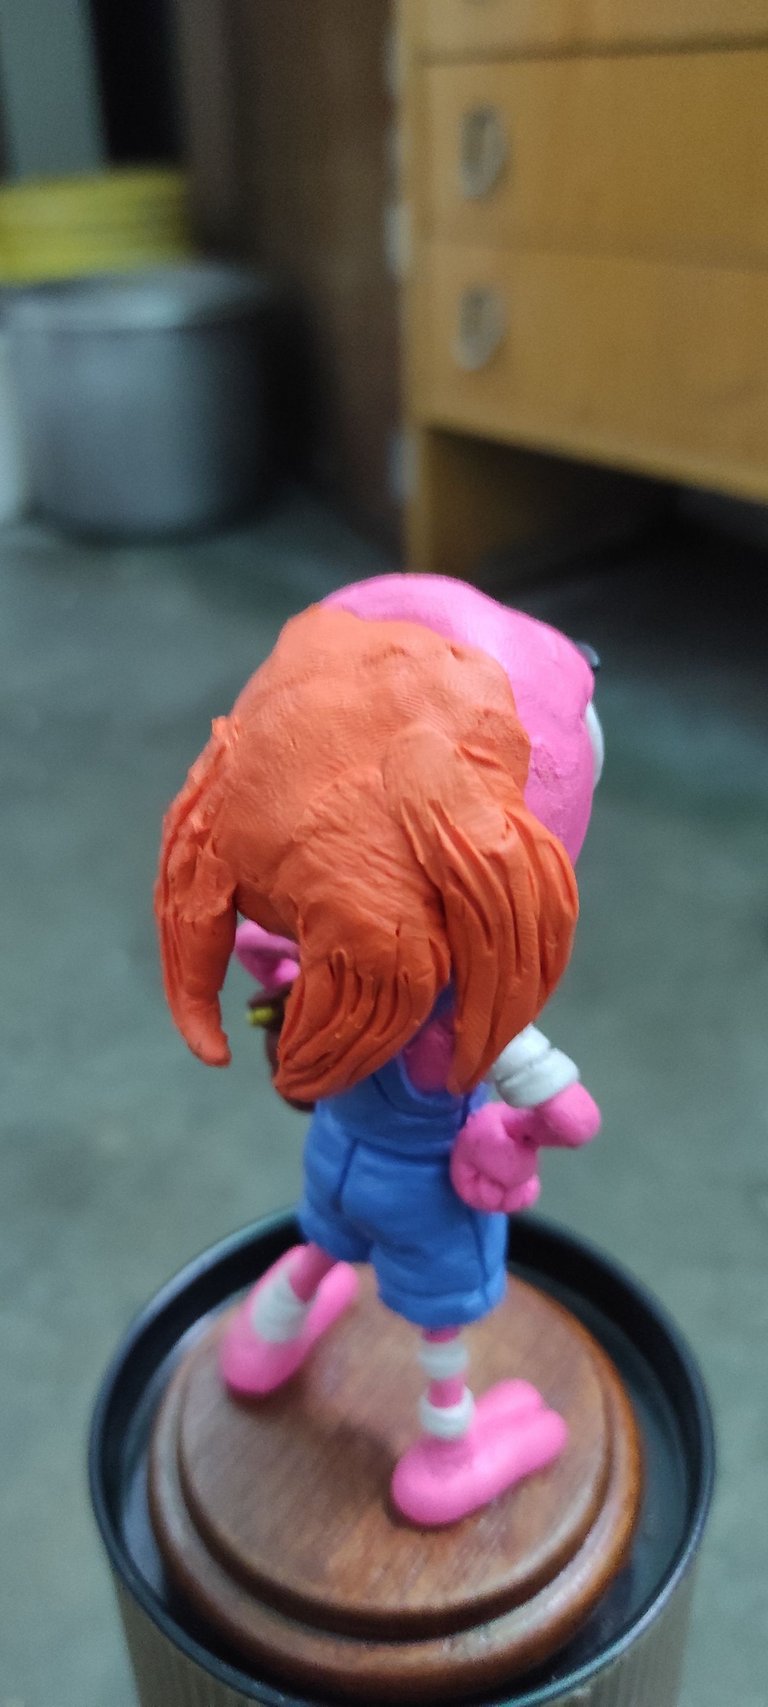

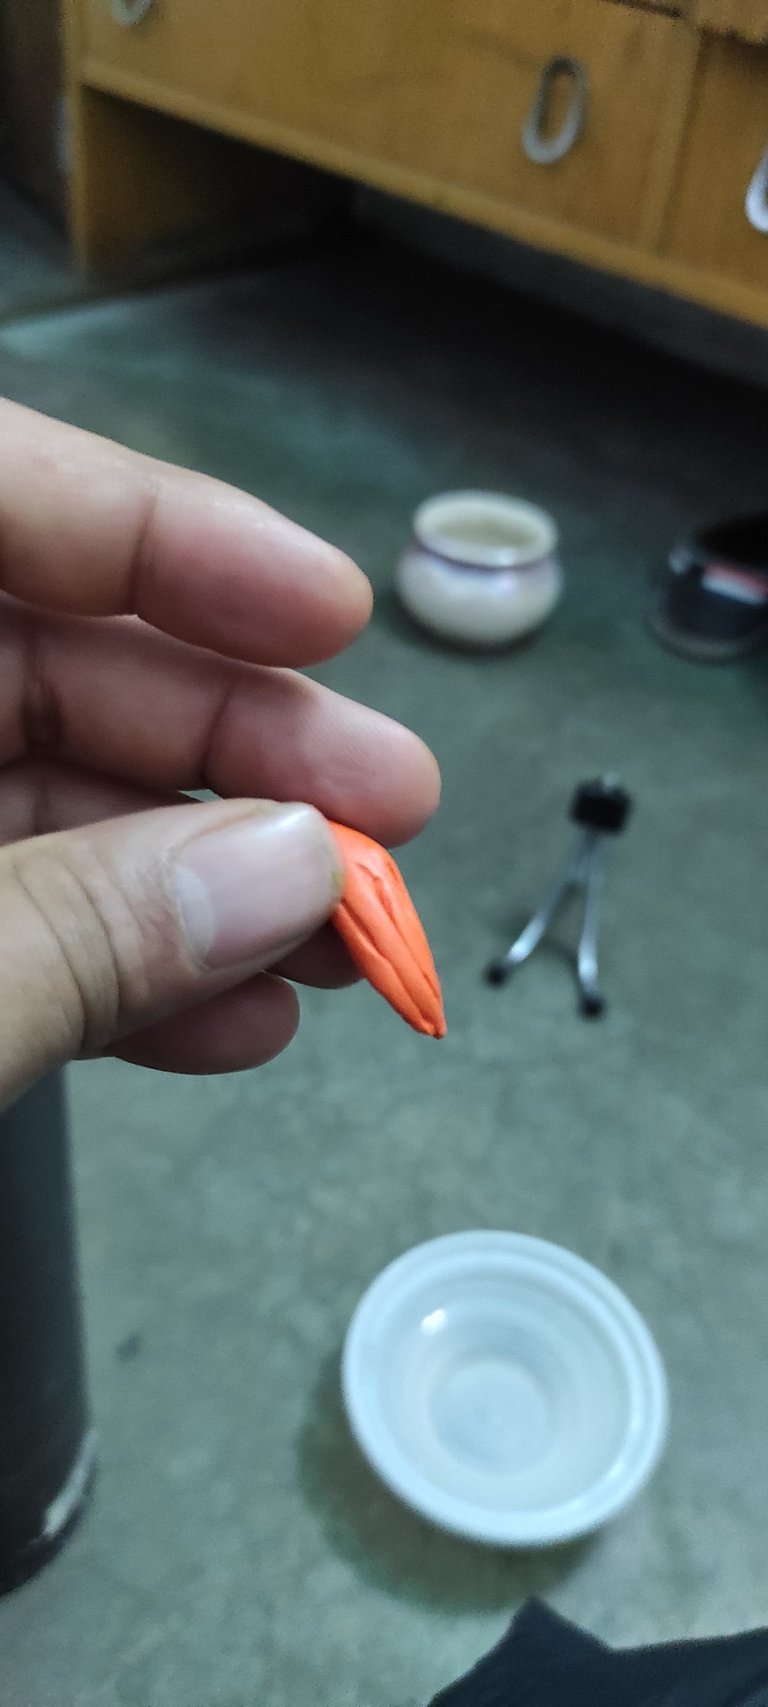
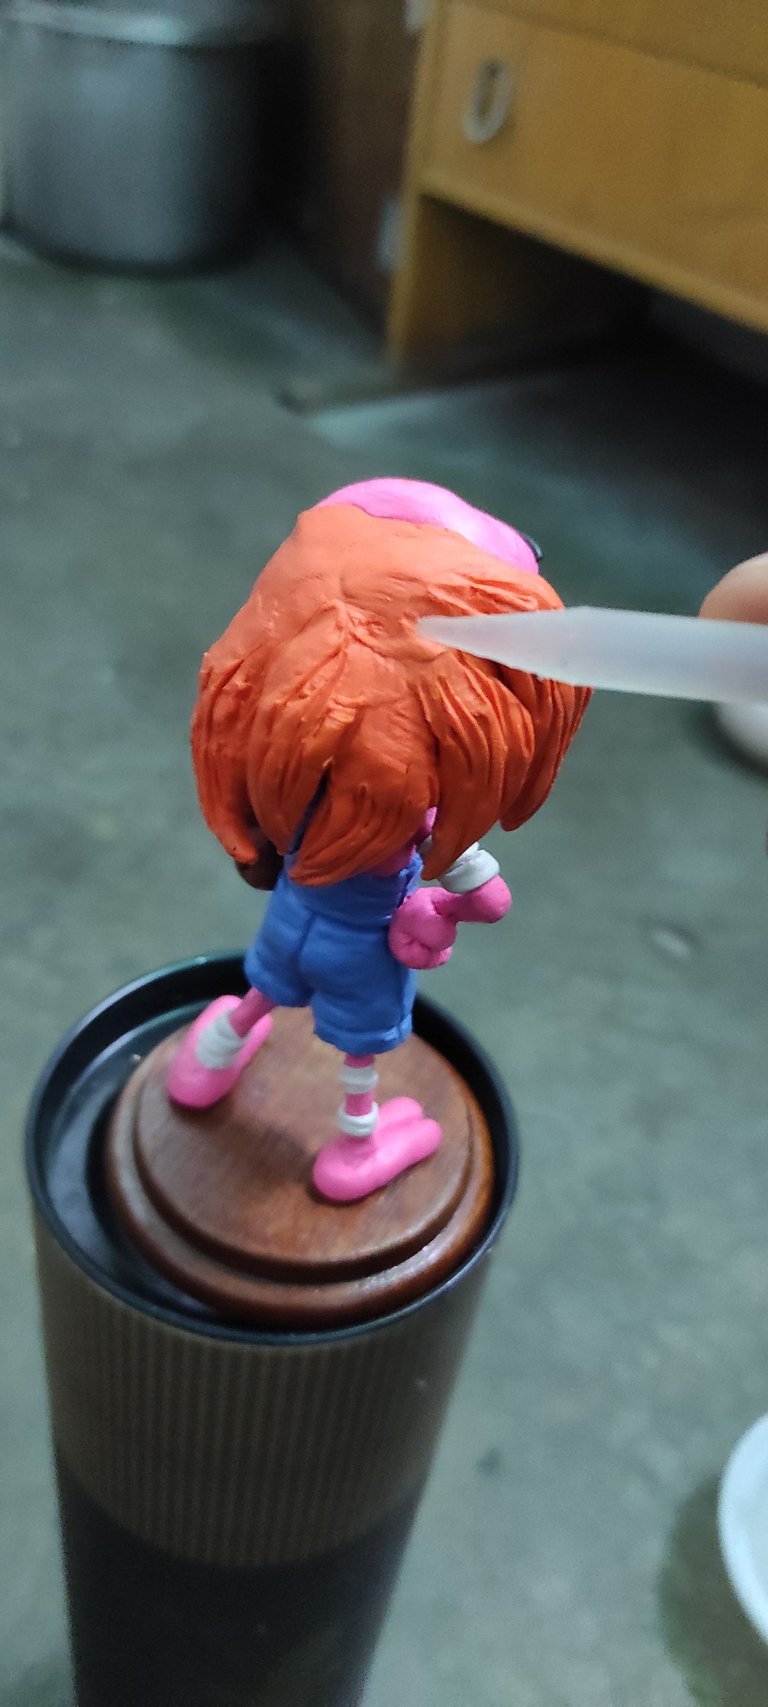
Having the shape I was looking for, I remove each piece, but remembering its position on the head, I apply a texture of hair fibers to each piece using the tip of a wooden toothpick, to later join by splicing with a silicone bar to which point kick (a tip our hands generate heat which is transferred to the plasticine making it softer and more difficult to manipulate, so you have to use tools such as chopsticks to manipulate and mold)
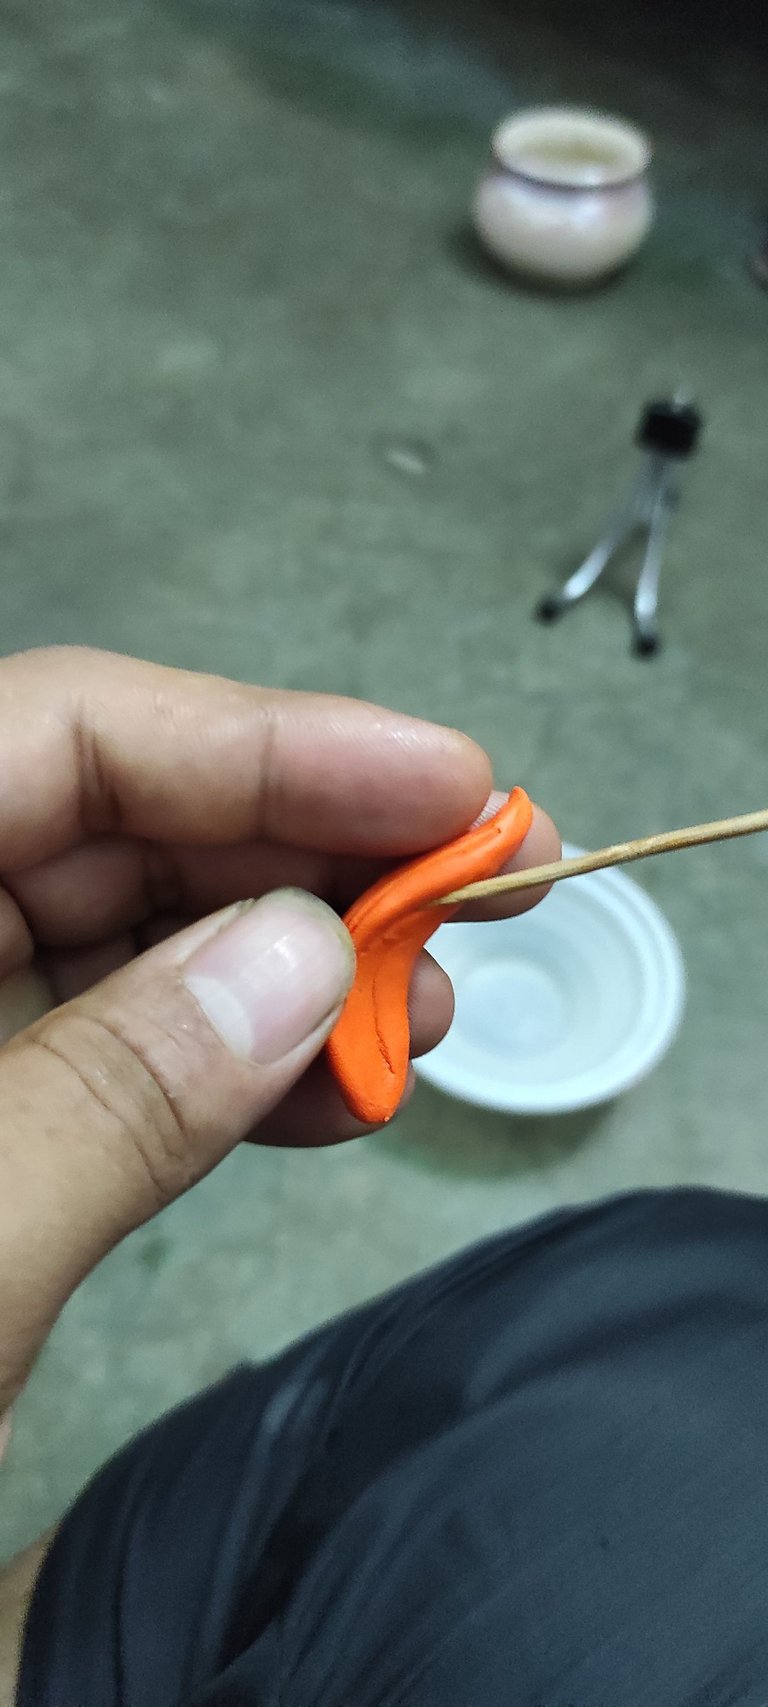
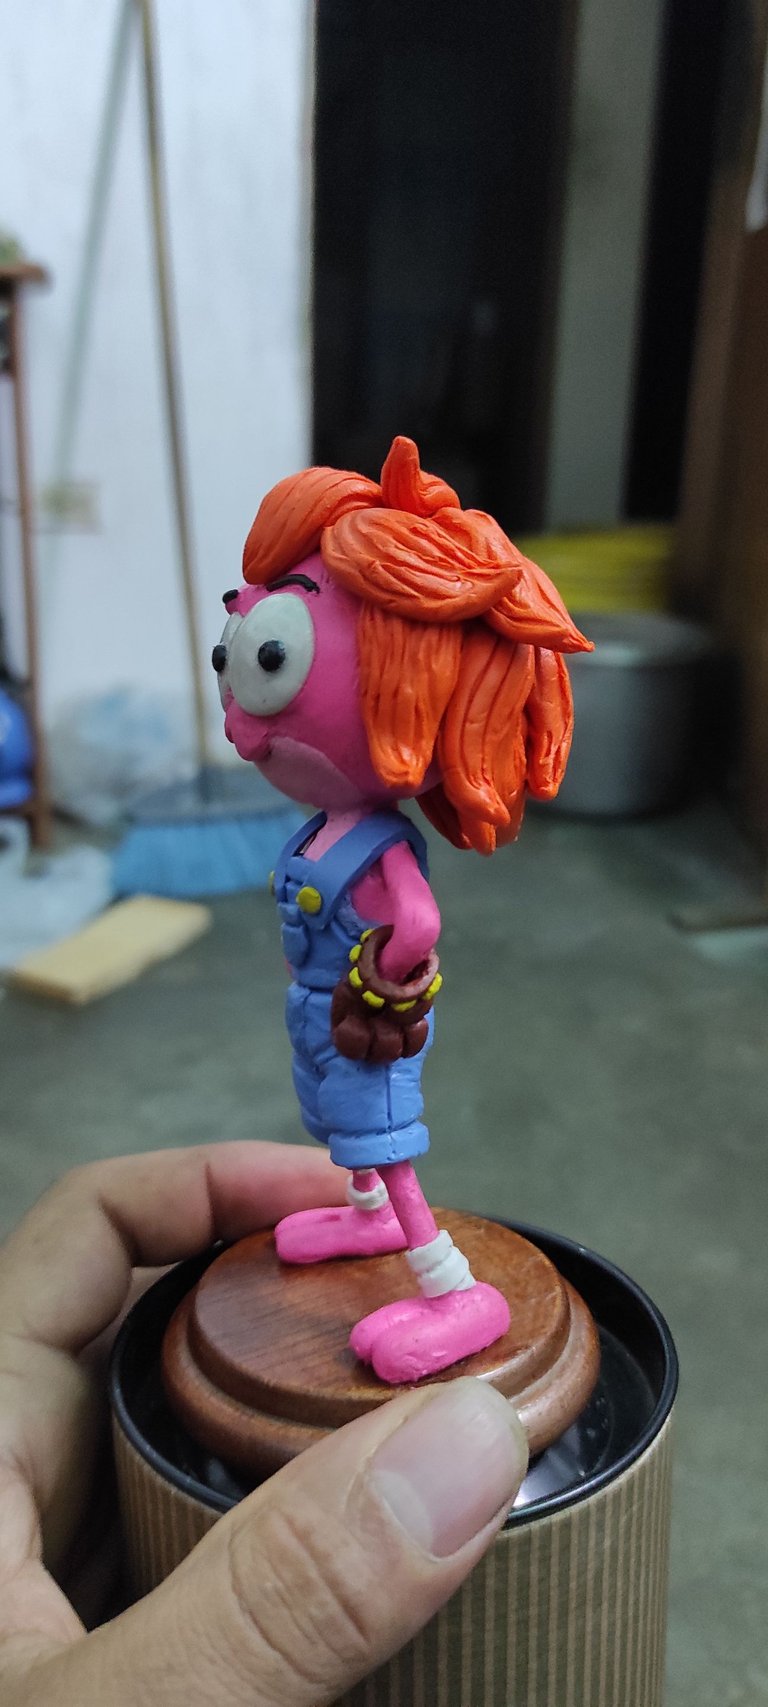
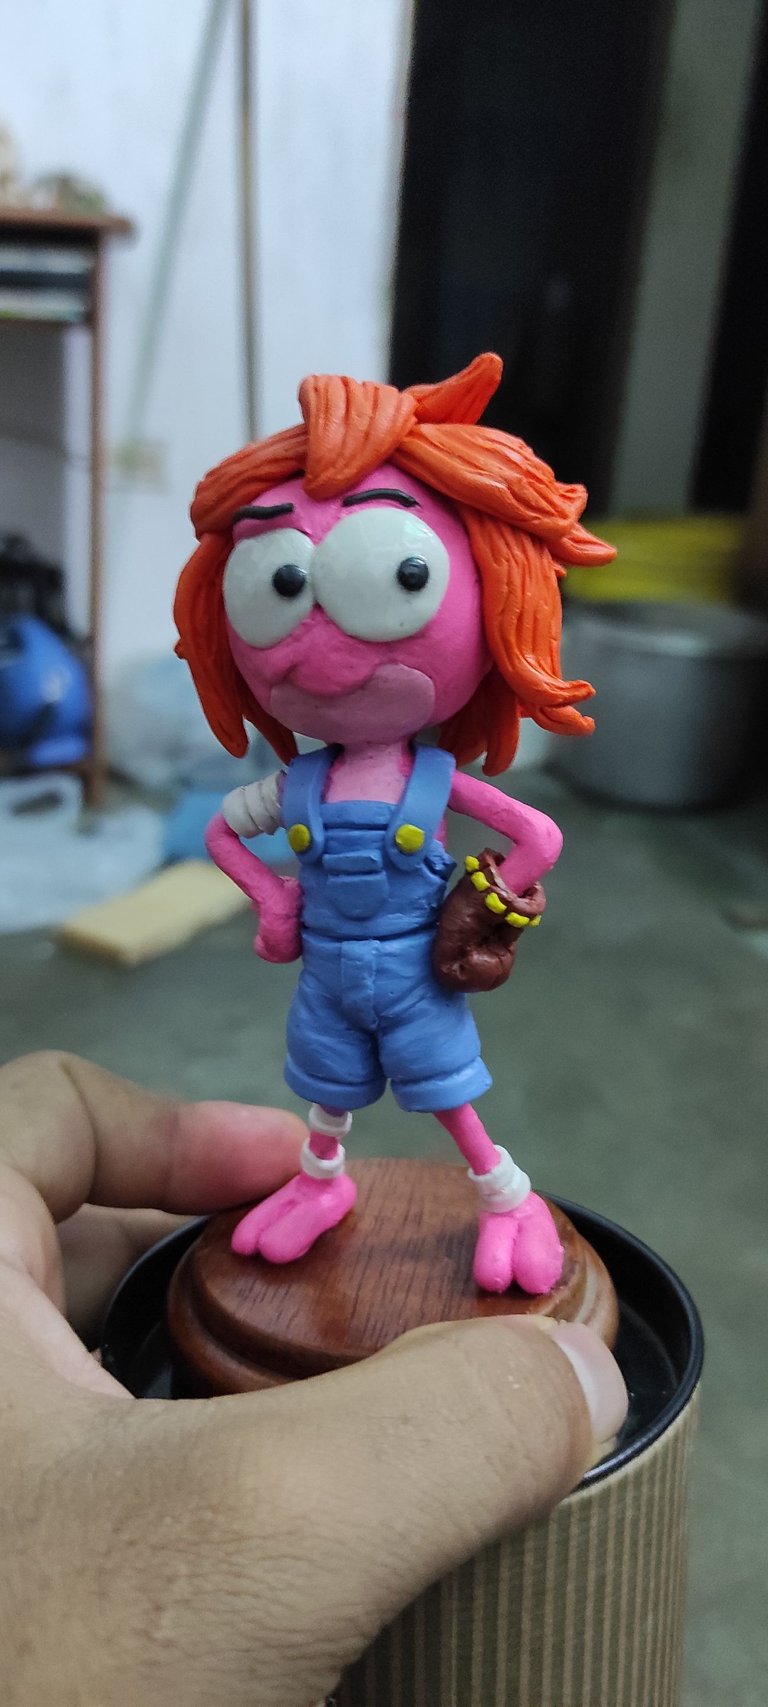
The texture should always follow the shape of each strand, with each of your hair strands returned in place, finish the hair
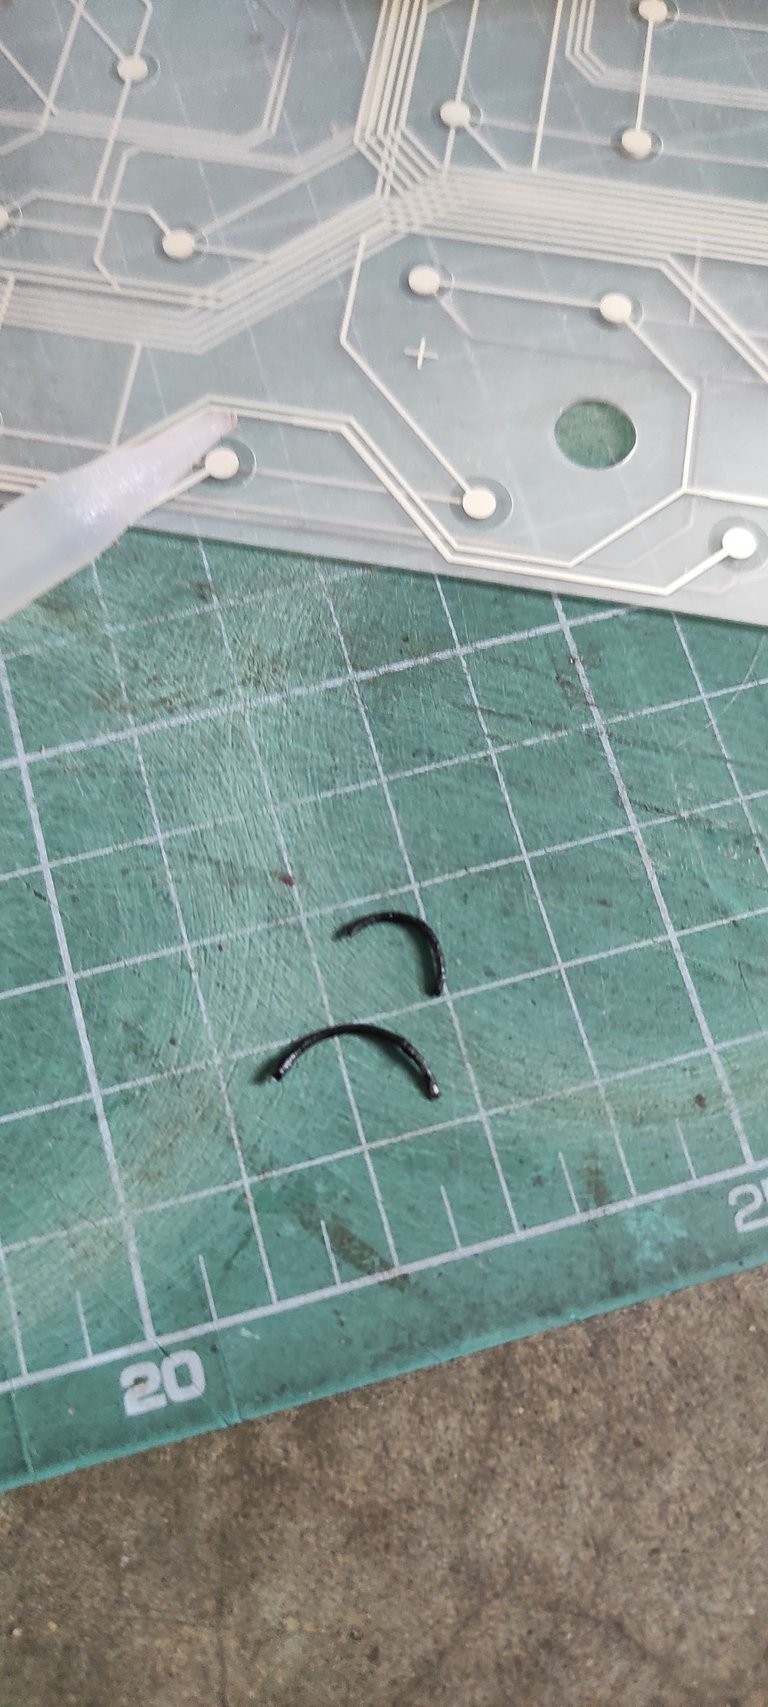
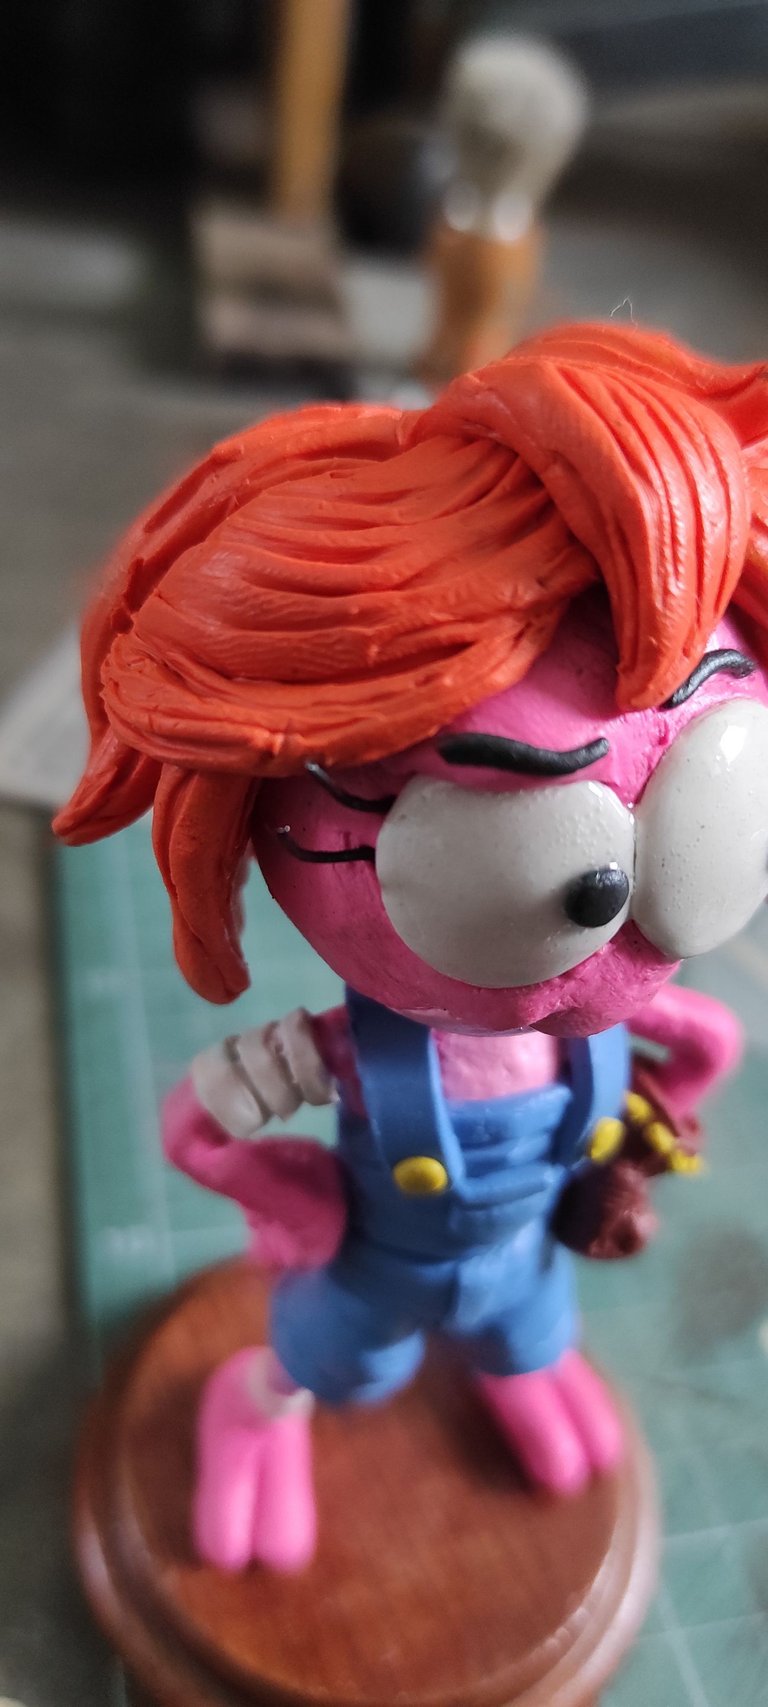
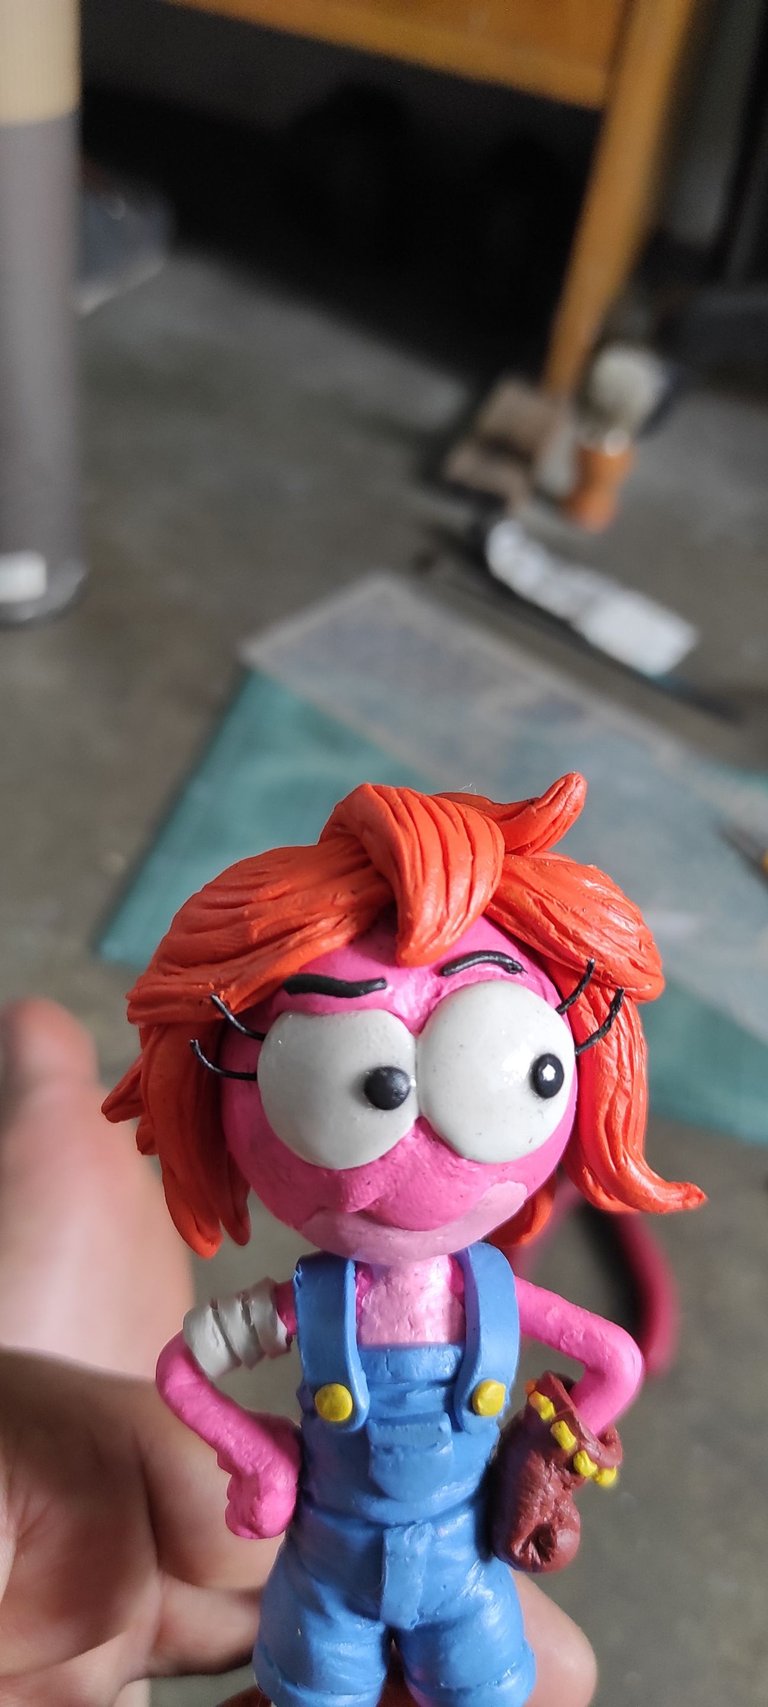
With four pieces of the thinnest wire I had, I painted them black and gave them a slight curve to make the eyelashes, which I placed on the sides of her eyes.
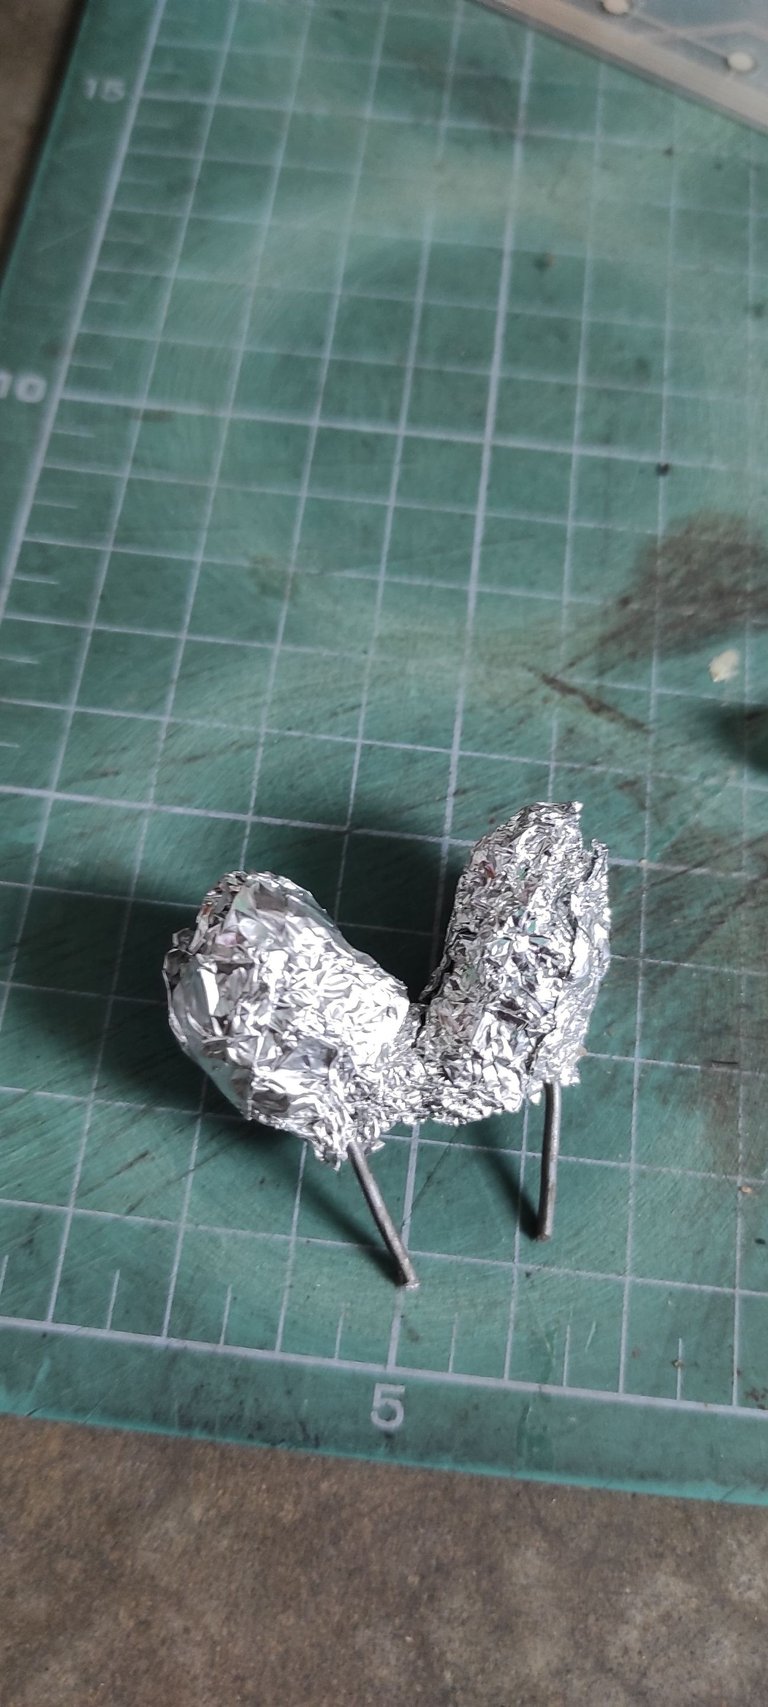
It is time to make the bow that she used throughout the series, to do this bend a wire until it had the shape of the letter U, then with aluminum I made the shape of the bow around the curve of the wire
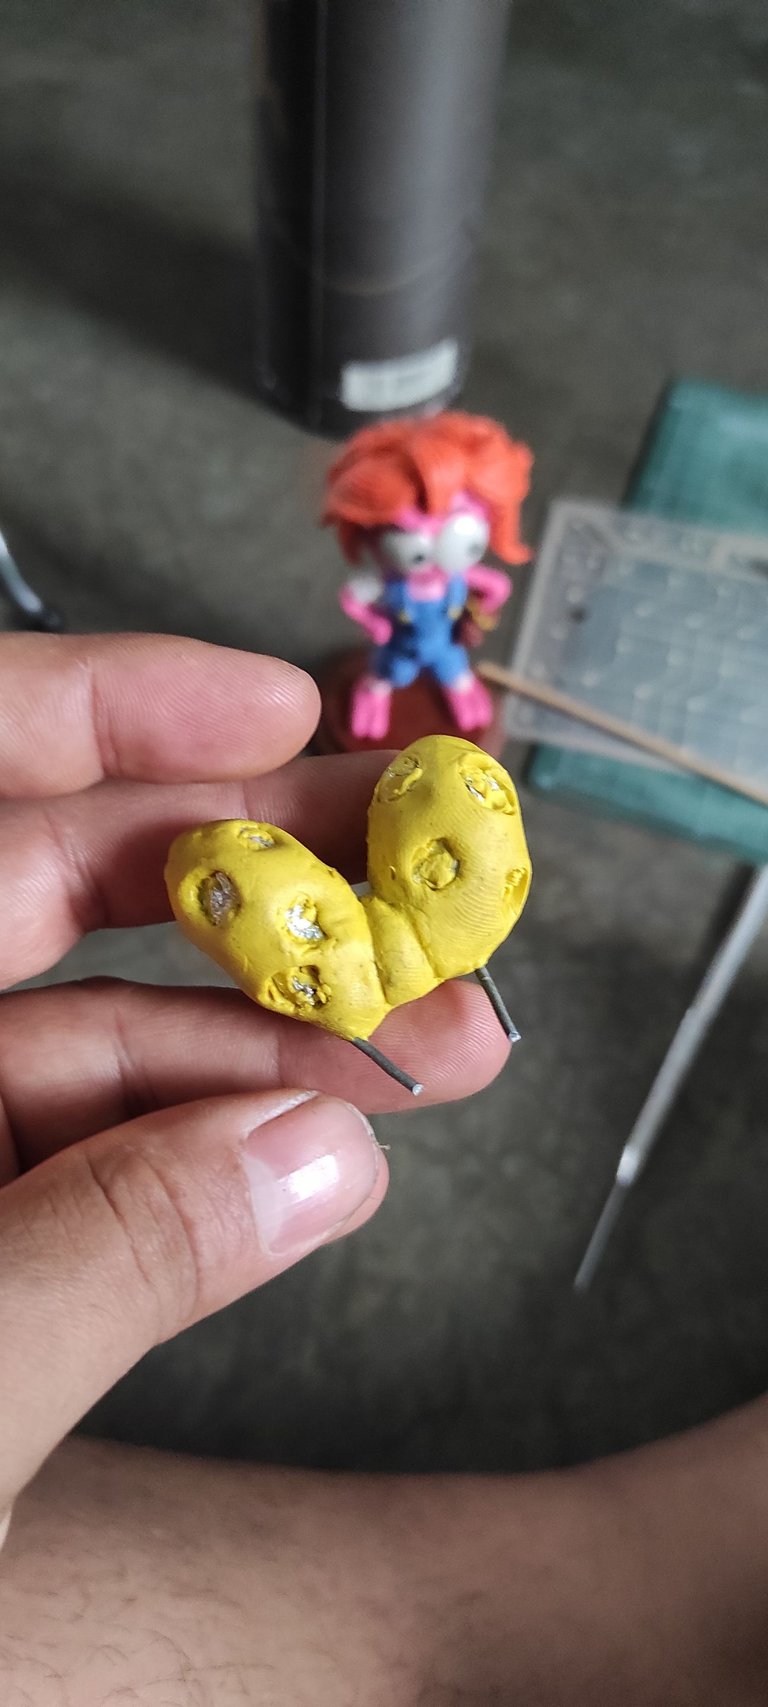
Then I covered with yellow plasticine and gave it the shape of the bow using a wooden stick, with the body of a pen I removed the space where the specks of the pattern will be
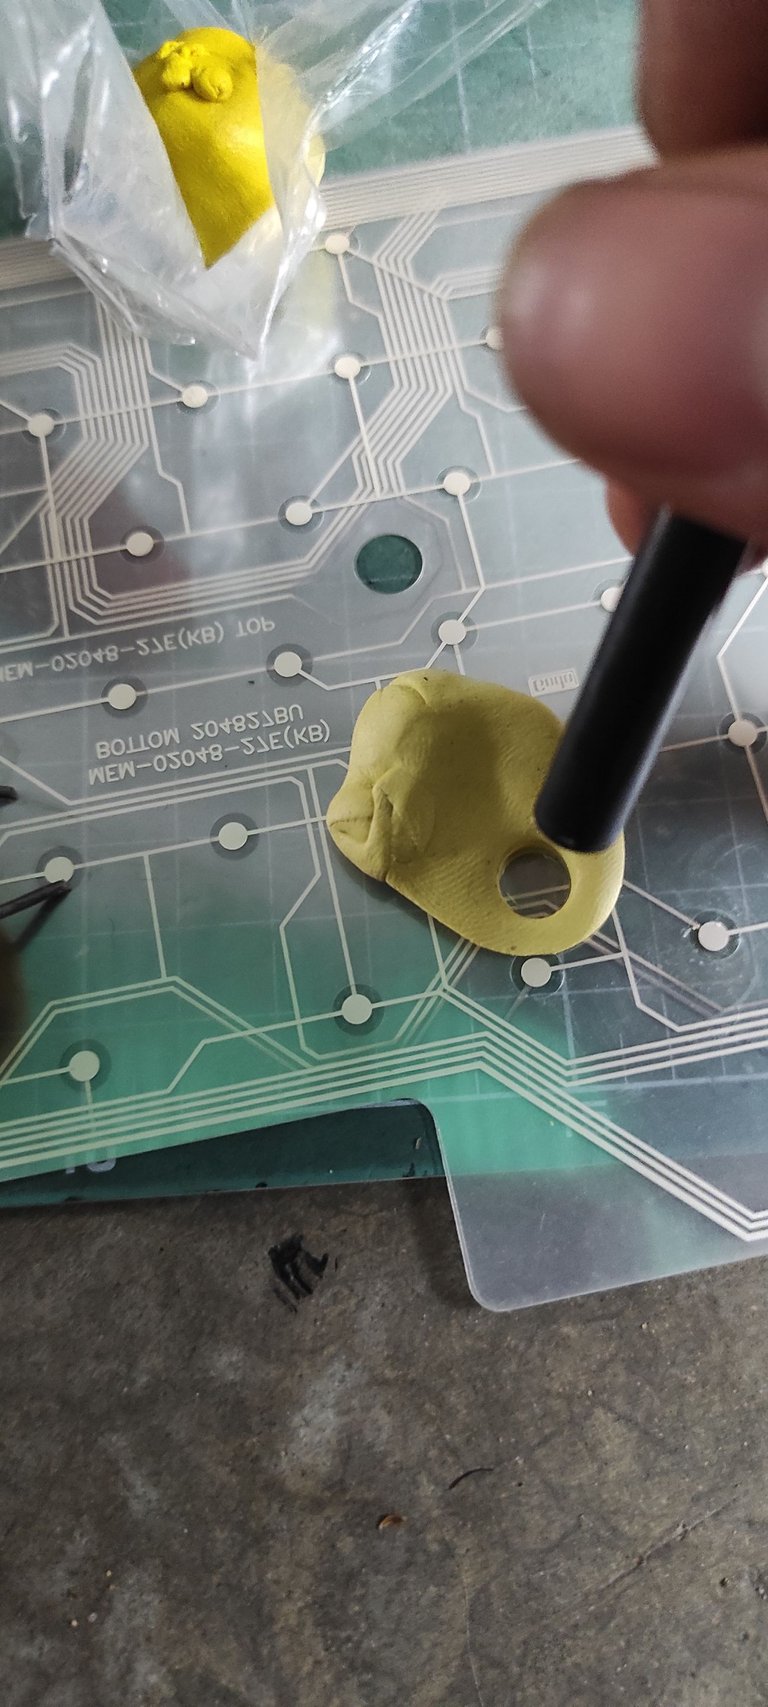
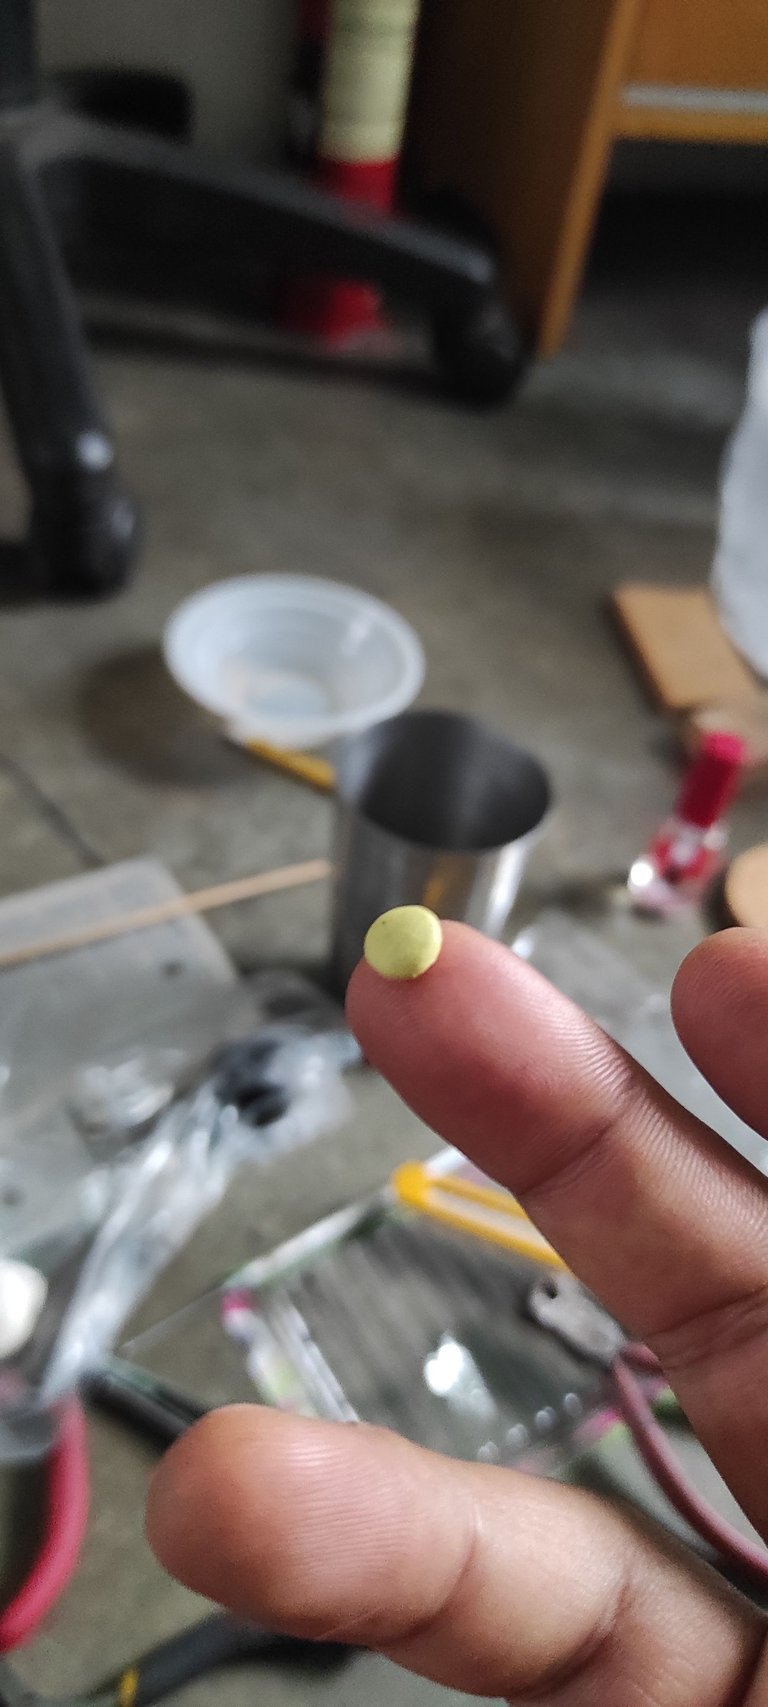
That same plasticine that I removed, I mixed with white, to obtain a lighter shade of yellow, and with the same pen I made the dots of the pattern of the bow
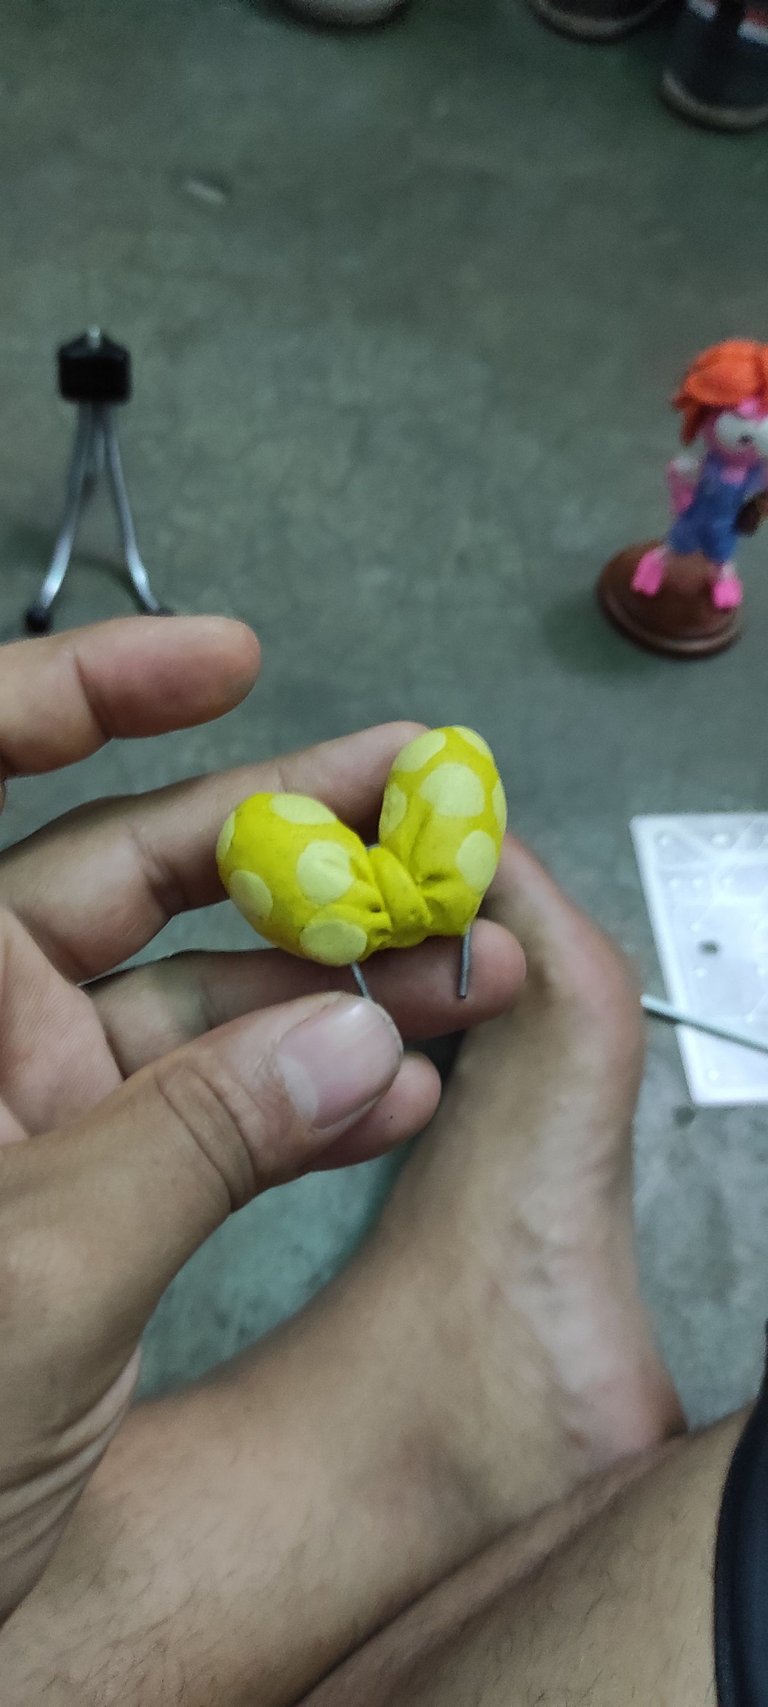
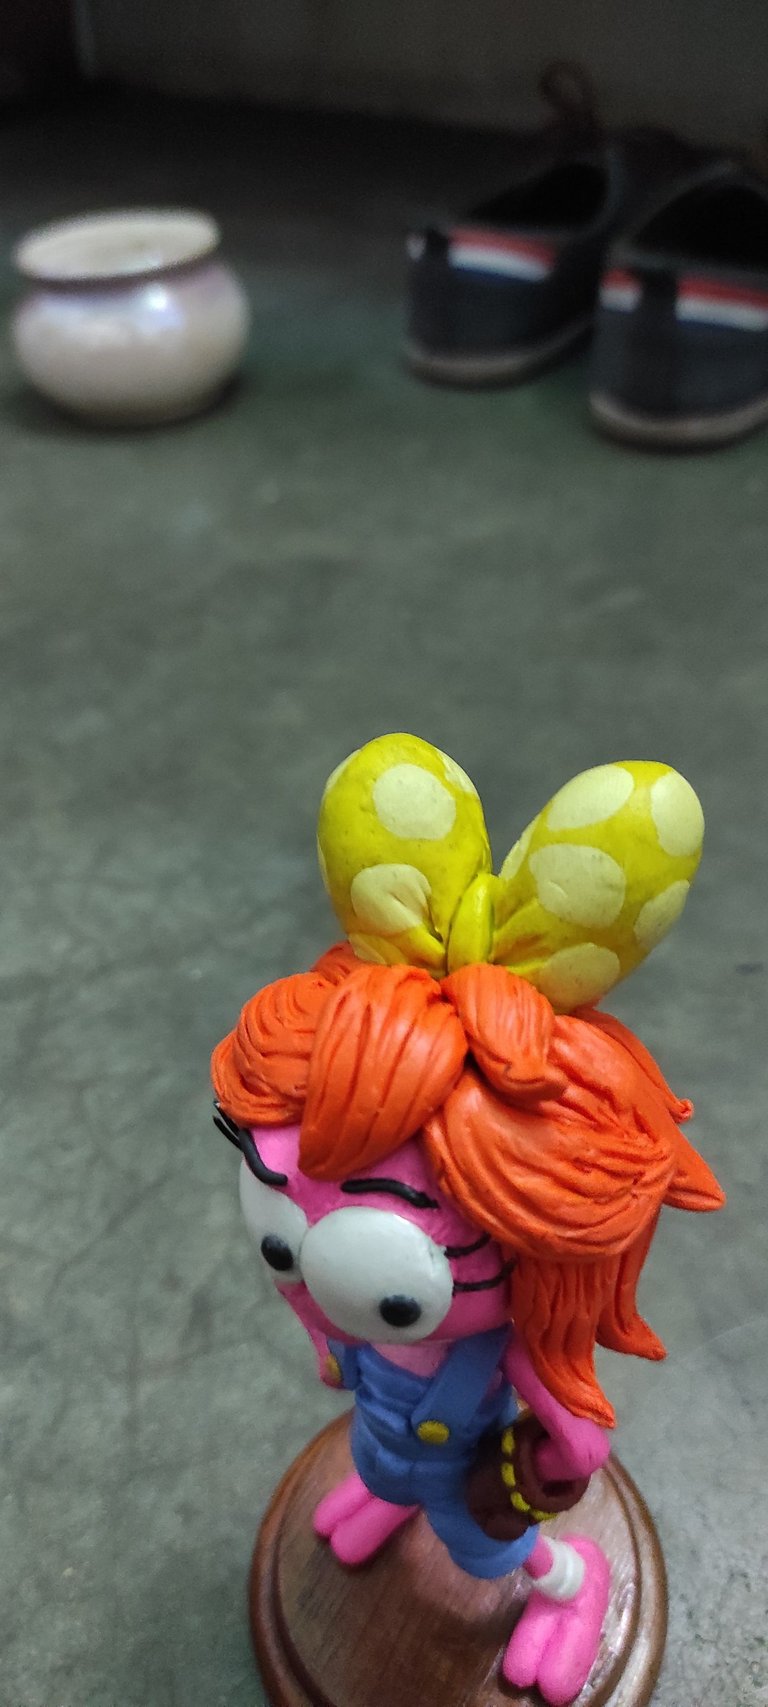
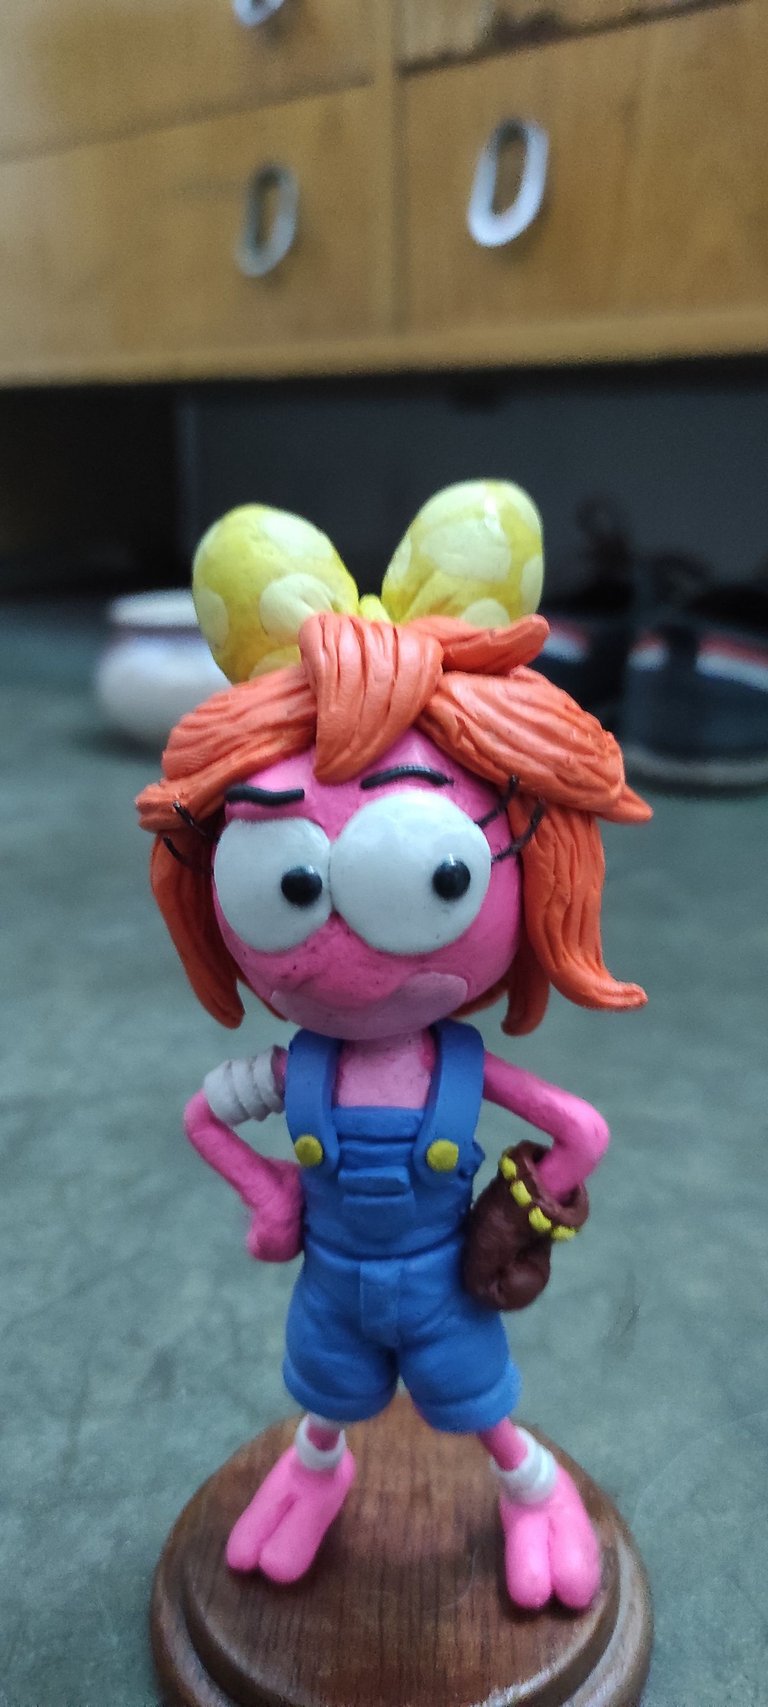
With the bun ready, all that was missing was to nail it to the top of her head, remove a little hair where the bun goes so that it would fit better.
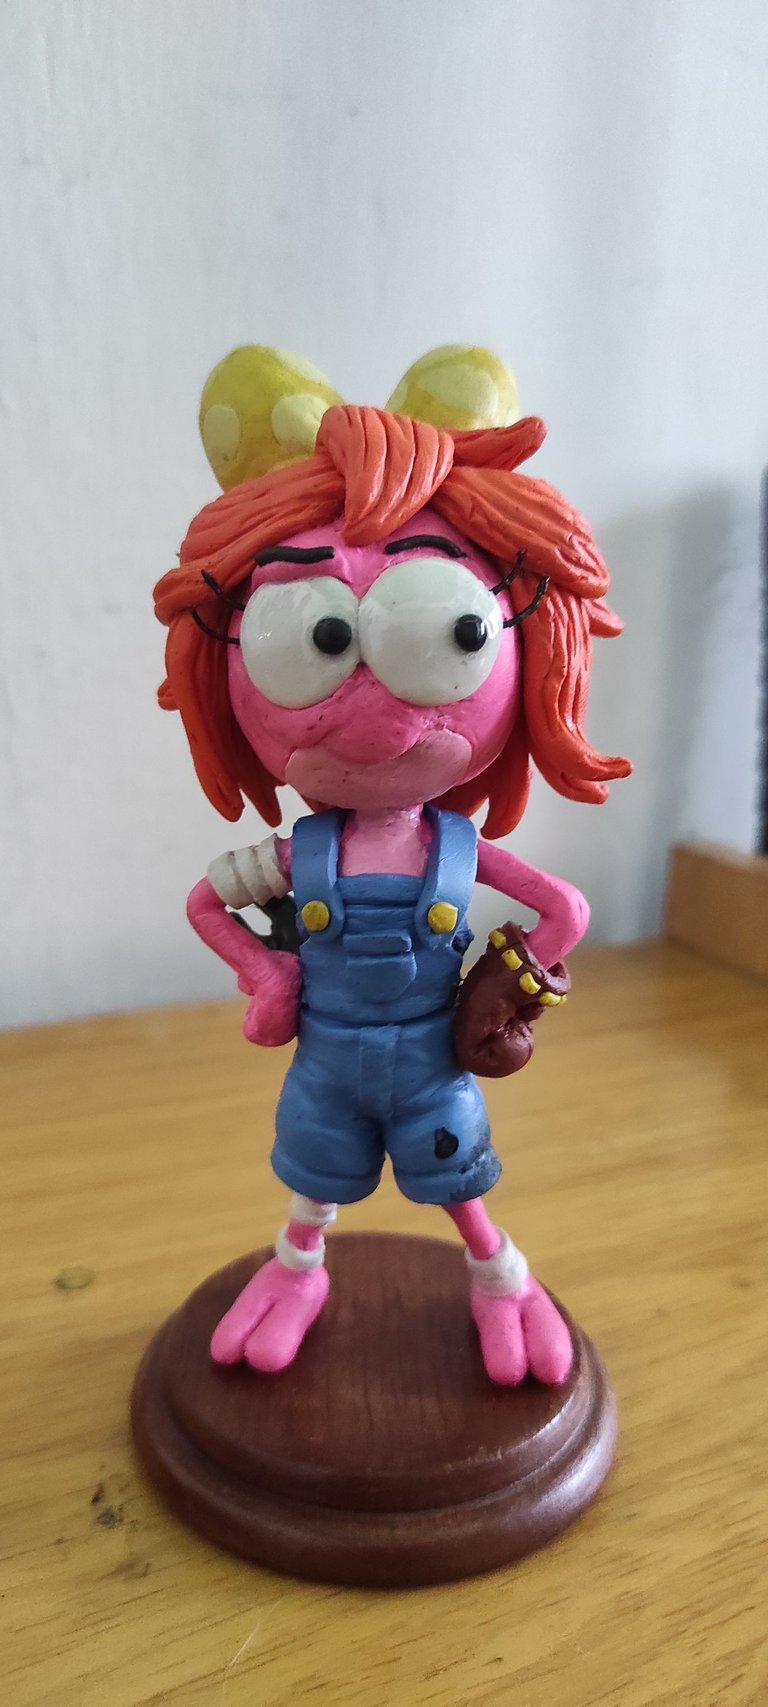
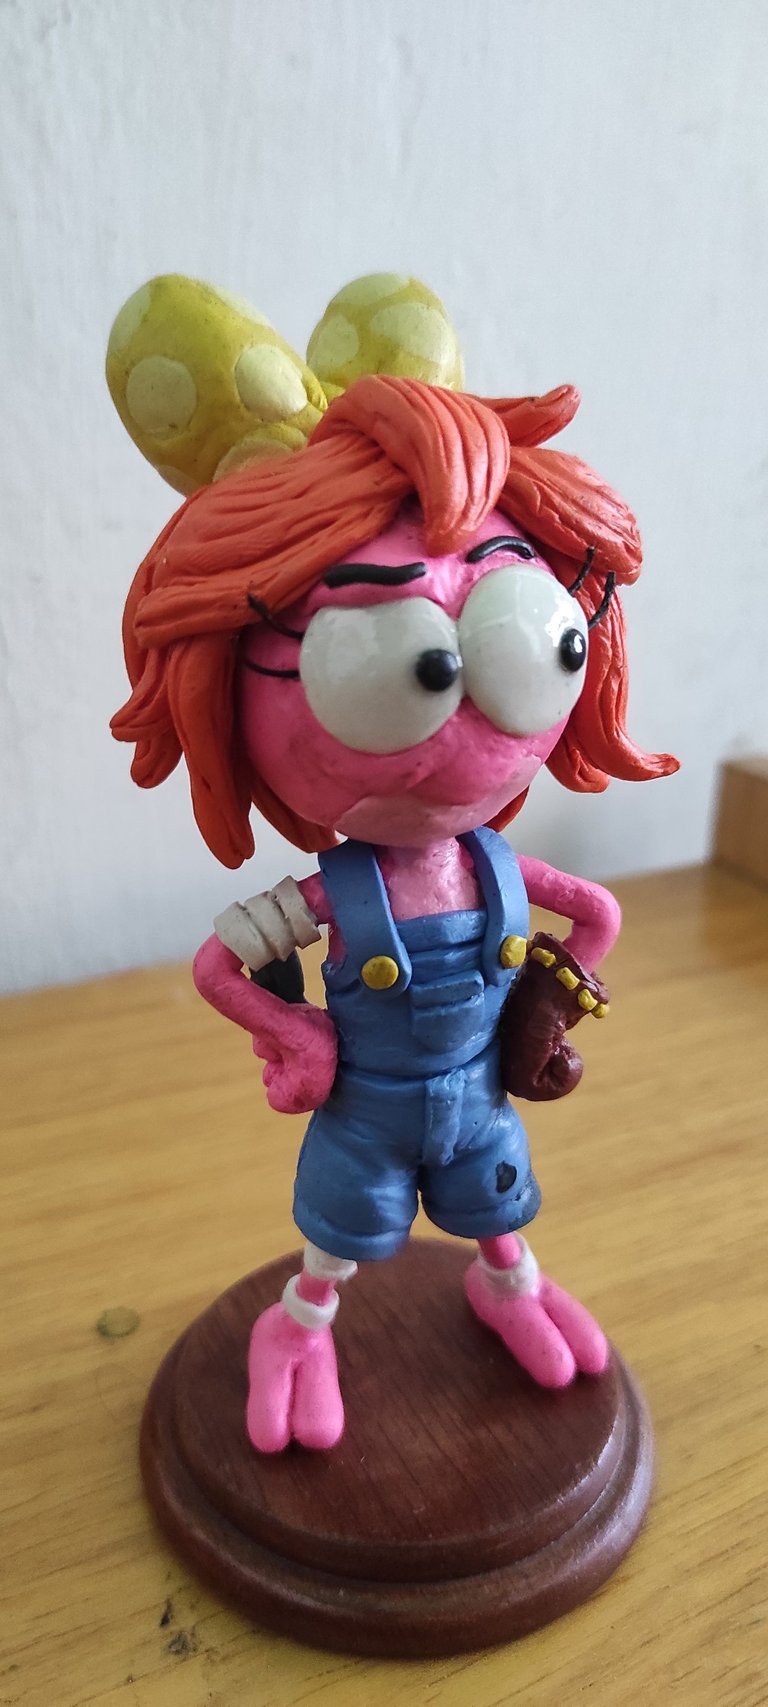
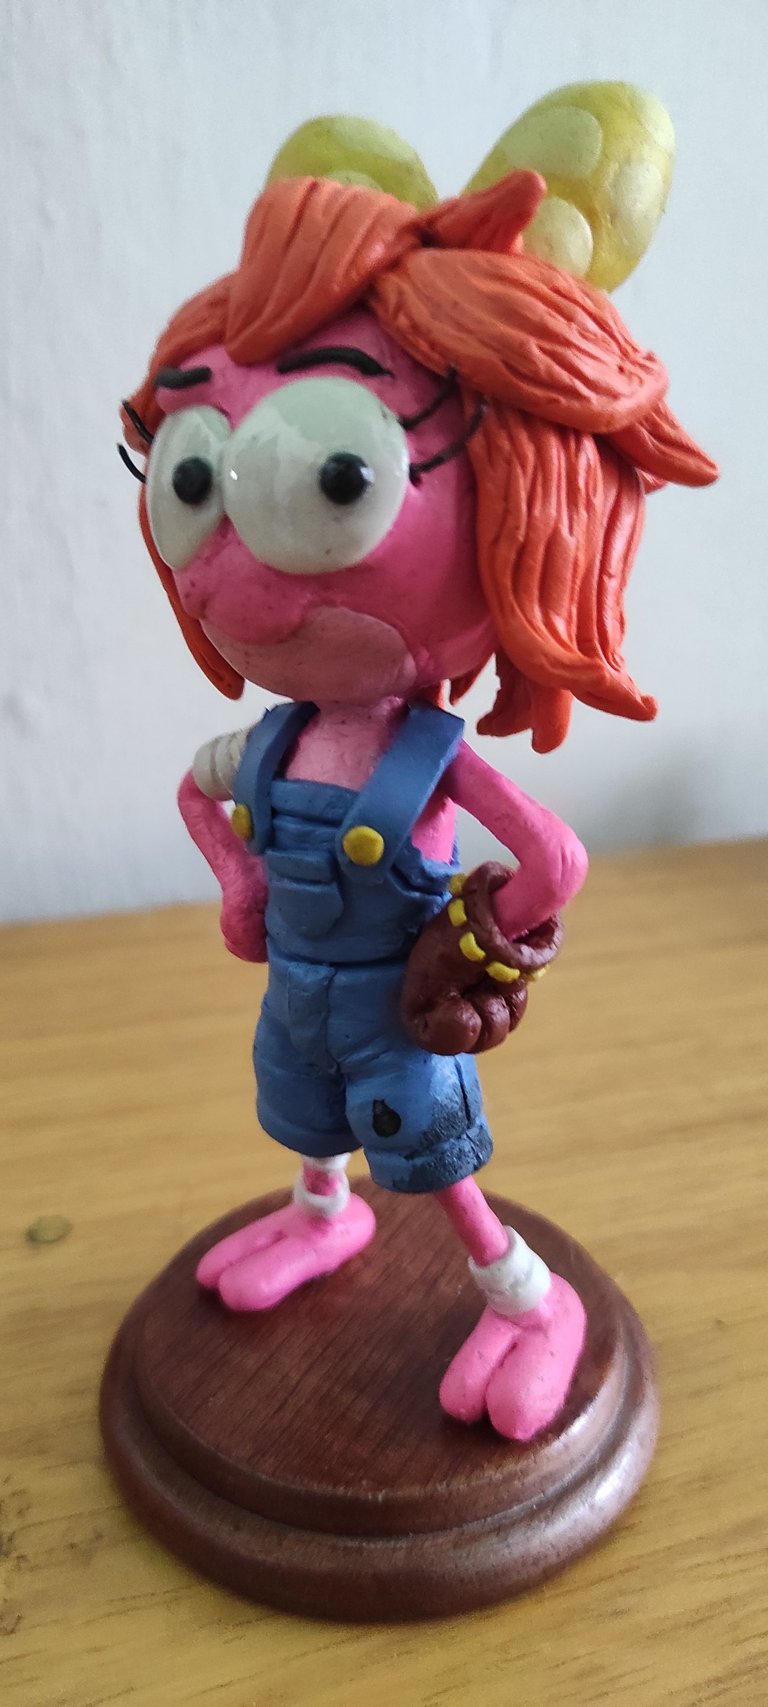
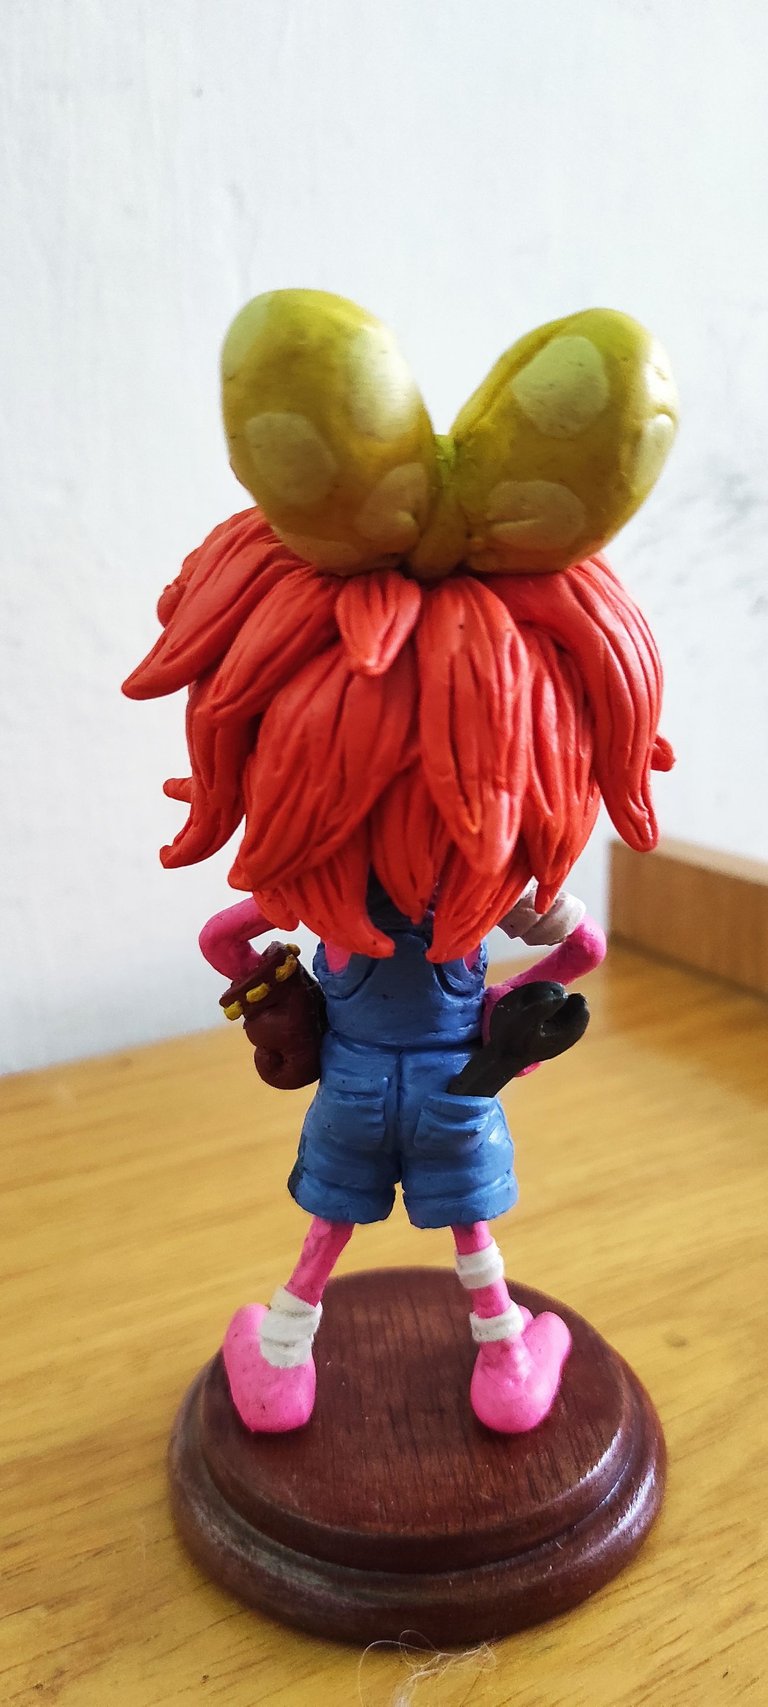
To finish it with gray plasticine I made a wrench and with blue I made some pockets for the back, unfortunately I forgot to take a picture of how I did that.
Finally I finished my first plasticine figure, in my opinion it was quite similar to the one that appears in the series, I am quite proud of this sculpture, and it gave me the security to continue with these projects and to teach about it ^_^
Thank you very much for reading my post
I hope you liked my plasticine sculpture
If you have any suggestions or advice
write it in the comments that I will be reading them
See you in a next publication
Inu-Jim
Copyright @inu-jim –Allrightsreserved
I hope you liked my plasticine sculpture
If you have any suggestions or advice
write it in the comments that I will be reading them
See you in a next publication
Inu-Jim

Copyright @inu-jim –Allrightsreserved