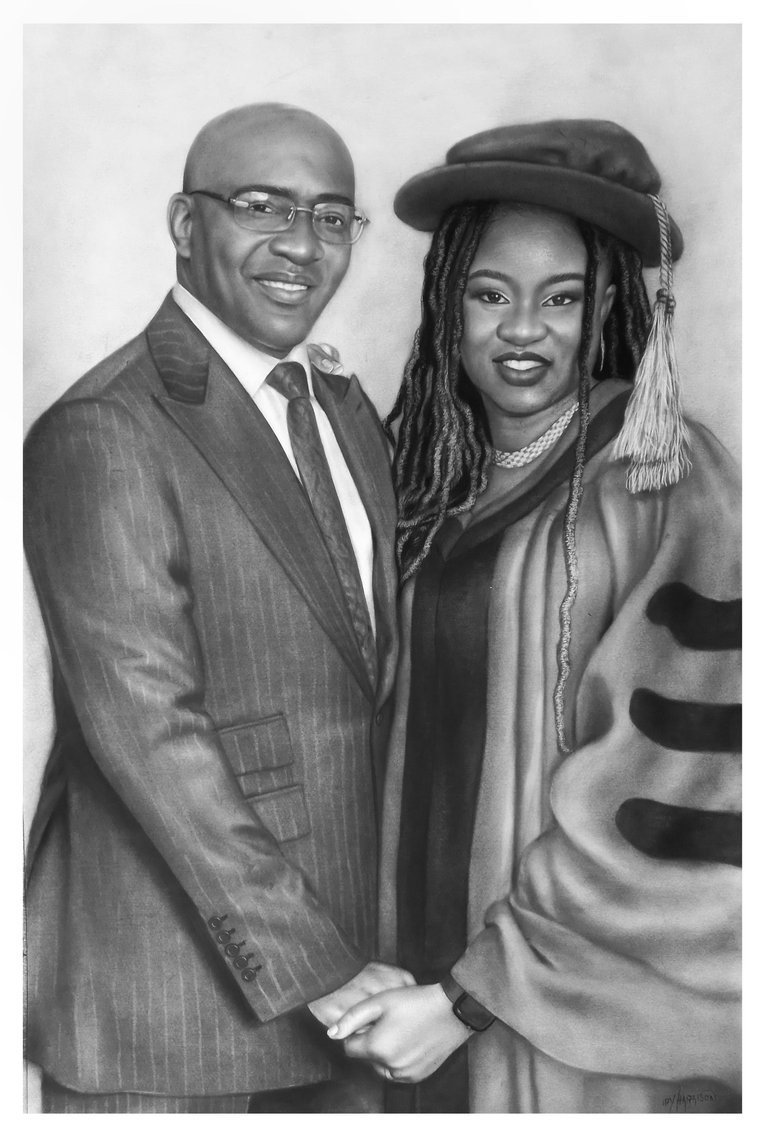
Greetings, everyone! I trust you're all doing well.
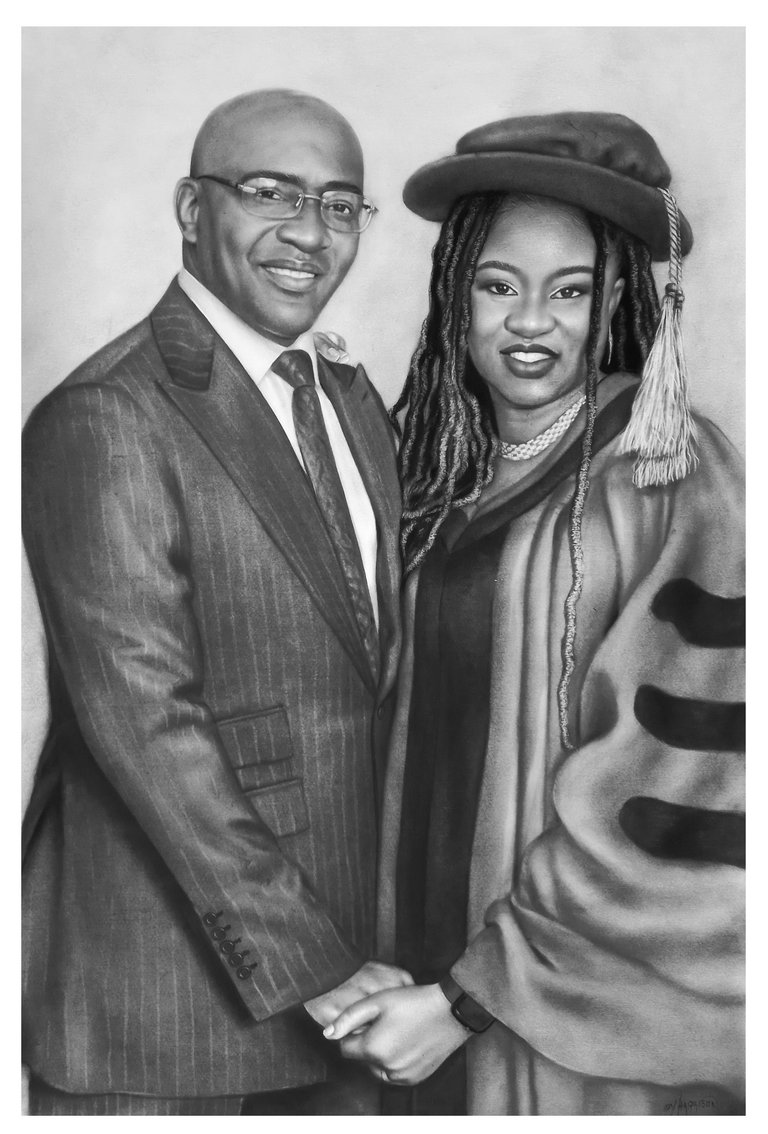
In this piece, I have transformed her attire into a graduation gown. Feel free to check out the reference below for comparison.
Medium: Charcoal and graphite on FBB paper.
Size: 24x36 inches
I'm excited to present this post to you, and I hope you find it not only beautiful
but also informative.
Upon receiving the client's request to change the lady's attire to a Doctorate degree gown for her upcoming graduation ceremony, I eagerly accepted the challenge. With only three days to complete the drawing, I dove straight into the project, determined to deliver a quality result within the tight timeframe.
Before delving into the explanation of the process, allow me to briefly introduce the materials I'll be using. So, grab a bottle of chilled water or your favorite drink, sit back, and enjoy the journey, as it promises to be educational.
MATERIALS
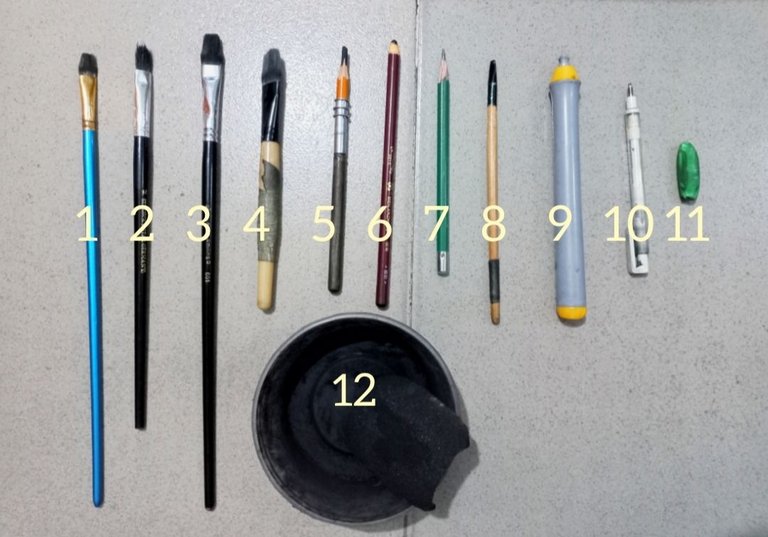
1 and 3 are different sizes of soft, flat paint brushes, used for applying charcoal powder. I utilize the small size for intricate areas and the large size for broader areas.
2 is a hard bristle brush, employed on dark areas where charcoal is applied to prevent smudging, unlike the softer bristle brushes.
4 is a large makeup brush, ideal for covering larger areas with charcoal powder.
5 is a General's charcoal pencil within a pencil holder, utilized for achieving dark tones and creating powder from it.
6 is a Meilanzhuju charcoal pencil, known for its intense darkness, reserved for the darkest areas of the artwork.
7 is a 5B Kimberly graphite pencil, primarily used for sketching and light shading.
8 is a small-tipped makeup brush, used for blending lines seamlessly.
9 is an electric eraser, employed for precise highlights.
10 is a Tombo mono zero eraser, perfect for highlights and adding intricate details.
11 is a Nataraj eraser, presumably for general erasing needs.
12 is a container for storing charcoal powder.
STEPS:
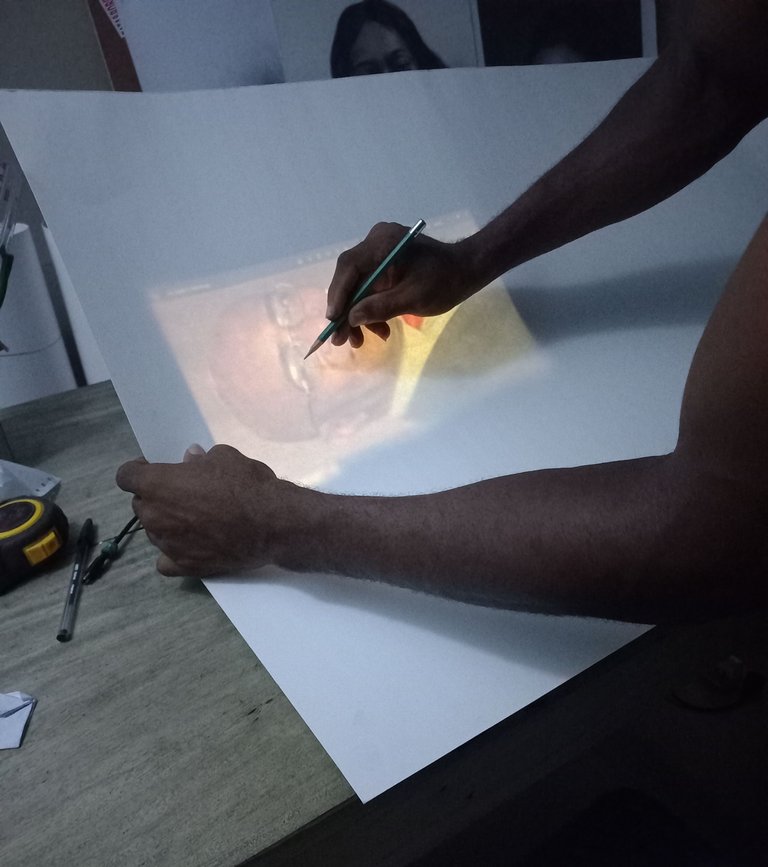
Starting with a sketch is crucial, as it lays the foundation for the drawing. Personally, I believe the sketch is the most important part because it establishes the forms accurately.
There are various methods for sketching a portrait, such as tracing, using grid lines, a projector, or freehand. In this particular drawing, I opted to sketch using my laptop screen. While it can be stressful, the results are consistently satisfying.
To sketch using the screen, you first view the picture on your laptop, adjusting the zoom until it fits the surface. Then, you place the paper on the screen and begin sketching (ideally in a dark room). It's advisable to check the fit before starting, especially on larger surfaces where you may need to move the picture on the screen as you sketch. Despite the stress involved, it's currently the fastest method for me to sketch without leaving my house, until I acquire a projector.
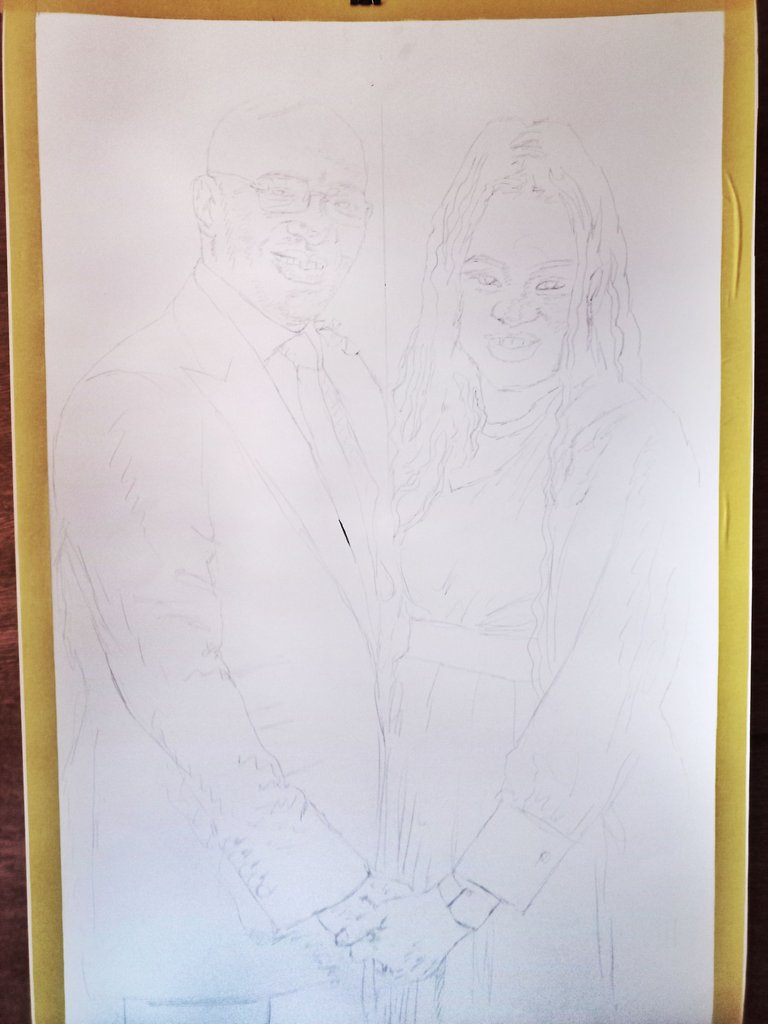
This is what the finished sketch looks like.
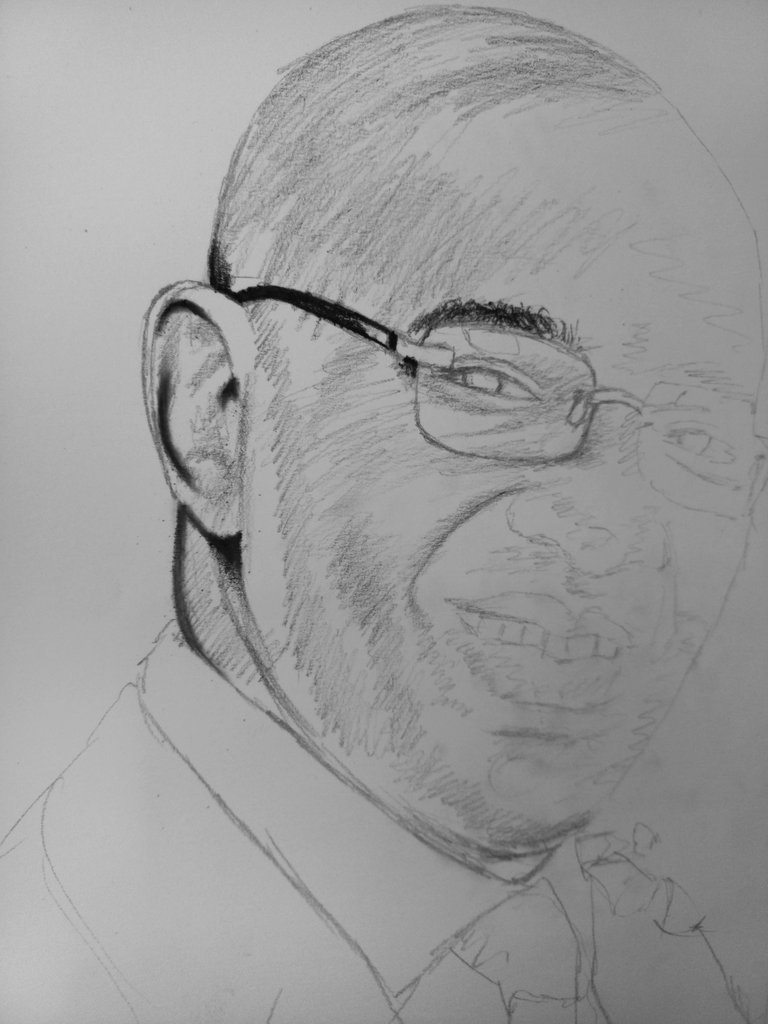
I always start with a rough layer using a graphite pencil, followed by outlining the darker regions using a soft General's charcoal pencil. Next, I'll blend it using a small tip brush. Finally, I'll apply the charcoal powder layer by layer till I get to the tone that I want.
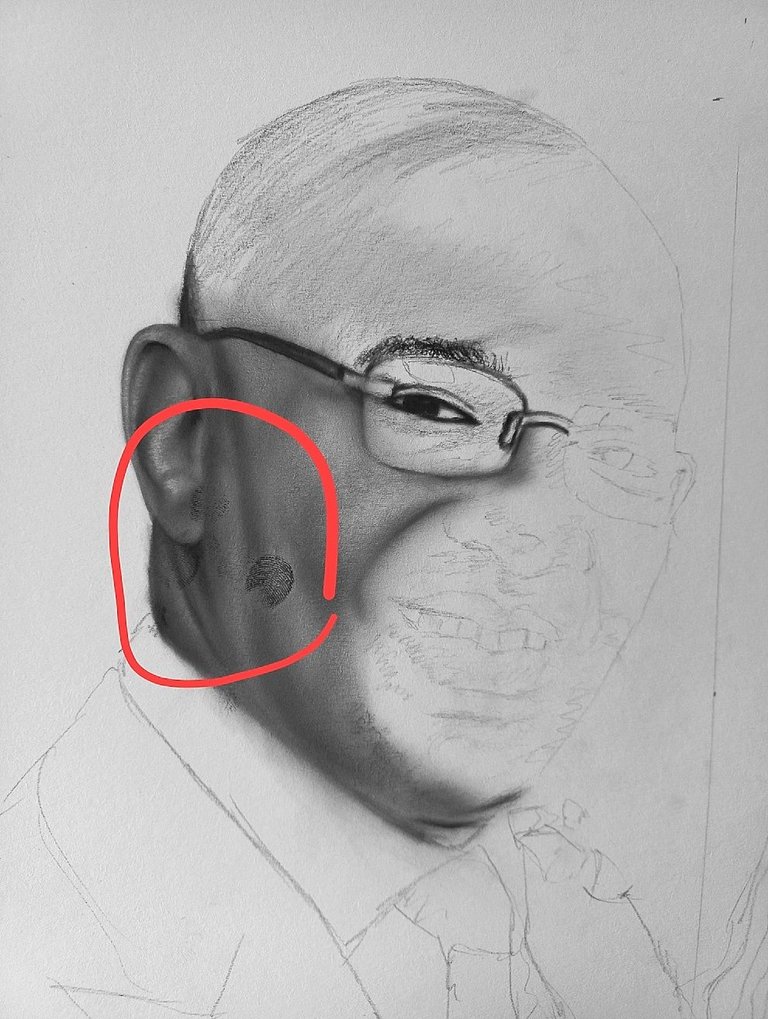
One of the biggest demotivators when drawing is spotting a fingerprint on your work—it's incredibly frustrating. That's why I make sure to thoroughly wash my hands before starting any drawing. This particular print wasn't mine; I suspect it came from how the seller handled the material.
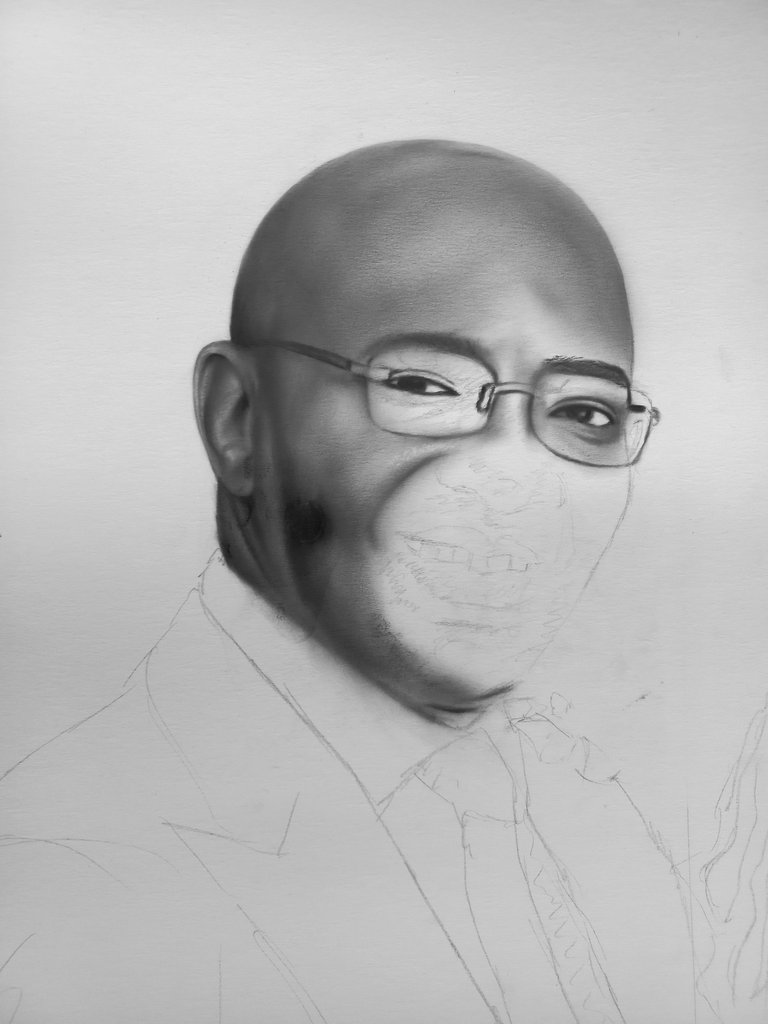
I attempted to erase it, but it was only making things worse. Rather than risk further damage to the piece, I decided to start afresh and create another sketch instead.
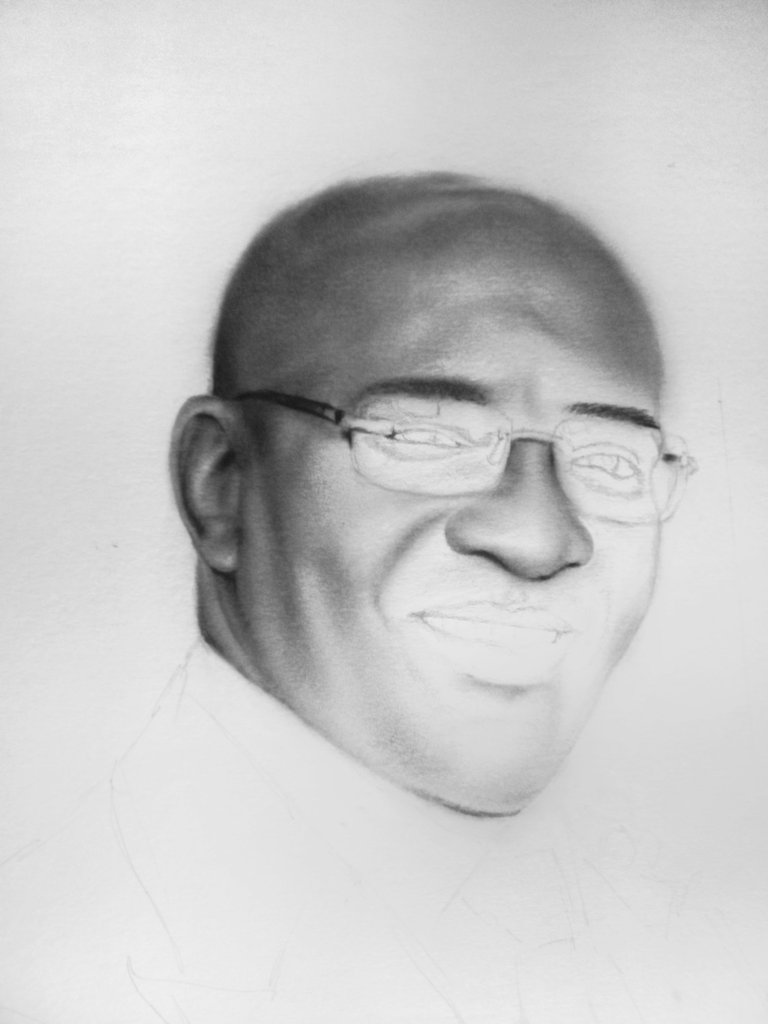
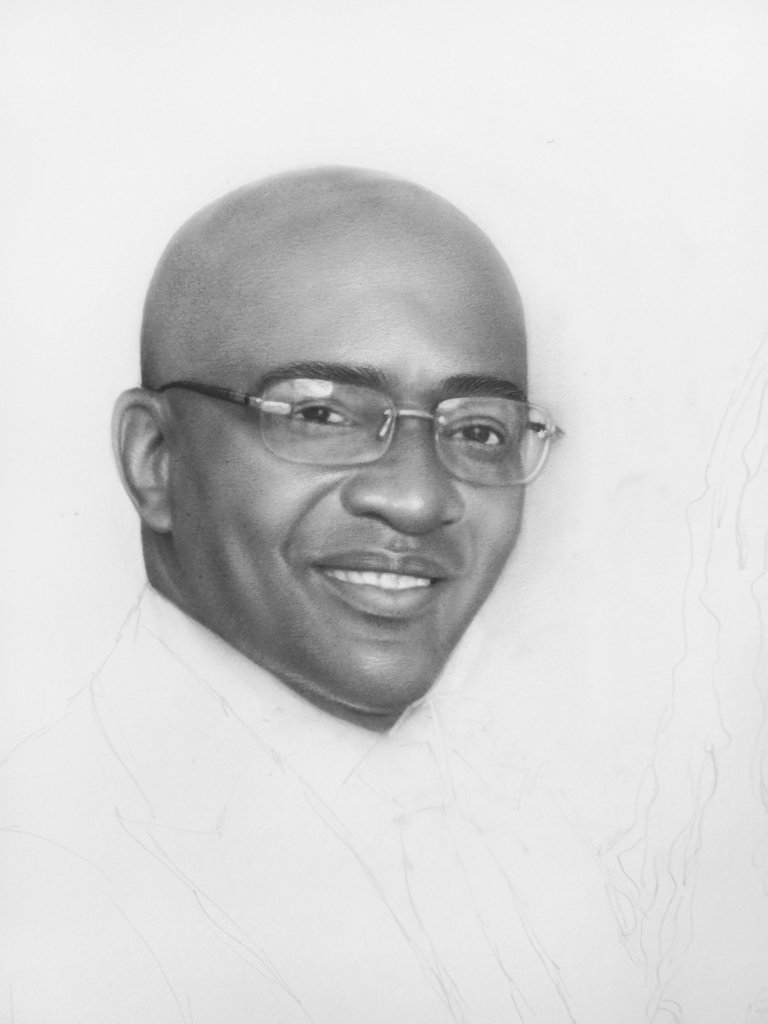
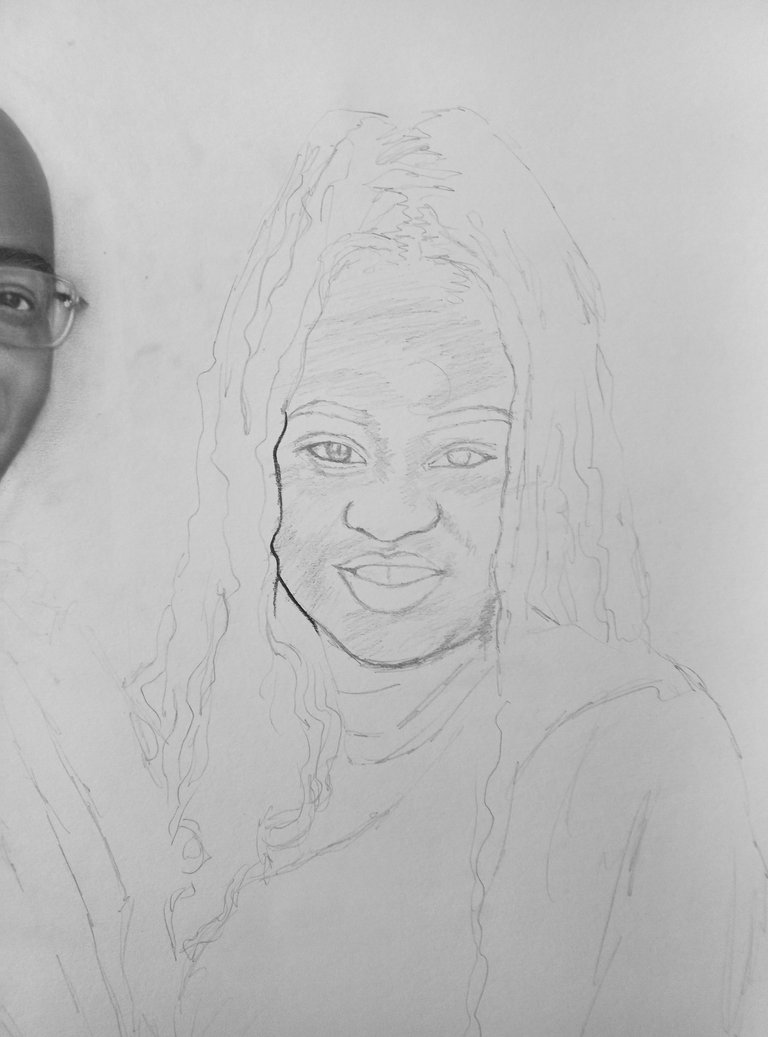
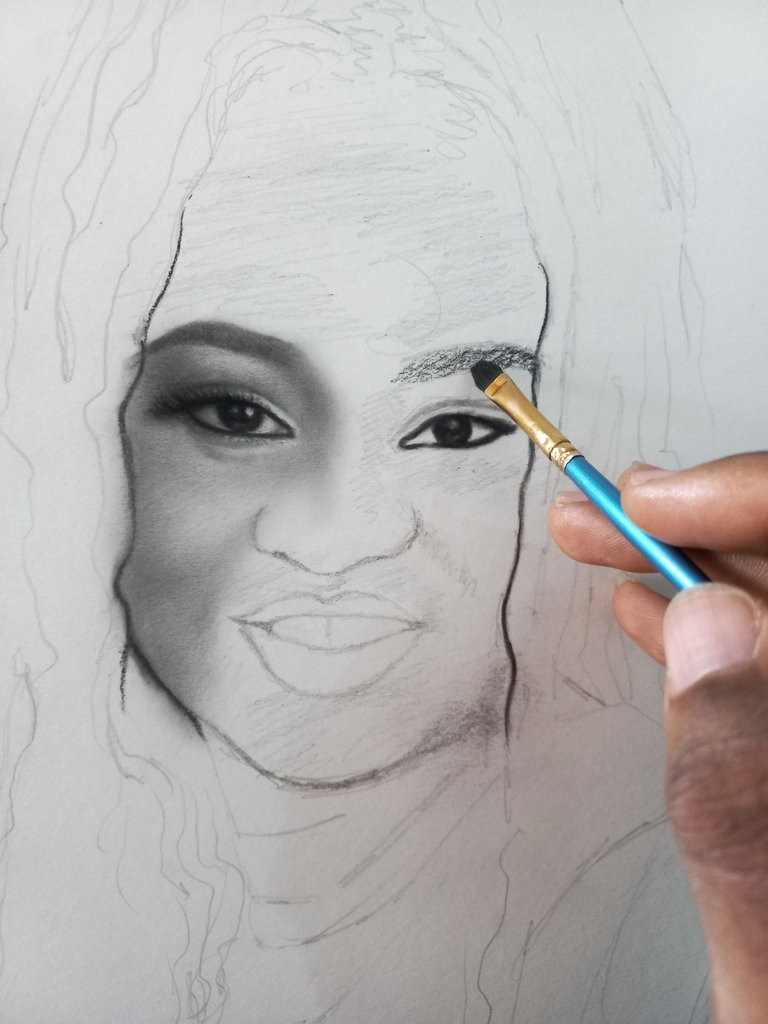
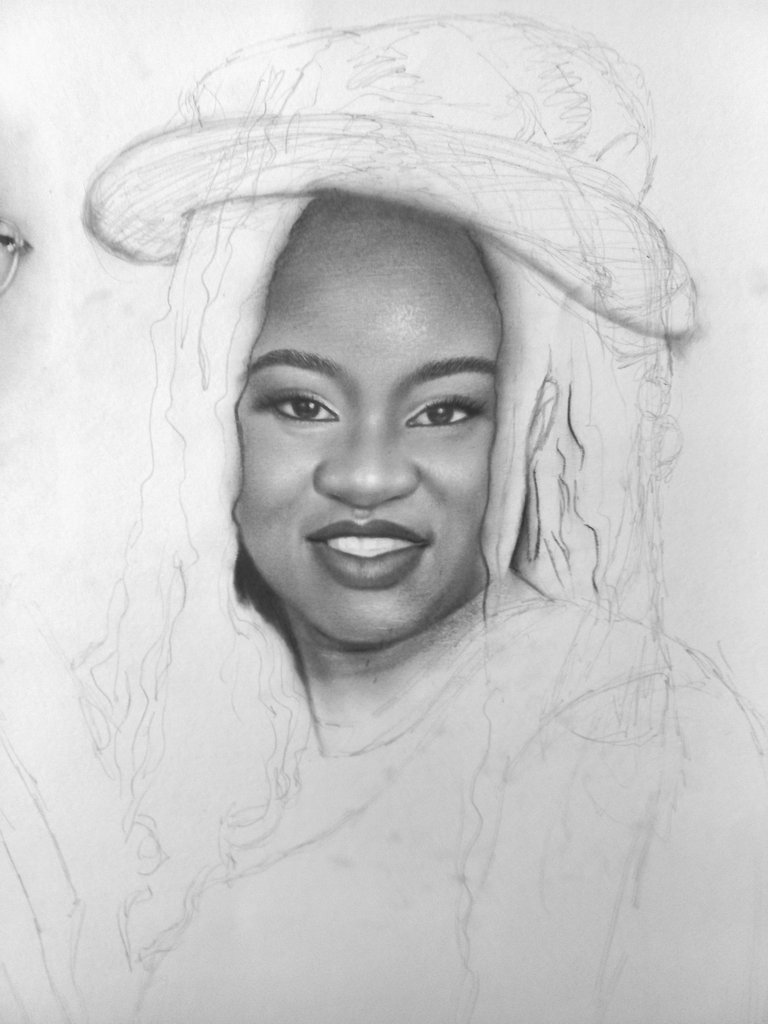
I drew the graduation hat on the lady's head and replicated the shading process on her face, then their hands before moving to the man's suit.
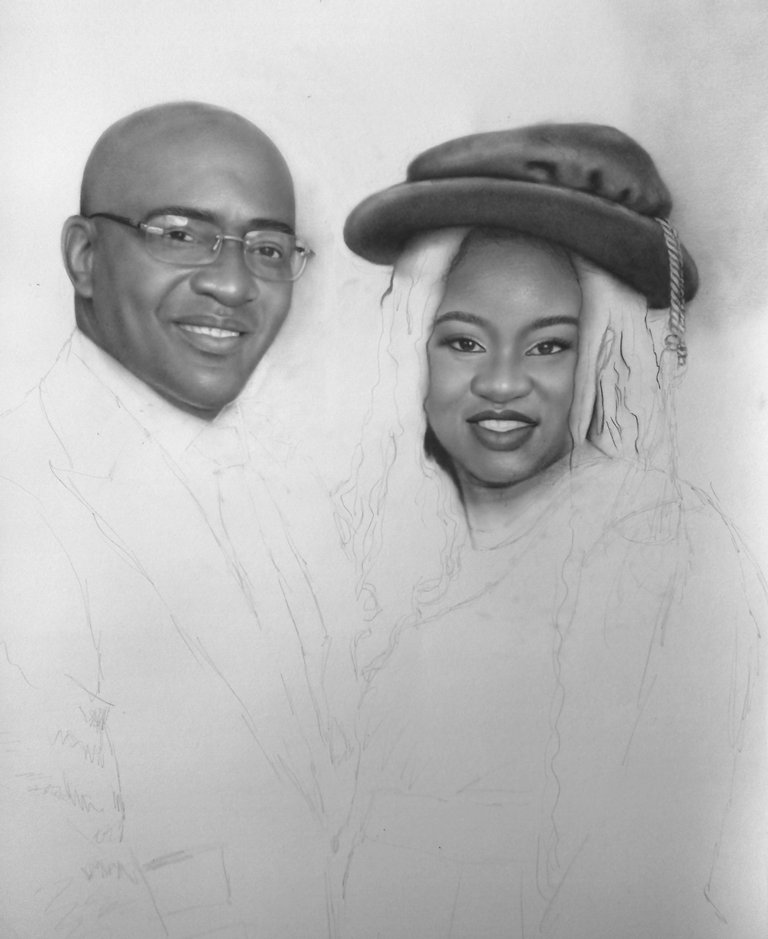
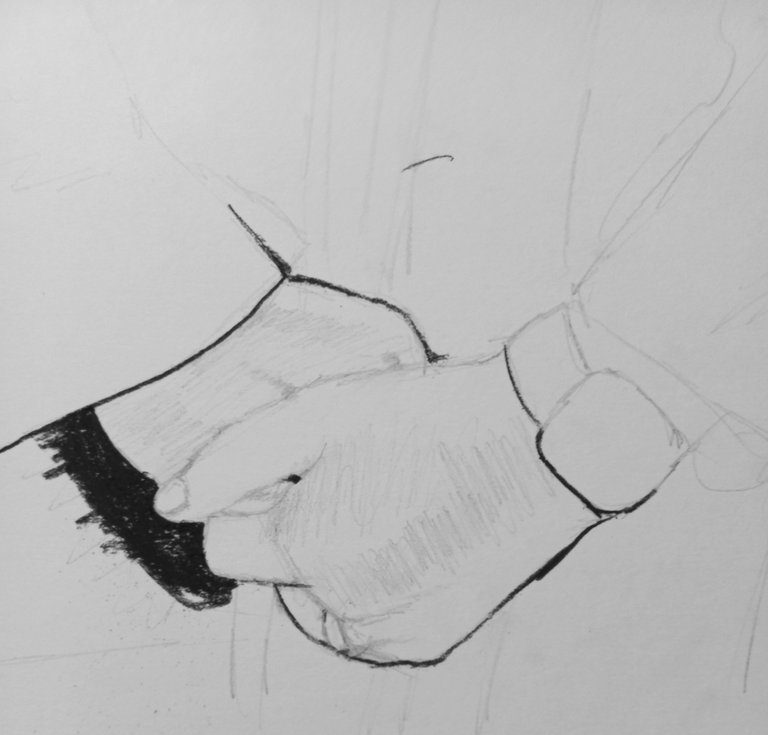
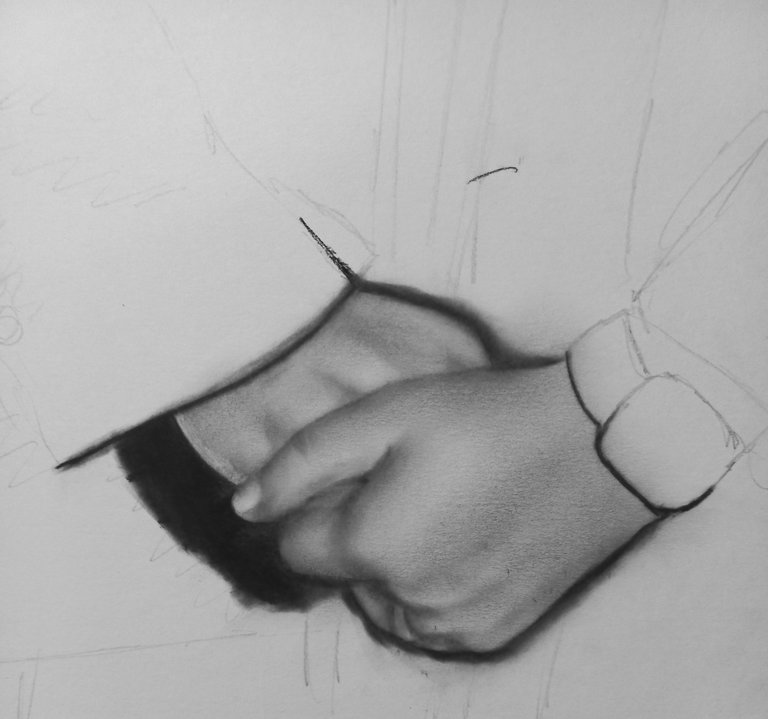
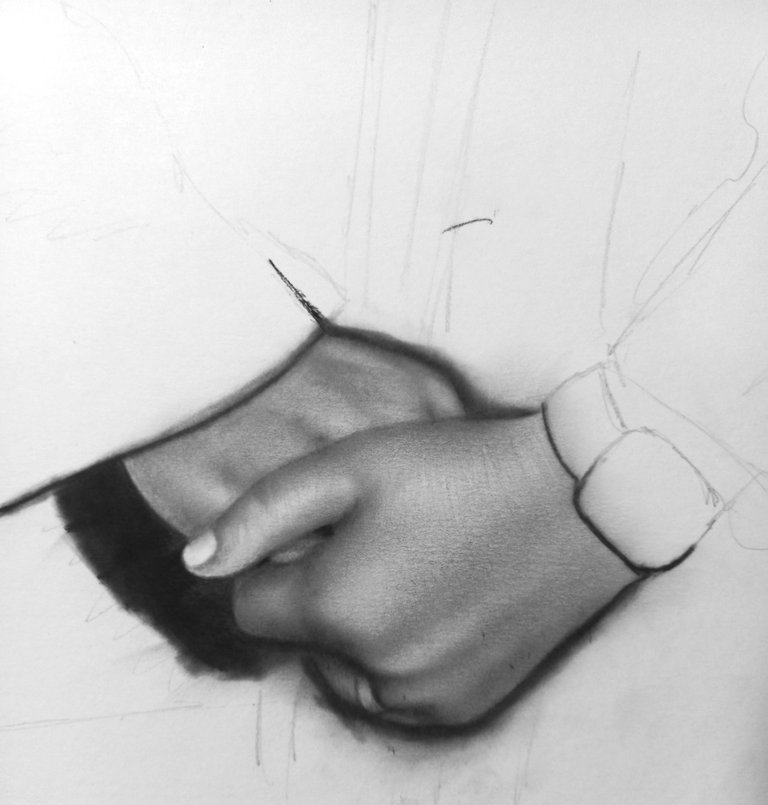
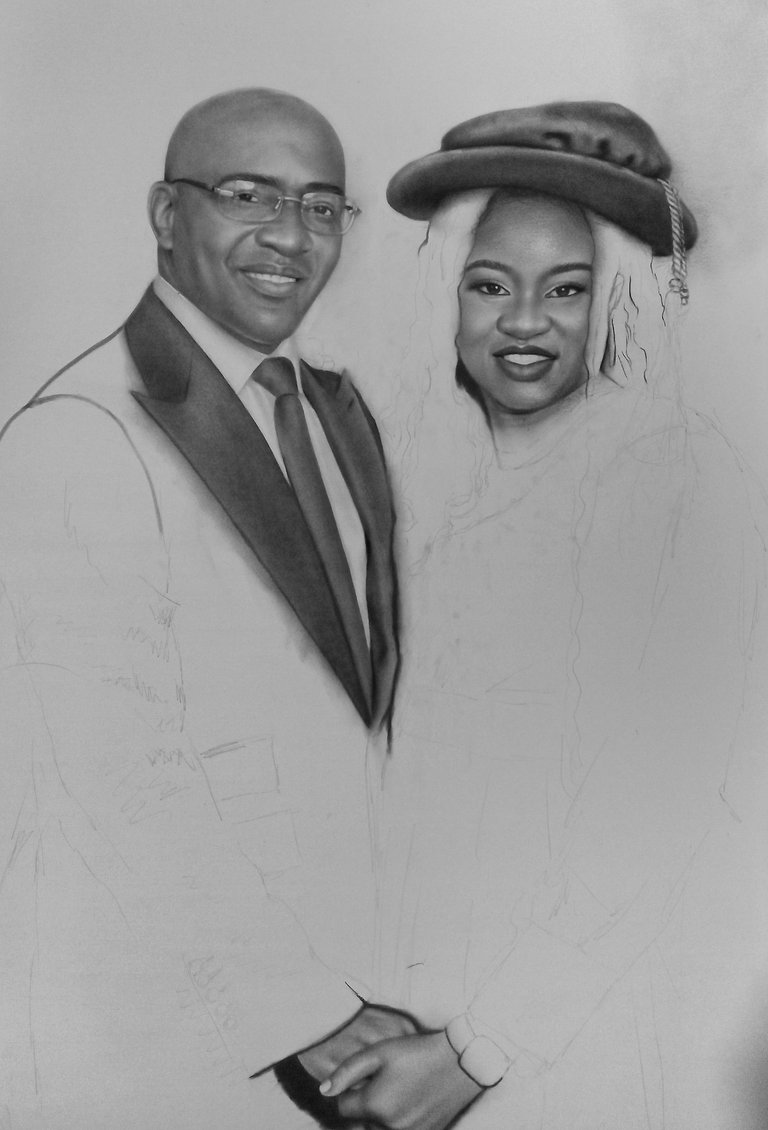
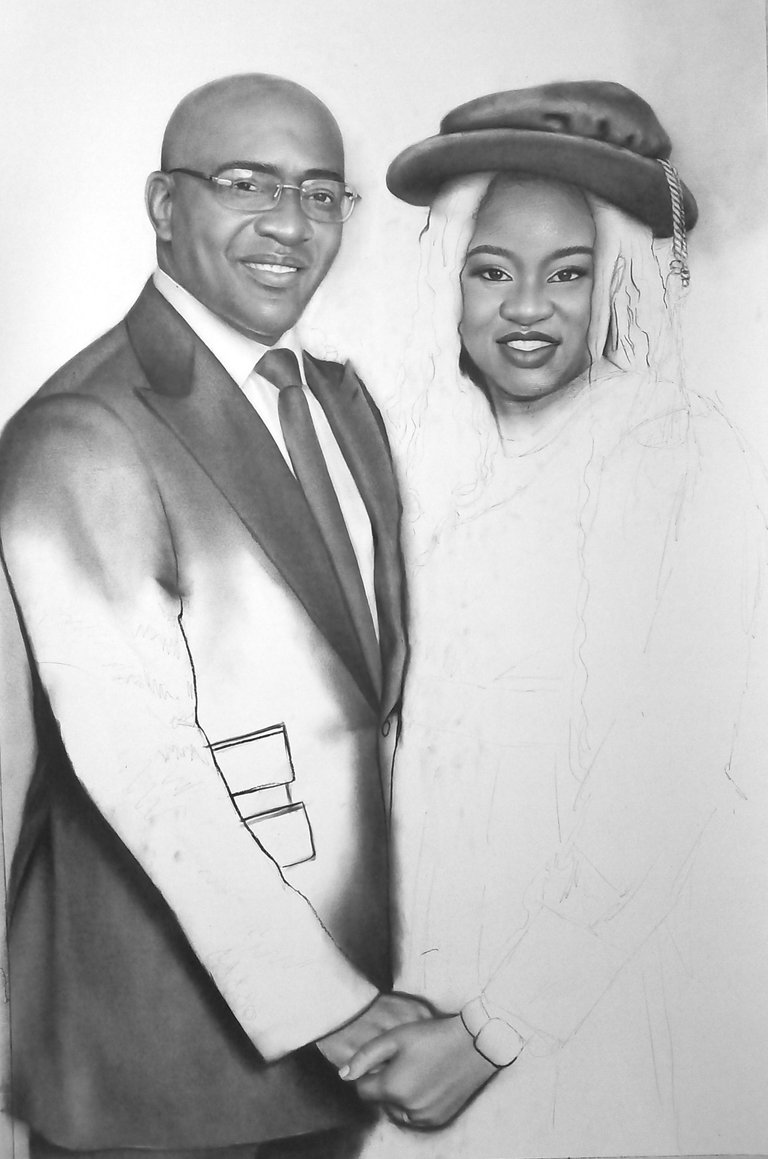
I outline the man's suit and then applied charcoal powder to shade it gradually, carefully noting the folds in the fabric. While this process may take some time, it's important to remember that patience is essential for achieving the desired outcome.
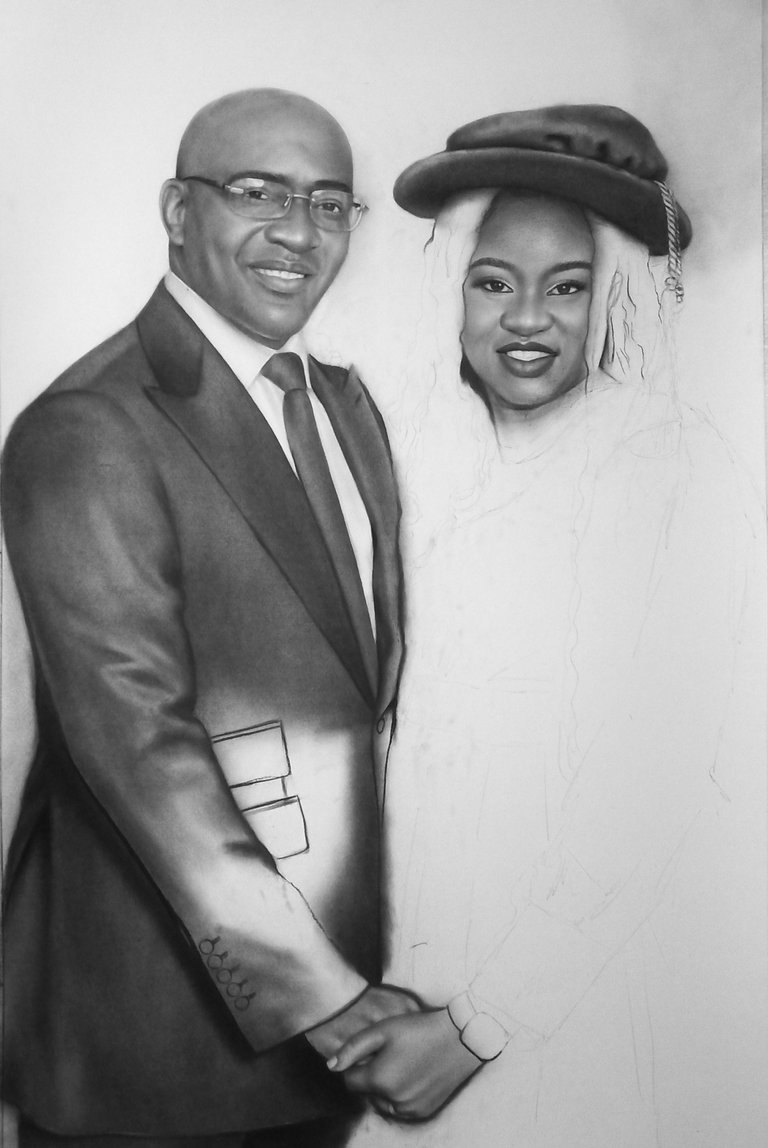
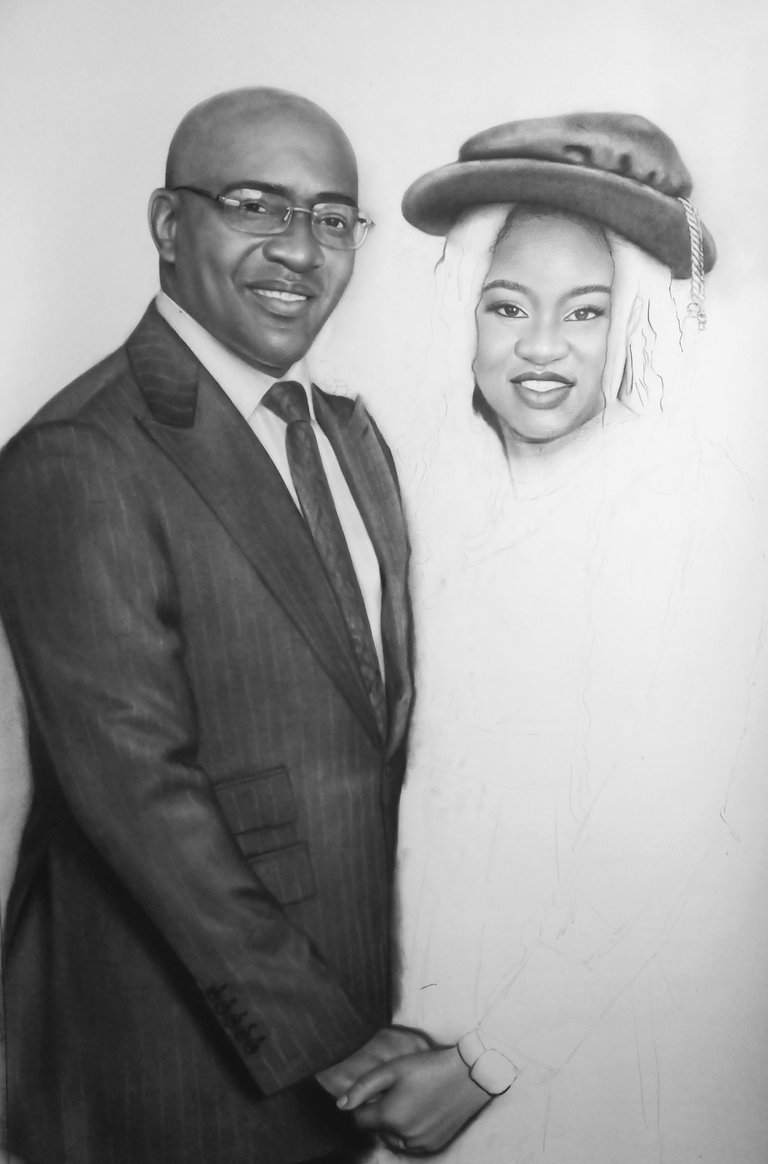
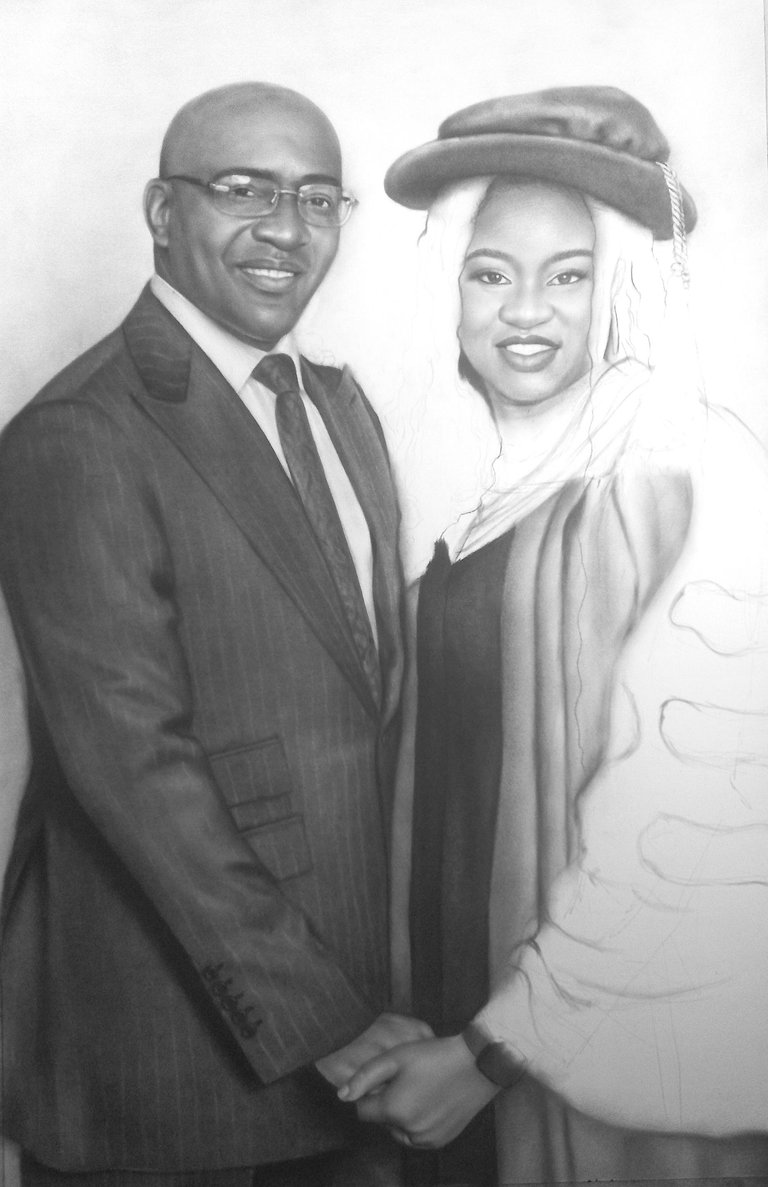
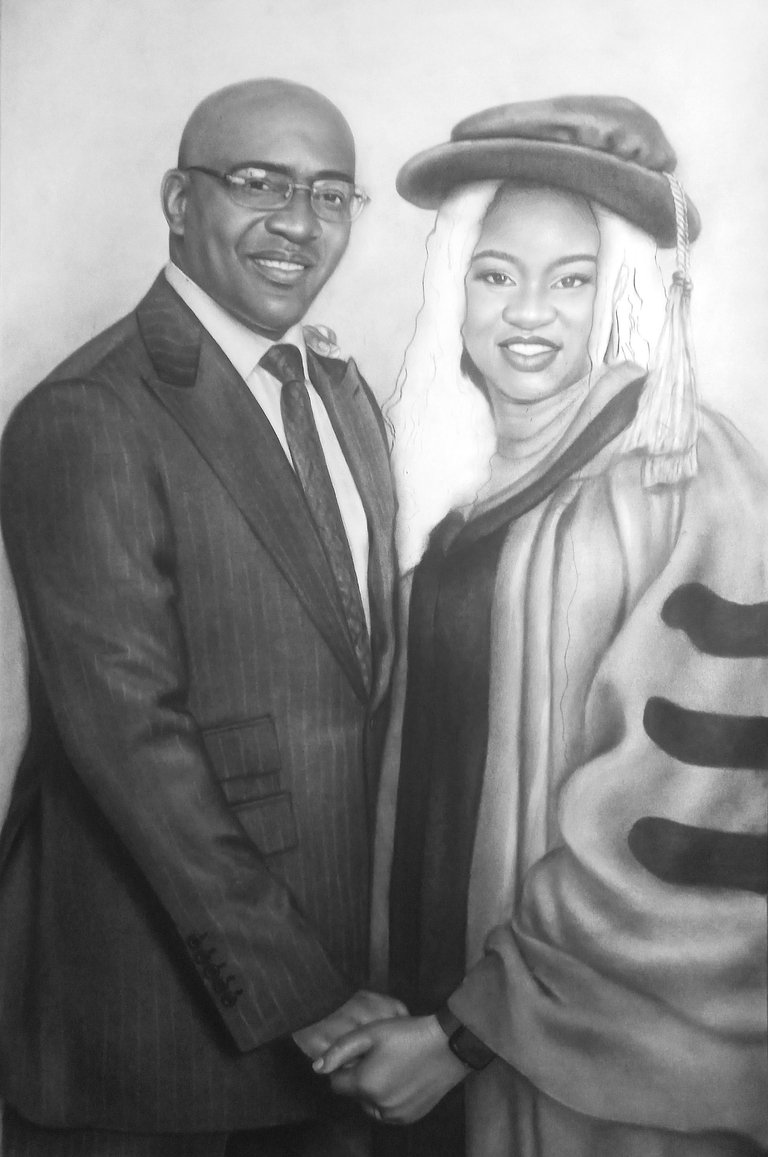
After completing the man's suit, I moved on to the lady's attire. I had to transform her outfit into a Doctorate degree graduation gown. To achieve this, I collected various references to guide me in accurately depicting the garment.
I decided to sketch directly onto the original sketch, as it provided a solid foundation. This approach allowed me to visualize the lady's posture and ensure that the gown would fit her naturally without appearing unrealistic. By incorporating her stance into the sketch, I could create a design that harmonized seamlessly with her body proportions.
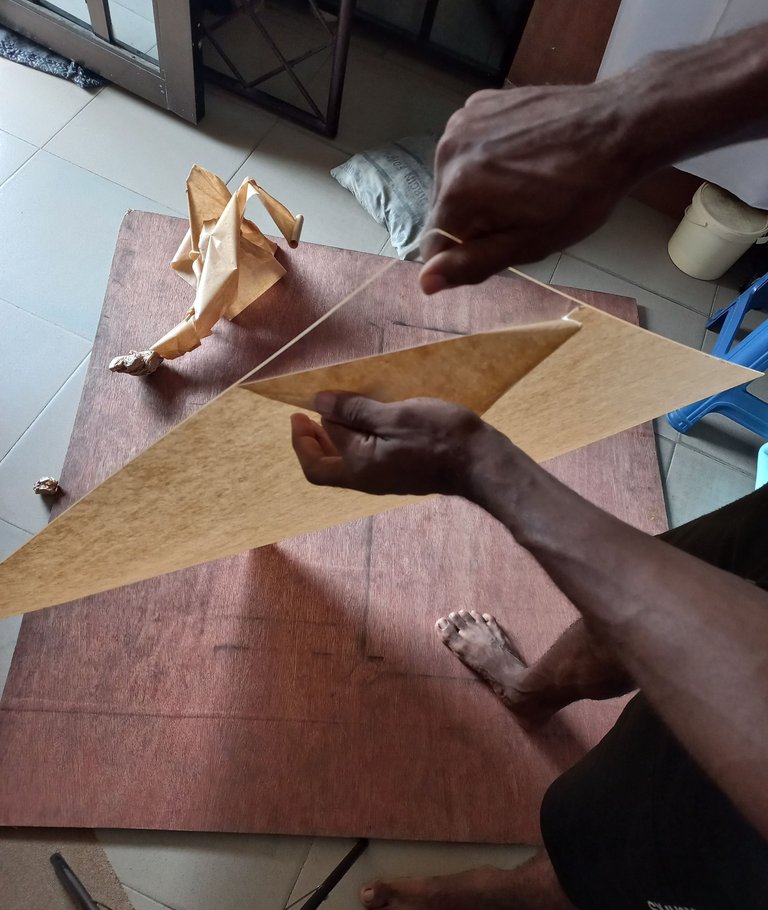
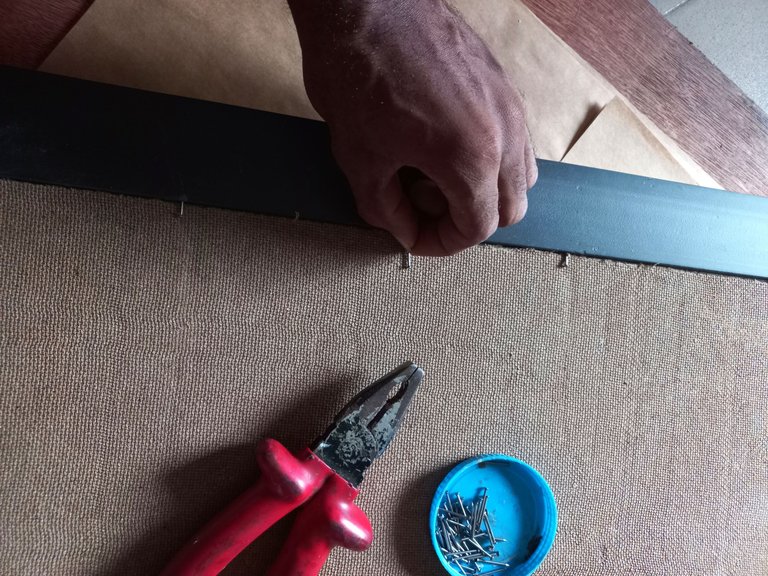
I opted for perspex, also known as acrylic, for framing because it's durable like plastic and less prone to breakage compared to glass. After removing the paper cover on both sides, which was already cut to frame size, I placed the drawing inside and covered it with Brazilian cardboard, securing it with small nails. Finally, I covered the back with brown paper to conceal the nails.
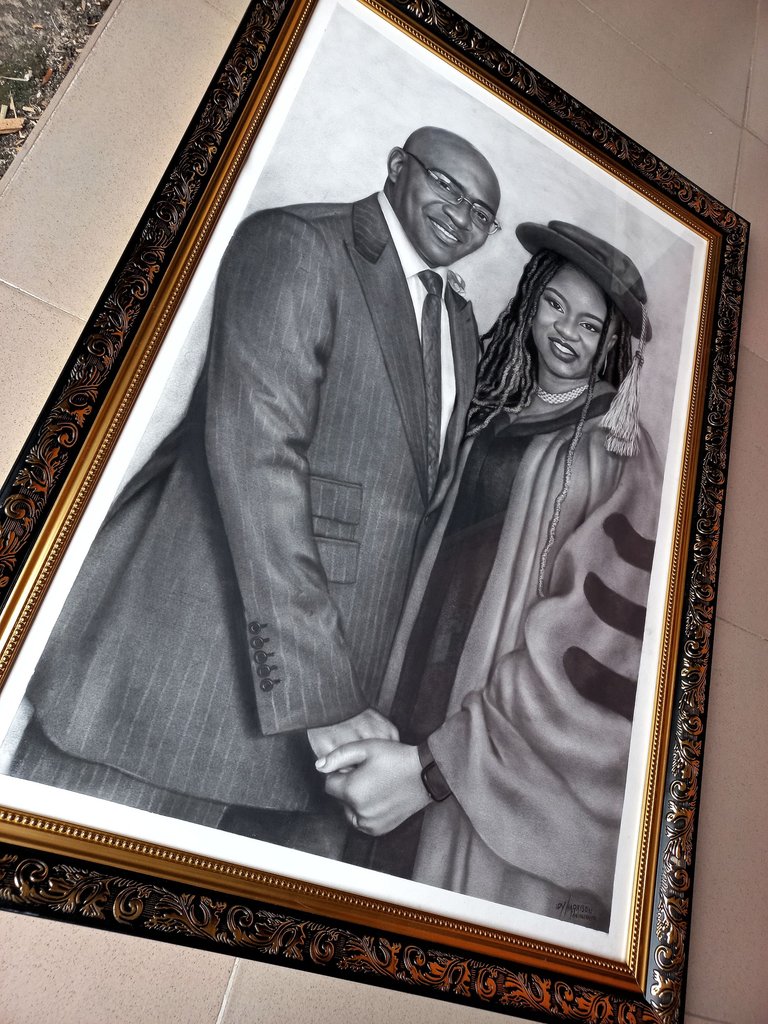
This is what the finished work looks like.

This the reference that I used.
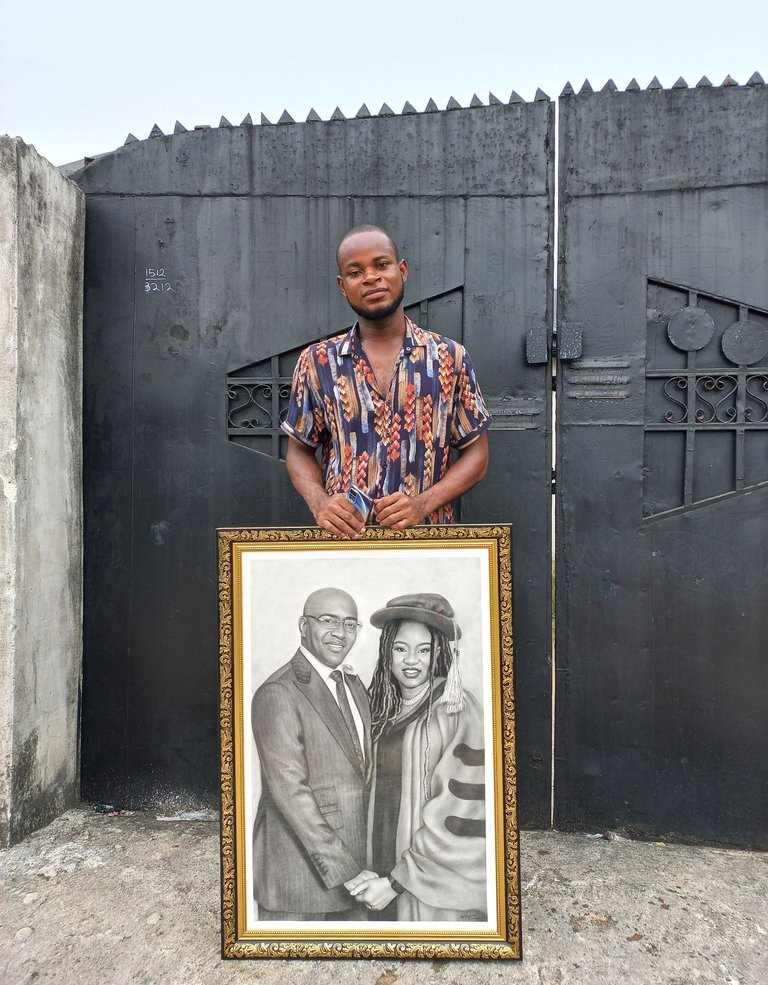
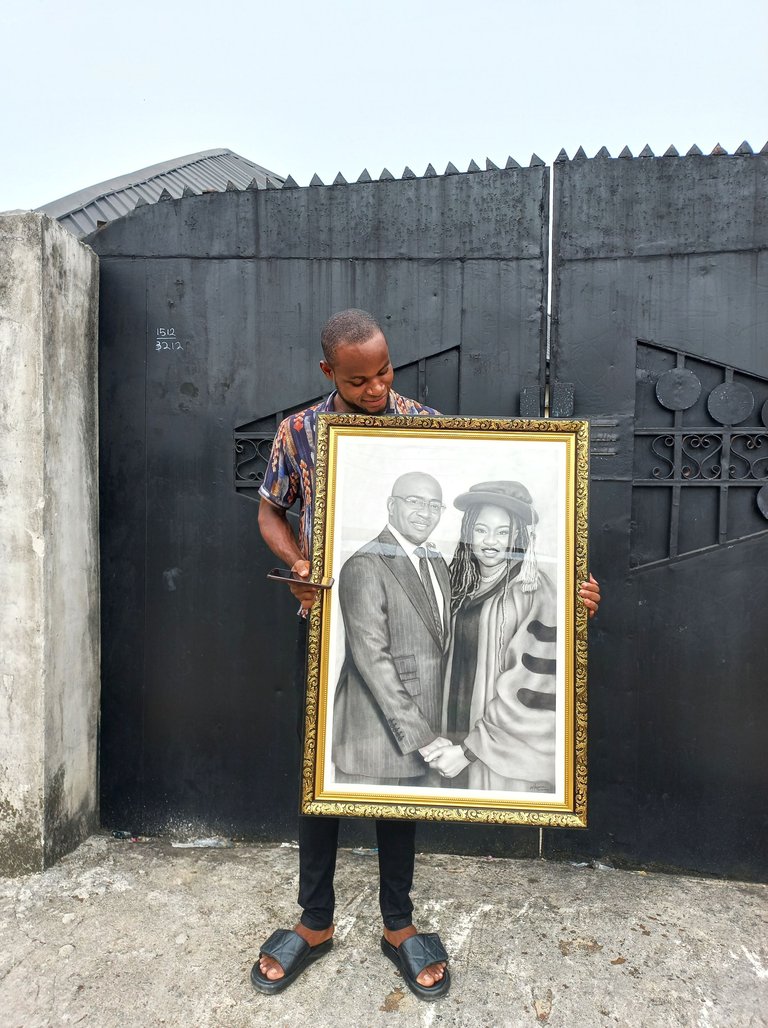
On my way to deliver. The client loved it and pleasure was mine.
Thank you for stopping by. I really appreciate. I would also appreciate your comment.

