Hello, Sketchbook Friends! 💕
It's a pleasure to be here for the first time.
I'll tell you something: somehow art has always appealed to me. I remember I used to love colouring. I had colouring books of my favourite cartoons. I loved to spend hours there. But I didn't dare to draw because I "drew ugly". I liked to do arts and crafts like I saw in Art Attack 😅 but no drawing. And as time went by I became more and more closed to the idea of trying.
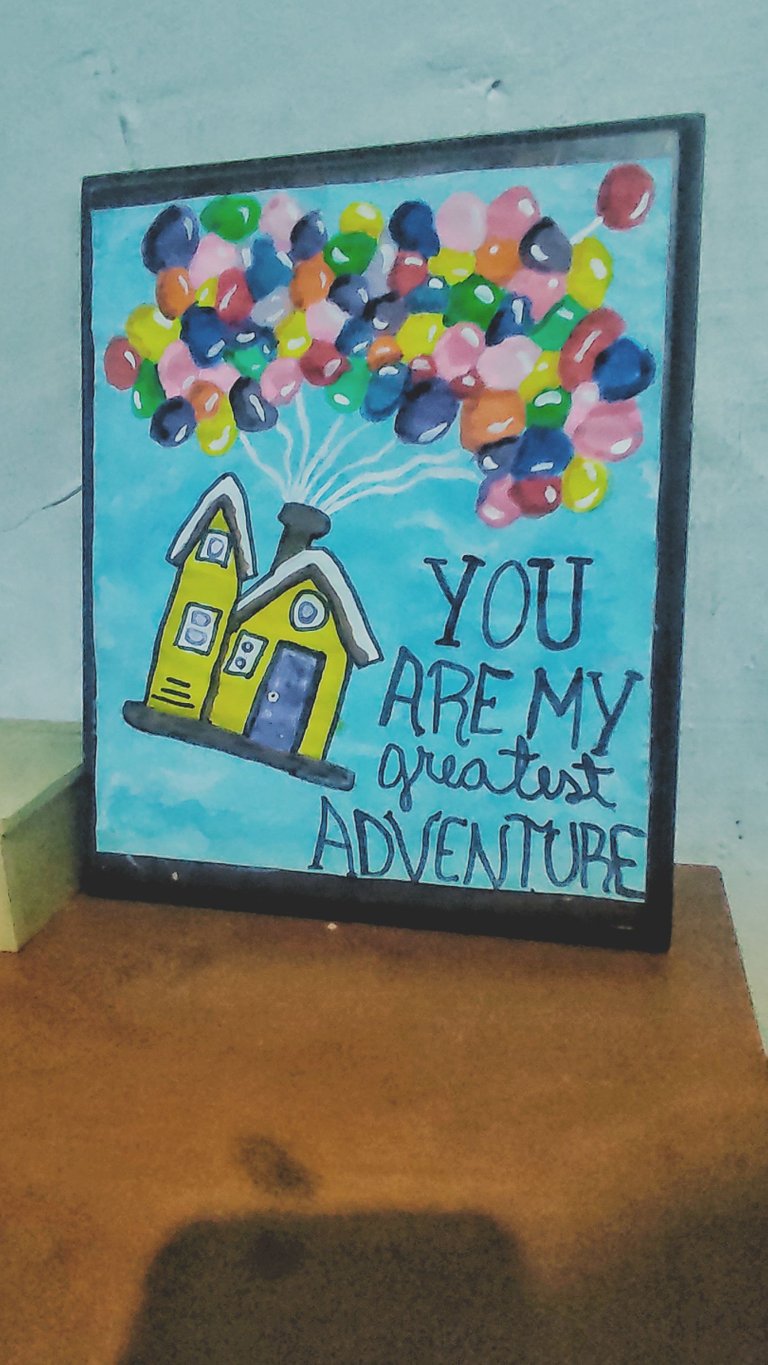
Even as an adult I refused to try or at least dare to learn. Until about two months ago I wanted to give my boyfriend a present and I decided to make a painting inspired by the movie UP.
Honestly, I enjoyed the process. I did it with tempera. Obviously it wasn't perfect, but I liked doing it so much that it sparked that thought of "what if I learn how to paint? What could happen?"
From that moment on, I started watching a lot of watercolour videos for beginners that I found on YouTube. The more I watched, the more I liked it. I started practising with my school watercolours and a Drawing Block that I bought in a small shop in my little town. They are not of the best quality, but for a start I think they are ok.

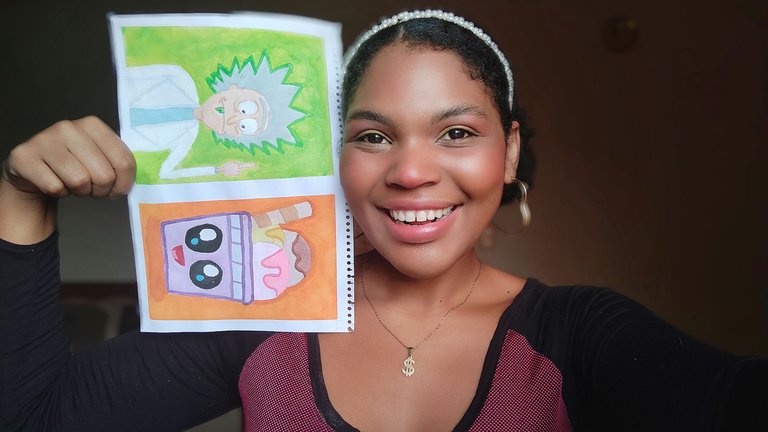
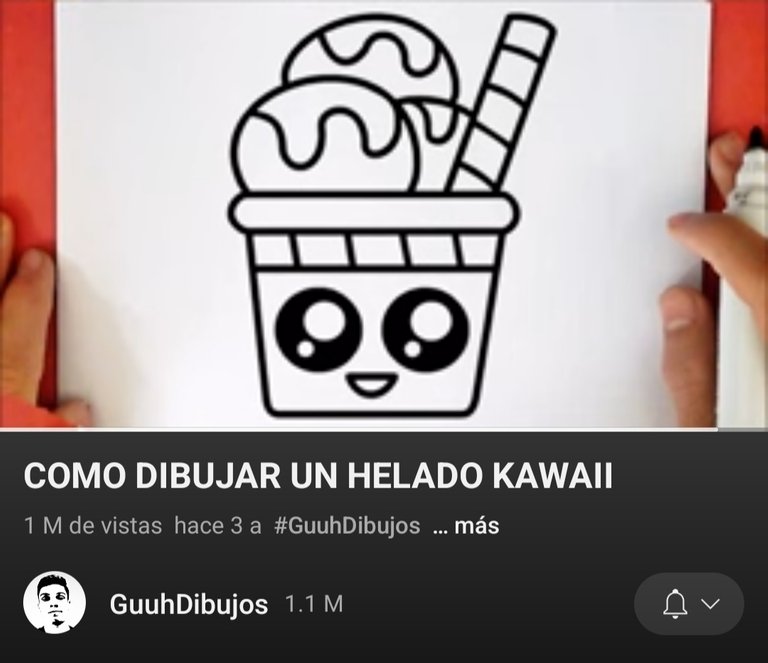
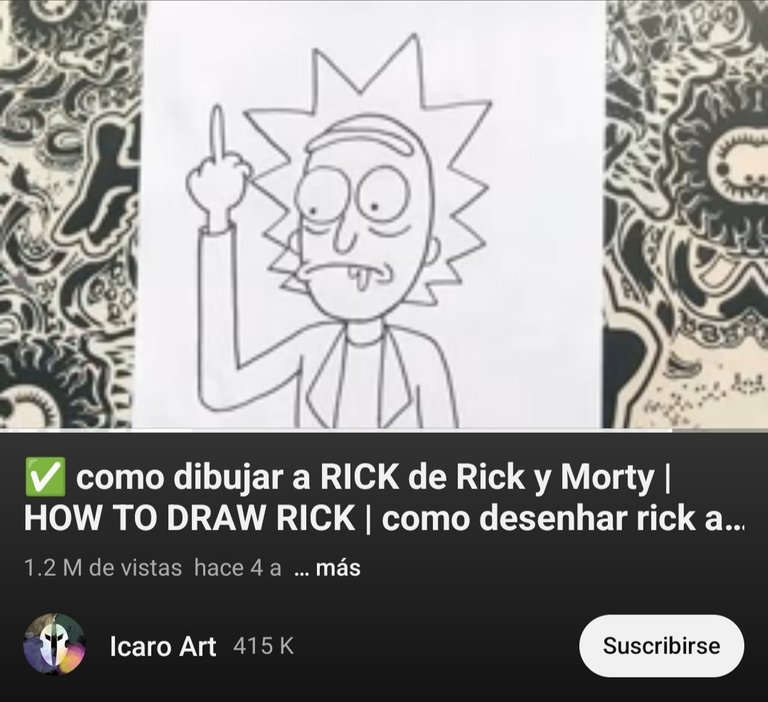
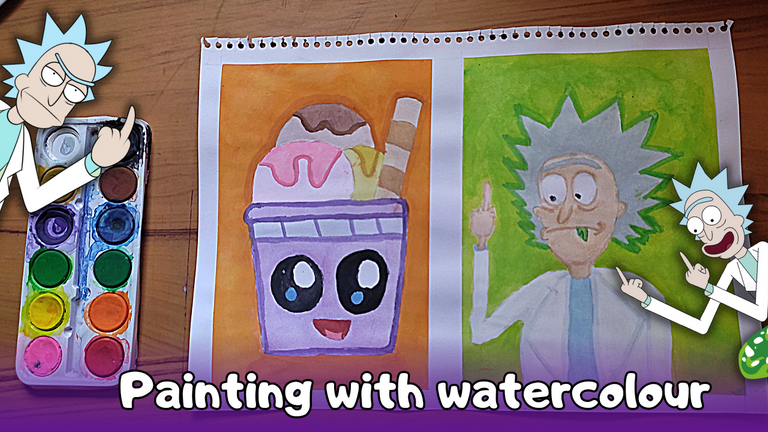
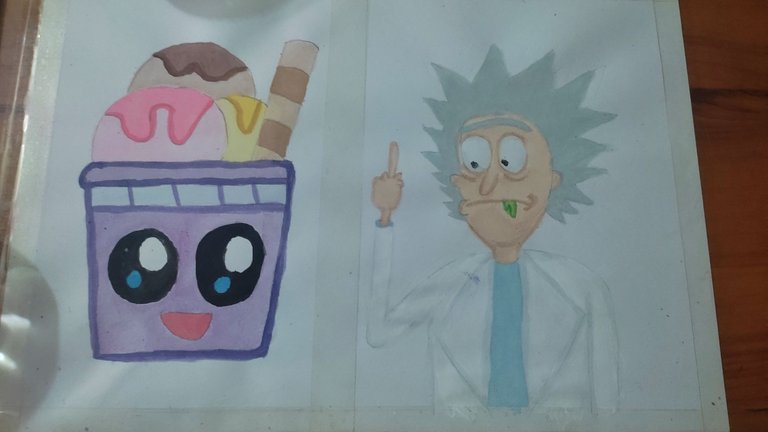
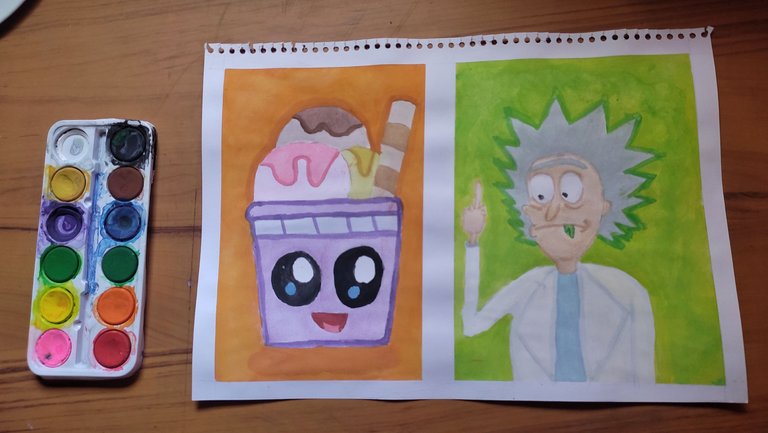
Today I want to show you the last painting I did. Rick Sanchez from Rick & Morty and a nice ice cream. Both of them I made following tutorials on a couple of YouTube videos.
PROCESS ⏳
The ice cream was not so complicated to draw. I used a ruler to draw the straight lines and the rest I did freehand. My hand is not the best, but I think it didn't look too bad.
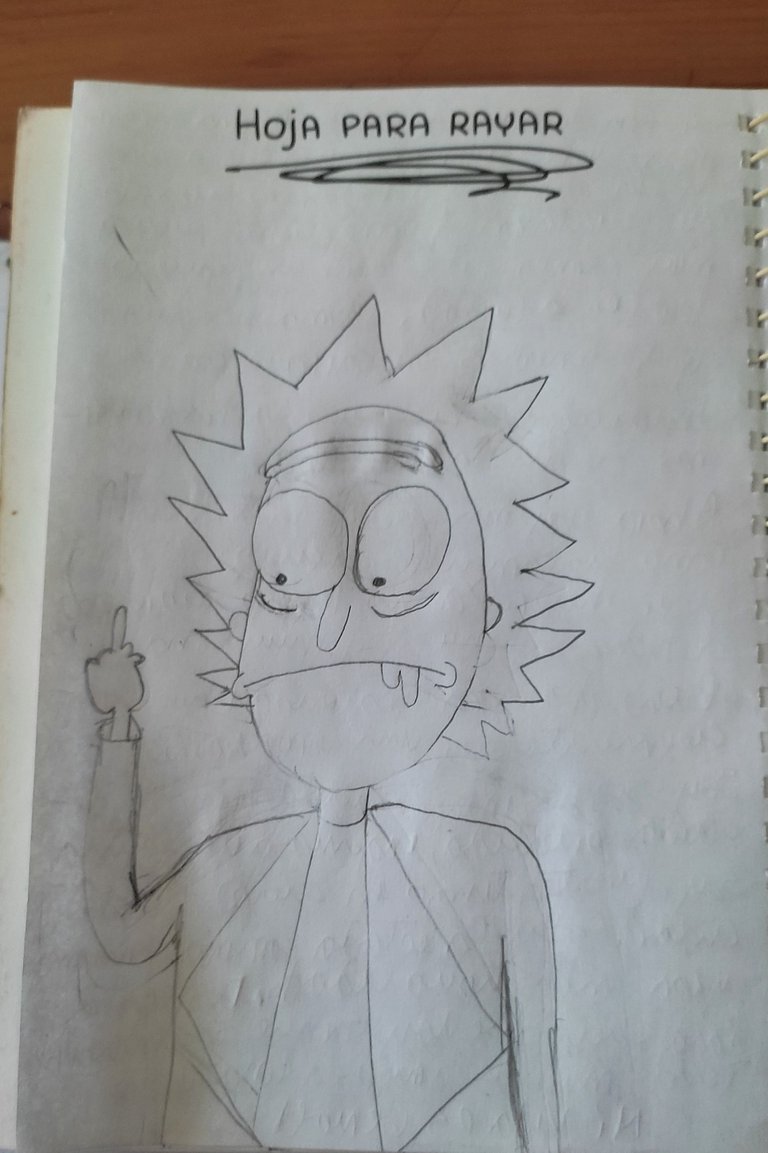
Rick took me much longer. In fact, I made a small sketch beforehand as a practice in my diary. It was funny, especially because the arms were thinner than they should be. But then, as I had already managed to sketch it, I felt confident enough to do it on the cardboard on which I would paint both drawings.
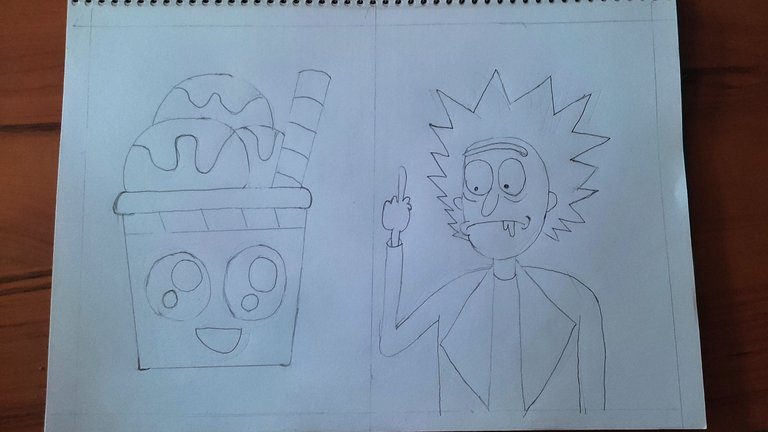
First I prepared my workspace. I taped the cardboard down so that it wouldn't ripple from the humidity of the watercolour. I also prepared two small glasses with water to clean the brush and mix the colours. By the way, the brush is really for nails, but it worked perfectly for me.


PAINTING RICK 🎨
To begin with, what I did was to create the colour of Rick's skin. For that I mixed red and a colour similar to yellow ochre or mustard, with enough water so that the colour came out quite light. I realised that if I used too much red it would darken, so I tried not to use too much. After painting the skin, while it was drying a bit, I mixed the same colours but this time to obtain a darker tone in order to make shadows.
When I was doing the shadows on the face a catastrophe happened: they were too dark and no longer resembled the skin tone I wanted to achieve. Fortunately I was able to fix it, wetting the brush with water and blurring those parts. I didn't know if it was going to work, but when it was completely dry I realised that it was fixable and this time I did make a proper shadow colour.
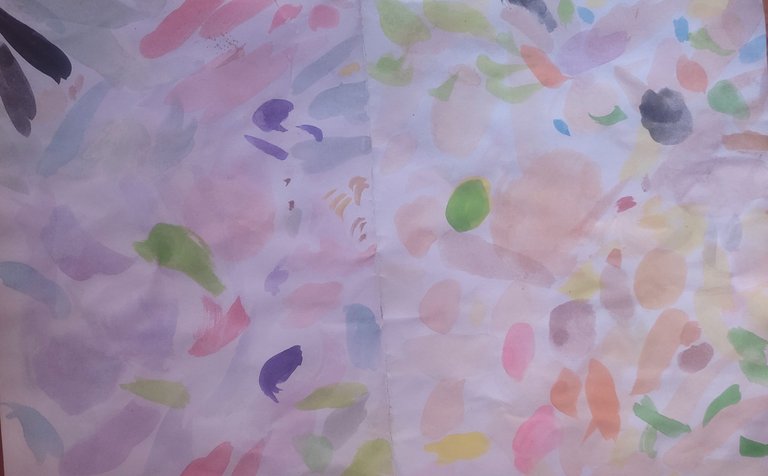
For the hair I mixed a little bit of blue, white and black to get a bluish grey. I did the same to create the colour of the shirt, only this time the predominant colour was blue.
As for the white coat that Rick usually wears, the only thing I did was to shade it with a grey colour that I made by mixing black and white.
And again, something undesirable happened. I spread the shadows too much and the dressing gown no longer looked white. To fix it I applied two coats of white tempera. It worked. And that was it.

PAINTING CHIBI ICE CREAM 🎨
Regarding the ice cream, first I painted the container with a purple super diluted with water, so that it would be clear. I did the same with the ice cream balls. In one I used a pink mixed with a little bit of red, because I wanted it to be strawberry, the topper of the ice cream is the same colour only darker, in the other one I used a very light yellow and then ochre mixed with yellow for the topper because it was supposed to be buttery. In the case of the chocolate ball, I just used the brown colour diluted and then more concentrated for the topper.
I then proceeded to paint the eyes, a blue dot and the background black. I left a white space to simulate the brightness of the eyes, very Cartoon style.
To finish that part, I outlined the container with a more concentrated purple.
I had both drawings ready and coloured. I thought they looked good. But I wanted to do a background, even though I was afraid of damaging what I had achieved. But I dared and I thought: "If you are afraid of dying, don't be born", and I started with the background of both drawings.

BACKGROUND 🎨
RICK 🎨
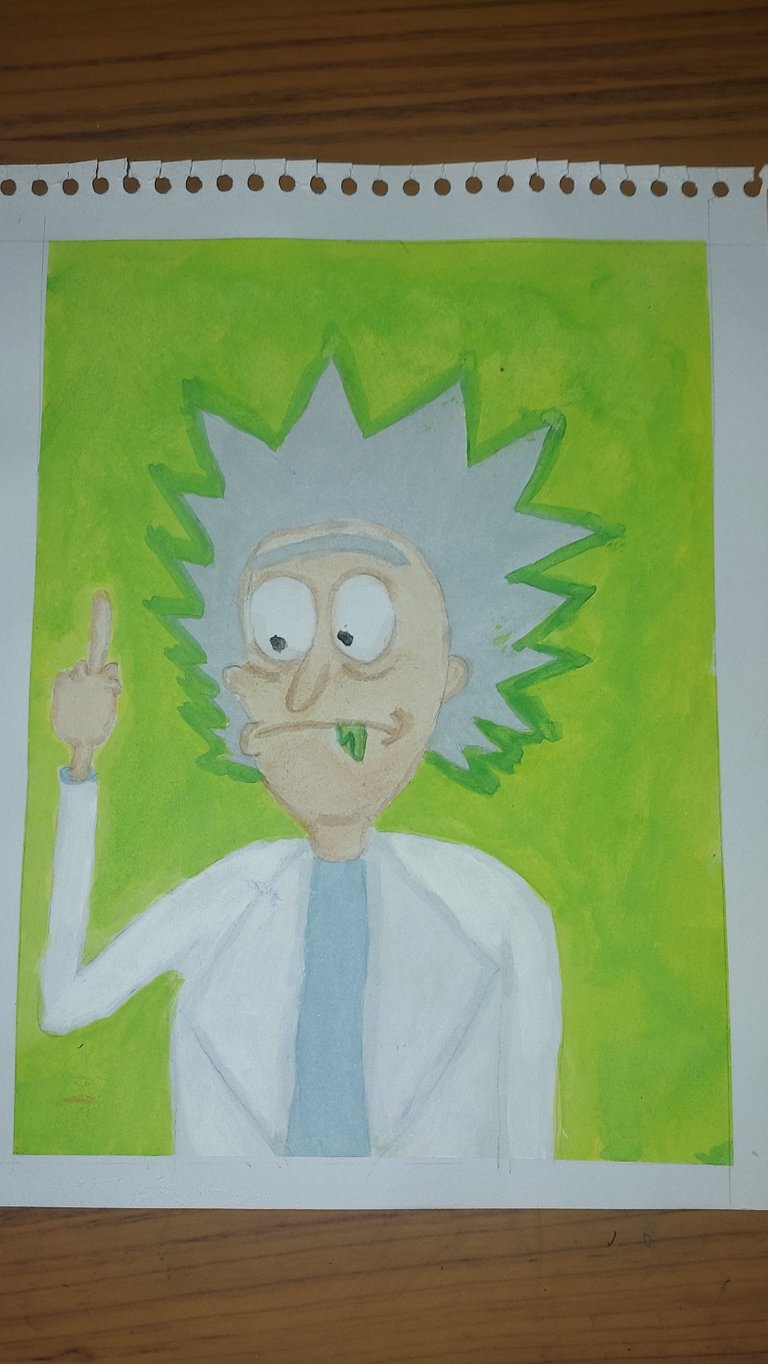
For Rick's I was inspired by an image I saw on pinterest, I didn't do it the same way because it seemed too complicated for my level, so what I did was to paint the whole background in yellow first, and then with a green mixed with a bit of yellow I started to paint over it with wavy movements. I wanted the mixture of colours to be visible and for the background not to be totally flat. To finish this drawing I wanted to highlight Rick's hair and for that I outlined his hair with green paint a bit stronger than the background.
CHIBI ICE CREAM 🎨
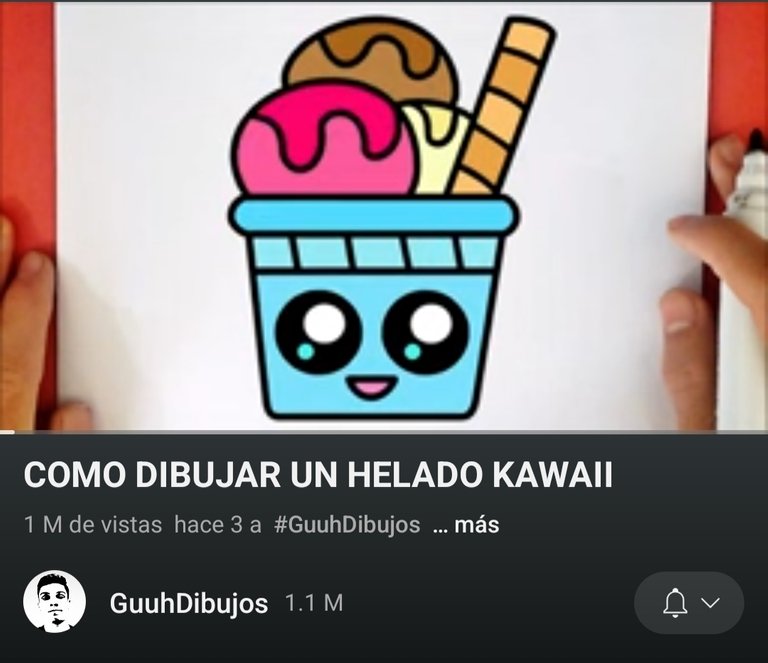
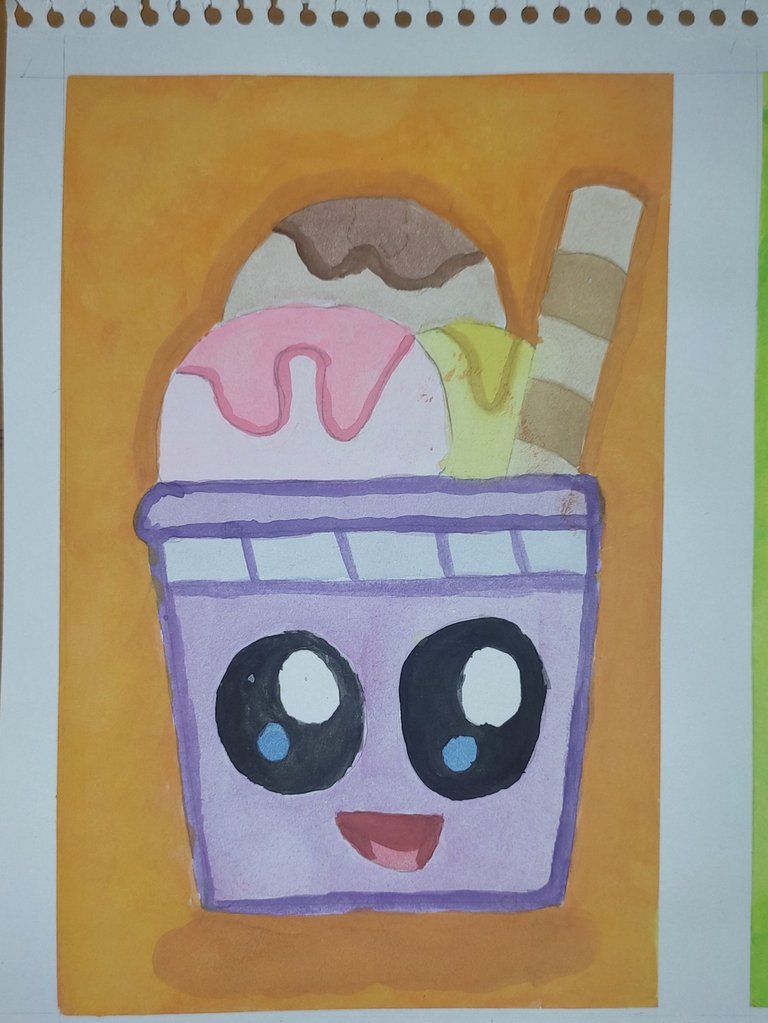
In the case of the ice cream background, I painted it all with a super concentrated orange and when it was still wet, I mixed orange with yellow to paint over some parts with circular movements, the same as in the previous background.
When it was completely dry I wanted to make a shadow under the ice cream and around the balls, and for that, I mixed the orange with a bit of brown.
And so, I finished my paintings. It took me about 5-6 hours to do everything. I was really satisfied and I was very proud to see the result. I know it's not perfect but as I'm learning, it's amazing that I was able to do that after not trying for years. I think we have to celebrate our small achievements.
RESULT 🎨
Thank you so much for reading my process. If you have any tips for painting with watercolours, they are more than welcome.

Sticker 1, 2
Cover made in Canva
Visual identity by @pentaghast

¡Hola, amigos de Sketchbook!💕

Es un gusto estar aquí por primera vez.
Les contaré algo: de alguna manera el arte siempre me ha gustado. Recuerdo que me encantaba colorear. Tenía libros para colorear de mis caricaturas favoritas. Amaba pasar horas allí. Pero no me atrevía a dibujar porque "dibujaba feo". Me gustaba hacer manualidades de esas que veía en Art Attack 😅 pero nada de dibujos. Y con el paso del tiempo más me cerraba a la idea de intentarlo.

Incluso siendo adulta me negaba a intentarlo o al menos atreverme a aprender. Hasta unos dos meses que quise hacerle un regalo a mi novio y decidí que fuera un cuadro inspirado en la película UP.
Honestamente, disfruté el proceso. Lo hice con temperas. Obviamente no me quedó perfecto, pero me gustó tanto hacerlo que despertó en mi ese pensamiento de "¿y si aprendo a pintar? ¿Qué podría pasar?"
Desde ese momento, empecé a ver muchos videos de acuarela para principiantes que encontré en YouTube. Mientras más veía, más me gustaba. Empecé a practicar con mis acuarelas escolares y un Block de dibujo que compré en una pequeña tienda en mi pueblito. No son de la mejor calidad, pero para empezar creo que están bien.


Hoy les quiero mostrar la última pintura que hice. A Rick Sanchez de Rick & Morty y un lindo helado. Ambos los hice siguiendo tutoriales en un par de videos de YouTube.
PROCESO ⏳
El helado no fue tan complicado de dibujar. Para ello me apoyé de una regla para trazar las líneas rectas y el resto lo hice a mano alzada. Mi pulso no es el mejor, pero creo que no quedó tan mal.

Rick me costó mucho más. De hecho antes hice un pequeño boceto a modo de práctica en mi agenda. Quedó gracioso, sobretodo por los brazos que quedaron más delgados de lo que deberían. Pero luego como ya lo había logrado bocetar, sentí la confianza para hacerlo en la cartulina en la que pintaría ambos dibujos.

Primero preparé mi espacio de trabajo. La cartulina la prensé con cinta adhesiva para que no se ondulara por la humedad de la acuarela. También preparé dos vasitos con agua para limpiar el pincel y mezclar los colores. Que por cierto, el pincel realmente es para uñas, pero me funcionó perfecto.


PINTAR A RICK 🎨
Para empezar, lo que hice fue crear el color de la piel de Rick. Para eso mezclé el rojo y un color parecido al amarillo ocre o mostaza, con agua suficiente para que el color saliera bastante claro. Me di cuenta que si usaba el rojo en mayor proporción se oscurecía, por eso procuré de no usar tanto. Luego de pintar la piel, mientras se secaba un poco, fui mezclando esos mismos colores pero esta vez para obtener un tono más oscuro de manera de hacerle sombras.
Cuando estaba haciendole la sombras al rostro ocurrió una catástrofe: quedaron muy oscuras y ya no se parecía al tono de piel que quería lograr. Afortunadamente pude arreglarlo, humedeciendo el pincel con agua y difuminando esas partes. No sabía si iba a funcionar, pero cuando se secó totalmente me di cuenta que se podía arreglar y esta vez si le hice un color de sombras adecuado.

Para el cabello mezclé un poquito de azul, blanco y negro para obtener un gris azulado. Lo mismo hice para crear el color de la camisa, solo que esta vez el color predominante fue el azul.
Con respecto a la bata blanca que suele usar Rick, lo único que hice fue darle sombra con color gris que hice mezclando el blanco y el negro.
Y otra vez, pasó algo indeseable. Extendí mucho las sombras y la bata ya no se veía blanca. Para arreglarlo le pasé dos capas de tempera blanca. Funcionó. Y con eso quedó listo.

PINTAR EL HELADO CHIBI 🎨
Con respecto al helado, primero pinté el envase con un púrpura super diluido con agua, para que quedara claro. Hice lo mismo con las bolas de helado. En una usé un rosa mezclado con un poquito de rojo, porque quería que fuera de fresa, el topper del helado es del mismo color solo que más oscuro, en la otra usé un amarillo muy clarito y luego el ocre mezclado con amarillo para el topper porque se supone que era de sabor mantecado. En el caso de la bola de chocolate, sólo usé el color marron diluido y luego más concentrado para el topper.
Luego procedí a pintar los ojos, un punto azul y el fondo negro. Le dejé un espacio en blanco para simular el brillo de los ojos, muy estilo Cartoon.
Para finalizar esa parte, delinee el envase con un púrpura más concentrado.
Ya tenía listos y coloreados ambos dibujos. Me pareció que habían quedado bien. Pero quería hacerle fondo aunque tenía mucho miedo de dañar lo logrado. Pero me atreví y pensé: "el que tenga miedo a morir que no nazca", y empecé con el fondo de ambos dibujos.

EL FONDO 🎨
RICK 🎨

Para el de Rick me inspiré en una imagen que vi en pinterest, no lo hice igual porque me parecía muy complicado para mí nivel, así que lo que hice fue pintar primero todo el fondo de amarillo, y luego con un verde mezclado con un poco de amarillo empecé a pintar encima con movimientos ondulados. Quería que se viera la mezcla de colores y que el fondo no fuese totalmente plano. Pa finalizar este dibujo quise resaltar el cabello de rick y para ello le hice un delineado a su cabello con pintura verde un poco más fuerte que el fondo.
HELADO CHIBI 🎨


En el caso del fondo del helado, lo pinté todo con un naranja super concentrado y cuando aún estaba húmedo, mezclé naranja con el amarillo para pintar encima algunas partes con movimientos circulares, igual que en el fondo anterior.
Cuando se secó totalmente quise hacerle una sombra debajo del helado y alrededor de las bolas, y para ello, mezclé el naranja con un poco de marrón.
Y así, terminé mis pinturas. Me tardé aproximadamente 5-6 horas haciendo todo. La verdad quedé satisfecha y me sentí muy orgullosa al ver el resultado. Sé que no es perfecto pero como estoy aprendiendo, es increíble que haya podido hacer eso luego de no intentarlo por años. Creo que hay que celebrar nuestros pequeños logros.
RESULTADO 🎨

Muchas gracias por leer mi proceso. Sí tienen consejos para pintar con acuarelas, son más que bienvenidos.

Sticker 1, 2
Portada hecha en Canva
Identidad visual por @pentaghast

