Hello friends I hope you are doing well, I come to share with you this face practice I did using a reference the result was very different from what I expected but I liked it anyway I know that I must improve in some aspects of technique but with practice you will see in which points are my weakness and I will improve them, I want to learn to draw better faces and make them more real because my style is a little comic but the good thing is that practice makes perfect so here is the process.
- Hola amigos que tal están espero que bien , vengo a compartir con ustedes esta practica de rostro que hice usando una referencia el resultado fue muy diferente de lo que esperaba pero me gusto de todas formas se que debo mejorar en algunos aspectos de técnica pero con la practica se van viendo en que puntos son mi debilidad y los voy a mejorar, quiero aprender a dibujar mejor rostros y hacerlos mas reales ya que mi estilo es un poco comic pero lo bueno es que la practica hace al maestro así que a continuación el proceso.
PROCESO/PROCESS
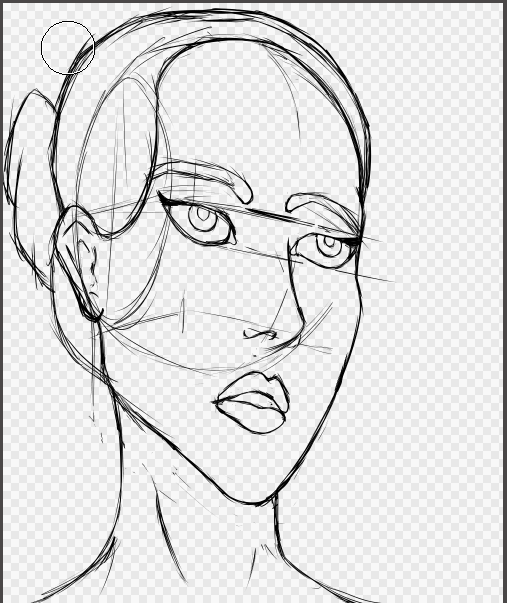
STEP 1: SKETCH
Using the reference image I started making a circle then divide the parts of the eyes nose and mouth add the hair, to make the sketch I used the normal pen tool when trying to do everything at the same time the proportions were not the best but everything is practice.
PASO 1 :BOCETO
Usando la imagen de referencia empecé haciendo un circulo luego dividir las partes de los ojos nariz y boca agregue el cabello, para hacer el boceto utilice la herramienta pluma normal al intentar hacer todo la mismo tiempo las proporciones no fueron las mejores pero todo es practica.
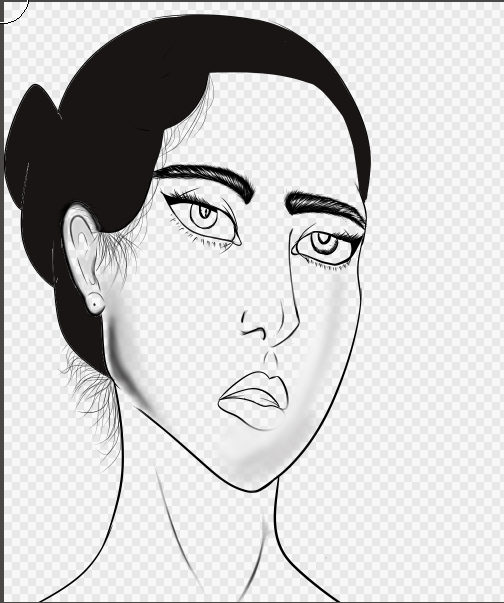
STEP 2 : LINEART
Then in another layer I made the cleanest lineart I could lol since I also have to practice making clean lineart but I really liked the process of doing it since you have to be concentrated and calculate the stroke well.
PASO 2 : LINEART
Luego en otra capa hice el lineart mas limpio que pude lol ya que también tengo que practicar a hacer los lineart limpios pero me gusto mucho el proceso al hacerlo ya que hay que estar concentrado y calcular bien el trazo.
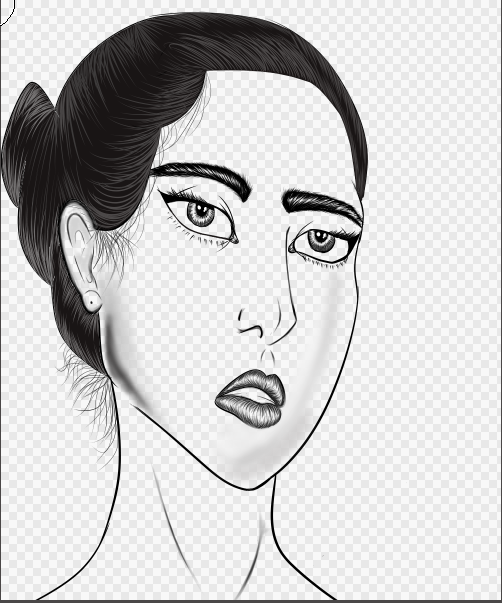
STEP 3 : DETAILS
In this layer I gave details with the feather to the eyes, eyebrows and lips and also to the hair and I added some loose hair details so it doesn't look so flat.
PASO 3 : DETALLES
En esta capa le di detalles con la pluma a los ojos cejas y labios y también al cabello además agregue unos detalles de cabello suelto para que no se vea tan plano.
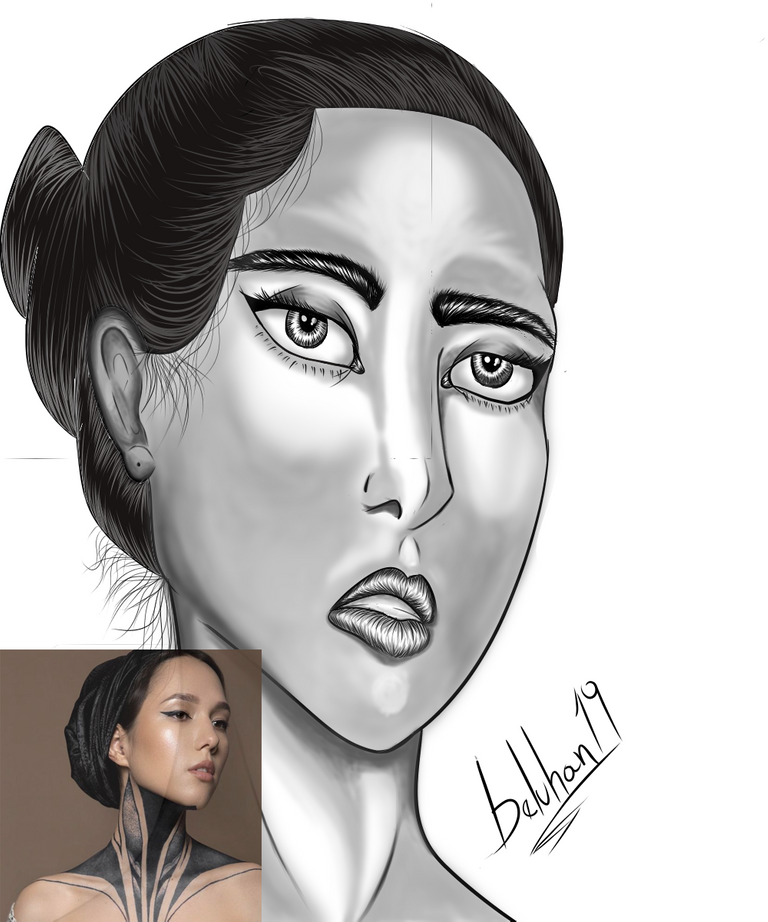
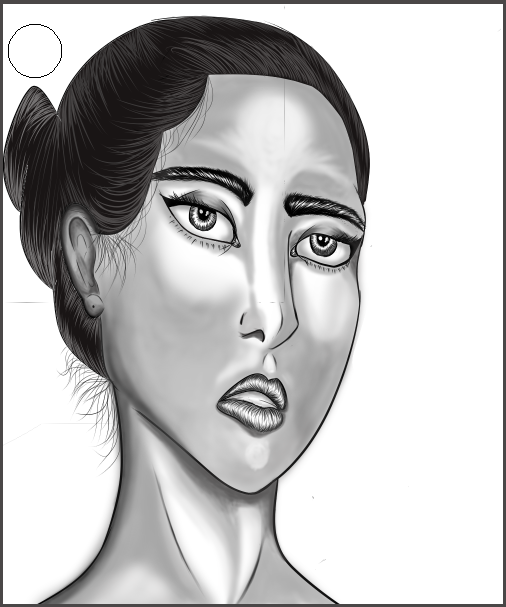
To finish the drawing I added shadows and lights, first I added a gray tone as close to the gray color of the graphite blur, then I added lights from where the point of light was coming from and some dark tones in some parts to give a little depth.
I hope you liked the result of this practice and I will continue teaching you my next practices to improve my techniques in drawing.
Para terminar el dibujo agregue sombras y luces , primero agregue un tono gris lo mas cercano a el color gris del difuminado en grafito luego agregue luces desde donde el punto de luz venia y unos tonos oscuros en algunas partes para dar un poco de profundidad.
Espero les haya gustado el resultado de esta practica y les seguiré enseñando mis siguientes practicas para ir mejorando mis técnicas en el dibujo.
- All the images with captures made by me.
- Todas las imágenes con capturas realizadas por mi.