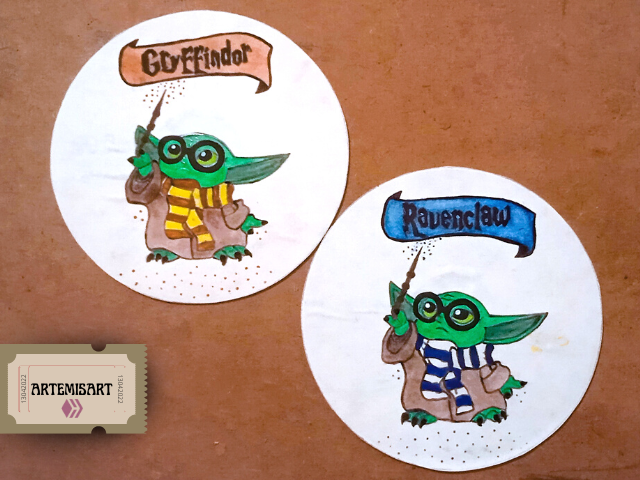


Saludos hivsarticos. Hoy les comparto un pequeño regalo que le he hecho a mi novio. Sencillo y colorido. Disfrutenlo. .
Greetings hivsarticos. Today I share with you a small gift I made for my boyfriend. Simple and colorful. Enjoy it.

-2 cd's
-Brushes
-A pencil
-Paint.
-Glue and scissors
-2 cd's
-Pinceles
-Un lapiz
-Pintura.
-Pegamento y tijeras

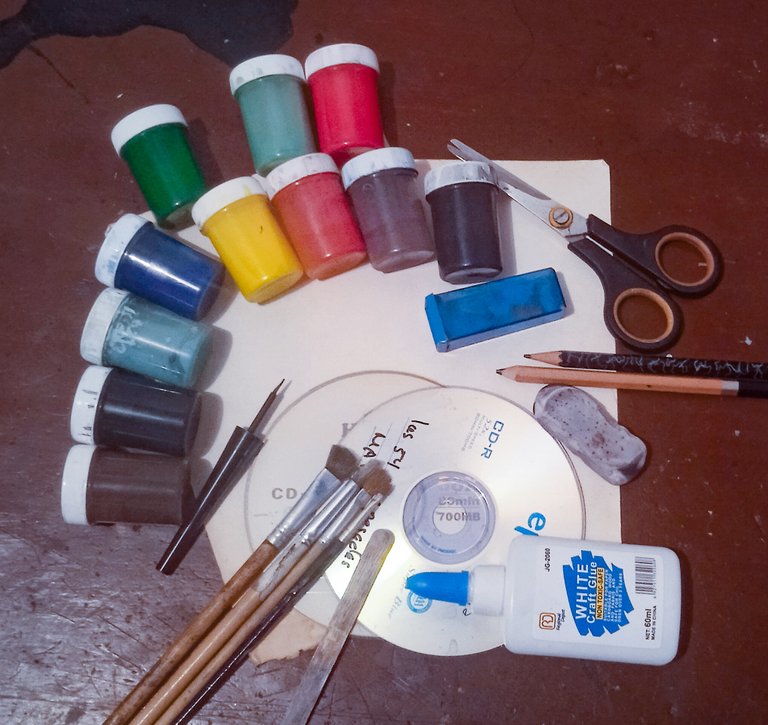
1. Para poder empezar, primero tendremos a la mano todos los materiales que necesitamos en un sitio tranquilo para trabajar, es muy importante para que nos sintamos cómodos.
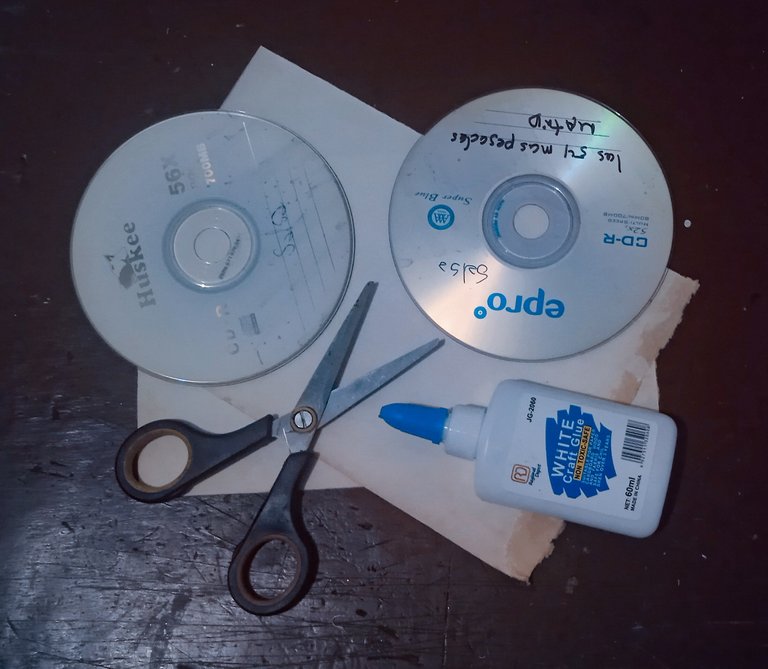
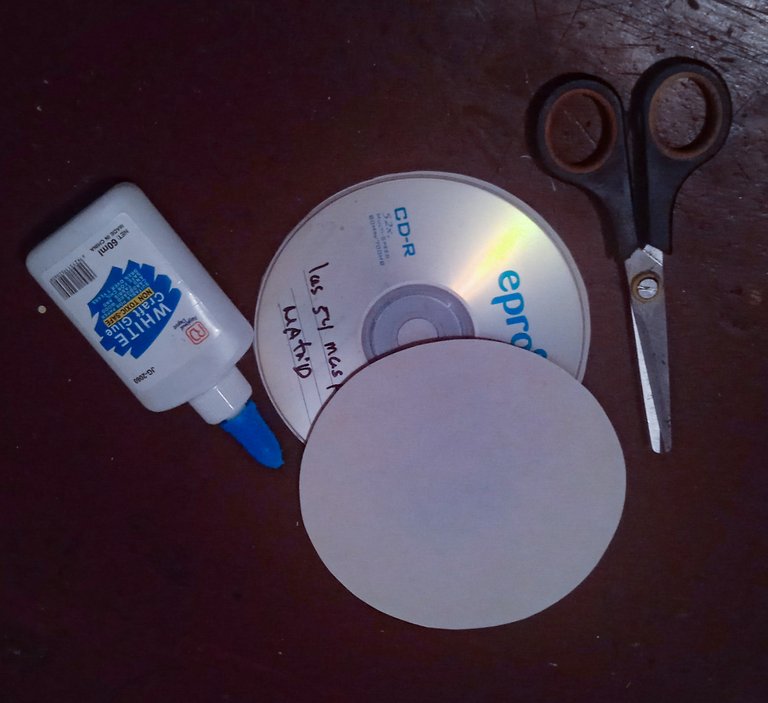
2. Luego Pegaremos con pega escolar la hoja del libro a nuestro cd y dejaremos secar. Es importante que esté bien distribuida la pega en toda la caratula del cd (o lo que se considera la portada) para que no se despegue con facilidad. Luego de secarse podemos cortar el resto de la hoja que nos sobra con una tijera, siguiendo el borde del cd.
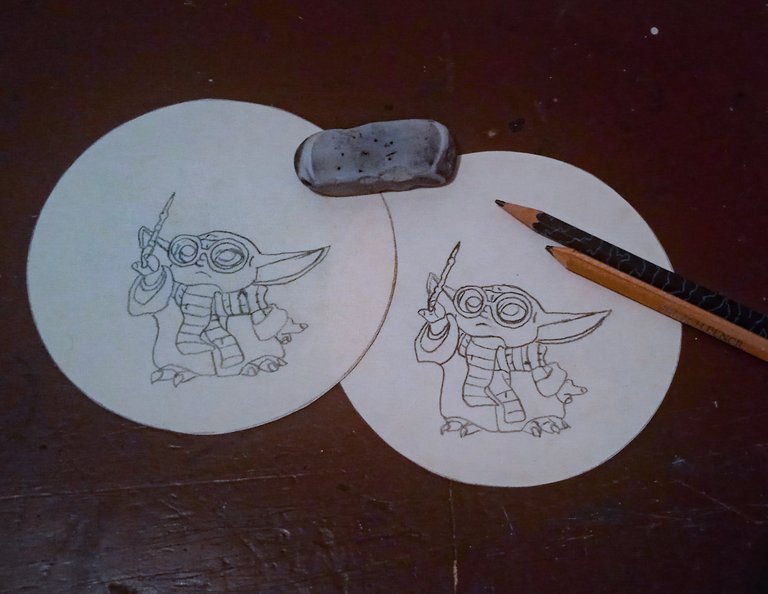
3. Luego con un lapiz dibujaremos lo que queramos, en mi caso dibujé un pequeño baby yoda (Star Wars) con la bufanda de las casas de Hoghwarts (Harry Potter) y sujetando una varita. .
1. In order to get started, first we will have all the materials we need at hand in a quiet place to work, it is very important for us to feel comfortable.
2. Then we will glue with school glue the sheet of the book to our cd and let it dry. It is important that the glue is well distributed throughout the CD cover (or what is considered the cover) so that it does not come off easily. After it dries we can cut the rest of the remaining sheet with a scissors, following the edge of the cd.
3. Then with a pencil we will draw what we want, in my case I drew a little baby yoda (Star Wars) with the scarf of the Hoghwarts houses (Harry Potter) and holding a wand.


4. Luego podremos iniciar con la pintura, pero antes de rellenar, pintaremos los bordes con negro y un delineador. Esto le dará más solides a la pintura.
5. Luego con el verde mas similar al personaje, aplicaremos pintura en las partes de su cuerpo descubierto. En mi caso hice varias pruebas para lograr obtener el color más exacto posible. Es algo muy importante cuando se le da color a un personaje reconocido como este.
6. También con un tono más oscuro no olvidemos pintar lo que sería el interior de sus orejas.
7. Luego agregaremos pintura marron para su ropa, es una pequeña toga de color marron claro que siempre lleva consigo.
8. También pintaremos de marron la varita hecha de madera según la historia.
9. Para los ojos el verde será un poco similar pero añadiremos un poco de amarillo para diferenciar y ademas de agregar el negro para la pupila y un poco de blanco para el reflejo de la luz. También aplicaremos negro para sus garritas.
10. Luego será el momento de pintar las bufandas con los colores característicos de cada casa. Para uno será amarillo con un tono de naranja semejante al marron (me fue complejo conseguir la mezcla mas similar para esto, pero me gustó el resultado) y para el otro será azul y plateado (el tono que logré conseguir fue muy parecido al gris pero con mayor medida de blanco. En los libros suele presentarse la combinación de dorado con azul, pero en las peliculas de Harry Potter la combinación es la de azul y plateado y es la que más le gusta a mi novio).
11. Los lentes también serán pintados con un fuerte color negro y resalta más sus pequeñas miradas.
12. Con ayuda de un lápiz dibujé un banderín en la parte superior de cada una de las piezas con el nombre de la casa correspondiente para cada Baby Yoda Mágico.
13. El color de cada banderín se apegará a sus característicos colores de su casa, los mismos de las bufandas. Y las letras en negro. También con un poco de blanco añadí unos cuantos detalles para darle claridad y quedara mucho mejor. También por simple capricho debo admitir que con la punta de un palillo de madera agregué unos puntos de pintura similar al banderín en cada pieza. .
4. Then we can start with the painting, but before filling, we will paint the edges with black and an eyeliner. This will give more solidity to the painting.
5. Then with the green more similar to the character, we will apply paint on the parts of his body uncovered. In my case I did several tests to get the most accurate color possible. It is something very important when giving color to a recognized character like this one.
6. Also with a darker tone do not forget to paint what would be the inside of his ears.
7. Then we will add brown paint for his clothes, it is a small light brown robe that he always carries with him.
8. We will also paint brown the wand made of wood according to the story.
9. For the eyes the green will be a little similar but we will add a little yellow to differentiate and also add black for the pupil and a little white for the reflection of the light. We will also apply black for the little claws.
10. Then it will be time to paint the scarves with the characteristic colors of each house. For one will be yellow with a shade of orange similar to brown (it was complex to get the most similar mixture for this, but I liked the result) and for the other will be blue and silver (the tone I managed to get was very similar to gray but with more white. In the books the combination of gold and blue is usually presented, but in the Harry Potter movies the combination is blue and silver and is the one my boyfriend likes the most).
11. The glasses will also be painted with a strong black color and highlights more his little looks.
12. With the help of a pencil I drew a pennant on the top of each of the pieces with the name of the corresponding house for each Magic Baby Yoda.
13. The color of each pennant will be attached to their characteristic house colors, the same as the scarves. And the letters in black. Also with a little white I added a few details to give it clarity and it will look much better. Also on a whim I must admit that with the tip of a wooden stick I added a few dots of paint similar to the pennant on each piece.


El resultado me gustó mucho la verdad. Y lo bueno es que a mi novio le encantó. Como buenos fans de Harry Potter decidí hacer para ambos un detalle que nos une. Él pertenece a la casa de Ravenclaw y yo a la de Gryffindor, lo curioso es que fue una de las primeras cosas que nos preguntamos al conocernos. Bueno. Espero que les guste este detalle y si quieren también pueden replicarlo para regalarlo a esa persona especial o simplemente tenerlo para ustedes mismos. Saludos. .
I really liked the result. And the good thing is that my boyfriend loved it. As good Harry Potter fans I decided to make for both of us a detail that unites us. He belongs to Ravenclaw house and I belong to Gryffindor, the funny thing is that it was one of the first things we asked each other when we met. Well. I hope you like this detail and if you want you can also replicate it to give it as a gift to that special person or just have it for yourselves. Greetings.

I hope you like it and enjoy the music.
Espero les guste y puedan disfrutar de la música.

Nota: All the images used in this post are my own, taken with my Redmi 9A cell phone, modified in the Lightroom app and (to the cover) the Artemisart stamp has been added in the Canva page, where the stamp was also made. On the other hand, the separator and the welcome and farewell banners were also made by me in Canva. I saw this on a couple of blogs and thought it looked beautiful, so I wanted to give it a try.
Nota: Todas las imágenes utilizadas en este post son de mi propiedad, tomadas con mi celular Redmi 9A, modificadas en la app de Lightroom y (a la portada) se le ha agregado la estampilla de Artemisart en la página de Canva, donde también se elaboró la estampilla. Por otra parte, el separador y los banners de bienvenida y despedida también fueron realizados por mi en Canva. Vi esto en un par de blogs y me pareció hermosísimo, así que quise intentarlo.


