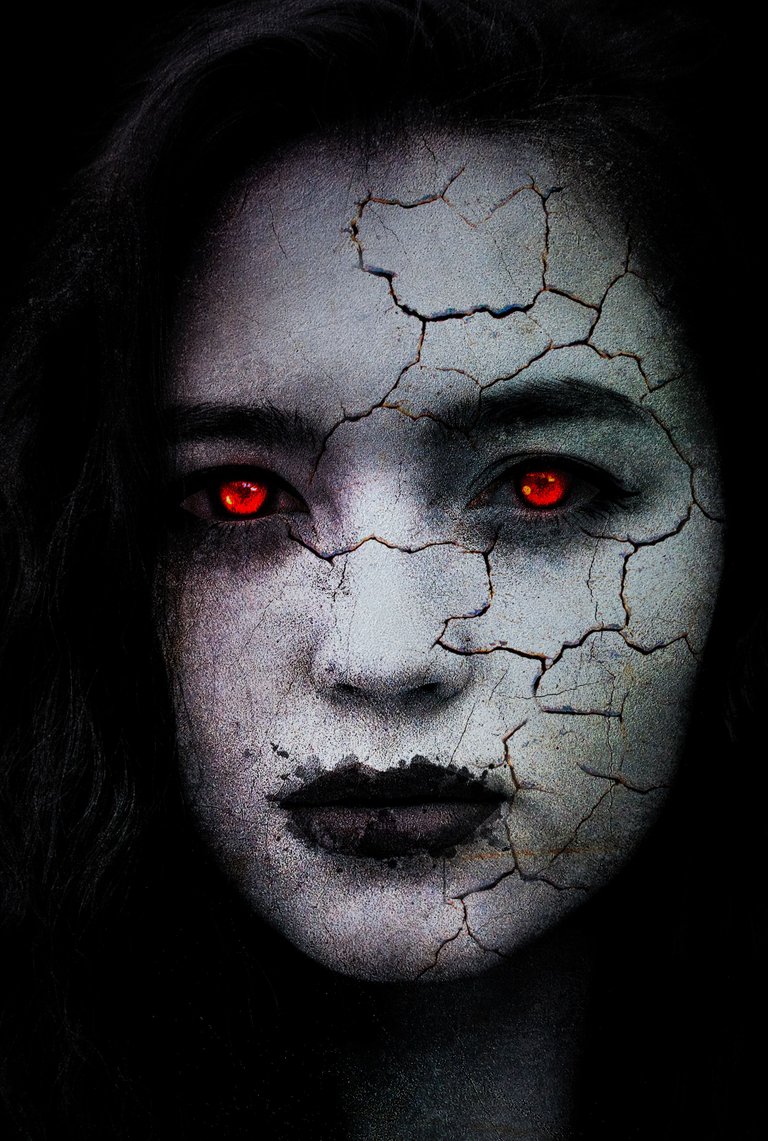

Hello, Dear members of the Sketchbook Community! how are you all? I have full faith that you guys will be fine and doing something good in your life. My name is Shivam and today I bring you the Digital Transforming an image into a horror poster, I hope You guys will like it very much.
Transforming an image into a horror poster in Photoshop can be achieved through a variety of techniques, including adjusting colors, adding textures and overlays, and applying filters. Here's a step-by-step guide on how to do it:
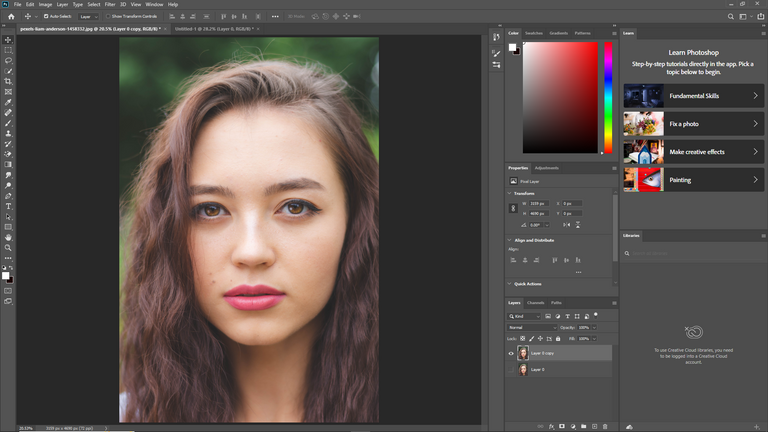
Open the image you want to transform into a horror poster in Photoshop.
Adjust the colors of the image to make it look darker and more eerie. You can do this by going to Image > Adjustments > Hue/Saturation and reducing the saturation, or by going to Image > Adjustments > Levels and adjusting the sliders to increase the contrast and darken the shadows.
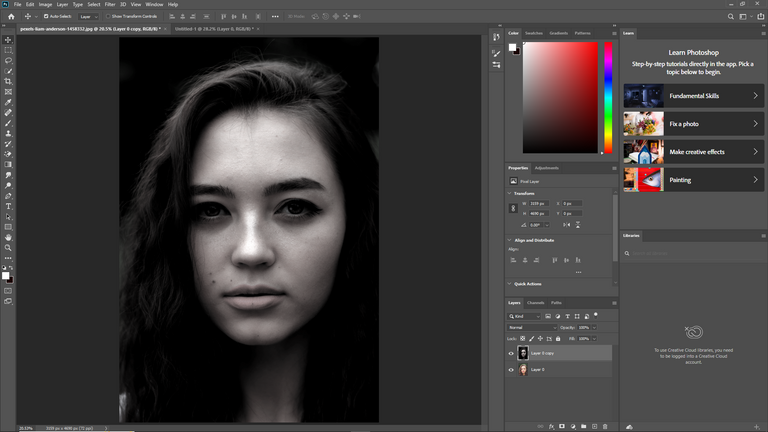
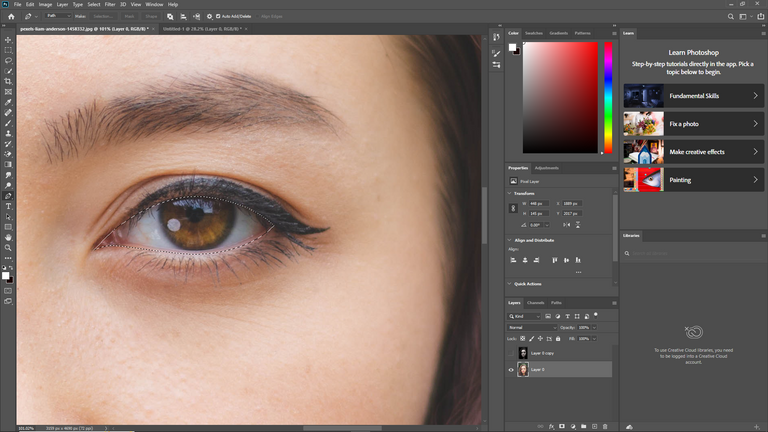
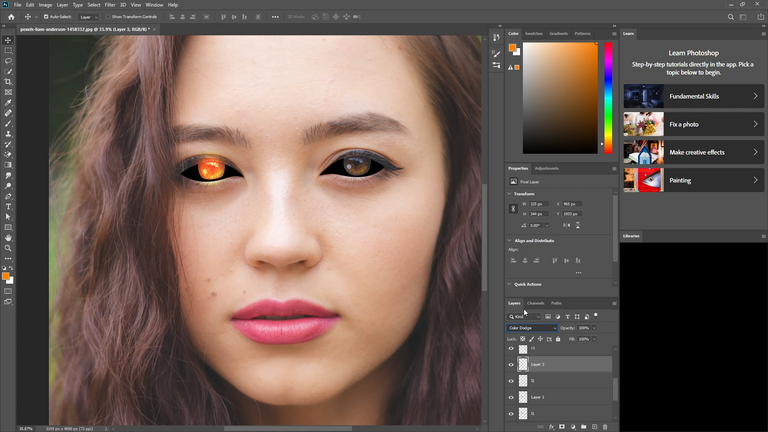
Add a texture or overlay to the image to give it a gritty, distressed look. You can do this by going to Layer > New Fill Layer > Pattern and selecting a suitable texture, or by using an image overlay layer and setting the blending mode to Overlay or Soft Light.
Apply a filter to the image to create a horror movie look. You can do this by going to Filter > Artistic > Film Grain and adjusting the settings to create a grainy, distorted effect, or by using the Filter Gallery to experiment with different filters.
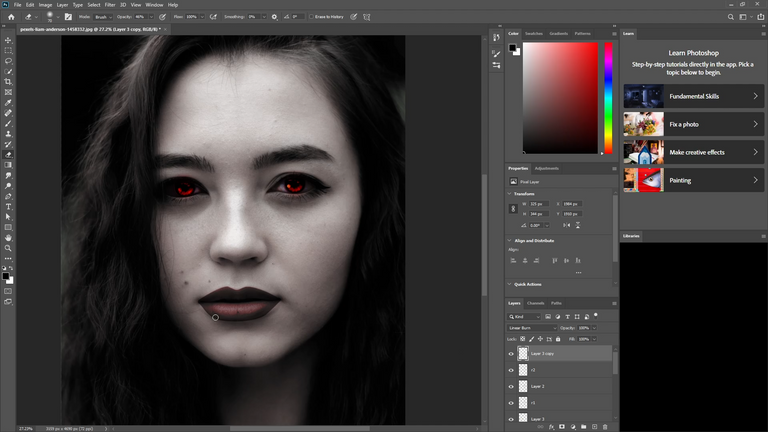
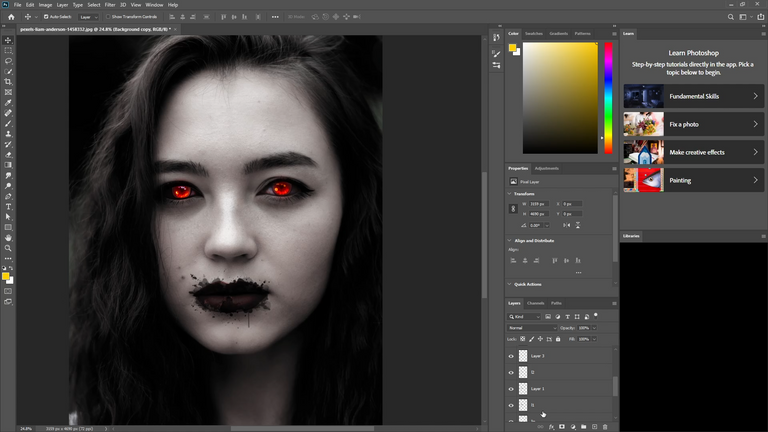
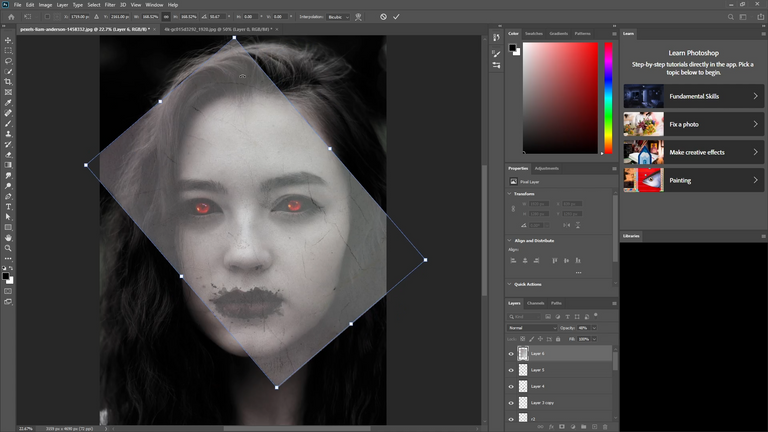
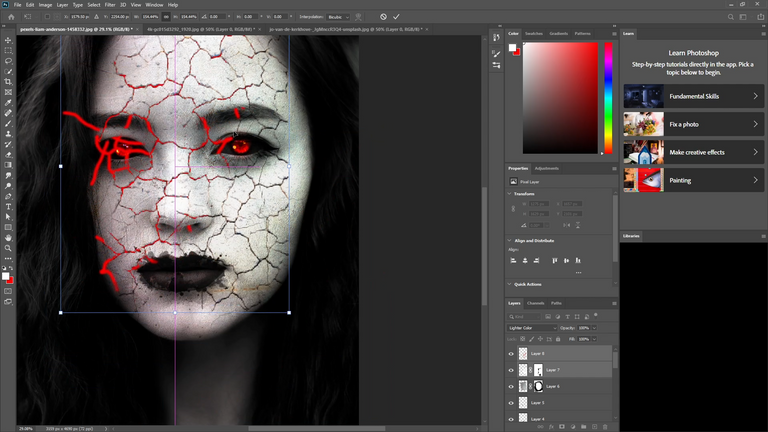
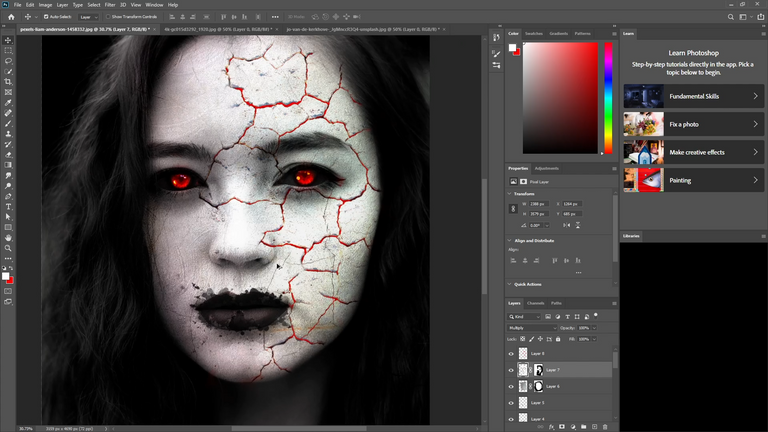
Add text to the image to create a title or tagline for your horror poster. You can do this by using the Type tool to create a text layer, and then applying layer styles such as drop shadows or bevels to make the text stand out.
Save your image as a JPEG or PNG file, and you're done!
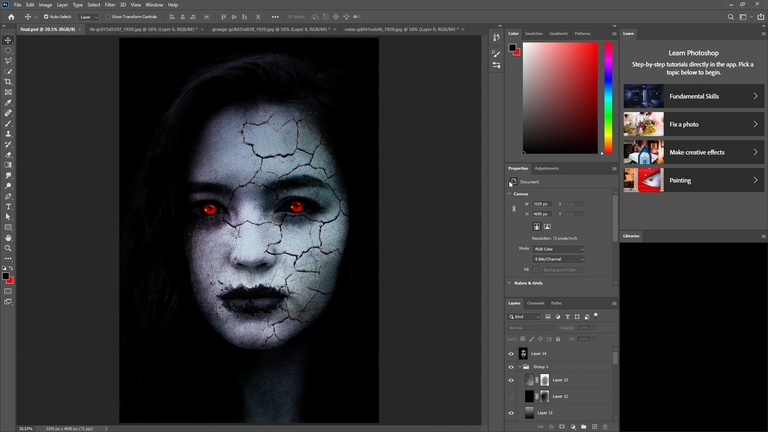
Remember that there are no strict rules when it comes to creating a horror poster in Photoshop, so feel free to experiment with different techniques and effects until you achieve the desired look.


