Hello there, guys!
I apologize for the long pause, it's been a busy week. Meanwhile, my husband kept on assembling the dream car. The further, the more interesting it becomes. The first part is in this post.
A quick reminder. It's a wooden mechanical DIY model of ... of what we'll see in the end :) No spoiler.
It could be a great opportunity to have fun with children. Our daughter is already an adult and lives separately. But this process of assembly fascinates adults no less.
- Number of components: 739
- Estimated time of assembly: 13 hours
- Level: Advanced
- 50 pages of Assembly instructions
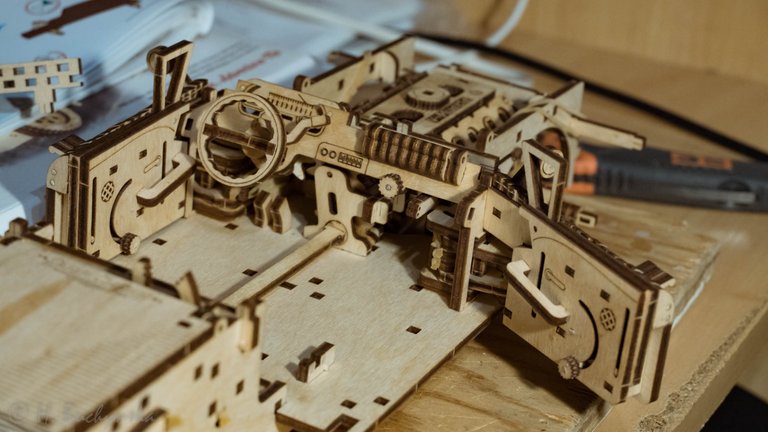
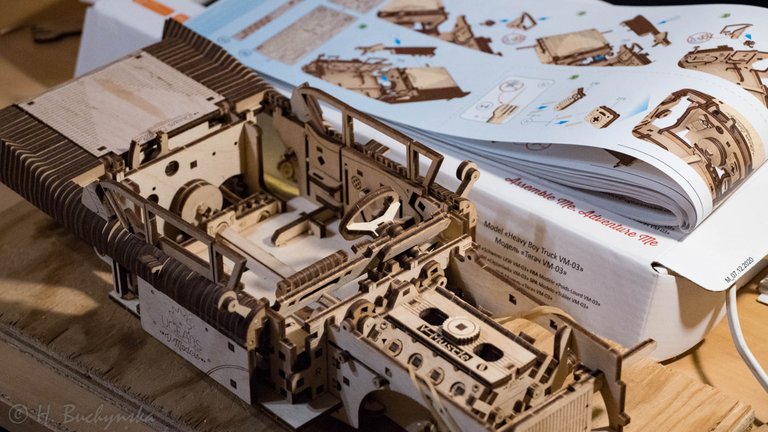
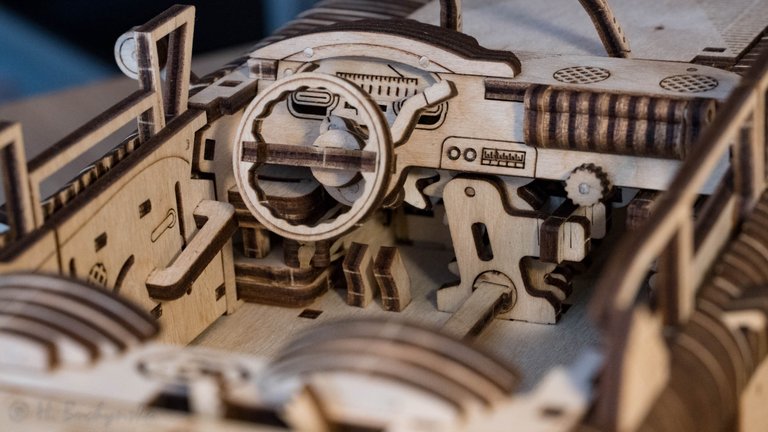
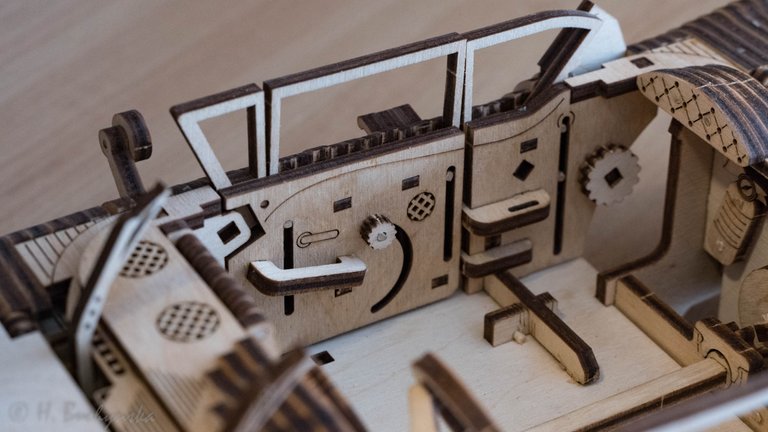
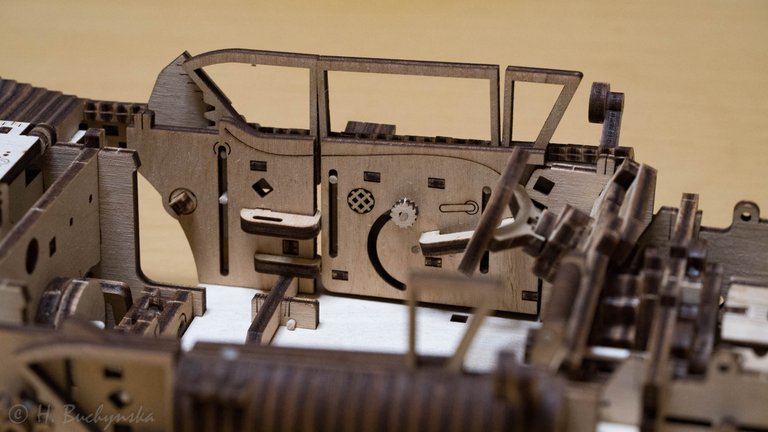
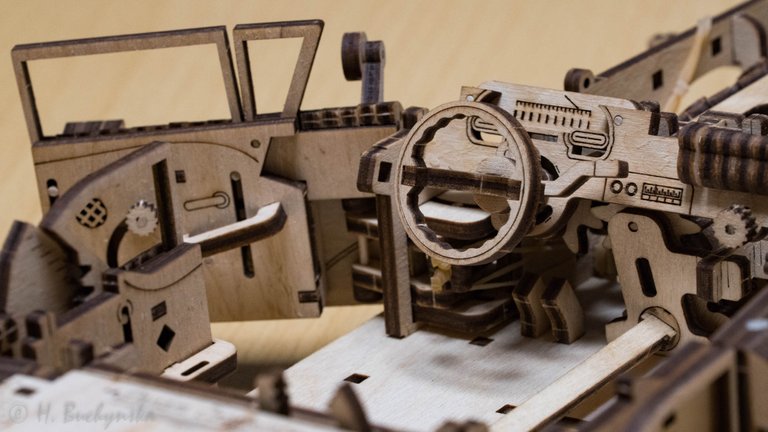
So, where we were. The dashboard is ready.
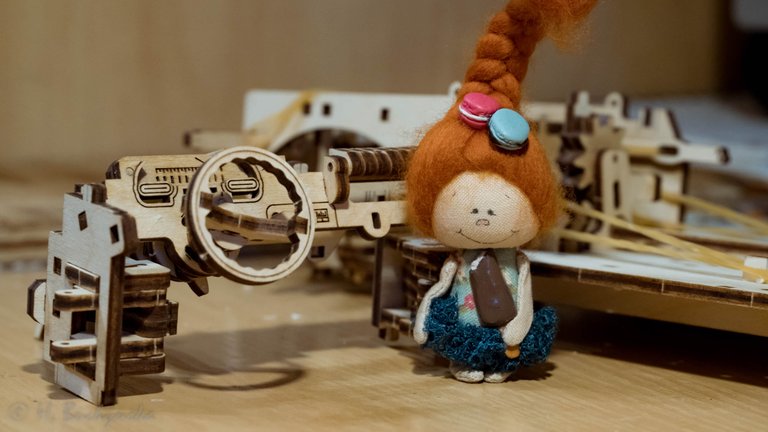
And installed. Check it out:
 |  |
|---|
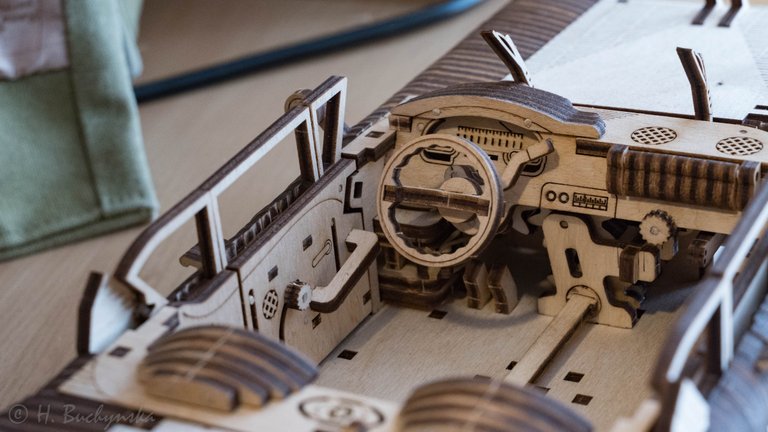
I want to draw your attention to the fact that the glove compartment opens, the window lifter on the door moves both "windows" up and down. And the small wheel on the dashboard move wipers. This is unbelievable.
 |  |
|---|---|
 |  |

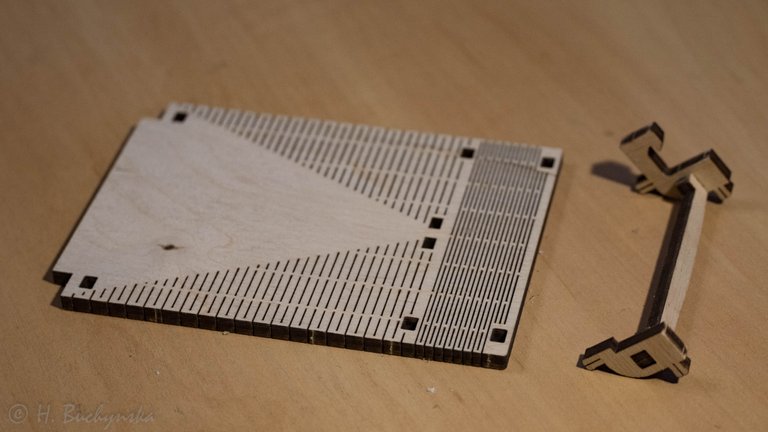
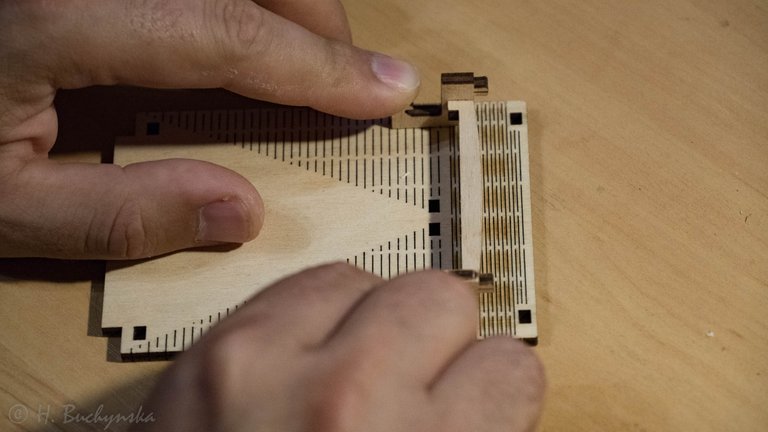
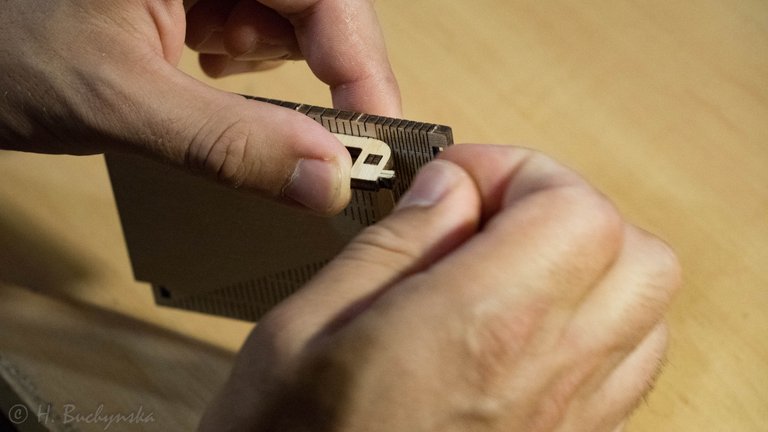
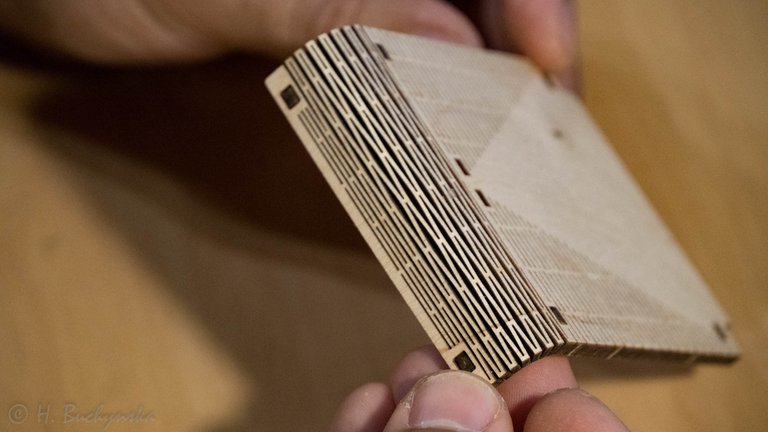
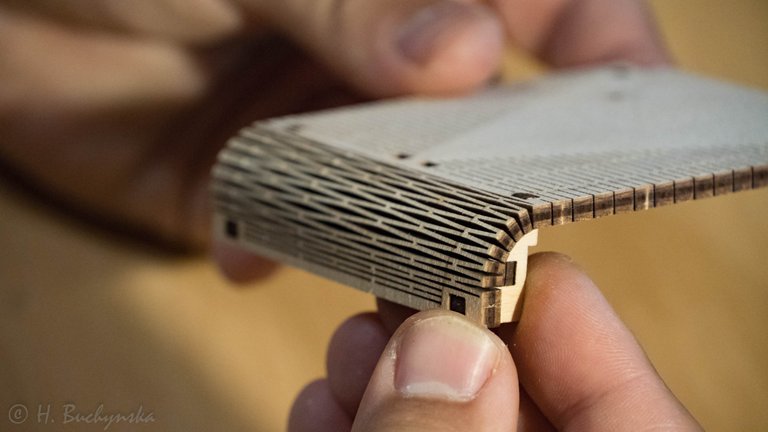
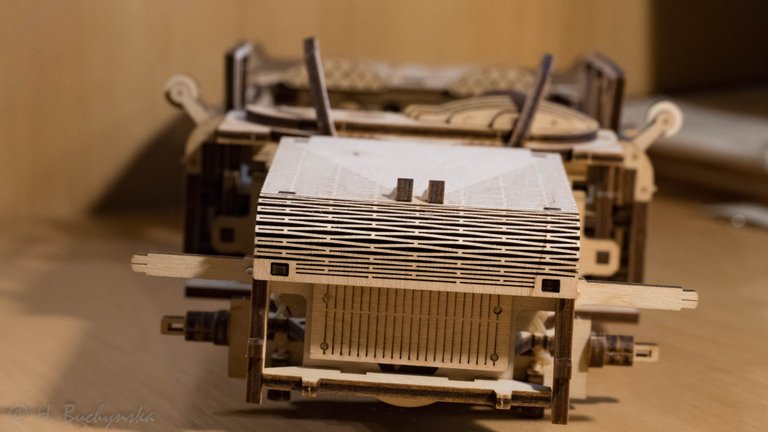
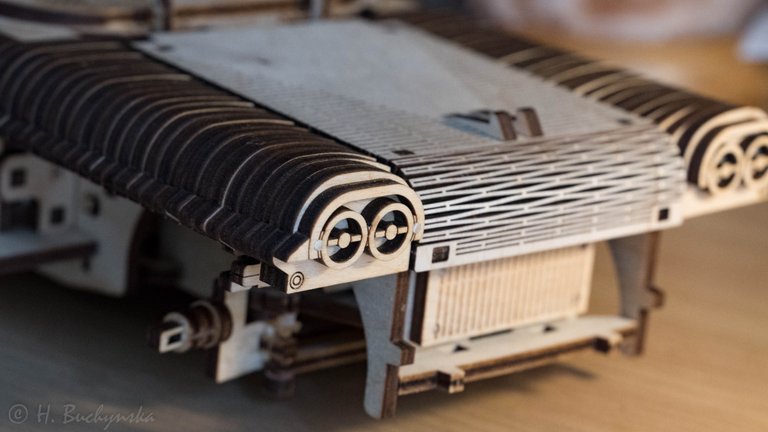
But come here and look at the hood (bonnet). This detail was absolutely flat when it was part of the wooden board.
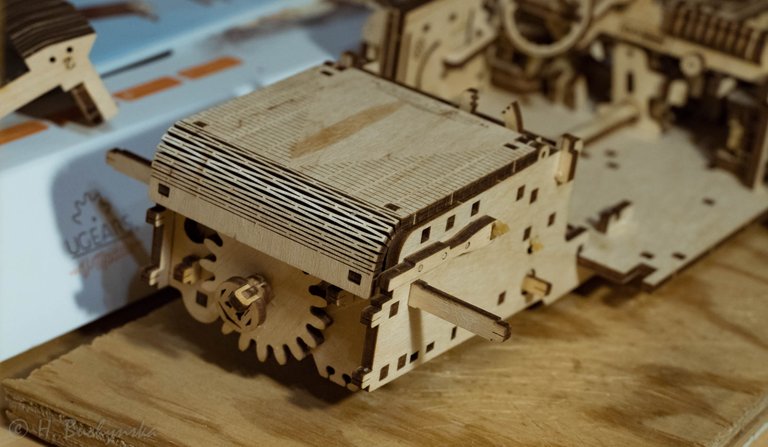
Another detail demonstrates a brilliant engineering solution. It is made so that it can be bent. And this is not the only part of the car, which acquired a curved shape during installation.
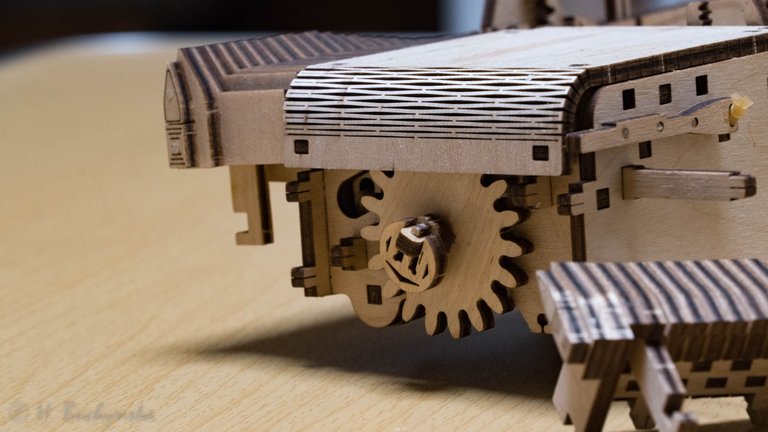
One of them, my husband showed me when it was already installed in its place. And I managed to photograph the second. If you or your little son would like to look at it closer just open the photo in a new window.
 |  |
|---|---|
 |  |
 |  |
Look, and we already have fans. These young ladies have no concept of gears, but are curious and enjoy the process. Of course, neither do I.
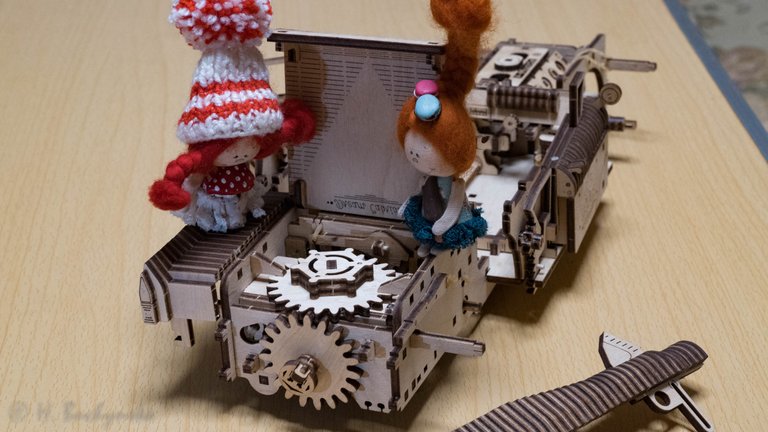

Hood, trunk, wipers, and doors.
Headlights and radiator. Hopefully, it's all correct translation :)
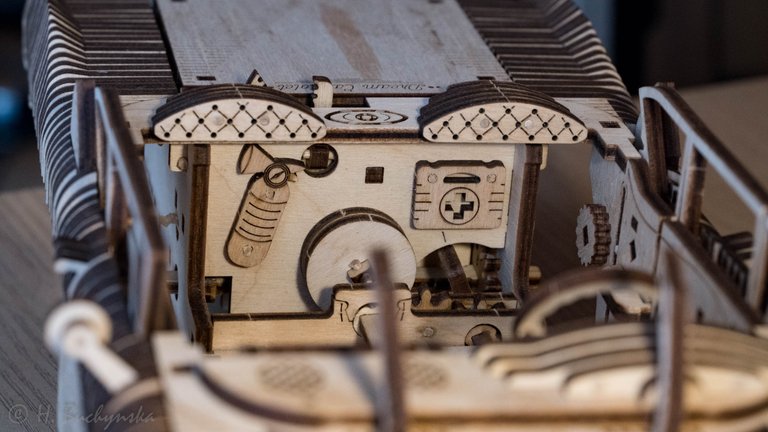
I can't stop myself... Fire extinguisher and first aid kit!
Safety's first.

This is all for now, my dear readers and DIY fans. Thanks a lot for paying me a visit, hope it was interesting and entertaining.
Please note, that all photos used in my posts are taken and owned by myself. Nobody can use them without my consent. If you wish to use any of my images please contact me @zirochka.
