It's not a very glamourous DIY job, but it had to be done. If I'm totally honest, it's had to be done for quite some time now, but I've put it off because the area is hardly used and I hate using silicone. With some family arriving to stay with me in the coming week though, I figured I'd attend to the job today, as heinous as it is.
I'm talking about resealing one of the showers in my house, down around the bottom where the floor and wall tiles meet. Shower silicone should be replaced every few years or so as over time it degenerates and when the shower is in use that means water could seep between the join and eventually soak up into the wall behind. I've seen the damage that can do, and I really should have done this job a while back, so decided today was the day.
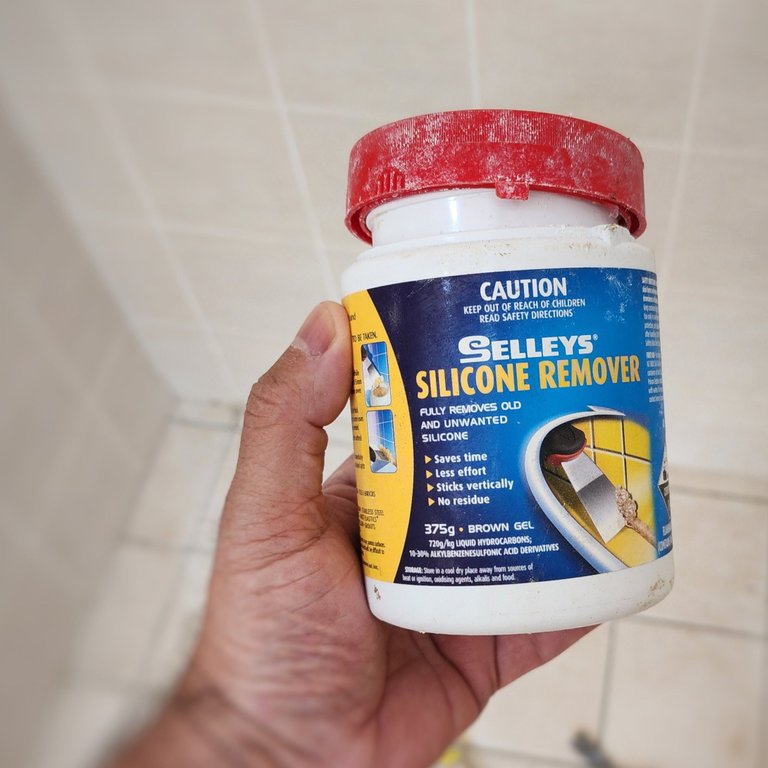
The first task was to remove the existing silicone. If you've ever tried to do this, you'll know it is a horrendous job as silicone sticks pretty well. I employed the help of the silicone remover, as below, which softens up the silicone so a scraper is more effective on it; I also used a knife to cut away at it here and there. It's all a bit smelly, and somewhat messy, but it's effective. I'll admit though, it's not quite as easy as they show on the tub as one must get right into the joint where the tiles meet to ensure all the silicone has been removed.
Once that was done, a clean up was required, I washed the area with soapy water using a soft scrubbing brush, rinsed off then waited for that to dry. I used an electric fan blowing into the shower cubicle to speed up that process and then it was time to apply new silicone.
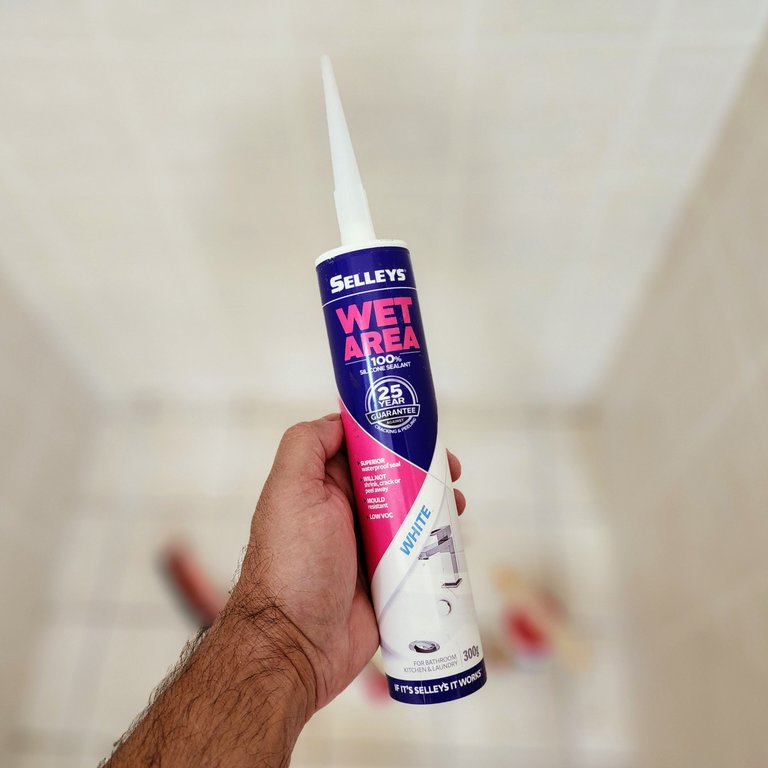
I don't like working with silicone; I find it messy and don't like the feel of it on my hands. I know, it's weird, but that's how I've always been. I put my dislike aside though, loaded the tube into my silicone gun, snipped the little nozzle at an angle, commensurate to the size of the gap, and got into it.
There's not much to say about siliconing, one just squeezes the trigger on the gun moving along the area being siliconed and that's about it.
I always have water handy, a small rag and a pop stick also, you know, one of those little wooden sticks ice creams come on sometimes? Wetting the silicone slightly and running it along the silicone bead makes for a nice finish - the water helps the silicone not stick to the stick or the tiles around the gap. Any residual silicone like in the corners are cleaned up and smoothed off with a finger (hate that part) and that's about it.
This is a simple job really, although it took a couple hours to get the old silicone out and the area prepped and dried and the new silicone will need twenty four hours to cure properly, but it's ok to use the shower after only a few hours generally, not that I need to though, there's others.
I've been doing a lot around the house today and started very early due to the work-load. My family will be here soon and today was the last chance to get it all sorted before they arrive. It's all set now though, and they'll be able to stay in comfort, have their own bathroom and just relax.
What DIY tasks have you done around your house lately? If you feel like sharing please do so in the comments below.
Design and create your ideal life, don't live it by default - Tomorrow isn't promised so be humble and kind
Any images in this post are my own


