Late last year I decided to have an integrated reverse-cycle (heating and cooling) ducted air conditioning system fitted to my house. Up to that point I had separate heating and cooling systems and whilst they worked, the cooling system was beginning to struggle with the extreme temperatures we have here. It was time for an upgrade.
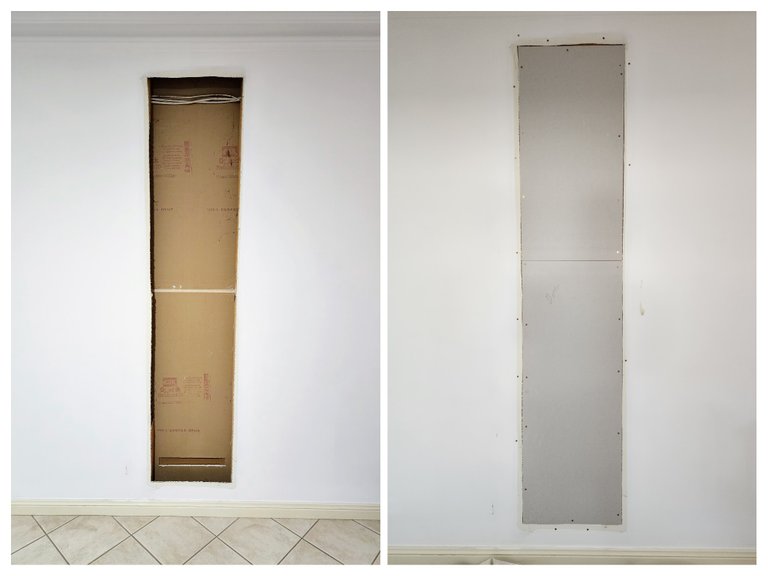
This meant both existing systems had to be removed and, in the case of the gas heating system (called a wall-furnace) it meant I'd be left with a huge empty gap in the wall where it was situated along with the back-vent slot in the other side of the wall. The cooling system would only leave the hole where the control unit was as the vent holes in the ceiling would be re-used by the new system.
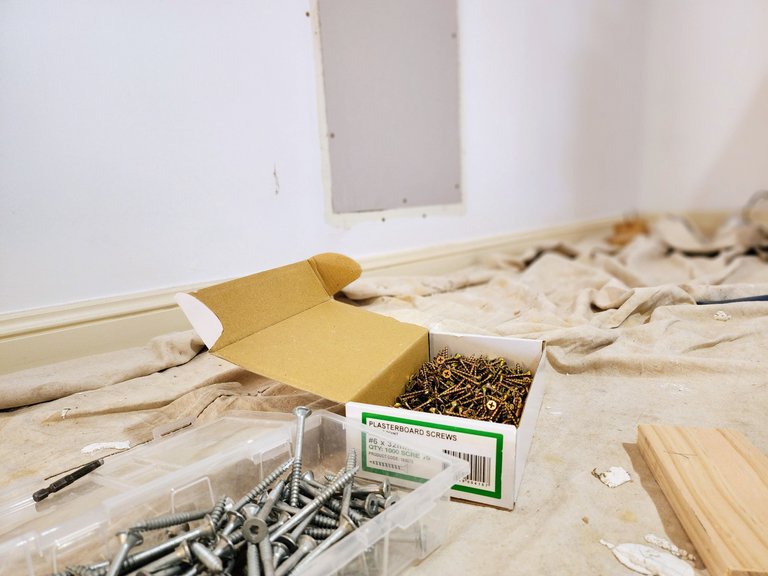
The holes had to be fixed and rather than call someone in I decided to do it myself. Gyprok (drywall) is easy enough to work with I thought and I'm not without some skills so I got to it a few weekends ago.
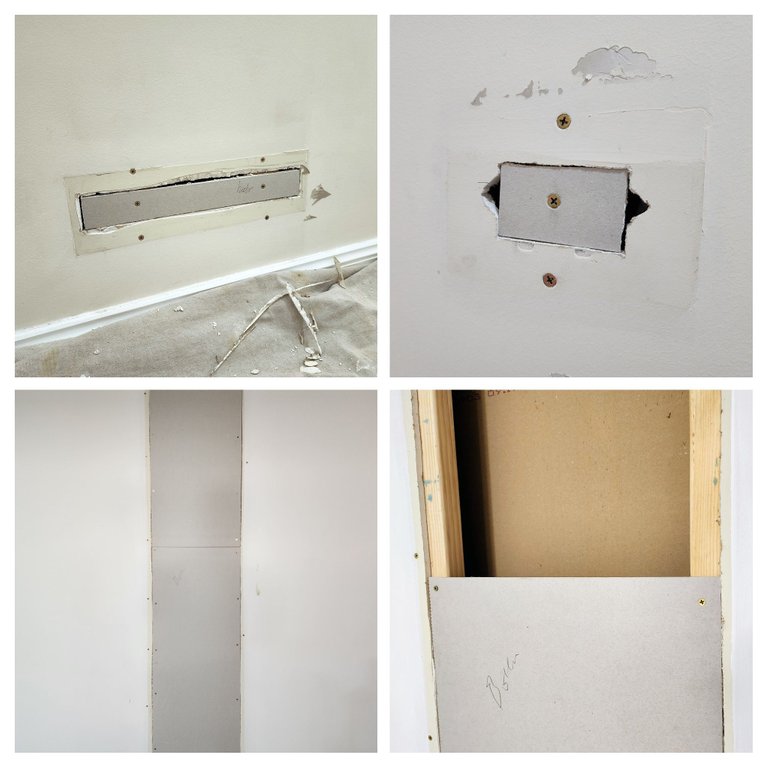
The gap was almost floor to ceiling, you can see it partially covered in the image above (low right). It wasn't a difficult job really, all I needed to do was screw in some new studs (wooden supports) to the existing internal wall-studs at just the right depth to affix the new Gyprok in the gap. Of course, the studs needed to be put in perfectly to ensure the new Gyprok would sit flush to the existing to make sure the wall looked right - a little recessed is ok, but having it sitting too high would suck ass.
The image (lower left above) shows the finished result.
In the image above (top left and right) you'll see the smaller patches I did over the heater's back-vent and the small hole where the air conditioner control unit was.
I don't want to overstate the job here, it wasn't all that difficult; one just needs to think it through, measure up properly and take one's time to make sure it's done right. I've done some Gyprok walling before (ceilings actually) when I helped a mate do a house extension and it was a pain in the ass holding ceiling sheets up so this wall was a breeze, I didn't need any assistance.
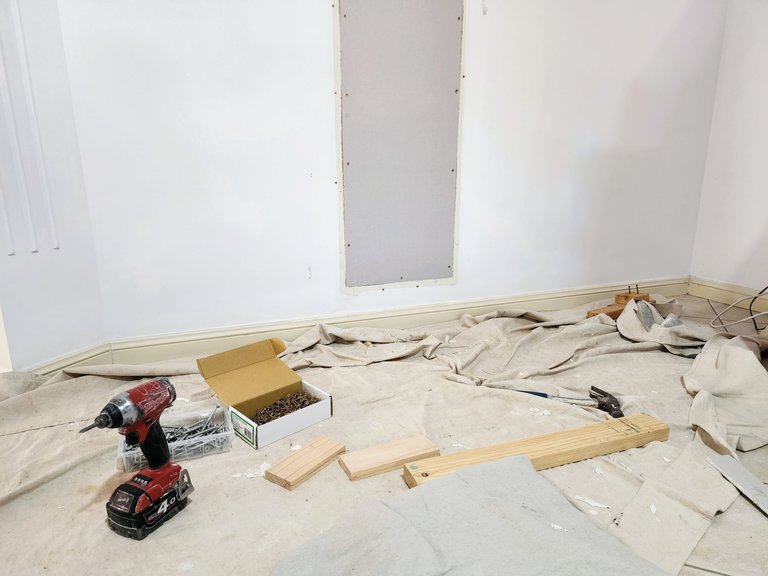
Once the Gyprok wall was patched my job was done but don't worry, it didn't stay looking this rough for long. After the wall is patched it needs flushing. This involves plaster and tape which get's placed over the gaps and screw heads then flushed off with large spatula things. The flushing ensures a totally smooth surface and the special tape used means that gaps or cracks won't form.
I'd thought about doing this myself but decided against it as I've never done it and I know it has to be done right or one ends up with a fucked up wall.
I brought a specialist in for this aspect and it cost me $150AUD. He did an awesome job flushing it off and when preparing the walls for paint I hardly had to do any sanding at all. As it stands now, there's no way to tell that the patches were even done. I'm happy with that.
All up, doing most of the work myself saved me close to $350AUD which seems like a good saving for only four hours work on a Sunday.
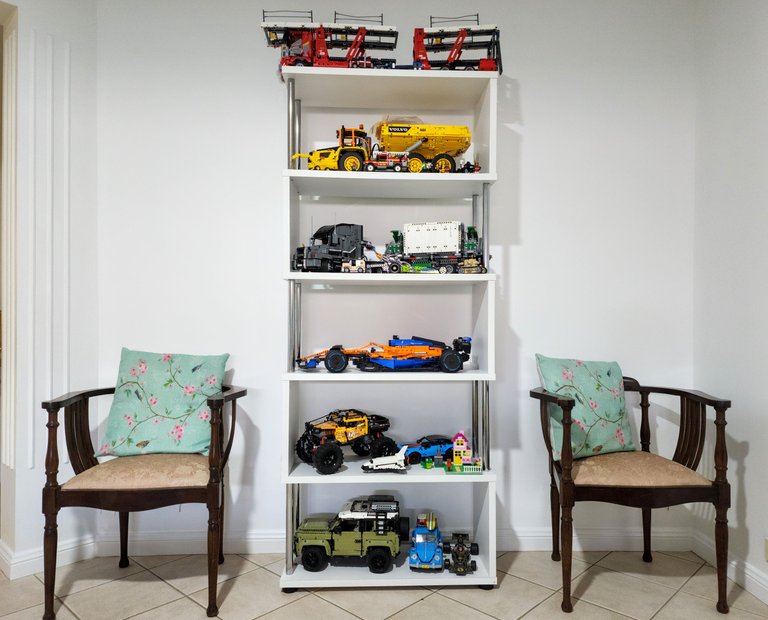
Above is the wall I patched once it was all complete. I know, the cushion on the right should have been arranged better for this photo, but...shit happens.
I'll be honest and say I did a fucken amazing job. Ok, that's a little immodest huh? Let's just say I'm happy with the result.
I was lucky to know a really great Gyprok flusher who finished it off so well, it's amazing what minor faults a great flusher can hide. Overall I'm really happy with it and now I'm able to use the room a little differently due to having this wall back. I'm planning to turn it into my everyday use lounge room where my TV will reside which will mean I can turn my lounge room into a more restful (TV-free) environment. Maybe one day I'll even show a picture of it on the Blockchain.
Have you done any house-related DIY jobs lately? Tell me about it in the comments below if you'd like to.
Design and create your ideal life, don't live it by default; tomorrow isn't promised so be humble and kind - galenkp
[All original and proudly AI free.]
Any images in this post are my own.

