I decided it was finally time I disassemble and clean my 3D printer...


3D Printer Maintenance Day
I didn't feel like writing about crypto today. Hell, I didn't really feel like doing much of anything. I decided to take the opportunity to relax and take some time to do some work to my 3D printer. I used to post tons of 3D printing content, what seems like years ago on Hive before I even heard about LeoFinance.
I've had 2 different printers so far, and am currently using an Ender 3 Pro that I'd done some modifications to. The funny thing about 3D printers is that you can print parts for them, which is always fun. I've done simple cosmetic things like the purple V-slot covers, the double drawers under the bed, and the case around the display...
I've also printed much more functional parts, that literally change the way it works. I converted it to a direct drive printer and upgraded the cooling system all with printed parts as you can see. Yes, those are zip ties. Sometimes you gotta improvise lol.
If you don't own a 3D printer, especially an FDM printer, you might not realize how important performing maintenance on it is. Think about it. You have a machine that melts plastic and other materials and dispenses it through a 0.4mm hole (or whatever size nozzle you use). Clogs are expected.

Since I was already doing my cleaning and such, I decided to print some new parts. This has been my rigged camera set up for a long time, and I wanted to try something new. Something more stable and less rigged lol.
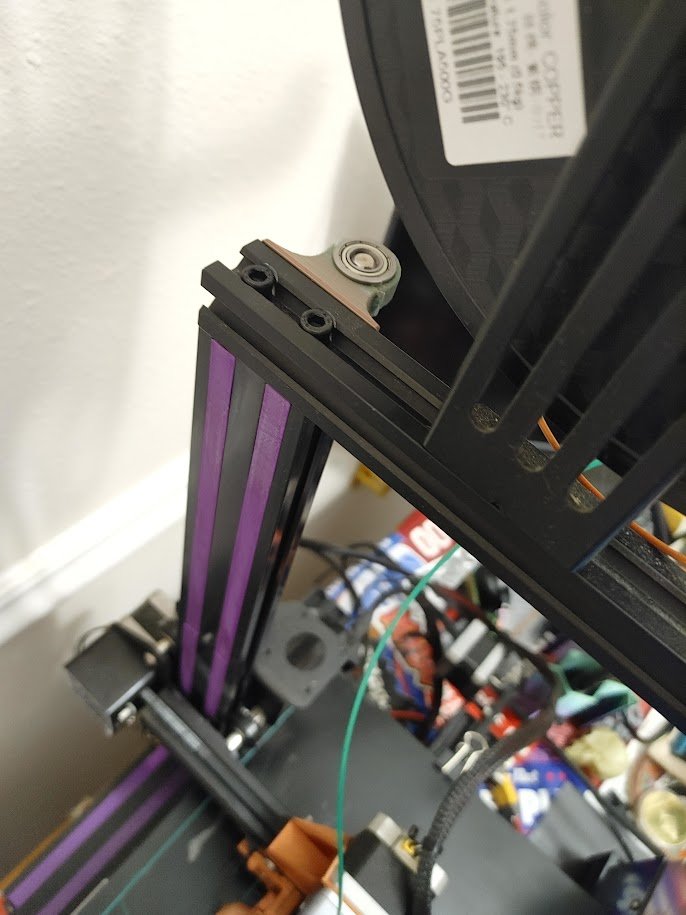
So I found a design for a camera mount that attaches to the X gantry. Instead of being attached to the bed, maybe it will make for some interesting timelapses. Most of all, it'll be more stable. I also printed a lead screw stabilizer since I had a couple bearings laying around.
While looking for these parts, I found a design for a new knob which I fucking love. It has wings on it, and makes navigating the options, doing maintenance, and more so much easier.

I couldn't find a camera housing that would fit my current Pi cam, so I improvised since I didn't feel like taking the time to design one. I use the Pi camera with the wide angle lens, because it get much better angles and is much higher quality than the original Pi cam. The sensor and lens are much larger. Zip ties to the rescue!

I also want a better solution for keeping my Raspberry Pi enclosed... Maybe I'll design a mount for the printer... Right now it's just tucked under the display housing and the camera cable runs out the front. Not the best setup but it does work for now.
I noticed a big improvement in my layers after installing the lead screw stabilizer too. It only broke a little bit but I superglued the bearing in so it works fine.

I'm currently printing a shroud for the PSU cooling fan because that boi gets loud! Not super loud, but loud enough that if you're sitting close by it can be like white noise. Of course I have timelapse videos of all these prints.
The timelapses aren't the best, but it's what I was able to do. Since upgrading my print server to Python 3, reinstalling the firmware of the printer, and doing some other mods... I can't seem to get OctoLapse to work anymore. I just haven't felt like fucking with it. So these timelapses are stock, default settings.
Enjoy!
Hop you had a nice, relaxing Sunday. I definitely did. Now back to playing Diablo Immortal. I've been hooked since launch. If you play, hit me up and we can kill some demons and shit together.
Peace.

Thanks for reading! Much love.
Wanna learn about all kinds of things you can do with the crypto you earn blogging on Hive? Check out my index - Learn Crypto Stuff for some fun educational crypto stuff.
Posted Using LeoFinance Beta


