Months ago I wrote a bit of a 'how to' grow mushrooms in a bucket, and I'm returning to that now to note a few things I've been thinking of. It strikes me that the blockchain is a great way to record your grows, keeping a record of what, and how, you did it!
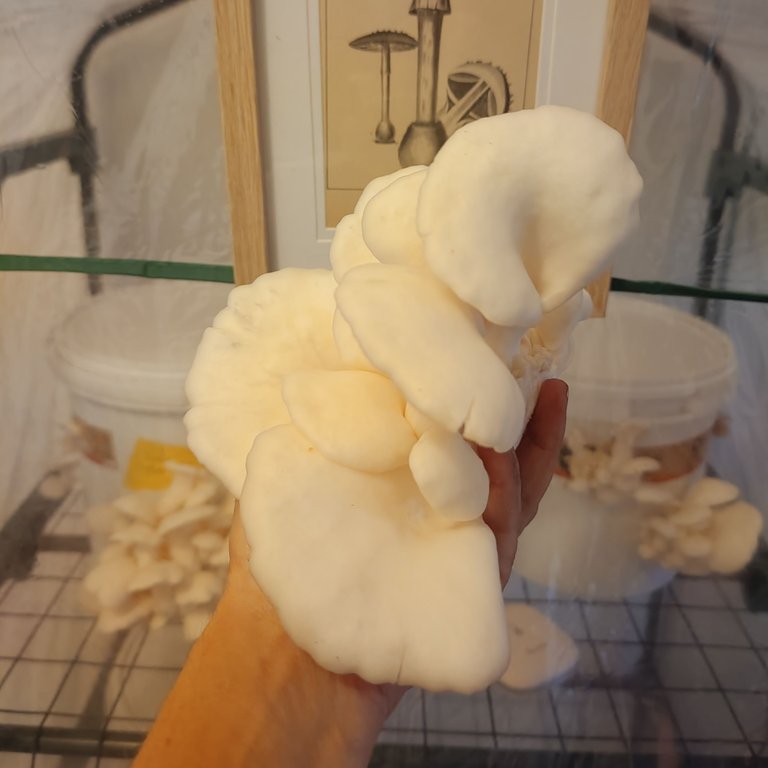
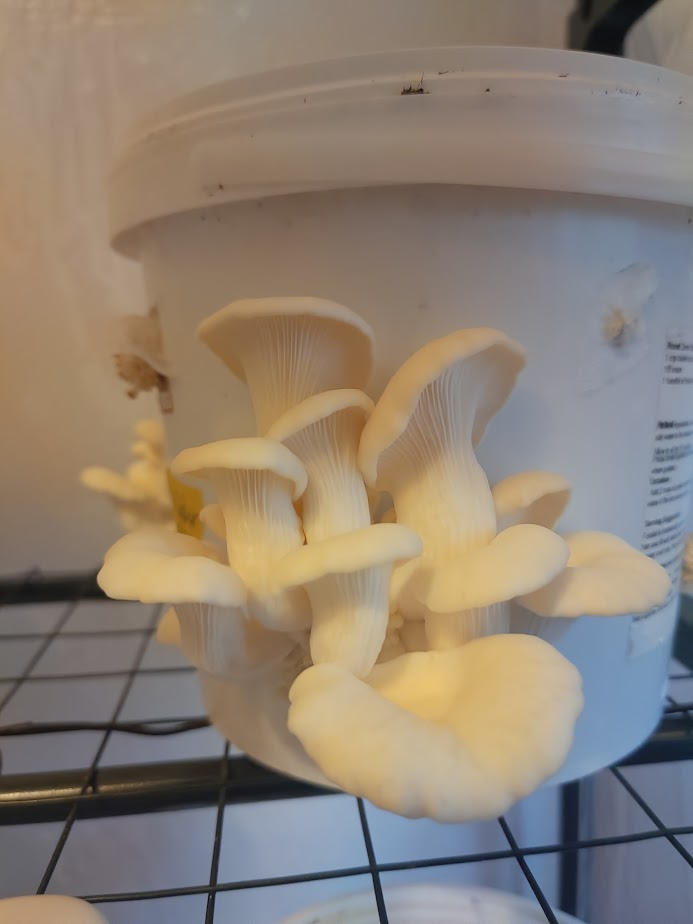
First of all, I think I've got it down pat - the fruiting chamber is amazing, and I can definitely grow oyster mushrooms in a bucket! Now it's a matter of fine tuning the process. Writing it down helps me embed my learning and maybe you'll get something out of it too.
Pasteurisation Tips
This is the least fussy way to ensure, or at least reduce the chances of, contaminants like mould getting into your substrate before the mushrooms colonise it! You don't need a pressure cooker - just an esky and a lot of boiling water. This is a more 'off grid' way to do it - I don't need a heating element, just a way to heat water, which I do in a giant stock pot. I don't bother measuring the temperature now, as I know if I put a heap of boiling water in there and shut the lid, it's going to be the temperature I want it to be. An hour to two hours is enough - and make sure the substrate is wet first, which helps the heat move through better.
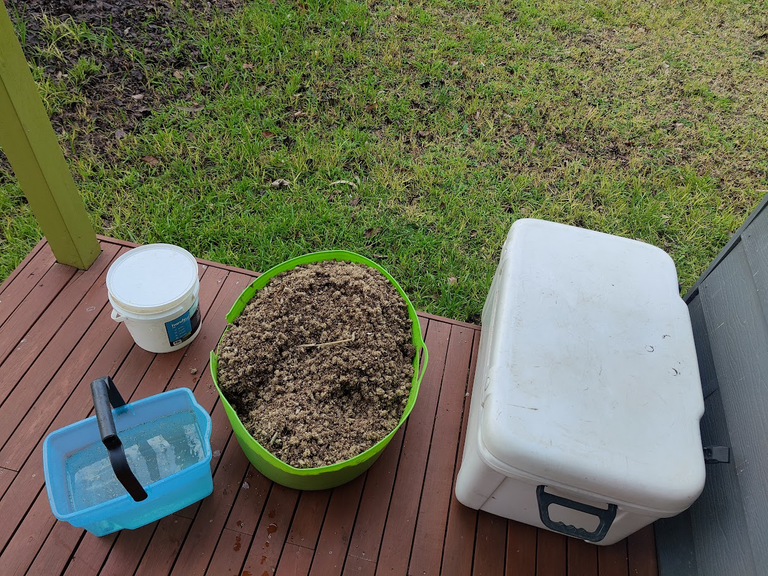
I set up the esky by the back door with a rock on one end so it's easy to drain without lifting. I also set up two chairs with a bit of fencing between them to drain the substrate, because it's really hard to find somewhere to hang a pillowcase full of water and substrate! This means I don't have to lift it far, and I can press it a little to get the excess water out.
Update - I found an even neater, less messy way to do it. I put the esky at the end of the deck, and put the small piece of fencing over the esky to drain the substrate, which worked better and I didn't have to drag chairs. I could sweep everything off the deck and onto the grass - genius! So pleased!
Substrate Tips
Oyster mushrooms grow well on straw and woodchips. I've been using pressed bricks from the DIY store - you need 100 percent hardwood, NOT pine or other softwoods. This time, though, I'm using the mixture of wattle and gum that was left over from chopping wood. It grew mushrooms, but I didn't get a high yield. You really want hard wood for mushroom grows and the wattle should fit the bill, but it didn't really produce as well as I thought.
Some recipes call for half straw half sawdust, some 1/3. Last time I used a third straw and two thirds sawdust as an experiment, because I couldn't be bothered chopping straw into tiny pieces. So I've learnt you don't need to be that precise - well, duh, it's not going to be super precise in nature!
This recent grow I used soy hulls. Super convenient as I don't have to spend ages chopping straw, but the bag was more expensive than straw, increasing the cost which isn't good. However, when the water was added the soy hulls expanded way more than expected, so I ended up having almost double the amount of substrate! So it's more bang for your buck than you think.
I also have set up the mixing station in the chicken pen, so it's pre blended. This will make it loads less time consuming when I have time to do the pasteurisation. Even the recipe is written on the side so I don't have to keep looking at my phone (my memory is shocking).
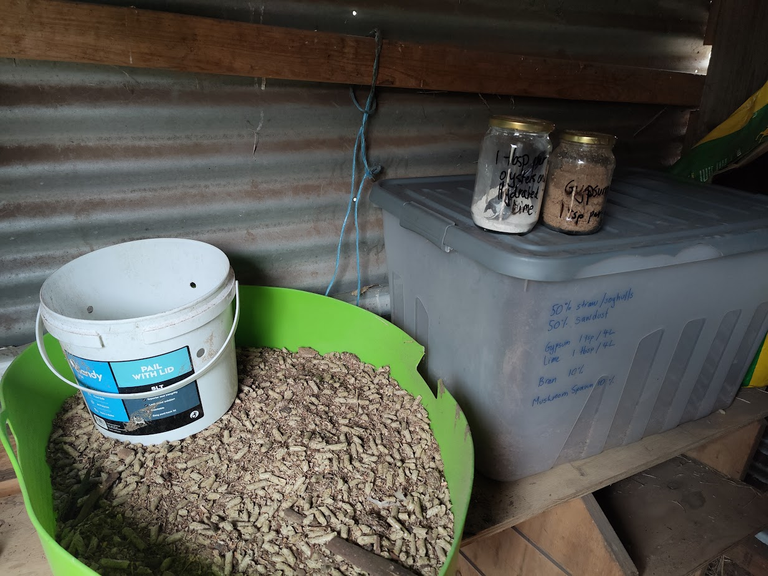
This time I also used the 10 percent bran mix, which I'll let you know about next time. This will provide more food for the mushrooms but there can be increased mould risk - but pleurotus grows super fast so it should be fine, plus, I really make sure I sterilise everything.
Temperature
My spare room gets super cold but I've been recording the temperature and it doesn't drop below about 9. This is fine for lower fruiting temp mushrooms. However, I have put a heater in there on a thermostat to raise the ambient temperature to 13. That at least stops me freezing when I go in the room!
Saying that, it's been really cold outside and the outdoor oyster mushrooms grew out of the straw/sawdust mix I put out there! I didn't check it in time so they got pretty soggy in the rain. I'm not sure whether growing oyster mushrooms outside is worth it but it was a fun experiment. I might have taken more care to harvest them if they weren't soggy - the dirt outside does make it less 'clean' to grow them I suppose.
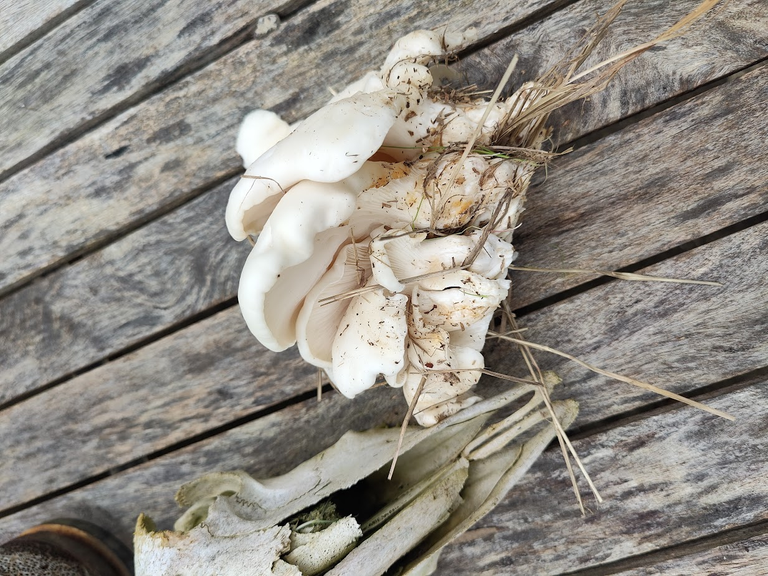
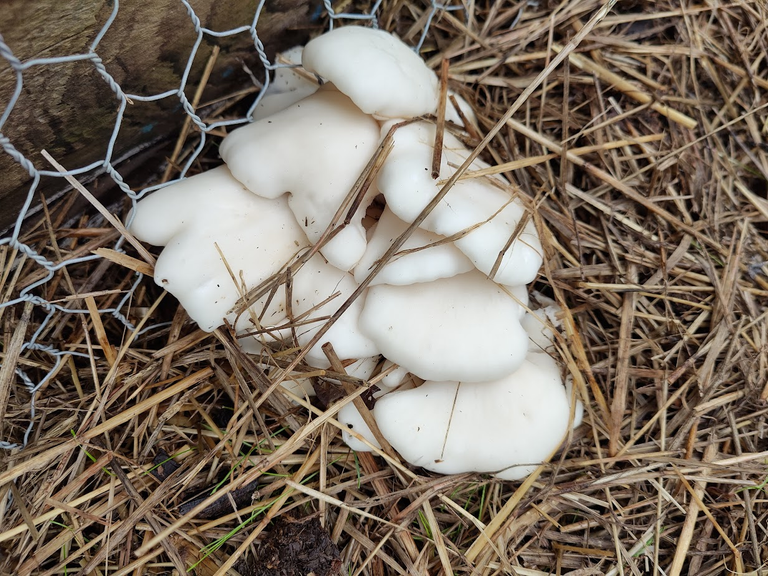
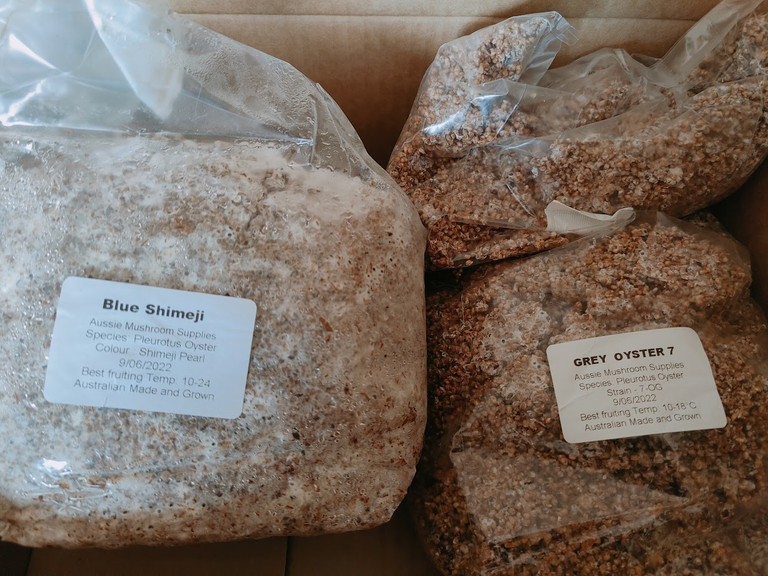
Blue Shimeji, Grey Oyster
Last time I grew white oyster mushrooms, so decided to try some other winter ones. I wasn't that keen on the grey oyster, but the blue shimeji were really pretty, had a bite to them, and were tasty. We had them in stir fries all week but the low yield meant the run was over faster than I thought. Next time it'll be the yellow ones as the weather warms up.
A few other observations
Growing mushrooms isn't that cheap really. I think perhaps the mushrooms end up costing half the price of the shops doing it this way, which isn't so bad. If you had a supply of free sawdust and straw it'd be far more cost effective. To set it all up is costlier than I thought, but now it's done, it should get cheaper.
I'd still like to learn how to grow other mushrooms and my own spawn, but that's next level. I need an autoclave or a pressure cooker that goes up to 15PSI.
A lot of it is super time consuming - really, I need a day at home to concentrate on getting the grow buckets ready. Not that it takes a day to do it, but you need to wait for the pasteurisation to happen (two hours) and then for it to cool (another hour or so) so you need to be organised.

It's still awesome though - I'm eating more mushrooms which are bound to be good for you, and it's just fun learning and watching them grow.
Do you grow your own mushrooms?
What tips do you have?
With Love,


The Fungi Lovers Community: Home of #FungiFriday


The Herbal Hive Community
Are you on HIVE yet? Earn for writing! Referral link for FREE account here!

 You've been curated by
