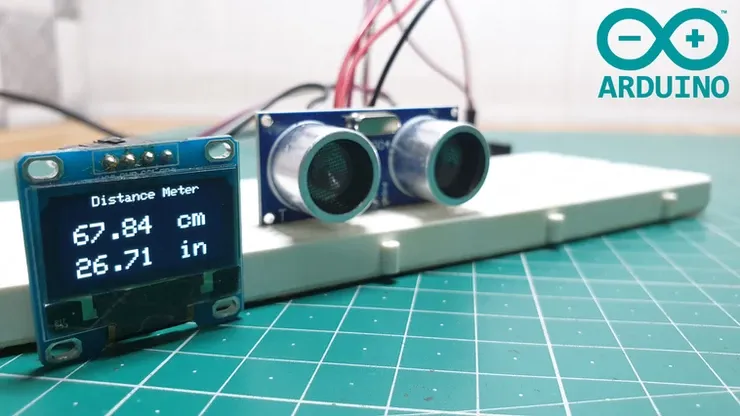
Accurate measurement of distance is a very essential aspect in lots of professions. I'm @techlhab and today I would be sharing with us how to make is DIY Smart Distance Measuring Meter using Arduino Nano microcontroller, Ultrasonic Sensor, and OLED Display Screen as the major hardware components. While the software components are; the Arduino IDE, Embedded C/C++ programming language, and fritzing for circuit design and simulation.
- Arduino Nano
- Ultrasonic Sensor (HC-SR04)
- OLED Display Screen
- Arduino IDE (Integrated Development Environment)
- Embedded C/C++
- Fritzing
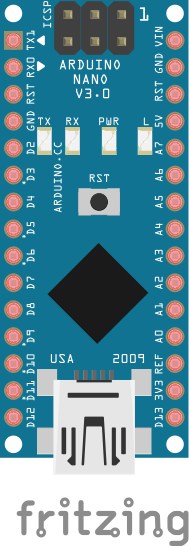
Arduino Nano is a microcontroller which works almost exactly as the Arduino Uno or Arduino Mega but has lesser memory and appears to be very much smaller in size compared to Arduino Uno and Arduino Mega.
It is used in this project as the brain where all other components attached to it receives and send instruction from and to it respectively. And it is where the codes written to control the device is been uploaded to.
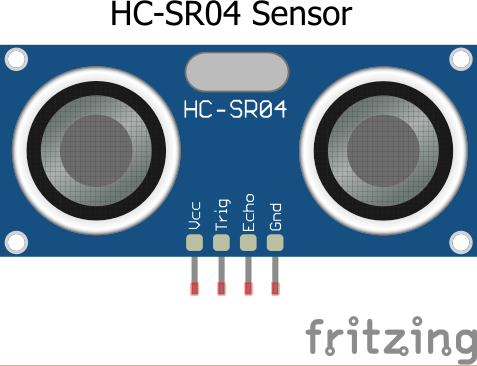
The ultrasonic sensor is a sensor used in measuring distance or proximity. It transmits and receives sound waves and then converts the reflected sound wave over a distance from an object into electrical signals.
It has 4 pins which are:
- Vcc
- Gnd
- Trig
- Echo
In this tutorial, the HC-SR04 ultrasonic sensor is used and it is been used to sense the proximity or distance of an object obstructing the sound waves transmitted by the ultrasonic sensor. It then sends the value of the distance covered between the device and the obstructing object to the Arduino Nano for other decision makings.
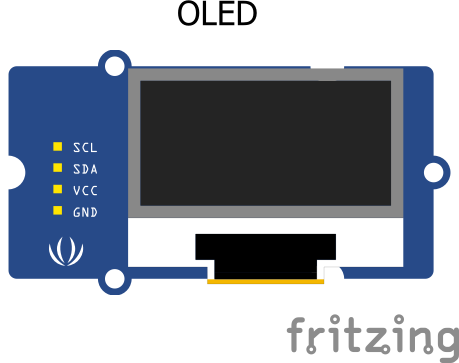
The OLED display screen helps in displaying relevant information to the users for interactions. And also serve a major purpose of displaying measurements, that is the distance been measured in centimeters and inches.
It also has 4 pins which are:
- Vcc
- Gnd
- SDA
- SCL
- Conneting the ultrasonic sensor to the Arduino Nano
| Arduino Uno | Ultrasonic Sensor | |
|---|---|---|
| 1 | 5v | Vcc |
| 2 | Gnd | Gnd |
| 3 | D4 | Trig |
| 4 | D3 | Echo |
- Conneting the OLED Display Screen to the Arduino Nano
| Arduino Uno | OLED Display Screen | |
|---|---|---|
| 1 | 5v | Vcc |
| 2 | Gnd | Gnd |
| 3 | A4 | SDA |
| 4 | A5 | SCL |
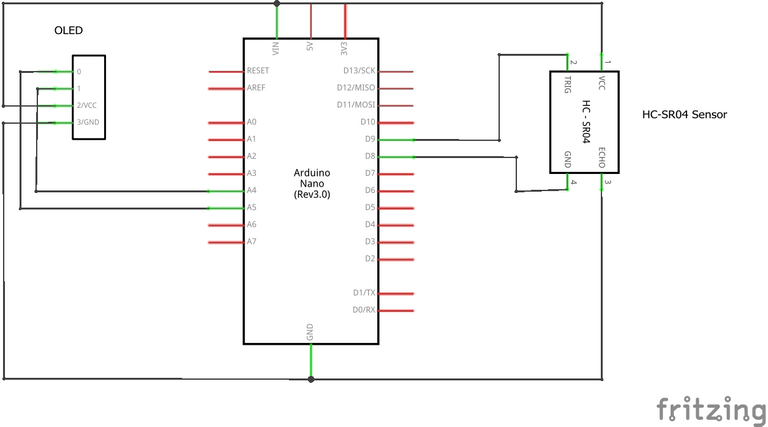
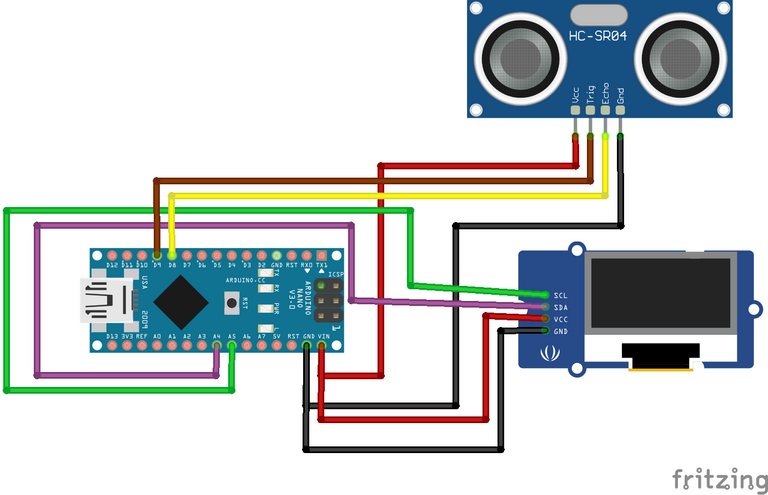
//Distance Meter OLED Display


#include <SPI.h>
#include <Wire.h>
#include <Adafruit_GFX.h>
#include <Adafruit_SSD1306.h>

#define trigPin 9
#define echoPin 8

#define OLED_RESET 4
Adafruit_SSD1306 display(OLED_RESET);

void setup() {
Serial.begin (9600);
pinMode(trigPin, OUTPUT);
pinMode(echoPin, INPUT);
display.begin(SSD1306_SWITCHCAPVCC, 0x3C); //initialize with the I2C addr 0x3C (128x64)
display.clearDisplay();

}

void loop() {
float duration;
float distance_cm;
float distance_in;

digitalWrite(trigPin, LOW); //PULSE ___|---|___
delayMicroseconds(2);
digitalWrite(trigPin, HIGH);
delayMicroseconds(10);
digitalWrite(trigPin, LOW);

duration = pulseIn(echoPin, HIGH);

distance_cm = (duration/2) / 29.1;
distance_in = (duration/2) / 73.914;

display.setCursor(25,0); //oled display
display.setTextSize(1);
display.setTextColor(WHITE);
display.println("Distance Meter");

display.setCursor(10,20); //oled display
display.setTextSize(2);
display.setTextColor(WHITE);
display.println(distance_cm);
display.setCursor(90,20);
display.setTextSize(2);
display.println("cm");

display.setCursor(10,45); //oled display
display.setTextSize(2);
display.setTextColor(WHITE);
display.println(distance_in);
display.setCursor(90,45);
display.setTextSize(2);
display.println("in");
display.display();

delay(500);
display.clearDisplay();

Serial.println(distance_cm);
Serial.println(distance_in);
}
Thanks for reading and visiting my blog 🤝. Kindly support this post by reblogging, upvoting, and commenting, it would be highly appreciated.
Images used in this post were all designed by me using frizting, a circuit design and simulation software.
Posted with STEMGeeks

