I've always liked 3D models and have used several software packages in the past, Blender is one of them. True, it is not easy to deal with this software package, but the amount of different digital 3D elements you can design, render and export for an open-source free code is just amazing.
I have been thinking about building a workbench for quite a while and today started using Google to browse different web pages and tutorials. There are tons of DIY projects online, but most of the time they are from English-speaking users who tend to use the imperial system and I wanted to use metric. Plus, you need to design your own project to meet the measures you have in mind, unless you have lots of space in the house you probably need to adapt the sizes to your own needs.
So I went to the Blender webpage, downloaded the latest version, and started designing one of the models I had seen online. Soon I realized the software has been upgraded since the last time I played with it.
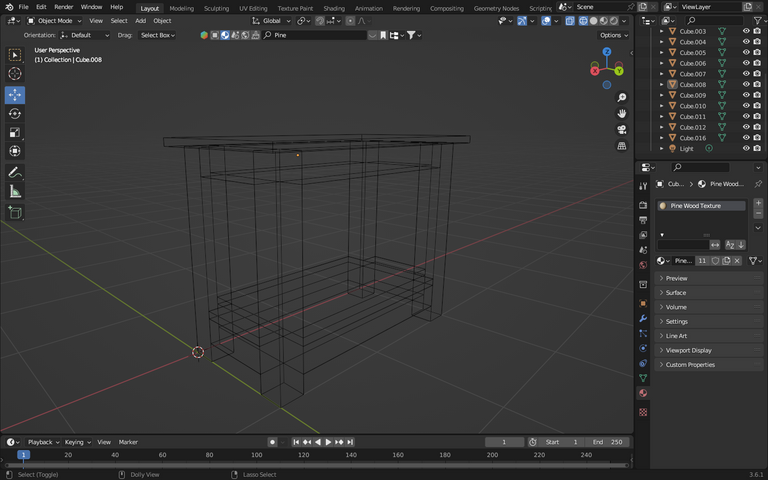
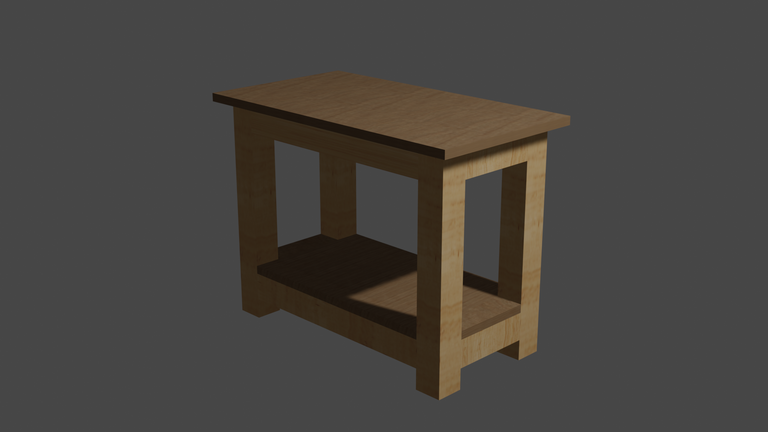
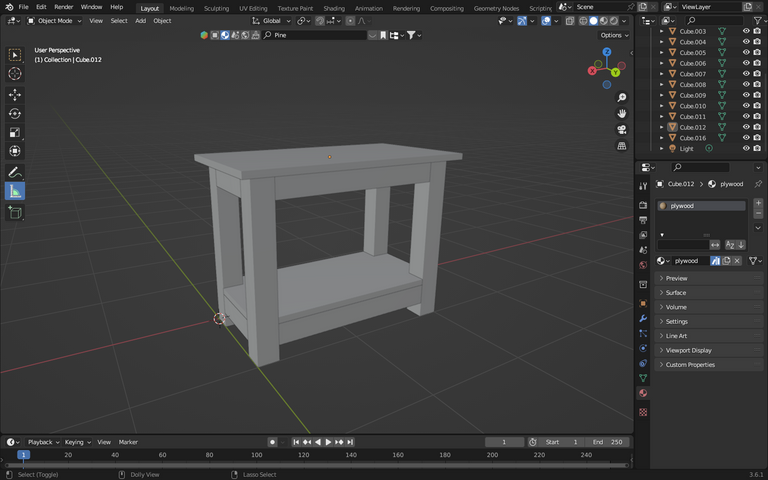
I had to search for several tutorials to deal find how to measure my elements, add textures and figure out how to render the final results. After a couple of hours, I was able to model this simple workbench.
 .
.
Then it was time to add materials, everything was pine wood except for the top and bottom surfaces which will be plywood. Luckily there is a fantastic tool called BlenderKit where you can find and import many different materials and even some free 3D models. I downloaded BlenderKit add-on, added it to Blender, and was able to search for the materials and add them to the different parts of the project to get the final result image at the top of the post.
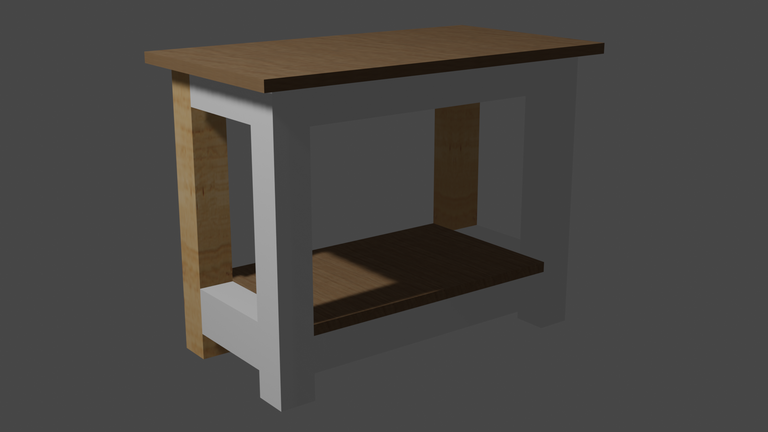
In order to get a nice rendered image you have to setup the camera position and at least one light source. Blender default empty model comes with a camera and a spotlight but you can change intensity, move around both light and camera and add other light sources.
Finally, you can create a final animation setting up an initial position of the camera and a final one and Blender will generate all rendered snapshots you can use to compose a video.
All in all, it is an amazing tool with lots of online tutorials and textbooks you can use to learn about 3D modeling, rendering, and animation. Now it is time to get my hands dirty and start building the final real product.
