Dear friends from STEM community,
Today, I finished installing solenoid valve for watering plants in front of my house. The valve is operated by a switch that can be controlled over the network through WiFi. I can use timers for opening the switch and I think, for the moment, I will be using the timer mostly.
The circuit for the switch was built by me. I used esp8266 to run a relay. I put an optocoupler between them; as can be seen below in (fig 1) and the relay run the solenoid valve in the garden.

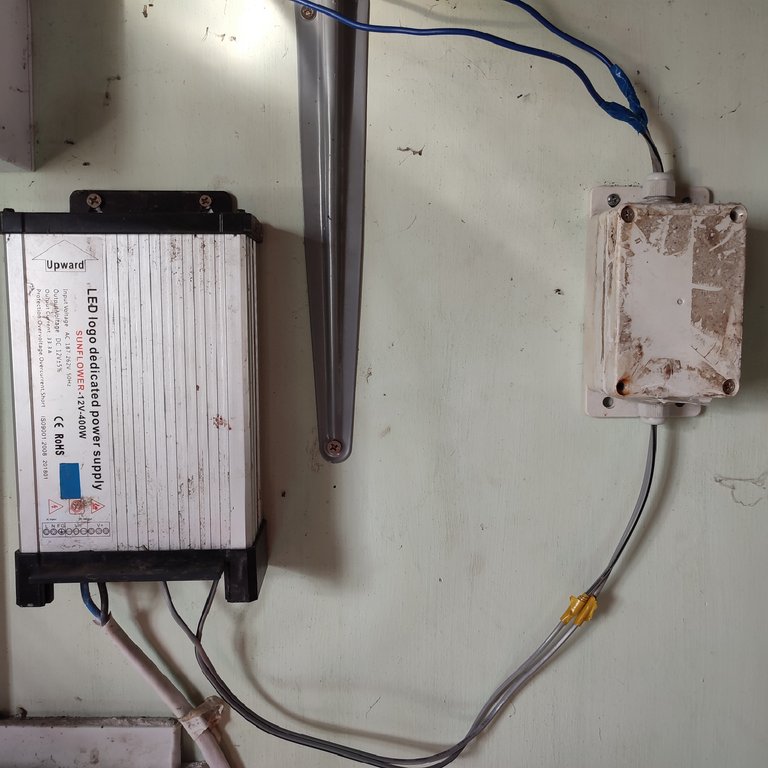
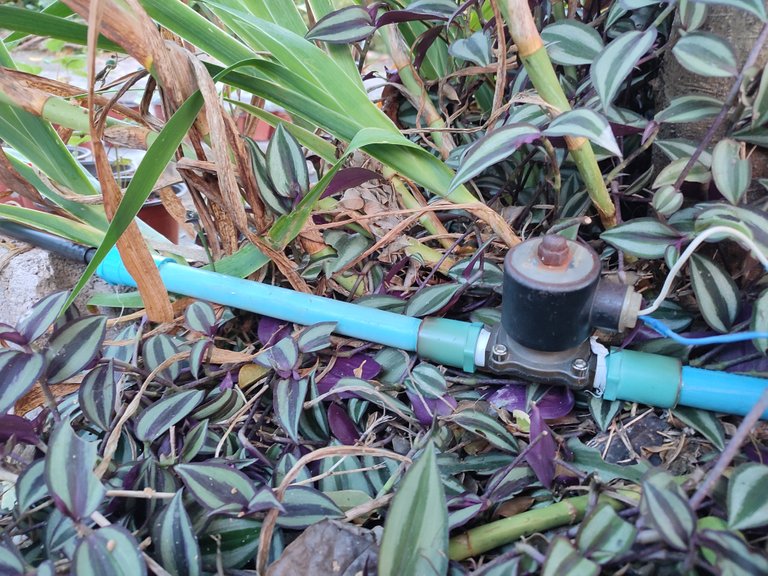
For the firmware, I used Tasmota firmware from http://ota.tasmota.com/tasmota/release/ . First, I tried the web installer to install the firmware but it didn't work for some reason. So, I used tasmotizer installer from https://github.com/tasmota/tasmotizer and the firmware was installed seamlessly. For installing the firmware, I used esp8266 connector as below in (fig 4).
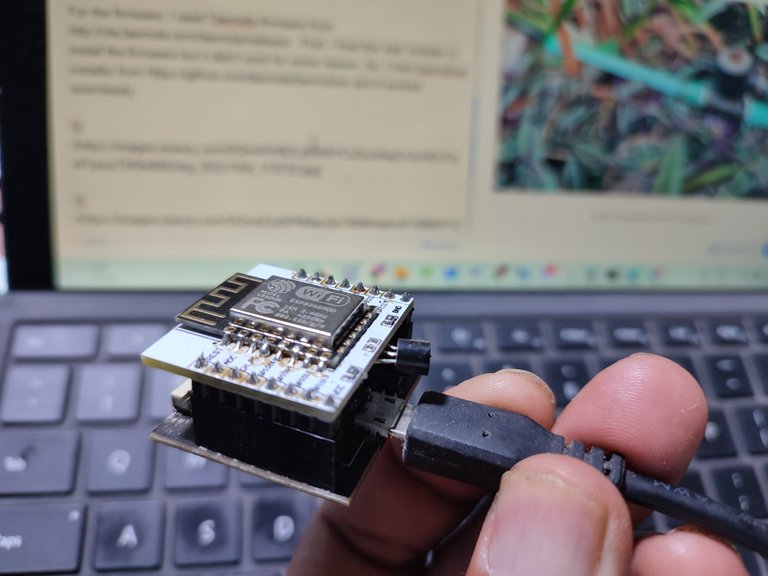
Configuring the esp8266, after the firmware installation, was easy. I just need to do it through web page with device ip as below. I needed to choose the right module - in my case, I chose 'Generic (18)' for my esp8266 module and set up the right pin for the relay. And the nice thing about this firmware is it has 16 timers that I can use to set for opening/closing my solenoid valve (fig 5). It has other feature like connecting to MQTT server but I am not going to use it currently.


Now, raining season is going to end very soon and there won't be rain in winter season (unless there is storm). So, I just set this up to reduce my workload and for testing home automation.
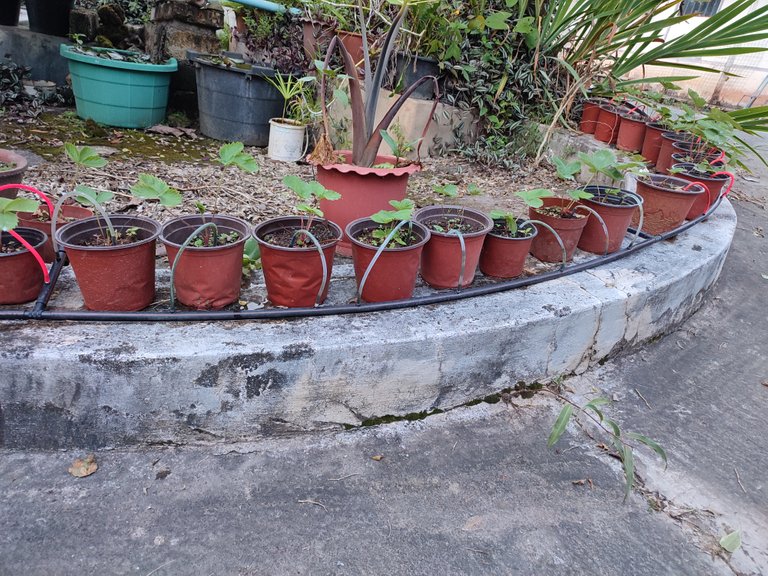
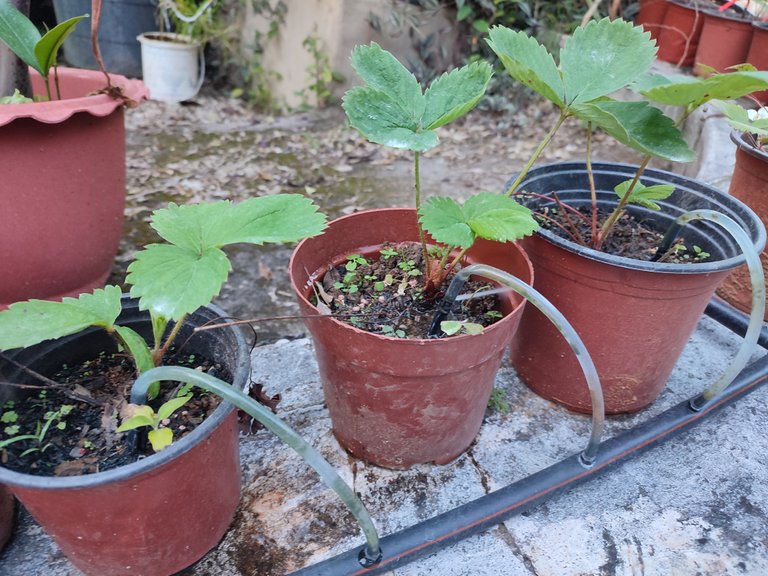
Below are some of the plants that my new system will provide water. This is my first step in home automation. I hope I can expand more and I think next time, I will use a ready made hardware like 'Sonoff Basic' because setting up hardware is quite a hassle that took much of my time.
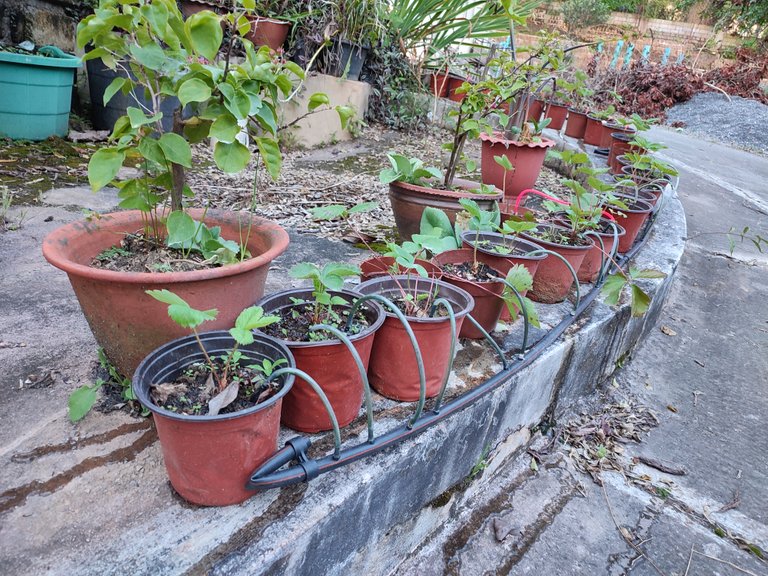
Thank you for reading. Have a nice day!
@princekham
4th Oct 2022
Myanmar.


