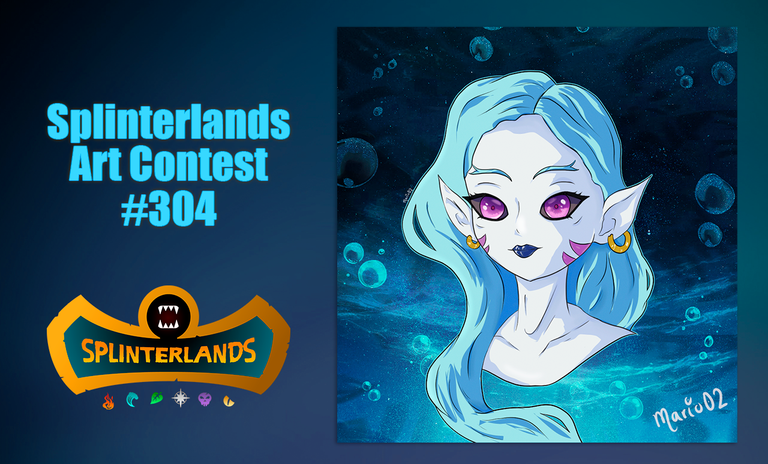

Coastal Sentry 💧🌊
¡Saludos comunidad de artistas! 😃🙏
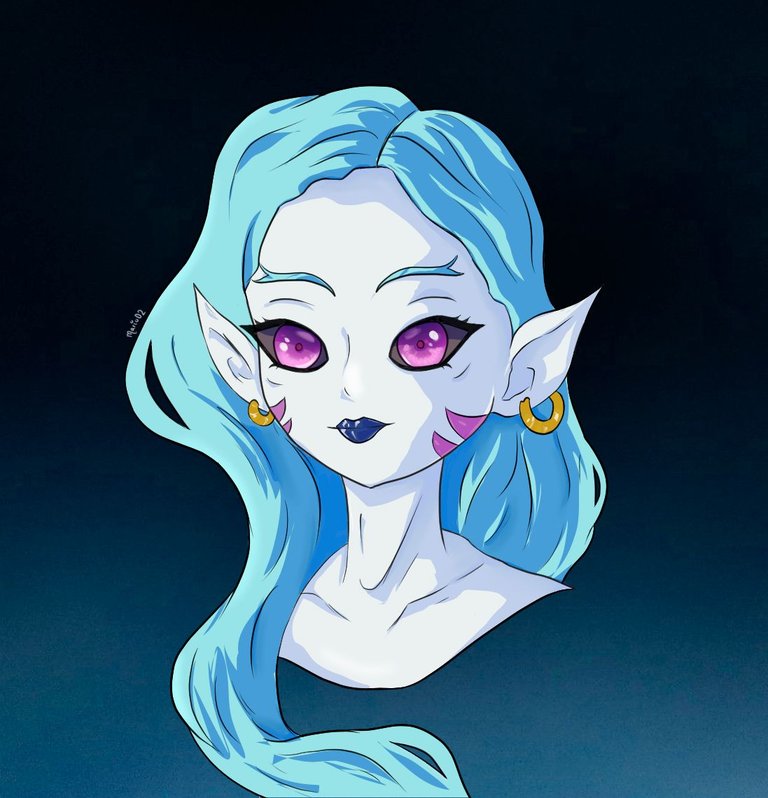
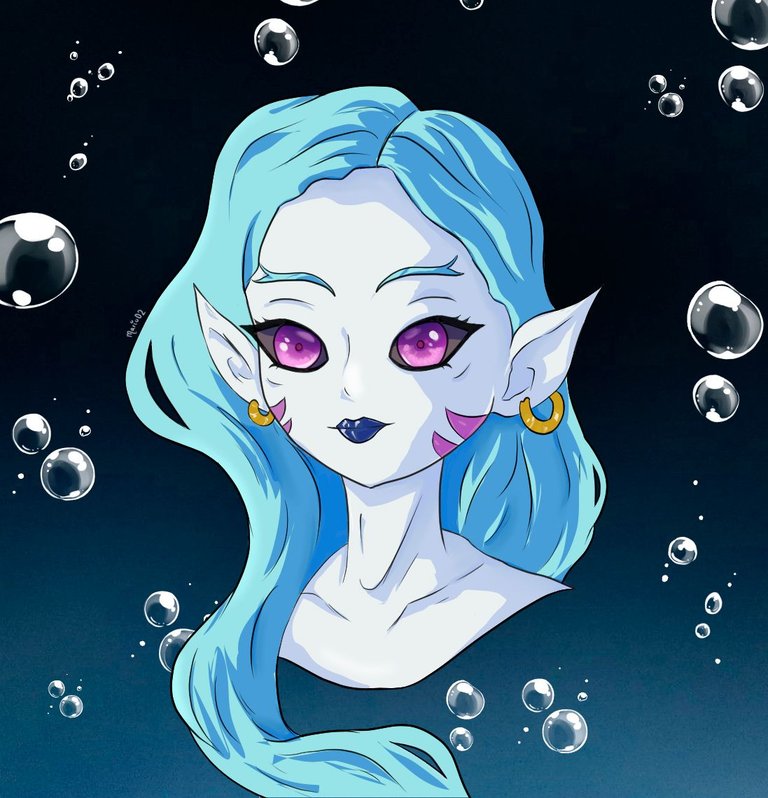
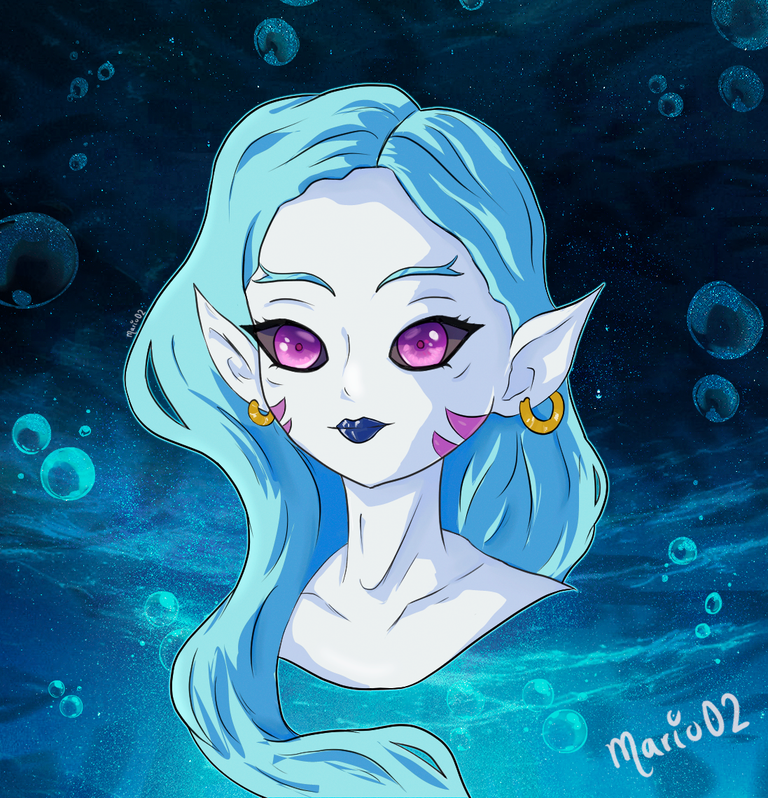
Cuanto tiempo sin compartir nada con ustedes. Finalmente he sacado fuerzas y ánimos para participar en el concurso de esta semana de @splinterlands; esta vez realice una ilustración tipo retrato del personaje Coastal Sentry, llevándola a un estilo un poco mas adorable y menos malvada que en su versión original. Sin duda estoy muy contento con el resultado, hacer esta ilustración me hizo desconectarme de tantos problemas que tengo actualmente y me da gusto poder compartirla con todos ustedes, los dejo con el proceso a continuación.
Greetings artist community! 😃🙏
Long time no share anything with you guys. I finally got the strength and courage to participate in this week's @splinterlands contest; this time I made a portrait illustration of the character Coastal Sentry, taking her to a more adorable and less evil style than in her original version. No doubt I'm very happy with the result, making this illustration made me disconnect from so many problems I have at the moment and I'm glad to share it with all of you, I leave you with the process below.

Creative Process | Proceso Creativo✏️
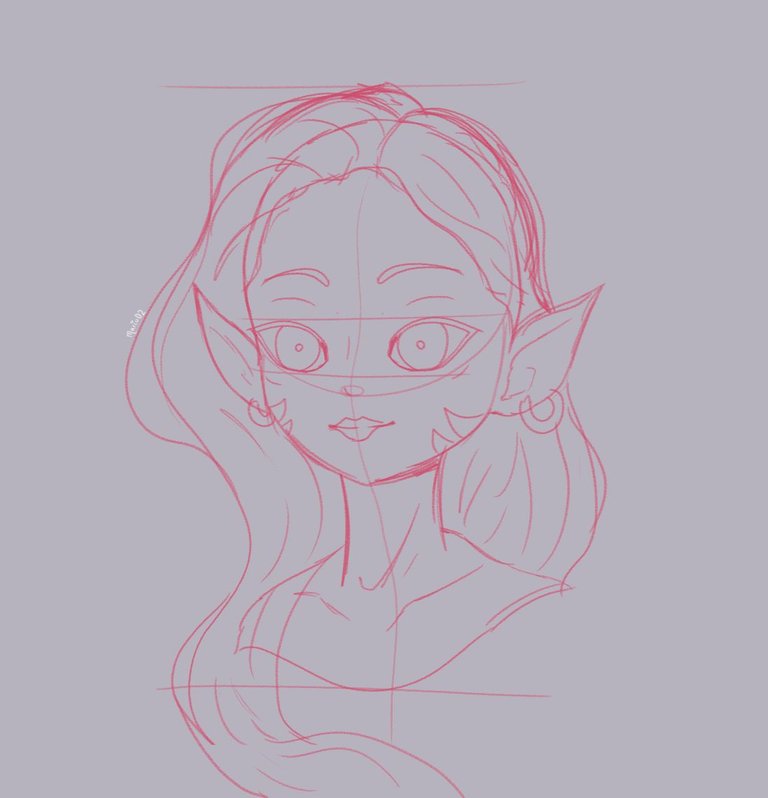
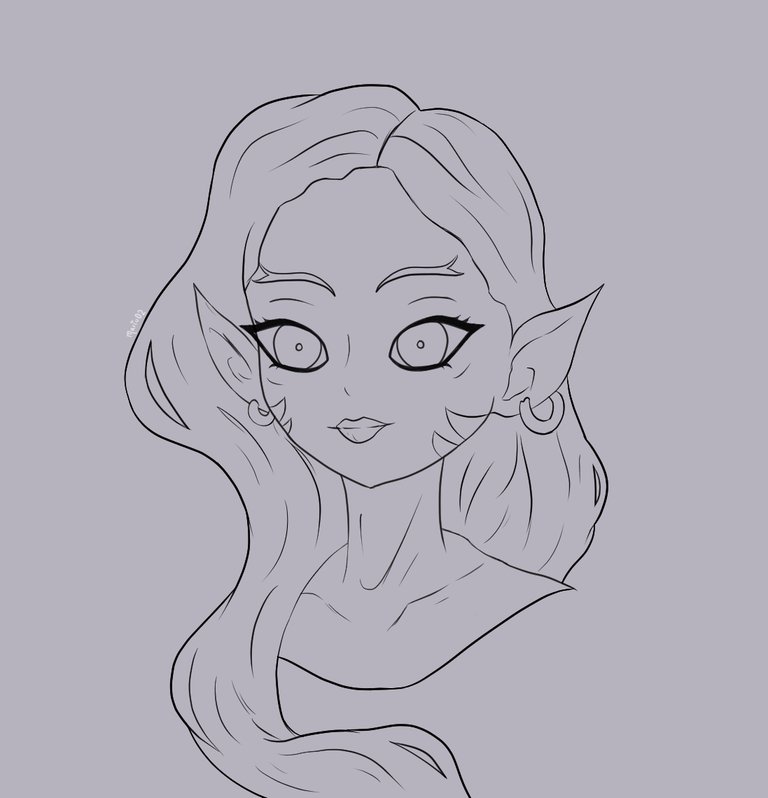
Comencé el boceto del personaje con un pincel color rojo y con baja opacidad, fui trabajando en la composición y modifique los ojos haciéndolos más grandes para que sean protagonistas en la ilustración. Luego de hacer el boceto pase a realizar el lineart para limpiar y definir las líneas.
I started the sketch of the character with a red brush and with low opacity, I worked on the composition and modified the eyes making them bigger so that they would be the protagonist in the illustration. After making the sketch I made the lineart to clean and define the lines.
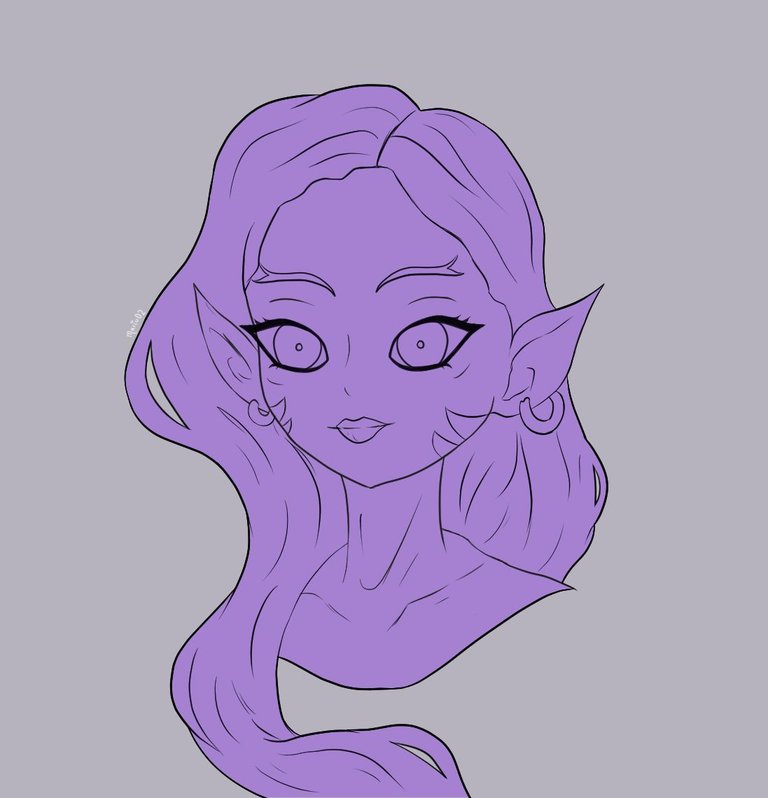
Luego comencé el proceso de aplicar el color, primero aplique una capa de color morado por todo el personaje y encima de esta fui colocando los colores bases que tendría el personaje, aquí utilice una paleta de color diferente a la del personaje de referencia para variar un poco el resultado.
Then I began the process of applying the color, first I applied a layer of purple color all over the character and on top of this I placed the base colors that the character would have, here I used a different color palette than the reference character to vary a little the result.
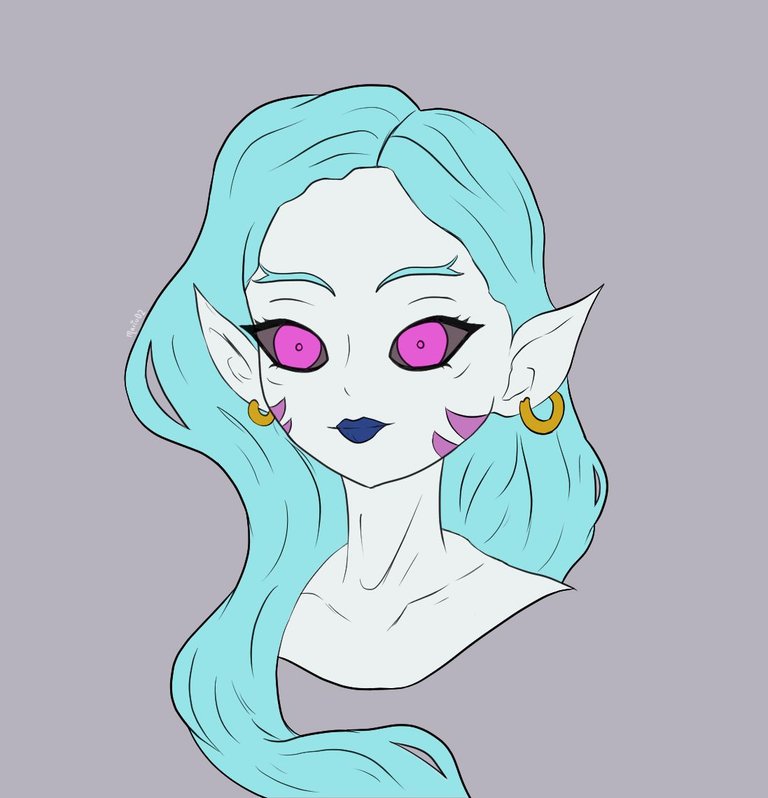
Después en una nueva capa comencé a aplicar las sombras para darle volumen al personaje, elegí un color cualquiera con el que fui añadiendo el volumen siguiendo la forma de los elementos. Luego cambie el tono de color de las sombras por un tono mas azulado y añadí una segunda capa de sombras para darle mas detalle a ciertas zonas.
Then in a new layer I started to apply the shadows to give volume to the character, I chose any color with which I added the volume following the shape of the elements. Then I changed the color tone of the shadows for a more bluish tone and added a second layer of shadows to give more detail to certain areas.
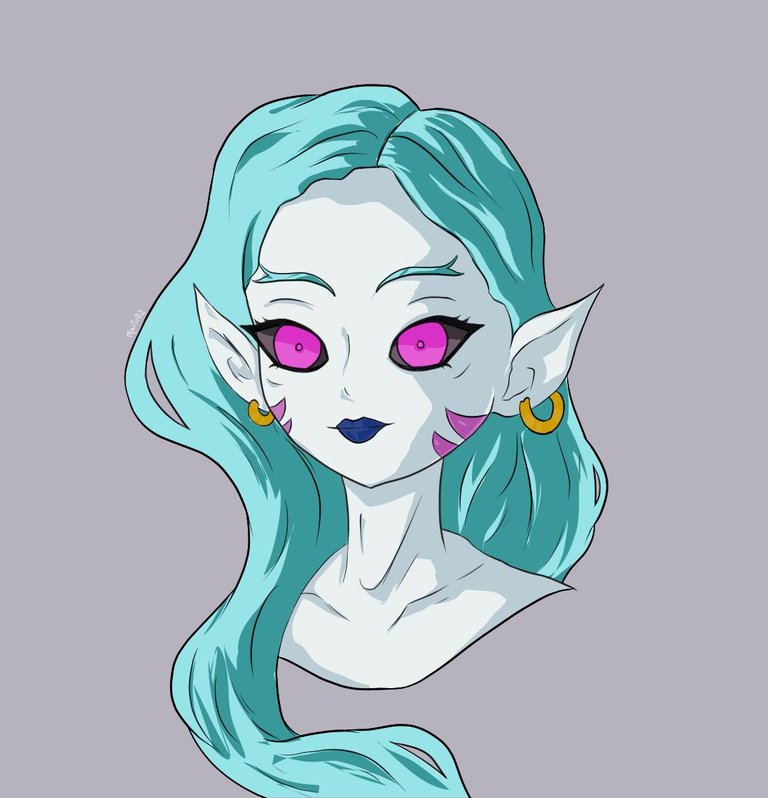
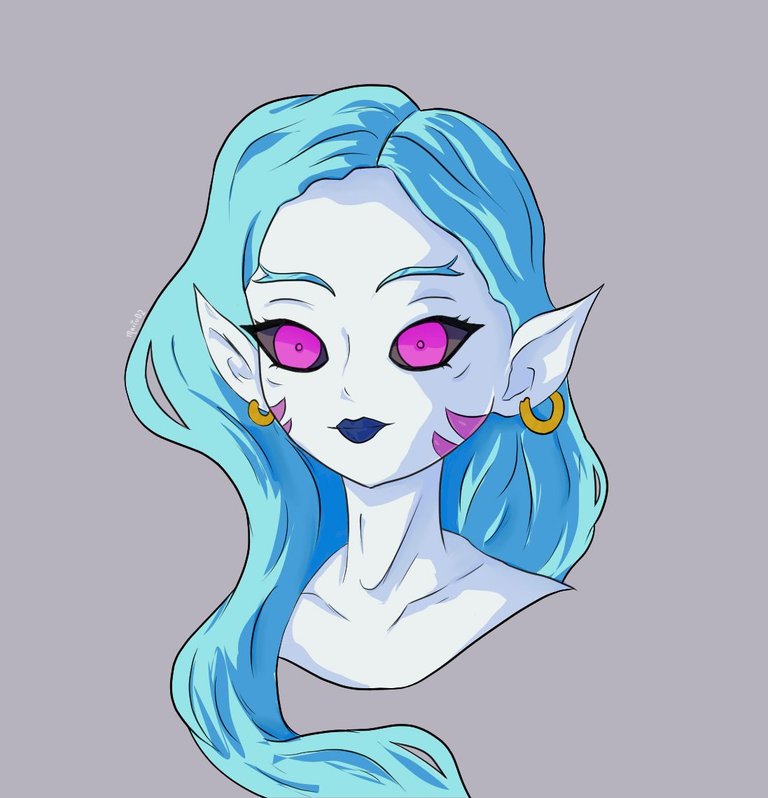
Para terminar con el personaje agregue algunos brillos y mas detalles en sus ojos para que resaltaran aun mas y también un poco de color blanco a sus labios. Una vez termine con el coloreado del personaje pase a trabajar en el fondo.
Para el fondo utilice algunos degradados de color azul a negro como base, luego con ayuda de un pincel de motivo, agregué unas burbujas por el alrededor del personaje y a partir de aquí fui agregando mas elementos con la intención de simular un mar.
To finish with the character I added some glitter and more details to his eyes to make them stand out even more and also some white color to his lips. Once I finished with the coloring of the character I went to work on the background.
For the background I used some blue to black gradients as a base, then with the help of a pattern brush, I added some bubbles around the character and from here I added more elements with the intention of simulating a sea.
Hasta aquí el proceso de la ilustración del día de hoy, espero les haya gustado.
Muchas gracias por ver y nos vemos en una próxima publicación! 🙏
So much for today's illustration process, I hope you liked it.
Thank you so much for watching and see you in a future post! 🙏

Tools Used | Herramientas Utilizadas:
- Photoshop CC versión 64 bits
- Tablet Huion H610 PRO V2
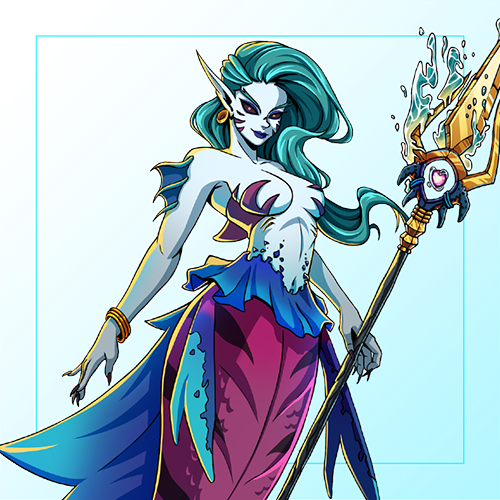
REFERENCE
The illustration and separators used in the post are my property.
Translated with DeepL (free versión)
