
For this reason, I have dug up some tricks for cheap underpainting, that I would like to share with you! This time I used ordinary cardboard, which I always have too much of at home.
For some reason I find it hard to part with them:)

I personally recommend hard pasteboard for this purpose - the hard back of a sketchbook is usually perfect for this. I myself used to buy hard, thick pasteboard from DIY shop when I was still at school. Their undoubted advantage is not only the price, but the great freedom to create any format you need. What's more, you can use this technique on plywood or board as well.

One important note: these underlays are not as durable as classical painting underlays, so they are unlikely to last for you know - centuries (especially the humidity does not do them much good), but it is an excellent way of making cheap stuff for training. The great advantage of painting is that a given picture can always be repainted, started again. Plus it can be fun to do with kids for instance:)
However - professional underpaintings cost a lot.

Today I would like to encourage you to make your own painting bases. They are suitable for both acrylic and oil paints. They are good for drawing with pencil, charcoal. They are suitable for inks and pastels. And they are definitely more durable and resistant to ageing than paper:)

Shopping list:
- food grade gelatine, I used pork (animal ones work better, you can use powdered or one that come in sheets- it doesn't really matter);
- acrylic or silicone paint (wall paint will suffice);
- pasteboard (as I said before the back of a sketchbook is best, I used cardboard as I have it in tons at home);
- sponge painting roll and/or wide, soft painting brush;
extra:
- glass bowl for dissolving the gelatine,
- spoon,
- paint tray,
optional: - sand paper.


Then I pour off the cold water. I boiled the water and cooled it down a bit (the water mustn't be hot!) and slowly poured it into the bowl with the swollen gelatine. I stirred until the gelatine dissolved completely. The gelatine should be quite fluid so that it spreads well. If it is too thick, simply add more water.

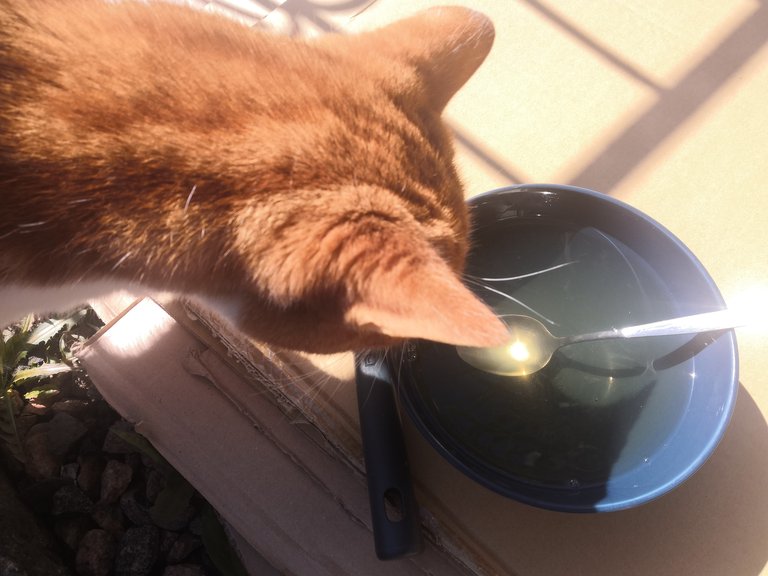

Let's get started!

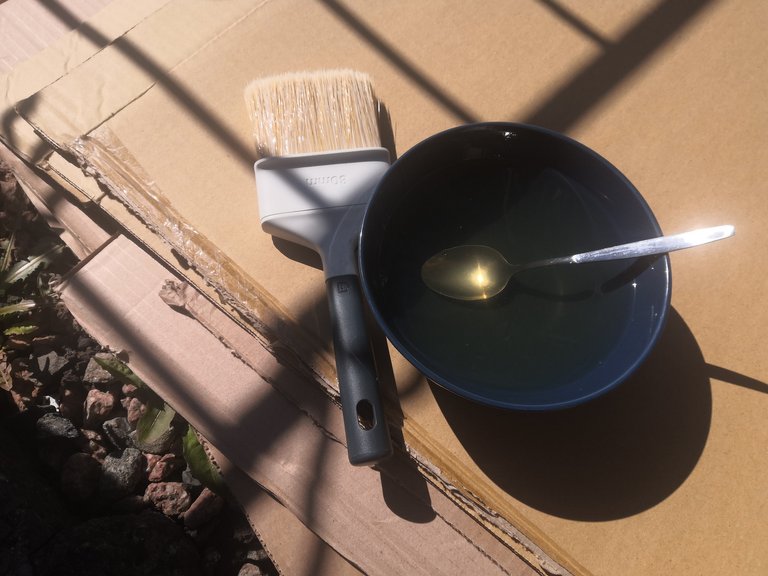


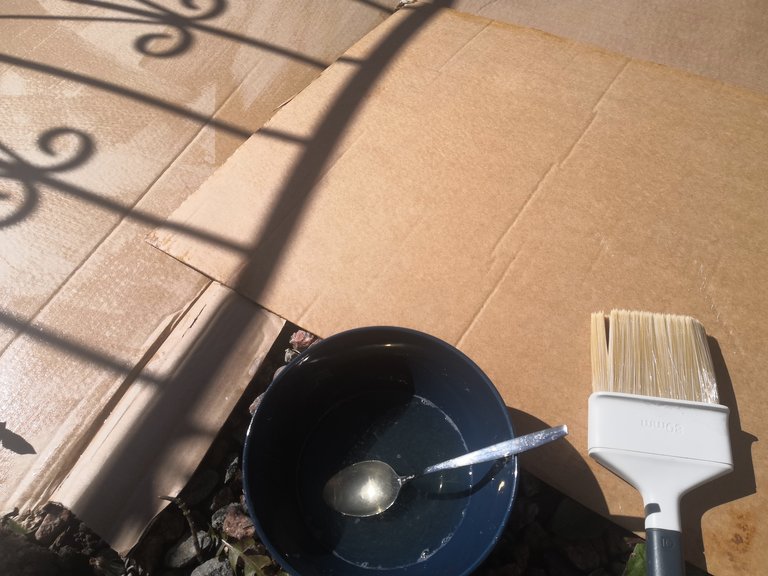

Then apply the layer vertically. Wait for it to dry.
When both sides are covered with gelatine and completely dry, proceed with the application of the paint. I recommend that you dilute the paint with water to make it flow and easy to work with - this avoids streaks and unwanted brush marks.

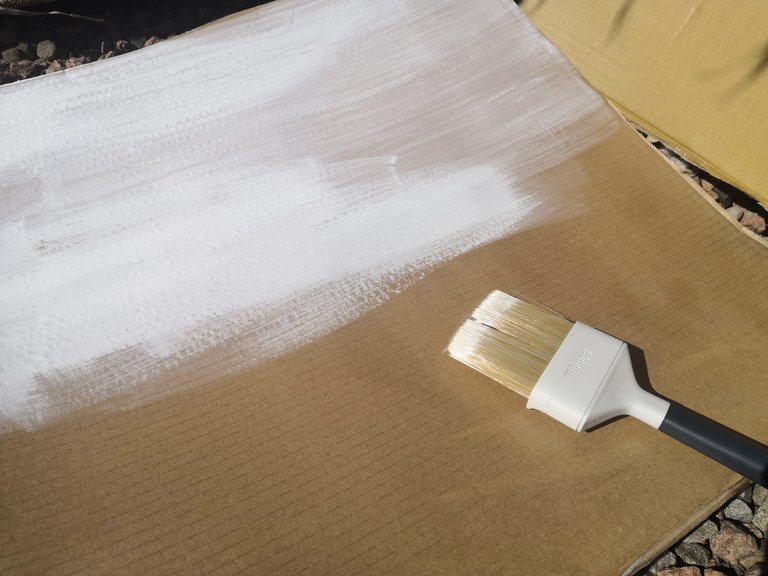

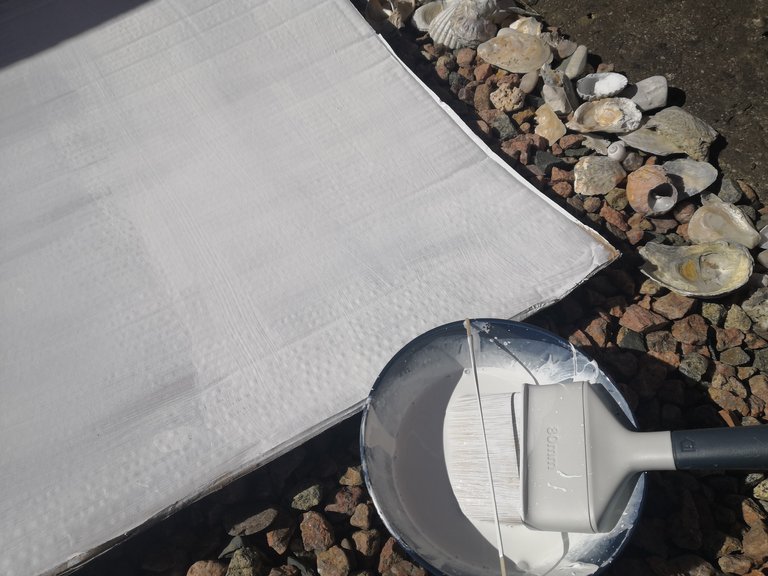


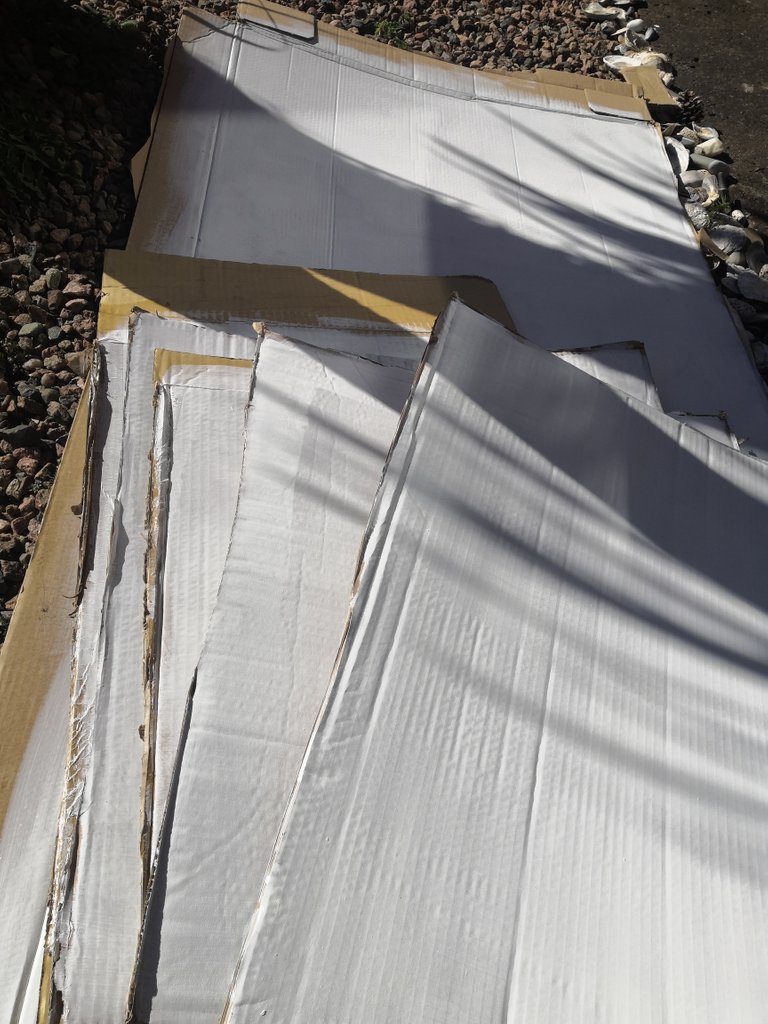

Once dry, the undercoat is ready to work with!

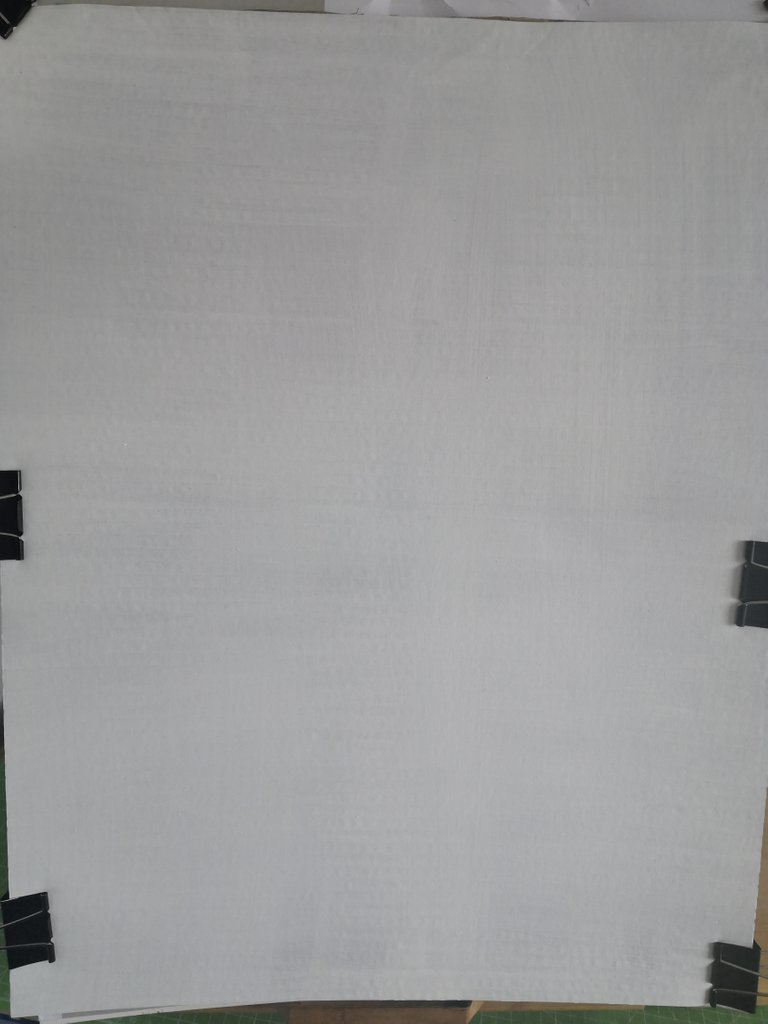


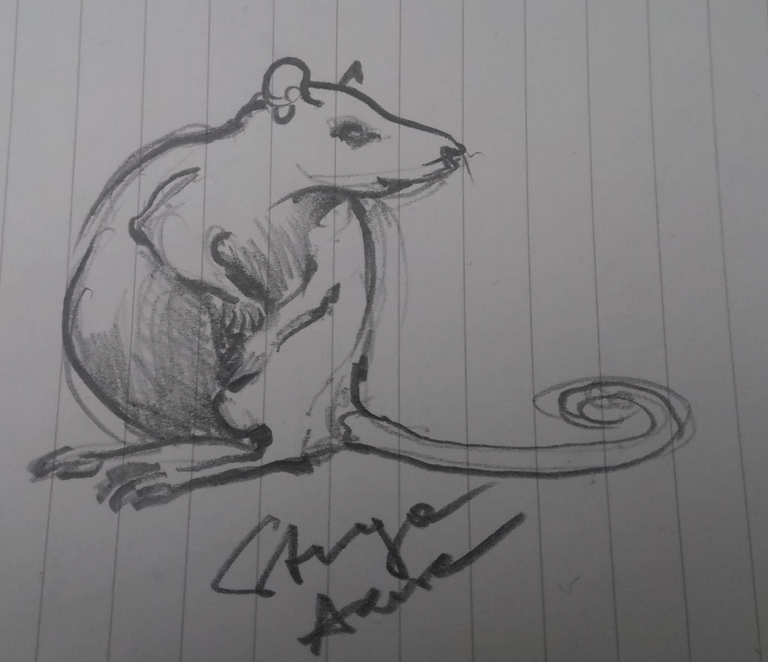
Below you will find my first use of my new, freshly made underlays. As always - looking forward to see some comments!

Have a lovely Tuesday,
Yours,
Strega Azure

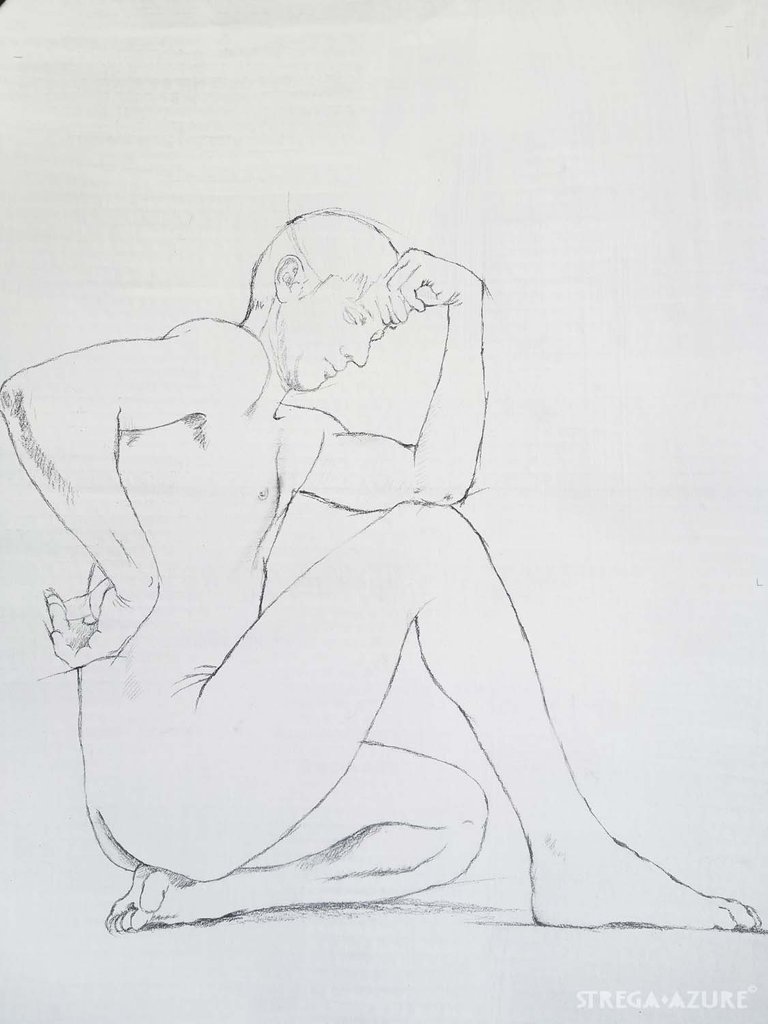

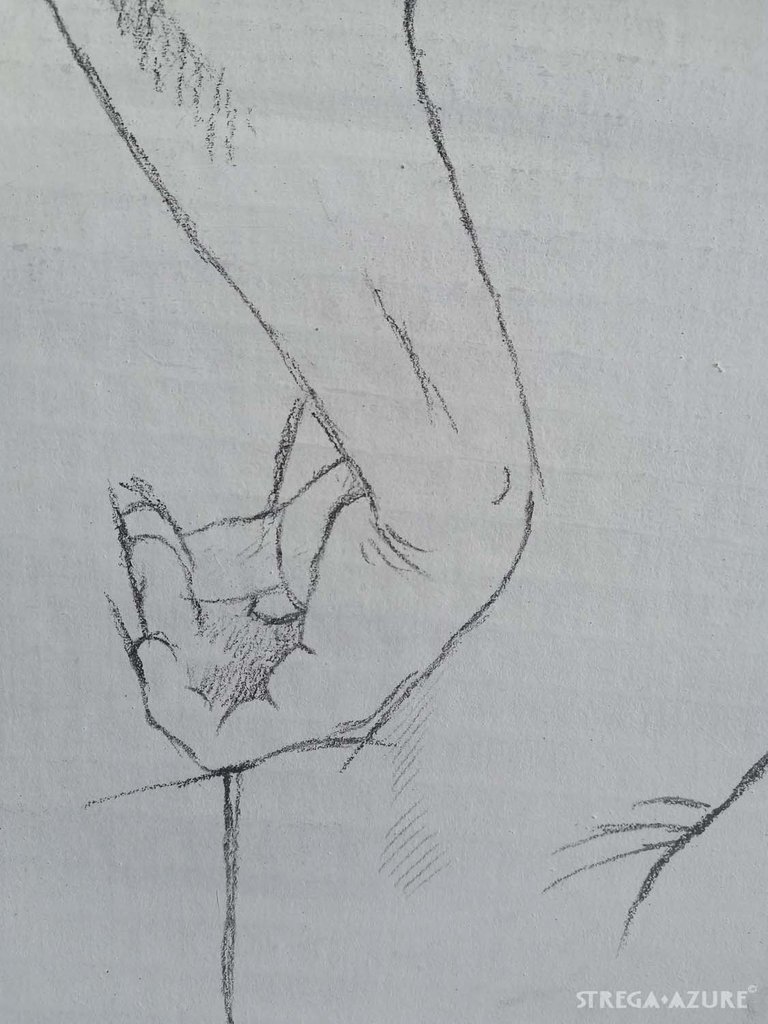

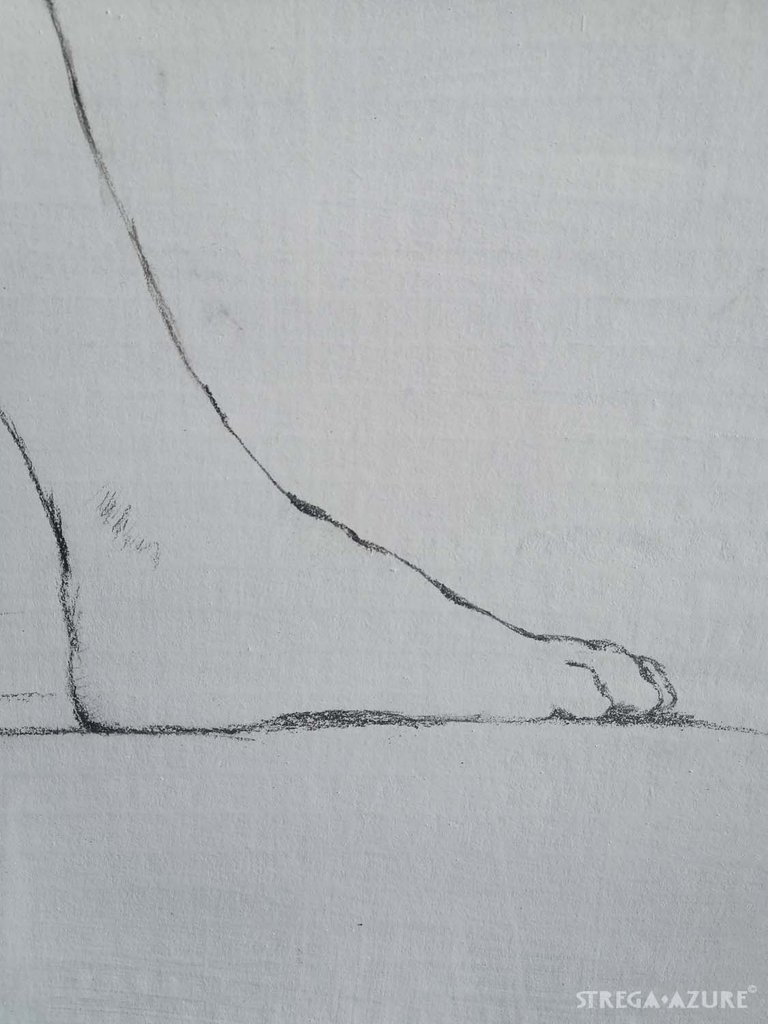

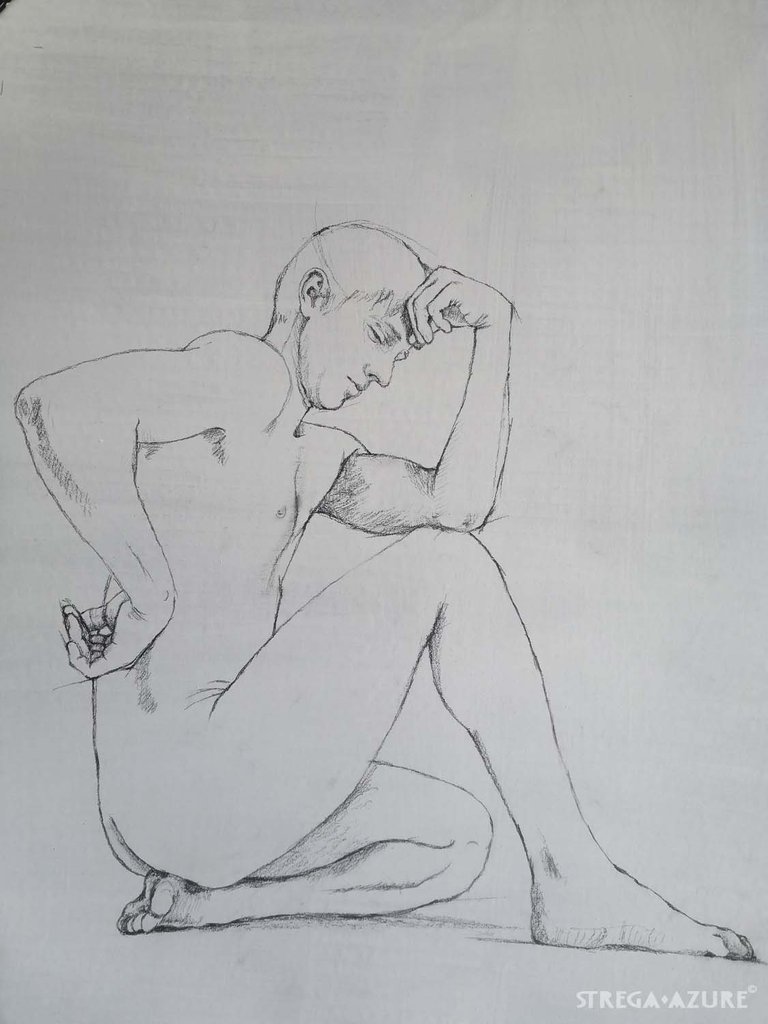

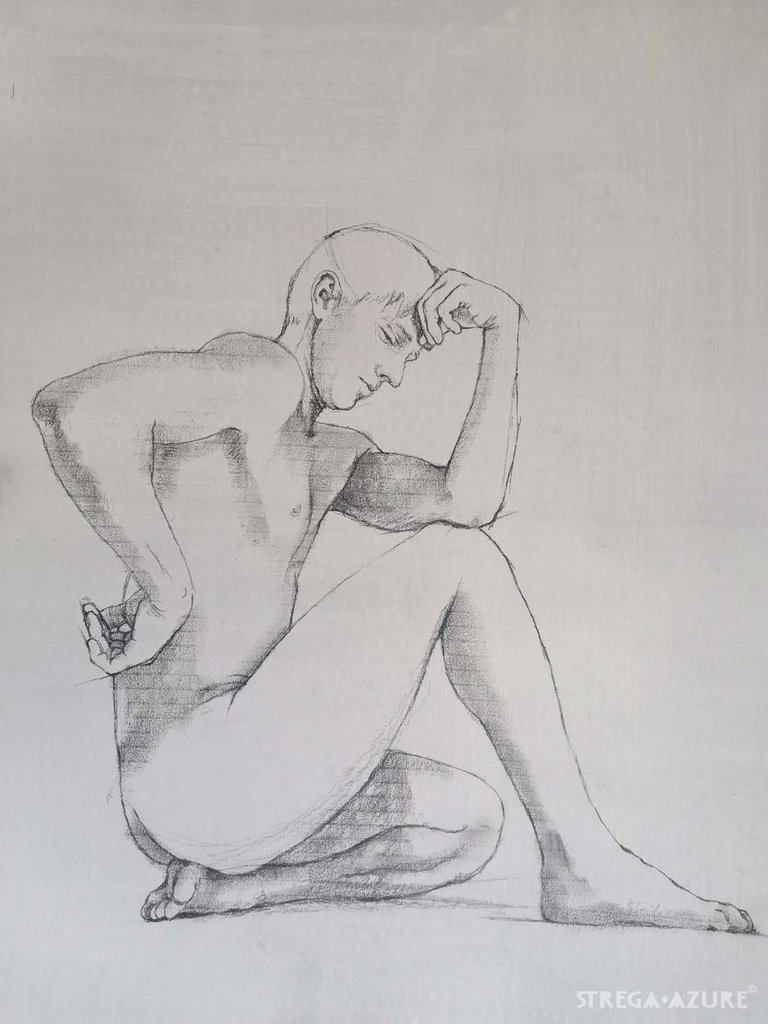

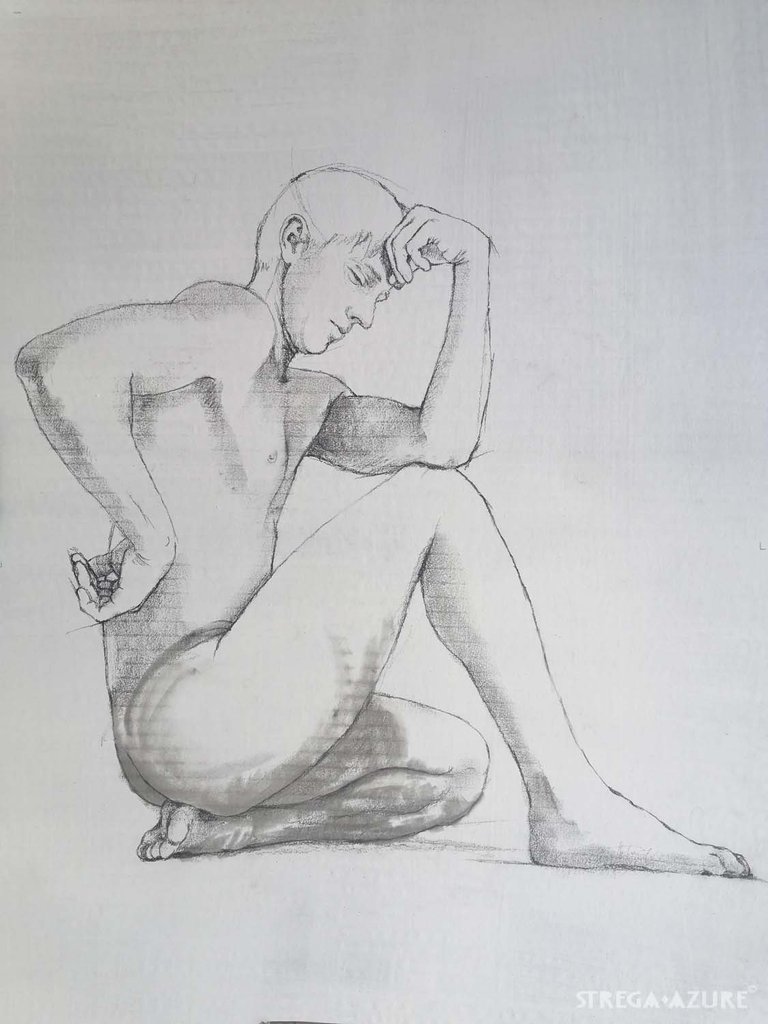

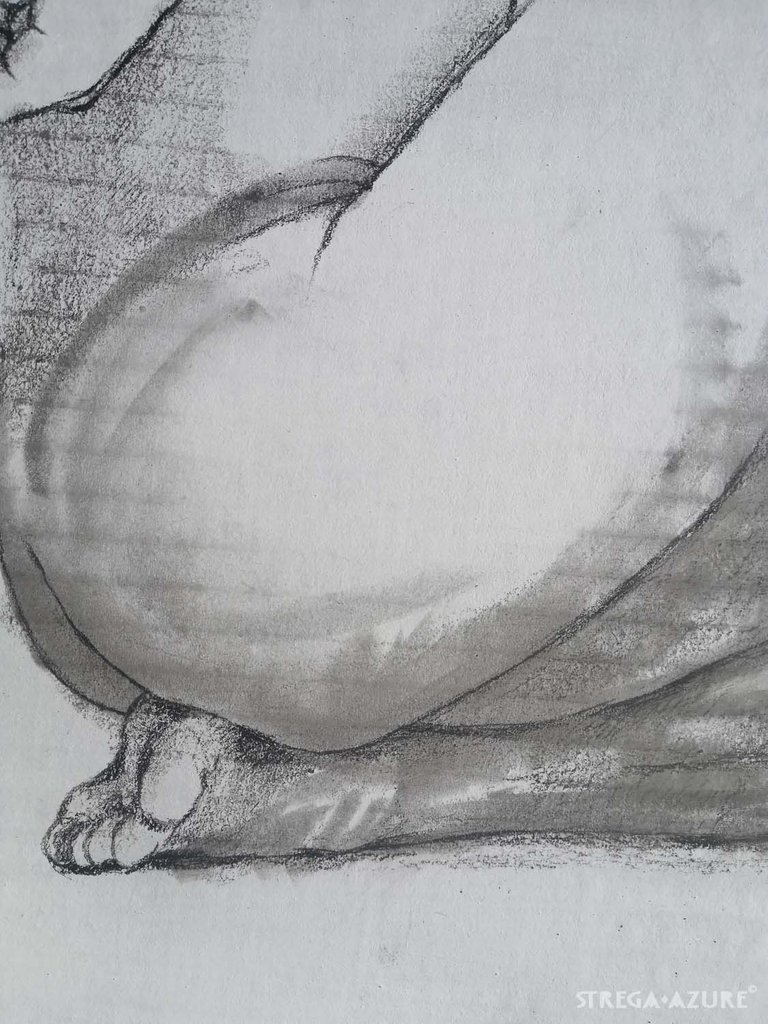

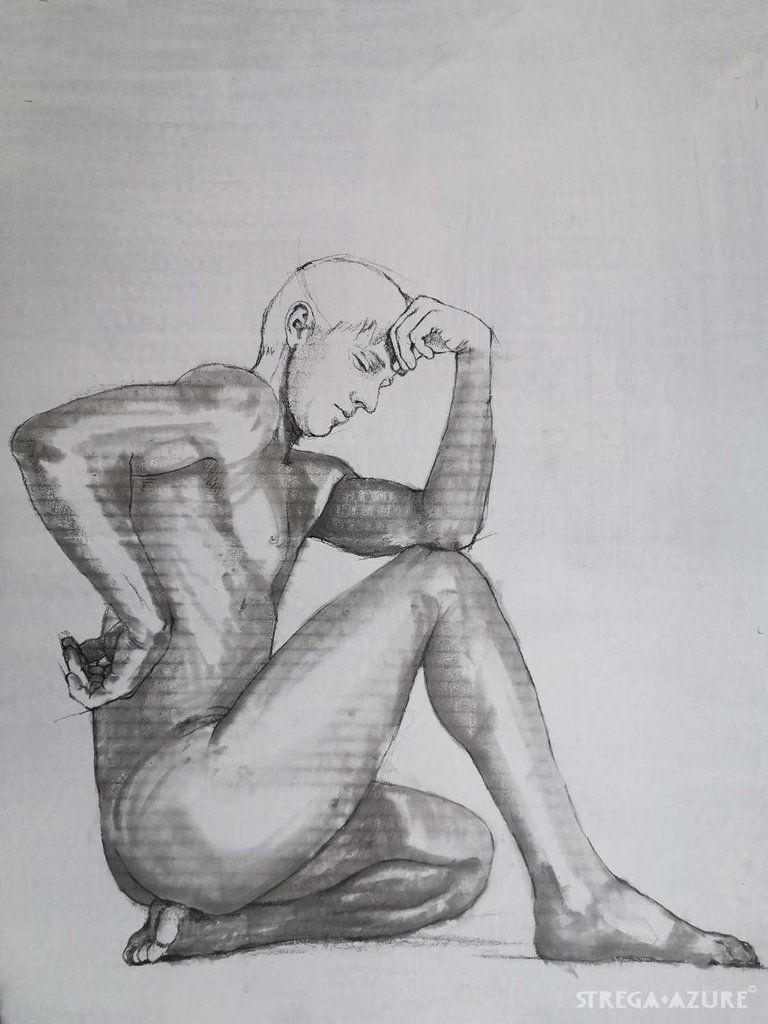

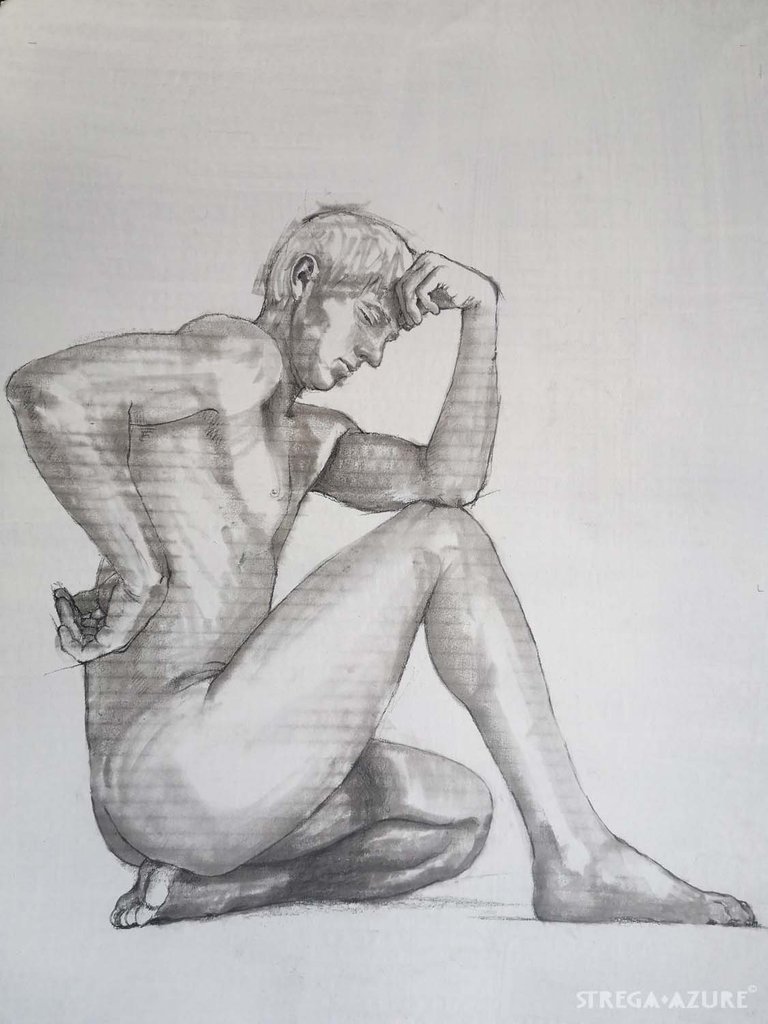

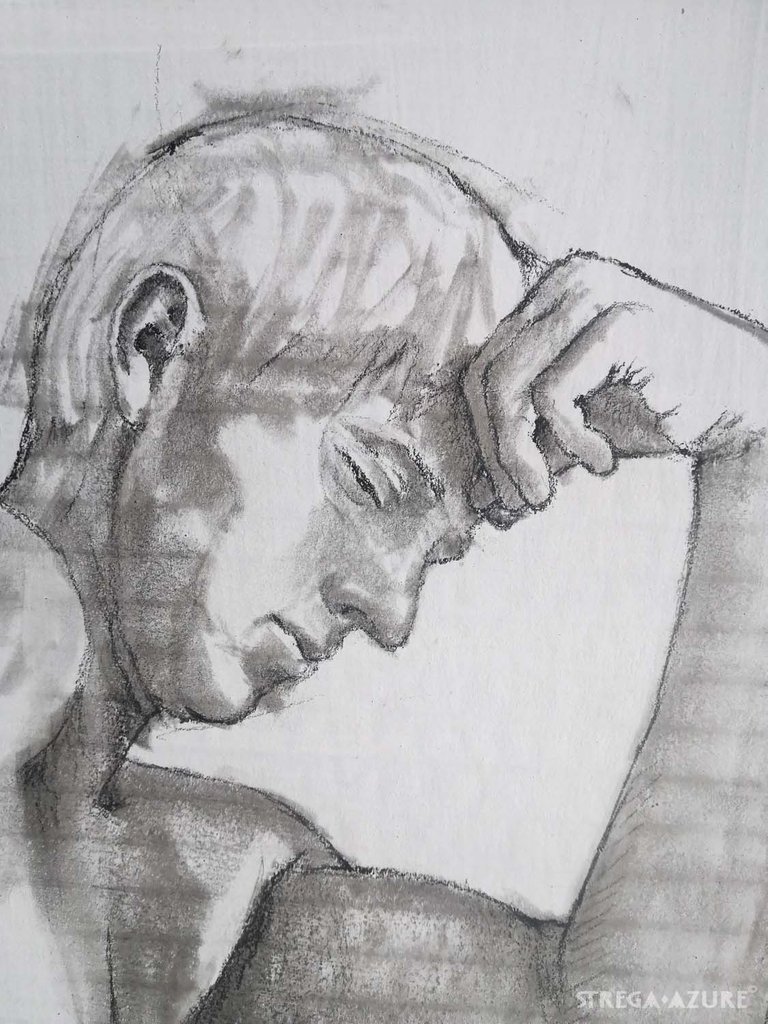

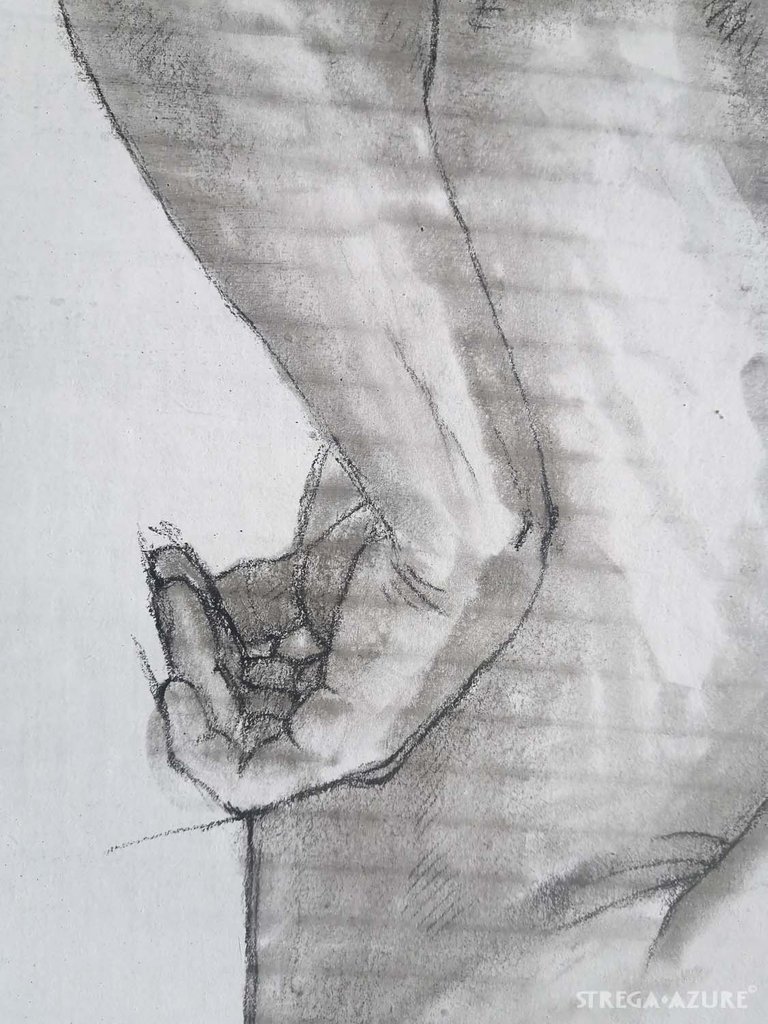

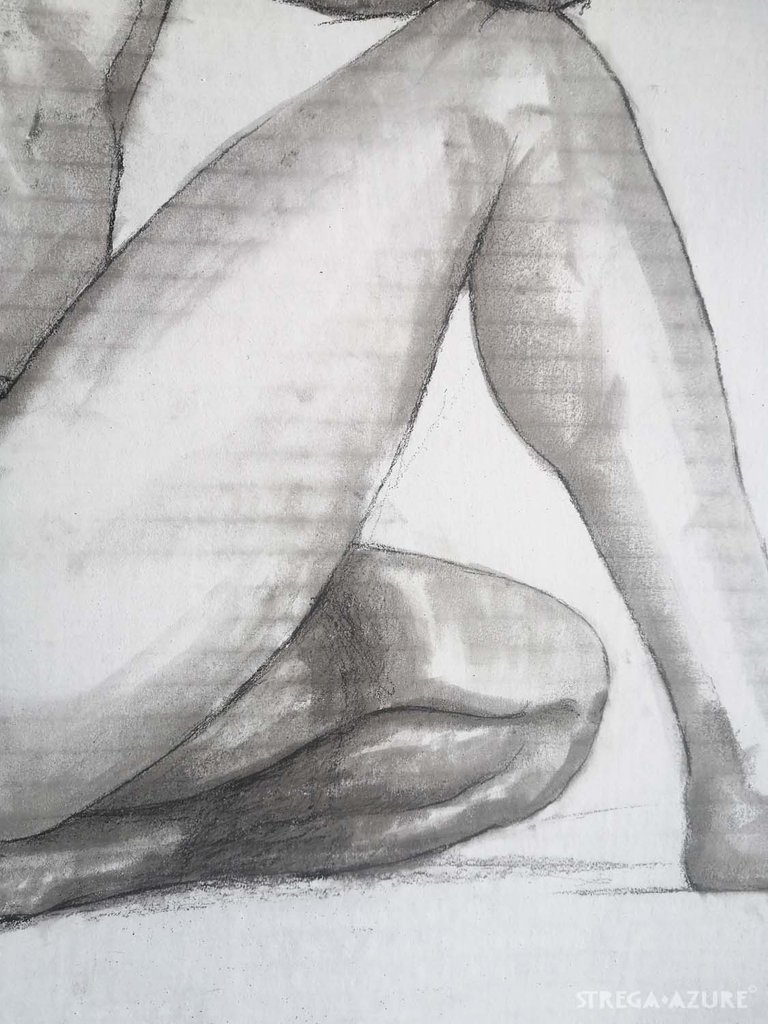

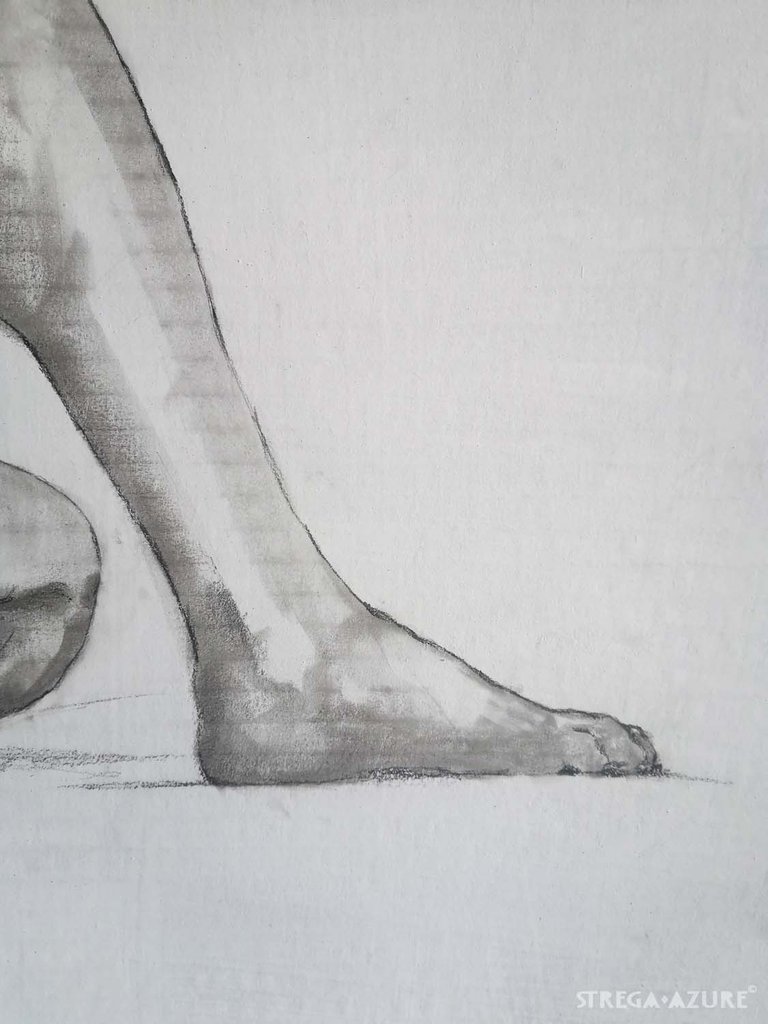

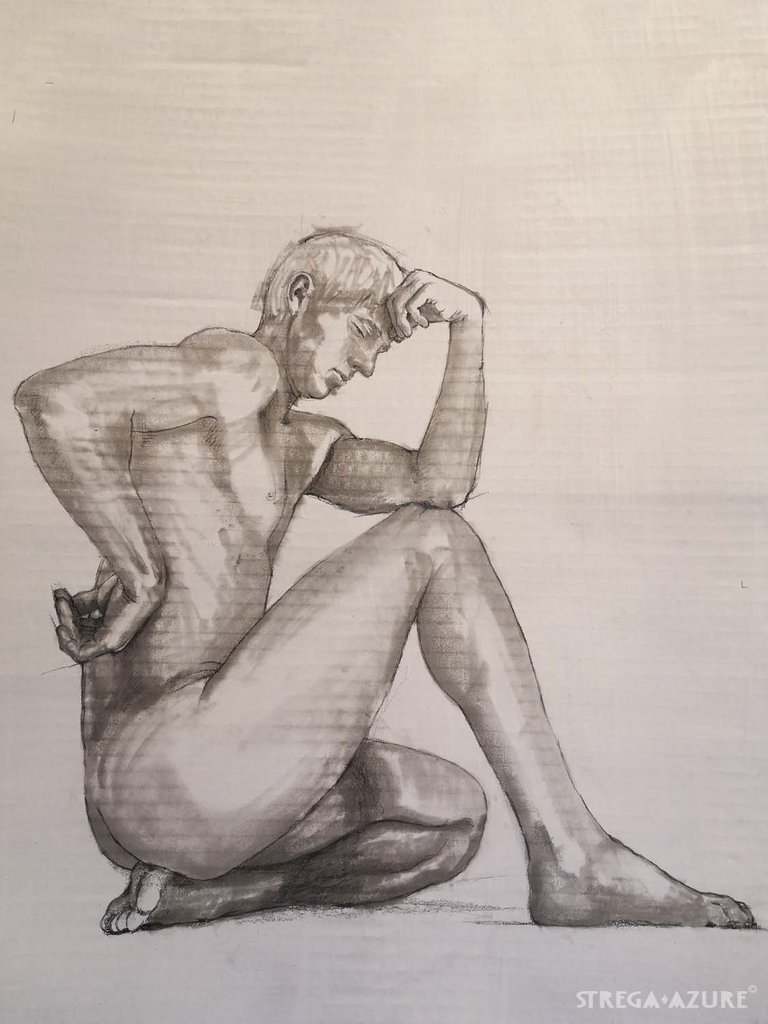

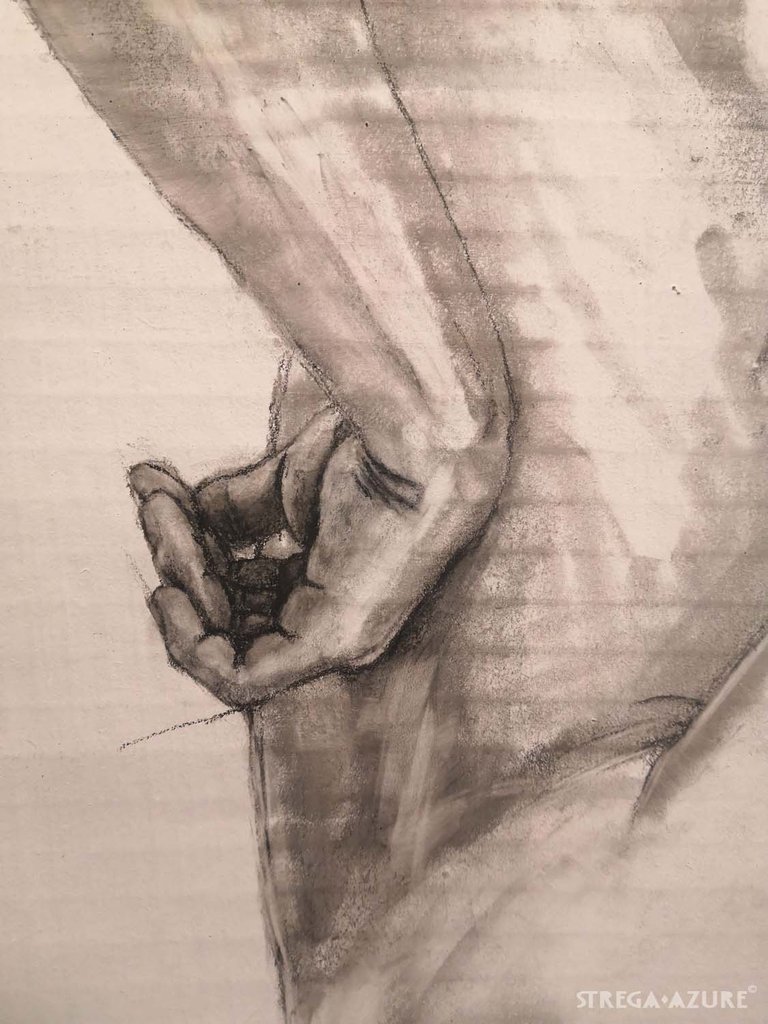

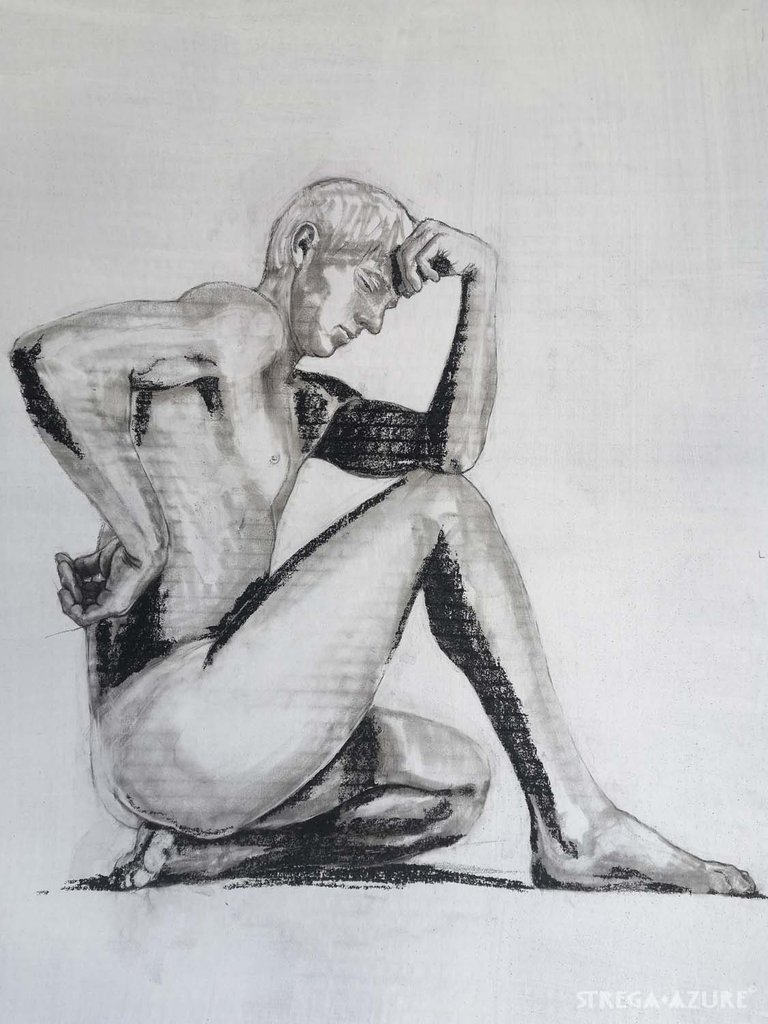

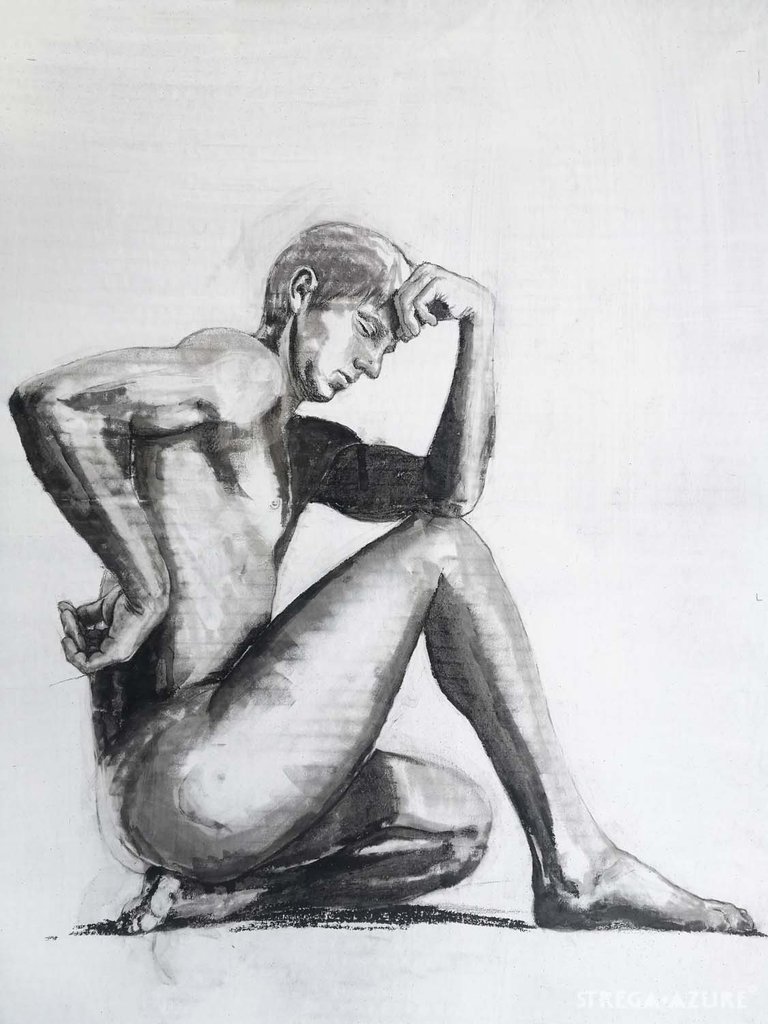

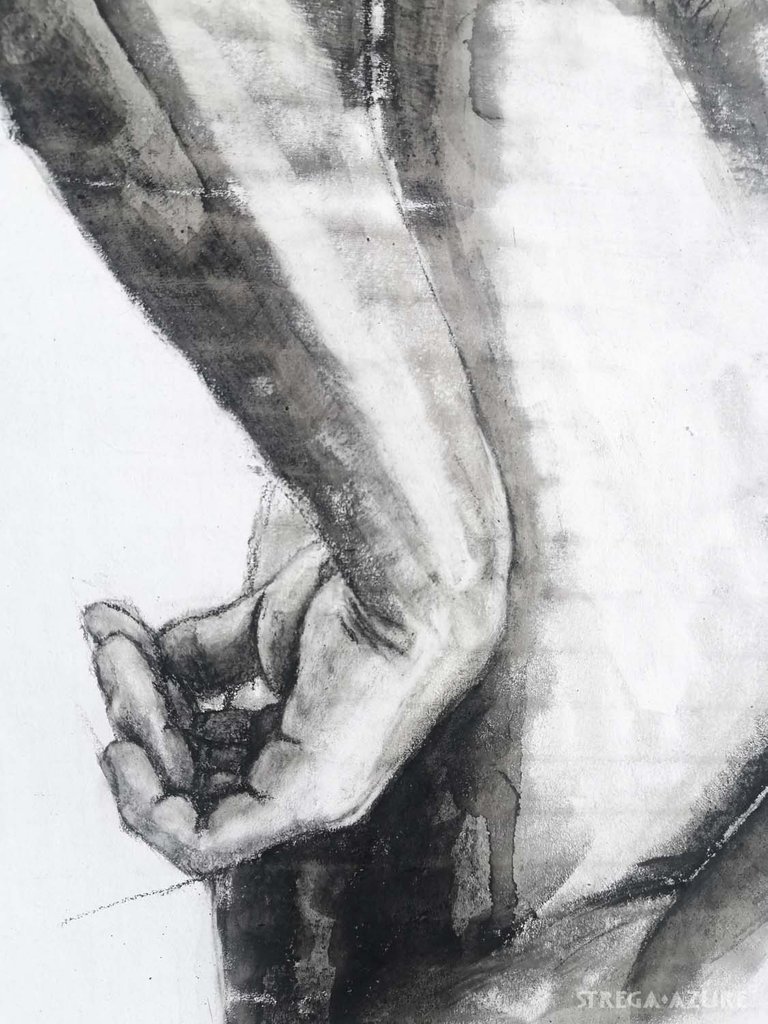

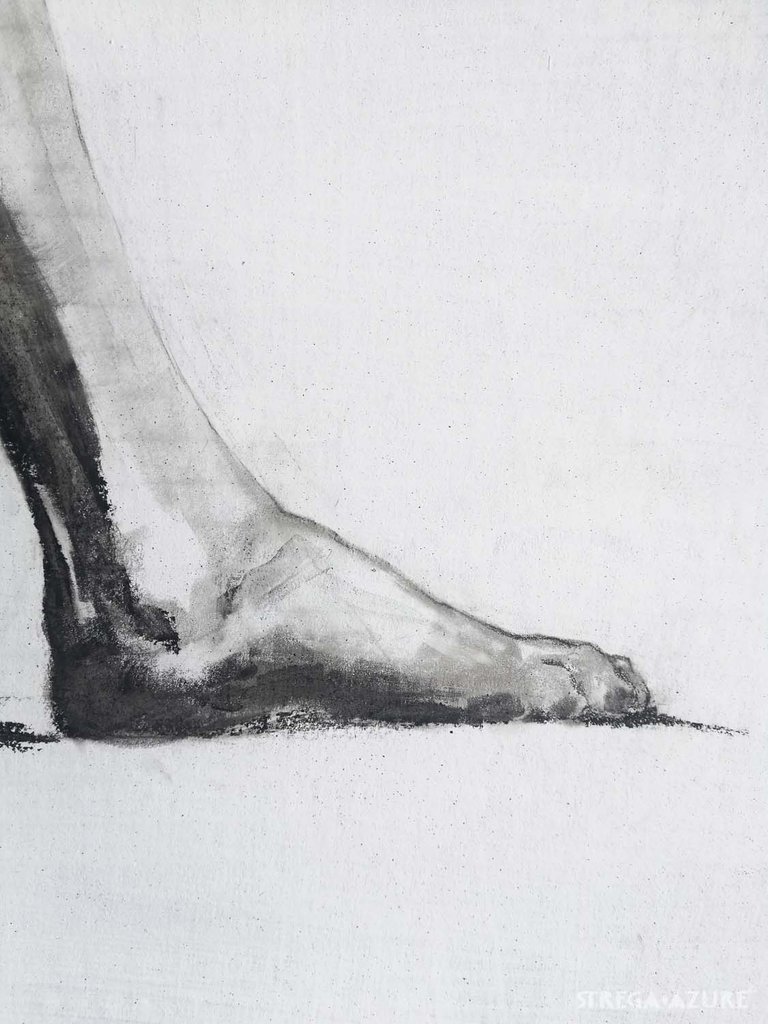

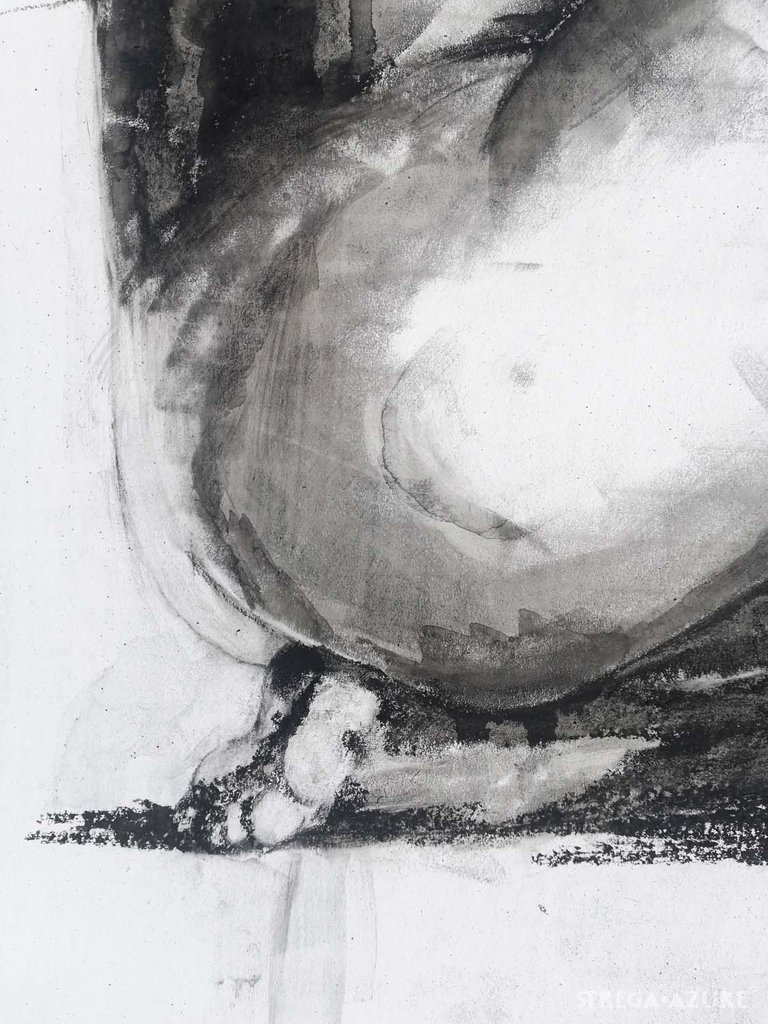


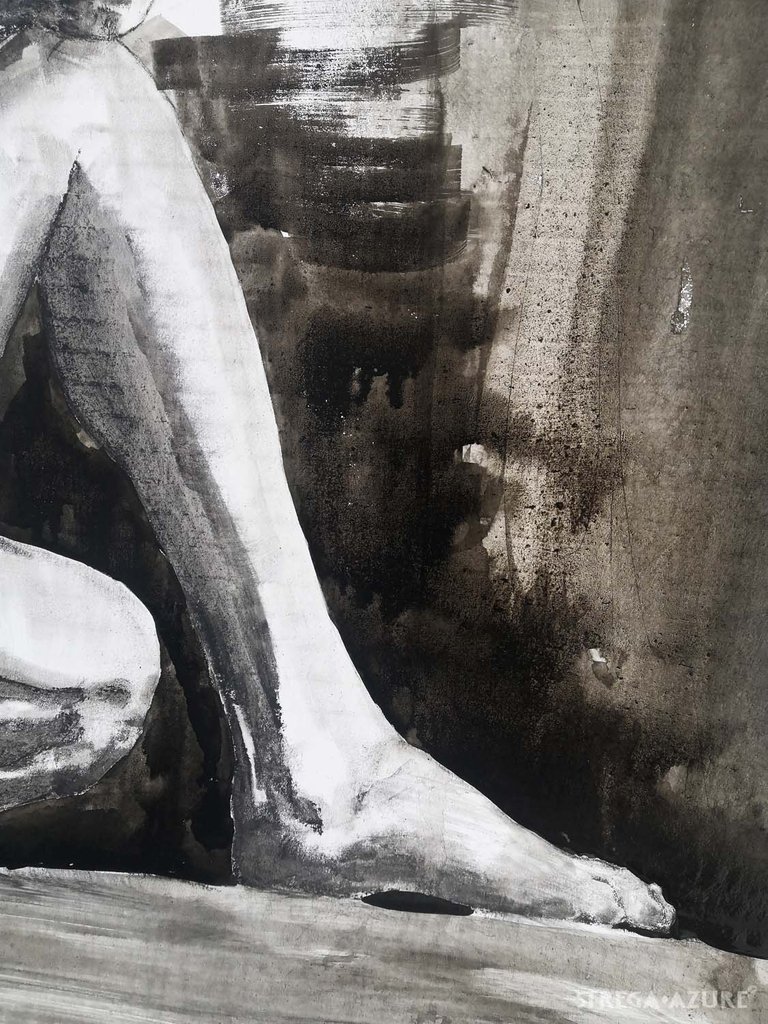

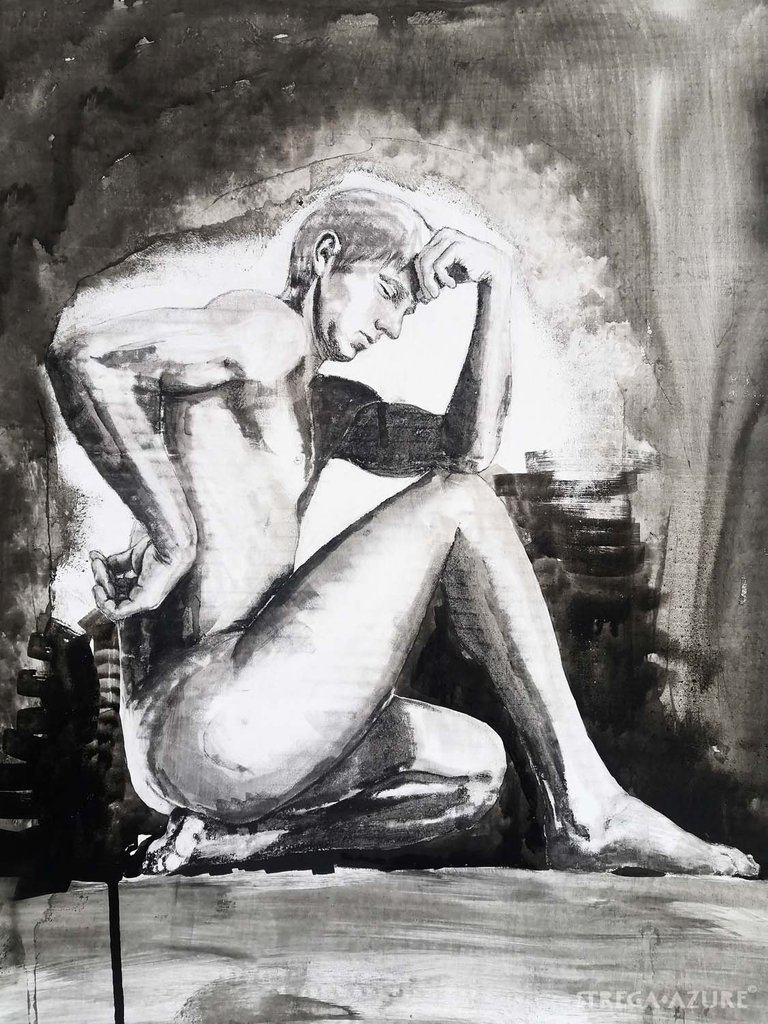

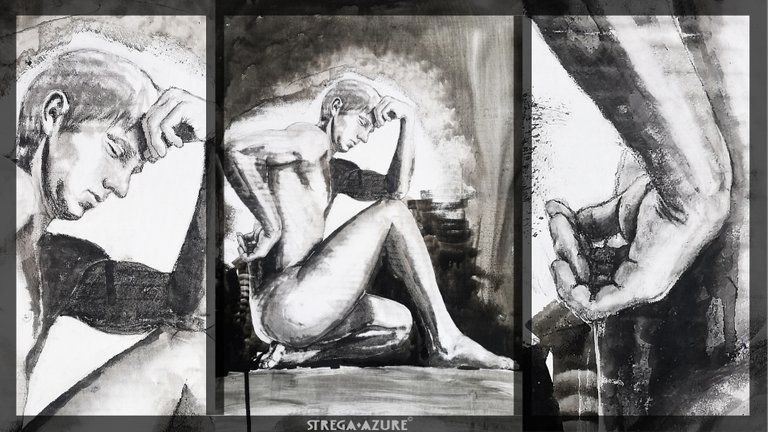

I used charcoal in pencil, regular drawing charcoal, acrylic ink
Drawing' dimensions: 55cm x 33cm (21.7 'x 13')


