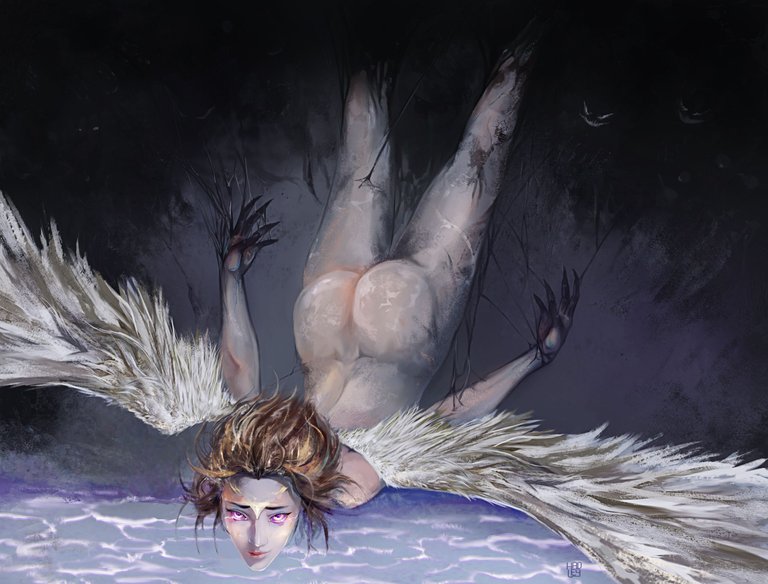
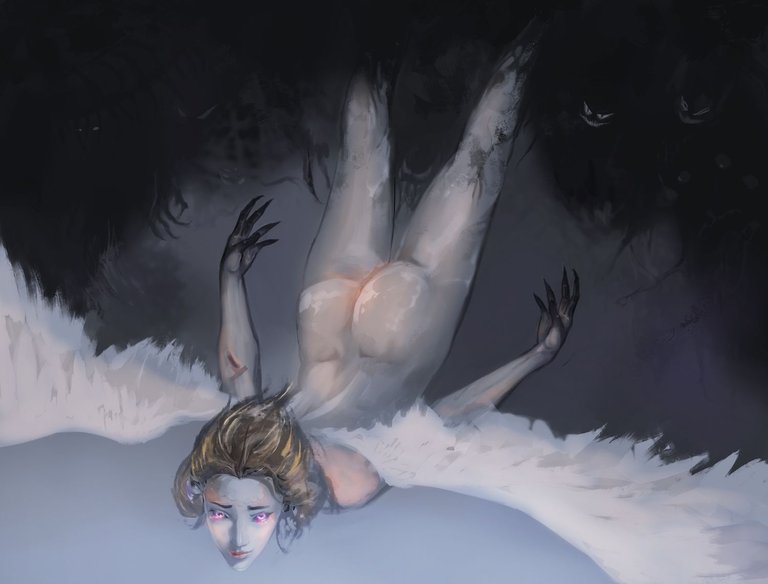
Each time my life is more difficult, I don't understand how I have endured all this time; so many tears, so much pain that consumes me more and more. Sometimes I imagine I have huge wings, I get lost in the immensity of the sky, there where I know there is no suffering and where I want to arrive soon.
For years I have not been resting as I should, in my head there are so many memories that prevent me from sleeping peacefully; nightmares flood my nights and pain my days.
Details
| Name : | Decline of Hope |
|---|---|
| Marketplace: | Terra Virtua |
| Pieces : | 3/3 |
| Direct Link : | https://terravirtua.io/item/HADART3100001 |

Tools:
- Gaomon S620
- Photoshop
- Brushes courtesy of Imad Awan: Download here

-Step 1:
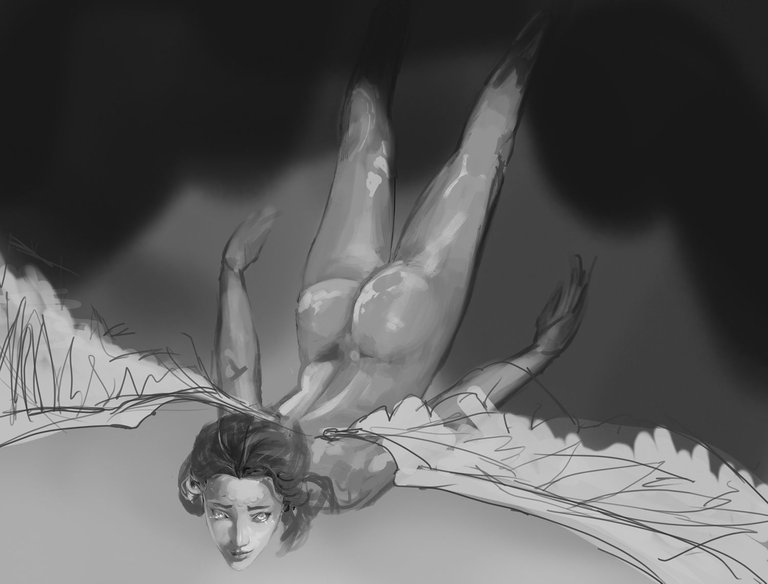
As usual, I started sketching the idea, but this time in grayscale, giving shape and volume immediately to this girl's body.


-Step 2:
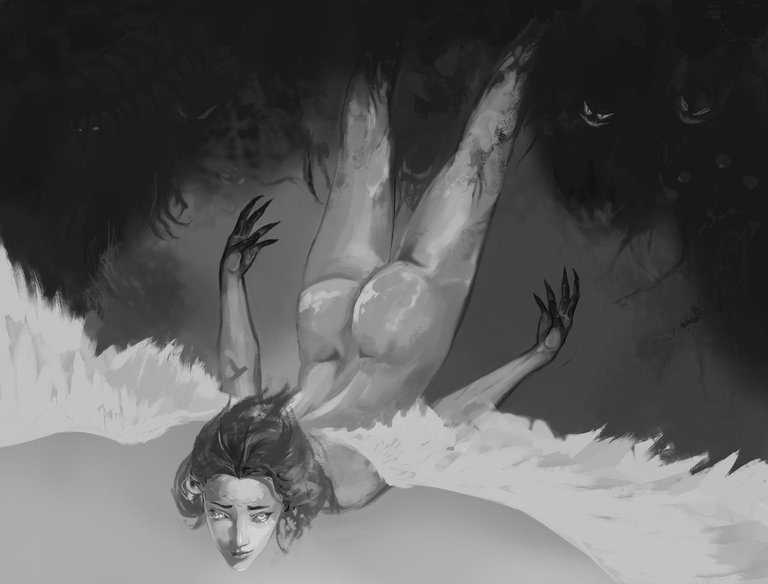
Although my primary idea was to make multiple wings on this angel, I decided to go for the classic angel with two wings to show more of the body and the environment. This is reflected in the zoom out I did on the body, so I could clearly show the face.
 |  |
|---|

-Step 3:
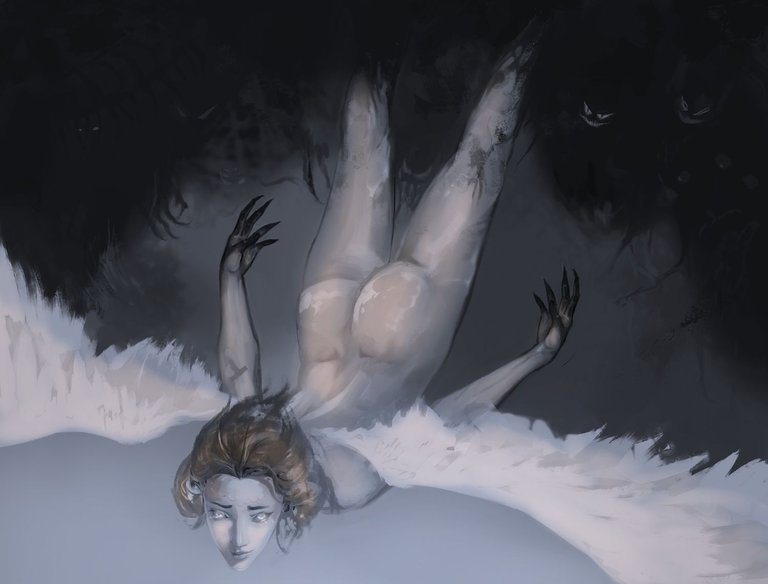
I already had the whole idea well captured in grayscale, but it was time to move on to color, I did this with three layers, one in the "multiply" blend mode with a light blue tone and low opacity for the base tone of the whole piece. The second layer in the "overlay" mode to set the color of the skin and the skin. Finally the "ligthen" mode to highlight the lighter areas of the skin, the hair and of course the eyes.
 |  |
|---|

-Step 4:
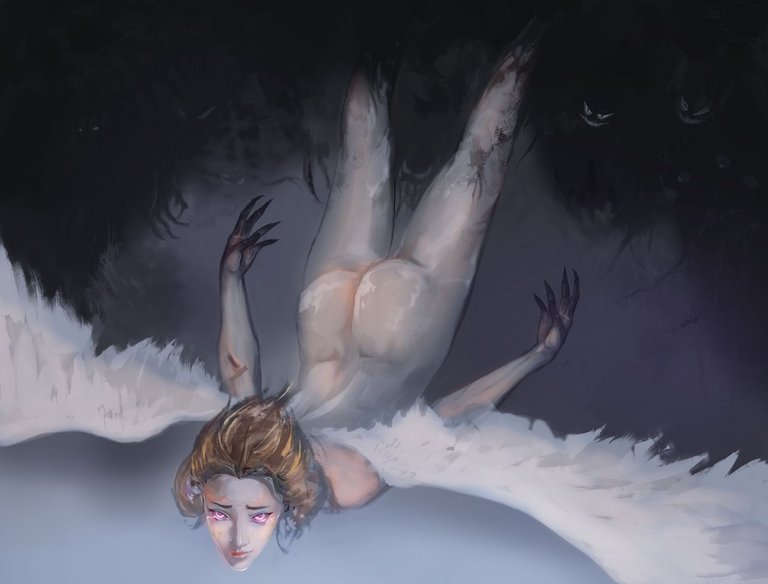
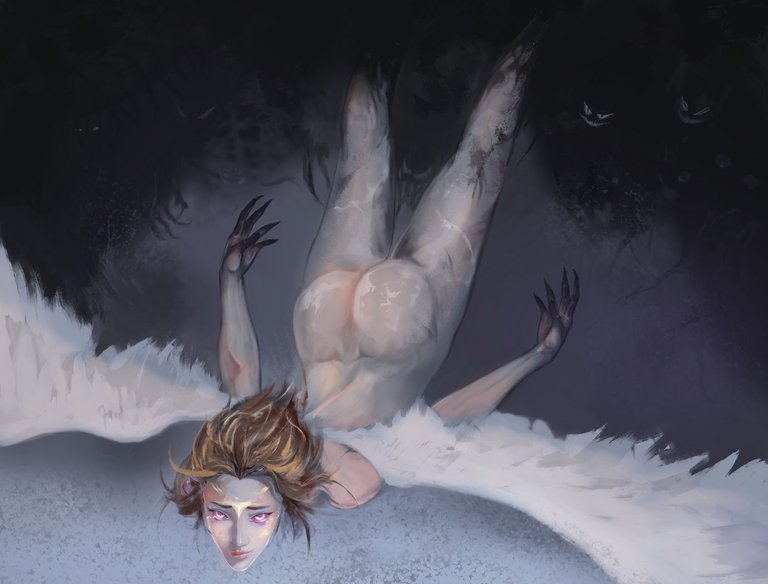
To highlight the skin even more, in the "soft light" blending mode I gently applied the airbrush to blur the lighter skin tone with the blue of the background and let this blue be the shading to keep the color balance.
Then in a new layer start the normal painting, defining the details with strong textured brushes.
 |  |
|---|

-Step 5:
I kept working with the texture brushes to work correctly on the wings, and once I painted them I used the "finger" tool to expand the brushstrokes and get that feather effect where the colors blend.
On the other hand, the head was very far away from the body, so I had to mix almost all the layers I had painted so far, to use the lasso tool to modify the posture of the head (see the gif at the end 👇) and then carefully paint the spaces where the piece was deformed.
Finally as usual to enhance the textures of the piece, I used the high pass filter. To do this you have to blend the whole illustration in a new layer (CTRL+SHIFT+ALT+E) then go to Filter other high pass set it to 10, convert that layer to "soft light" blending mode and apply a layer mask so you can decide which areas you want to enhance. And that's it, you have an amazing texture for your art.


I will leave you a GIF with the whole process on it, so you can better appreciate the illustration process.
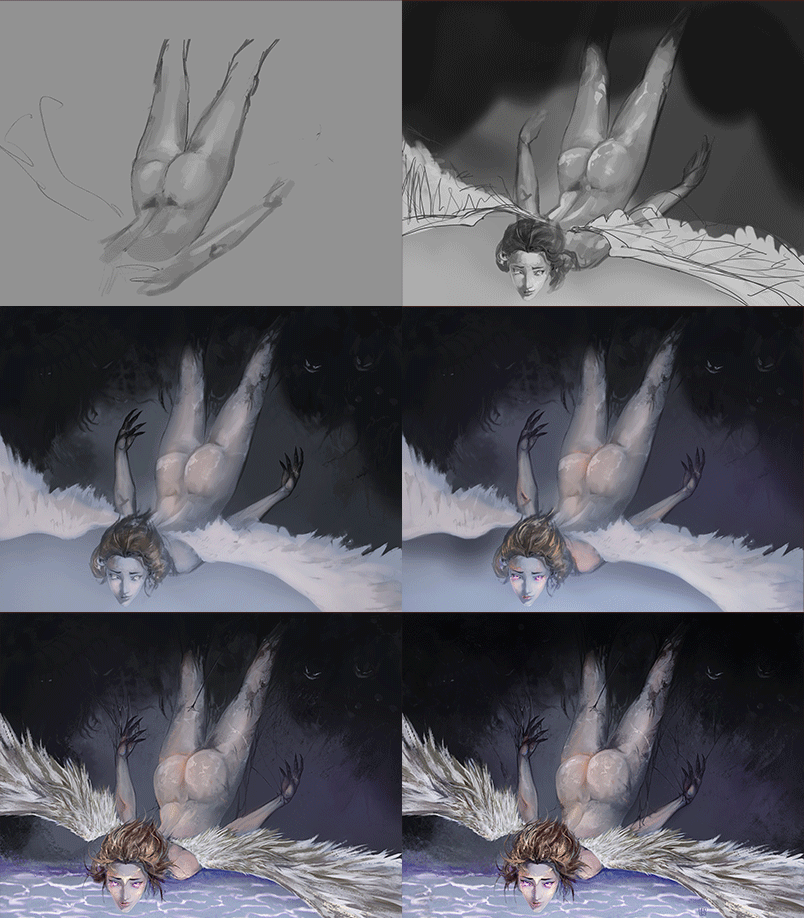
Tell me in the comments that you imagine when you see this illustration.

See you in a future post!
Thank You for Supporting My Artwork
TWITTER | RARIBLE | GHOSTMARKET | FOUNDATION |TERRA VIRTUA |NFT SHOWROOM | INSTAGRAM | FACEBOOK
⬆️ Follow ⬆️


