Second attempt to bring some interesting content to this 'Wednesday Walk' community. As the first one was not a typical edition, this one will not be a typical one as well. That being said, I do hope you like the below. I try to be brief in text, not spitting out 1500 to 3000 words. However, if you don't like to read, scroll down (slowly only 😂) and view the images. Though photographs (even when it is a coherent series) require a 'story'! {That's solely my own opinion.} The story is not in principle (like a service such as Instagram), but when posting into blogging services, for sure they do. Though some series may speak for themselves, the series still images you'll find in this post will get super boring without one. At least a little bit of the context is needed.
With such context, you may be inspired to pick up tasks that you usually outsource. Propelling a 'Wednesday Walk' post from the entertaining category straight into the I-Try-and-Pick-Up-the-Challenge and/or the Lets-Try-and-Execute-this-Seemingly-Complex-Task categories. Owwww I'm such an idealist and dreamer! pfffff 😂
That being said: Let's dive into the content itself 😉
Story
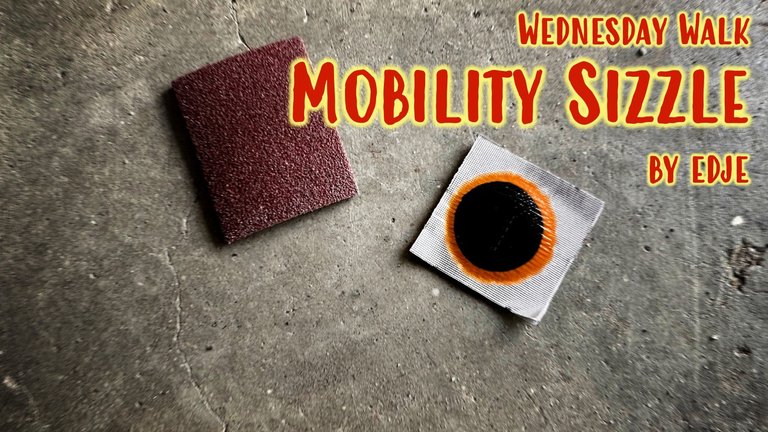
This wasn't the first photograph in the series, but the moment I watched it on my laptop I saw this 'something' in it. Because of that 'something', it needed to be the thumbnail to all this blah blah shizzle of content you find here.
Question: What do you see in the photograph?
Hint: Take all the text away, let's focus on the original still image.
Reward: The most creative and/or funny reaction and/or closest to what I see, will get at least 1 HP (HIVE Power).
Disclaimer: The jury can be quite subjective and may change rules without letting you know upfront. The decision is final at all times. But also that is subject to potential change.
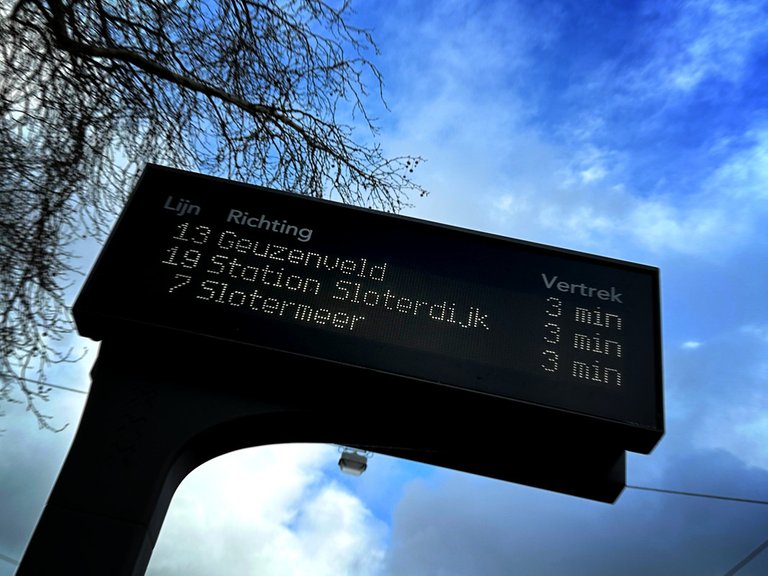
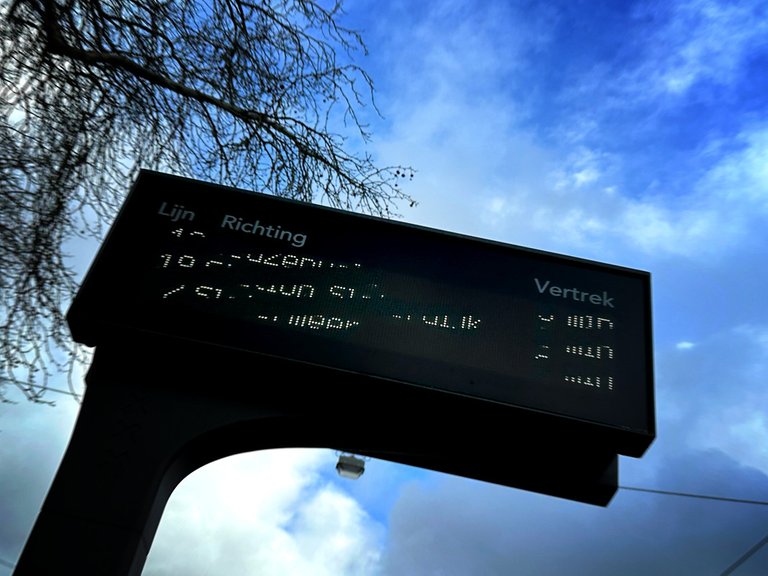
This is where it all started. My trip to the task I was about to outsource a few days earlier. Until a colleague at work told me how easy the task execution is. Though he advised me to find my car to pick up the object of attention to bring home for the maintenance task at hand, I decided I'll execute the task on location. Since too far to walk on d-day, public transport was the best socially sensible option. We have these cool electronic signs at each stop of our metros, trams and busses. And they usually are pretty accurate. Though the number of minutes may not be in full sync with our clocks at all times. The arrival time in minutes maybe correct at all times, the number of minutes displayed can change much quicker (or slower) than the actual time 😂
Anyways, my destination, last stop, at Station Sloterdijk. This is in this city you may know in one or the other way. The city with 'red lights'. The city of dr*gs. The city of Amsterdam. It's highly questionable if those claims about Amsterdam are true. But that's a different topic for a different type of post 😉
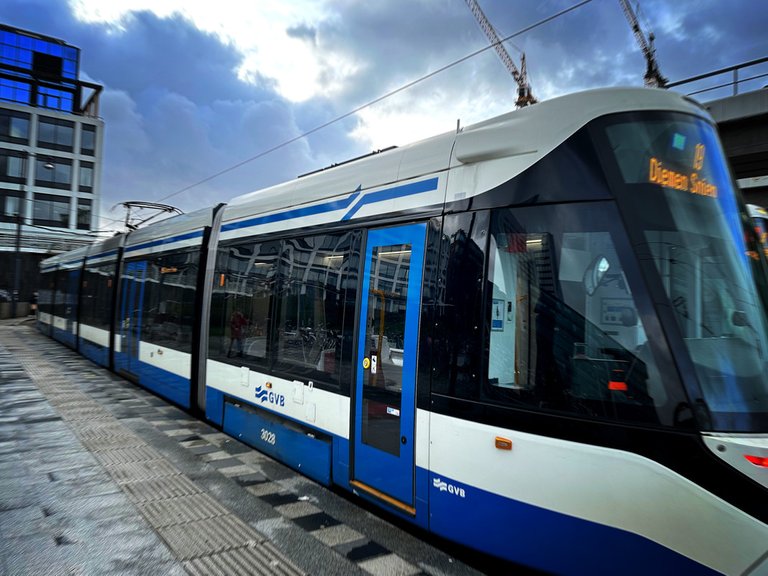
I travelled in this exact vehicle. Image shot at its destination, metro, tram and train station Sloterdijk, just on the outskirts of Amsterdam.
On the opposite side of the tram. Reminds me always of the same song. The one with the title 'nine million bicycles in Beijing'. By Kate Melua. Maybe the first ever song I heard from her discography. Must admit, I fell a little in love with her when I listened to her voice. And then I discovered half the world knows her music and loves her. I stopped my admiration completely. Or at least, I tried to (and still trying from time to time). Something to do with masses and allergies, or something like that 😉
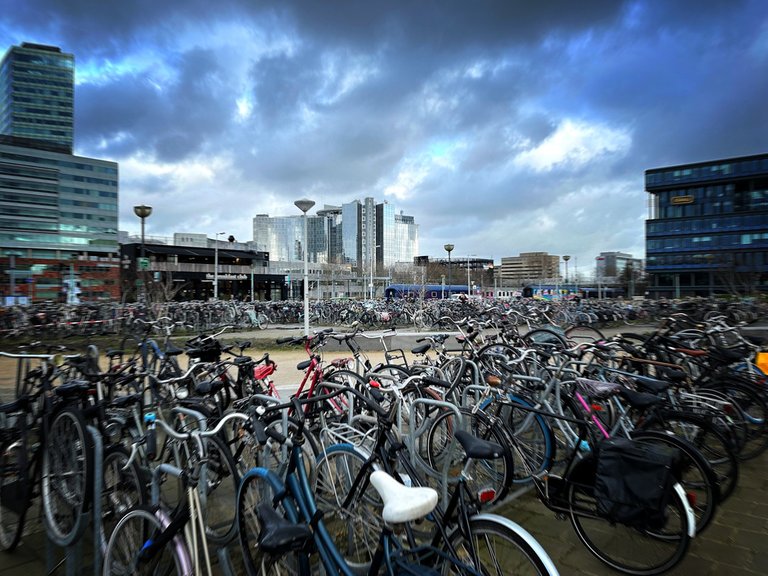
Nine million bicycles in a single city! WOW! Can't believe we have so many in Amsterdam. Because we don't, Beijing has, but not Amsterdam 😂 As you may know, we Dutchies are known for cycling with more bicycles in our country than citizens and visitors combined. But Amsterdam is just big enough to house about 700k citizens and visitors. It for sure is too small to house nine million bicycles. In the country, we have about 23 million bicycles with 3,5 million being electric versions. FYI, the Netherlands houses about 17 million citizens. But still: Beijing wins! 🙇
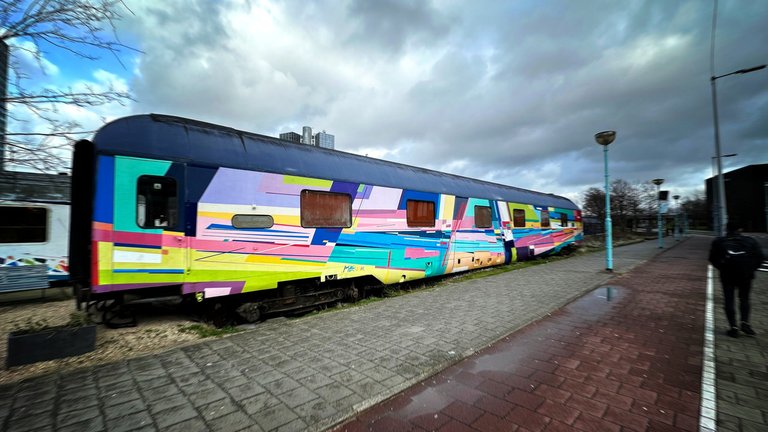
I love this hotel a lot! Yes, you read it correctly. These old train wagons are transformed into tiny bedrooms. I've never been inside, but I suspect it's quite basic, but still, an interesting place to stay. It carries the name 'Trainlodge'. Must admit, it's super affordable with prices similar or even lower to hostel prices (check me). The rooms look pretty decent! Don't you think?
Question: Don't you think?
Hint: Say yes.
Reward: Not this time.
Disclaimer: Same as before.
The lefthand 'cart' houses the reception and breakfast room. The colourful wagon to the right and the deep blue ones at the back are guestrooms. I suspect, at least. Owww just noticed the deep blue ones are hardly visible. A tiny piece you can barely see to the right of the colourful wagon.
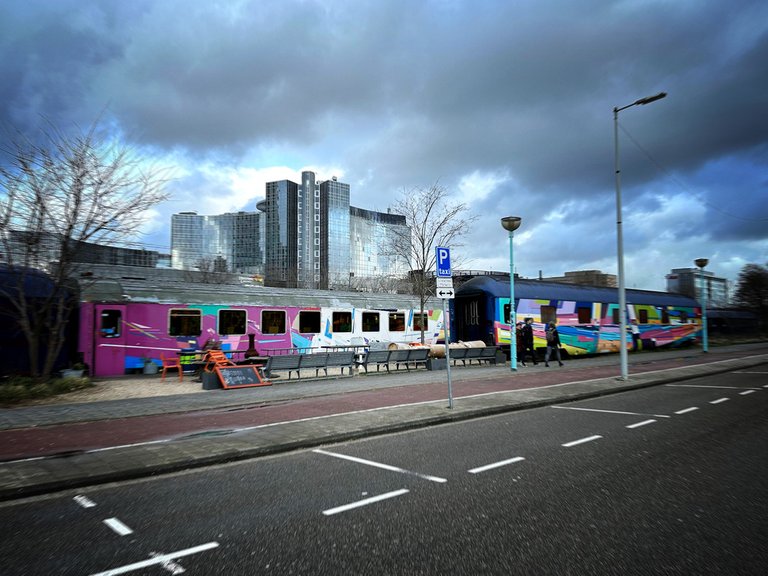
Coooowwwlll. Kinda Mondrian but then totally not 😂
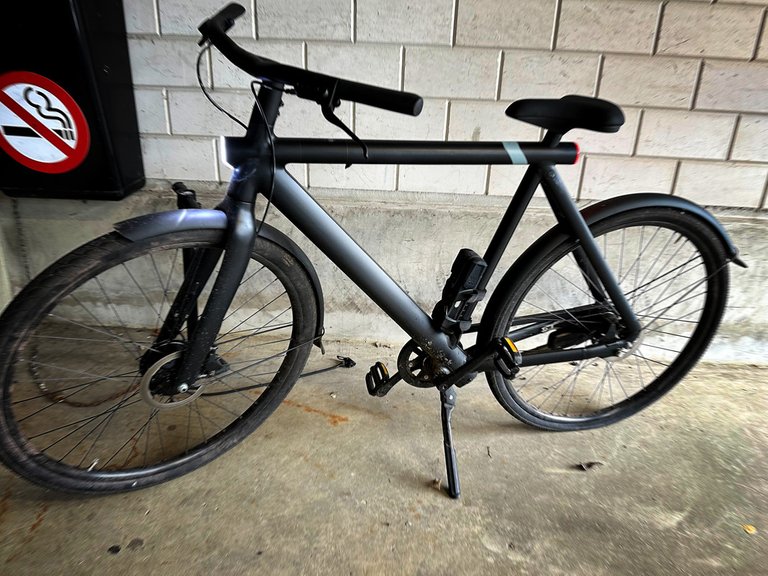
My Bike!
I didn't give my bike a name, but maybe I should 🙃 While the Dutchies are known for their bike culture, I sold my last one kinda like 30+ years ago. I never owned one since then, until a little over a year ago when I purchased this one. I guess, I'm not a typical Dutchie 😉 Or better said, for 30+ years I was not. By now am belonging to the masses again, being in the possession of one of those horses on wheels again.
If you look carefully, you notice the flat rear tire. Oh, wait...
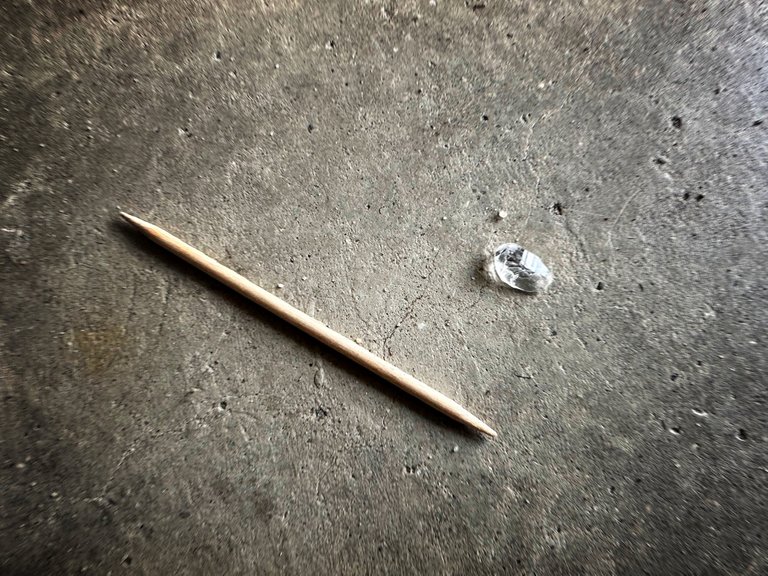
...I zoom in...

A form of sand was the cause. A piece of glass. Not too large, but certainly not tiny.
The task: repair the tyre. The innertube. While I was advised to do this at home but decided otherwise the night before. Last night I got these flashbacks of how I used to repair tubes back in the days when I owned a manual horse on wheels still. I bought myself a repair kit, totally surprised the same brand is still around. Nothing changed, except all became even easier with the stickers/plasters, the wind detector and lightweight thingies to use when disconnecting and connecting the outer tube with the wheel itself.
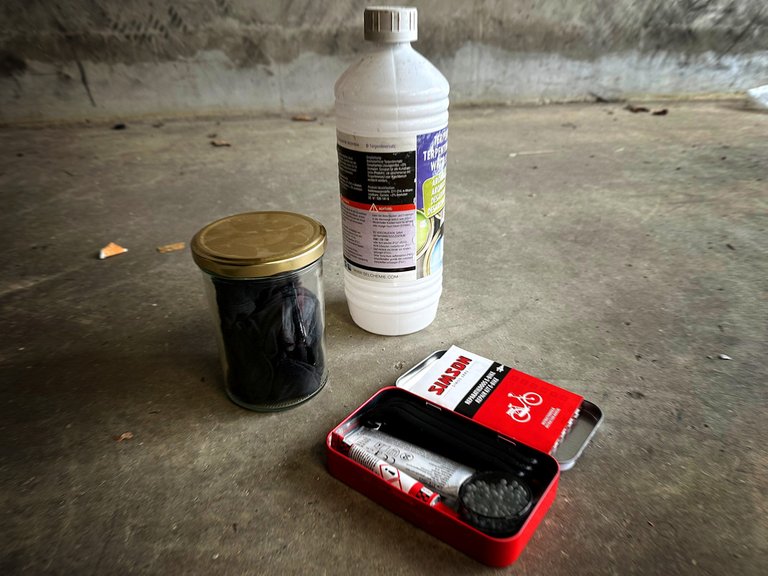
I was advised by YT to use some terpentine ('white spirit' in the English language?) to un-fatten the tire. So I added that to the set. Though I never used this chemical stuff when I was a child. But why not? A cloth and glass can for the cloth after usage, comes in handy as well. Unless you like the smell of terpentine/white spirit?
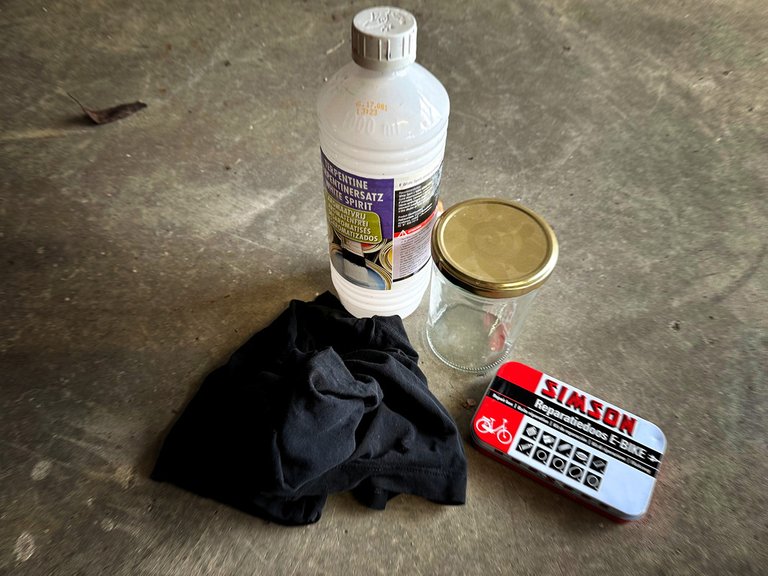
The kit. Added myself the toothpicks. They can come in handy as well, I thought. For today they only served the purpose of giving you an indication of what this whole fuss was about, the size of the enemy that invaded my bike.
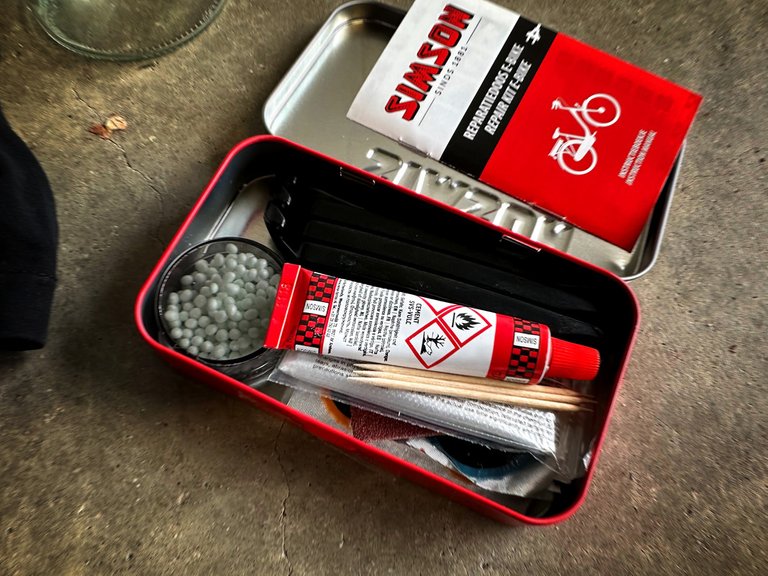
The key items:
- sandpaper: to sand off irregularities (middle-left item)
- the hole/wind detector: didn't need it (the little box with white balls)
- the sticker: to put onto the hole (bottom-right item)
- the glue: to apply to sticker and tyre (top-right item)
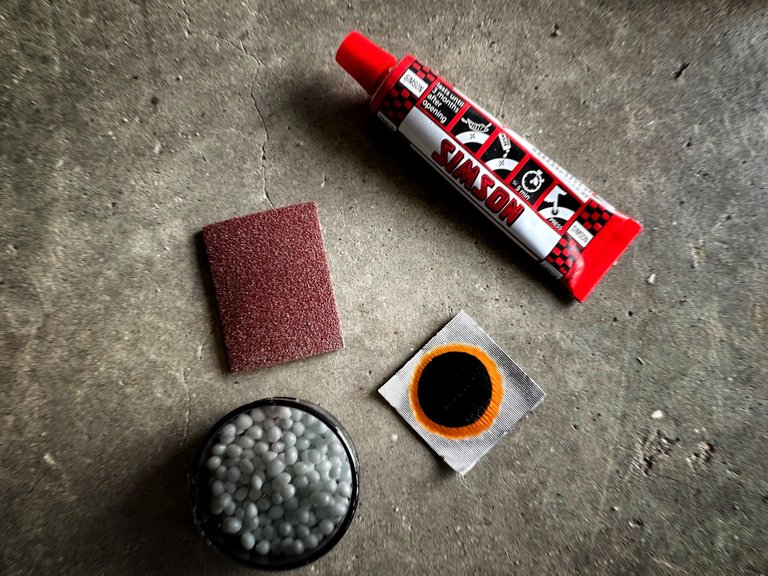
First sanding and cleaning... Well, first pull the outer tyre from the wheel. No recording of this action, unfortunately. Needed both hands. And the little black metal thingies that came with the repair kit. Was the most difficult task, I must admit. At some point, I was afraid I couldn't get it done and needed to start thinking of outsourcing again.
I didn't even have to pump up the inner tube to know where the hole was. It wasn't tiny. With a little stretching of the rubber, it was quite visible. But when not, just add air into the inner tube and listen to where the sound comes from. When you don't hear the sound? Well, use the little box with what balls. That said, back in the day I used a little bucket of water with some soap in it.

...e voilá...
Glue on the rubber. Sticker on. And waiting, like 5 minutes. The instructions in the book were different though. It said: Glue on. Wait 5 minutes. Then put on stickers. Well, I tried. Glue dry and the sticker would not get its needed grip. So, I changed the manual to:
Apply Glue
Put a sticker on
Press and press and re-press
Let loose and wait 5 minutes. The result. Perfect!!!
Question: Shall I write to the bicycle repair kit supplier to tell them their manual is wrong? And shall I suggest the correct tactics and propose to them to changes?
Hint: You tell me 😂
Rewards: My thank you.
Disclaimer: No other than before.
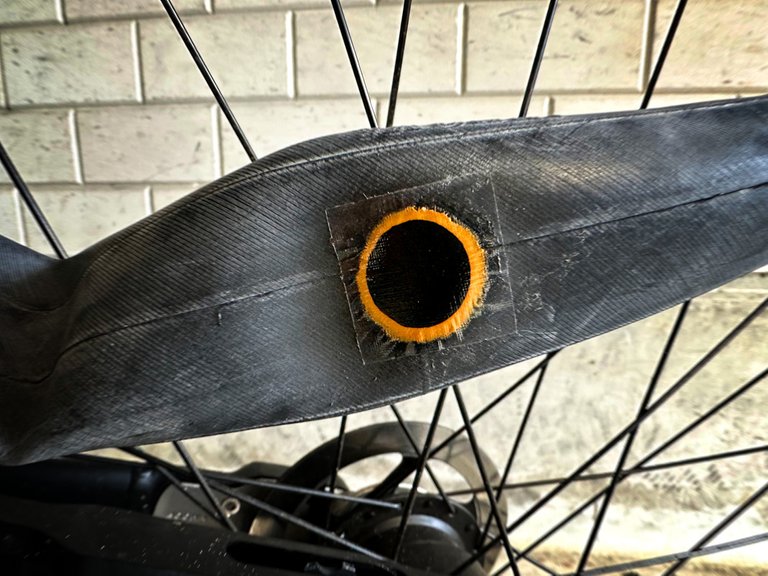
It all may have sounded super easy. And as a matter of fact, this whole repair job was super easy. Though in the process I wasn't too convinced about it. The sticker for instance. I tried to get the plastic folio off during the glue action and felt like this wasn't possible without destroying the sticker itself or the glue being too weak. but after these 5+ minutes of waiting for the glue to dry up, it turned out to be a pretty easy job. I suppose the orange stuff has the task of supporting this folio-ripping action.

This I invented myself. I mean, it wasn't in the manual. But I did remember I used to do this task in the past as well. Pump the inner tube. Apply a little bit of water around the sticker. Listen and foremost Watch carefully. No bubbles mean air tide repair. Since I didn't bring natural water, I used the water produced somewhere inside my head.
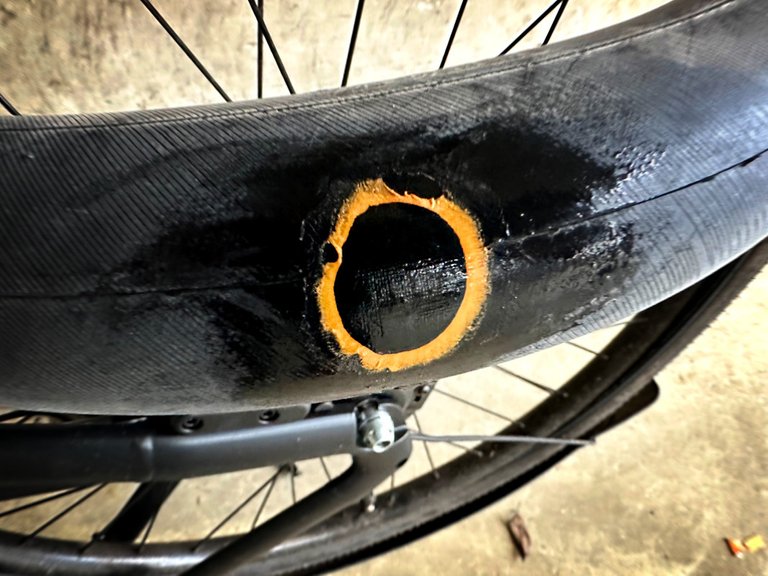
Air out of the inner tube, but not all. Keep it a bit pumped so the outer tube isn't clamping the inner tube when putting that one back on the wheel. Some force is required to make this happen. As well as some not-so-straightforward things. Such as using the metal thingies mentioned earlier, but now in a way that isn't straightforward. Too difficult to explain, to be honest. Maybe some YT movie shows it, but the ones I looked at, didn't use them. I've seen professionals doing this all by hand, but I guess, my hands are not strong enough. They are office hands, white colour hands, so to speak. But again, a memory from the past. The moment, I thought I wasn't able to put the outer tube back in place, I remembered how I used to do this back then. Result: the outer tube/tyre is back in place in no time.
Then: pump it!
So far I just spend about 20 minutes. Mucho quicker than expected. Mucho easier than I thought it would be. A no-brainer to insource such a task. And somehow it is interesting and even rewarding to bring something that isn't possible to be used anymore, into a quality state again.
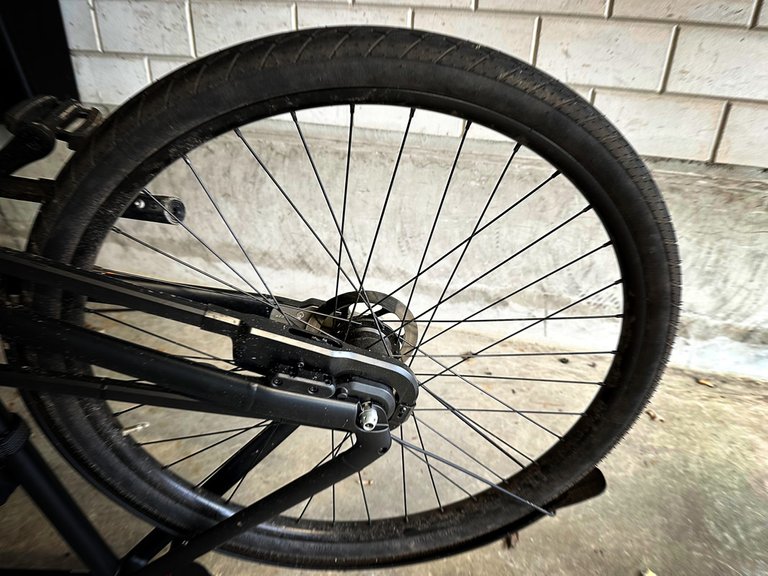
Cleaning up. The booklet, the manual: They need to change this glue, 5-minute wait, and apply the sticker thingy. Orrr?
Bloopers
The very first photograph I took in today's series, was this one. Though I liked the outcome, the digitals acting up a bit, I thought it could also be labelled as a blooper 😉 Though I considered misguiding you by stating that I have perfect timing skills 😂
Story End
Next time I try and show you a bit more of Amsterdam, or whatever place I like you to be introduced to. Or whatever event I like to share with you. Now it is almost like a DIY post. But in fact, it isn't. It is more a combo of trying to convince you to pick up tasks you generally outsource, and asking you for advice regarding the manual thingy, with some 😂 DIY aspects.
Encore: Filters
Also this time I used a filter in my GIMP software. Across all photographs, the same one. However, I played with the 20-odd parameters from photo to photo. Before, I was playing around with a bunch of different filters and found this LOMO one. Makes the quite boring images mucho better, if I may say so myself. And the funny thing is: This filter applies all LOMO characteristics in the same image. Though I knew a bit about LOMOgraphy since an old friend used to have a LOMO camera, it was great fun to read about the LOMO style. Interested? Click Me If you are too lazy to open the link have limited time, ask me and I'll give you the answers to my statement about the LOMO thingy and all characteristics applied to a single photograph 🙇


