HELLO HIVE
A warm welcome to my blog post, today I will love to take your through the step by step process of how I did the electrical wiring of a house, and with this do it yourself guide, I believe you'll learn alot and hopefully give it a try some day as well, come along as I take you through the details of the making.
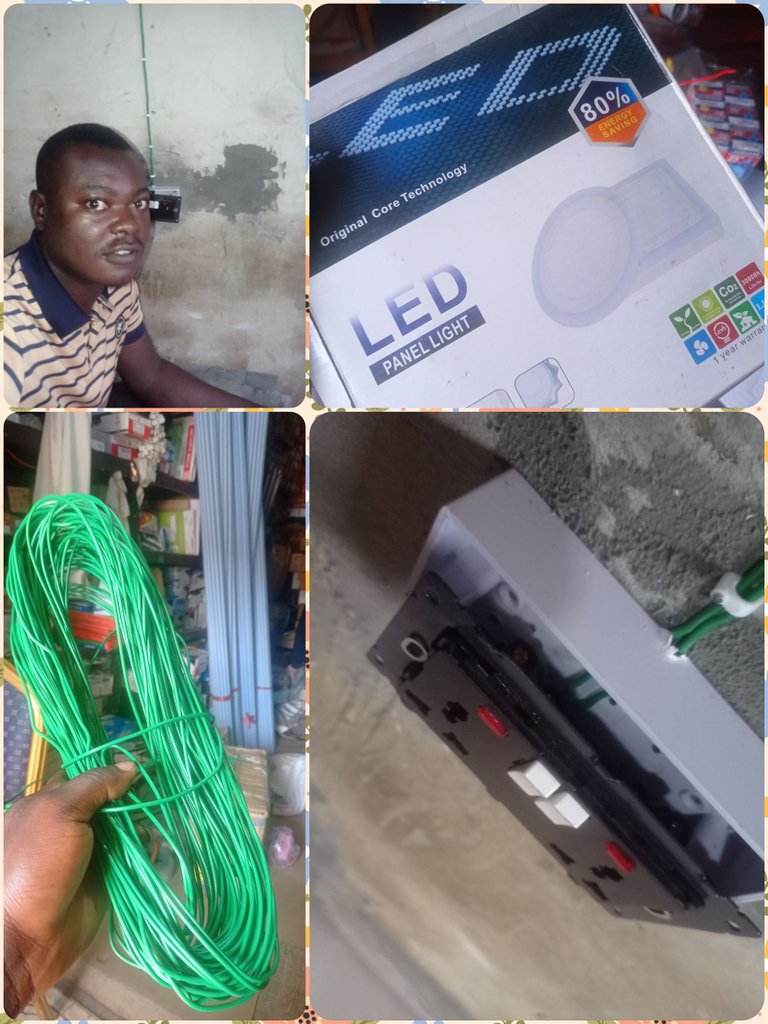
So weeks ago I talked about moving to a new state, which lead to me renting a new apartment, and the one I got had some bad wiring that can damage my house appliances, so I decided to refinished them by paying a visit to the market to purchase the necessity.

APPLIANCES AND TOOLS
| S/N | APPLIANCES AND TOOLS |
|---|---|
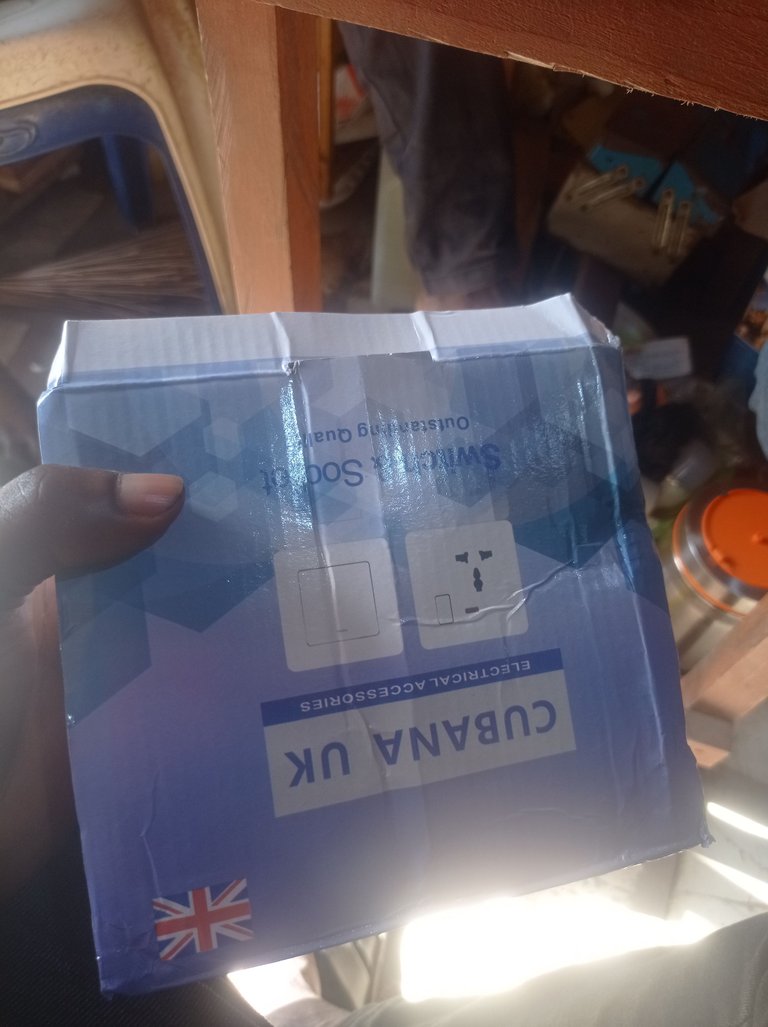
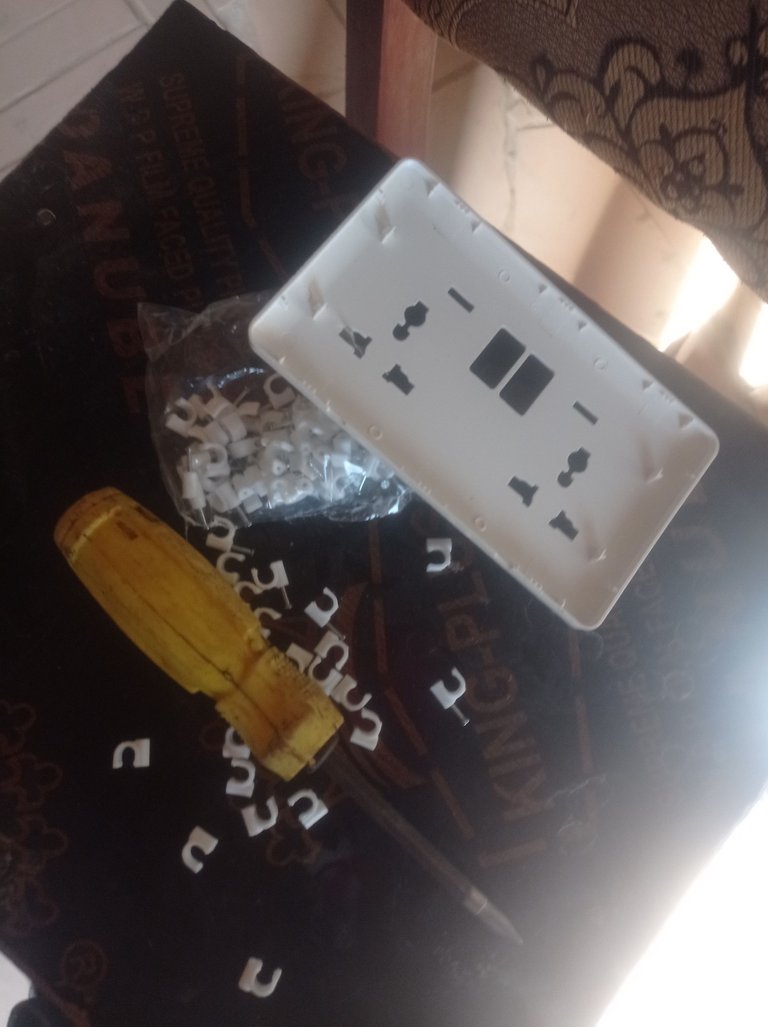
| 1 | SOCKET |
| 2 | 18w BULB |
| 3 | 5w BULB |
| 4 | LAMP HOLDER |
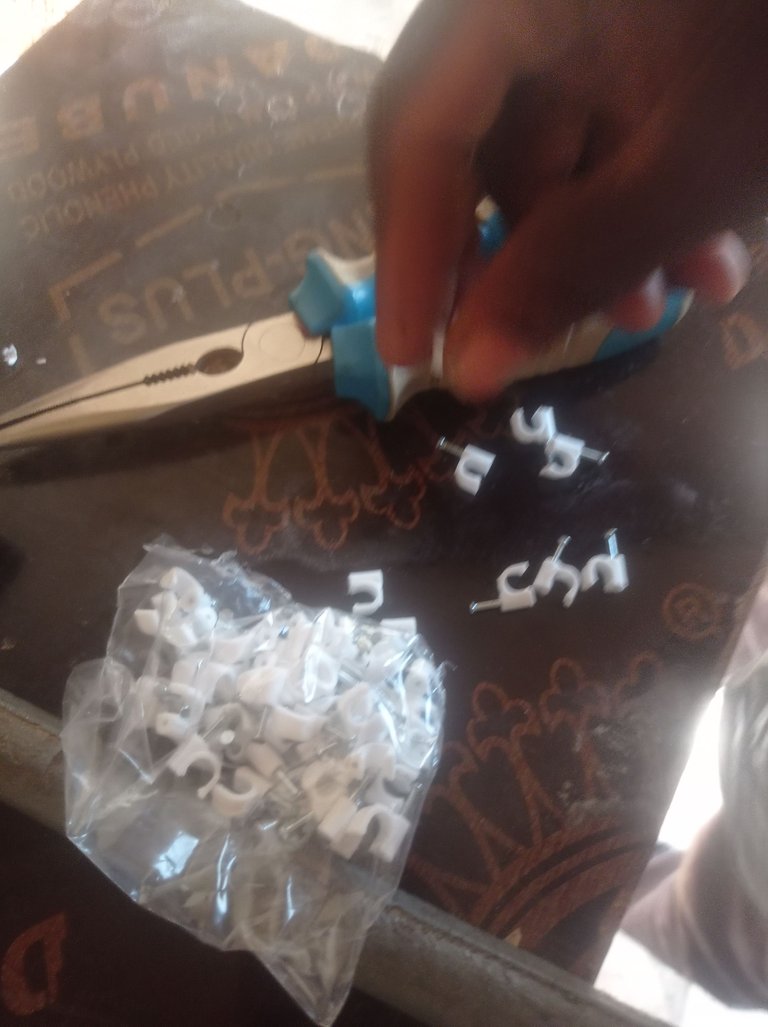
| 5 | CLIP |
| 6 | 6w BULB |
| 7 | PALLET |
| 8 | 1.5m WIRE |
| 9 | SCREWDRIVER |
| 10 | HAMMER |
 |  |  |
|---|---|---|
 |  |  |

MAKING PROCESSES
- Starting the wiring, I first remove the old ones, after which start fixing the pallet, I nailed the pallet to the wall, then wrap the wire that will be enough for each socket spot.
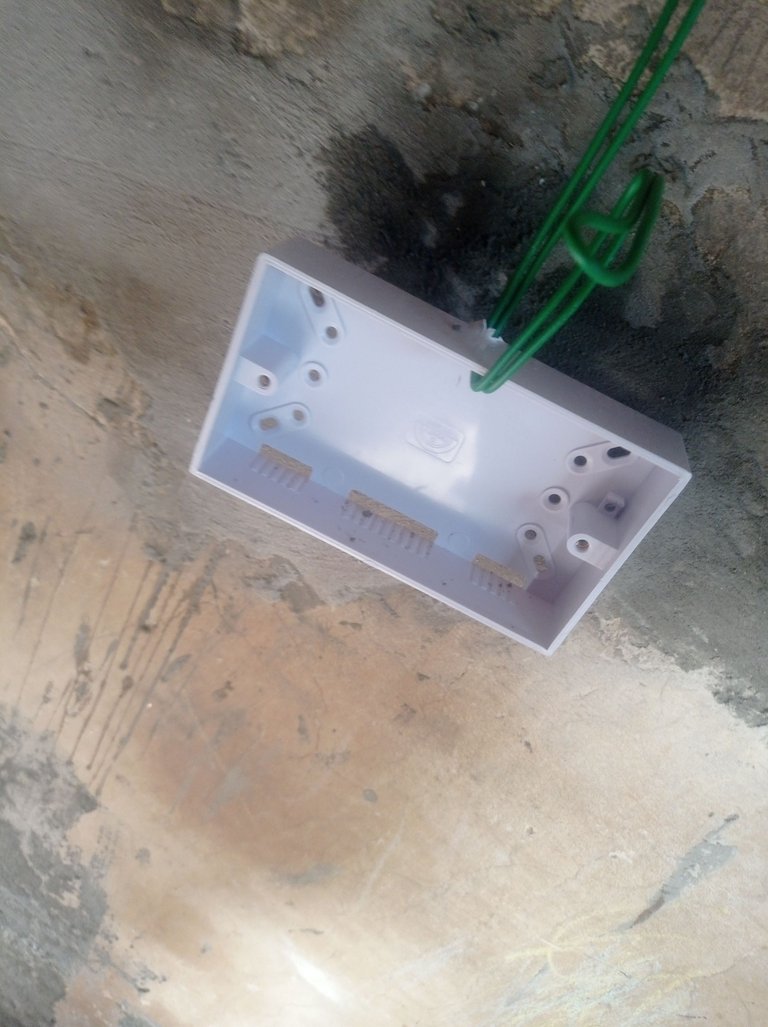
- I fix the positive and negative parts of the wire on the inner socket.
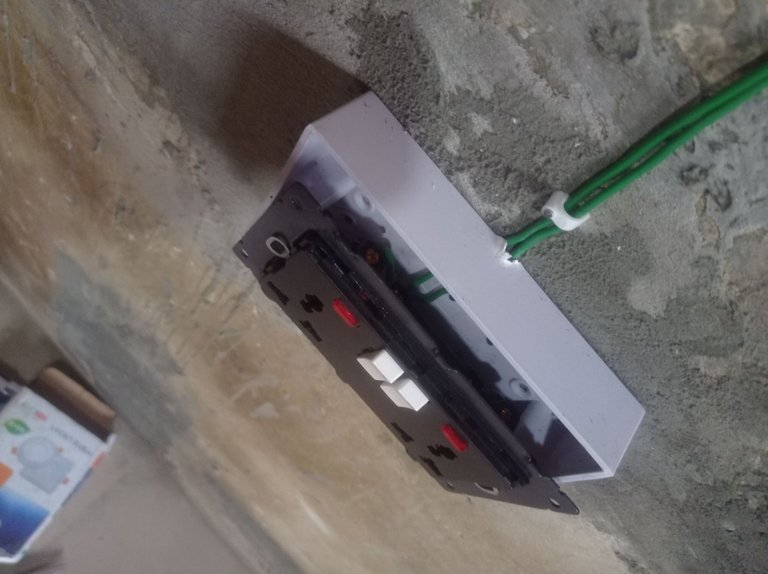
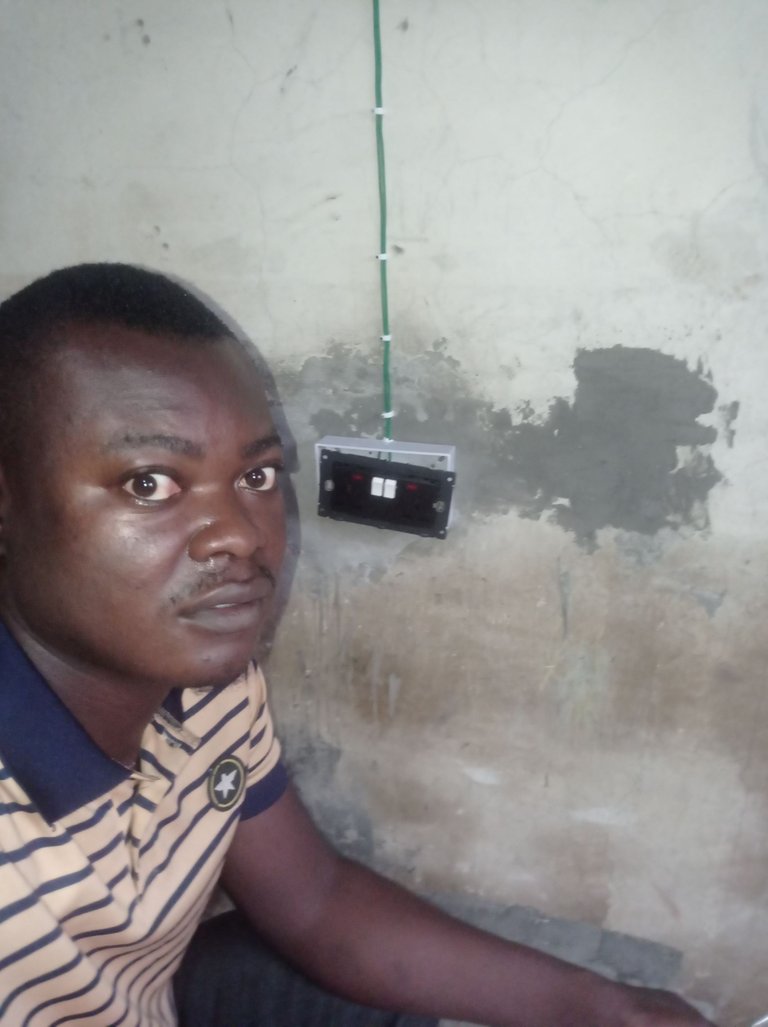
- After that I screw nut of the inner parts of the socket on the pallet.
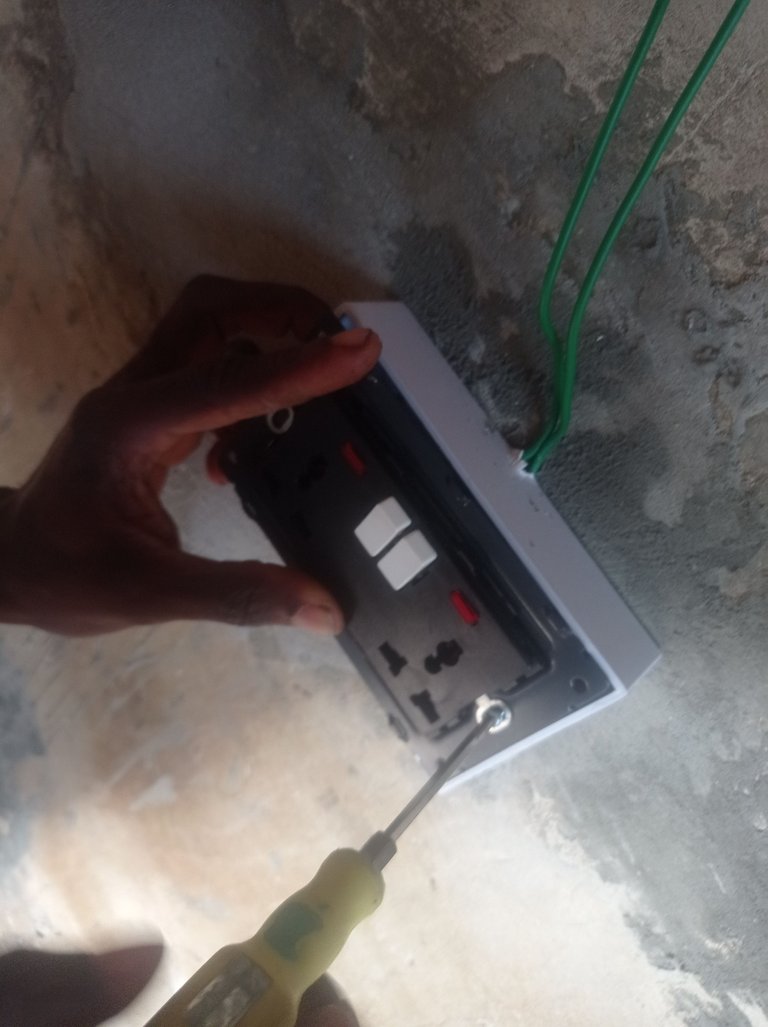
- After this I cover the socket with it upper part, then start tapping the wires to the wall with a clip.
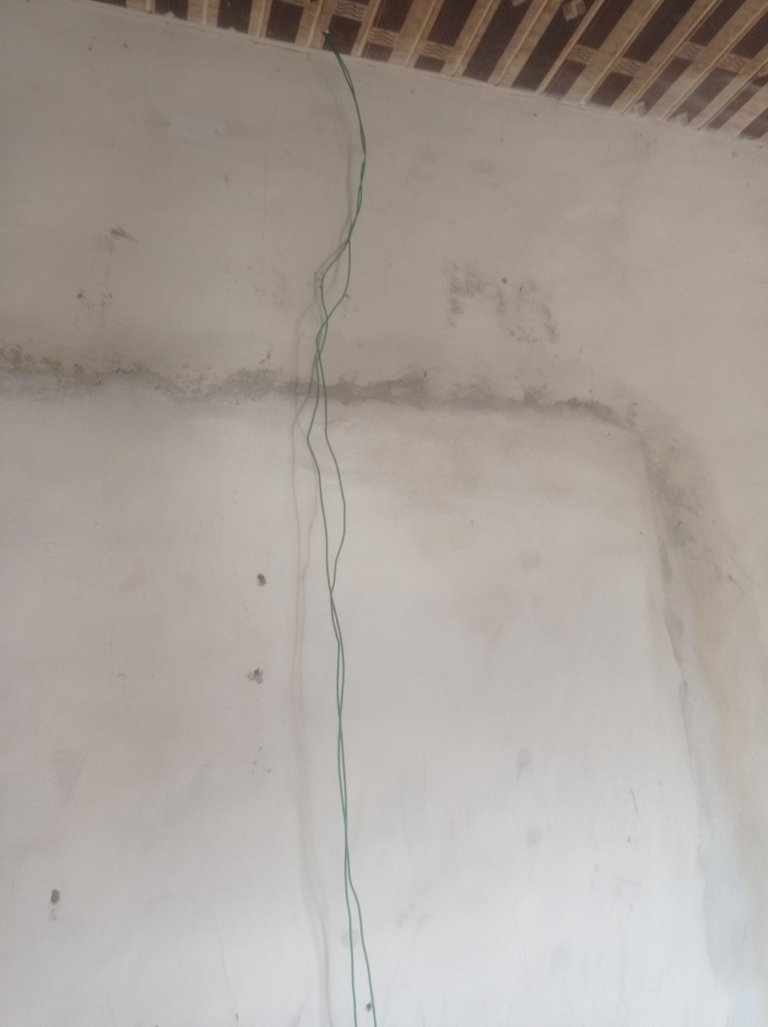 |  |
Thats was how I fixed the socket, I pass the wires of all the socket to the roof, which I'll later climb through the to connect them to the switch and powerhouse.

- For the fixing of the bulb, a hole was cut on the ceiling of the room.
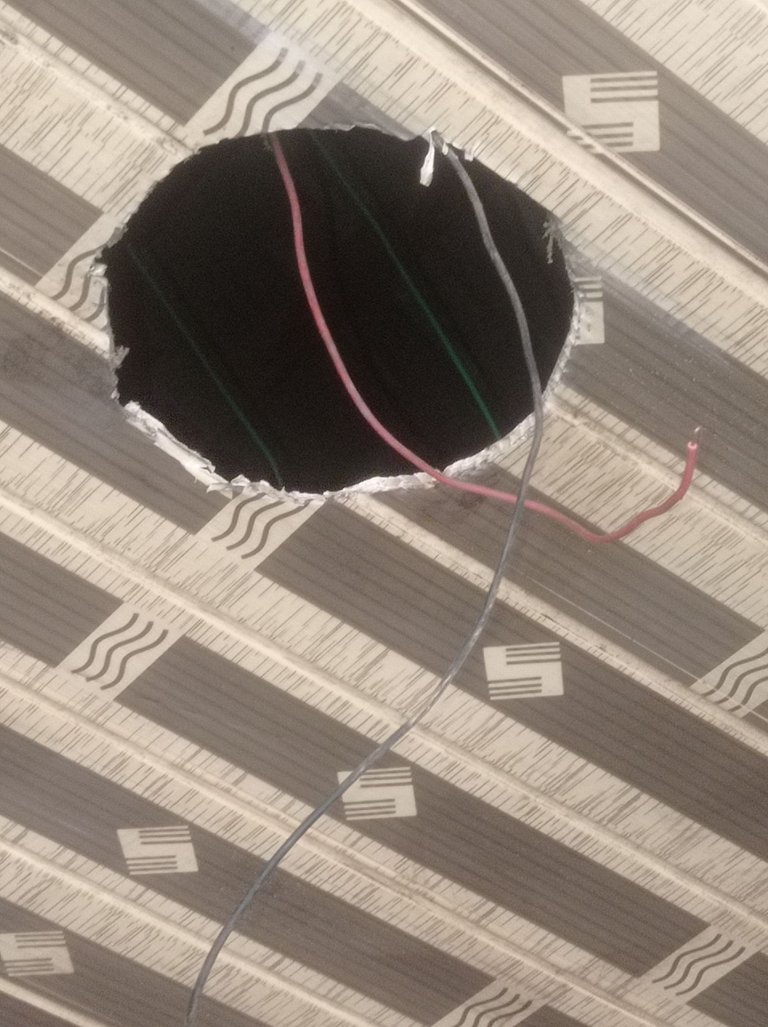
- After which I pass the wires through the up space and connect the 18w and 6by6w BULB to it.
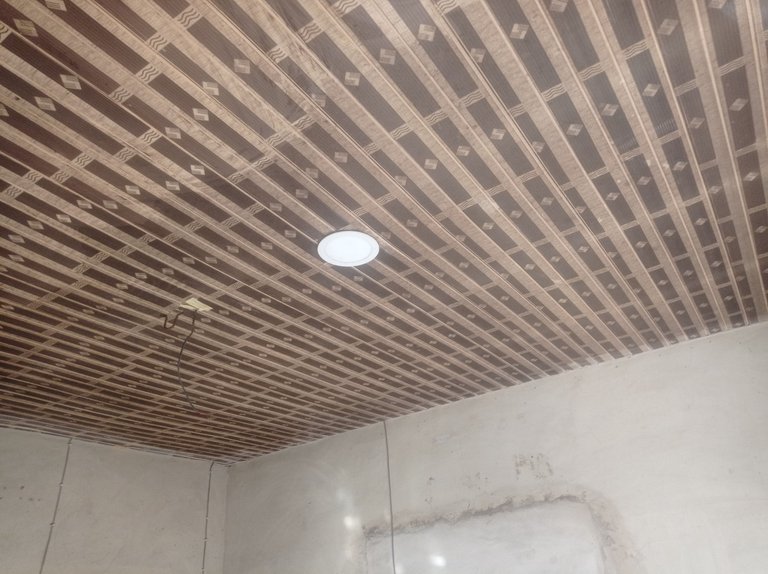

Thats how I completed my home wiring, it's a wonderful experience, even though it was tiring and a stressful activity to engage on.
Thanks for checking out my blog post, I hope you've been able to get some piece of knowledge via my DIY guide!


