Good day everyone, A happy new year to everyone again 🎊🎊🎊🎄🎄,LET ALL WIN BIG THIS YEAR.
I already zeroed my mind that I wont be posting any thing for today #creativeSunday as I stressed myself pretty much today in church and I needed rest and making matters worse my system has been hanging like every 5 minute, maybe that a sign to get a better one for graphic purposes , but I just couldnt let go off the feeling to creative something. It all stemed from promising myself to be consistent this year no matter what, come rain, come sunshine.
I love every bit of the learning process as regards designing on photoshop, it a process I know will surely take time, but in the end it will surely be worthwhile. I surely hope to learn a lot of things fast and gain a solid footing. I very well aware that this requires discipline.
So on this edition of #creativesunday I will be showcasing this, designed by yours truly, me @sam9999 again and again on photoshop 👇👇👇
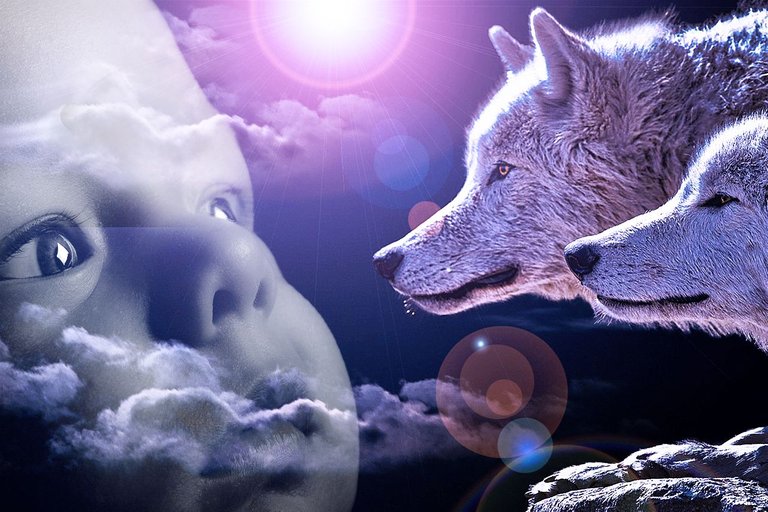

Okay on this edition of #creativesunday, I decided to do a... wow!!! to be frank I had to think so hard before I could even come up with a name for this design so I called it Cloud Baby and White wolfs in Photoshop, you might suggest a name, would really appreciate that, then ultimately, as usual added some contrast, enhancing effect and Lens flaring filter and some other little extra here and there
I leave you with the processes, enjoy the exhibition
============================================================
Original Images used for this design was gotten from pexel.com and pixabay.com-

Process of Design
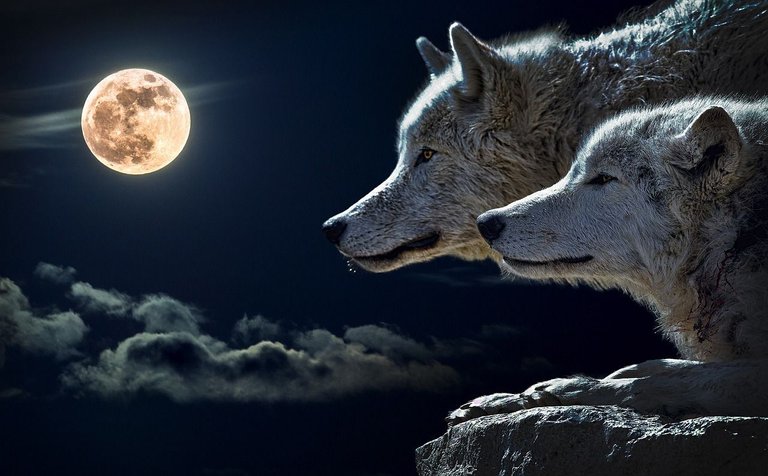
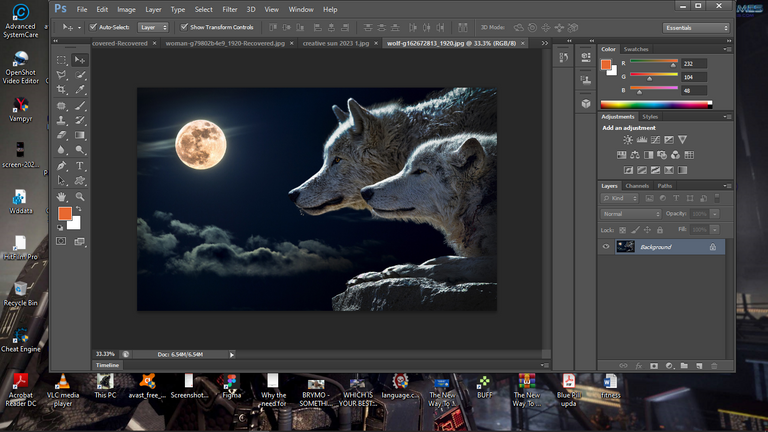
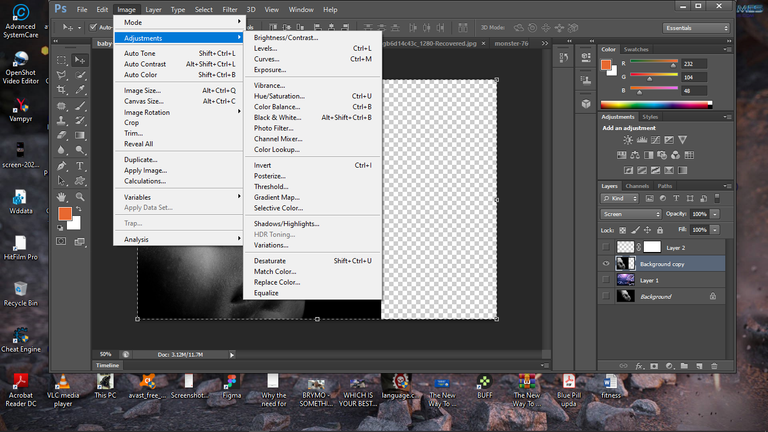
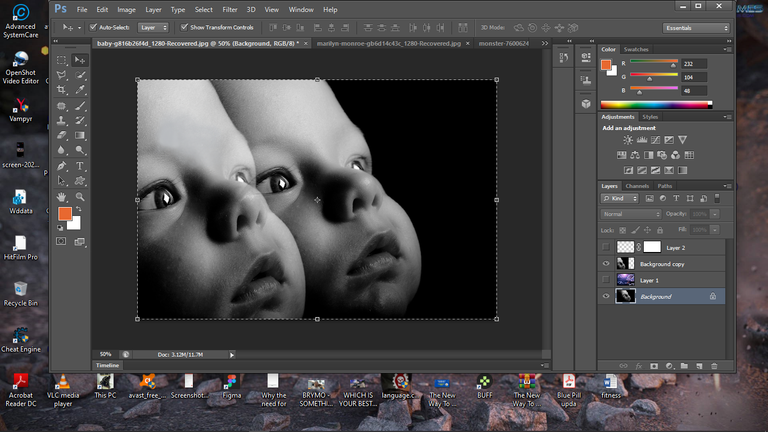
1 . Original image of the White Wolf with a sky background was opened in photoshop ona seperate layer, and later to be adjusted using contrast,saturation, Hue,color range, and levels
Adjusting the contrast of the White Wolf Image under Image adjustment
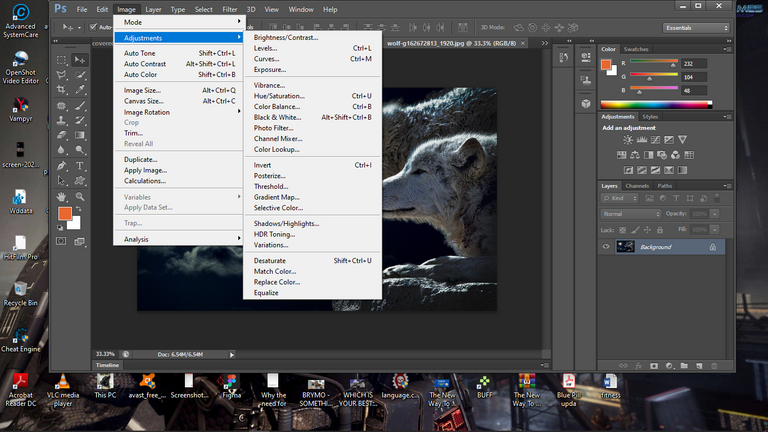
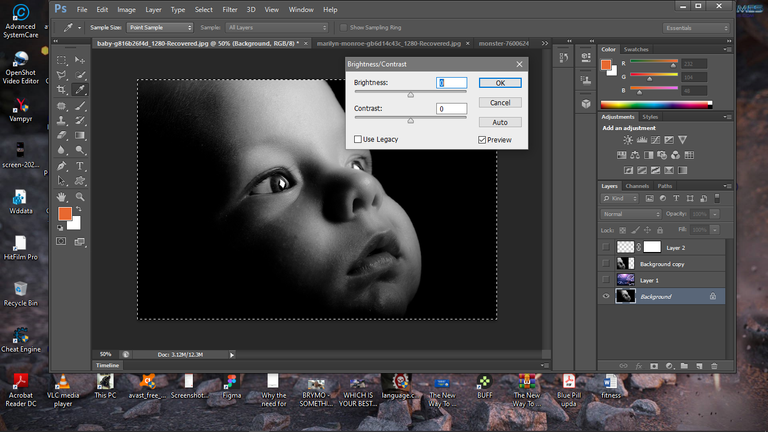
Adjusting Brightness under image adjustment

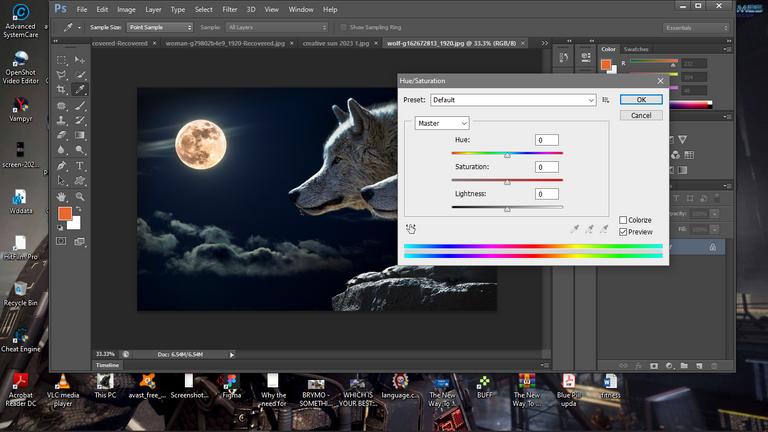
Adjusting Image using Hue/Satuation under image adjustment tab
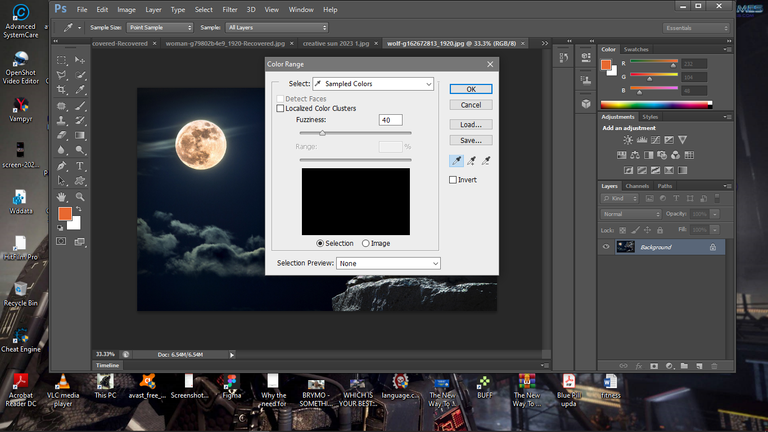
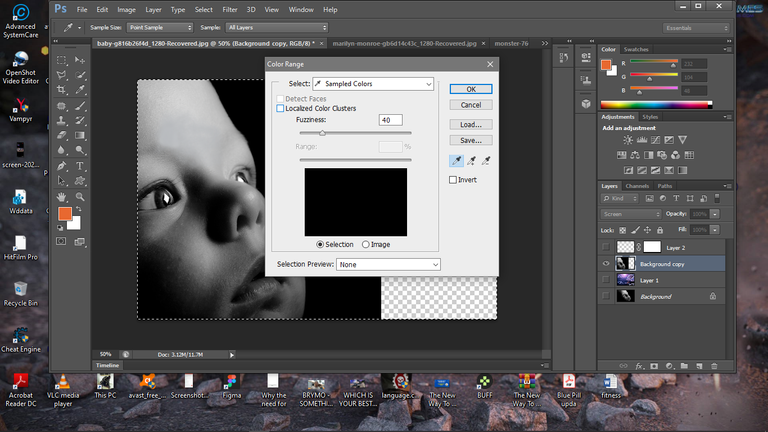
Adjusting image further using color range and level under selection
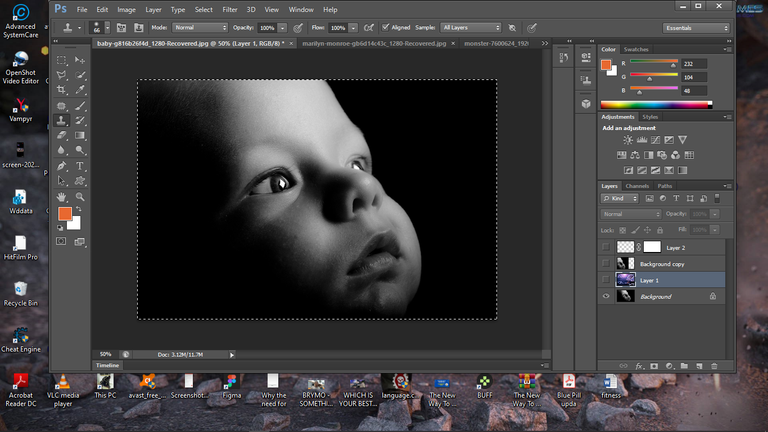
Opening second image in photoshop for adjustent and combination with second image
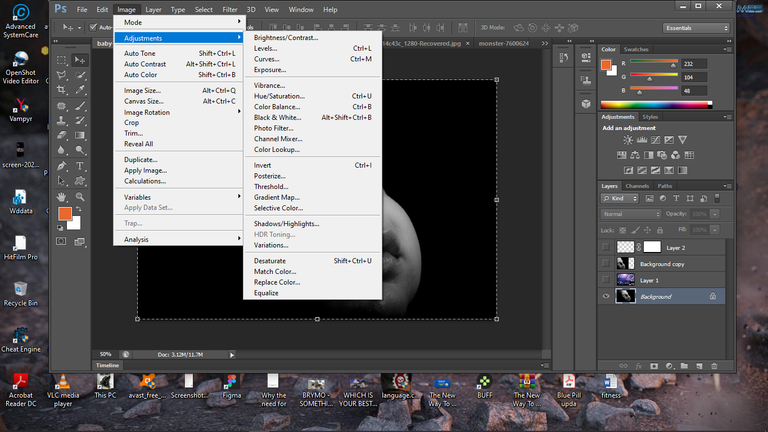
Adjusting saturaton and contrast under image adjustment
Ajusting color range for the second image under selection tab
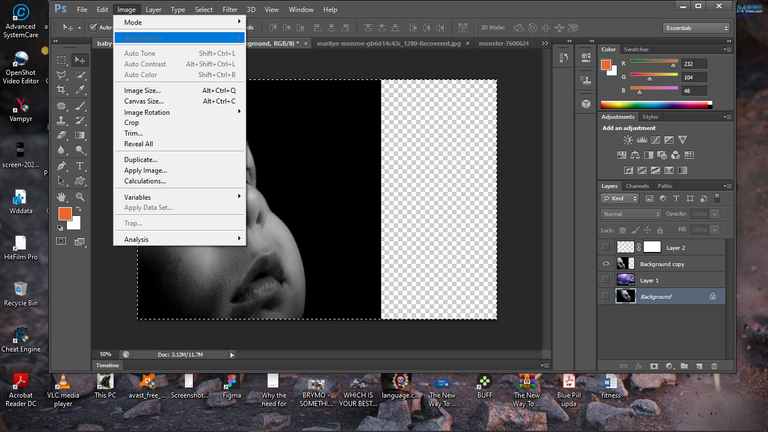
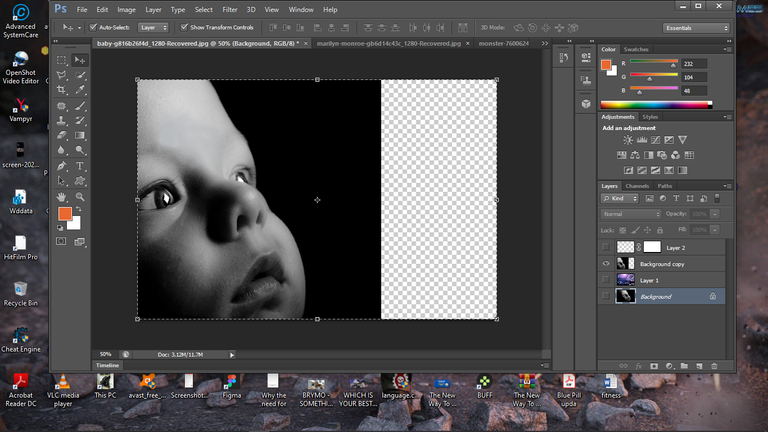
Adjusting orientation of the second image under selection using selecton tool
Adjusting brightness after adjusting orientation
Further adjustment done using the image adjustment tool
Combining the first and second image together and adding a screen effect to the second image, a lens efffect under filter tab was added, saturation,brightness, Hue, color range, Opacity and filler wwere also added just add a touch of realism to the design
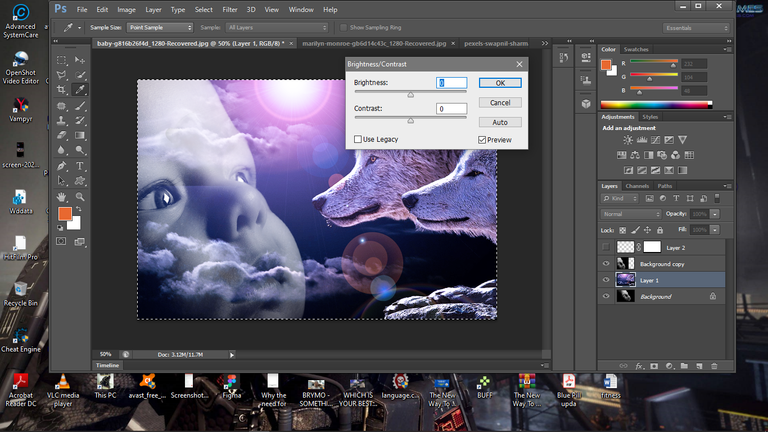
Final Design below 👇👇👇👇
So that all for this edition of #creativesunday from yours truly @sam9999
~Drop what you think about this design in the comment section. Is there anything you think should be added, subtracted, divided or multiplied, your opinion is highly relevant, so feel free. So if you have anything to say, let it me know in the commnet section, Thanks in advance~ See you in the Next #creative-sunday You can also participate in this #creative-sunday by being a verified member of @hivelearner community and posting anything you feel brings out your creativity Much appreciation to all @hivelearner both members and everyone that keep it running
Thanks for viewing, Sayonara🖐 😀