I could not afford a softbox around this time, but I really needed one. And so I made one myself. With a couple of videos from YouTube, I had a pretty good idea of how to do it. And here's how you can make one for just $1.
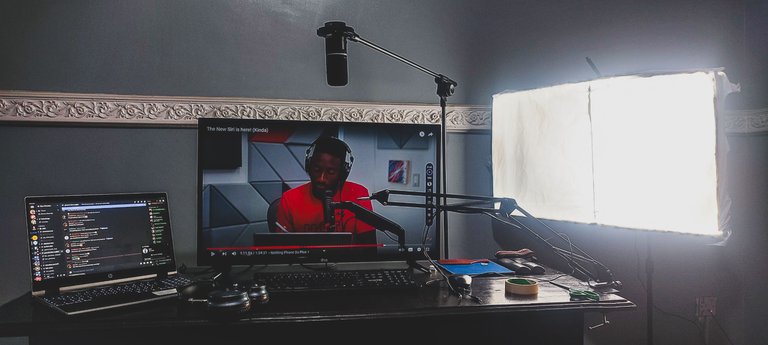
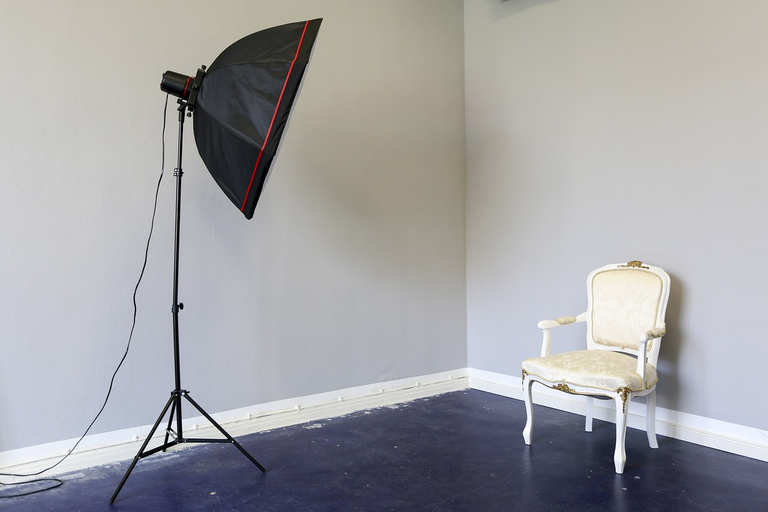
Generally, what I needed was a box to put the light bulb in, a reflective interior for maximum light output, and a diffuser material to soften the light and make it even. To achieve all that, I used a couple of things I had around at home:
Materials
- Carton
- A roll of tin foil that cost me about $0.6
- Glue
- Sellotape
- White polythene bag
- 2.5mm wire
- White light bulb
- Lampholder
Tools
- One pair of scissors
- White board marker
- Long ruler
- Screwdriver
Steps:
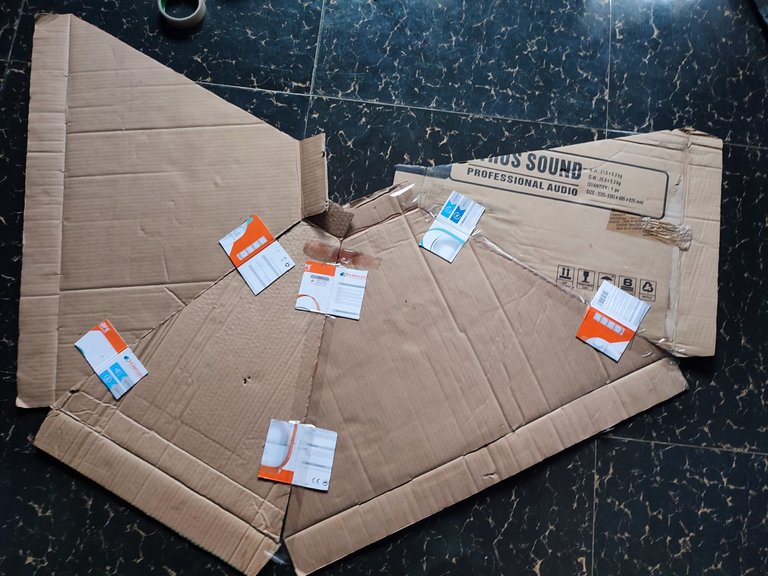
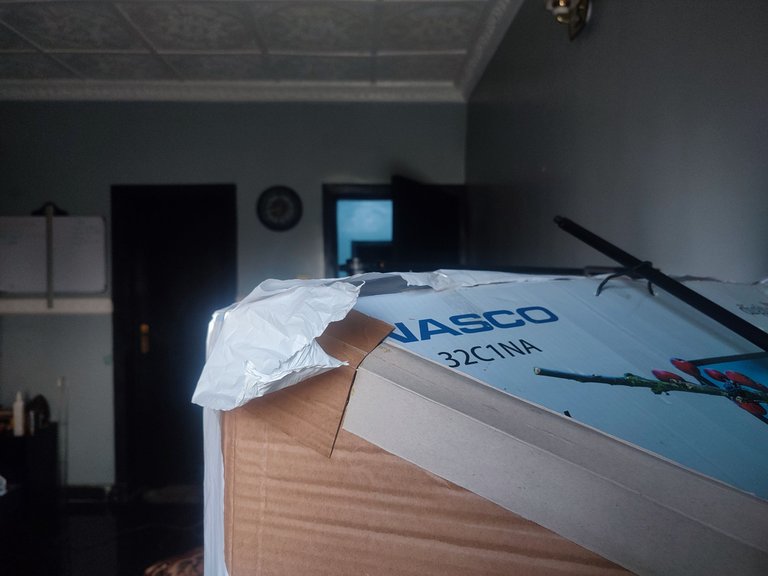
The first thing I did was define the dimensions of the softbox on the cartons. And then I marked the areas I wanted to cut out.
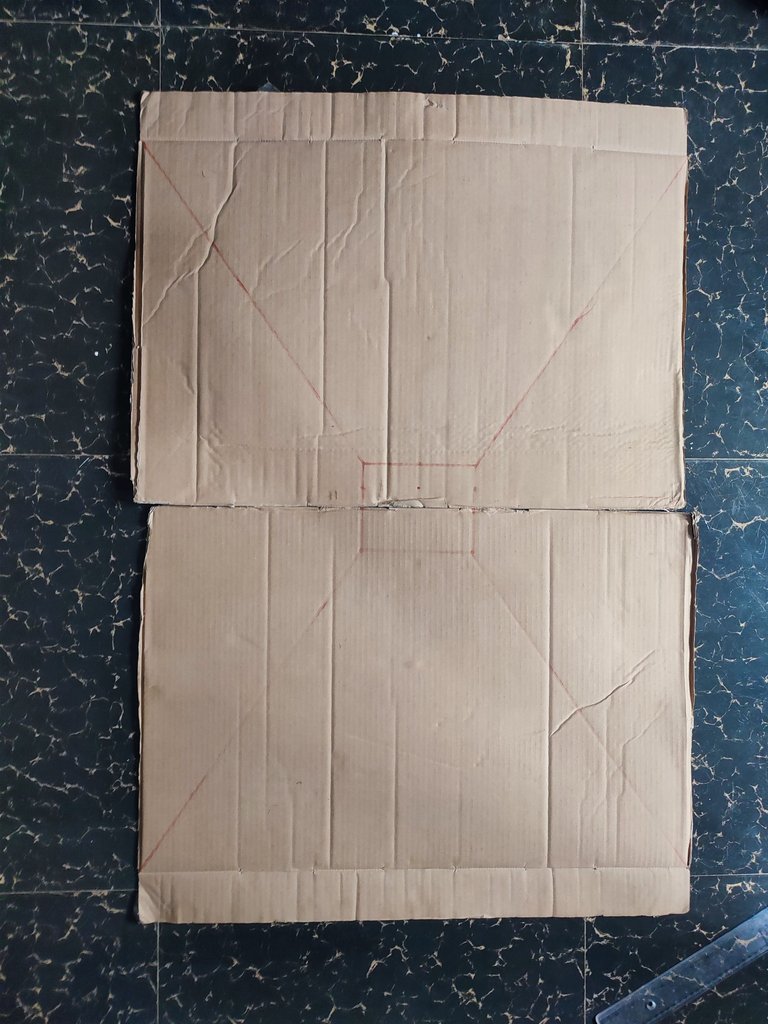 | 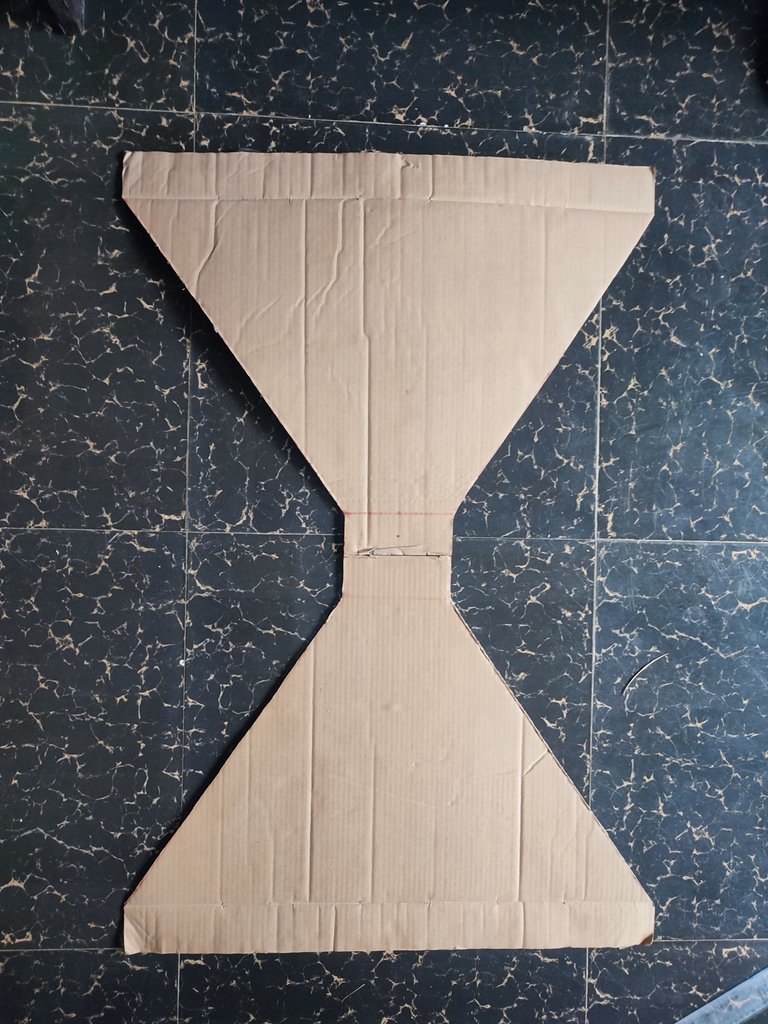 |
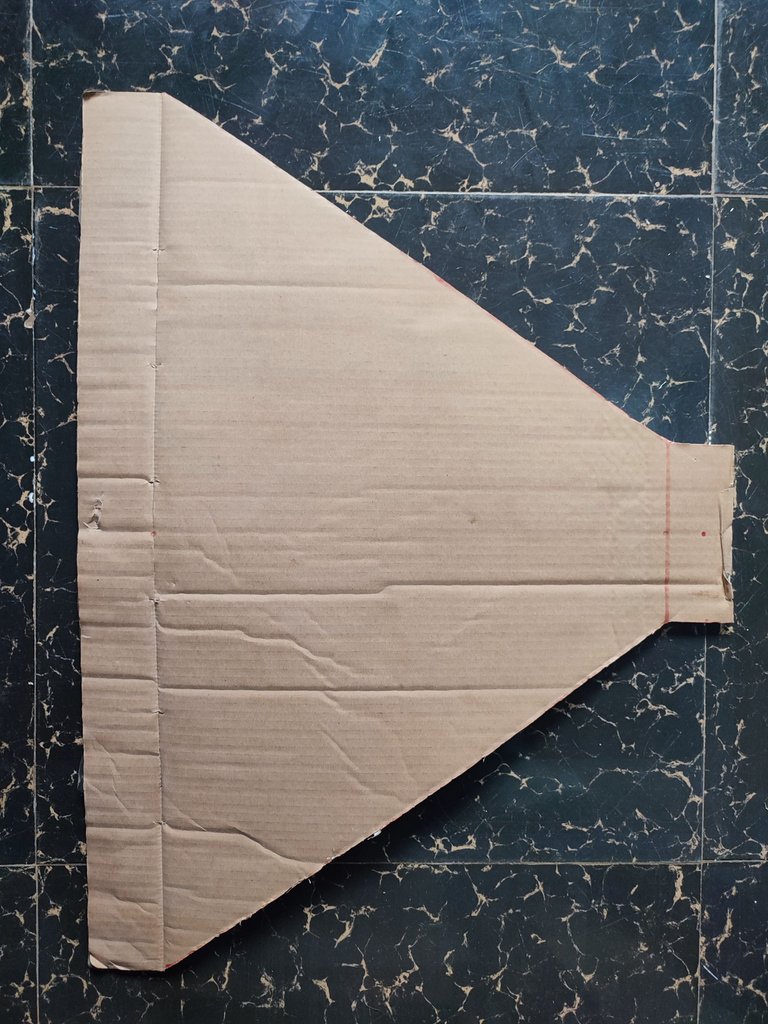
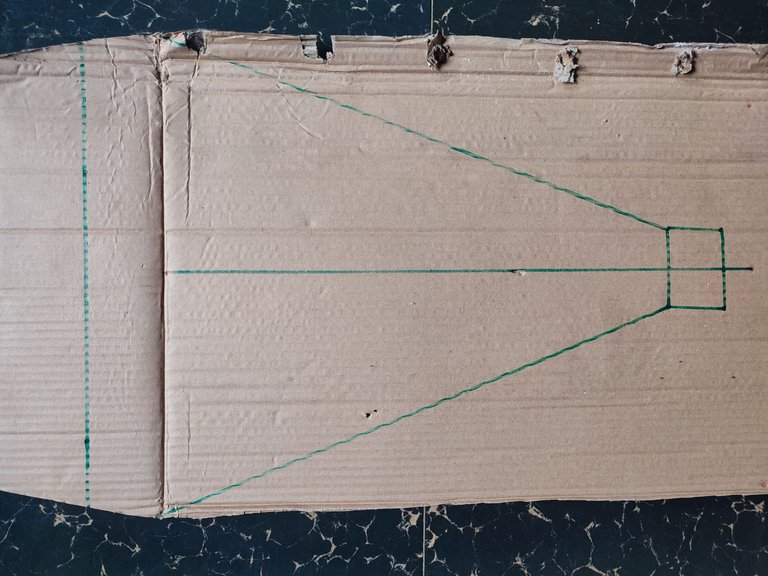
I knew I wasn't going for a square type, so I had two different sets of dimensions for the top and bottom versus the right and left.
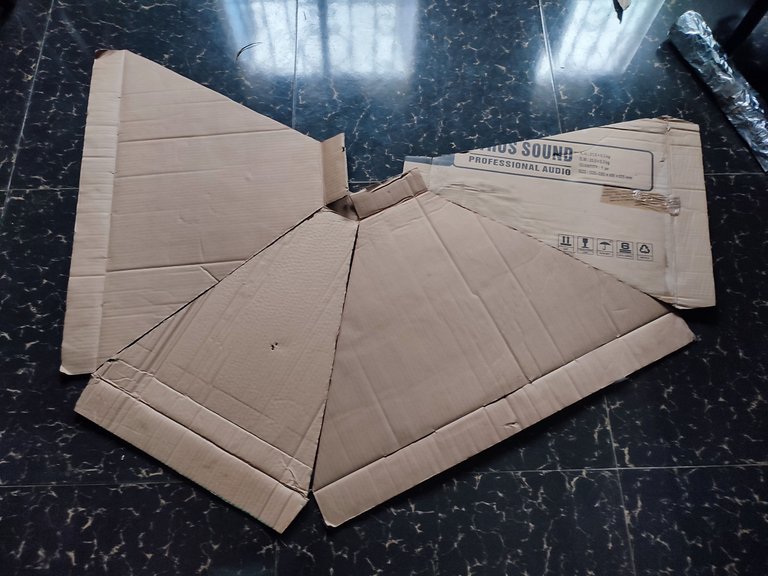
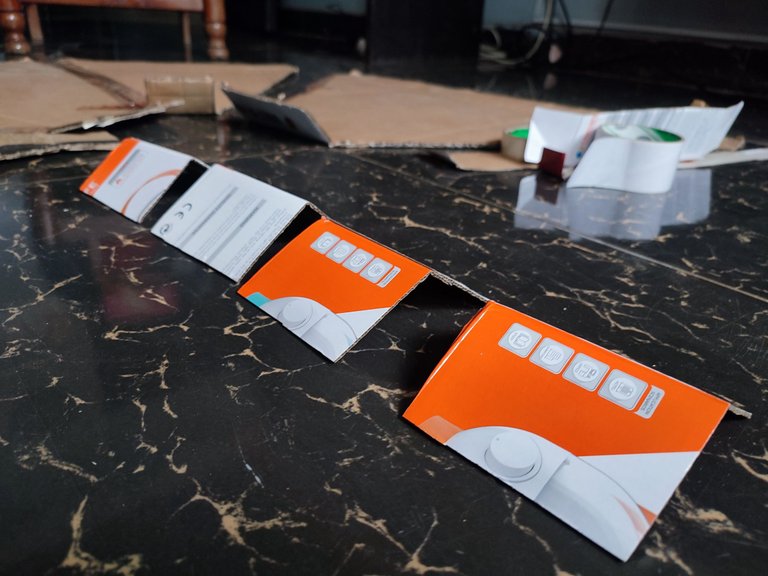
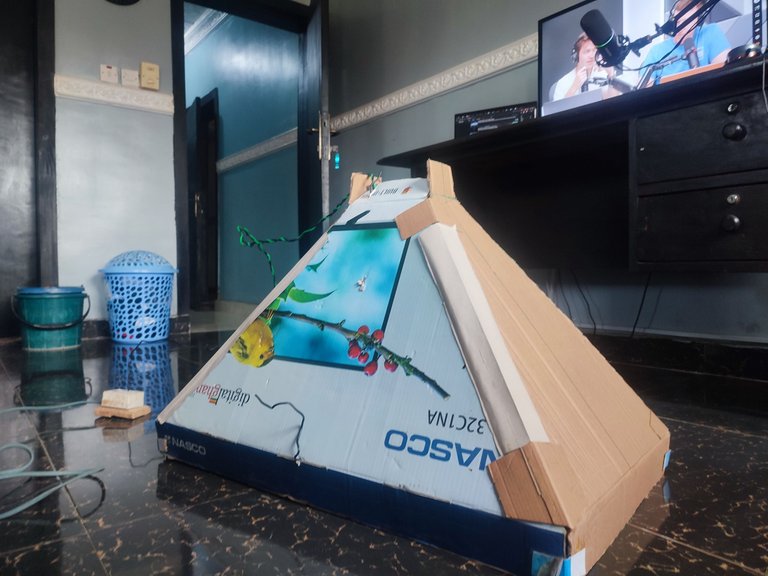
After cutting out the sides with the scissors, I put them side-by-side on the floor to join them together. I didn't think sellotape would hold the sides together well enough, especially when I didn't have enough of it, so I had to improvise.
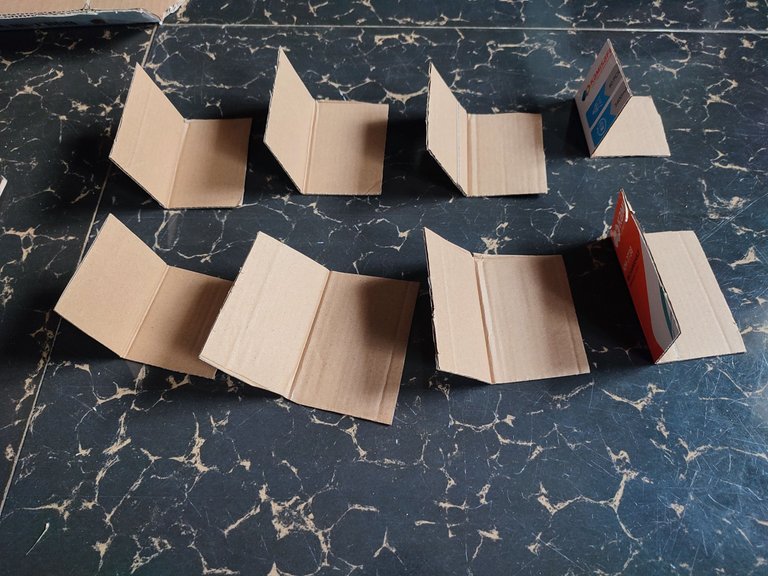
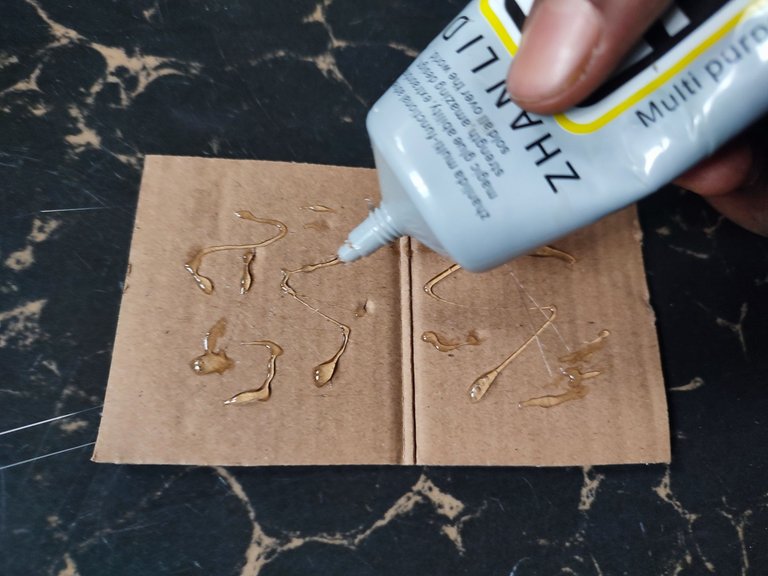
I cut out the cartons and formed them into L-shapes. They would serve as hinges for the edges of each side to make up the corners, on the inside and on the outside. And then I put glue on them to fix them in the right positions, mostly near the front and back.
 |  |
 |  |
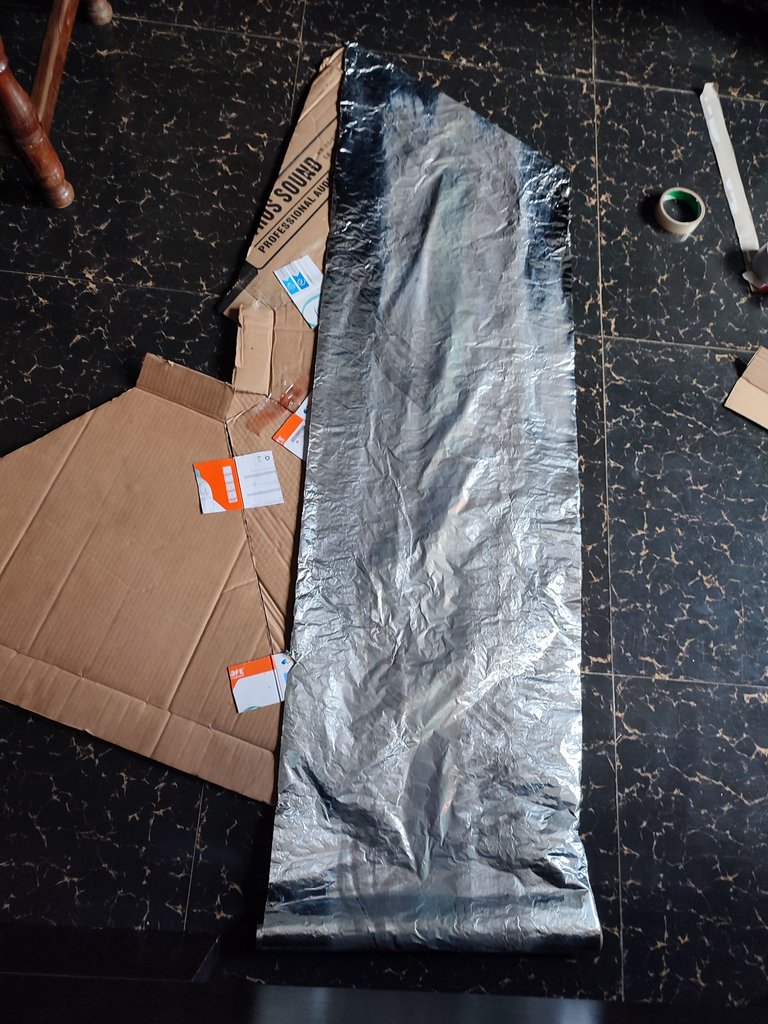
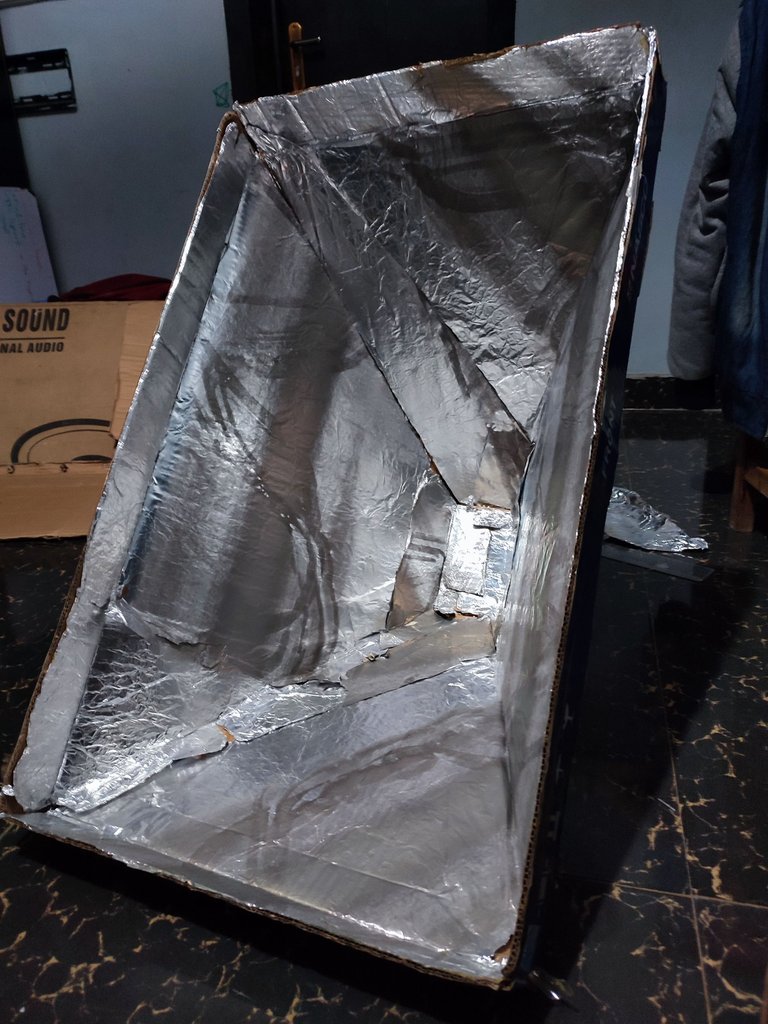
I could only work on three corners. And then I would seal up the remaining edges for the last corner on the outside after closing up the box. Before that, I had to lay out the tin foil on the inside.
I may have been ripped off with the amount of tin foil I got. Thankfully, the amount I had was just right. And then I successfully layered every part of the inside with tinfoil using some glue.
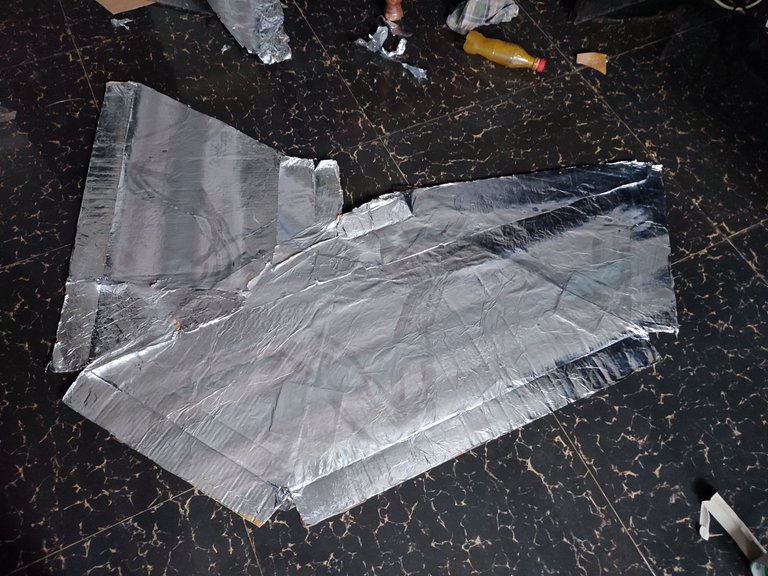
Then it was time to join up the last corner. And I used another set of L-shapes that I made earlier to do that.
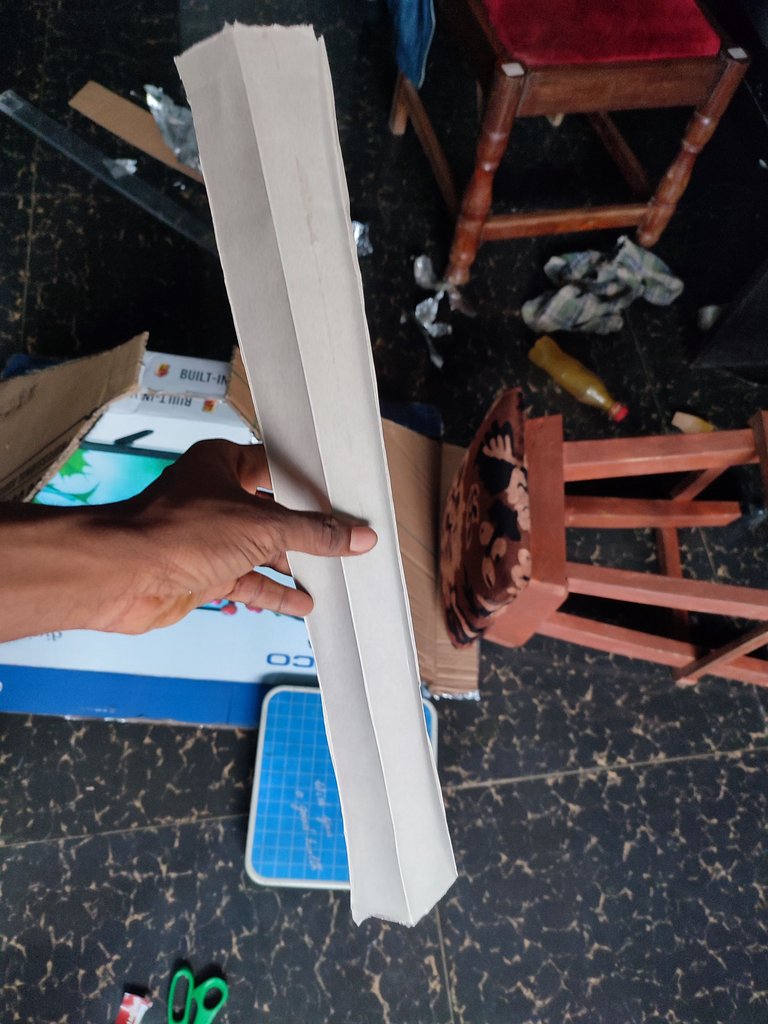
I observed that light could spill out somehow from the corners. That could be a problem, so I had to seal them with some pieces of hard paper. Again, I used some glue to do that.
 |  |
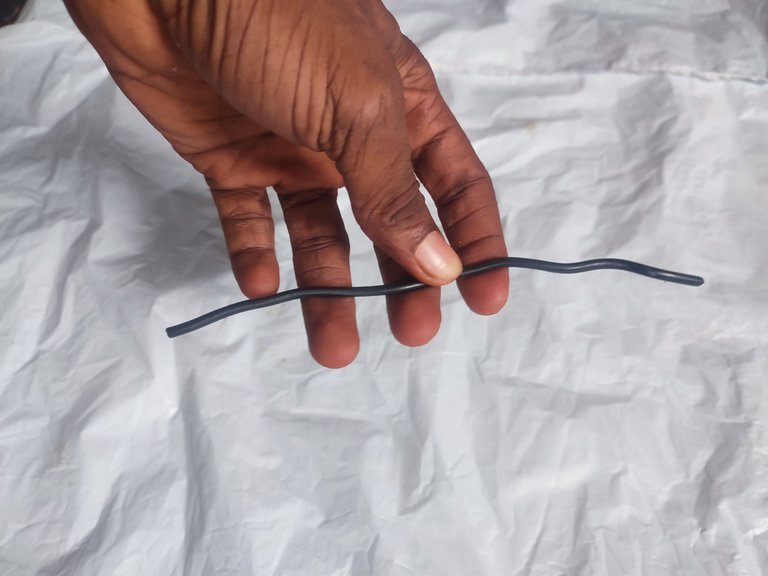
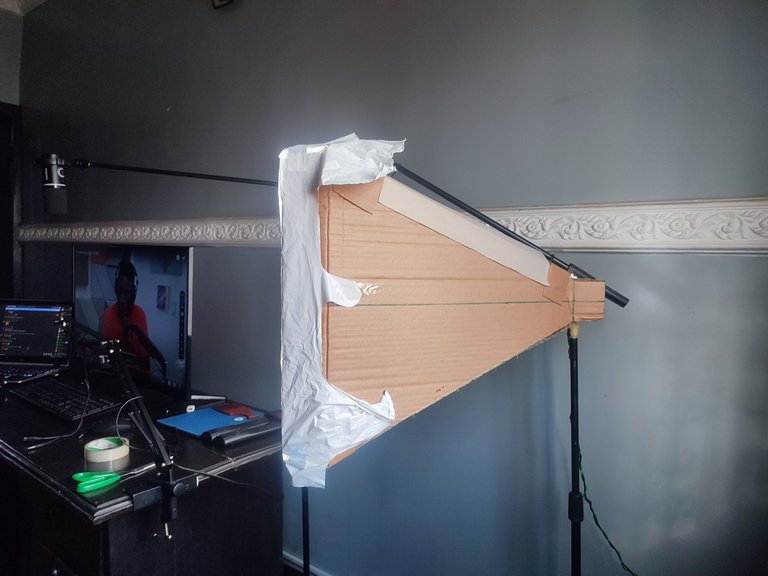
Now, for the stand. I just picked up one of the microphone stands we had at home to do the job. To mount the softbox on it, that's where the 2.5mm wires came in.
I didn't have ropes around, so I had to use the wire. 2.5mm wires are thick, strong, and can retain form.
I used the screwdriver to perforate where the wires would go through the top of the softbox. I put the wires through them and shaped them into hangers. Afterwards, I slide the microphone arm into the hangers, and voila, the softbox is now mounted.
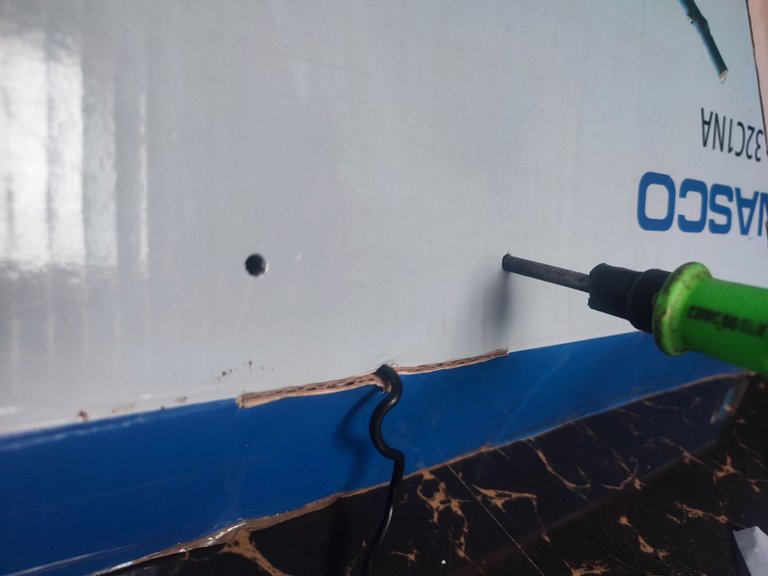
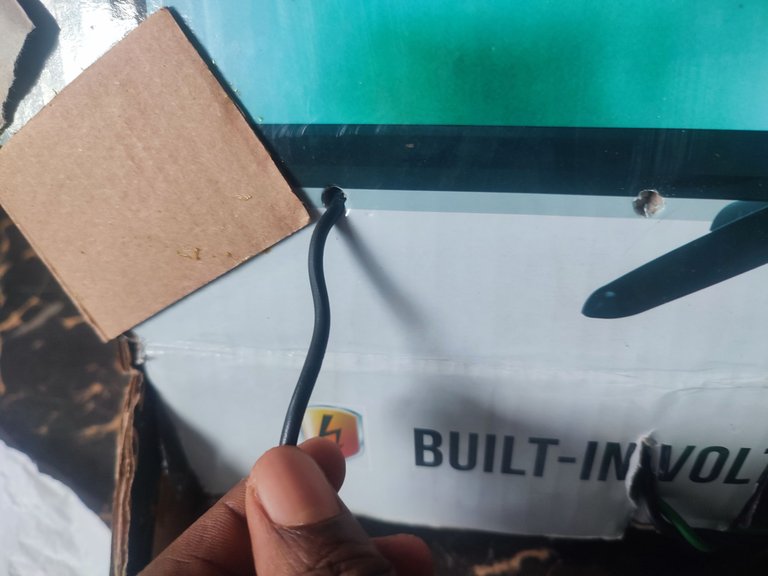
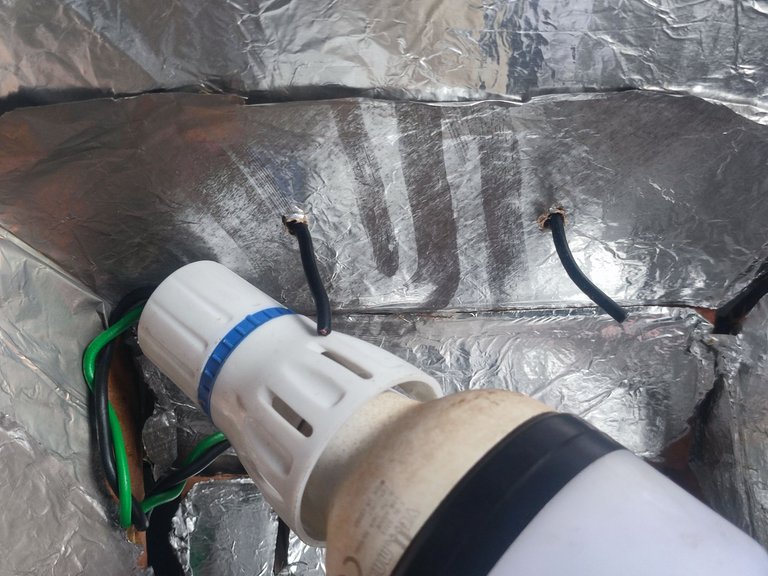
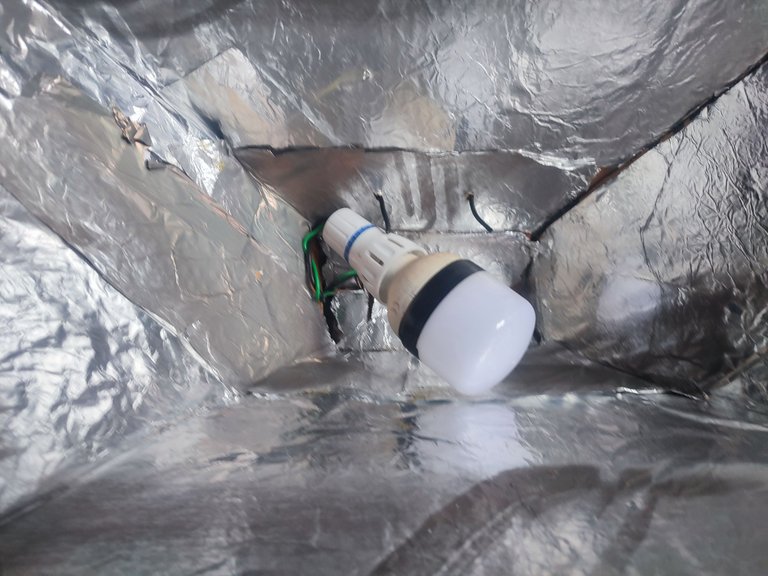
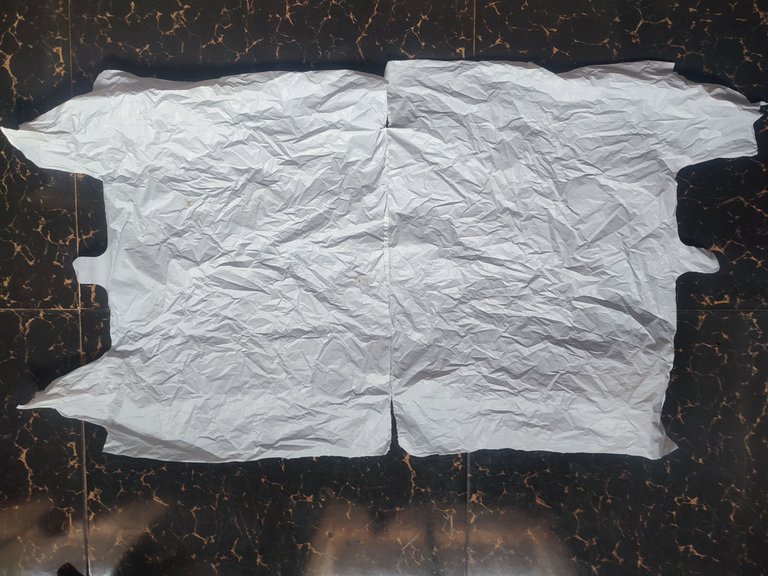
The final step was to put on the diffuser panel, and that's what the white polythene was for.
I carefully cut the sides of the bag to open it up the way I wanted. And then I just laid it on the front of the softbox and held it in place with sellotape.
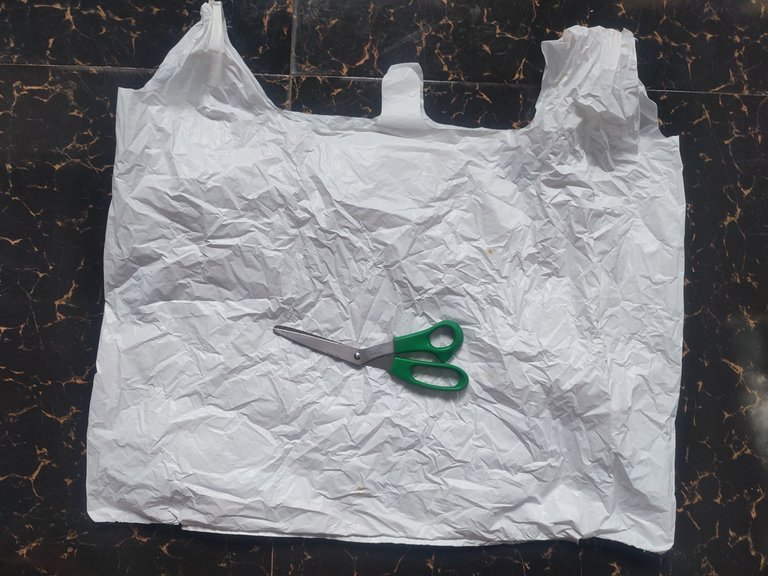
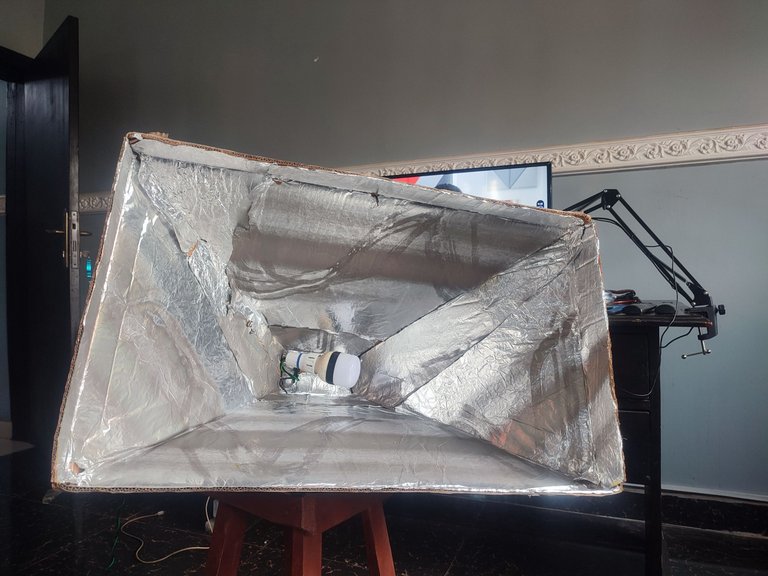
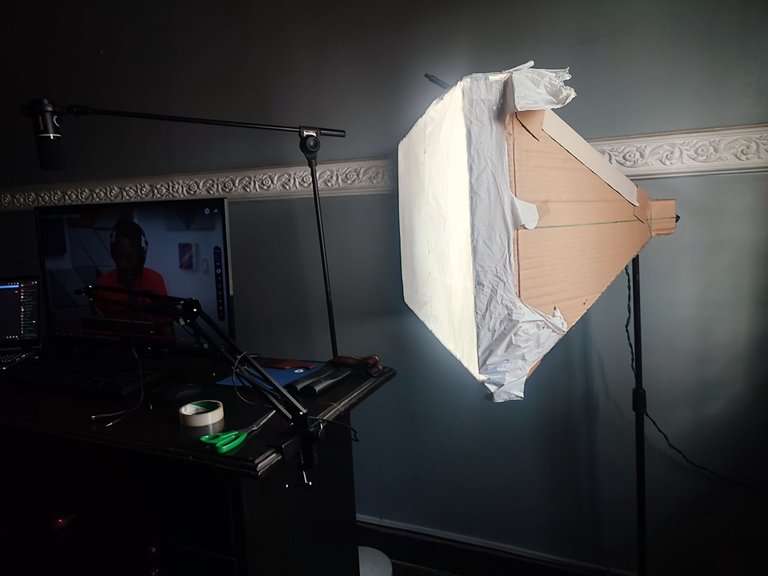
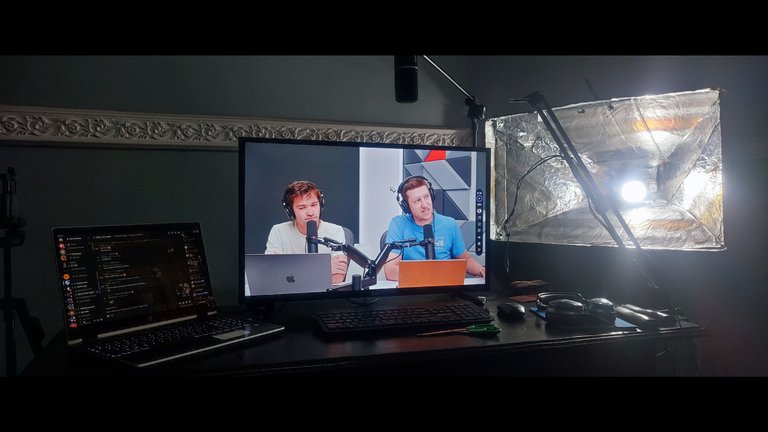

I can easily put in the light bulb from the back, as there are flaps created for that function in the design at the beginning.
And there, dear audience, is our DIY softbox. I spent about a dollar to achieve this.
All images belong to me
Posted Using InLeo Alpha


