Creative Sunday: Learning with my cousin how to make bracelets by hand with rubber bands

in #hive-153850last year

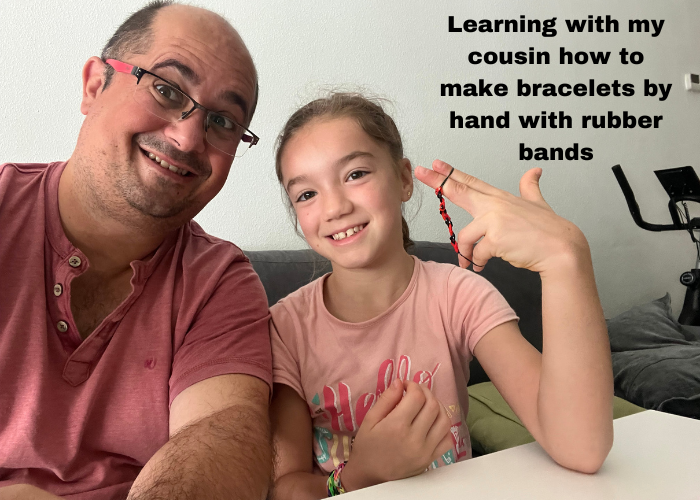
Last weekend, after more than a month away from my aunt and uncle and my cousin, I came to Madrid and was able to share a very productive Sunday morning, as my cousin taught me how to make colourful bracelets with elastic bands, and all you need is a pair of scissors as an additional element to make them. Therefore, it is pure skill that is needed as you can see in the photographs and video that I am going to share with you.

Material

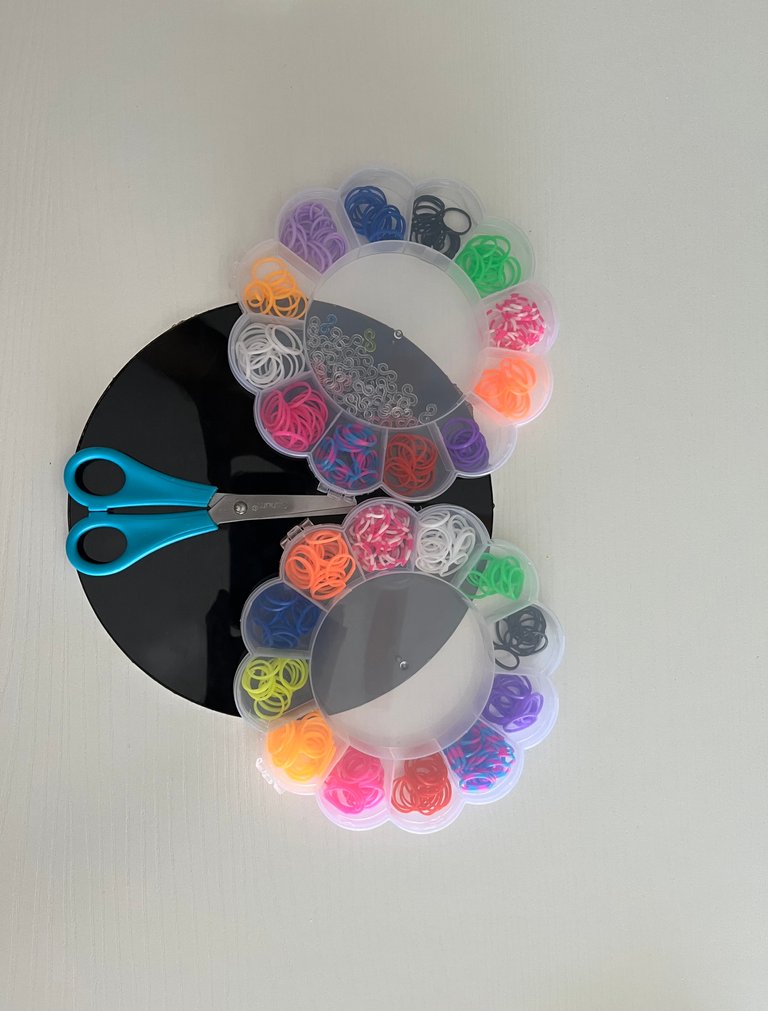
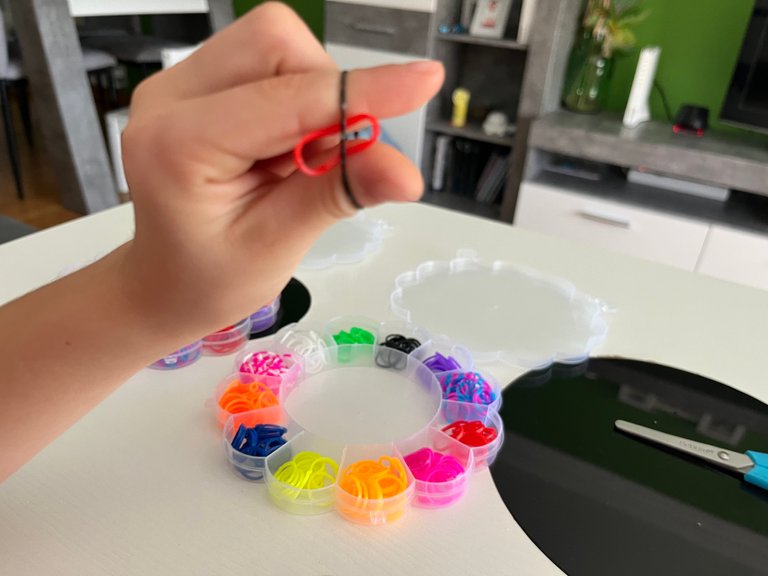
Small elastic bands with multiple colours.

To make our creations more colourful, I recommend you buy a set of rubber bands with a good number of colours and, if possible, bright colours such as reds, oranges, greens, phosphorescent colours, etc.

In our case we went to a general shop that was open in front of his house and bought two sets of rubber bands for 5 euros.

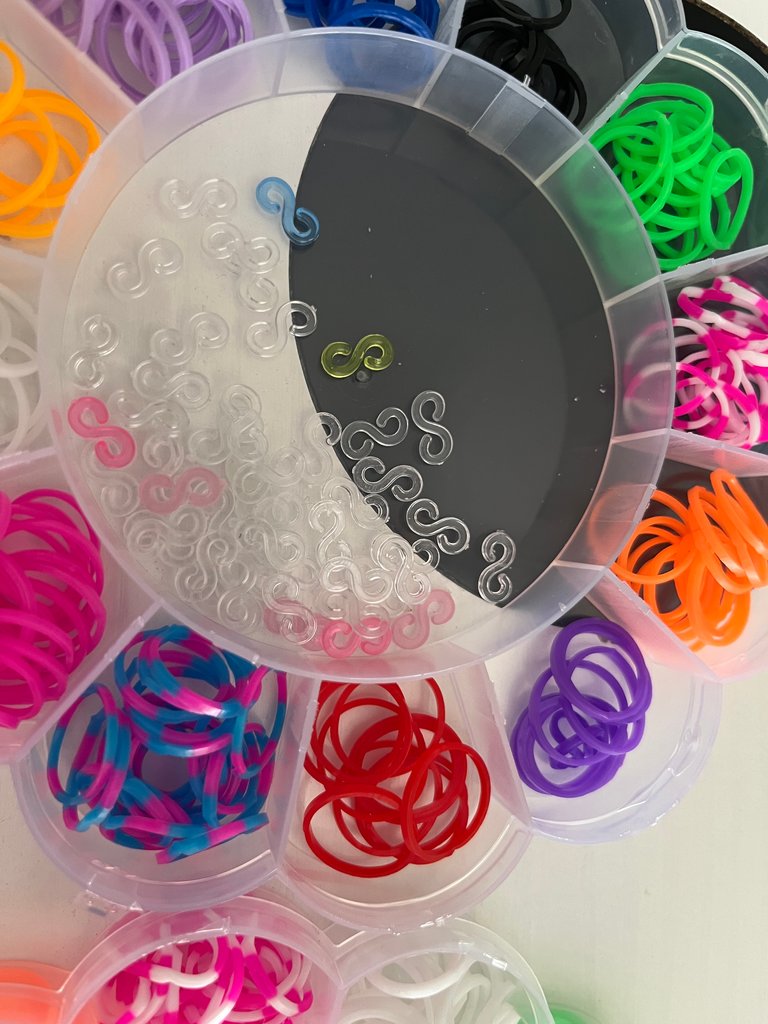
Hitches in the shape of that

These hooks are incorporated in the rubber kits we had bought. However, an alternative in case of buying only the rubber bands would be to use thread in the colour of the rubber bands used to make a final knot.
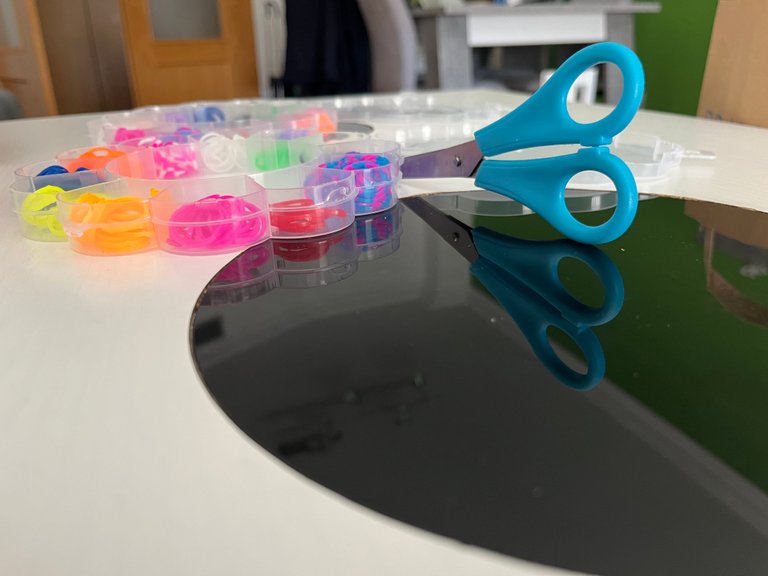
Scissors

The scissors will only be used for the final part of the bracelet making process.

Steps to make the bracelet

Step 1.Choosing the colour combination

It seems like a trivial thing, but it is important to make a good choice of two or more colours.In this case, as the bracelet we were making was for me, I chose a black and red colour. I've always liked this colour combination even though neither of the individual colours is my favourite colour.
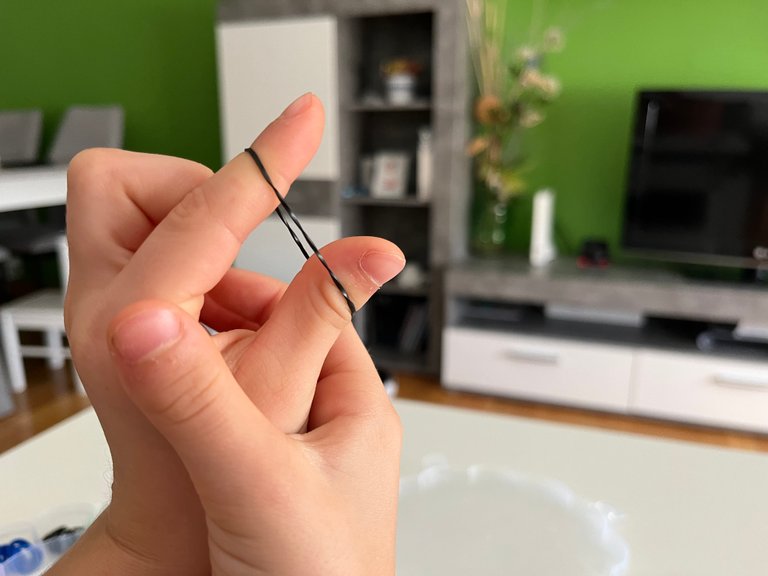
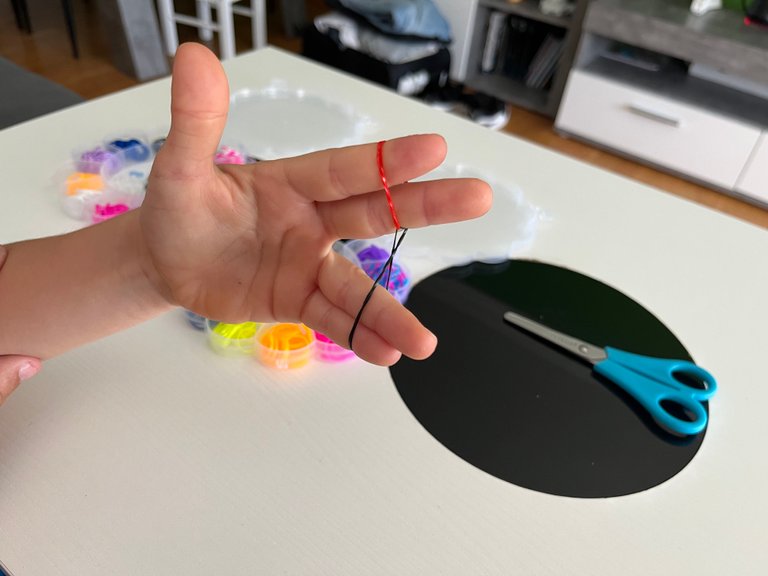
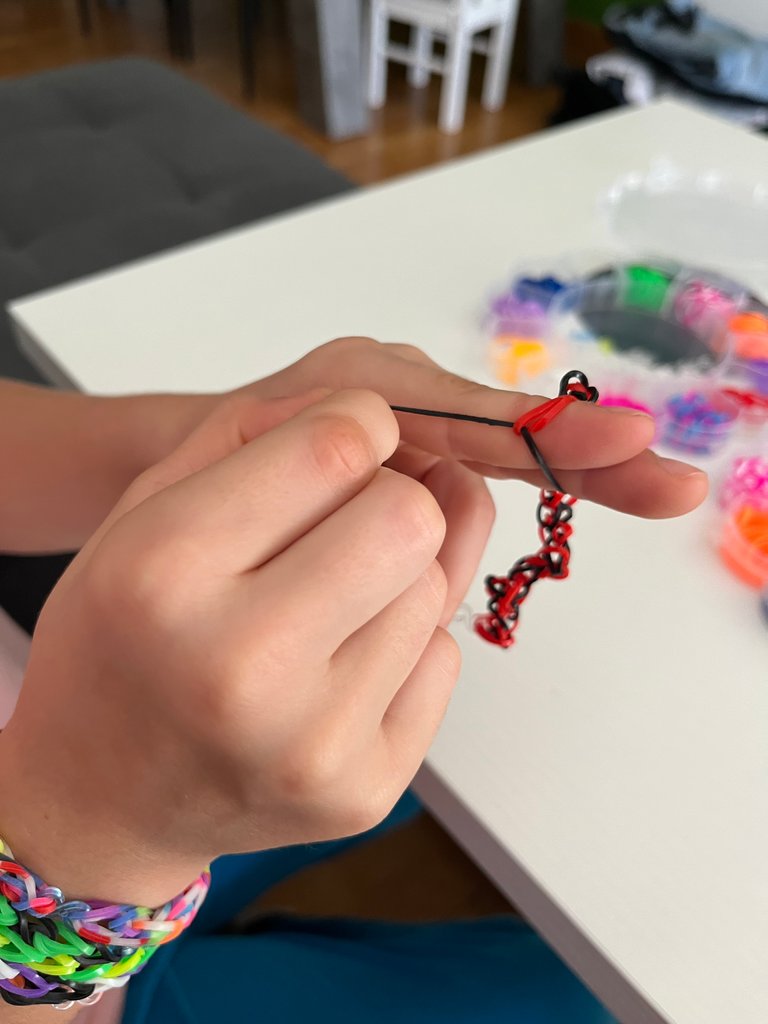
Step 2. First Ring

First we put one of the coloured rubber bands between our thumb and forefinger, stretching the band but taking care not to break it.

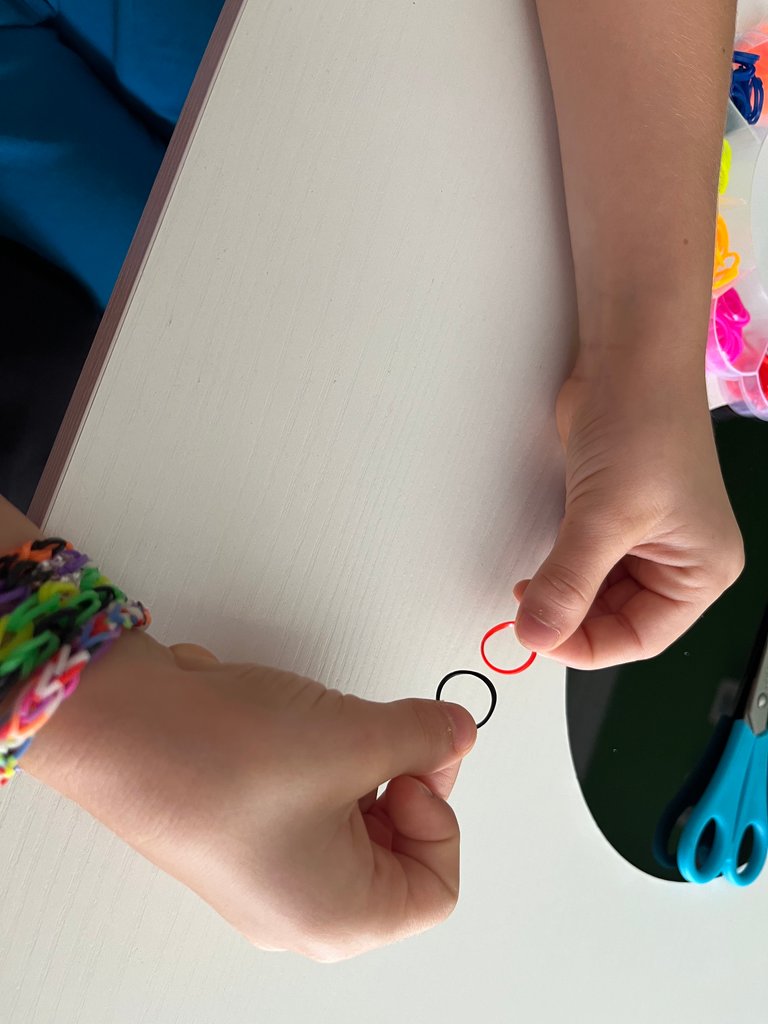
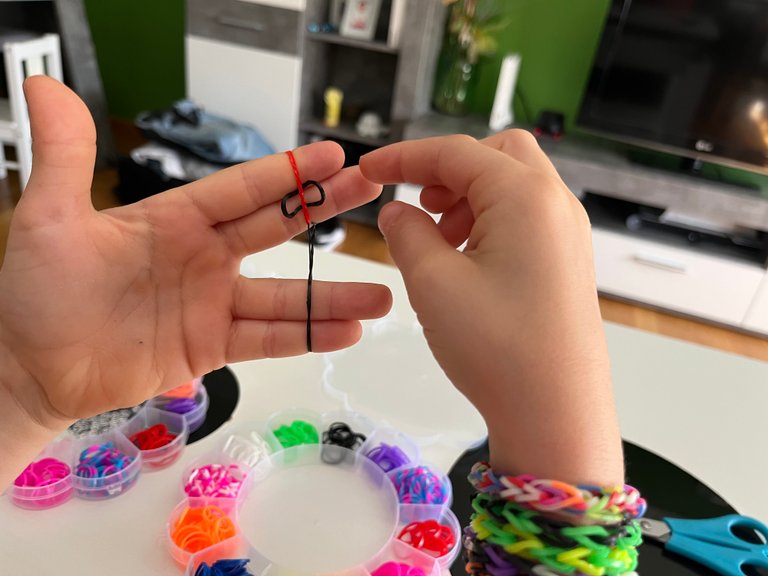
Step 3. First assembly

Next, we place one of the other coloured rubber bands as shown in the picture.

And then we stretch this second rubber.

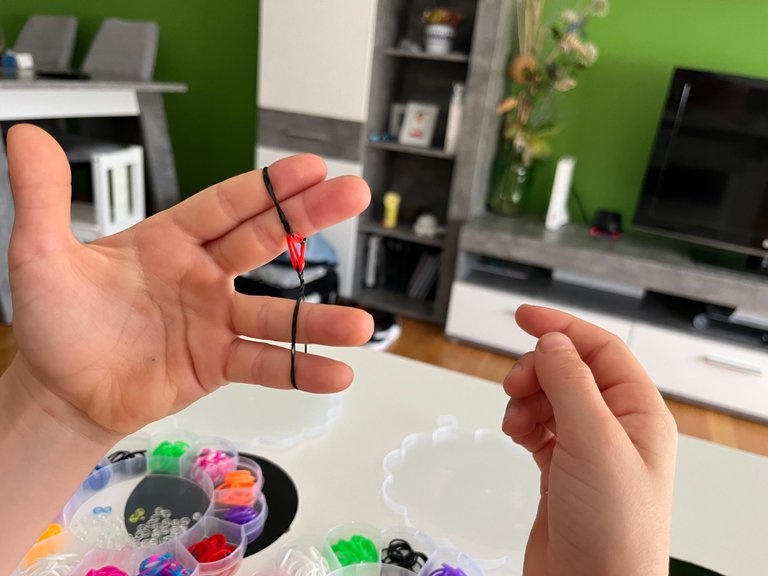
Step 4. Stretching the assembly

The next step to follow is to place the second rubber that we have placed and that was stretched over the middle and ring finger.

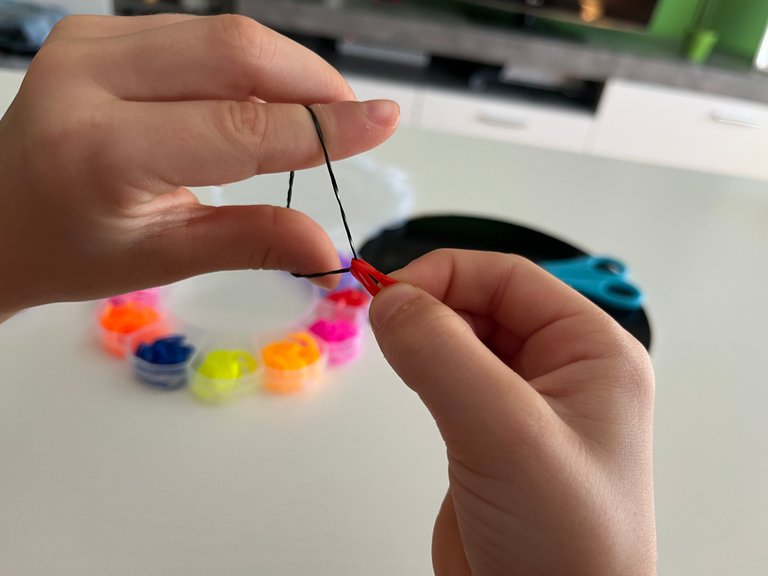
Step 5. Grow with more rubber bands

Next, as we had done in step 3, we place again a rubber band in the same colour as the initial rubber band.

And then we stretch it.

To finally place it between the middle and ring finger as in step 4.

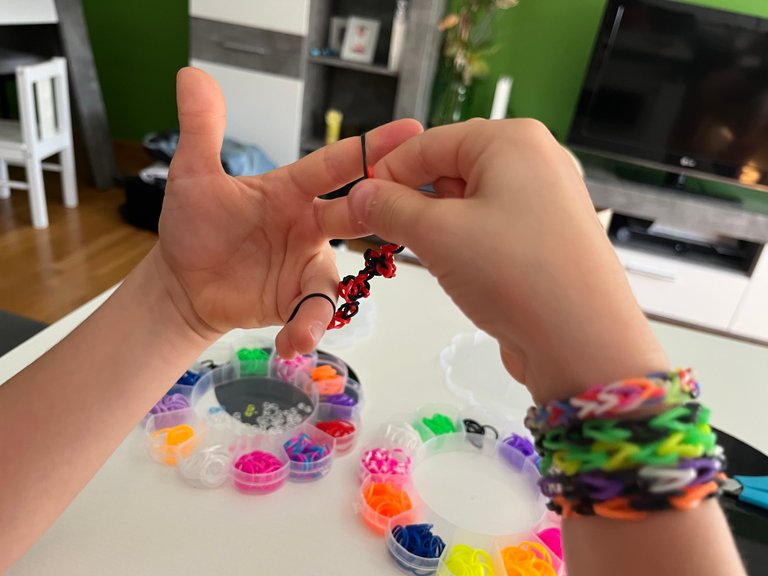
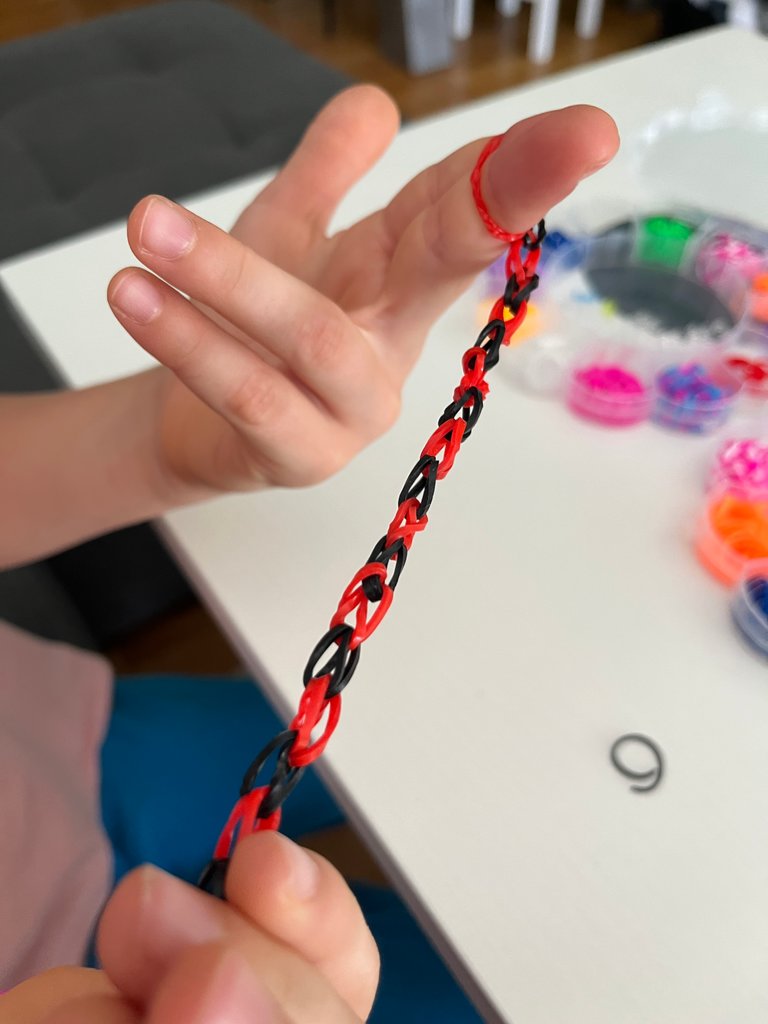
Step 6. Repeat the process until a suitable size is reached

This process is repeated several times, alternating the rubber bands, thus making the bracelet grow.

Step 7. Size check

In order to make a bracelet that is not too tight and not too loose, my cousin, when she had made some progress on the bracelet, did a size check before attaching the clasps

Step 8. Placing the clasp on one end of the bracelet

As you can see, we started the bracelet with a black rubber band. So in order to attach the clasp and make the bracelet fit properly, we have to place the clasp in the shape of a black rubber band on the second rubber band or link.

Step 9. Cutting the first black link

The first link that we had placed in step 1 must be cut with the help of scissors.

Step 10. Closing the bracelet

Now we stretch the bracelet so that the rubber bands are not rolled up together.And opening the last link with two fingers, we close the bracelet with the clasp in the form of that we have at the other end of the bracelet.
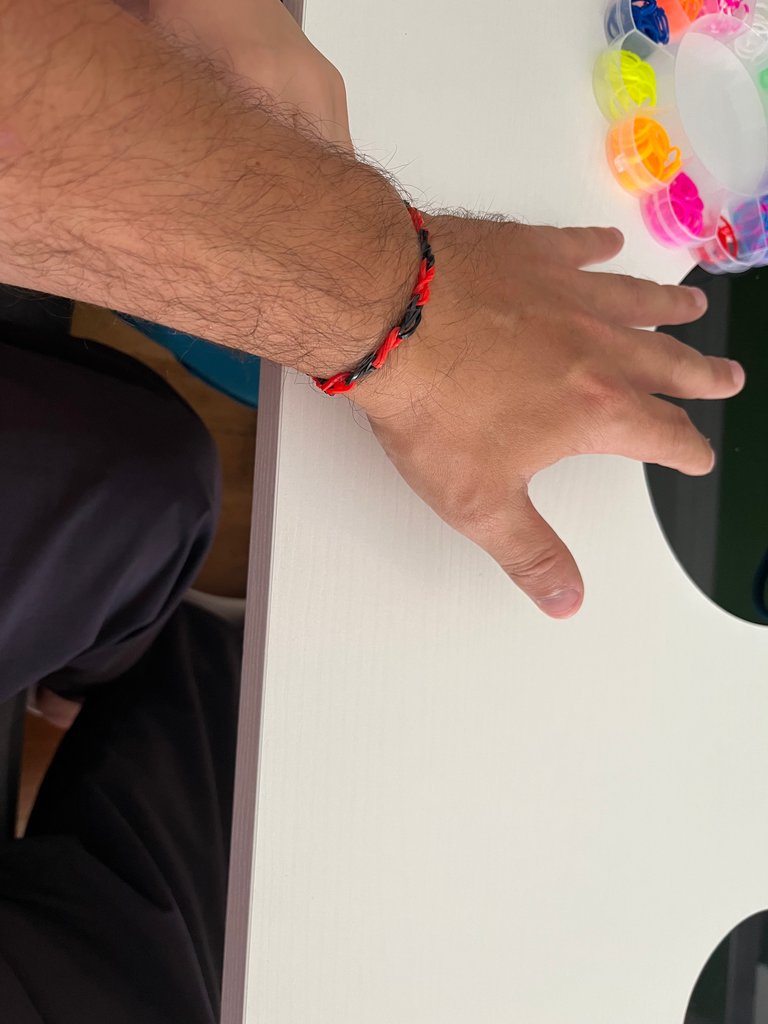
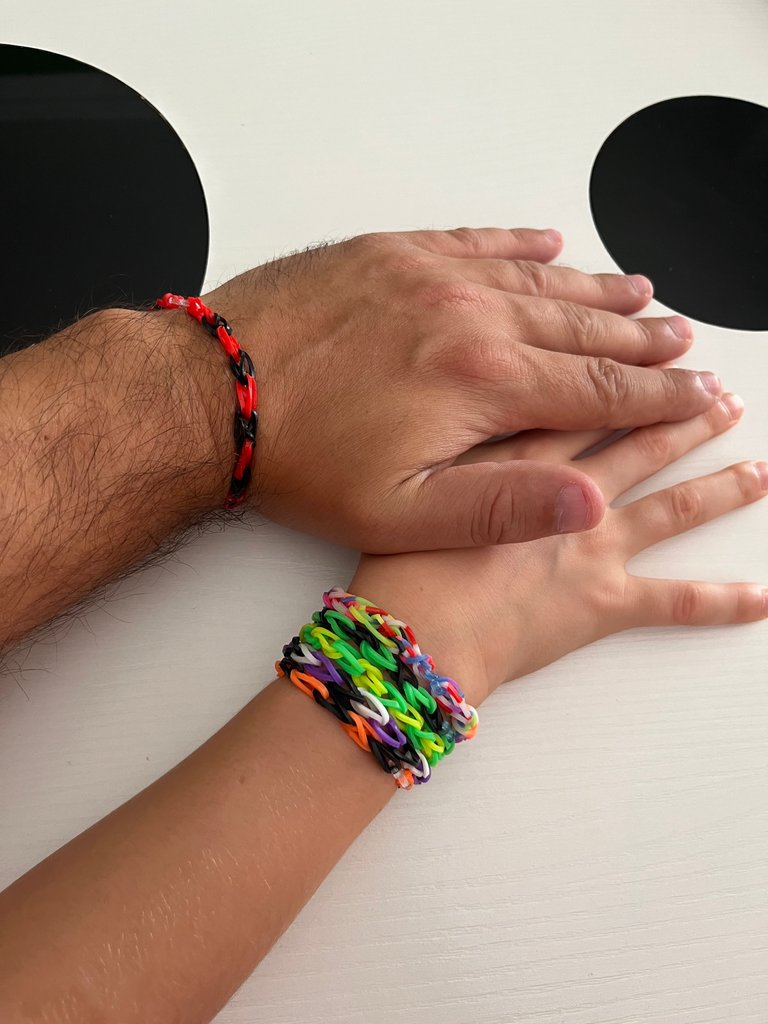
Step 10. Result

An elegant handmade bracelet that I love to wear on my wrist and remind me of my lovely cousin at every moment.

I hope you liked the tutorial.

Happy Sunday.

Own photograph taken with my iPhone 13.

Cover, separators and banner created with www.canva.com (free version).

Translated with www.DeepL.com/Translator (free version).

Sort:  

Oh! This is beautiful and it reminds me of my cousins when they were little, they also loved making such colourful rubber wrist bands. The red and black you chose looks cool on you.

Thank you.

I loved the way the red and black combination turned out.

You're welcome. It's actually a mature colour.

Lovely art work, did a pretty good thing coupling all the materials intact, will sire make these myself someday

A fun activity

!PIZZA

Yahh i can tell it sure is

beautiful, beautiful, i love this diy made bracelet. cool and very fancy also looking great on you too.

Thanks for your comment.

!LUV

@protokkol, @castri-ja(1/3) sent LUV. | connect | community | HiveWiki | NFT | <>< daily

Join in Hive General chat | Type ! help (no space) to get help on Hive. Info

Made with LUV by crrdlx

I remember that I liked to do that when I was a kid (particularly in fifth grade), and I'm currently in my second-year in college. That means that it's been nine years passed🫢. When I was young, I called them loom bands and my favorite way to assemble them was the regular stitch, where you'll create an infinity sign to insert in your two fingers and add another rubber. After that, raise the two sides of the infinity sign upward and repeat the process.

My cousin is just 8 years old when she turns 9.

And it's all skill in those little fingers.

Why this is so cute, and I also love the color combi you chose. And creatint this one is like a bonding moment with you two └|∵|┐♪

Thanks my friend

!PIZZA

I liked them, both bracelets were beautiful

Thanks

!BEER


Hey @dlizara, here is a little bit of BEER from @castri-ja for you. Enjoy it!

Do you want to win SOME BEER together with your friends and draw the BEERKING.

That looks beautiful all together and it seems like you two had a lot of fun making it 😅.

Congratulations @castri-ja
This post has been nominated and may get curated by Theycallmedan/Aliento. Keep making beautiful contents!!

Thank you

It was a lot of fun to learn how to make bracelets from my cousin.

pixresteemer_incognito_angel_mini.png
Bang, I did it again... I just rehived your post!
Week 176 of my contest just started...you can now check the winners of the previous week!
!LUV
12

!LOL

!PIZZA

What to you call it when you think about eating cheese?
A ques-idea.

Credit: reddit
@castri-ja, I sent you an $LOLZ on behalf of tokenyzzy

(1/1)
ENTER @WIN.HIVE'S DAILY DRAW AND WIN HIVE!

Beautiful.
Reviewed and Approved for an Ecency boost. Keep up the good work.

Wave Media

Thanks

!LUV

Most welcome.

@djbravo, @castri-ja(2/3) sent LUV. | connect | community | HiveWiki | NFT | <>< daily

Join in Hive General chat | Type ! help (no space) to get help on Hive. Info

Made with LUV by crrdlx

This is a very sweet and wholesome post. Still shows we can always learn new things and even from those that are a lot younger than us. This is great work and I love all the pictures that show step by step on how it's done. great job and looks like you had an amazing as well as productive weekend :3.

Thank you for your enriching comment.

Have a great weekend.

!PIZZA

Thank you I will. you have a great one as well!

Congratulations @castri-ja! You have completed the following achievement on the Hive blockchain And have been rewarded with New badge(s)

You have been a buzzy bee and published a post every day of the week.

You can view your badges on your board and compare yourself to others in the Ranking
If you no longer want to receive notifications, reply to this comment with the word STOP

Check out our last posts:

Hive Power Up Month Challenge - September 2023 Winners List
Be ready for the October edition of the Hive Power Up Month!
Hive Power Up Day - October 1st 2023

Yay! 🤗
Your content has been boosted with Ecency Points, by @castri-ja.
Use Ecency daily to boost your growth on platform!

Support Ecency
Vote for new Proposal
Delegate HP and earn more

PIZZA!

$PIZZA slices delivered:
castri-ja tipped fredaig
castri-ja tipped ruffatotmeee
castri-ja tipped tokenyzzy
@castri-ja(3/5) tipped @shawnnft