Disclaimer: this post is for entertainment purposes only. Electrical work is dangerous and should always be done by a professional. Codes and standards vary in different areas so make sure that you get the proper permits and follow the rules in your area.
The house we live in was built in the 1980s and apparently at that time no one believed in over head lighting.
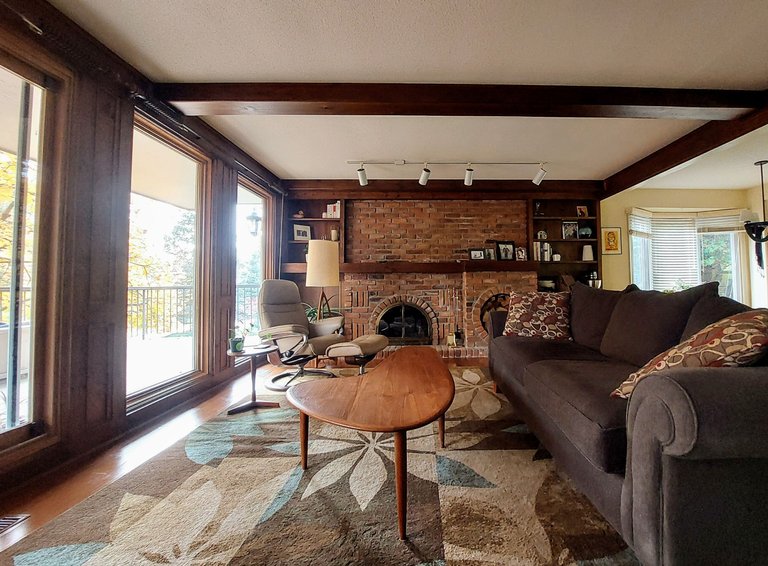
In our house the lighting in most of the rooms comes from lamps, save a few areas that have some really outdated track lighting. Luckily we have large windows to let light in during the day otherwise the house would always be dark.
Some rooms have a switch to control the outlet that the lamps plugged into, but not all. Lighting in the house is actually a pretty big pain in the ass and its one of my least favorite characteristics of our home. It's super annoying having to walk into a pitch black room and fumble your way to find the lamp switch so that you can see. As such, installing over head lighting has become somewhat of a priority for us.
Recently I installed new recessed LED lighting in our living room and office, so lets see how that went, starting with a look at some of the material I purchased.
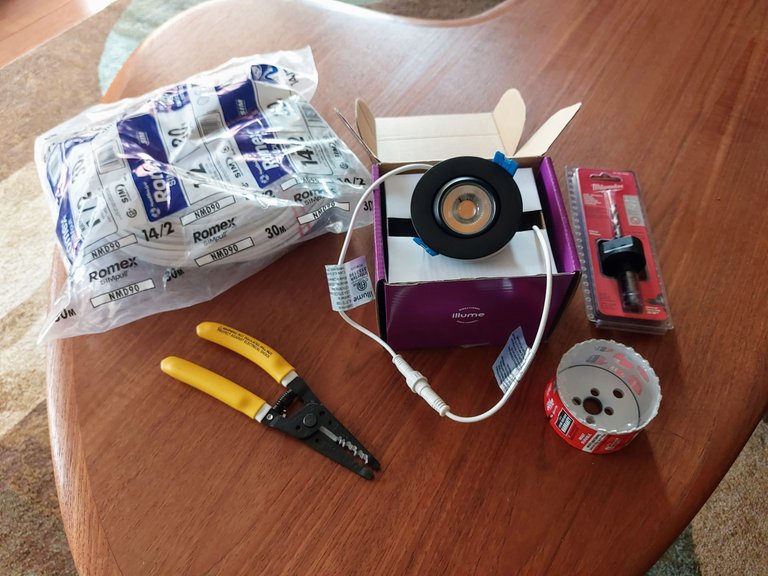
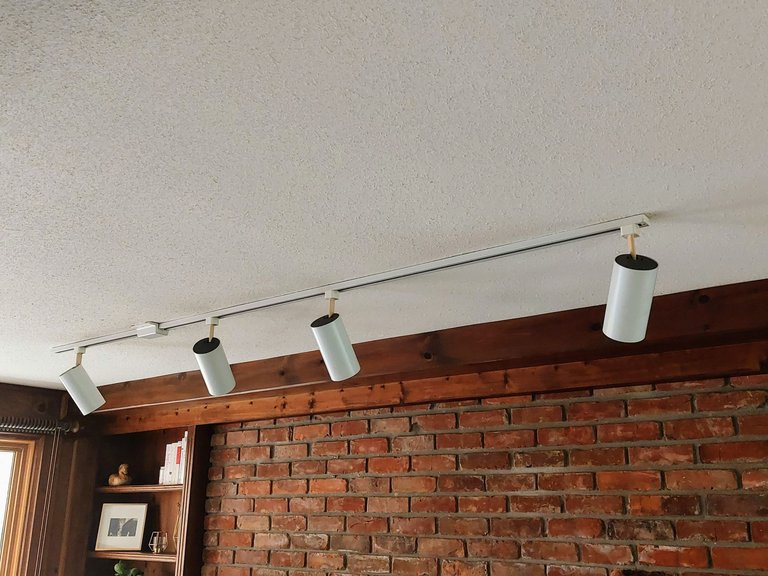
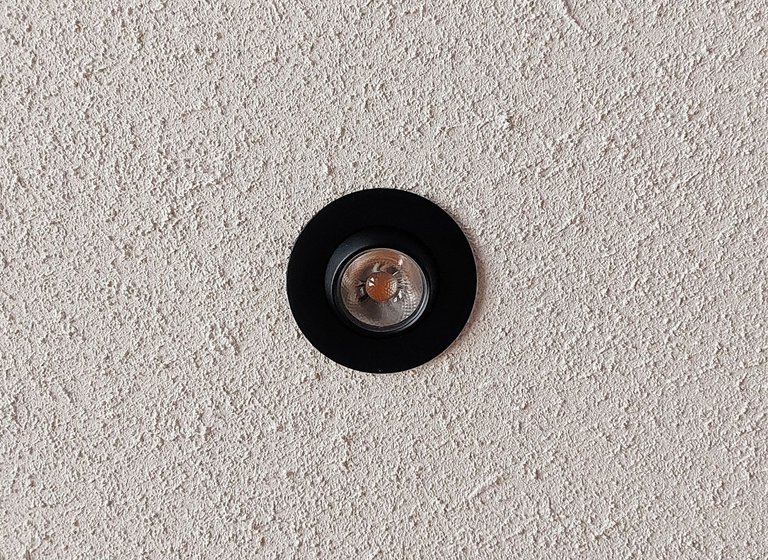
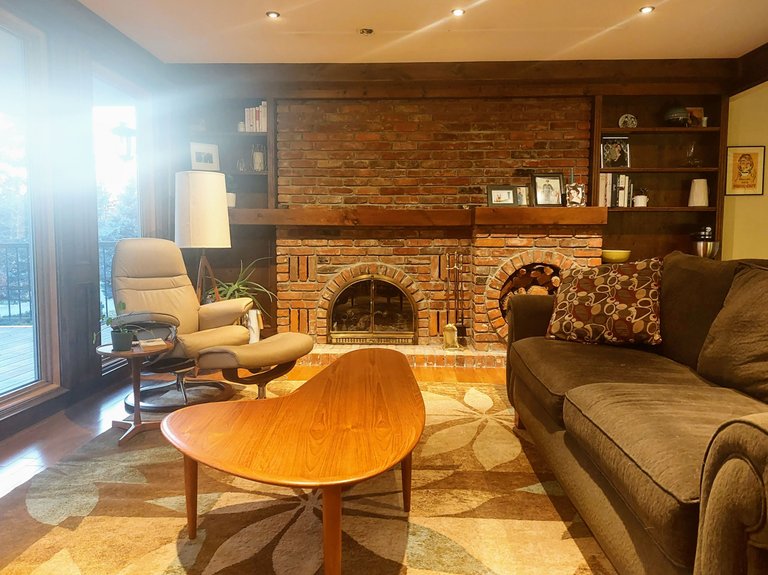
There are a few options for recessed lighting nowadays. In our mudroom we installed white flush mounted lights but upstairs in the living room we went with black adjustable ones. We had track lights pointing toward the fireplace so I figured it might be good to point some light that way again. We also plan to eventually install a wood tongue and groove ceiling and I think that black will look better against the wood than white would.
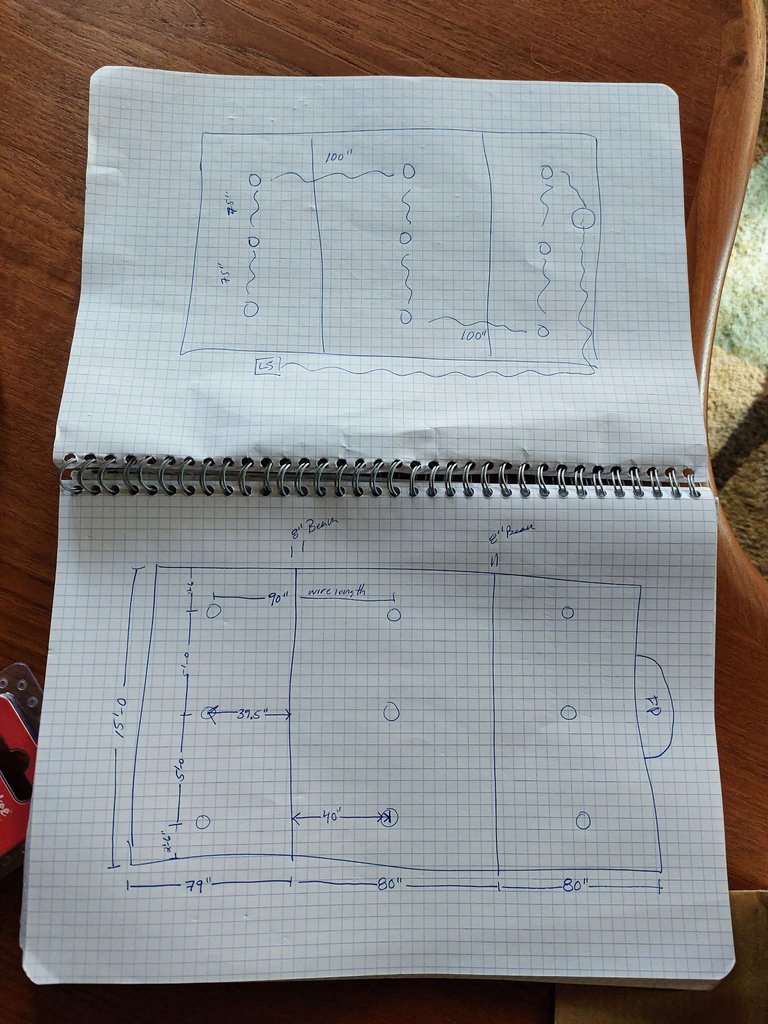
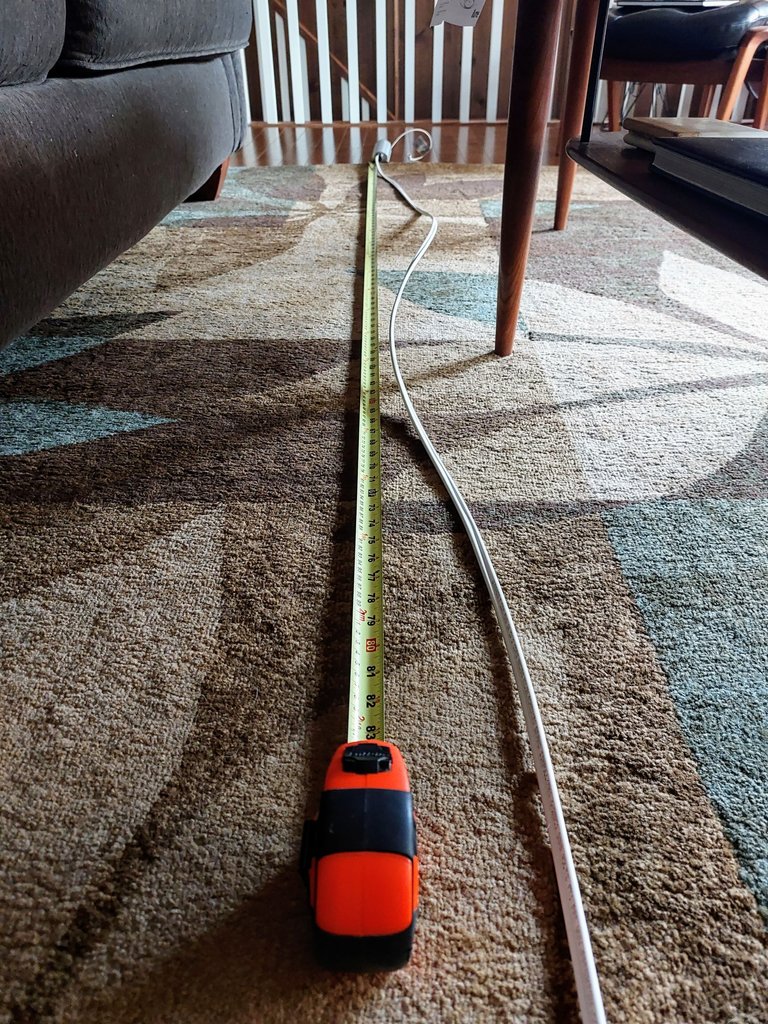
I started the project by taking down the track lighting that I would be connecting the new recessed lights to. I measured the ceiling and drew out the layout for the light placement as you can see. I actually made a revision after I drew this but it gives you an idea of a plan that I was following. I ended up moving the lights inward from the outer wall a little, to half the distance between the center light and the outer edge. I think it made more sense that way.
Measuring the locations in the ceiling by myself was a huge pain in the ass. I started with just a measuring tape which made it a two person job. You could do it alone if you have a really good measuring tape that can span long distances without breaking and falling though. I got my wife to help a little but she wasn't home the entire time I was working.
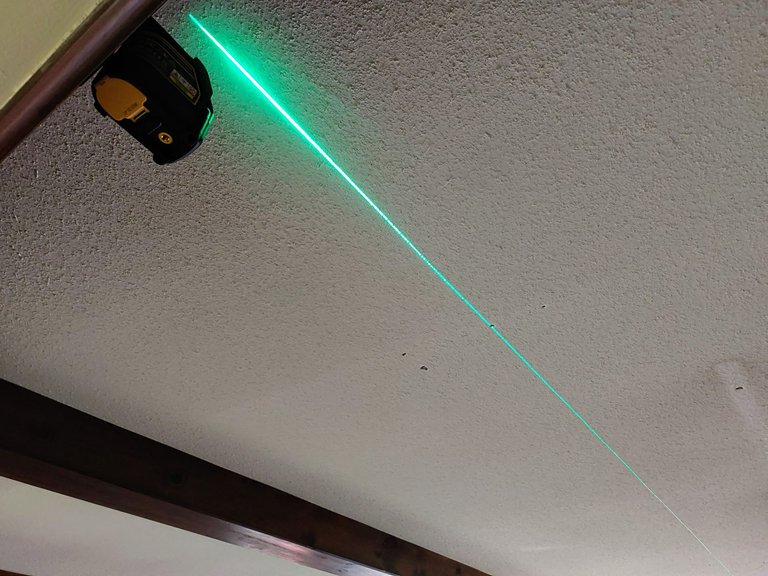
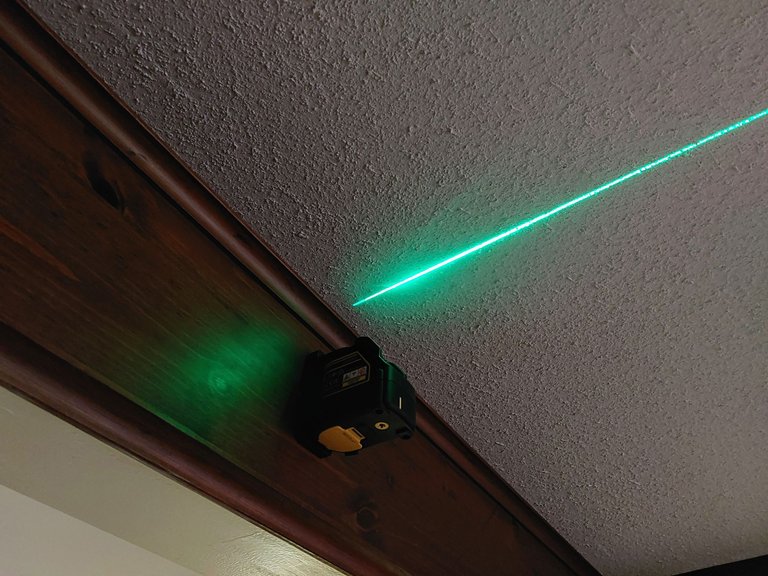
My father in law ended up buying a laser level so I borrowed that and it made the job marginally easier. But even that was quite challenging to get the laser to line up with the correct measurement across the room. I won't get into it all in the post but basically, I still needed a second person to do it right.
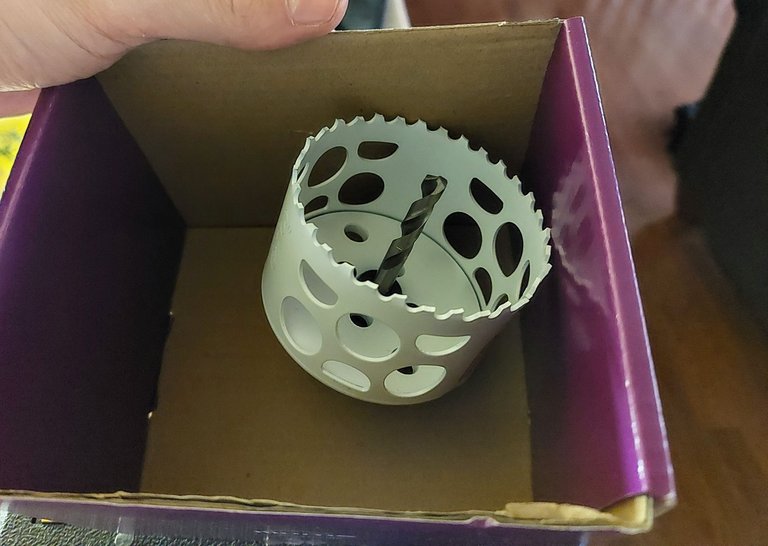
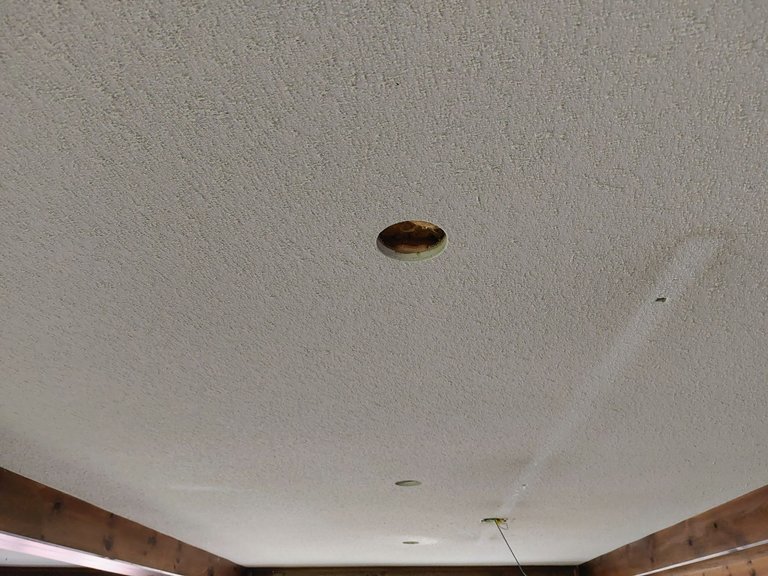
Next I cut the hole in the ceiling using a 3" hole saw, per the instructions.
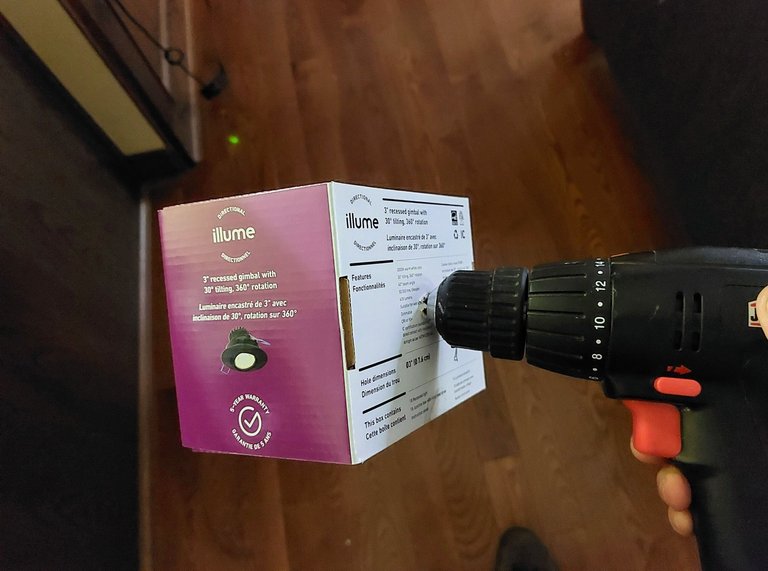
I figured out this little trick to greatly reduce the amount of dust and mess. You can buy a proper bowl like cover from the hardware store or you can just make your own using a box for free.
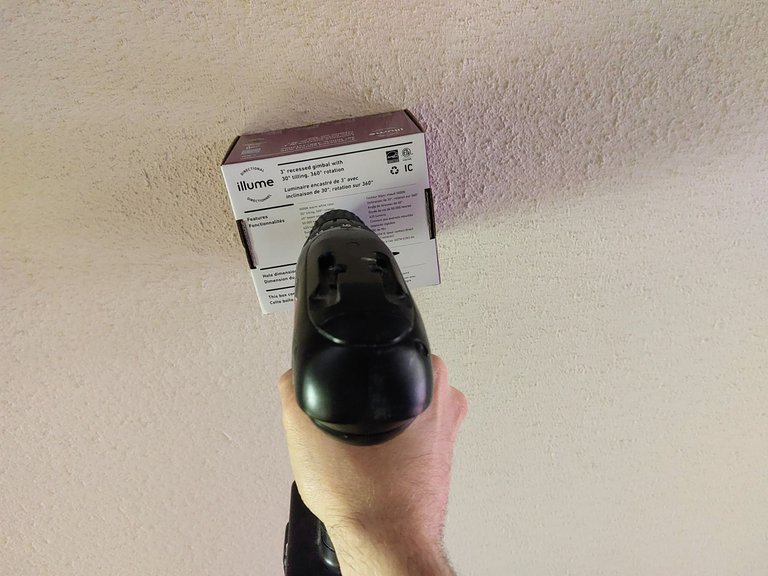
I went with the free option and it worked like a dream.
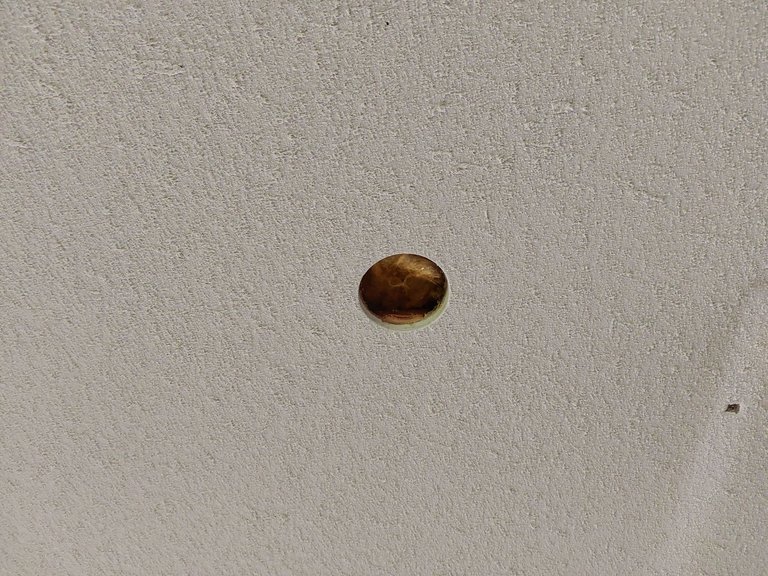
Hole cut, no mess.
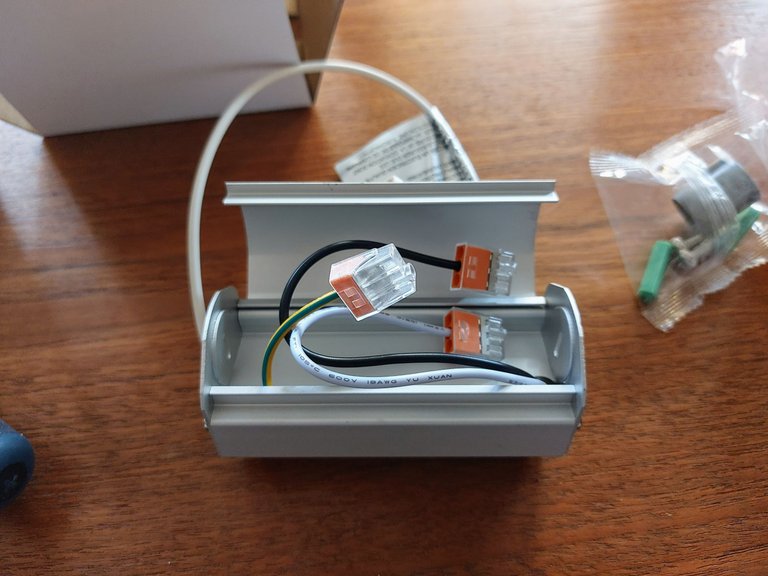
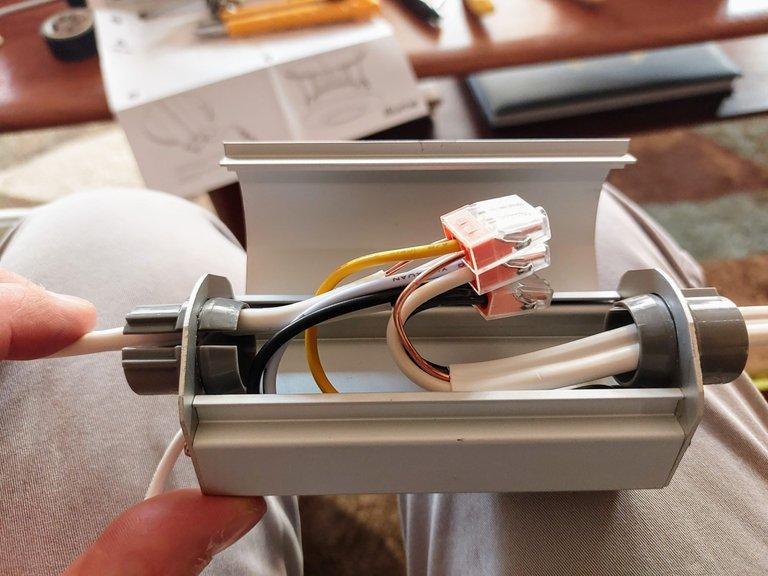
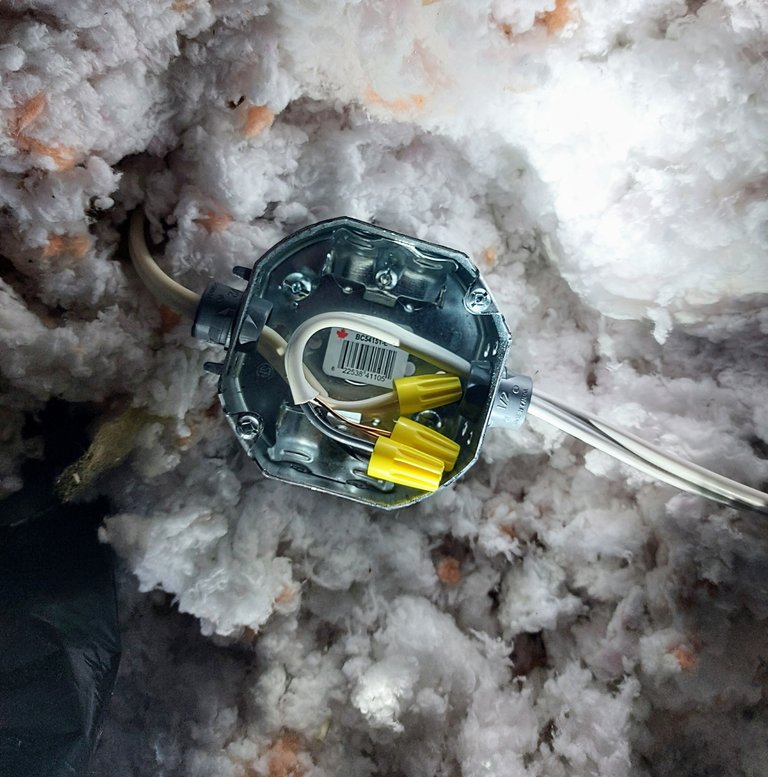
I prewired all of the lights before going into the attic. I didn't want to be measuring and running line up there in the dark, hunched over, and trying to remain standing on the floor joists.
It cost a little more in wire doing it this way because I needed it give myself a little extra play just in case, but I think it was worth it from a time saving and body pain perspective.
Wiring the boxes were simple. It was just a matter of matching the wires.
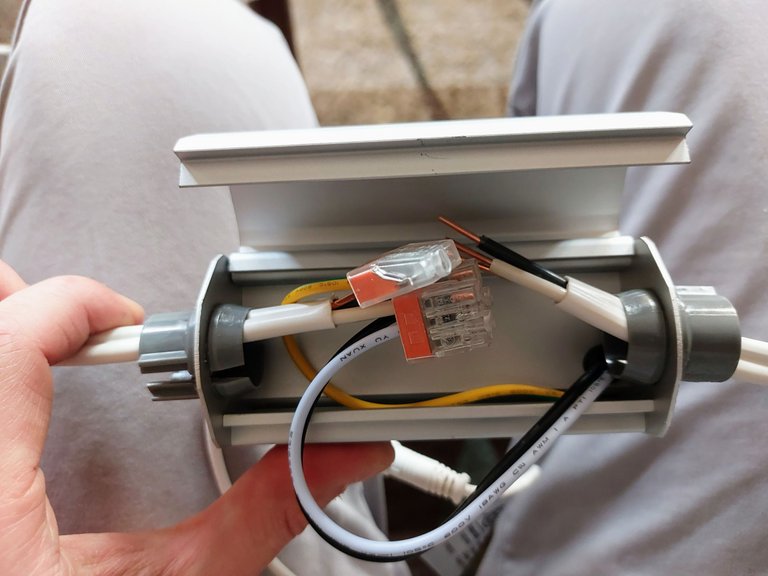
It's a little hard to see since it's so crowded in there but it's basically just white to white, black to black and ground to ground.
Okay, time to go into the attic. I wore long sleeves, gloves and a mask because of the insulation up there.
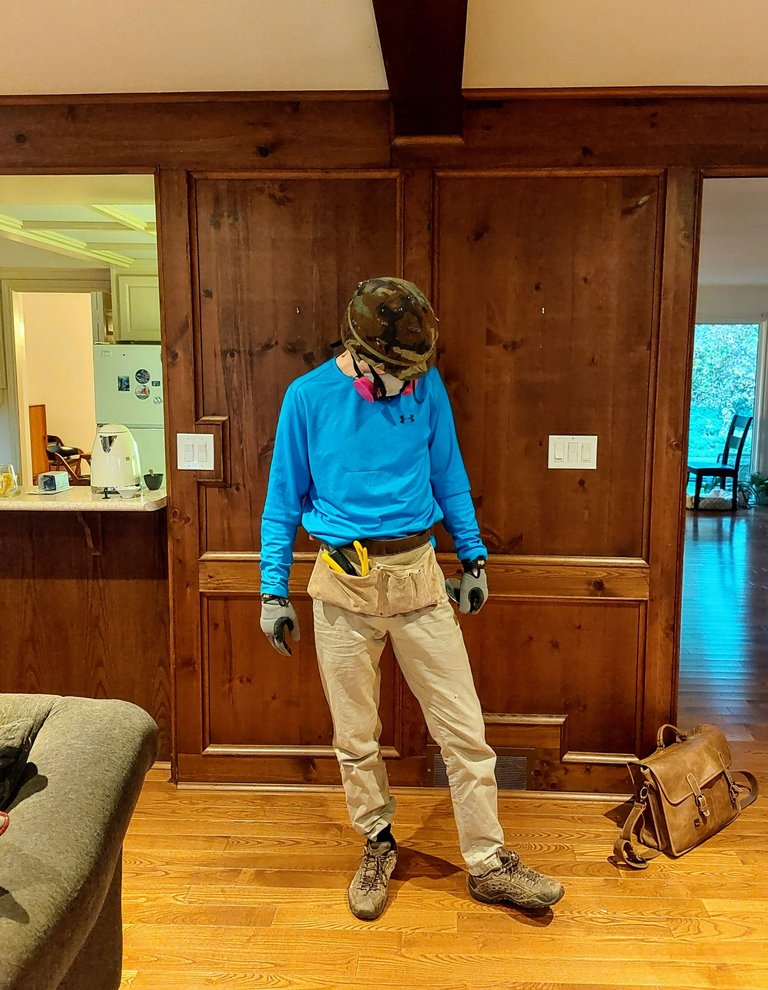
I don't have a hard hat but for whatever reason I do have an old army helmet... I definitely recommend wearing some sort of head protector up there because there are nails everywhere. Roofers like to install them in these crazy 5-6 nail hedgehog quill like patterns that go every which way too. I should have taken a picture for you for humor sake.
Working up in the attic is a huge pain in the ass though.
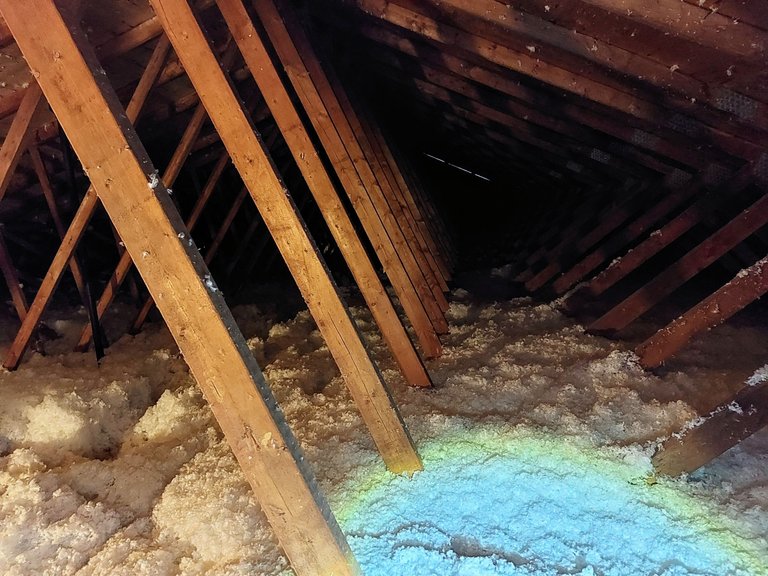
If you step in the wrong place you can fall through the ceiling, there's no light up there so you need to fumble around with flashlights, there are no markers to indicate where you are in the house in relation to the floors below so it's very discombobulating, and everything is covered in a layer of batt insulation and then 24 inches of loose spray insulation that you really don't want to mess around with because if you do, it loses some of its insulation properties. It's the equivalent of gardening in deep fluffy snow. It's just a huge pain in the ass all around.
The insulation makes running the lines along the joists, finding the holes you drilled in the ceiling and just doing the work in general, way harder than it would be if the area was clear.
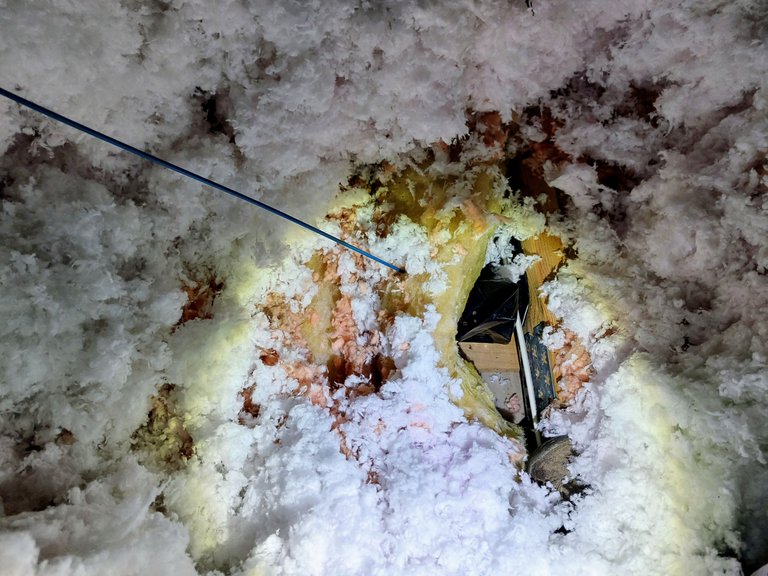
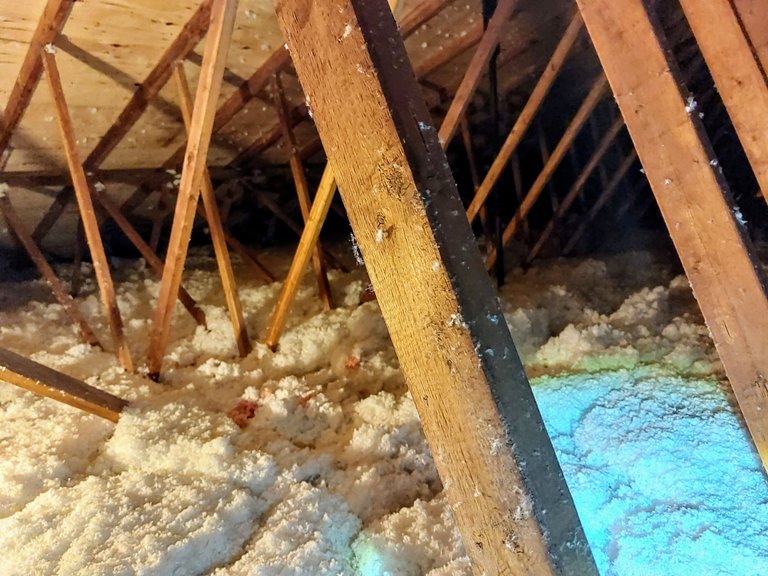
At first I used coat hangers to locate the holes I drilled in the ceiling but they ended up not being long enough to poke through the spray insulation or they wouldn't be strong enough to get through the batt. At one point I ended up in a different room of the house looking for a hole and really messing up the insulation consistency up there. It was infuriating and involved a lot of swearing. Later I started to use 6 foot sticks that I had and that worked way better.
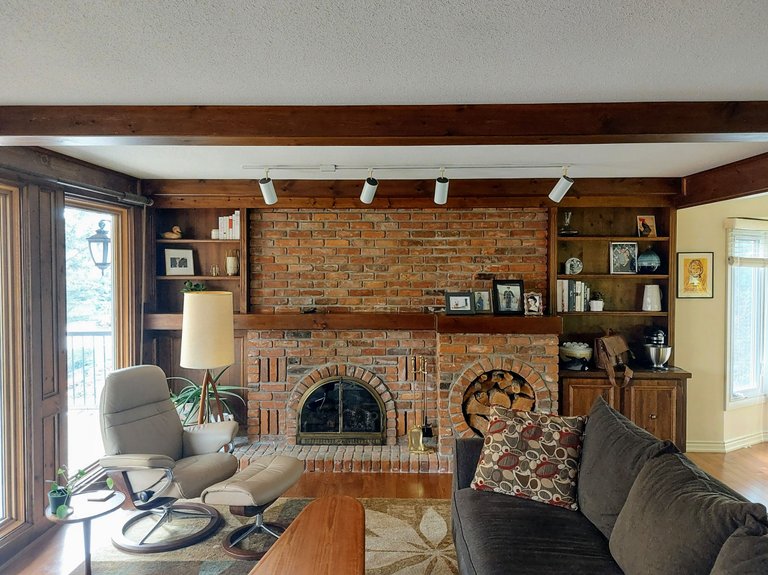
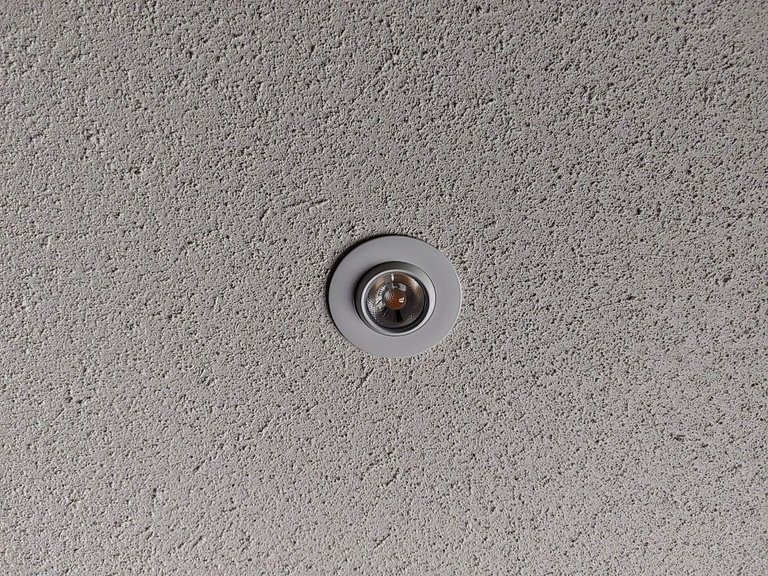
I messed around up there for a while and eventually got it all wired up. I installed the lights in the ceiling and then changed the dimmer switch to a newer model that could handle the new led lights.
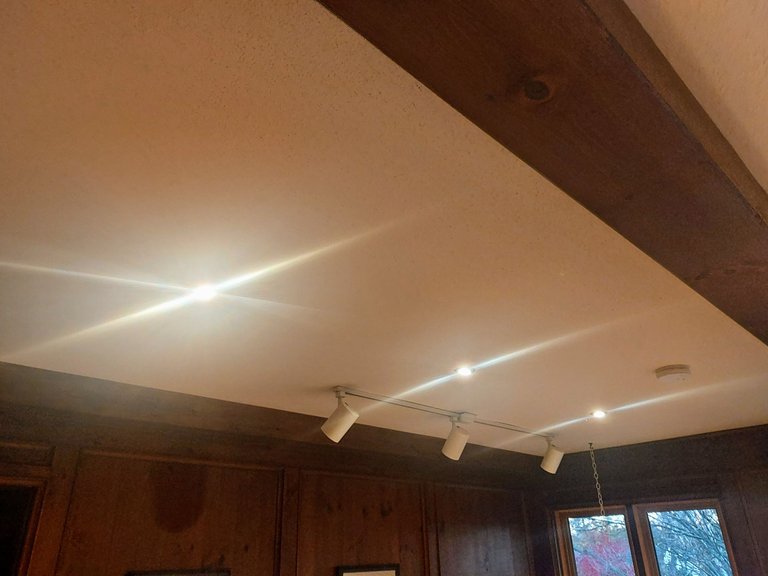
Taking photos of lights doesn't really work too well but as you can see we now have proper lighting in our living room.
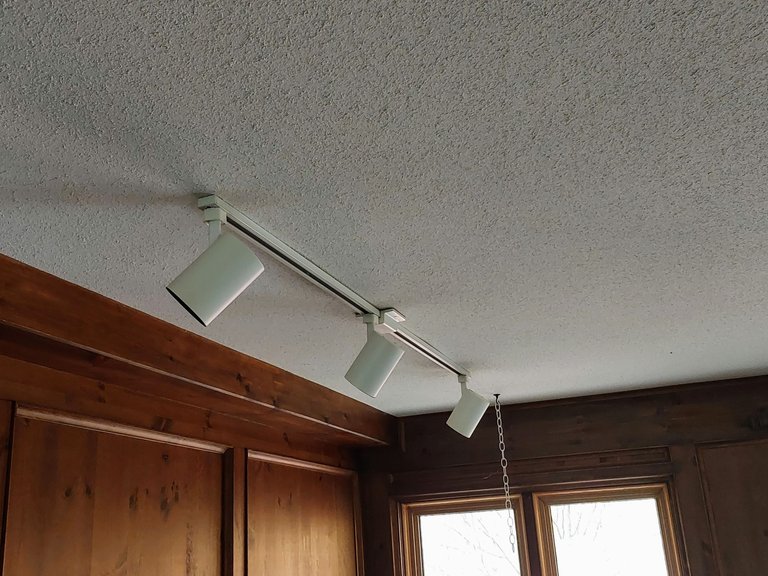
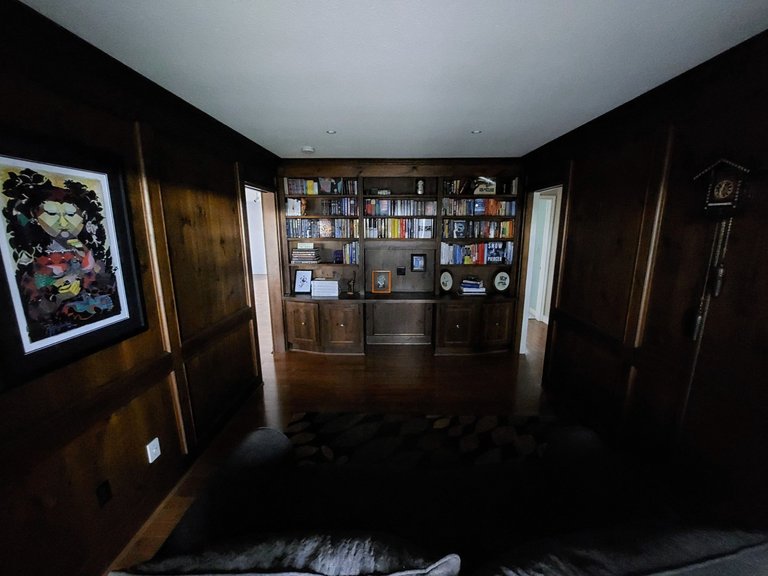
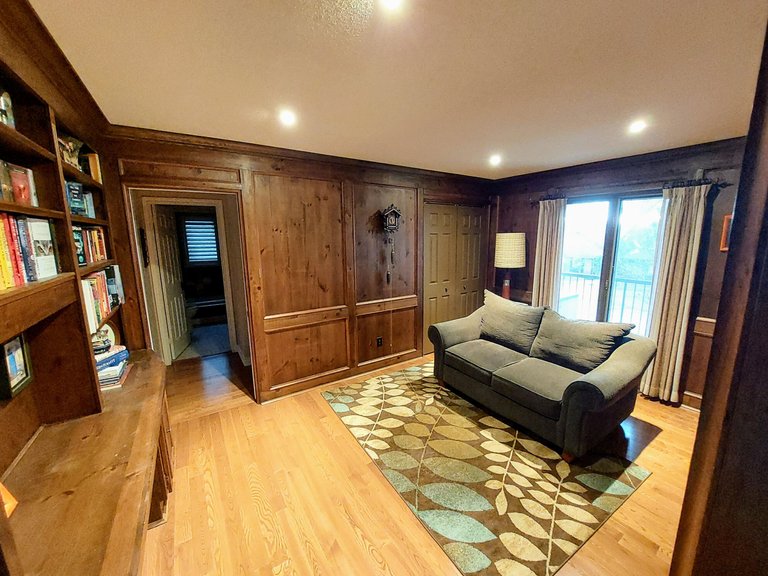
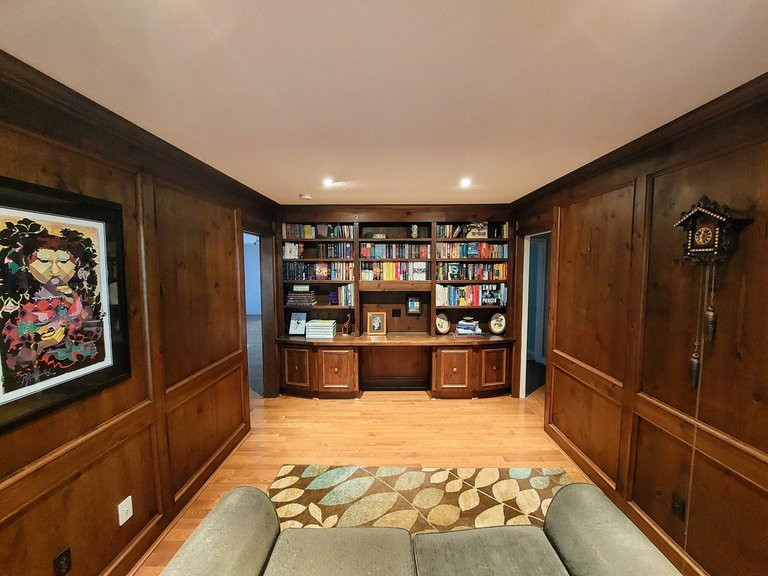
It all worked out so well that I decided to do the lights in our office, a room that is particularly dark during the day and pitch black at night.
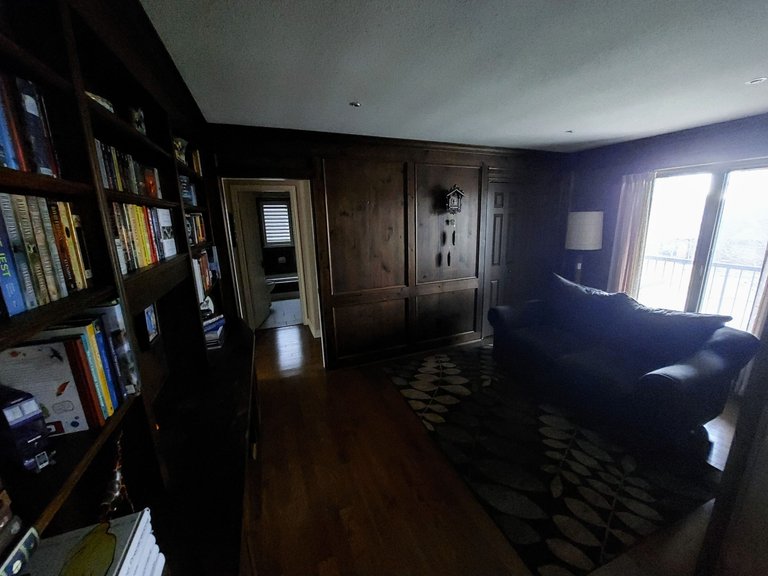
I went with white lights this time since the ceiling would remain white, but I used the adjustable ones again to point the light at the bookcase.
This job was way harder because there was no existing lighting to tie into and it required the installation on a 3 way switch.
The room is in the center of the house (ish) and has two doorways on either side of the room, so it needed a switch at each entrance. Nobody thought that I could do the 3 way switch and everybody tried to talk me out of it. They said to just put in one switch at one entrance but I was really against the idea of having to walk through a pitch black room in order to turn the light on there. It would defeat the purpose in my opinion.
After watching many many videos on the subject and conversing with many people I eventually figured it out. In the end the nay sayers fueled the fire for me to install the 3 way though. It was pissing me off that no one was agreeing with me that a switch needed to be on each side of the room and the more they said not to do it the more driven I was to prove them wrong. In the end I was right and I got it done, so in a way they did sort of help the situation.
The difference is unbelievable though - such a game changer for the room. What do you think?