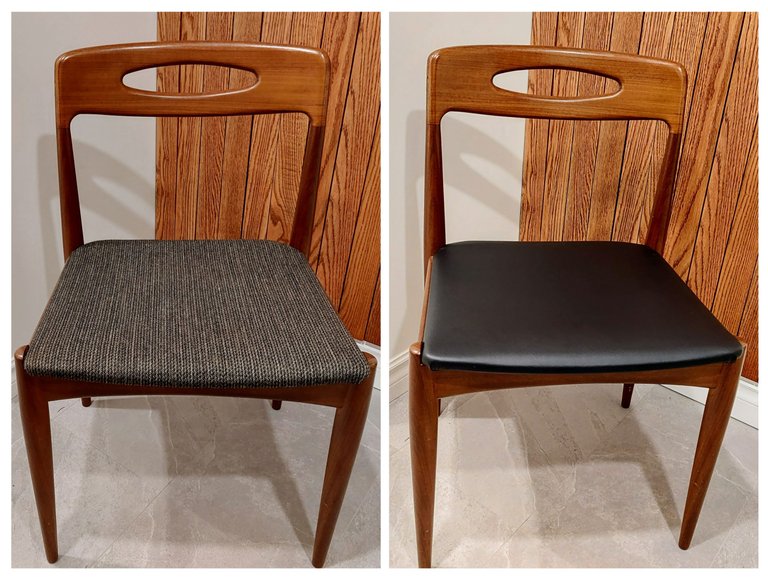
In general, I like to stay pretty busy, and I get bored pretty easily, especially on weekends. As such, I'm always looking for new projects to do for our house or something to pass the time. That said, let me sidestep a second and say that we used to use one of our dining room chairs in our mudroom and my wife really was not thrilled by that. In fact she was all but squirrely over it. To solve the issue we recently purchased a teak chair from an online auction to replace it, and another matching one for our main foyer. We like to have a place to sit down when putting on our shoes and boots, you see.
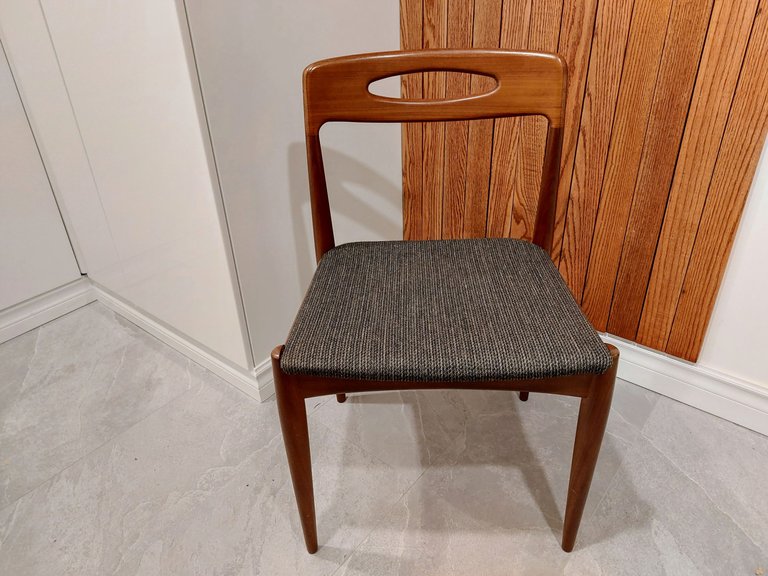
I wasn't entirely thrilled by the upholstery on the chair and I happen to really like the look of black vinyl with teak, like our diningroom chairs. It looks more mid-century modern to me, which is the sort of look that we are going for in our home.
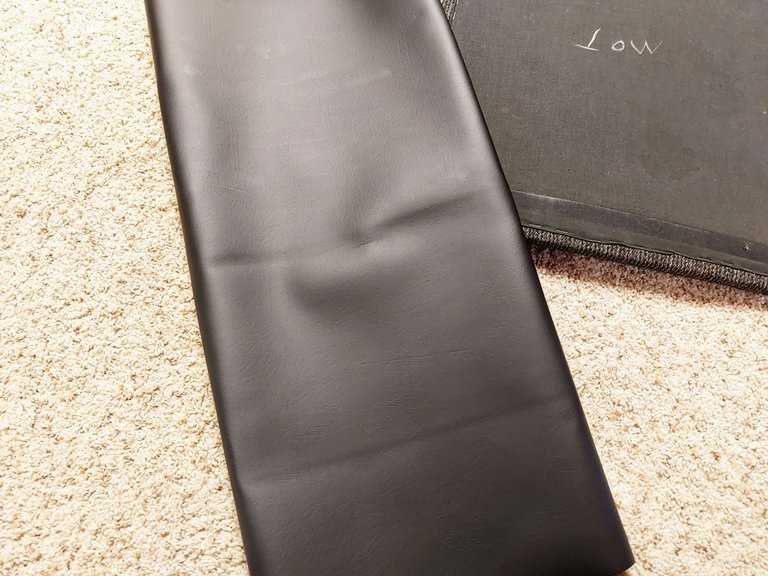
I obviously wasn't going to pay the exorbitant price that it cost to Re-upholstered a chair though, so I decided to give it a go myself. And that brings us back to the whole topic of doing a project at home. I bought some black vinyl from a fabric store for like $15 or so and decided to give it a shot myself. I figure, to have it done professionally, it would probably cost $100 or more. Just a guess.
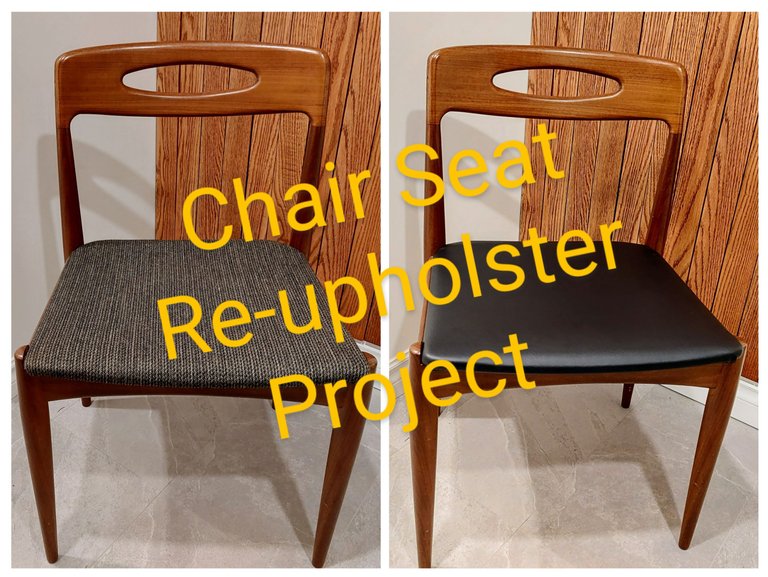
So let's take a look at what I did myself for a fraction of the cost, shall we?
Here is my weekend chair Seat Re-upholster project.
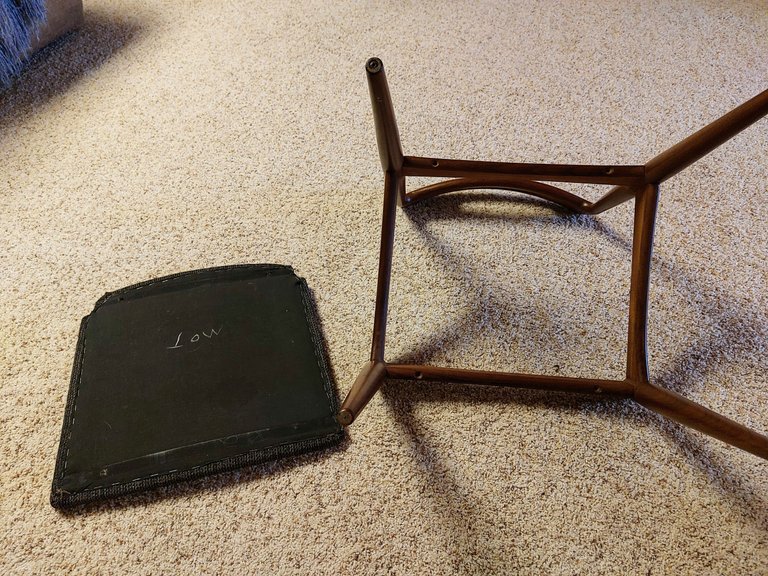
I started by removing the seat from the frame and cutting the vinyl roughly to the size of the seat.
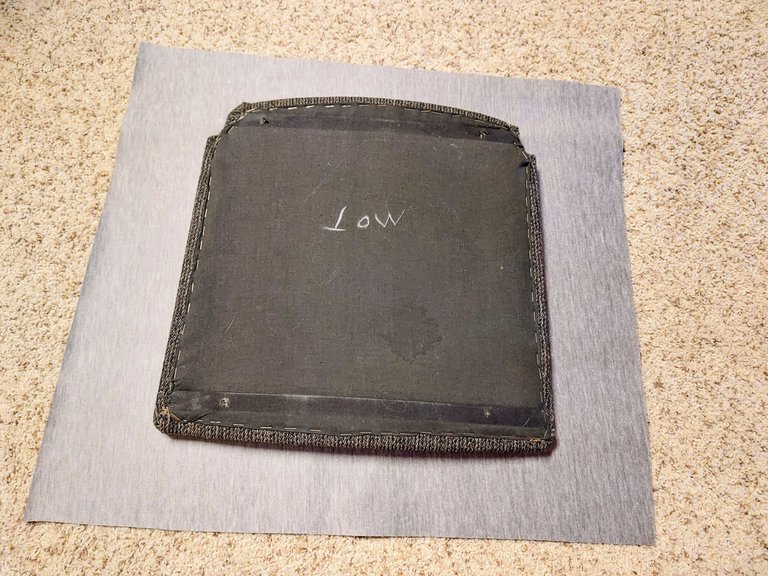
Next I stapled the vinyl in place with 4 staples along the edge.
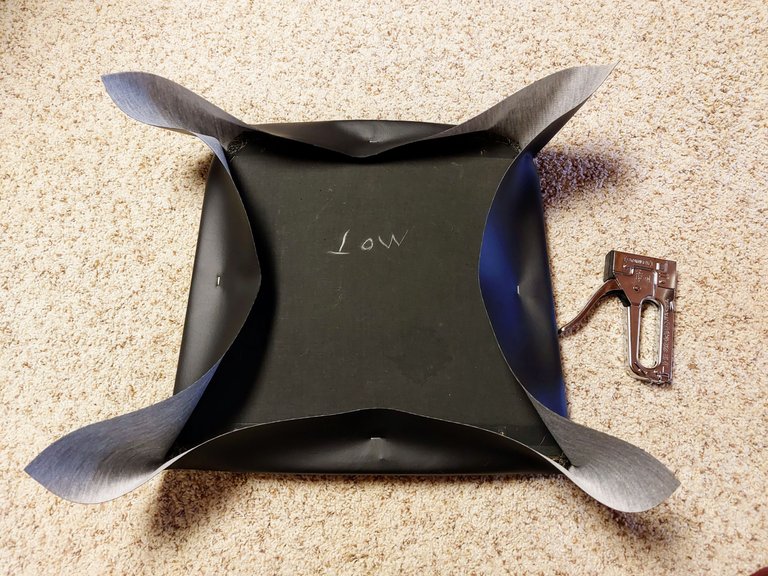
Then I trimmed off a little of the excess fabric.
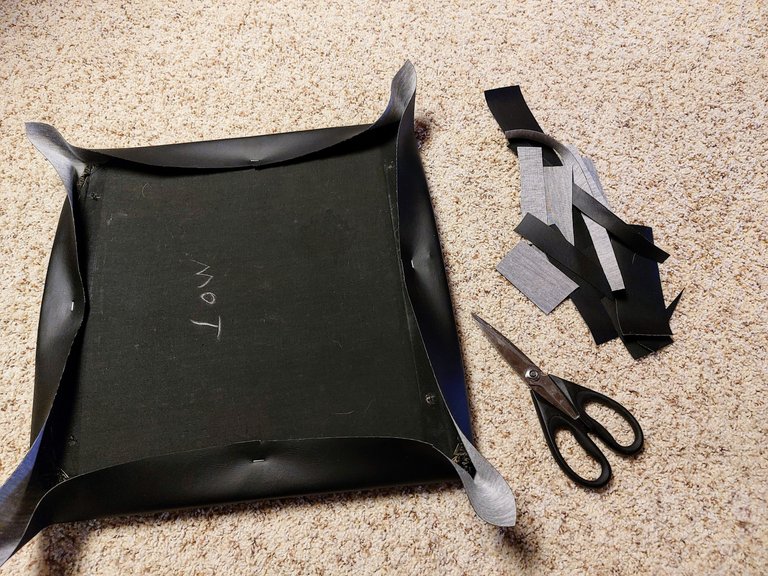
Starting from the center, I stapled my way to the corners, pulling the vinyl taut as I went.
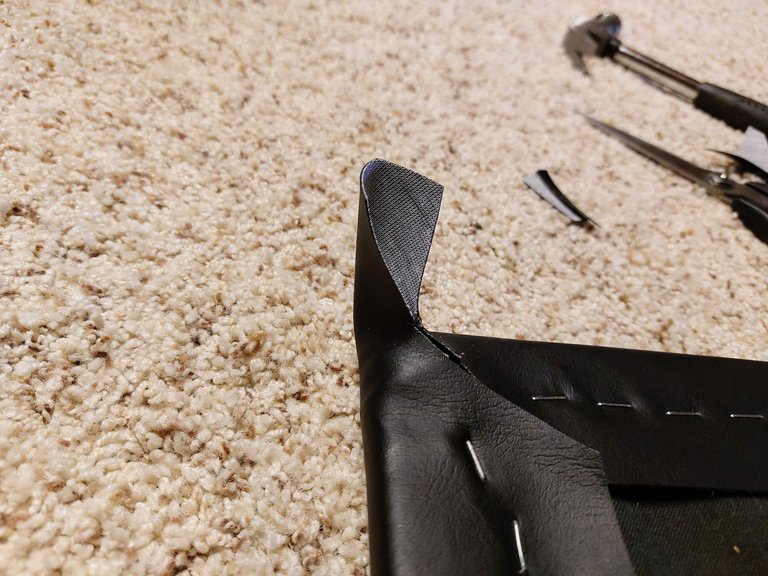
I made this cut at the end to the excess vinyl in the corners. I learned this from a video on. I trimmed some excess vinyl here as well, to avoid any fold lines that formed from too much fabric layered on top of itself. I used my judgement here.
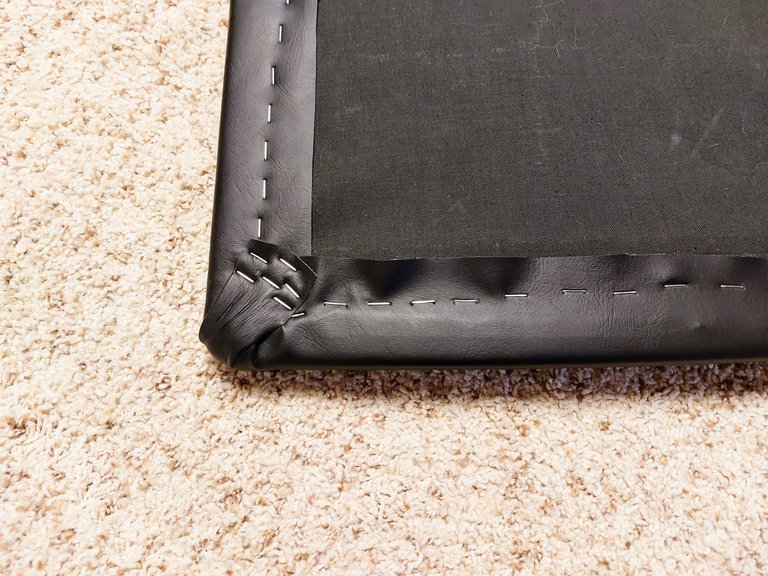
Next I pulled the corner down and stapled the crap out of it, shifting the vinyl in place as needed to avoid fold lines as much as possible.
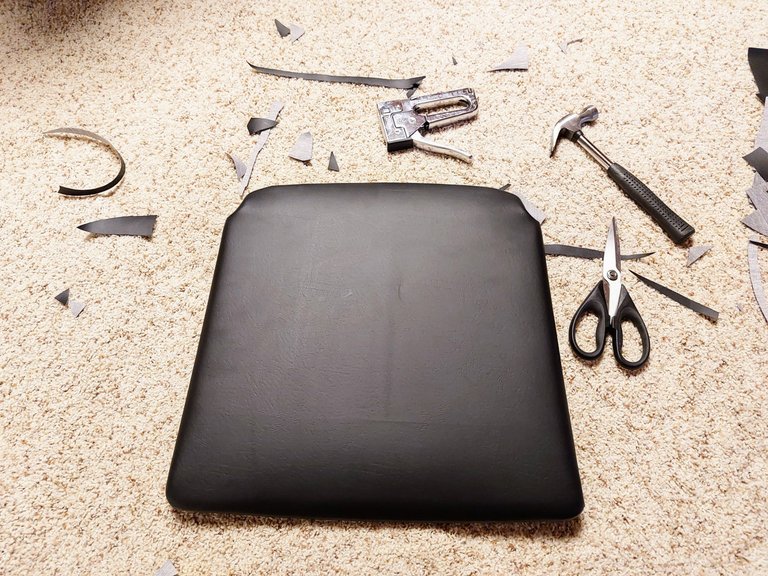
Here is the seat after folding all of the corners. One thing that I didn't do was add a new dust cover to hide the staple work. I could add one later though, if I decide to.
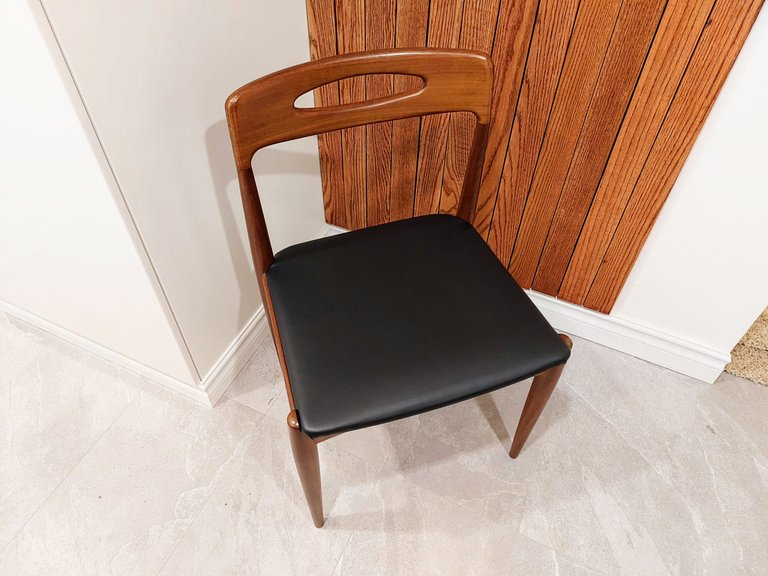
Here is the seat reattached to the chair and then another from a slightly different angle (why? Because I can't decide which photo I like best).
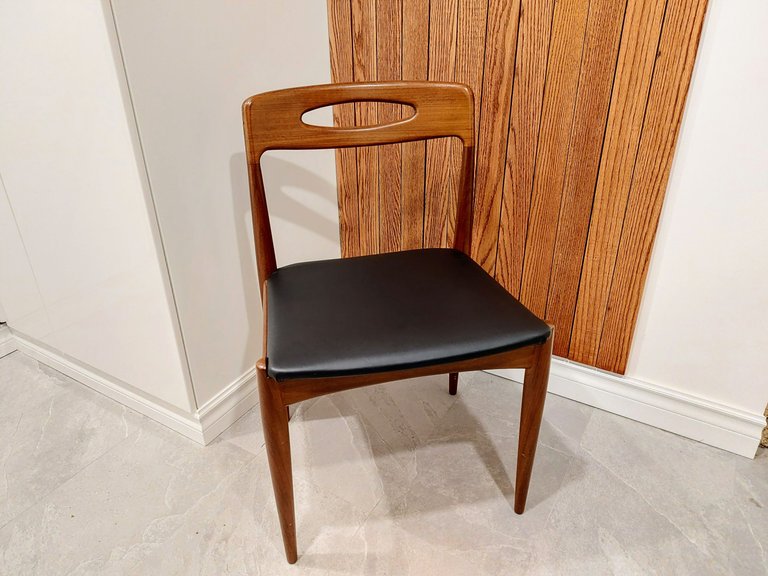
Lastly, here is a more clear before and after photo of the project. As you can see there really isn't a huge difference in the look since the previous material was dark to begin with. But the whole project took me only about 30 minutes or so and it cost me under $20, so I definitely think that the little change was worth it in the end. I'm pretty happy with the way that it turned out too so I may even do the same to the other chair that we have in the foyer. I have enough black vinyl to do it soooo, We'll see!
