¡Muy buenos días comunidad !💫☕ Espero se encuentren de maravilla y tengan una excelente semana.
Hoy no les voy a compartir ninguna receta porque el fin de semana mi hijo y yo estuvimos full con las actividades escolares.
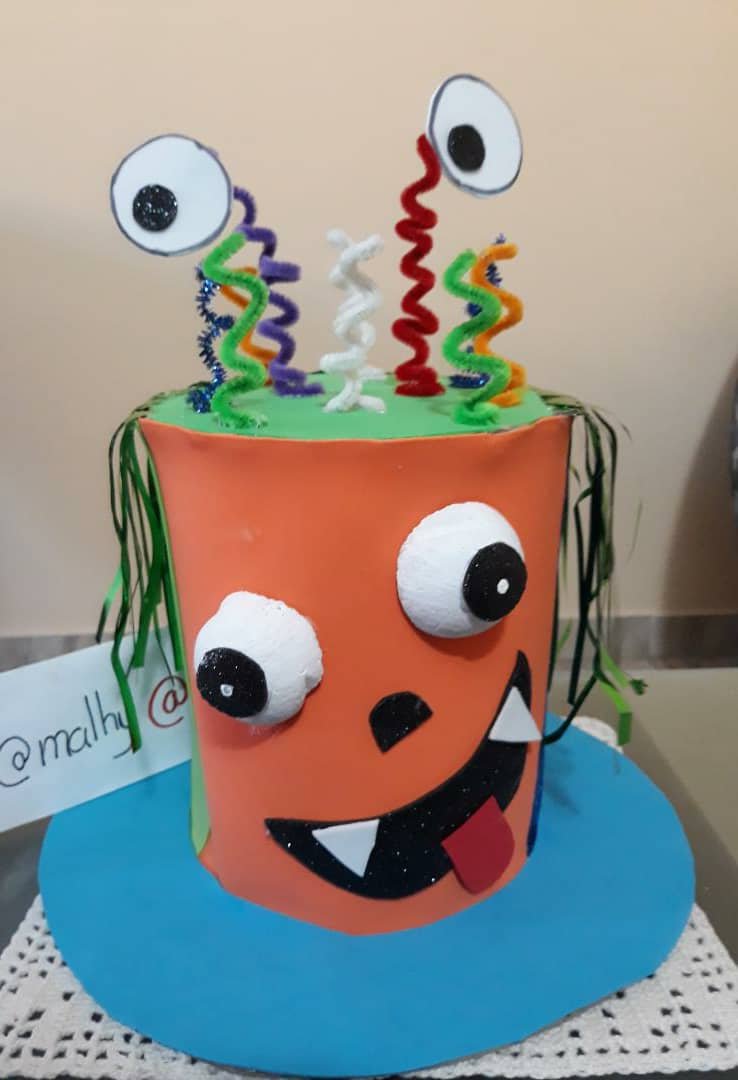
Entre las regulares y unas especiales como la elaboración de una tarjeta por el día del amor y la amistad y la realización de un sombrero loco para darle la bienvenida al carnaval🎭
Por lo que toco ponernos creativos y comprar materiales para dicha elaboración, le haré un resumen del proceso.
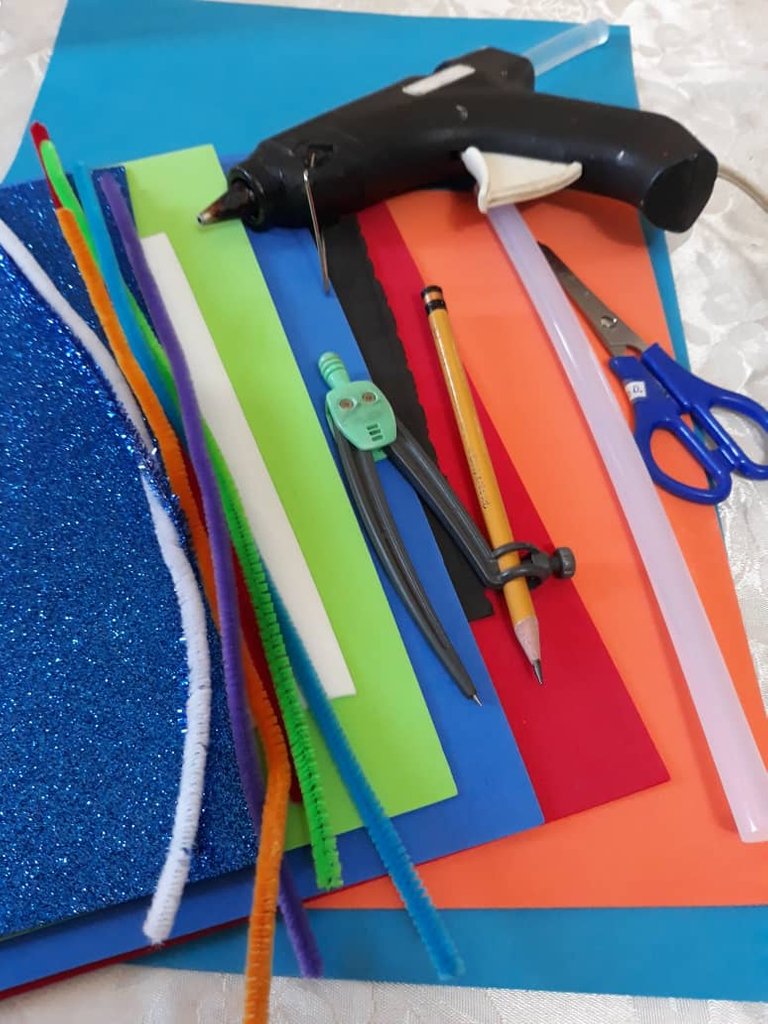
Materiales📝:
● Foami o goma Eva de colores
● Silicon en barra
● ✂️Tijeras
● Chenil o limpia pipas de colores
●🔫 Pistola de Silicon
● Cartón
● Lápiz
● Compás
● Bolita de anime
● Tiras de cortinas metalizada (opcional)
● 📏 Regla
Procedimiento:
1.- Organizamos los materiales y seleccionamos los colores del sombrero.
Very good morning community! 💫☕ I hope you are feeling great and have an excellent week.
Today I am not going to share any recipe with you because over the weekend my son and I were full with school activities.
Between the regular ones and some special ones like making a card for the day of love and friendship and making a crazy hat to welcome the carnival🎭.
So we had to get creative and buy materials for the elaboration, I will make a summary of the process.
Materials📝:
● Foami or colored eva rubber.
● Silicon stick
● ✂️Tijeras
● Chenille or colored pipe cleaner.
●🔫 Silicon gun.
● Cardboard
● Pencil
● Compass
● Anime ball
● Metallized curtain strips (optional).
● 📏 Ruler
Procedure:
1.- We organize the materials and select the colors of the hat.
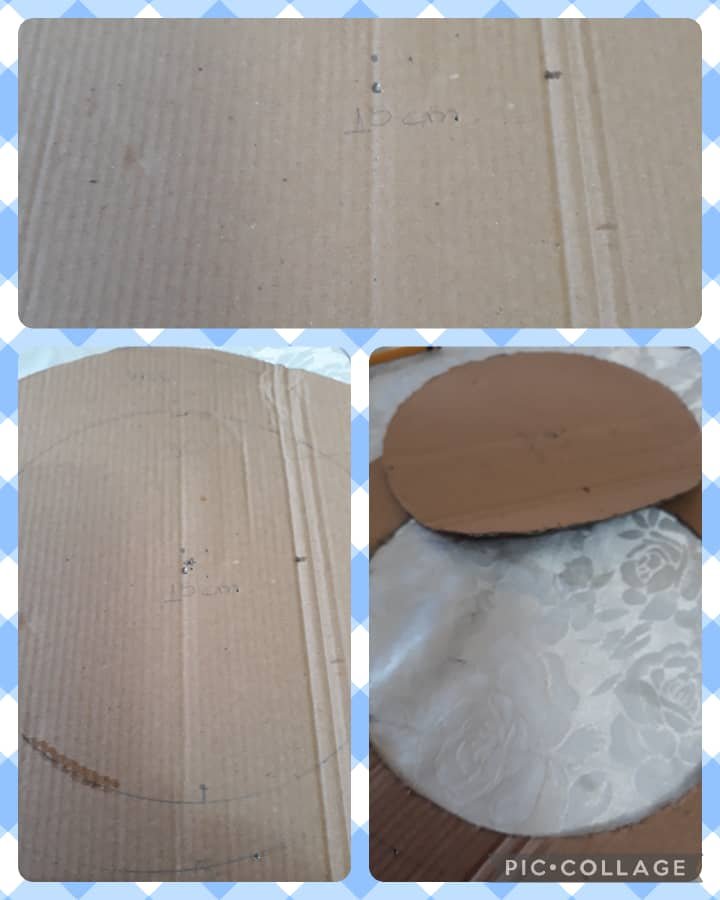
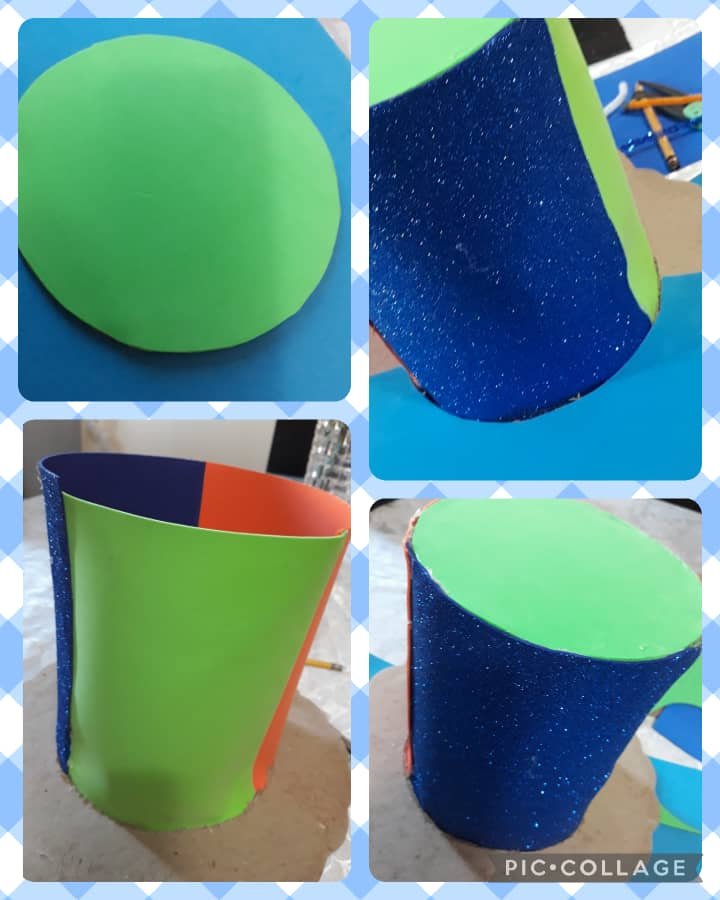
2.- Hacemos una Circunferencia de 30 cm y luego un círculo interno de 15 cm, el cual puede variar por el niño que lo utilizará y cortamos✂️
2.- We make a circle of 30 cm and then an inner circle of 15 cm, which can vary according to the child who will use it and cortamos✂️.
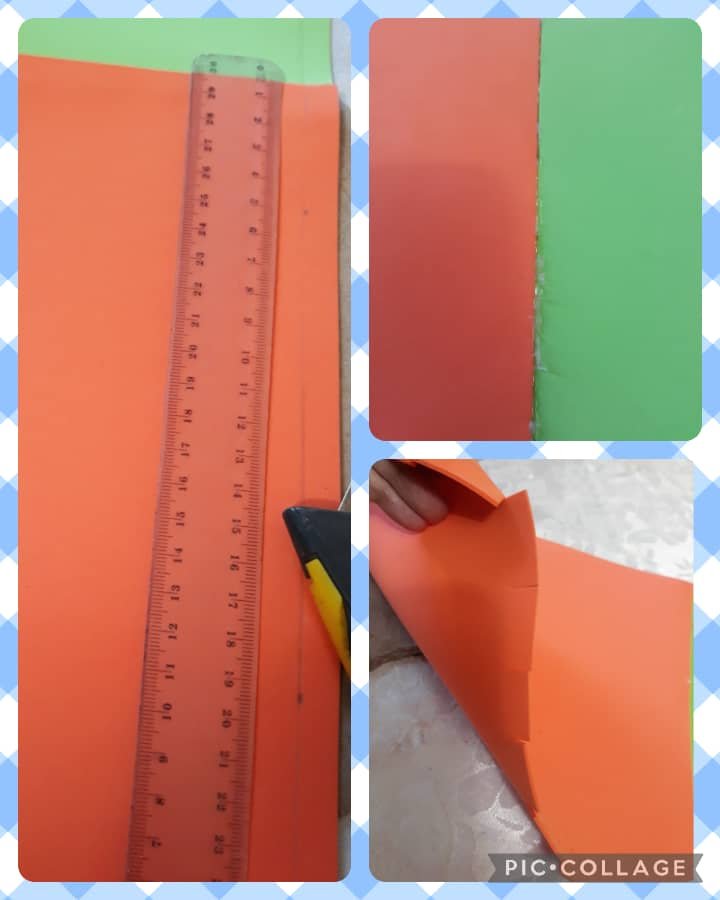
3.- Pegamos las hojas de foami por los laterales, en este caso utilice naranja, verde y azul. Luego en la parte inferior medimos 1 centímetro con la regla, marcamos y cortamos.
3.- Glue the foami sheets on the sides, in this case use orange, green and blue. Then at the bottom we measure 1 centimeter with the ruler, mark and cut.
4.- Forramos los círculos, por error yo no hice este paso primero y después me costó un poco pegar el foami para forrar el círculo base. Luego pegamos los foami que darán la altura del sombrero y finalizamos pegando el círculo más pequeño.
4.- Line the circles, by mistake I didn't do this step first and then it was a little difficult to glue the foami to line the base circle. Then we glue the foami that will give the height of the hat and we finish by gluing the smallest circle.
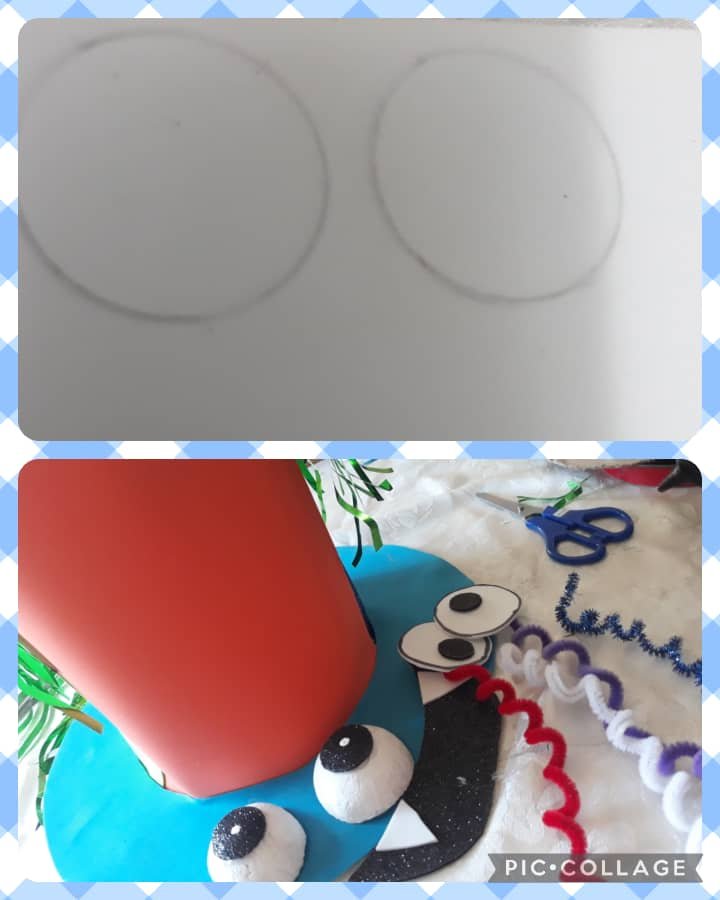
5.- Con el sombrero ya armado, hacemos la parte decorativa como la boca, lengua, nariz, dientes, y ojos. Corte la bola de anime por la mitad y le coloque unos curcirculo pequeños para los ojos de la cara, también hice otro par con foami para la parte superior.
5.- With the hat already assembled, we make the decorative part like the mouth, tongue, nose, teeth, and eyes. Cut the anime ball in half and put some small circles for the eyes of the face, I also made another pair with foami for the upper part.
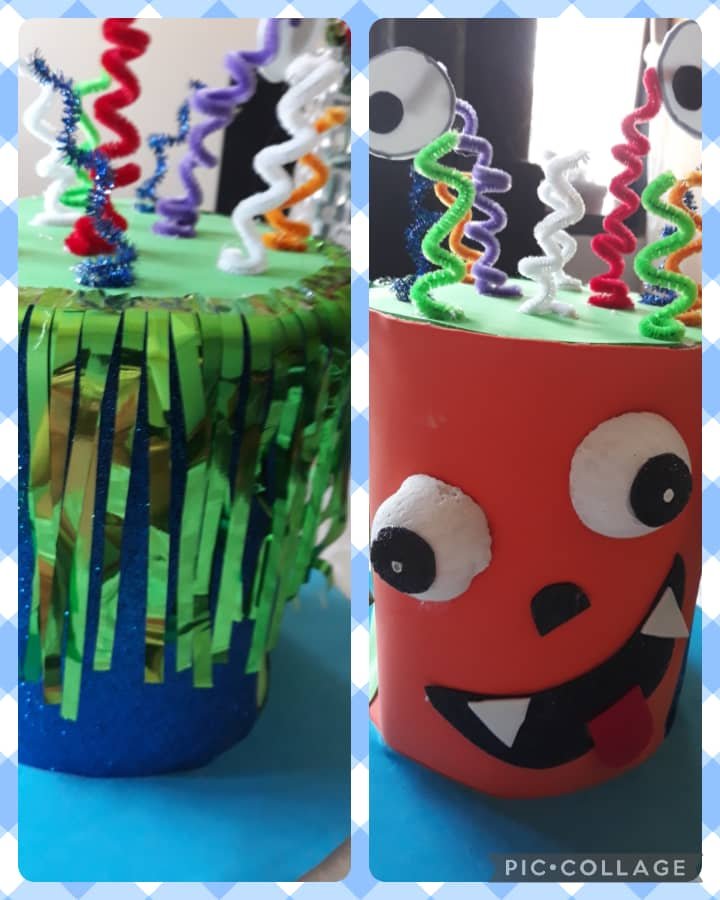
6.- Pegamos los ojos, nariz y boca. Después corte varias tiras de una cortina metalizada y las pegue para simular el cabello. Para finalizar le di forma a los juveniles y los pegué en la parte superior del sombrero con los ojos de foami.
6.- Glue the eyes, nose and mouth. Then I cut several strips of a metallic curtain and glued them to simulate the hair. Finally I shaped the juveniles and glued them to the top of the hat with the foami eyes.
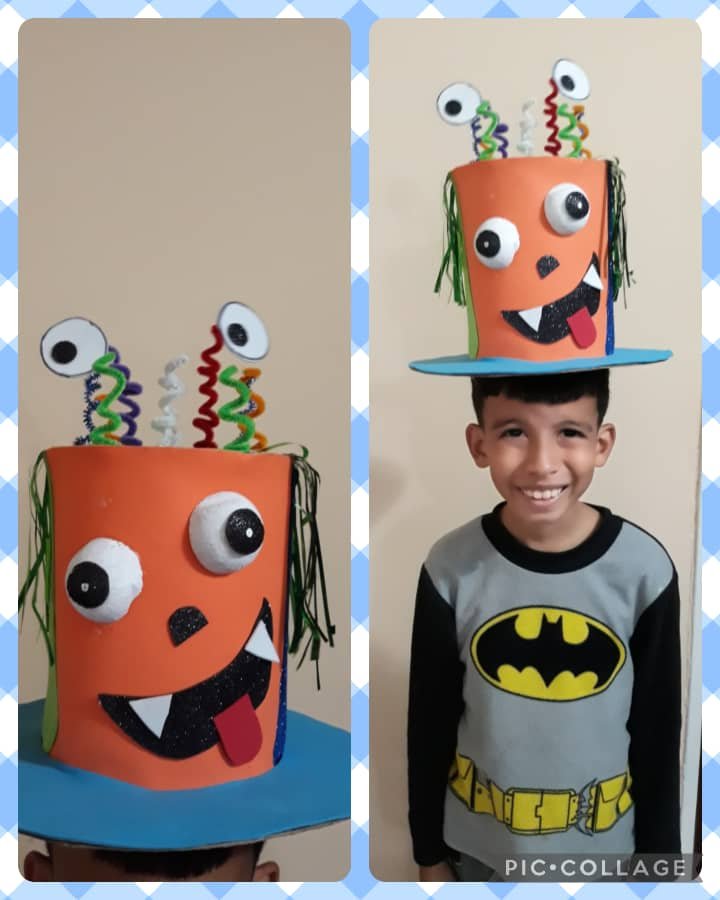
Así finalizamos con la elaboración del sombrero loco. Mi hijo quedo muy contento con el resultado final.
Thus we finished with the elaboration of the crazy hat. My son was very happy with the final result.
¡Gracias por acompañarme hasta aquí y será hasta el próximo post!💫💜
Las imágenes fueron tomadas por mi con un Samsung J5 Pro, el texto lo traduje con la página llamada DeepL.com y las imágenes las edite con la aplicación llamada Pic-Collage.
Thanks for joining me here and it will be until the next post!💫💜
The images were taken by me with a Samsung J5 Pro, the text I translated with the page called DeepL.com and the images I edited with the application called Pic-Collage.
DeepL.com