
Spanish
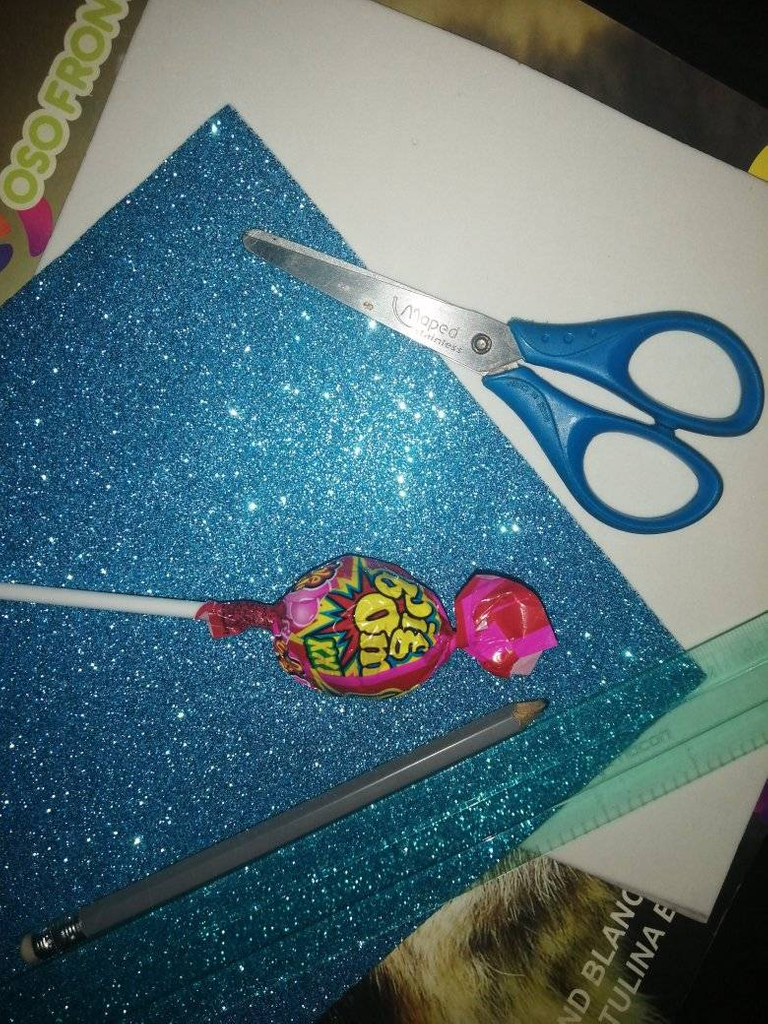
Materiales:
Foami azul
Escarchado y blanco
Tijera Cinta de color blanco
Silicón en barra
Regla
Lápiz
1 Chupeta
2 bombones de chocolate
English
Materials:
Blue Foami
Frosted and white
Scissors White tape
Silicone stick
Ruler
Pencil
1 lollipop
2 chocolate bonbons

Spanish
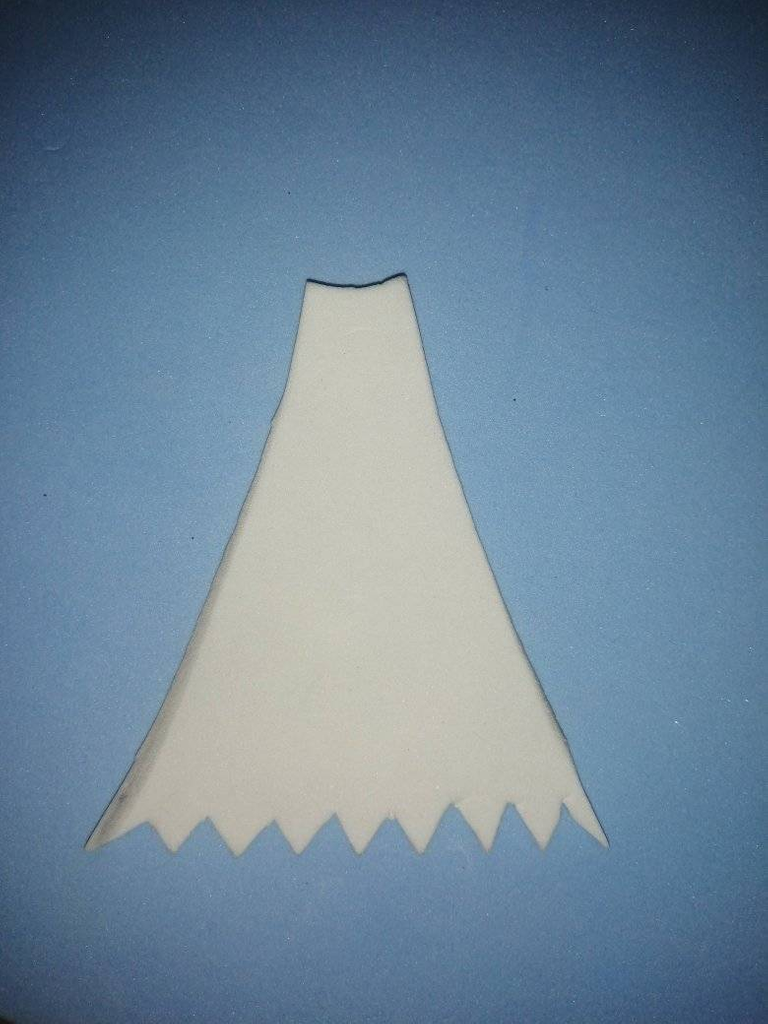
Primero dibujamos en el foami blanco la forma de la vestimenta del Angelito, cabe destacar que se dibuja dos veces el mismo patrón, con un largo de 7 cm por un ancho de 5 cm, también puede ser más grande, todo depende del contenido que quiera llevar el angelito, se recorta con la tijera y ya queda preparada la vestimenta de nuestro dulce angelito.
English
First we draw on the white foami the shape of the angel's clothing, note that the same pattern is drawn twice, with a length of 7 cm by a width of 5 cm, it can also be larger, it all depends on the content you want to take the angel, cut with scissors and is already prepared the clothes of our sweet angel.
Spanish
Teniendo listo eso, iniciamos con las alas en el foami azul escarchado, hacemos dos veces el mismo patrón, procedemos a recortar y listo. Con una pequeña cinta delgada de color blanco de aproximadamente 10 cm procedemos a hacer lo que le llamamos un lazo.
English
Having that ready, we start with the wings on the frosted blue foami, we make the same pattern twice, proceed to cut out and that's it. With a small thin white ribbon of approximately 10 cm we proceed to make what we call a bow.

Spanish
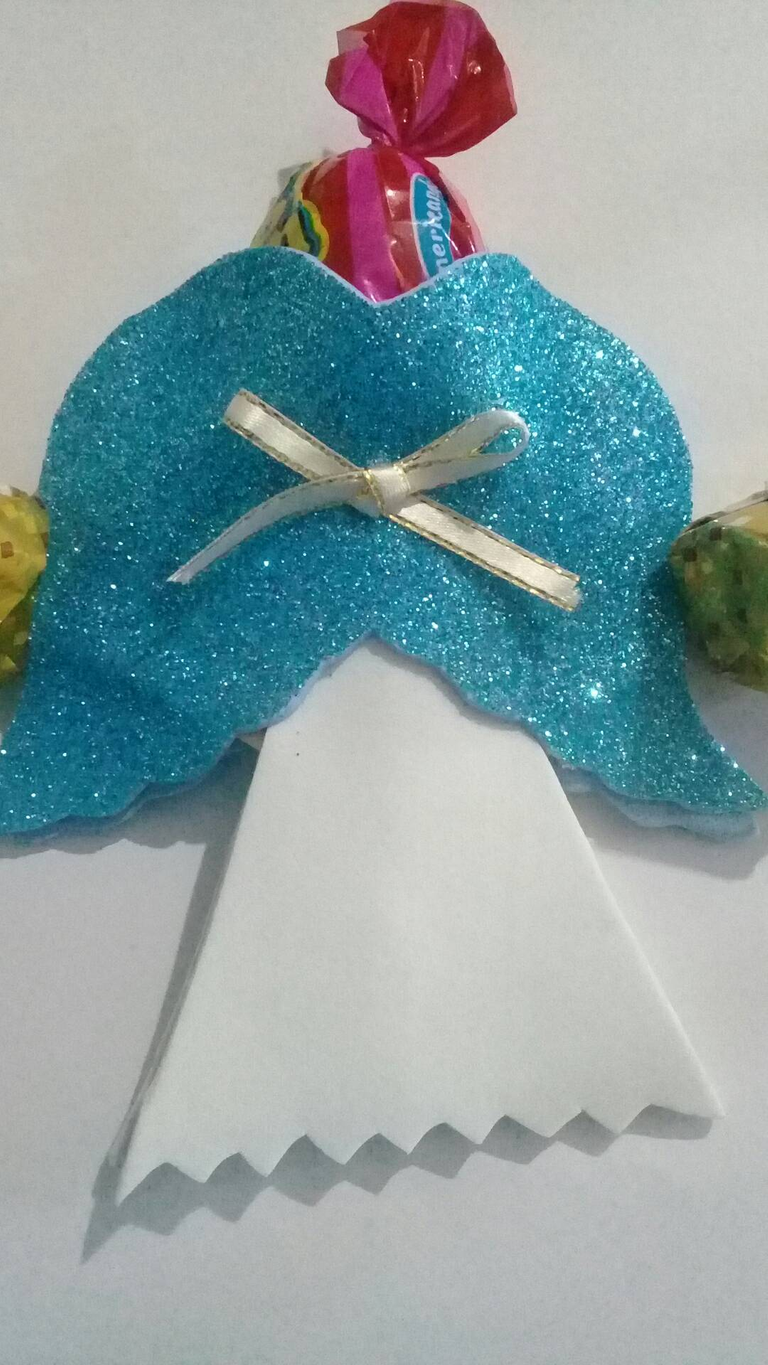
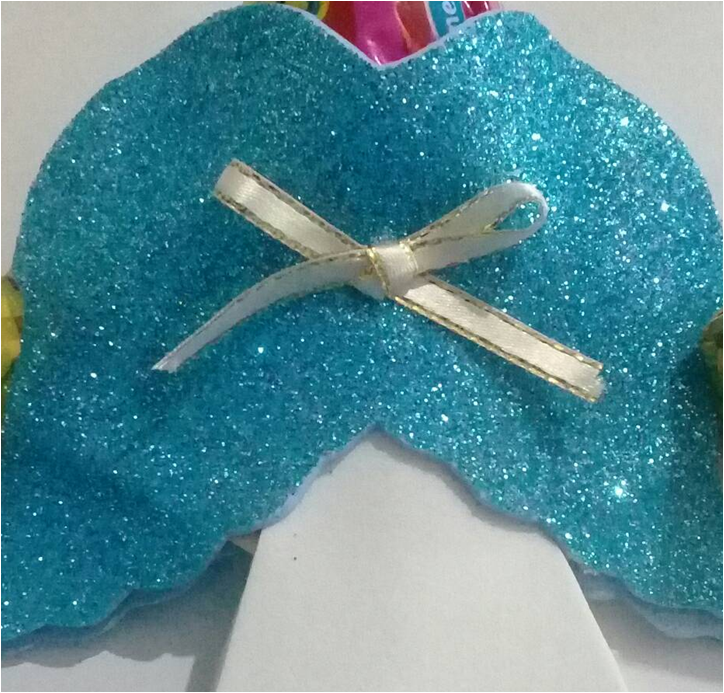
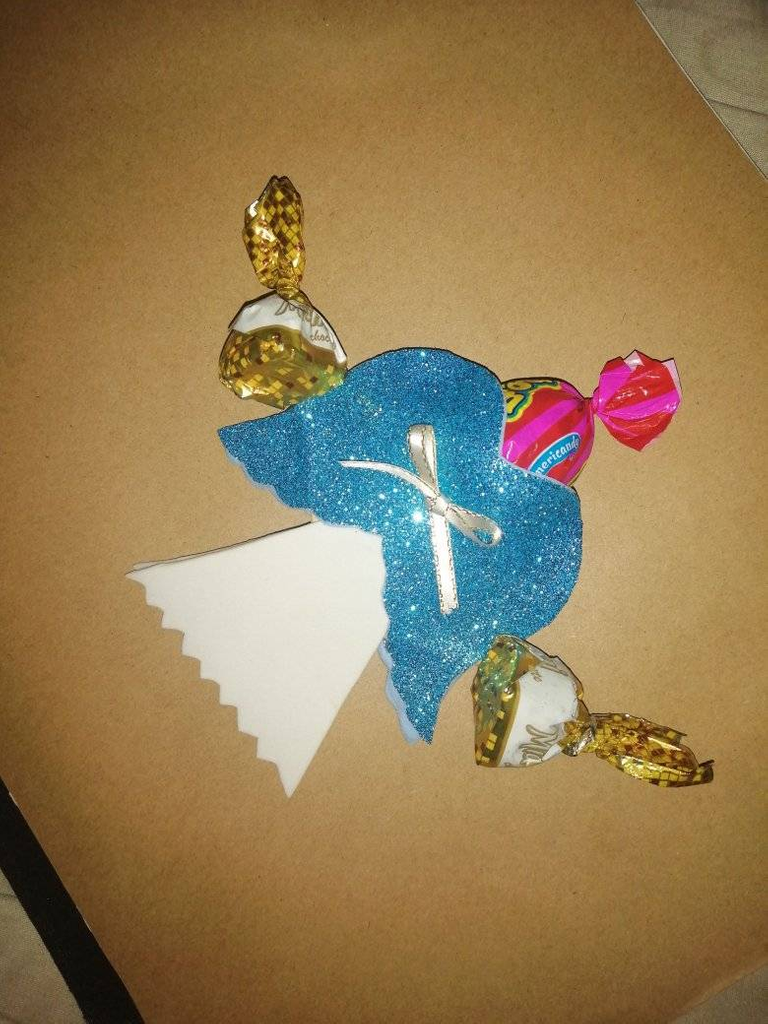
Iniciamos con el armado del dulce angelito Agarramos los Dos patrones blancos de la vestimenta del angelito y pegamos con silicón cara con cara por toda la orilla del patrón para así formar un vestido, asimilándose a un bolsillo donde quedara introducida la chupeta. Hacemos lo mismo con las alas, las pegamos cara con cara con el silicón y las colocamos por encima de la vestimenta del angelito quedando así cómo está imagen. Ya teniendo el angelito armado, agarramos el lazo previamente realizado y se lo pegamos a lo que será la espalda del angelito. Introducimos la chupeta por el medio de las alas y la vestimenta y a los lados colocamos los dos bombones de chocolate y así queda listo nuestro dulce angelito para ser obsequiado a algún familiar o amistad. Gracias por visitar mi post, espero les guste!
English
We start with the assembly of the sweet little angel. We take the two white patterns of the angel's dress and we glue face to face with silicone all around the edge of the pattern to form a dress, similar to a pocket where the lollipop will be inserted. We do the same with the wings, we glue them face to face with the silicone and we place them over the angel's dress, thus forming the image below. Once the angel is assembled, we take the bow previously made and glue it to what will be the angel's back. We introduce the lollipop in the middle of the wings and the dress and on the sides we place the two chocolate bonbons and our sweet little angel is ready to be given as a gift to a family member or friend. Thanks for visiting my post, I hope you like it!


¡Gracias por leer mi publicación!
Imágenes de mi propiedad
Texto traducido en profundidad.
Conversor de letra 3D
Baner y separadores hechos en Power Point

