
¡Hola mis hermosos lectores!
Un cordial saludos mis bellos lectores, un placer poder compartir este nuevo post con ustedes realizado con mucho amor .
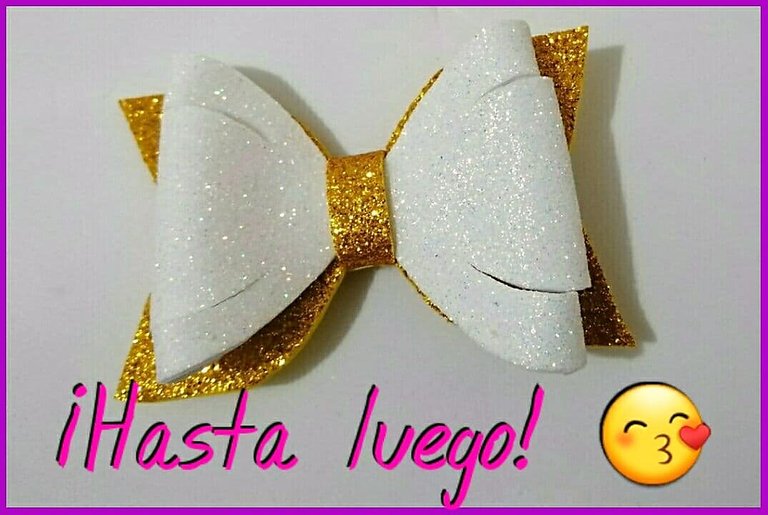
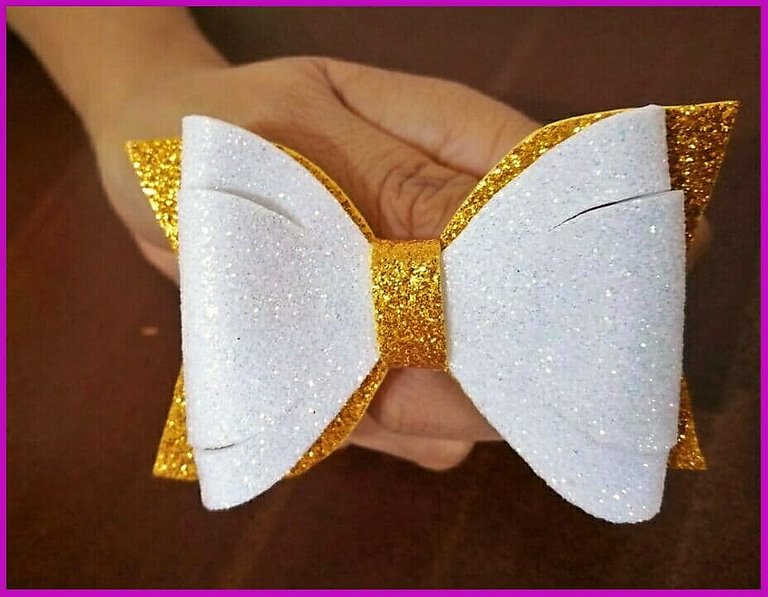
Para el día de hoy les traigo un lindo lazo hecho con foami en dos tonos dorado y blanco, midiendo la base 7cm de ancho y 5cm de alto y el lazo principal de 12cm de ancho y 6cm largo. Un modelo muy divertido y bastante coqueto, no esperemos más y vayamos al paso a paso.
⇣⇣⇣⇣⇣⇣⇣⇣⇣⇣⇣⇣⇣⇣⇣⇣⇣⇣⇣⇣⇣⇣⇣⇣⇣⇣⇣⇣⇣⇣⇣⇣⇣⇣⇣⇣
Hello my beautiful readers!
Kind regards my beautiful readers, a pleasure to be able to share this new post with you made with much love.
For today I bring you a beautiful bow made with foami in two tones of gold and white, measuring the base 7cm wide and 5cm high and the main bow 12cm wide and 6cm long. A very fun and pretty cute model, let's not wait any longer and go step by step.
⇣⇣⇣⇣⇣⇣⇣⇣⇣⇣⇣⇣⇣⇣⇣⇣⇣⇣⇣⇣⇣⇣⇣⇣⇣⇣⇣⇣⇣⇣⇣⇣⇣⇣⇣⇣

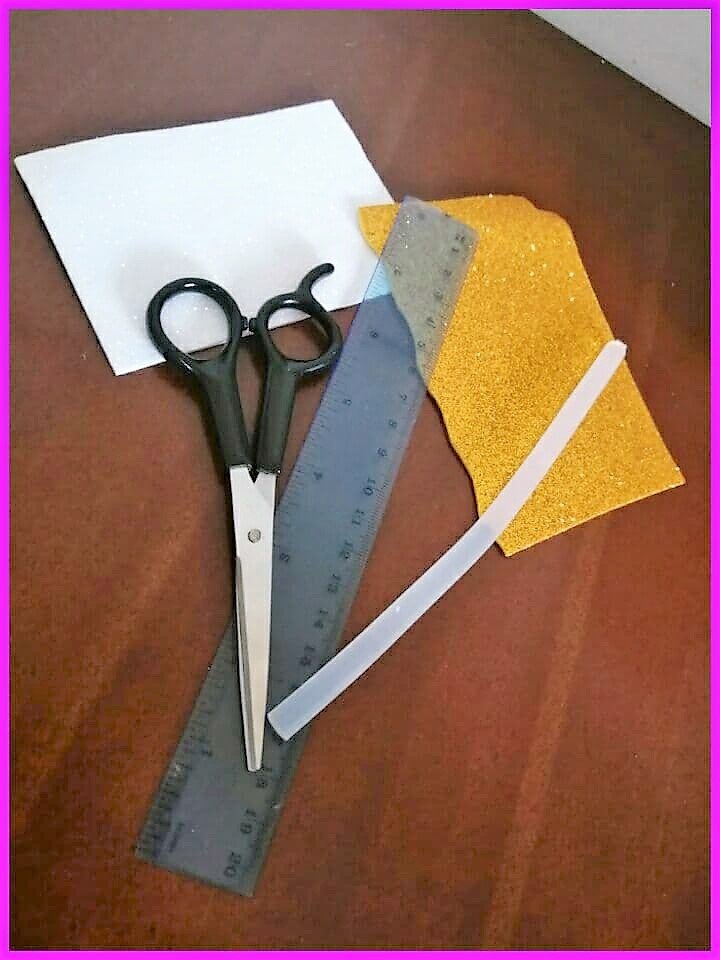
Materiales:
- Foami escarchado.
- Tijera.
- Silicona.
- Regla.
- Lápiz.
Materials
- Frosty foam.
- Scissor.
- Silicone.
- Rule.
- Pencil.

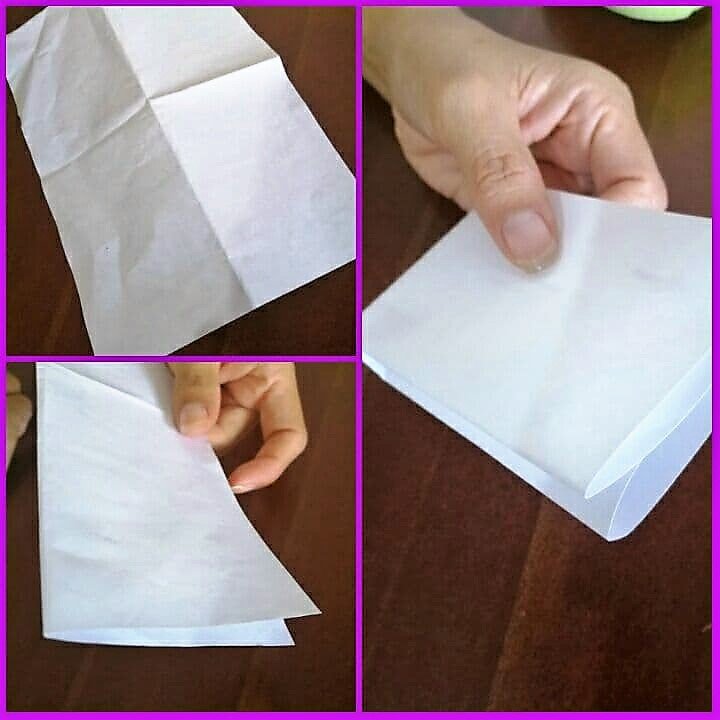
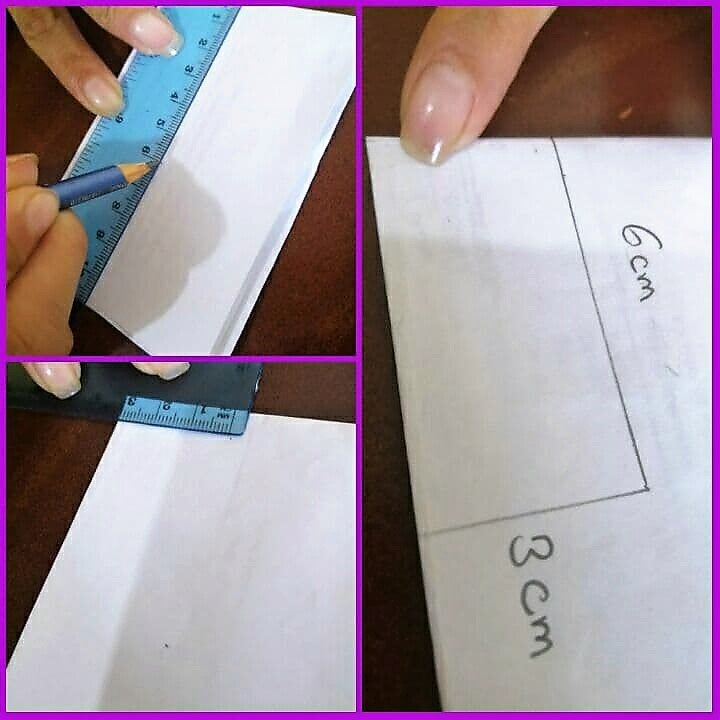
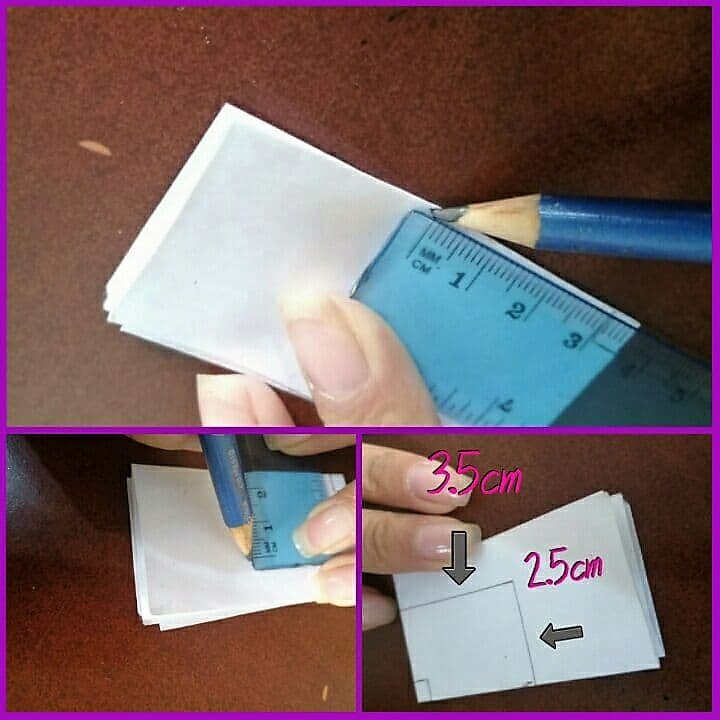
Para comenzar tomé una hoja de reciclaje y lo doblé en 4 partes.
To start I took a recycling sheet and folded it into 4 parts.

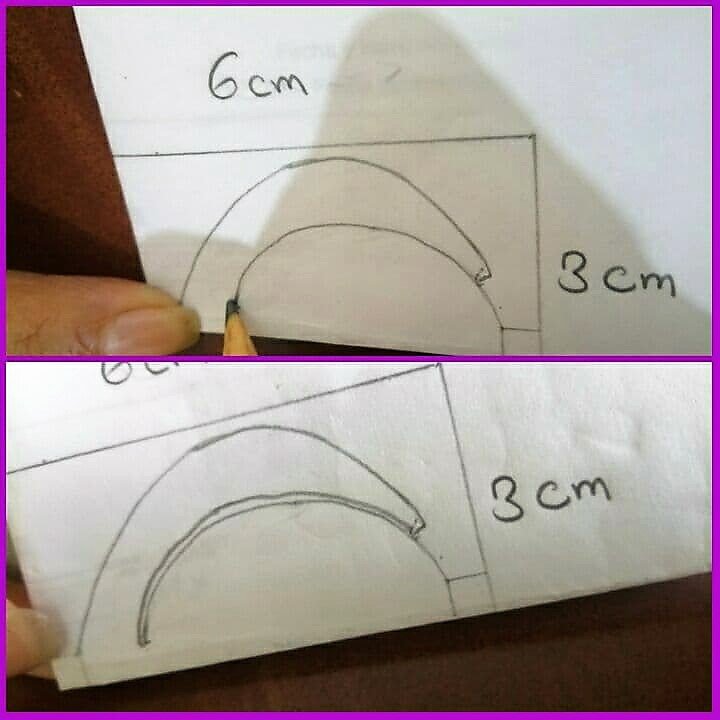
Usé este papel para medir solo la mitad de los cm del lazo principal, para esto realice un rectángulo de 6cm de ancho y 3cm de alto.
I used this paper to measure only half the cm of the main loop, for this I made a rectangle 6cm wide and 3cm high.

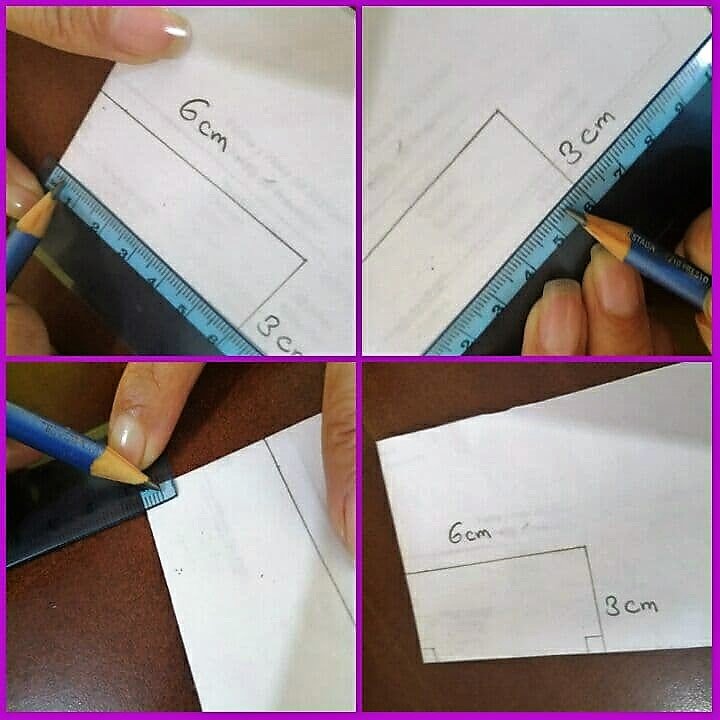
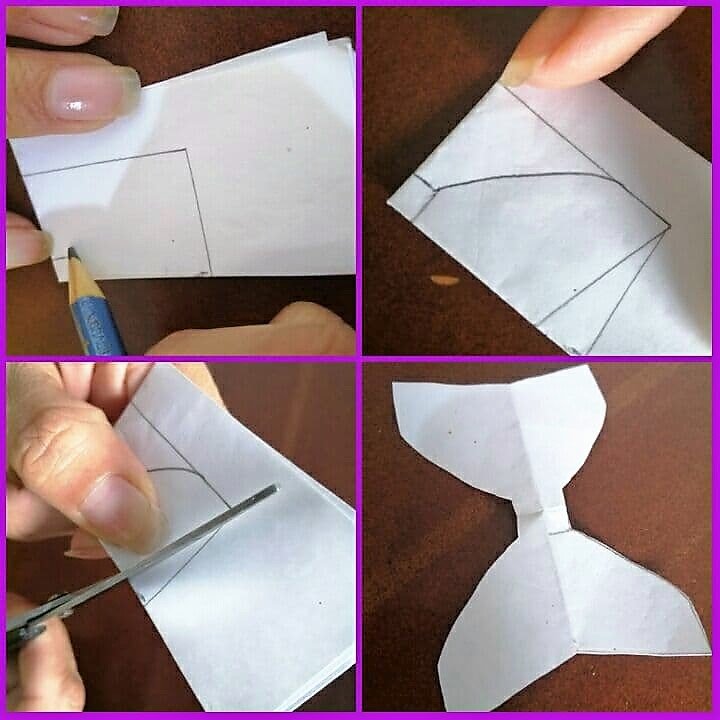
En la parte inferior del rectángulo tomé medidas de 1/2 cm de ancho y 1/2 de largo para ambos lados.
At the bottom of the rectangle I took measurements of 1/2 cm wide and 1/2 long for both sides.

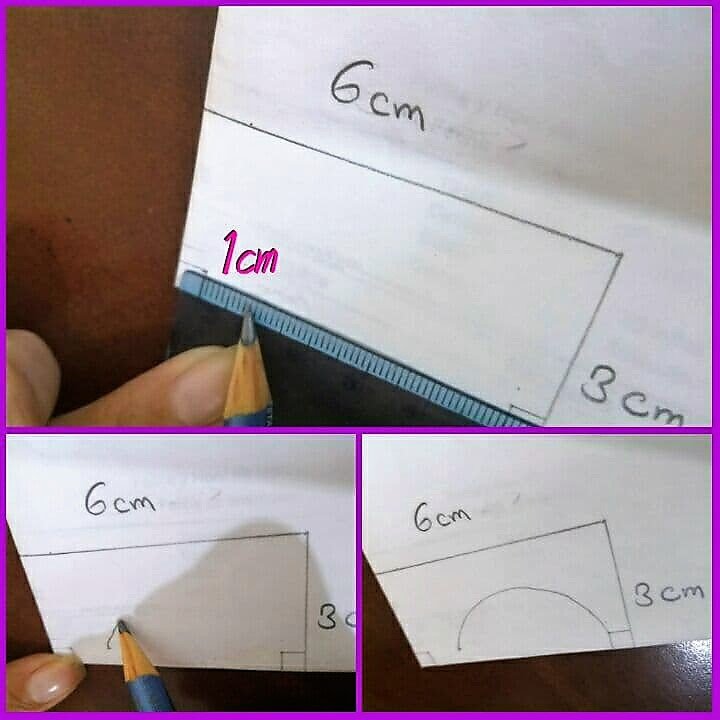
Del lado derecho justo donde termina el 1/2cm de ancho le agregué 1cm más, donde marca este 1cm tracé una línea de forma ovalada hasta el otro punto que se encuentra en la parte izquierda.
On the right side just where the 1 / 2cm width ends I added 1cm more, where this 1cm marks I traced an oval-shaped line to the other point that is on the left side.

Acá en el lado izquierdo comencé desde el lateral del 1/2cm medí 1cm de manera diagonal. Así como lo refleja la imagen. Ya marcado hacemos otra lineal ovalada midiendo Aproximadamente 1.5cm de ancho.
Here on the left side I started from the 1 / 2cm side I measured 1cm diagonally. As reflected in the image. Already marked we make another oval linear measuring approximately 1.5cm wide.
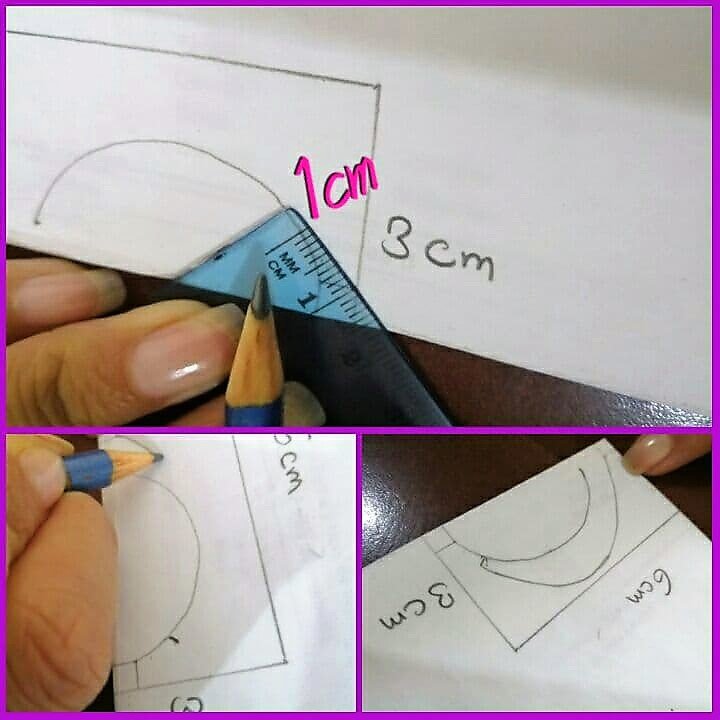

Formé otra línea pero esta más delgada, no mide mas de 1/2cm. Es para separar las pestañas del lazo.
I made another line but it is thinner, it does not measure more than 1 / 2cm. It is to separate the lashes from the loop.

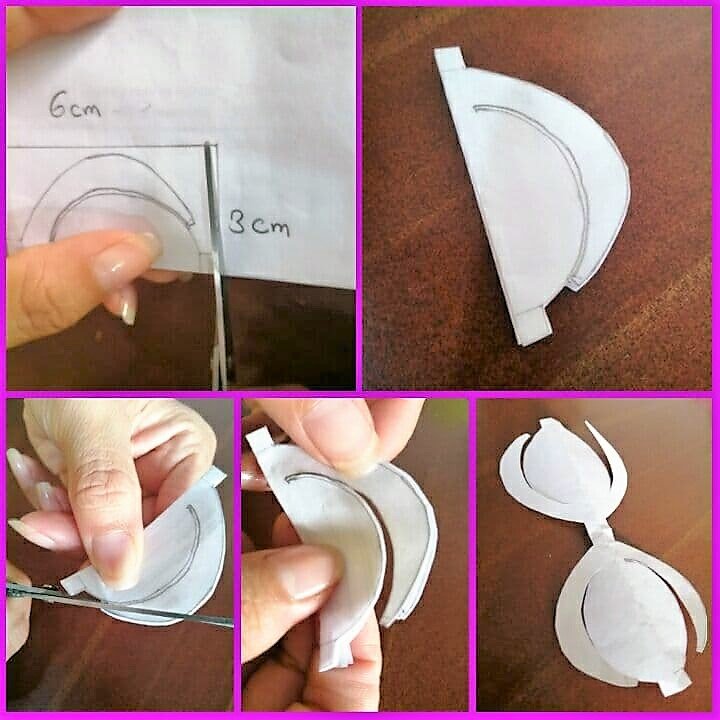
Recorté y obtuve mi primer molde.😊
I cut out and got my first mold.

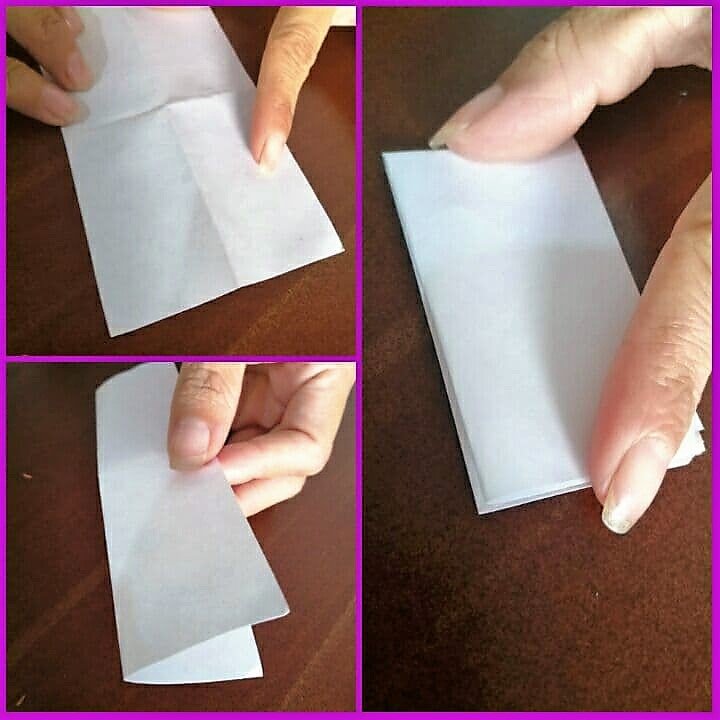
Para la base usé otro rectángulo de hoja de reciclaje, doblando en 4 partes iguales.
For the base I used another recycling sheet rectangle, folding in 4 equal parts.

En la parte derecha inferior tomé medidas de 1/2cm de ancho y alto.
In the lower right part I took measurements of 1 / 2cm width and height.
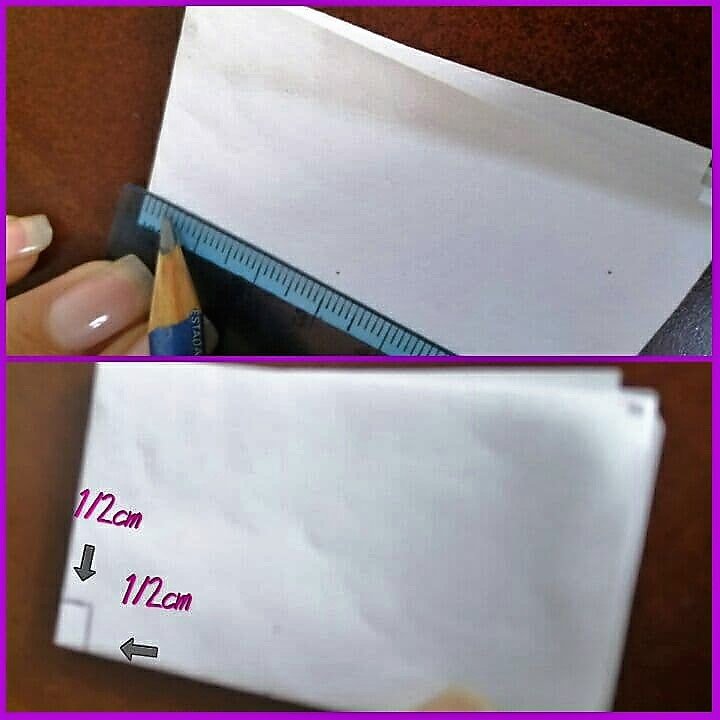

Formé un rectángulo de 3.5cm de ancho y 2.5cm de alto.
I made a rectangle 3.5cm wide and 2.5cm high.

Desde el cuadro que formé en la parte inferior derecha dibujé la parte trasera de una flecha. Recorté y listo con el segundo molde.😊
From the box I made in the lower right I drew the back of an arrow. Cut out and that's it with the second mold. 😊

Los pasé a cartón para tener mejor firmeza y de esta manera ser más fácil al momento de pasarlos al foami.
I passed them to cardboard to have better firmness and in this way be easier when passing them to the foam.
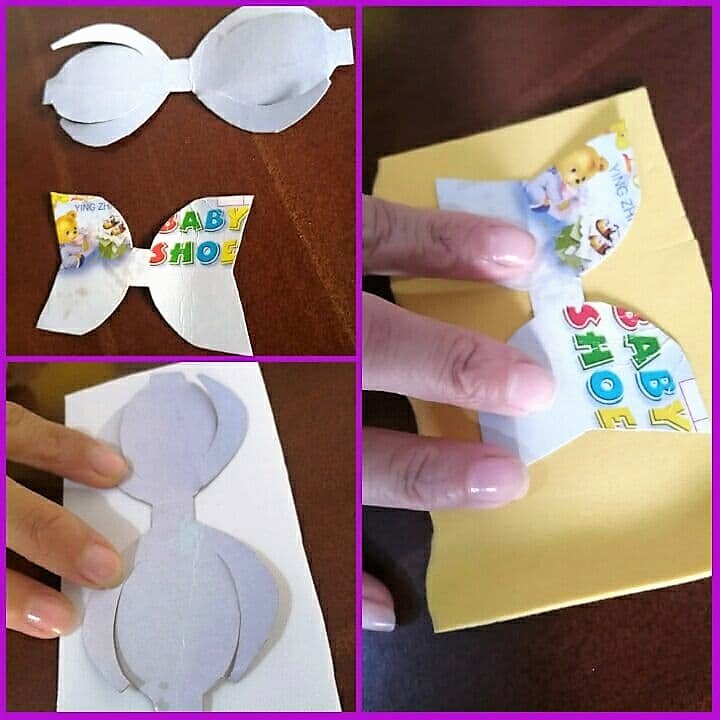

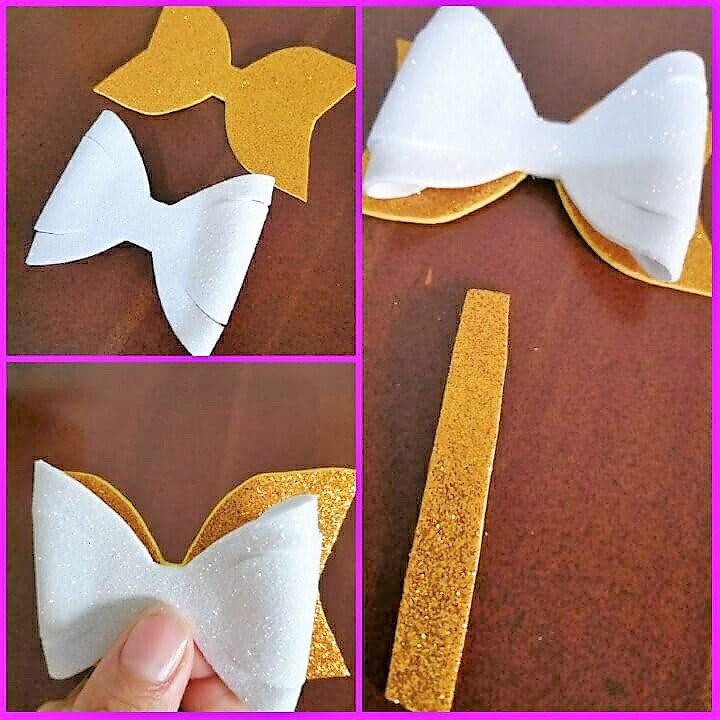
Cuando los obtuve recortados en foami armé el lazo principal (el blanco) elegí la parte derecha, uniendo con silicona la pestaña del medio y luego las laterales de igual forma hice con el lado contrario.
When I got them cut in foami I assembled the main loop (the white one) I chose the right part, joining the middle tab with silicone and then the sides in the same way I did with the opposite side.
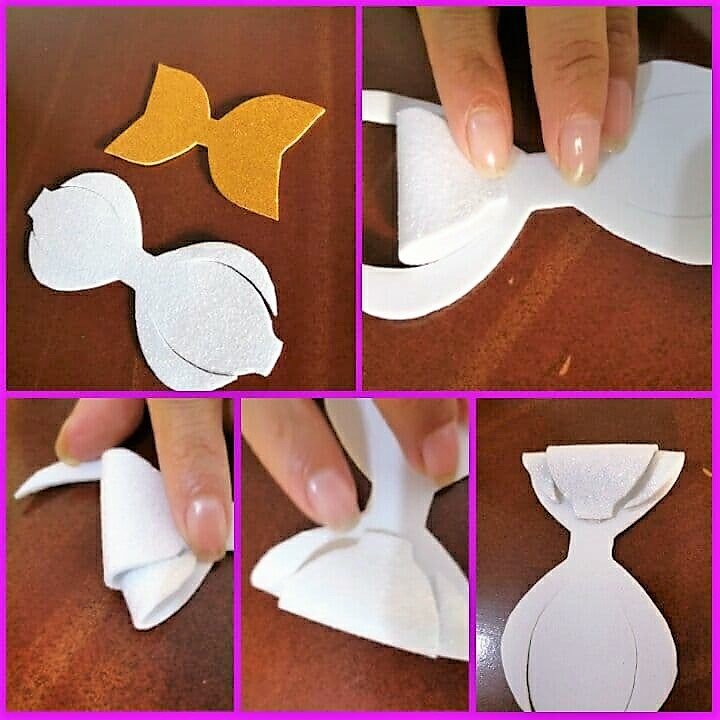

Ya con todos los lados adheridos coloqué un poco de silicona y pegué a la base (lazo dorado).
With all the sides adhered, I placed a little silicone and glued to the base (golden bow).

Con una tira de foami dorado que mide menos de 1cm ajuste el centro con ayuda de silicona y al mismo tiempo uní la pinza, por último cortando el exceso de foami.
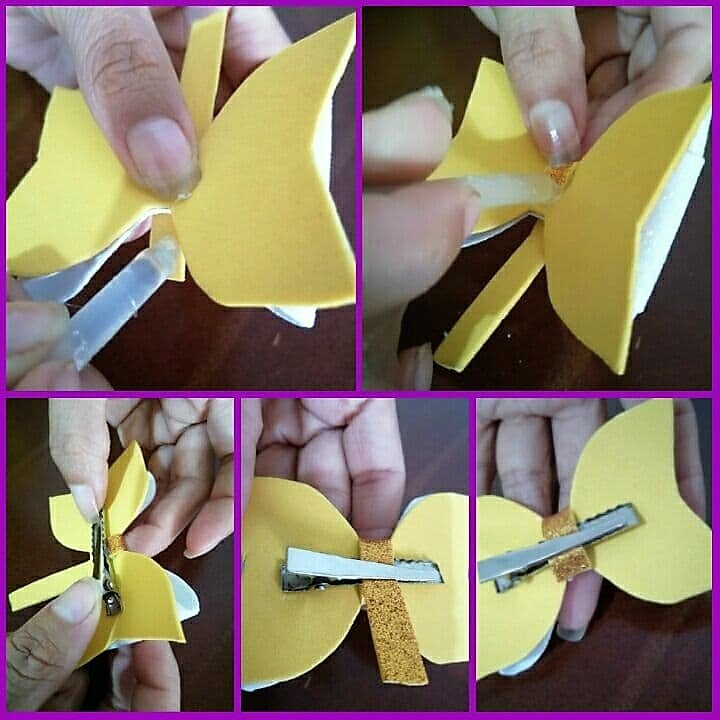

Y de esta manera queda 😍. Muy cute 🎀
And this way it remains 😍. Very cute 🎀


Es un diseño distinto , muy sutil, económico y fácil de hacer. Este y los anteriores que he realizado los disfrutan mis hijas, aunque más la mayor, la menor no le agrada mucho usar accesorios en la cabeza 😂. Igual de vez en cuando intento que los use por lo menos unos minutos 😊.
Gracias leer mi aporte de este día , sera hasta una nueva oportunidad mis buenos amigos, lluvia de bendiciones 🙏
Todas las fotos son personales.
Editadas en: PhotoScape.
Separador de: www.pngwing.com/
Disculpen si poseo errores de traducción, mi unico lenguaje es el castellano.
It is a different design, very subtle, inexpensive and easy to do. This and the previous ones that I have made are enjoyed by my daughters, although the eldest, the youngest, does not like to wear accessories on the head 😂. Likewise, from time to time I try to make him use them for at least a few minutes 😊.
Thank you reading my contribution for this day, it will be up to a new opportunity my good friends, shower of blessings 🙏
All photos are personal.
Edited in: PhotoScape.
Separator from: www.pngwing.com/
Sorry if I have translation errors, my only language is Spanish.
