Hola que tal? Paso una semana en la que estuve perdida pero ya volví, eso fue debido a que en mi ciudad hicieron la primera convención de anime, comic, k-pop y más, como iba a ir en cosplay tuve muchas cosas que preparar así que me vi tan ocupada que no puede pasarme por aquí a escribir sin embargo tome foto de todo para enseñarles.
Hi how are things? I spent a week in which I was lost but I'm back, that was because in my city they held the first convention of anime, comics, k-pop and more, since I was going to cosplay I had a lot of things to prepare so I saw myself So busy that I can't stop by to write, but I took a picture of everything to show you.
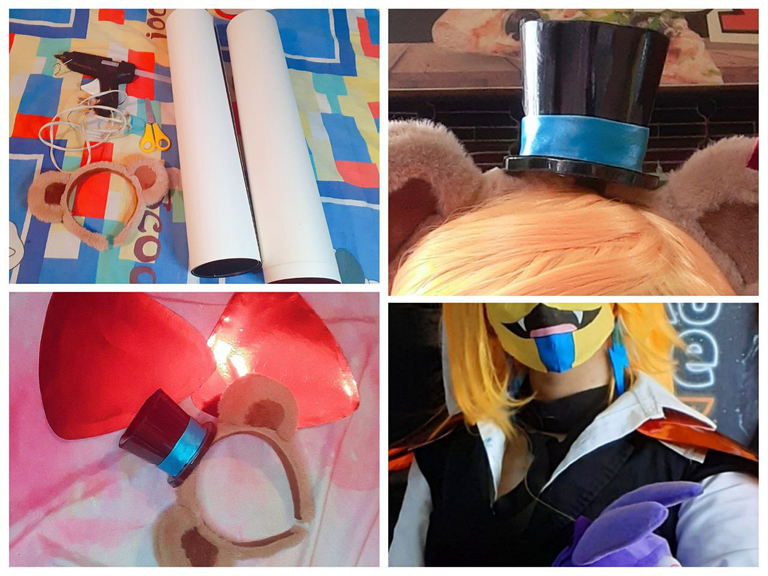
Pero en esta entrada solo les enseñare como hice los accesorios para mi cosplay, luego are una entrada para hablarles del evento.
El personaje que elegí para hacer cosplay fue Glamrock Freddy del juego five nigth´s at Freddy Security Breach un juego que se entrenó en diciembre del año pasado, five nights at freddys en de mis juegos favoritos y esta vez nos dieron personajes con una estética espectacular y grandiosas personalidades.
But in this post I will only show you how I made the accessories for my cosplay, then I will make a post to tell you about the event.
The character I chose to cosplay was Glamrock Freddy from the game five nigth's at Freddy Security Breach a game that was trained in December of last year, five nights at freddys in one of my favorite games and this time they gave us characters with a spectacular aesthetic and great personalities.
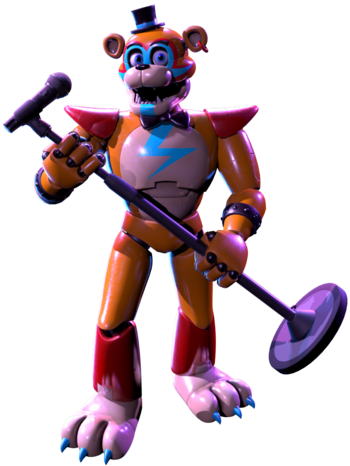
Freddy Fazbears
Como muchos yo quede fascinada con el personaje de Galmrock freddy así que decidí hacer cosplay de él, es más que claro que no iba a hacer ese traje estilo robot completo y ponérmelo, así que diseñe una versión humana femenina de él usando elementos y colores que representen al personaje y esto fue lo que salió.
Like many I was fascinated with the Galmrock freddy character so I decided to cosplay him, it is more than clear that I was not going to make that full robot style suit and wear it, so I designed a human female version of him using elements and colors that represent the character and this is what came out.

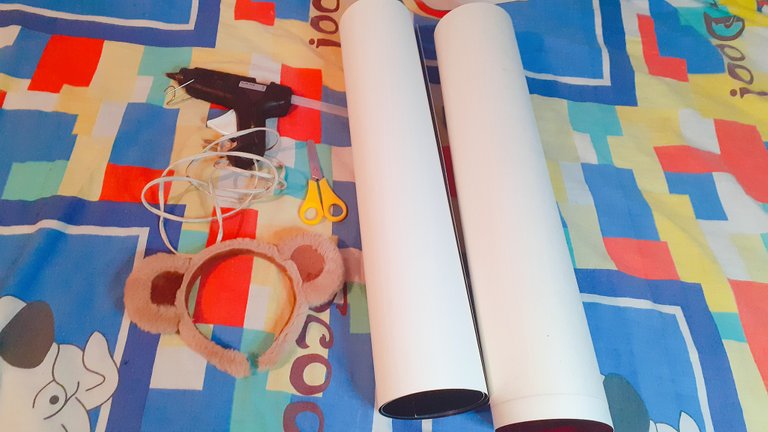
La ropa, medias y algunos accesorios los compre pero el sombrero y las hombreras es algo que se tenía que hacer de forma personalizada así que me puse manos a la obra.
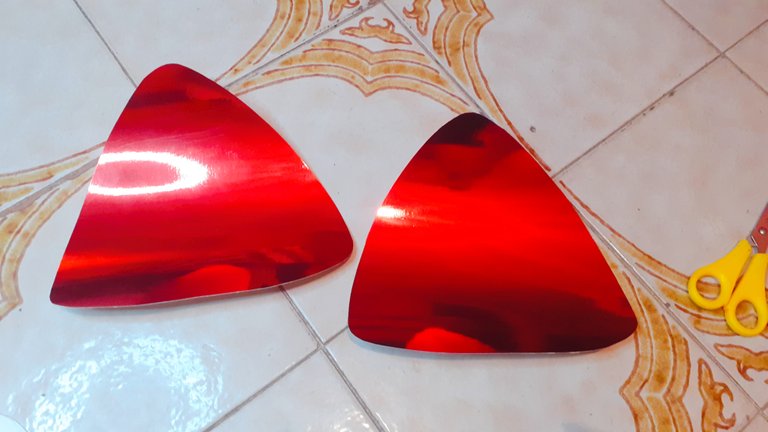
Cuando salí a comprar los materiales encontré esta cartulina espejo la cual me vino de maravilla, no sabía que existía pero era lo que buscaba jajaja.
I bought the clothes, socks and some accessories, but the hat and the shoulder pads had to be made in a personalized way, so I got down to work.
When I went out to buy the materials I found this mirror cardboard which came in handy, I didn't know it existed but it was what I was looking for lol.


Para las hombreras primero medí en mi hombro de que largo y ancho quería que fueran.
For the shoulder pads I first measured on my shoulder how long and wide I wanted them to be.

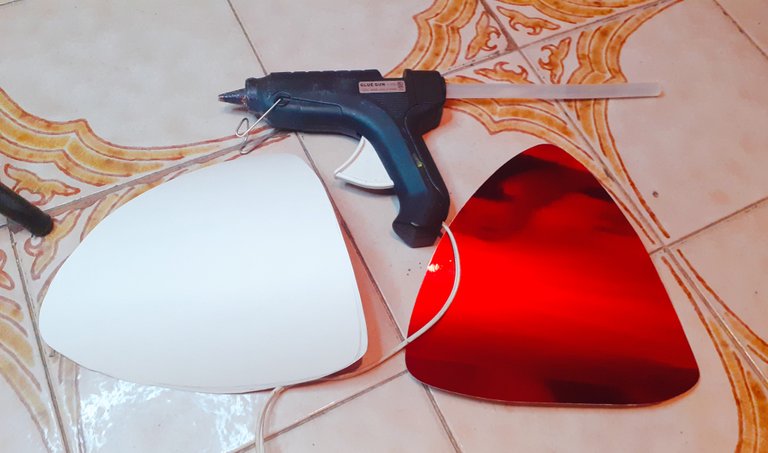
Luego hice un molde en hoja antes de trabajar en la cartulina y una vez que probé que era el tamaño que quería lo pase al cartón.
Then I made a sheet mold before working on the cardboard and once I proved that it was the size I wanted, I transferred it to the cardboard.

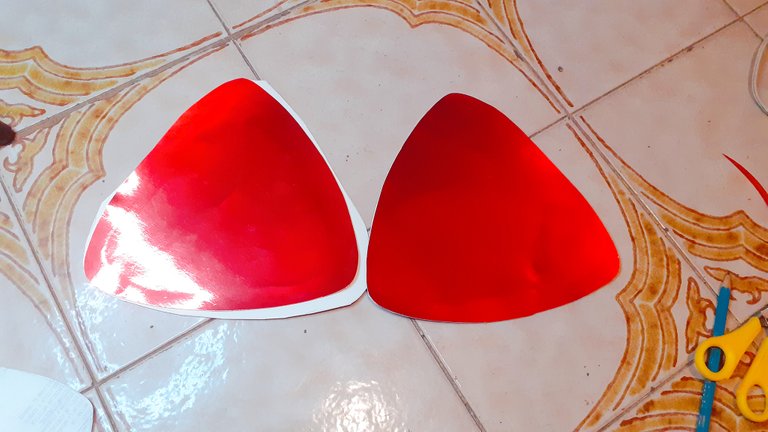
De las hombreras corte 4 piezas iguales para pegarlas y que quedaran con doble cara para que se viera bien desde cualquier ángulo, las pegue con silicón caliente así que hacerlas fue rápido.
From the shoulder pads I cut 4 equal pieces to glue them and they would be double-sided so that they could be seen from any angle, I glued them with hot silicone so making them was quick.
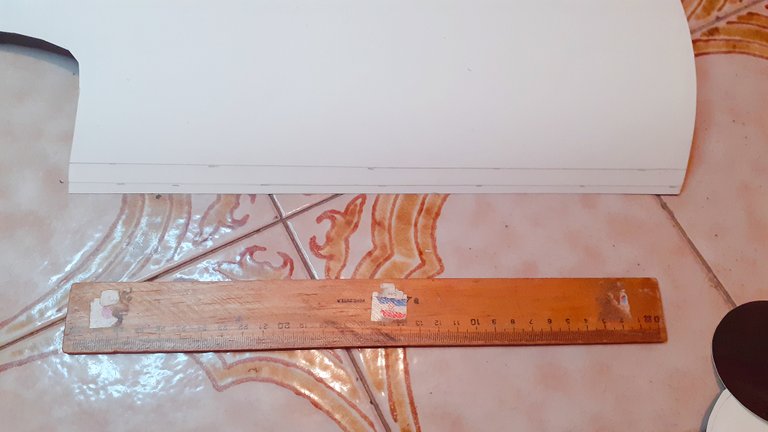
Lo más difícil de hacer fue el sombrero, primero corte 2 círculos que serían la base.
The hardest thing to do was the hat, first cut 2 circles that would be the base.

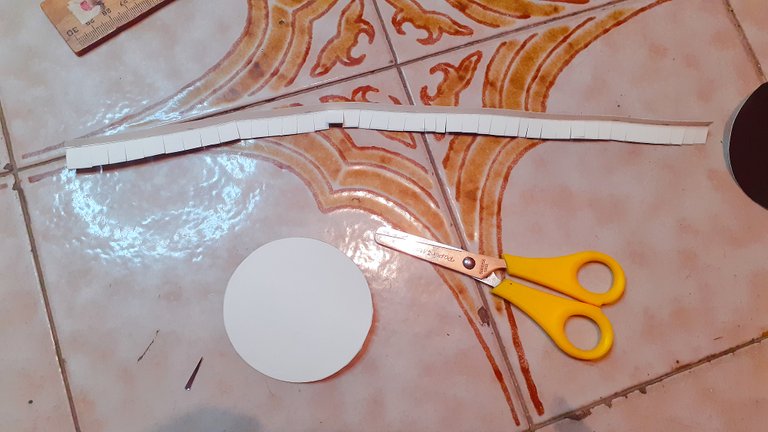
Lo siguiente fue cortar una tira para rodear los círculos y que quedara de esta forma.
The next thing was to cut a strip to surround the circles and make it look like this.


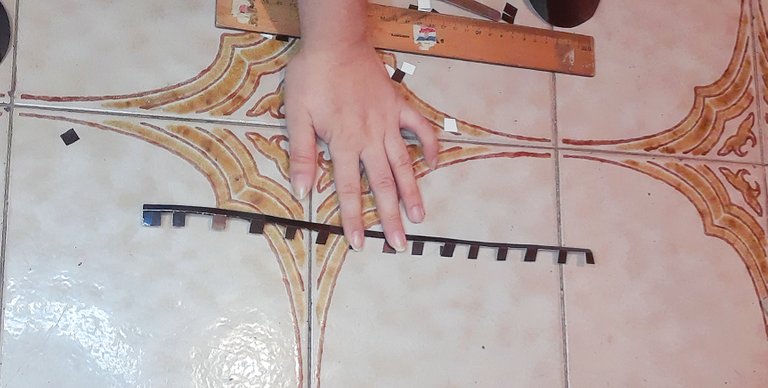

Para el centro del sombrero necesitaba un molde que fuera más angosto abajo y arriba más ancho, no conseguí un molde en internet pero mi mamá me ayudo y pudo sacar un molde como lo necesitaba la verdad es que yo no soy muy diestra en armar ente tipo de cosas pero mi mamá si y logro sacar la forma que necesitaba.
For the center of the hat I needed a mold that was narrower at the bottom and wider at the top, I couldn't find a mold on the internet but my mom helped me and she was able to get a mold as I needed it, the truth is that I'm not very skilled in assembling such an entity of things but my mom did and I managed to get the shape I needed.

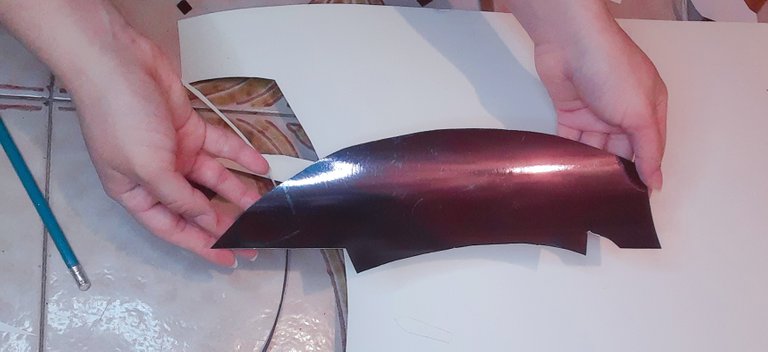

Saque el molde en la cartulina para armarlo así como la parte de arriba que sería como la tapa del sombrero.
Take out the mold in the cardboard to assemble it as well as the upper part that would be like the lid of the hat.


Al pegarlo todo con pintura negra pinte los bordes que se veían blancos de la cartulina, hice lo mismo con pintura roja en la hombreras pintando los laterales.
When I glued everything with black paint, I painted the white edges of the cardboard, I did the same with red paint on the shoulder pads, painting the sides.


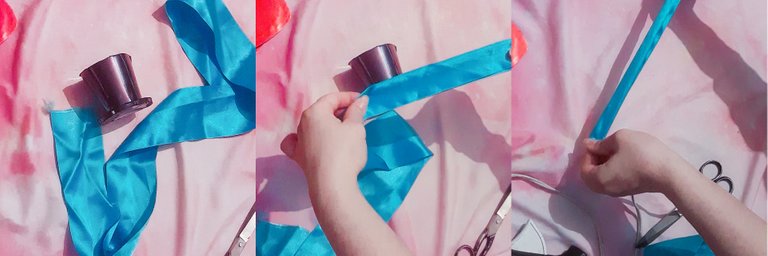
Por ultimo faltaba la cinta del sobrero, para mi suerte tenia cinta del color que necesitaba que había quedado de trajes anteriores, como era muy ancha la doble hasta que quedo como quería y pegue con silicón.
Lastly, the hat's tape was missing, luckily I had tape of the color I needed that had been left over from previous suits, as it was very wide, I doubled it until it was as I wanted and I glued it with silicone.


Y listo! Así quedaron los accesorios listo para mi traje, espero les haya gustado y esperen pronto mi entrada contándoles mi experiencia en el evento.
And ready! This is how the accessories were ready for my suit, I hope you liked it and wait for my entry soon telling you about my experience at the event.


