Hello.
I hope you had a good start to the week. I spent a few days at home because I had the flu, and during this time I was very bored. When I went to the market the other day, I saw that the Air-Drying Ceramic Dough had arrived and I bought two packs. I've never used it before, but I've always been enthusiastic. It would be a pleasure for me to watch Air Dry Clay videos. The dough sat for a few days because I didn't think about what to do when I bought it. Then I thought of making a similar candle holder, which I can't remember where I saw it, but whose shape I really liked, and I got to work.
I don't know why I haven't tried it before, but it's really fun to do something with Clay. No matter what comes out, playing with that dough increases stress. When I tried it, I understood it better. Anyway, I want to tell you in detail how I made my candle holder.
Merhabalar.
Umarım haftaya güzel başlamışsınızdır. Ben bir kaç gündür grip olduğum için evde vakit geçirdim ve bu sürede canım çok sıkıldı. Geçen gün markete çıktığımda Hava ile kuruyan Seramik Hamur'u geldiğini gördüm ve iki paket satın aldım. Daha önce hiç kullanmadım ama hep heves ediyordum. Air Dry Kil videolarını izlemek bana keyif verirdi. Satın alırken ne yapacağımı düşünmediğim için hamur bir kaç gün öylece bekledi. Ardından aklımda nerede gördüğümü hatırlayamadığım ama şeklini çok beğendiğim mum tutucusunun benzerini yapmak geldi ve işe koyuldum.
Daha önce neden denemedim bilmiyorum ama Kil ile bir şeyler yapmak gerçekten çok zevkli. Ortaya çıkan şey ne olursa olsun o hamurla oynamak insana stres arttırıyor. Deneyince bunu daha iyi anladım. Neyse sizlere mum tutucumu nasıl yaptığımı detayları ile anlatmak istiyorum.
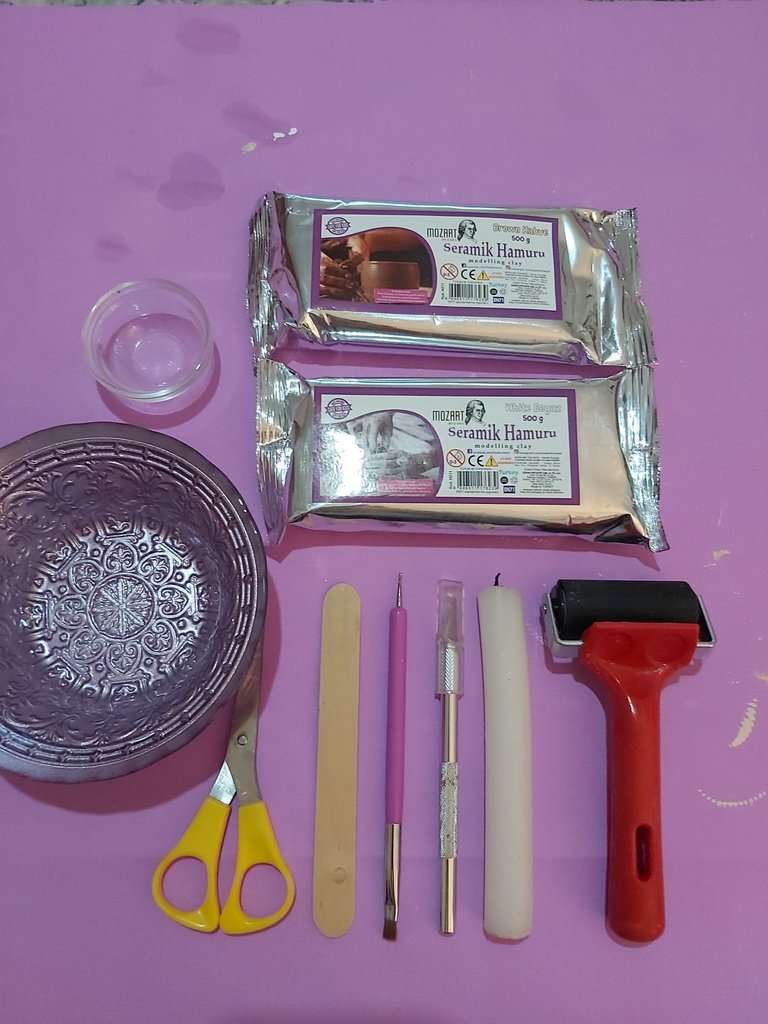
Materials I Used
- Air Dry Clay
- Metal Ruler
- Cutter Knife
- Mini Roller
- Scissors
- Candle
- Ice Cream Stick
- Two size water bowls
Kullandığım Malzemeler
- Air Dry Kil
- Metal Cetvel
- Kretuar Bıçağı
- Mini Merdane
- Makas
- Mum
- Dondurma Çubuğu
- İki boy su Kabı
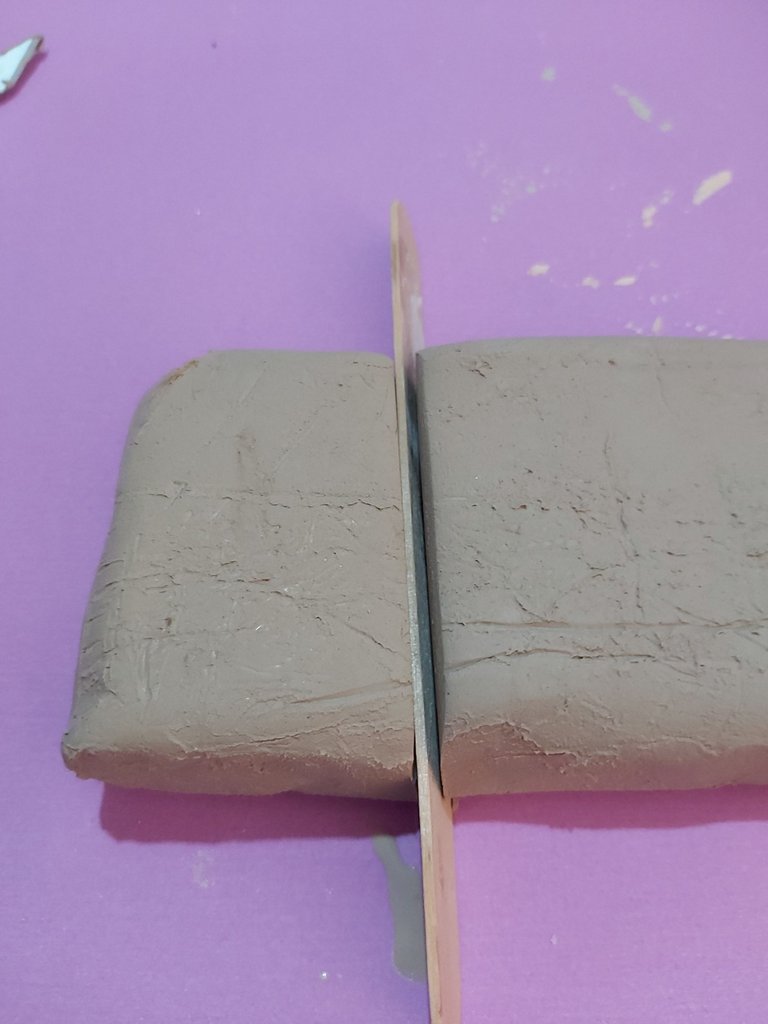
I cut more than half of the dough and set the rest aside, closing the mouth so that it does not dry out.
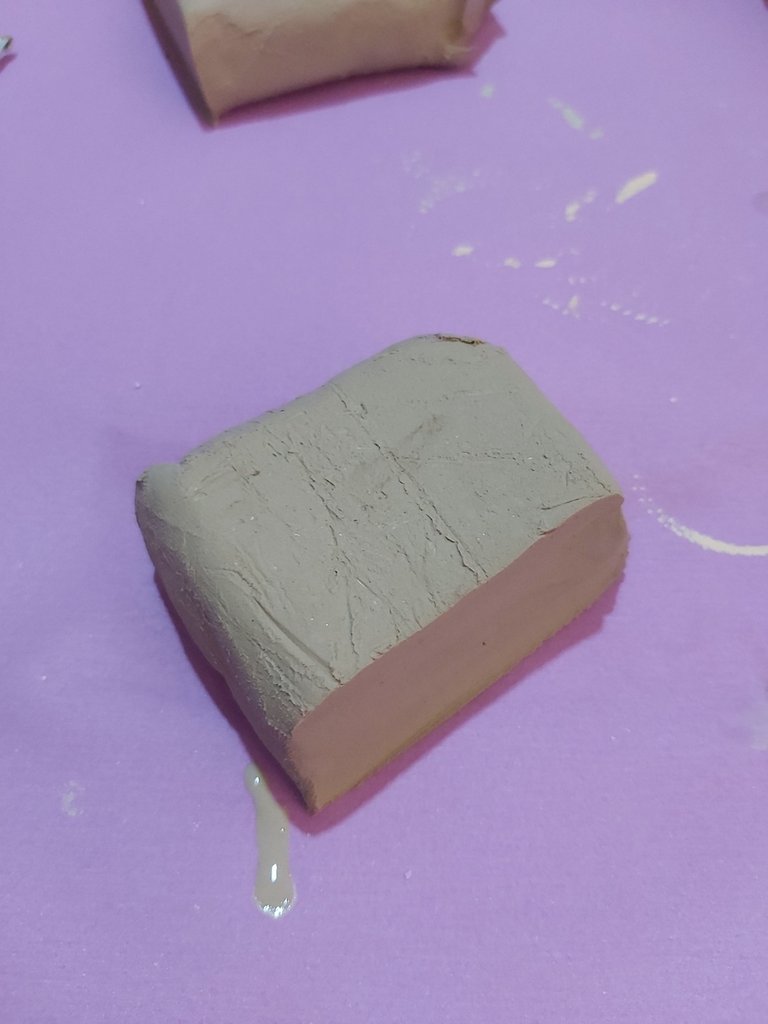
Hamurun yarısından fazlasını kestim ve kalanını kurumaması için hava almayacak şekilde ağızını kapatarak kenara koydum.
Then I rolled out the dough in a circle with a rolling pin to start creating the base of the candle holder. I tried to make sure it was the same thickness.
Ardından mum tutucunun tabanını oluşturmaya başlamak için için hamuru daire şeklinde merdane ile açtım. Kalınlığının aynı olmasına özen göstermeye çalıştım.
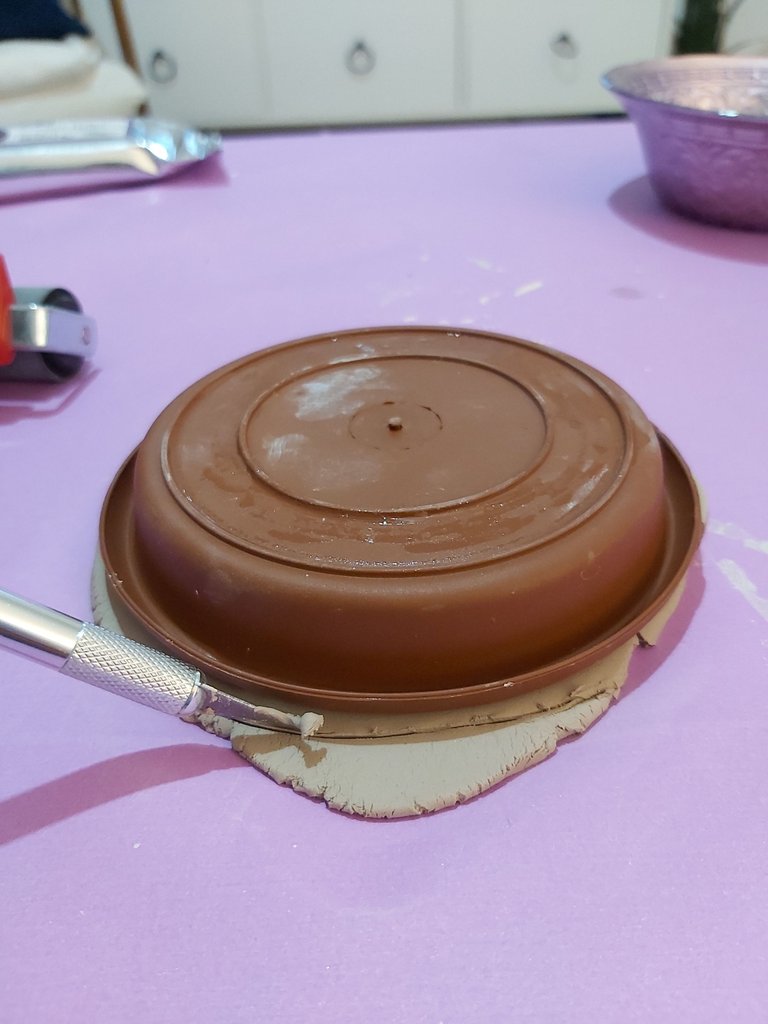
I used a pot base to measure the size and give it a completely circular shape. It was a very suitable tool for this. Then I cut the dough in a circular shape with the tiny cutter.
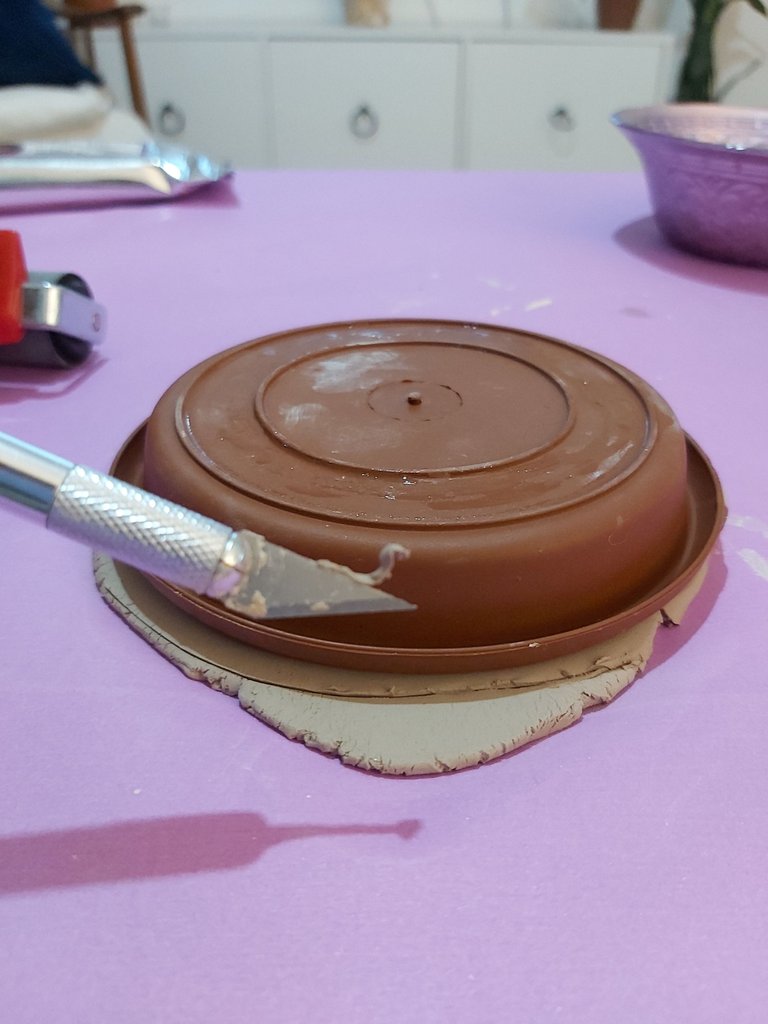
Boyutunu ölçmek ve tamamen daire şeklini vermek için saksı altlığı kullandım. Bunun için oldukça uygun araç oldu. Artından minik kesici ile hamuru dairesel şeklinde kestim.
I then placed it on the inside of the pot base to give the circular dough edge height. I integrated the dough with my fingers to take the shape of the plate. The reason I chose plastic was that it stretched so that I could easily separate the dough from the plate. I smoothed it out randomly with my fingers.
Ardından daire şeklindeki hamura kenar yüksekliğini vermek için onu saksı altlığının iç kısmına yerleştirdim. Tabağın şeklini alması için parmaklarımla hamuru bütünleştirdim. Plastik seçmemin sebebi esniyor oluşundan böylece hamuru tabaktan kolay şekilde ayıracaktım. Pürüzlerini parmaklarımla gelişi güzel düzelttim.
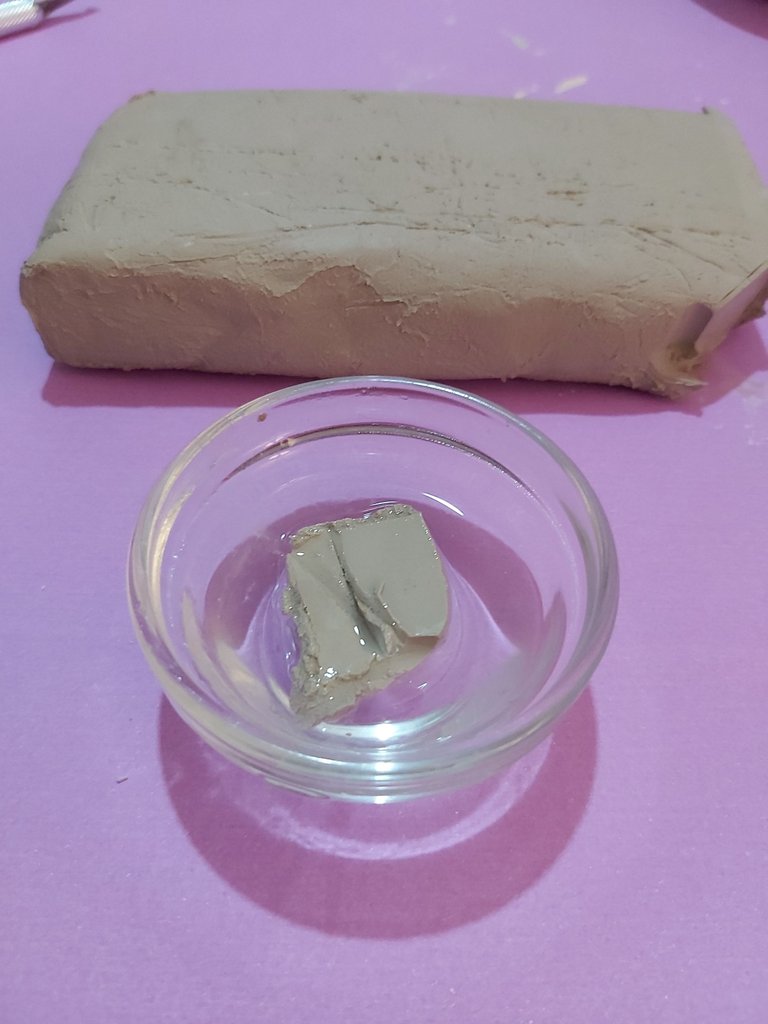
Finally, I took a piece of clay and added it to the small bowl and turned it into a runny dough with water. This is needed to smooth out the roughness and assemble the dough.
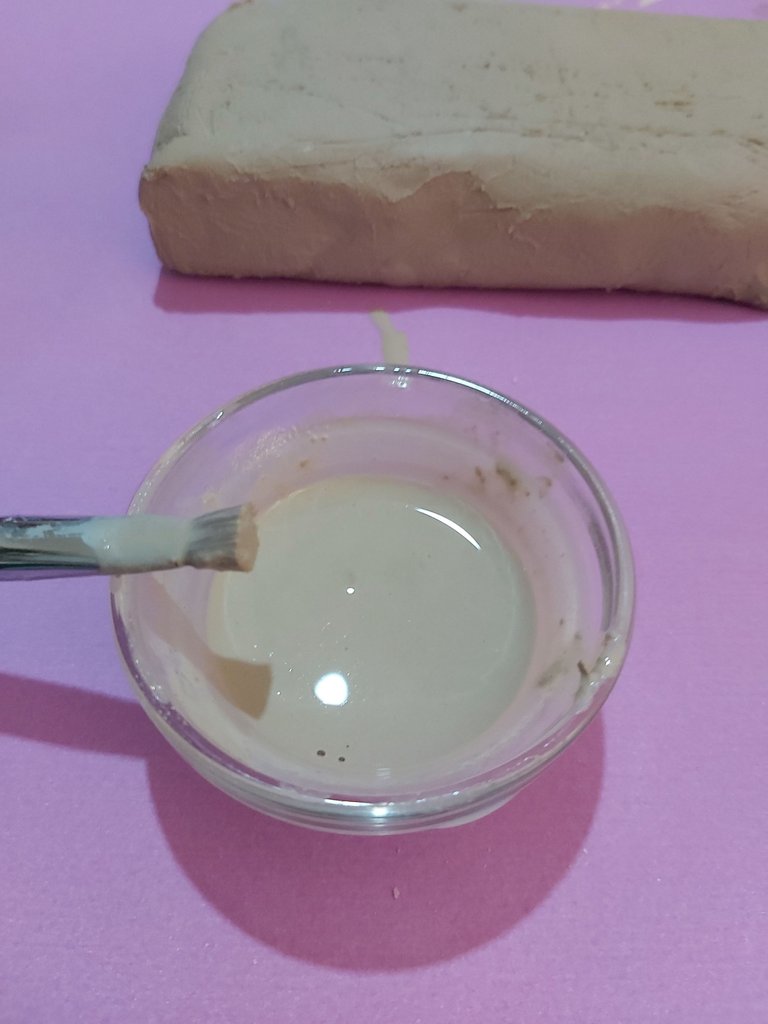
Daha sona kilden bir parça alarak küçük kabın içerisine ekledim ve su ile onu cıvık bir hamur haline getirdim. Bu pürüzleri düzeltmek ve hamuru birleştirmek için gerekiyor.
I applied the runny dough I prepared to fix the broken parts. Because the clay was not very good, cracks occurred, so I applied it to the cracked parts and corrected it.
Hazırladığım cıvık hamuru bozuk yerleri düzeltmek için uyguladım. Kil çok iyi olmadığı için çatlamalar meydana geldi bu yüzden çatlayan kısımlara sürerek düzeltme işlemi yaptım.
Then I took the clay out of the mold and applied the same process to the lower base part. In fact, since the bottom part will not be visible, I could have passed without doing this, but I still did not want to risk it.

Ardından kili kalıptan çıkarttım ve alt taban kısmına da aynı işlemi uyguladım. Aslında alt kısmı gözükmeyeceği için burayı yapmadan da geçebilirdim ama yine de riske atmak istemedim.
Then I took another piece of clay dough and gave it a long shape with a rolling pin. This part will be the part that will hold the candle.
Daha sonra kil hamurundan başka bir parça alarak ona merdane ile uzun şekil verdim. Bu kısım mumu tutacak kısım olacak.
I cut the long dough from all 4 sides with my metal ruler so that the edges are straight and even. You should do this by measuring the candle. The long dough should be long enough to wrap around the candle.
Kenarlarının düz ve eşit olması için metal cetvelim ile uzun hamuru 4 kenarından da kestim. Bunu yaparken mumu ölçerek yapmalısınız. Uzun hamur mumun etrafını saracak uzunlukta olmalı.
I then wrapped it around the candle and cut off the excess.
Daha sonra mumun etrafına doladım ve fazlalığını kestim.
Before joining, I applied the liquid clay mixture I prepared on both ends and made them stick to each other. To make the joint stronger, I made small cuts and added the dough on it again and smoothed it with my fingers.
Birleştirmeden önce iki ucuna da hazırladığım sıvı kil karışımı sürdüm ve birbirlerine yapışmasını sağladım. Birleştirme yeri daha sağlam olması için ufak kesikler atarak üzerine tekrar hamur ekledim ve parmaklarımla düzelttim.

I applied the mixture to the remaining surface and gently smoothed the roughness with my fingers.

Kalan yüzeye karışım sürüp parmaklarımla nazikçe pürüzleri düzleştirdim.
Then I started merging. Before assembling, I again made tiny cuts in the base and the clay in my hand. I learned this while watching it online. It was applied to hold the joining parts of the clay more firmly. I also applied it to all the sections I merged. I made cuts and applied the liquid clay I prepared to the surface where I made the cut and joined the two pieces.
Daha sonra birleştirmeye başladım. Birleştirmeden önce tabana ve elimdeki kile tekrar minik kesikler attım. Bunu internette izlerken öğrenmiştim. Kilin birleştirme kısımlarının daha sağlam tutması için uygulanıyordu. Ben de birleştirme yaptığım tüm bölümlerde uyguladım. Kesikler attım ve hazırladığım sıvı kili o kesik attığım yüzeye sürdüm ve iki parçayı birleştirdim.
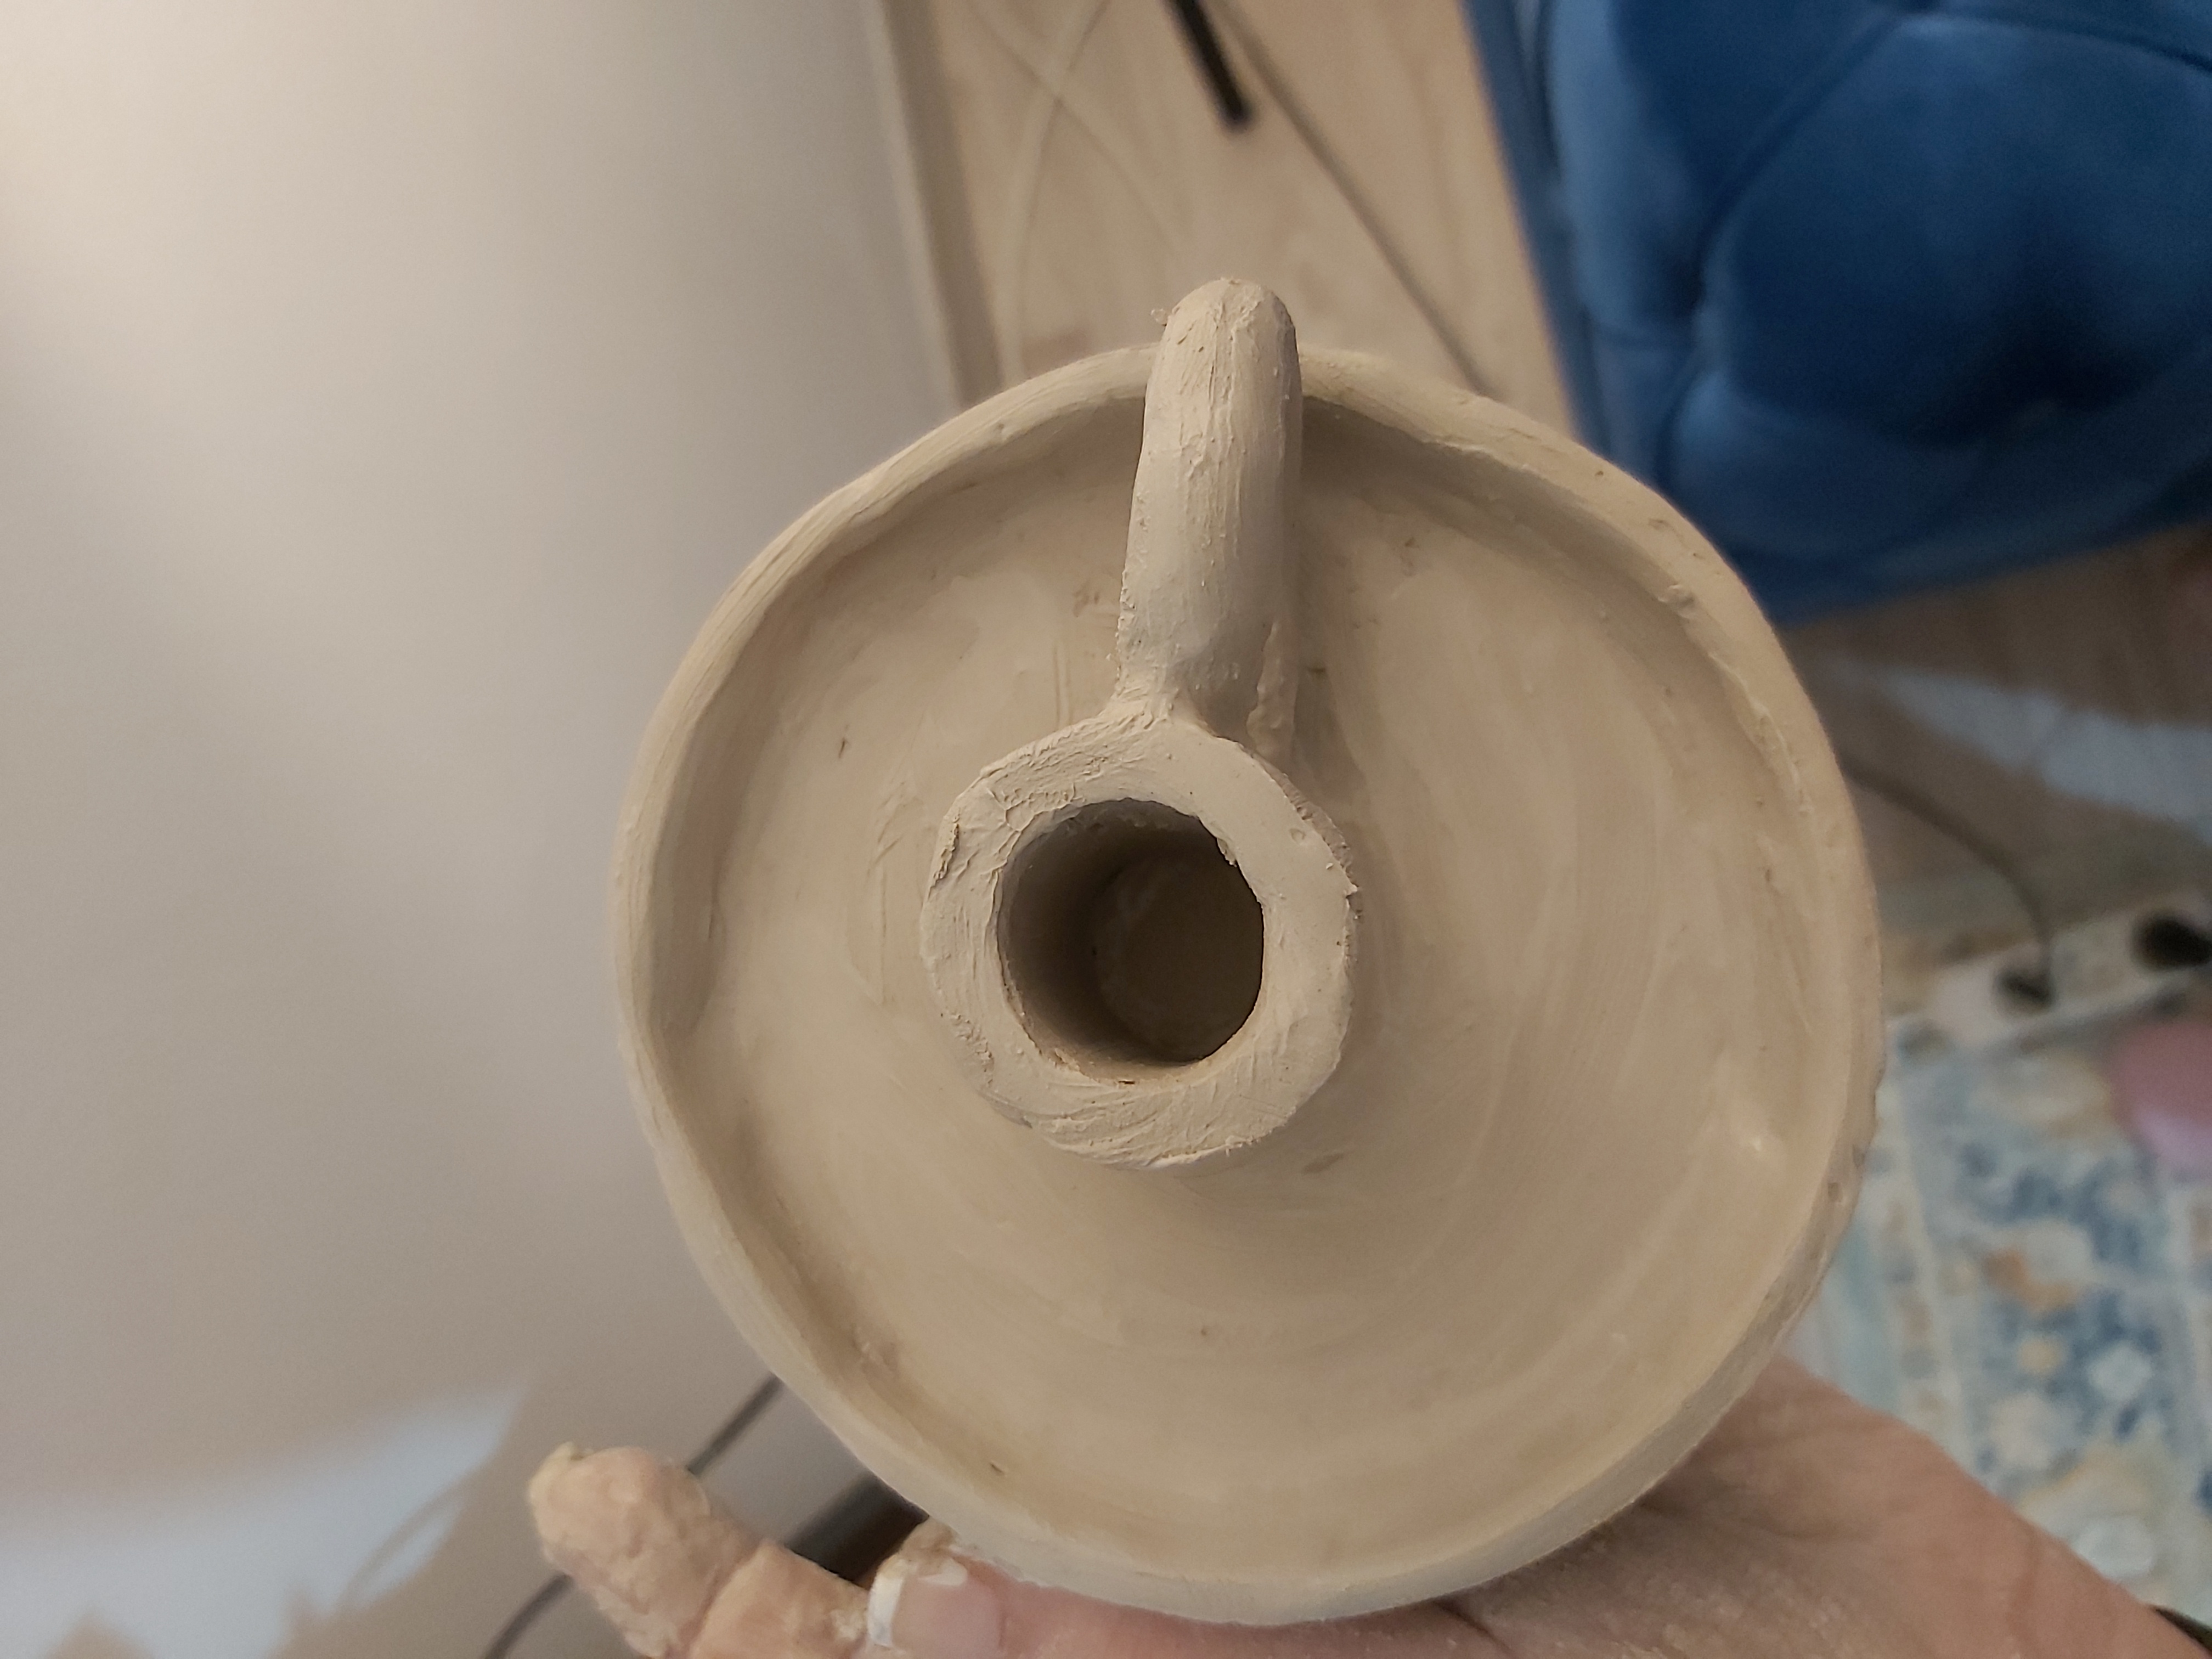
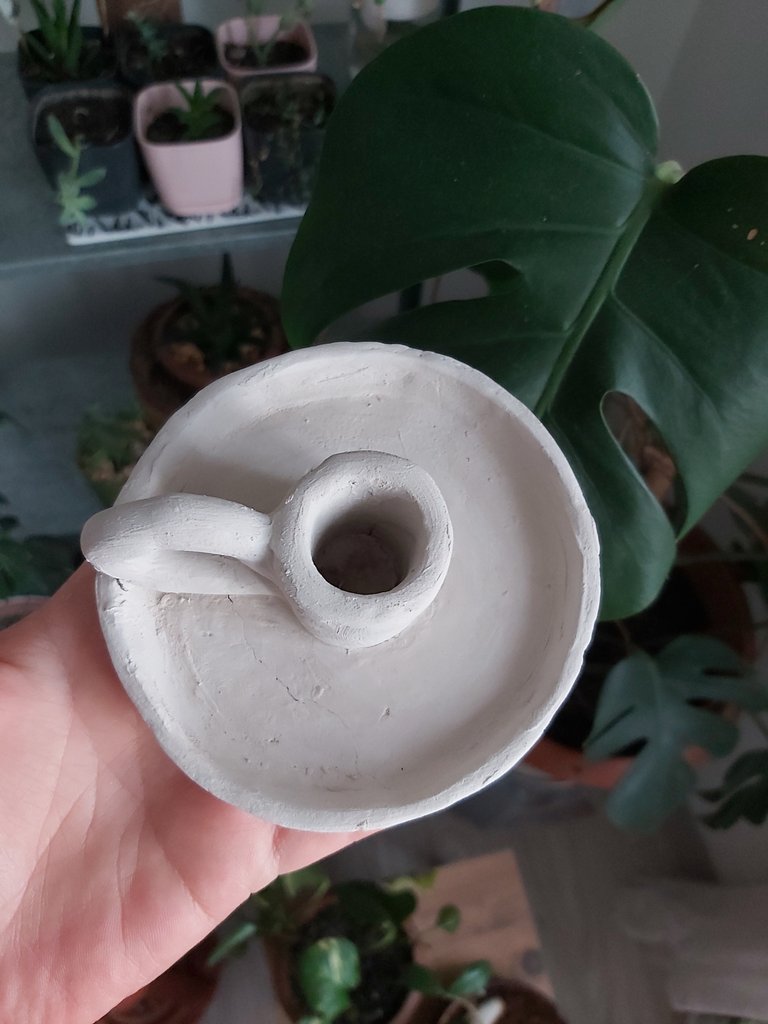
After putting it together, I checked the part where I will put the candle again and the size was fine.

Birleştirdikten sonra mum koyacağım kısmı tekrar kontrol ettim ve gayet ölçüsü yerinde oldu.
Finally, I rubbed the liquid clay around it again so that I strengthened it.

Son olarak etrafına tekrar sıvı kilden sürdüm böylelikle sağlamlaştırdım.
Then I started making handles. I took the clay again and rolled it long with the palm of my hand, giving it a tubular shape, and stopped when it was long enough for me.
I scratched the part where I was going to attach the handle and fixed the handle there.

Ardından kulp yapımına geçtim. Tekrar kil alarak onu uzun şekilde avuç içi ile yuvarlayarak boru şeklini verdim ve benim için yeterli uzunluğa gelince durdum.
Sapı ekleyeceğim kısma çizikler attım ve kulpu oraya sabitledim.
This part bothered me a bit because I didn't have the working tools for the clay, but I fixed it there anyway. I applied the liquid mixture when there were broken parts.
Bu kısım beni biraz uğraştırdı çünkü elimde kil için çalışma aletleri yoktu yine de onu oraya sabitledim. Bozulan kısımlar olduğu zaman sıvı karışımı uyguladım.
With my popsicle stick, I applied pressure to secure the handle and added clay to fix it.
Dondurma çubuğum ile sap kısmını sağlamlaştırmak için basınç uyguladım ve kil ilave ederek orayı sabitledim.
I continued to smooth it with my fingers by touching the surface with water with my brush.
.gif)
Yüzeye fırçam ile su değdirerek parmaklarımla pürüzsüzleştirmeye devam ettim.
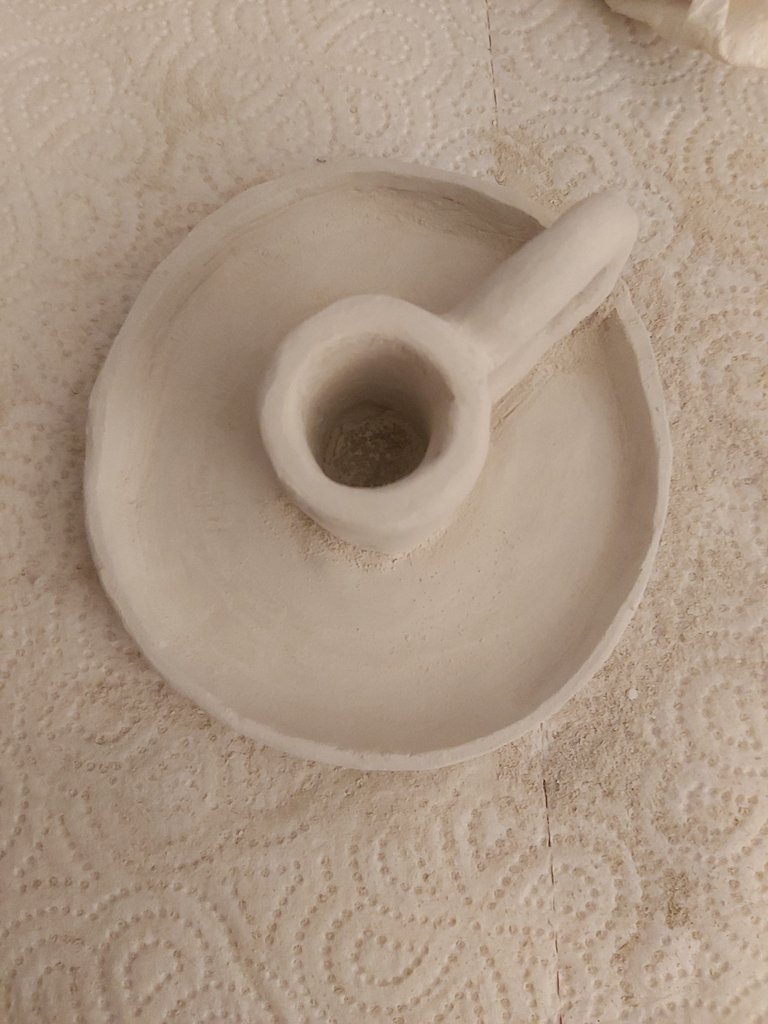
After it was finished, I kept it aside for a day without touching it so that the clay could dry.
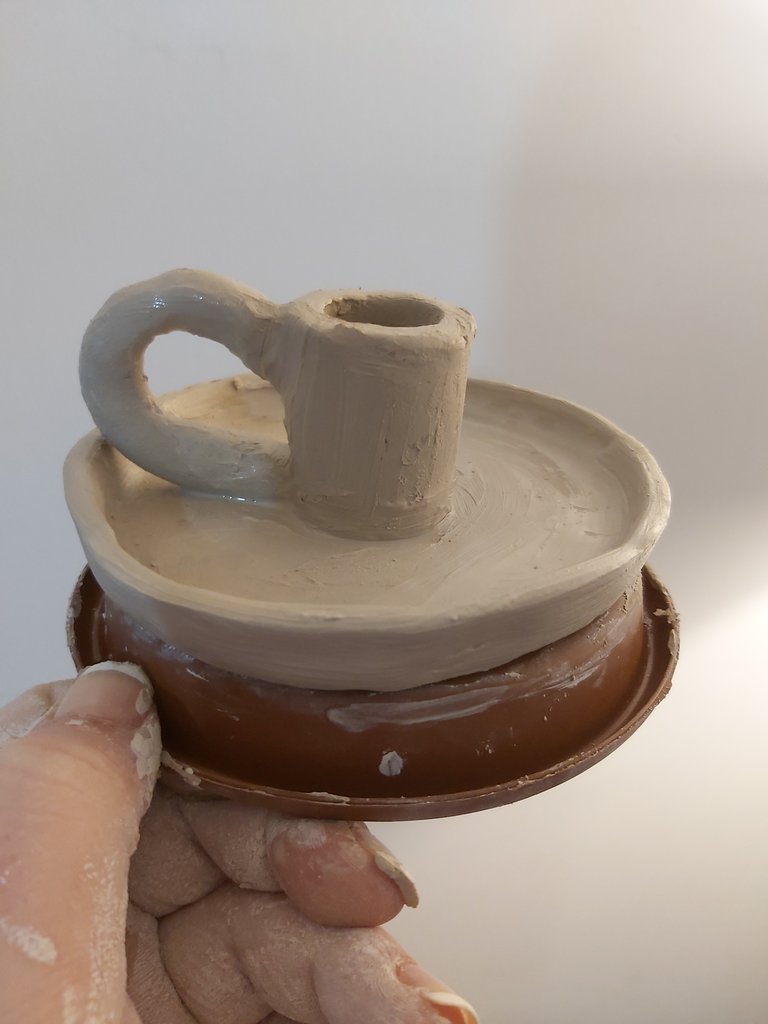
Bittikten sonra kilin kuruması için onu bir gün boyunca hiç dokunmadan bir kenarda beklettim.
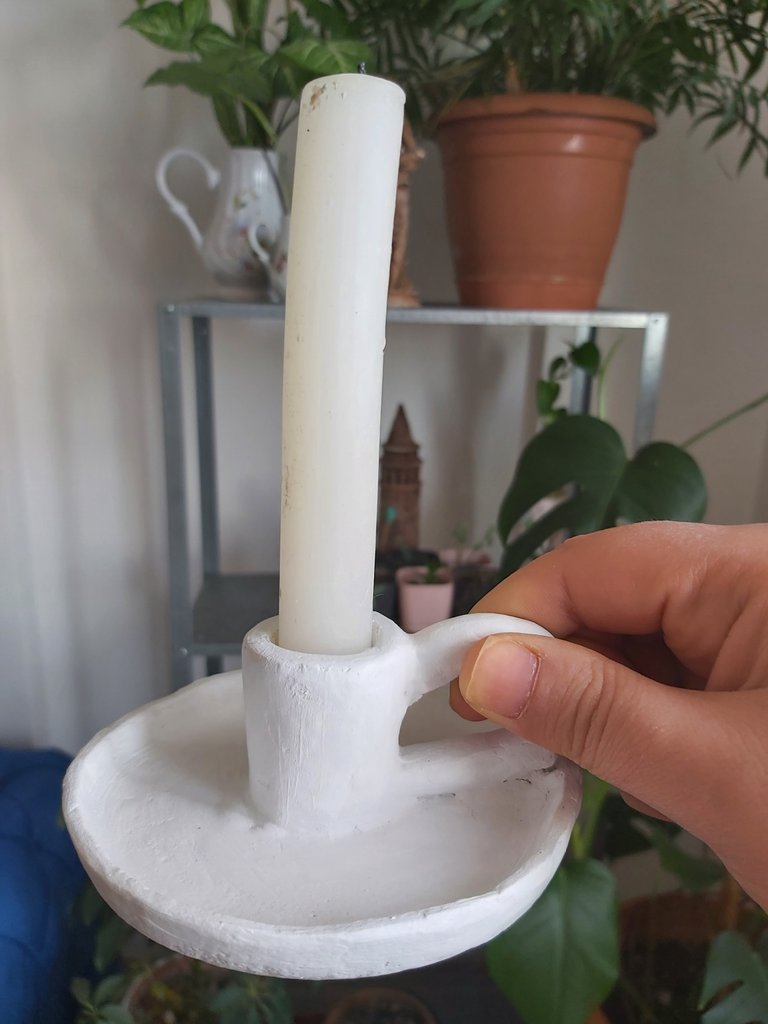
The next day I looked at my candle holder and saw that it was completely dry. Still, I was kind to her because it might not be enough to hold her for a day. Everything seems fine for now.
It wasn't very smooth because without a tool in my hand it could only be this smooth.
Ertesi gün mum tutucuma baktığımda tamamen kuruduğunu gördüm. Yine de ona nazik davrandım çünkü bir gün boyunca bekletmek ona yetmeyebilir. Şimdilik her şey yolunda gözüküyor.
Çok fazla püsüzsüz olmadı çünkü elimde alet olmadan ancak bu kadar pürüzsüz olabiliyordu.

There was no sandpaper at home. While I was thinking about what I could do, I remembered the old nail file and gently filed the candle holder with it. If you have sandpaper, make sure to smooth it with sandpaper.
Evde zımpara yoktu bende ne yapabilirim diye düşünürken eski tırnak törpüsünü hatırladım ve onunla mumluğu nazikçe törpüledim. Eğer zımparanız varsa siz zımpara ile mutlaka pürüzsüzleştirin.
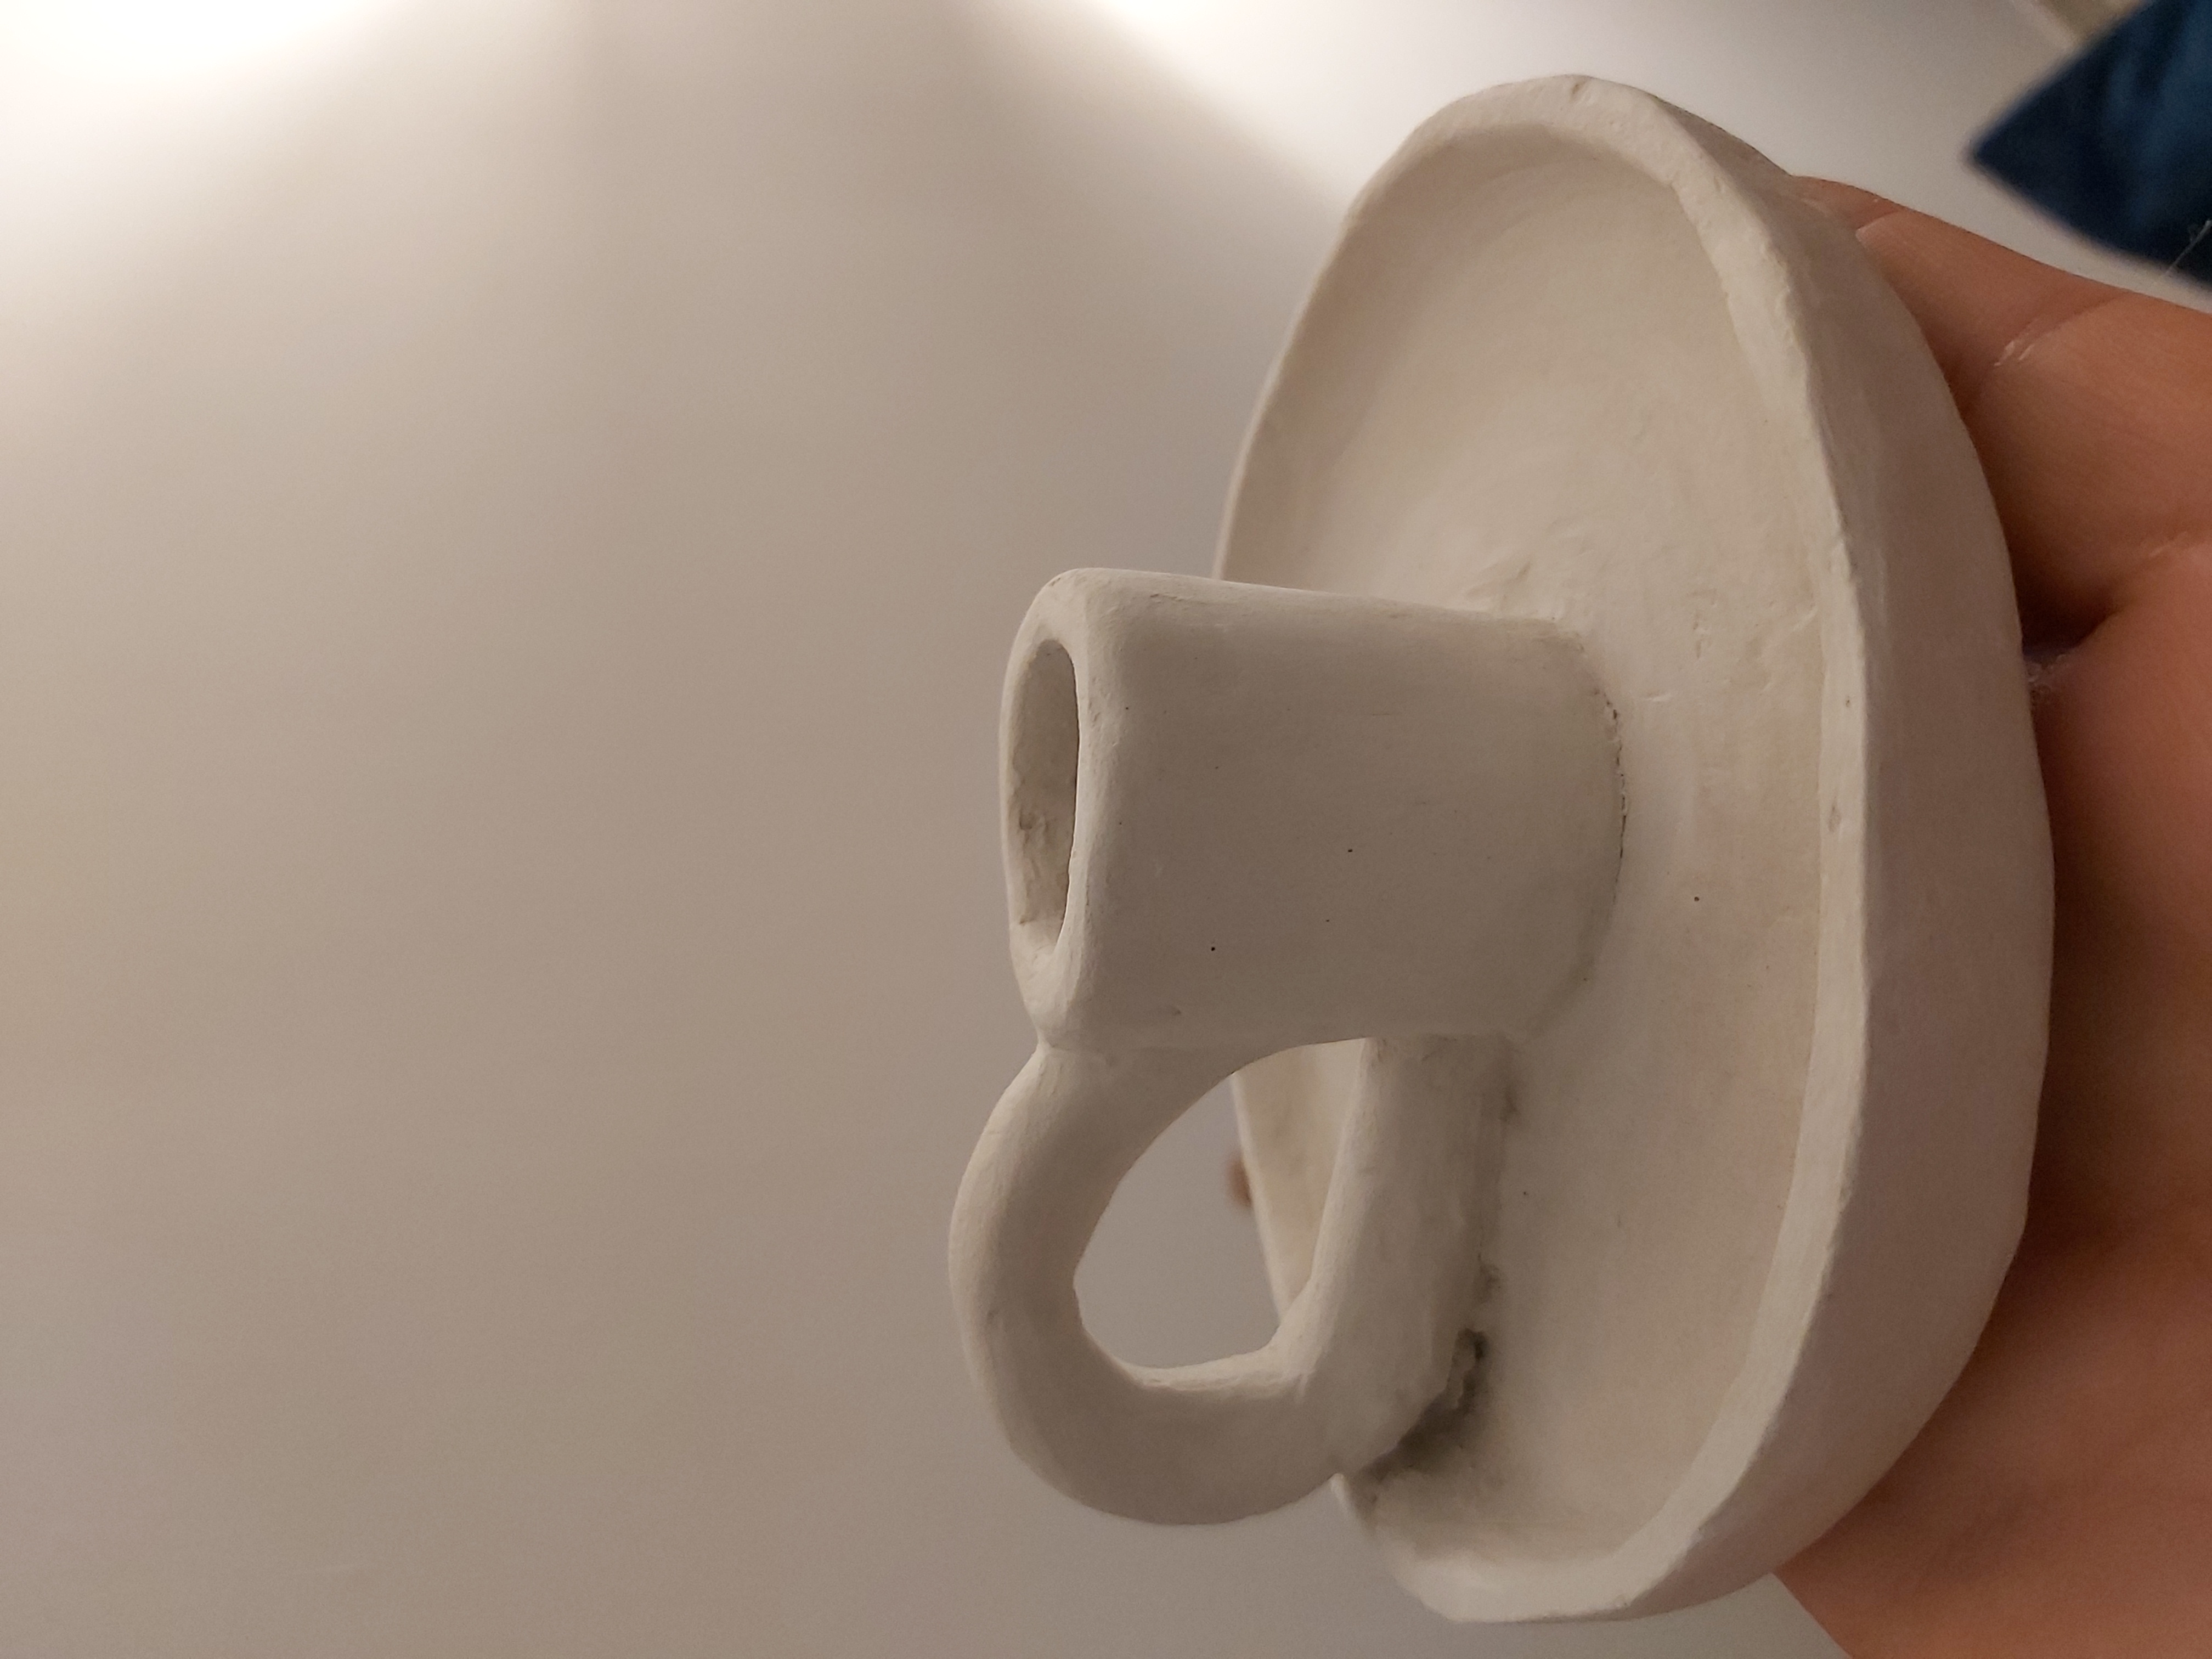
Finally, I moved on to painting. Actually, I had in mind to do something different, but I was sick and tired so I chose a plain white paint. I preferred an acrylic paint applied to every surface. If you don't want to dye it, you can use it in its raw form.

Son olarak boyamaya geçtim. Aslında aklımda farklı bir şeyler yapmak vardı ama hastaydım ve yorgun olduğum için düz beyaz renk bir boya seçtim. Ben her yüzeye uygulanan akrilik bir boya tercih ettim. Boyamak istemiyorsanız ham hali ilede kullanabilirsiniz.
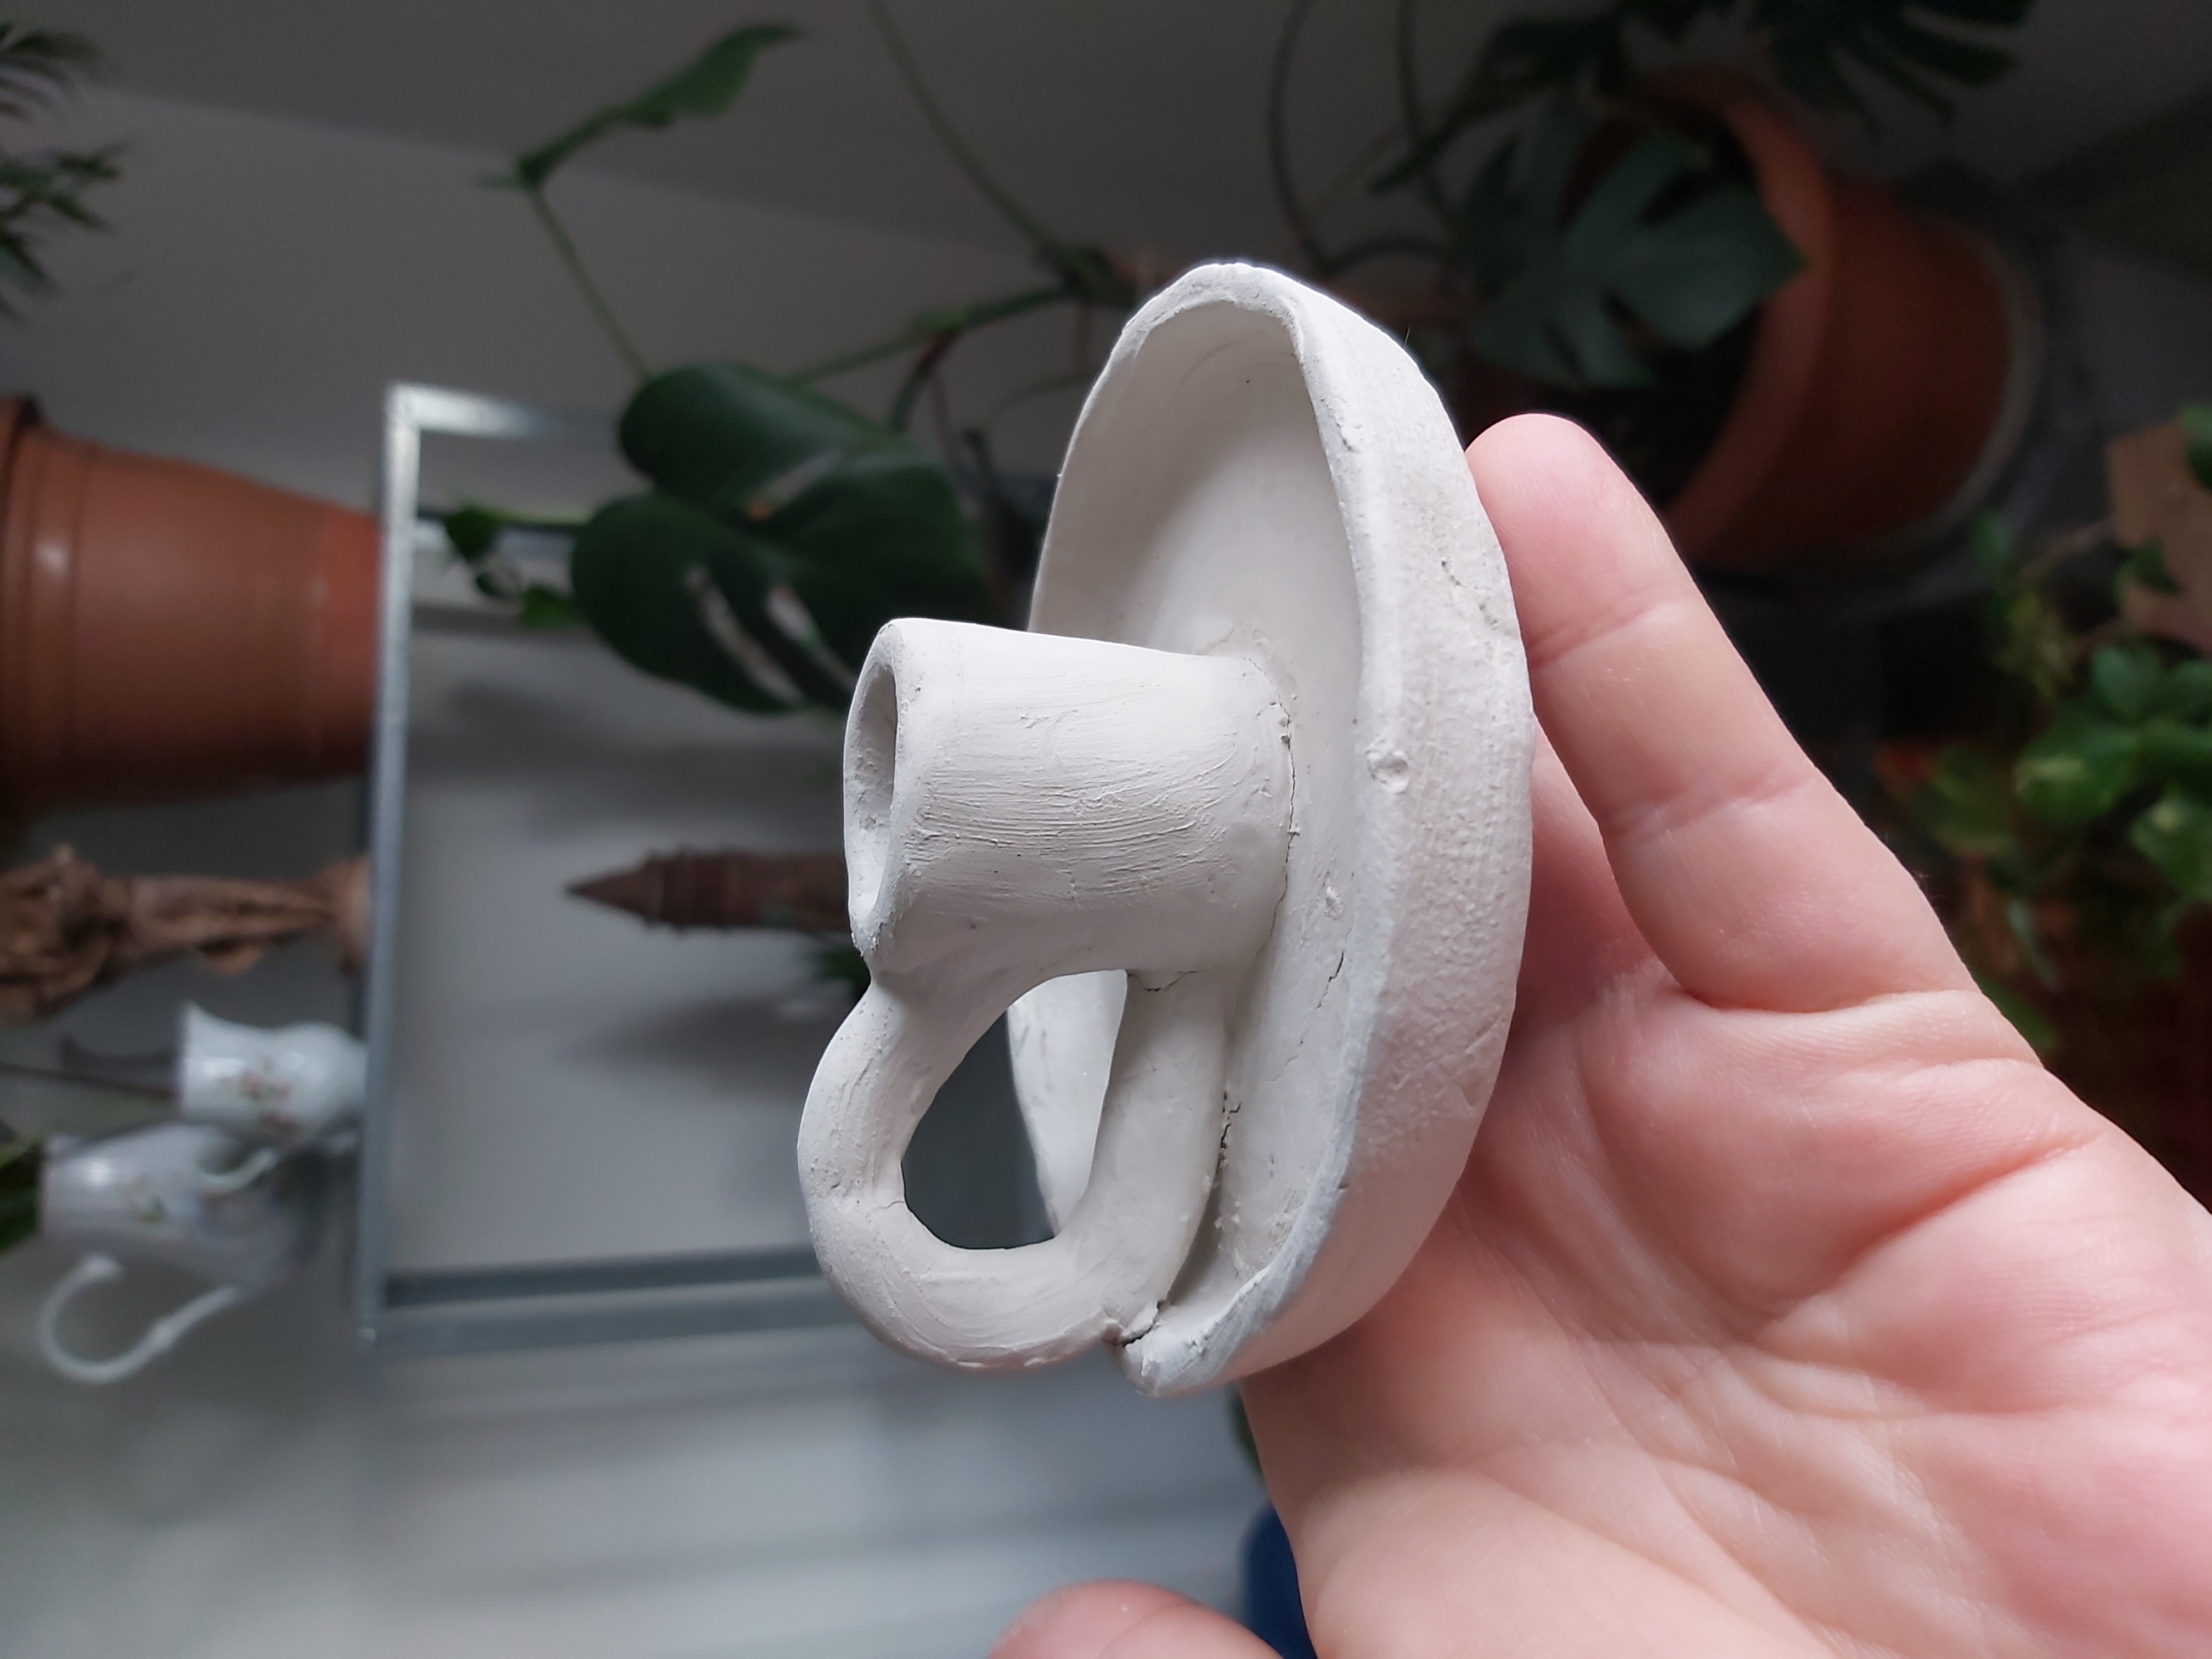
Here you are!
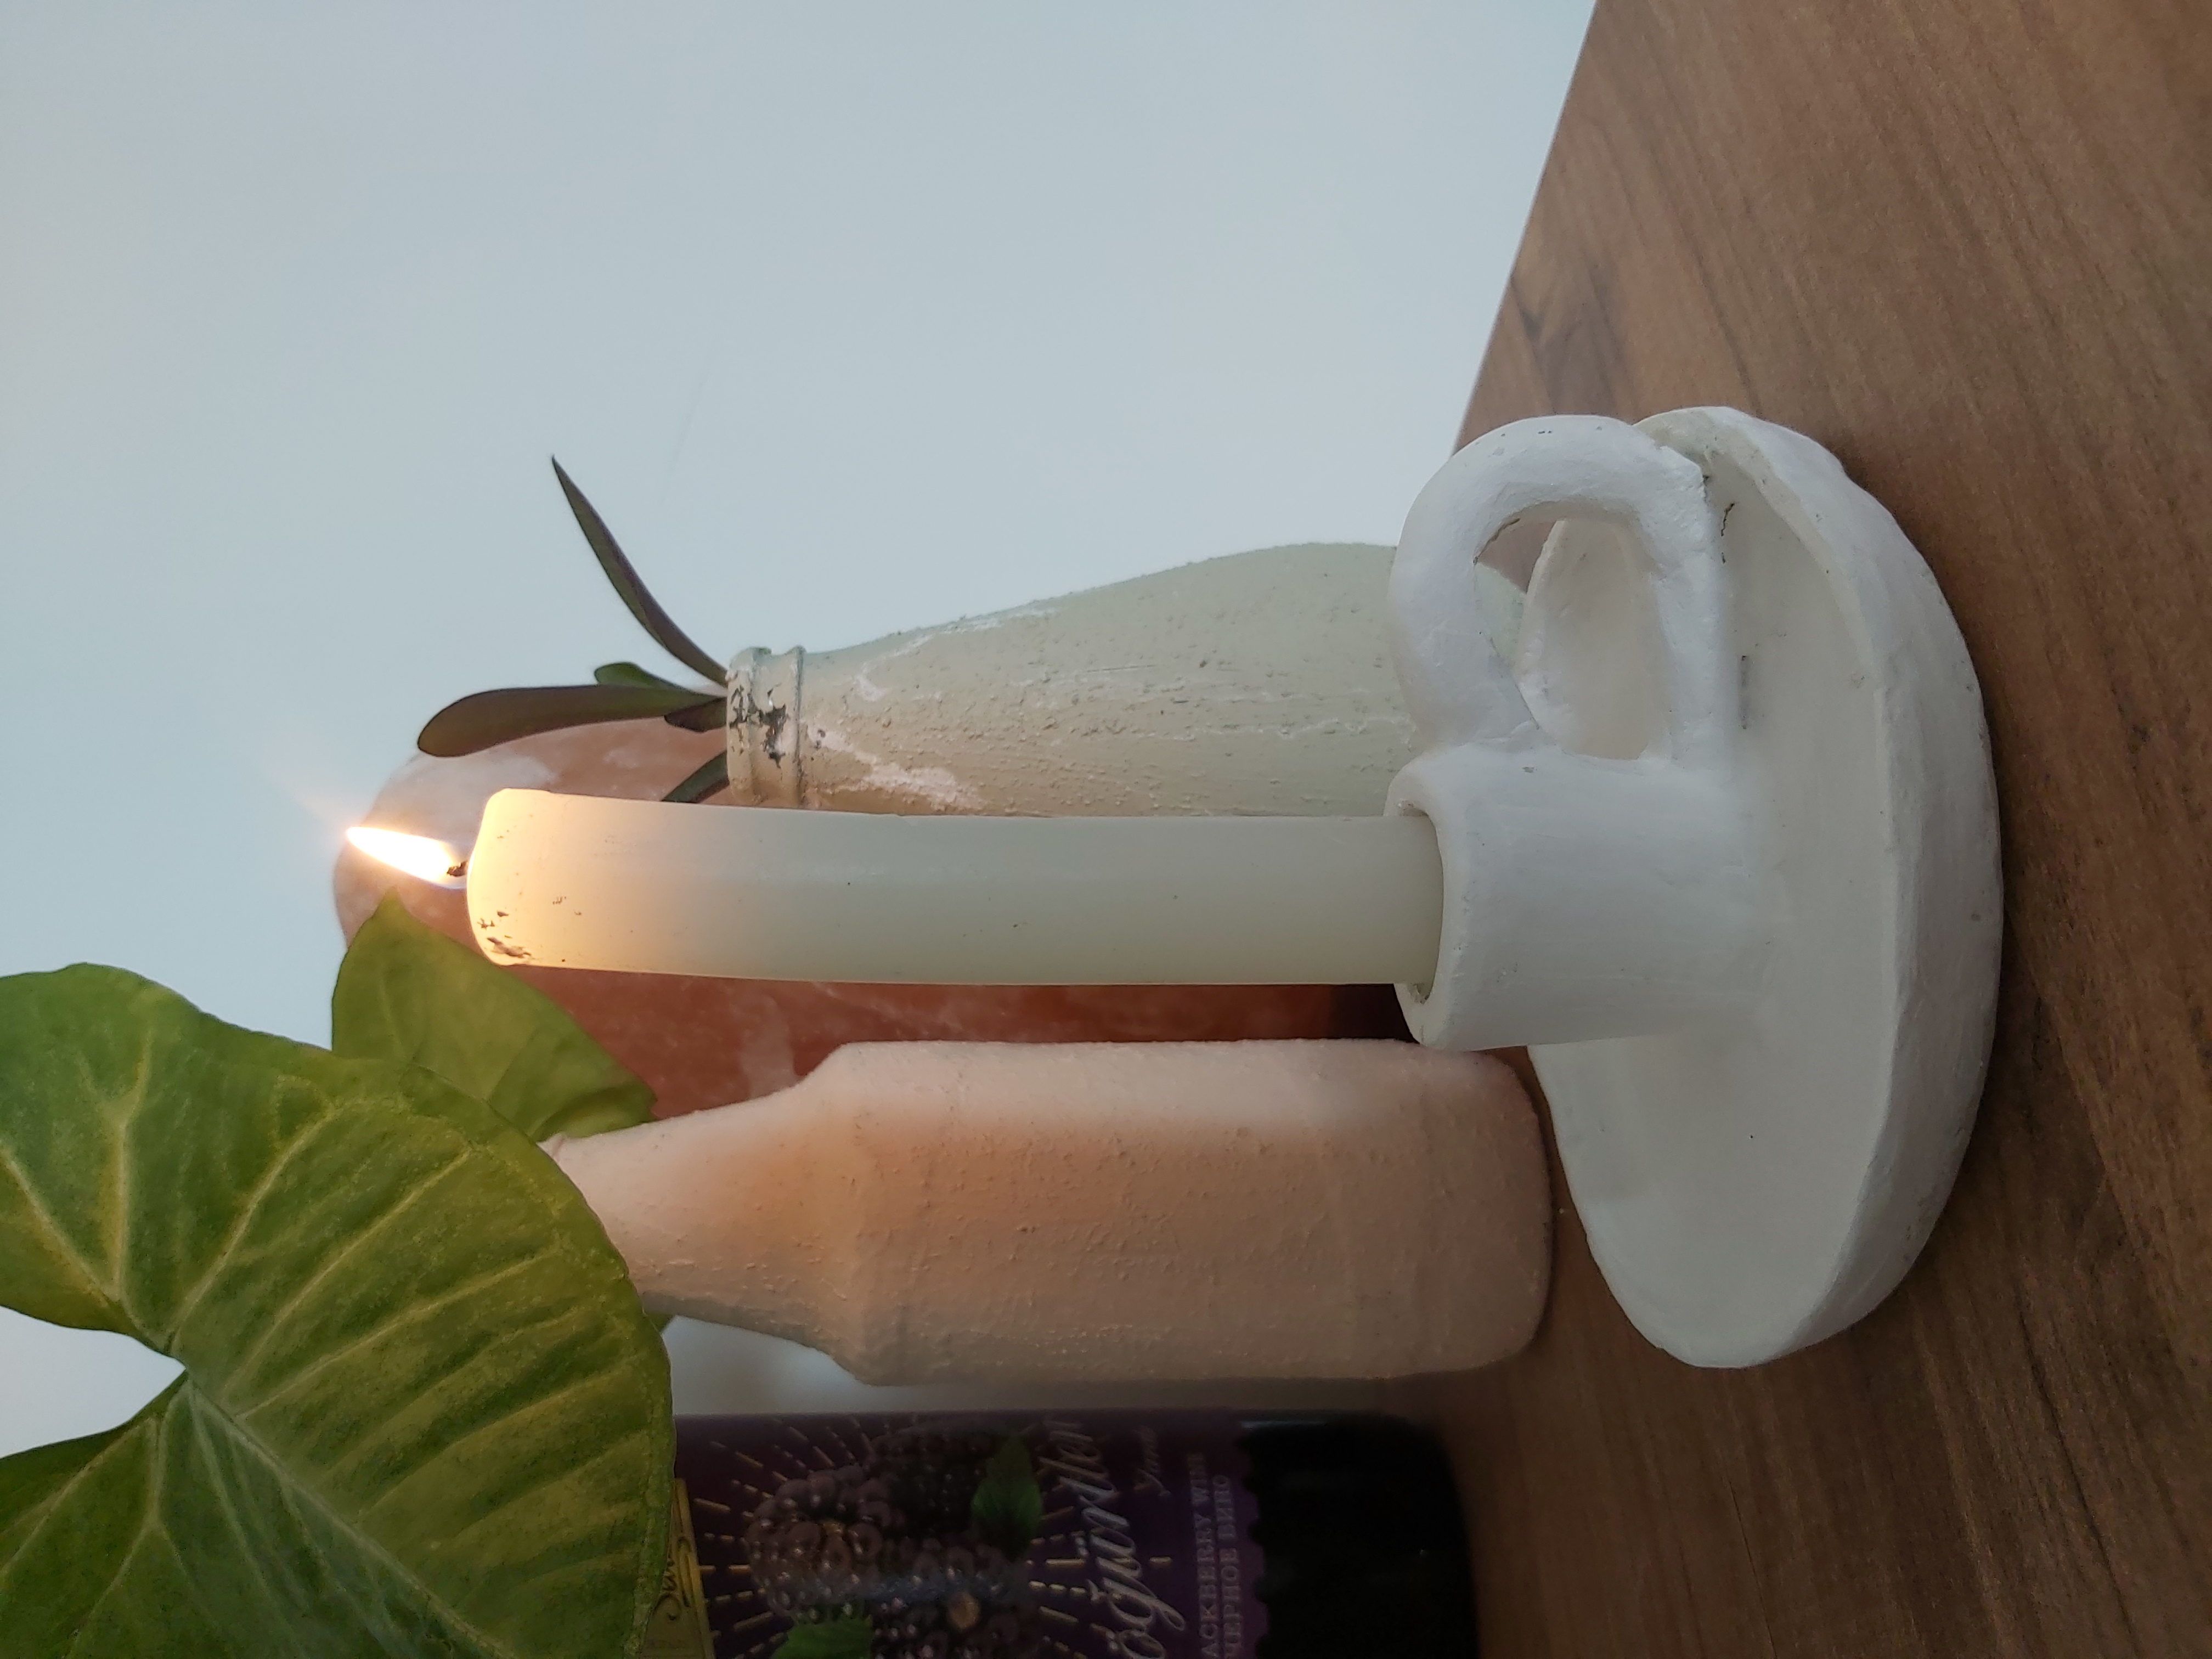
How do you think it happened?
It was my first experience with clay and I had a lot of fun. Whatever the result, playing with clay gave me incredible peace. I forgot my illness and stress thanks to him. I'm thinking of making a flower pot with the other brown clay I bought, let's see what the result will be. I know it's a long article but it has taken so long to explain in detail. Thank you for reading and supporting me. See you again.
Love,
xoxo
İlk defa kil ile deneyimim oldu ve çok eğlendim. Sonuç ne çıkarsa çıksın kil ile oynamak inanılmaz huzur verdi. Hastalığımı ve stresimi onun sayesinde unuttum. Diğer aldığım kahverengi kil ile de saksı yapmayı düşünüyorum bakalım ortaya nasıl bir sonuç çıkacak. Biliyorum uzun bir makale oldu ama detaylı anlatmak için mecbur bu kadar uzun sürdü. Sıkılmadan okuduğunuz ve bana destek olduğunuz için teşekkür ederim. Tekrar görüşmek üzere.
Sevgiler,
xoxo