Hola mis amigos que tal están? La verdad que espero que muy bien.
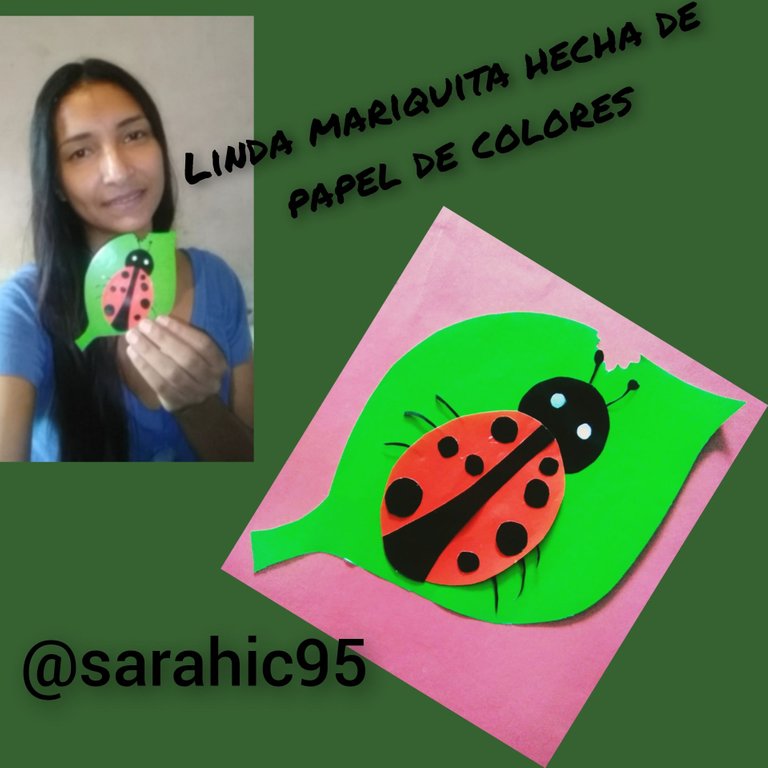
El día de hoy voy a enseñarle a realizar una hermosa mariquita de una manera muy sencilla, hecha con papel de colores.
Hello my friends, how are you? I hope you are very well.
Today I am going to show you how to make a beautiful ladybug in a very simple way, made with colored paper.
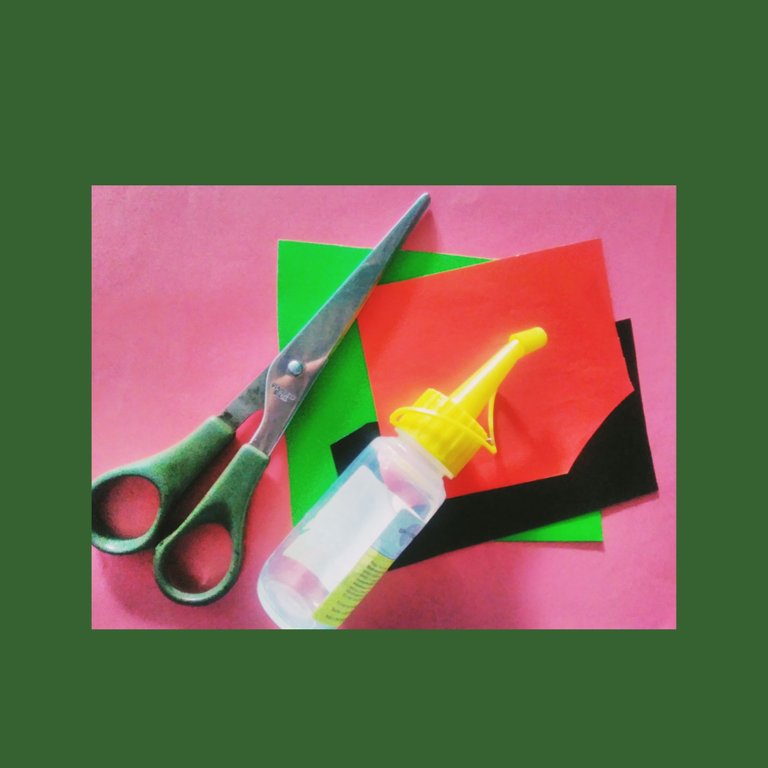
Para ello use los siguientes materiales:
Papel de colores
Lápiz
Tijera
Pegamento
To do so, use the following materials:
Colored paper
Pencil
Scissors
Glue
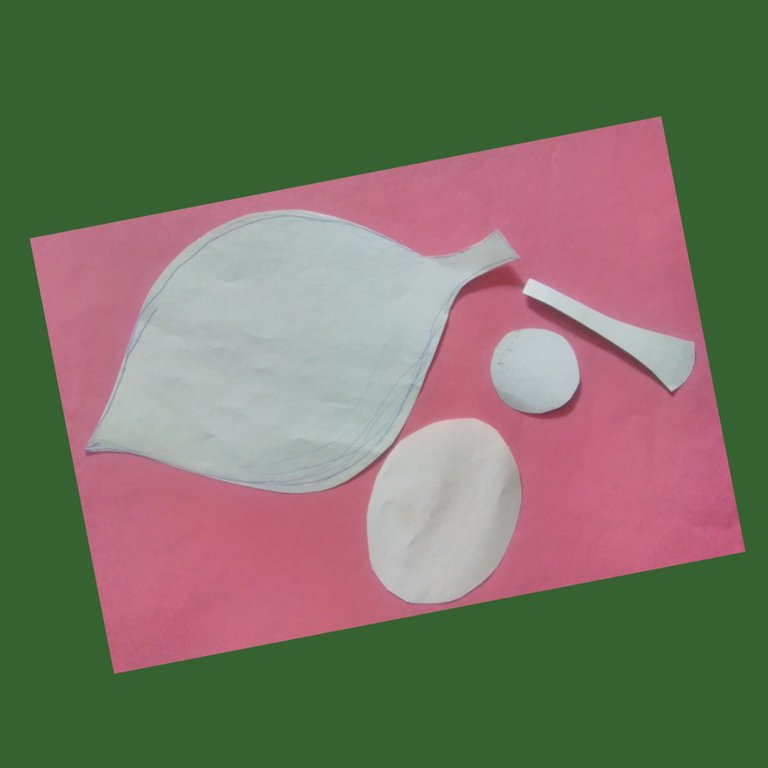
Cómo hacerlo:
primero sacaremos en cartulina todos los moldes para realizar nuestra mariquita.
How to do it:
first we will draw on cardboard all the molds to make our ladybug.
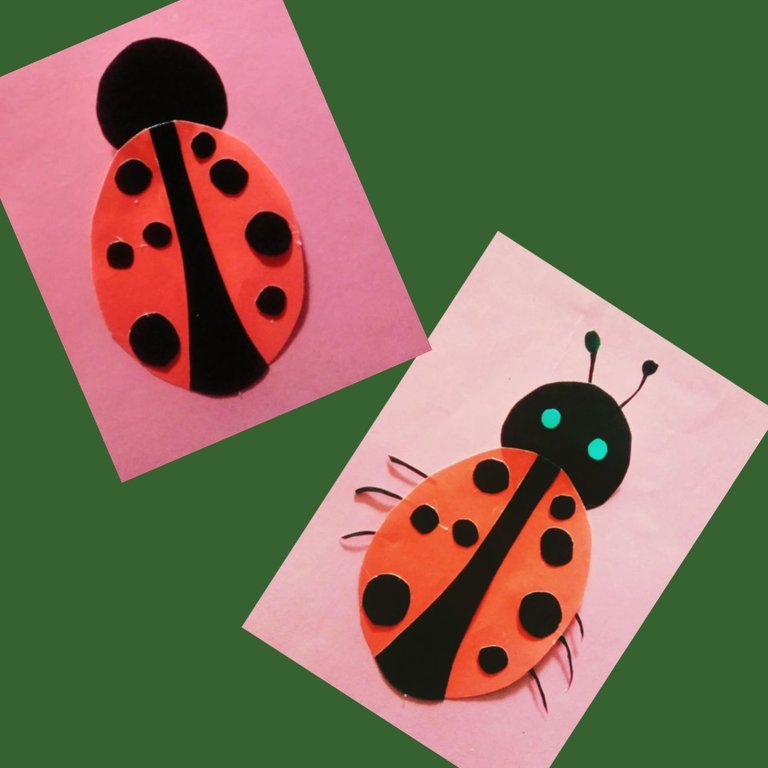
Ahora traspasamos a los papeles de colores las piezas, en verde sacamos una hoja, en rojo sacamos un ovalo rojo y en negro un circulo mas pequeños que el ovalo.
Now we transfer to the colored papers, in green we draw a leaf, in red we draw a red oval and in black a circle smaller than the oval.
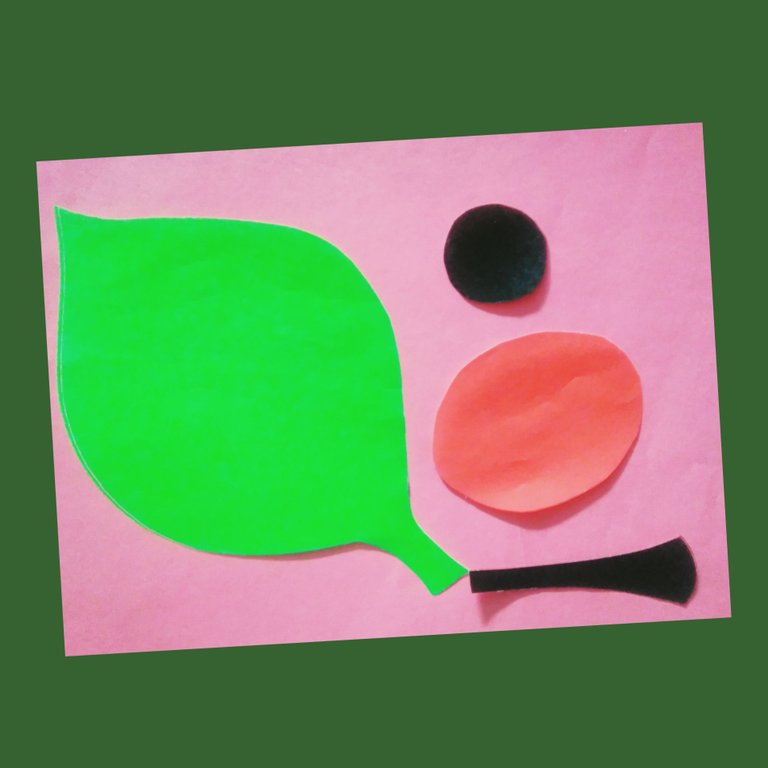
El ovalo rojo sera el cuerpo de la mariquita y el circulo negro se lo pegamos que sera la cabeza.
The red oval will be the body of the ladybug and the black circle will be the head.
Ahora le pegamos en la cara los ojos, y en las alas le pegamos pequeños lunares negros. También le pegamos las antenitas y las patas.
Now we glue on the face the eyes, and on the wings we glue small black polka dots. We also glued the antennae and legs.
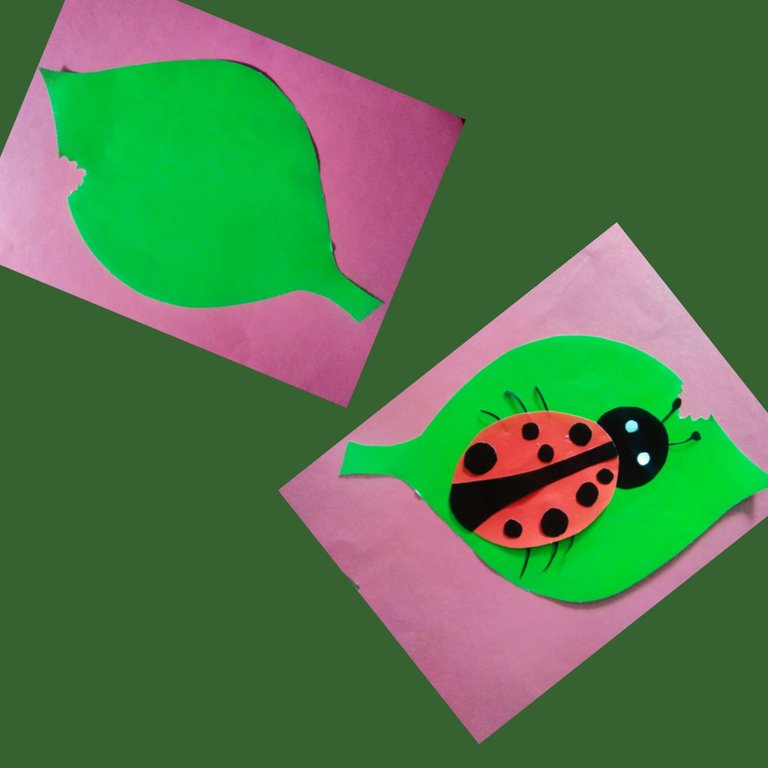
Luego recortamos la hoja como si fueran las marcas de un mordisco de la mariquita y pegamos encima de la hoja la mariquita
Then we cut out the leaf as if it were the bite marks of the ladybug and glue the ladybug on top of the leaf.
Hasta la próxima. Saludos y Bendiciones
See you next time. Greetings and Blessings


