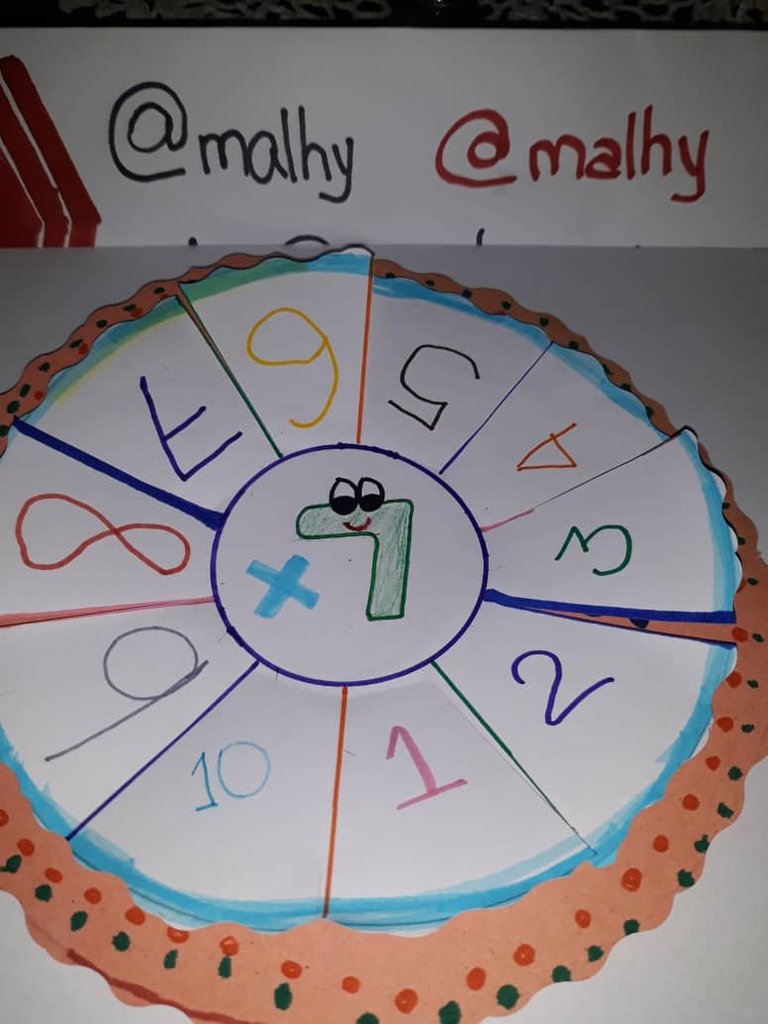
Buenos días y feliz viernes !💫 Espero se encuentren bien, hoy les quiero compartir una actividad manual que realice con mi hijo con el fin de repasar de forma amena las tablas de multiplicar, ya que están por comenzar las clases. Es sencilla la actividad y los materiales los tenemos en casa. Comencemos:
Materiales:
📄Hoja blanca
Cartulina
Compás
📏Regla
✏️ Lápiz
Borra
🖍️Marcadores o colores
✂️Tijera
Pega
Procedimiento:
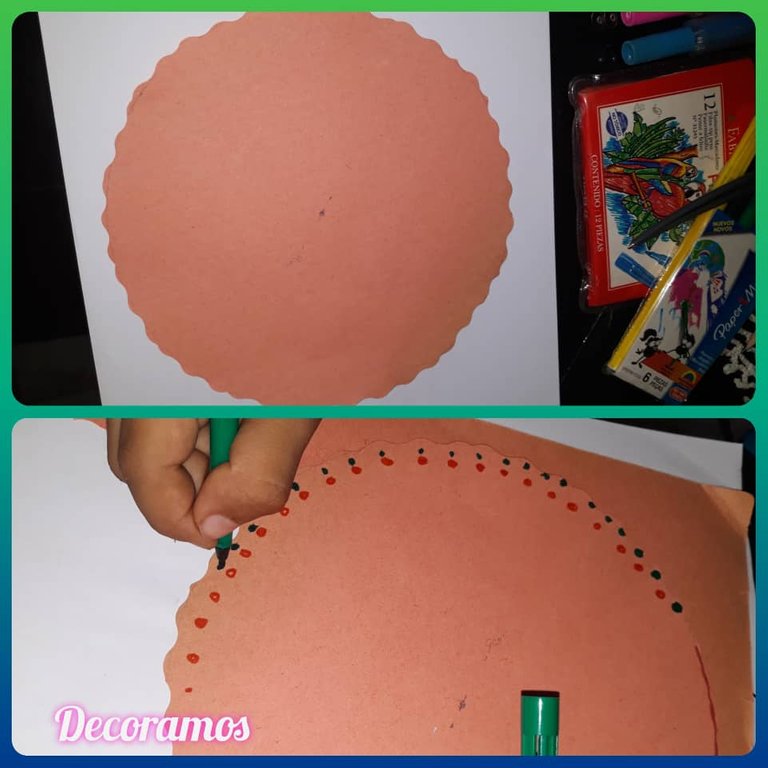
1.- Tomamos la cartulina y realizamos una circunferencia de 18 cm de diámetro con ayuda del compás y la regla.
2.- Recortamos y decoramos los bordes para hacerla algo llamativa.
Good morning and happy Friday !💫 I hope you are well, today I want to share with you a manual activity that I made with my son in order to review the multiplication tables in an enjoyable way, since they are about to start classes. It is simple activity and the materials we have them at home. Let's start:
Materials:
📄White sheet.
Cardboard
Compass
📏Ruler
✏️ Pencil
Eraser
🖍️Markers or colors.
✂️Scissors
Paste
Procedure:
1- We take the cardboard and make a circumference of 18 cm in diameter with the help of the compass and ruler.
2.- Cut out and decorate the edges to make it a little more eye-catching.
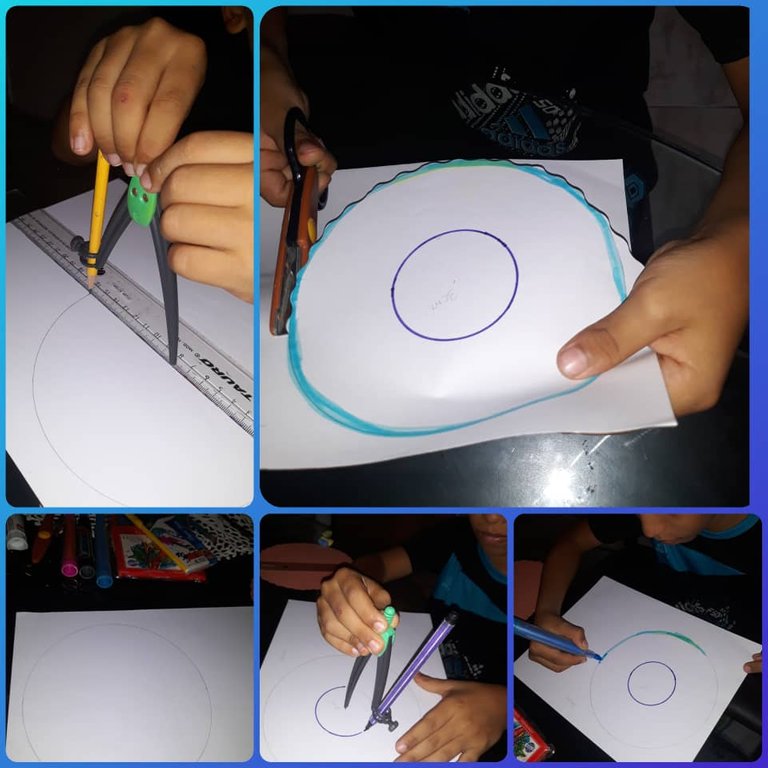
3.- Con la hoja Blanca repetimos el procedimiento, pero esta vez el diámetro de la circunferencia será de 16 cm. Una vez que tengamos dibujado el círculo, hacemos otro en el medio de 3cm, procedemos a recortar el círculo de 16 cm.
3.- With the white sheet we repeat the procedure, but this time the diameter of the circumference will be 16 cm. Once we have drawn the circle, we make another one in the middle of 3 cm, we proceed to cut out the circle of 16 cm.
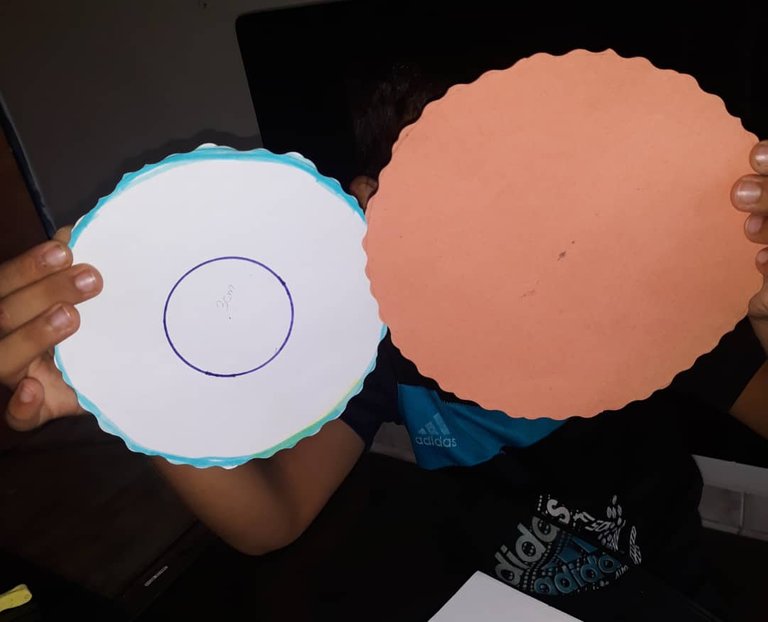
4.- Tendremos dos circunferencia una de 18 cm que será nuestra base y la de 16cm.
4.- We will have two circles, one of 18 cm which will be our base and the other of 16 cm.
5.- En el círculo de 16 cm vamos a trazar 10 líneas de forma equitativa desde el borde hasta el círculo interno de 3cm, recortamos cada línea y escribimos los números del 1 al 10 en cada espacio.
5.- In the circle of 16 cm we will draw 10 lines equally from the edge to the inner circle of 3cm, we cut each line and write the numbers from 1 to 10 in each space.
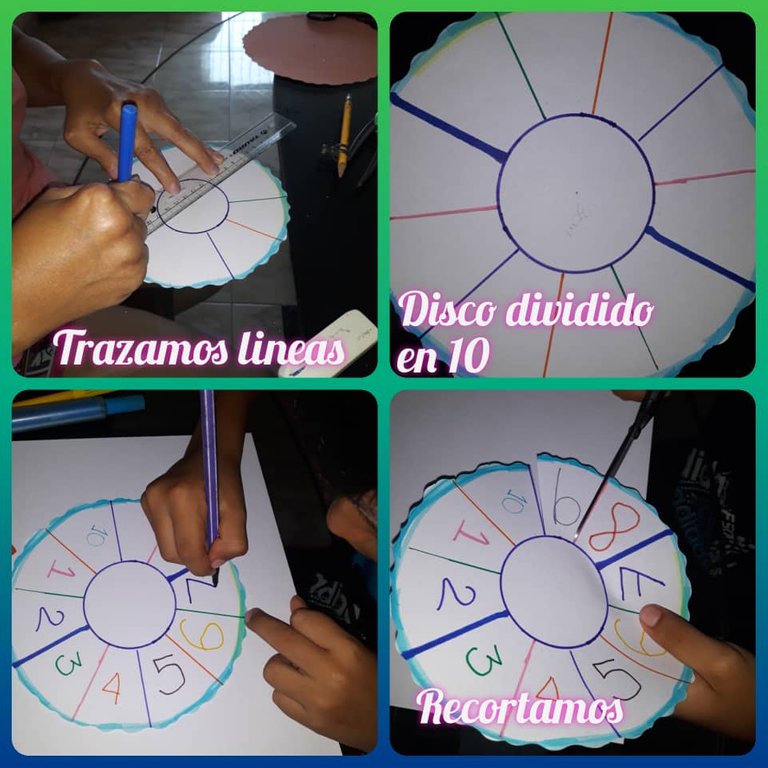
6.- En el círculo de 3cm dibujamos el número de la tabla de multiplicar que vamos a trabajar en este caso es el número 7 y acompañamos del símbolo ❎
6.- In the 3cm circle we draw the number of the multiplication table that we are going to work on in this case it is the number 7 and we accompany it with the symbol ❎.
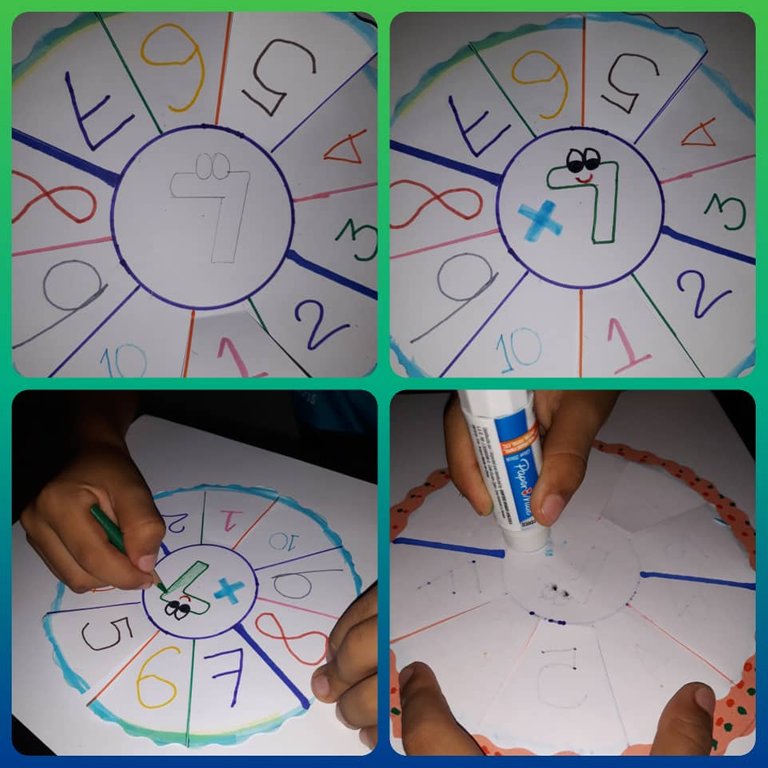
7.- Ahora procedemos a pegar el círculo de 16 cm sobre el de 18 cm y vamos levantando cada pestaña del círculo pequeño y escribimos el número correspondiente al resultado de la operación matemática.
7.- Now we proceed to paste the 16 cm circle over the 18 cm circle and we lift each tab of the small circle and write the number corresponding to the result of the mathematical operation.
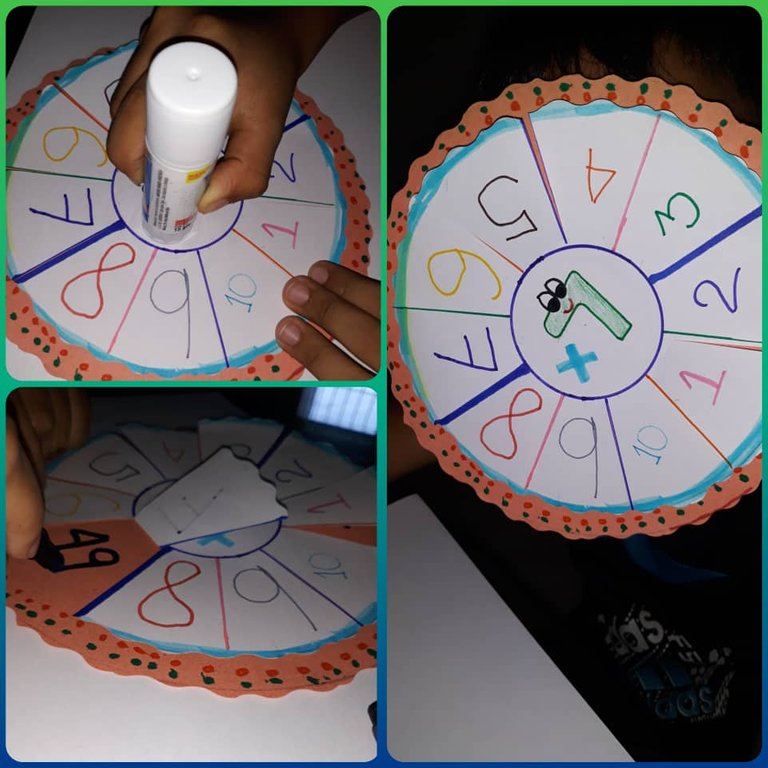
8.- Ya tenemos lista nuestra tabla de multiplicar del número 7.
8.- Now we have our multiplication table of the number 7 ready.
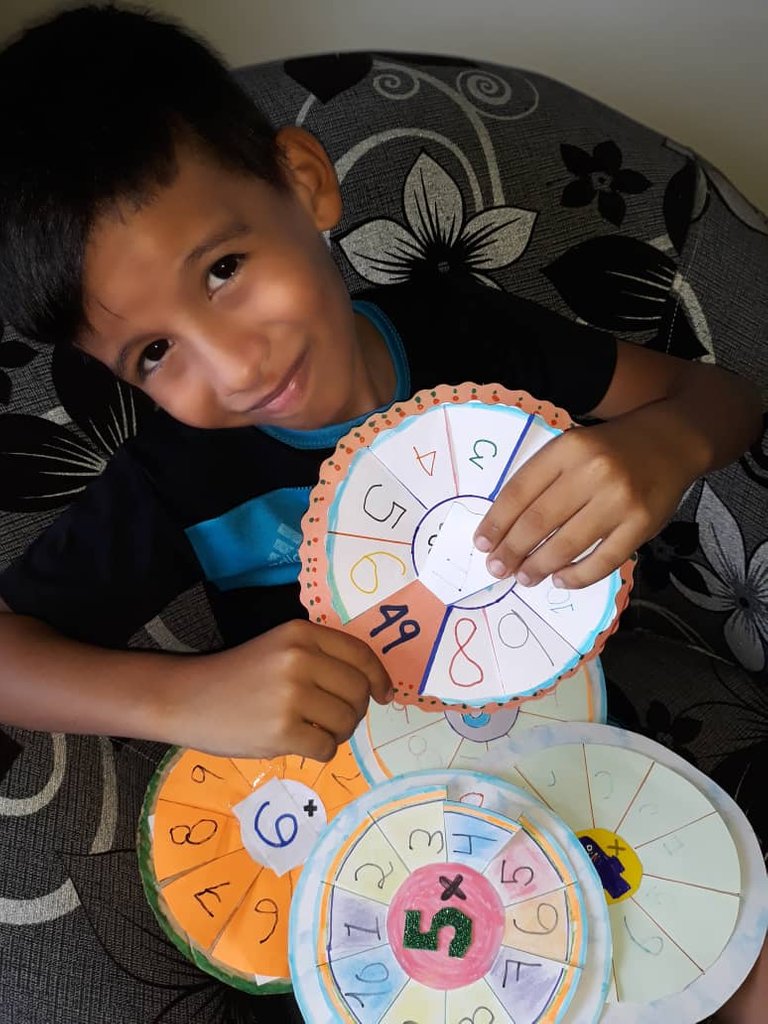
Es una forma amena de aprender las tablas de multiplicar, además de desarrollar creatividad al momento de decorar.
Tenemos varias realizadas porque fue una actividad indicada por la maestra durante el año escolar. Espero les sea útil a las mamis que están en este proceso de aprendizaje.
It is a fun way to learn the multiplication tables, in addition to developing creativity when decorating.
We have made several because it was an activity indicated by the teacher during the school year. I hope it will be useful to the moms who are in this learning process.