
Bienvenidos a mi blog / Welcome to my blog
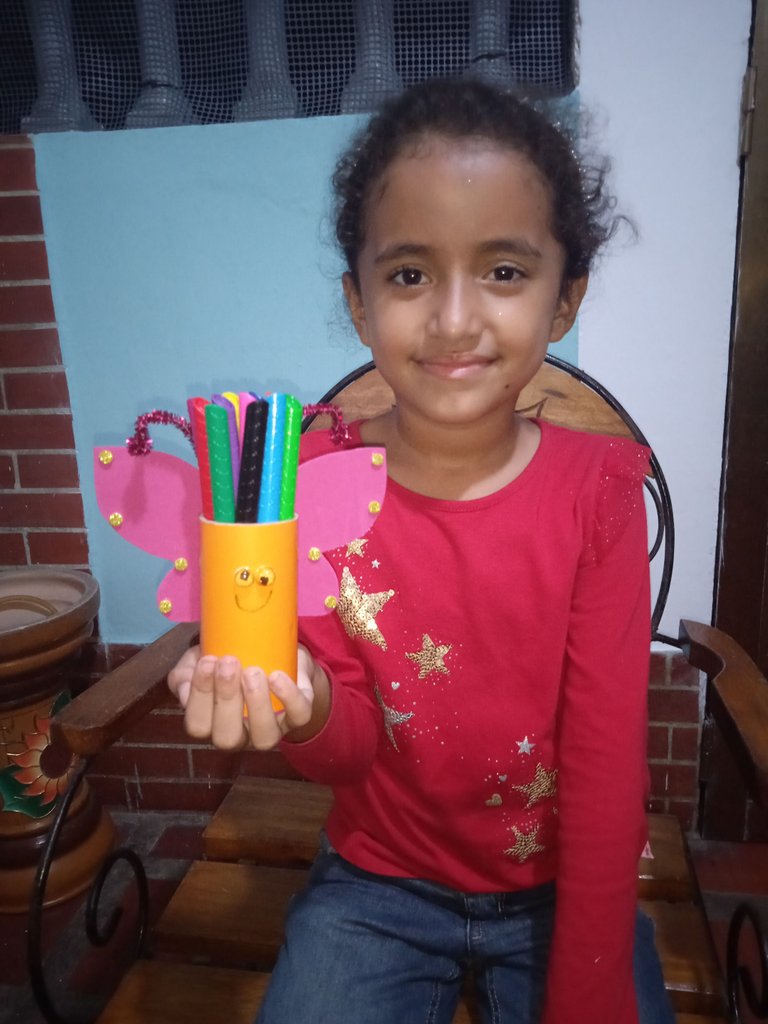
Hello dear community, today I will share with you the step by step of a beautiful butterfly pencil holder made with the help of my daughter Sabrina who is always willing to help me with craft activities and it is great to have her help because she always gives me ideas of what what we can do
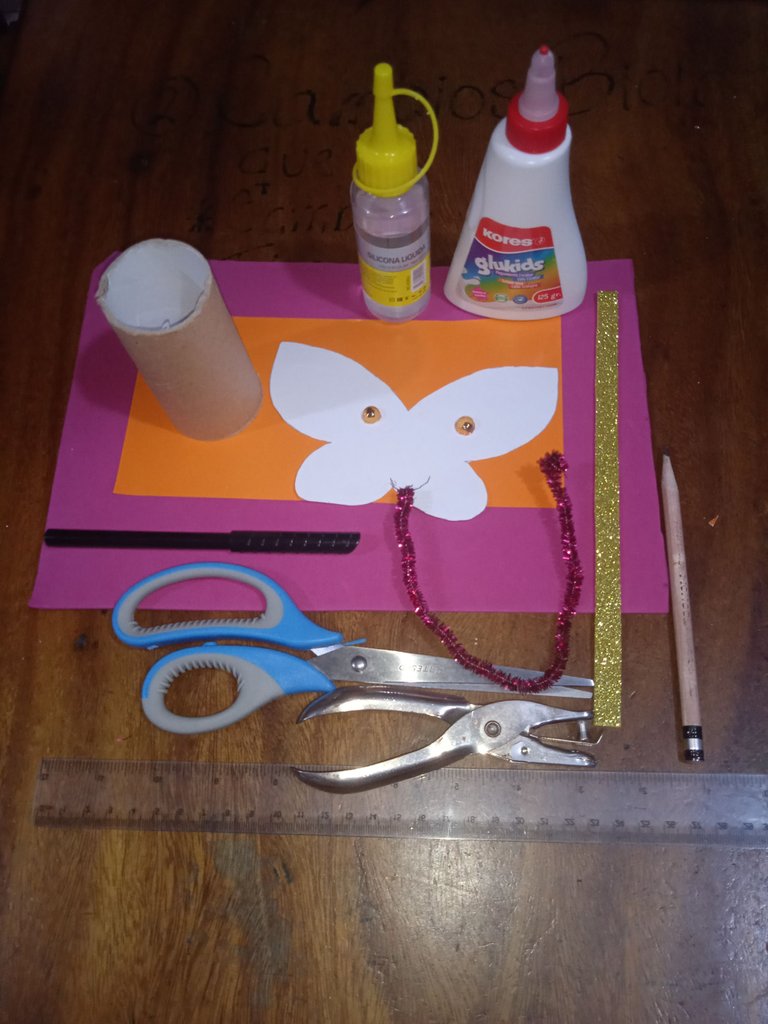
Materiales a utilizar / The materials to use
- Tijera.
- Foami amarillo escarchado.
- Foami fucsia.
- Papel Lustrillo naranja.
- Lápiz.
- Regla.
- Cartón.
- Rollo de papel higiénico.
- Silicón.
- Pega Blanca.
- Marcador negro.
- Perforador.
- Limpiapipas.
- Ojos móviles.
- Molde de mariposa.
- Scissors.
- Frosty yellow foami.
- Fuchsia foam.
- Orange Luster paper.
- Pencil.
- Ruler.
- Paperboard.
- Roll of toilet paper.
- Silicone.
- White Paste.
- black marker
- Perforator.
- Pipe cleaner.
- Mobile eyes.
- butterfly mold

Paso a paso / Step by Step
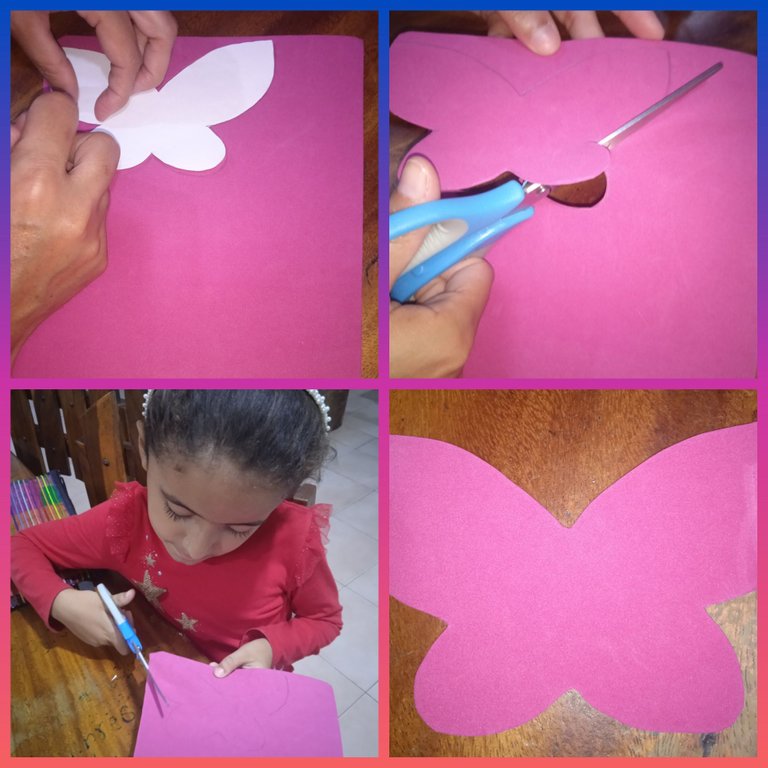
- Primeramente dibujamos el molde de la mariposa en el foami fucsia y luego cortamos la mariposa.
First we draw the butterfly mold on the fuchsia foami and then we cut the butterfly.

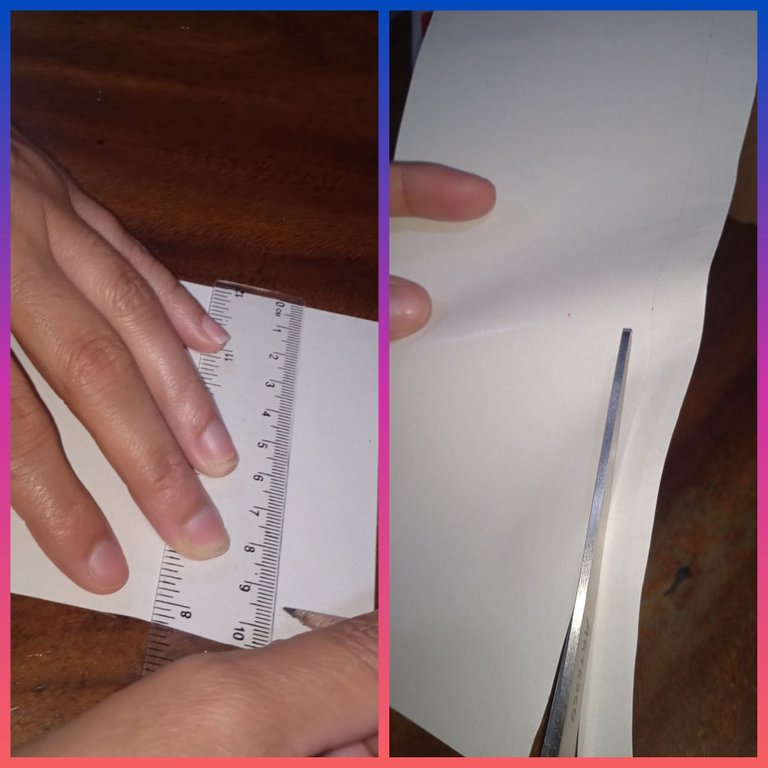
- Luego medimos 9 centímetros de ancho en el papel lustrillo, y cortamos esa medida. Esto con el fin de luego forrar el rollo de papel higiénico.
Then we measure 9 centimeters wide on the luster paper, and cut that measurement. This in order to then cover the roll of toilet paper.

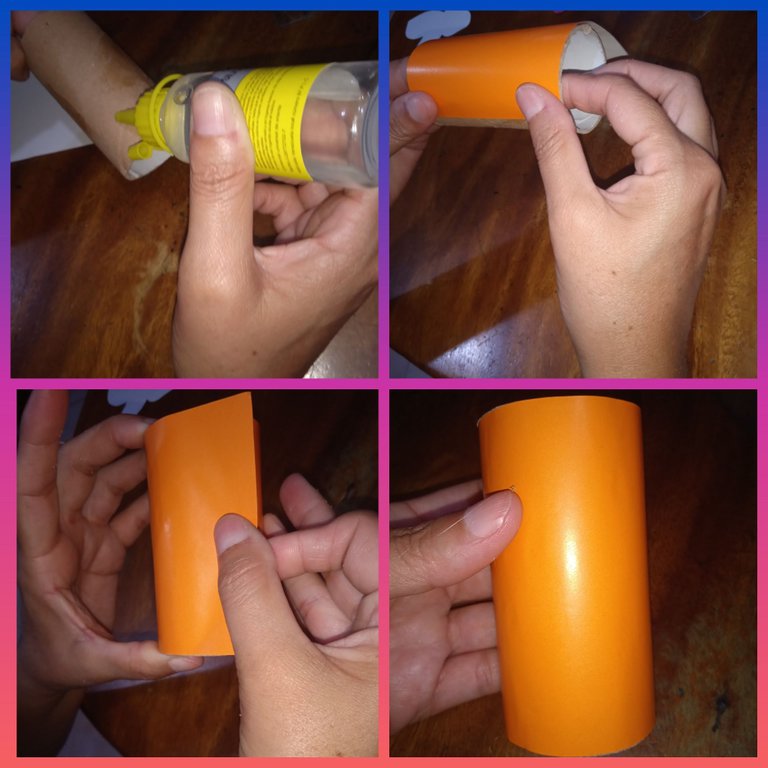
- Procedemos a pegar el papel lustrillo al rollo de papel higiénico.
We proceed to stick the luster paper to the toilet paper roll.

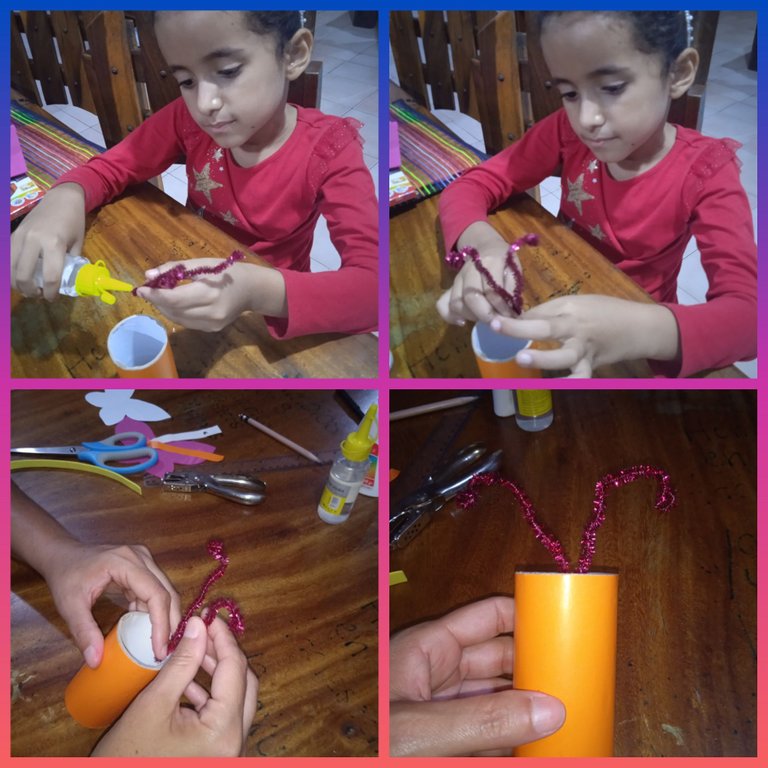
- Luego procedemos a pegar las antenas de la mariposa que fueron realizadas con el limpiapipas.
Then we proceed to glue the butterfly antennae that were made with the pipe cleaner.

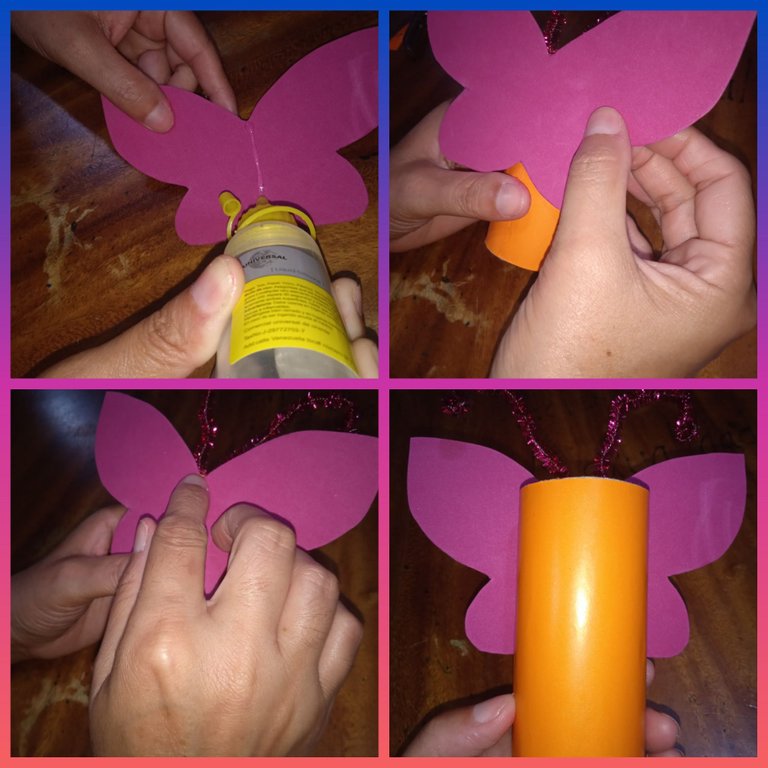
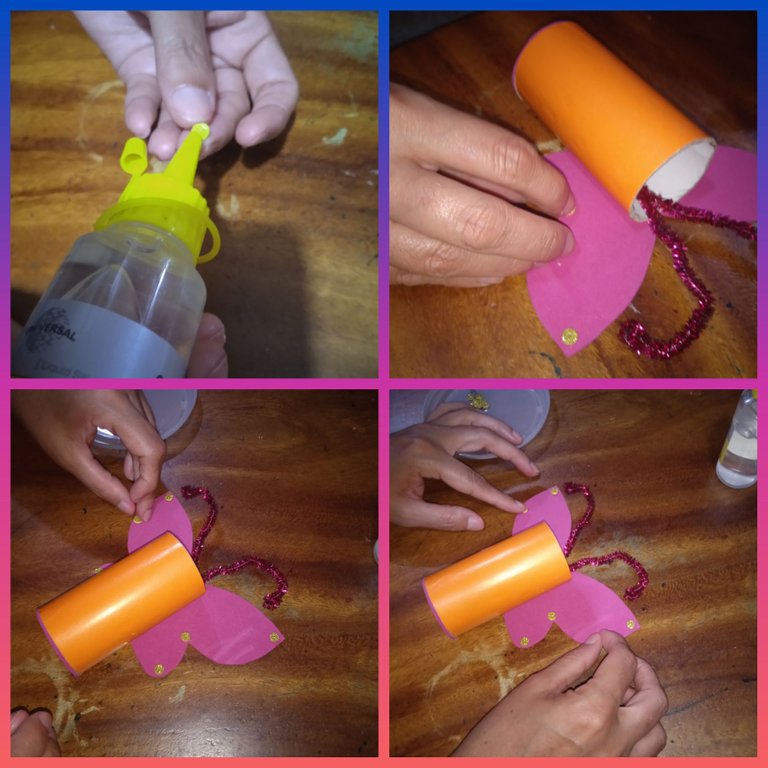
*Procedemos a pegar las alas de la mariposa.
We proceed to glue the wings of the butterfly.

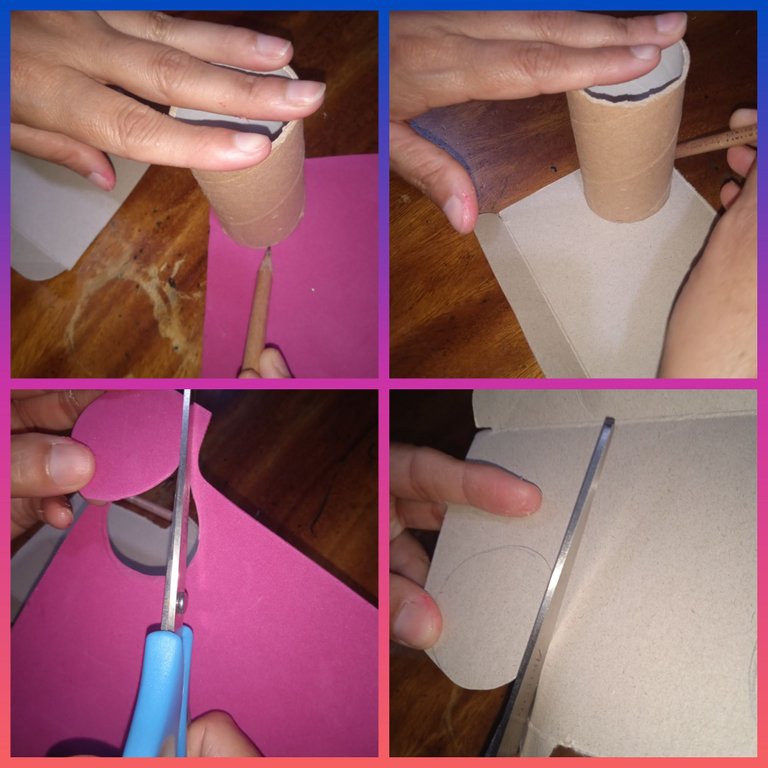
*Luego cortamos un círculo de cartón y un círculo de foami, esto para realizarle la base al portalápices.
Then we cut a circle of cardboard and a circle of foami, this to make the base for the pencil holder.

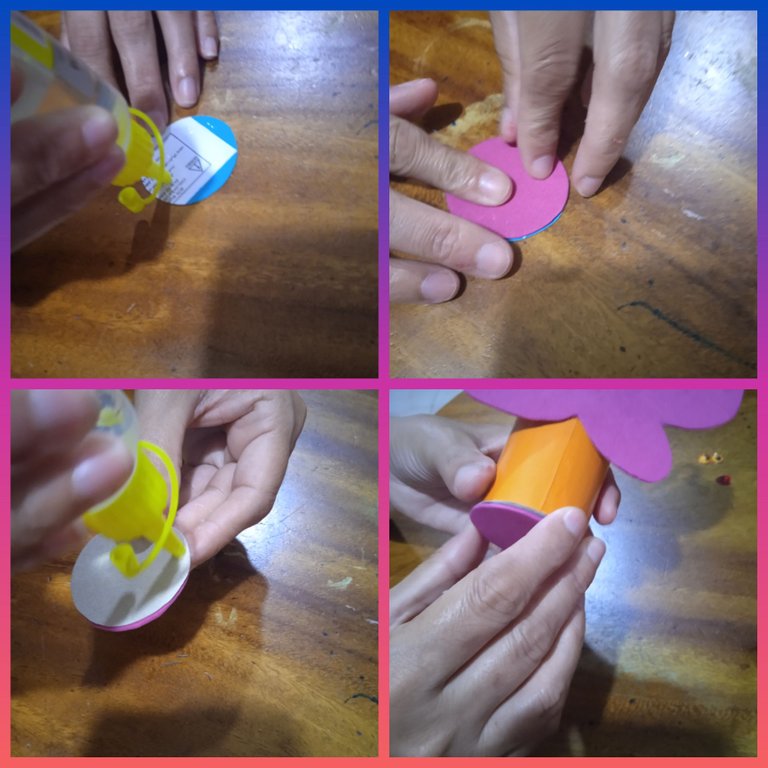
- Procedemos a pegar la base al portalápices.
We proceed to glue the base to the pencil holder.

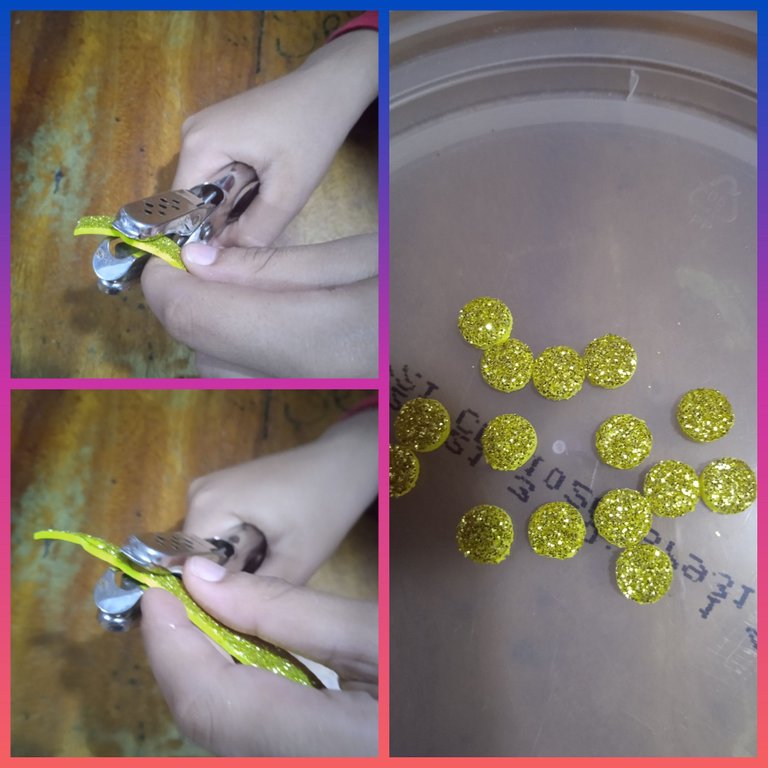
- Luego con el perforador cortamos unos círculos de foami escarchado amarillo, para decorar la mariposa.
Then with the perforator we cut some circles of yellow frosted foami, to decorate the butterfly.

- Procedemos a decorar la mariposa.
We proceed to decorate the butterfly.

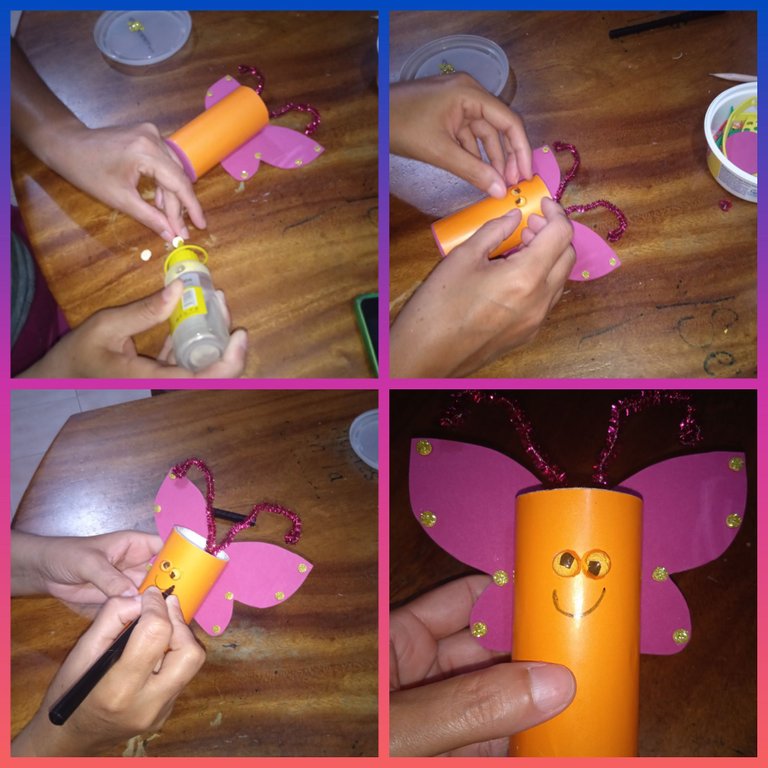
- Ahora procedemos a pegar los ojos móviles y pintar la boca.
Now we proceed to glue the mobile eyes and paint the mouth.

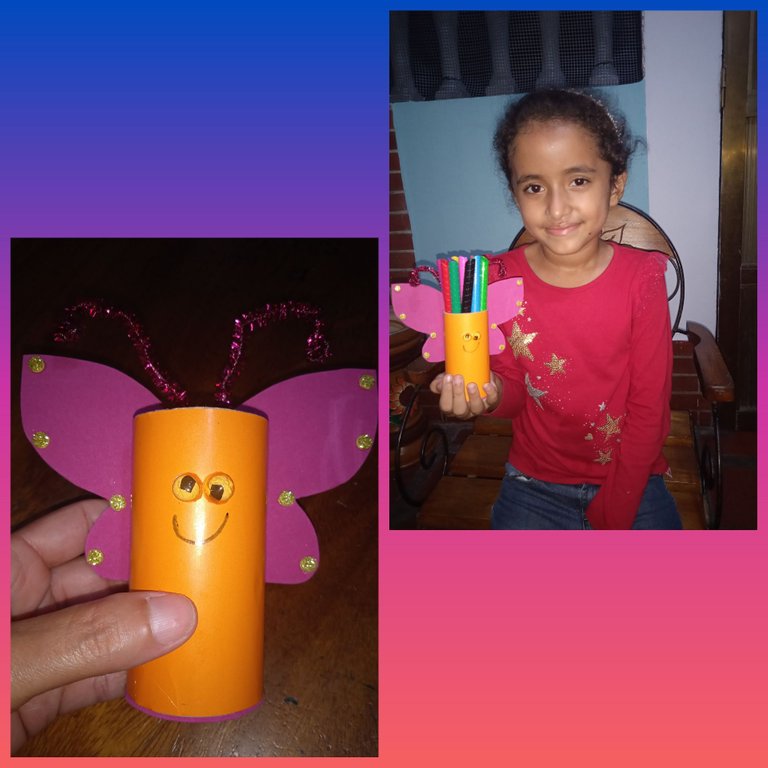
- Así nos quedó el lindo portalápices de mariposa. Espero les haya gustado.
This is how the cute butterfly pencil holder turned out. I hope you liked it.



Las imágenes son de mi autoría y tomadas con mi Xiaomi Redmi 9A y editadas con polish.
The images are my own and taken with my Xiaomi Redmi 9A and edited with polish.


